

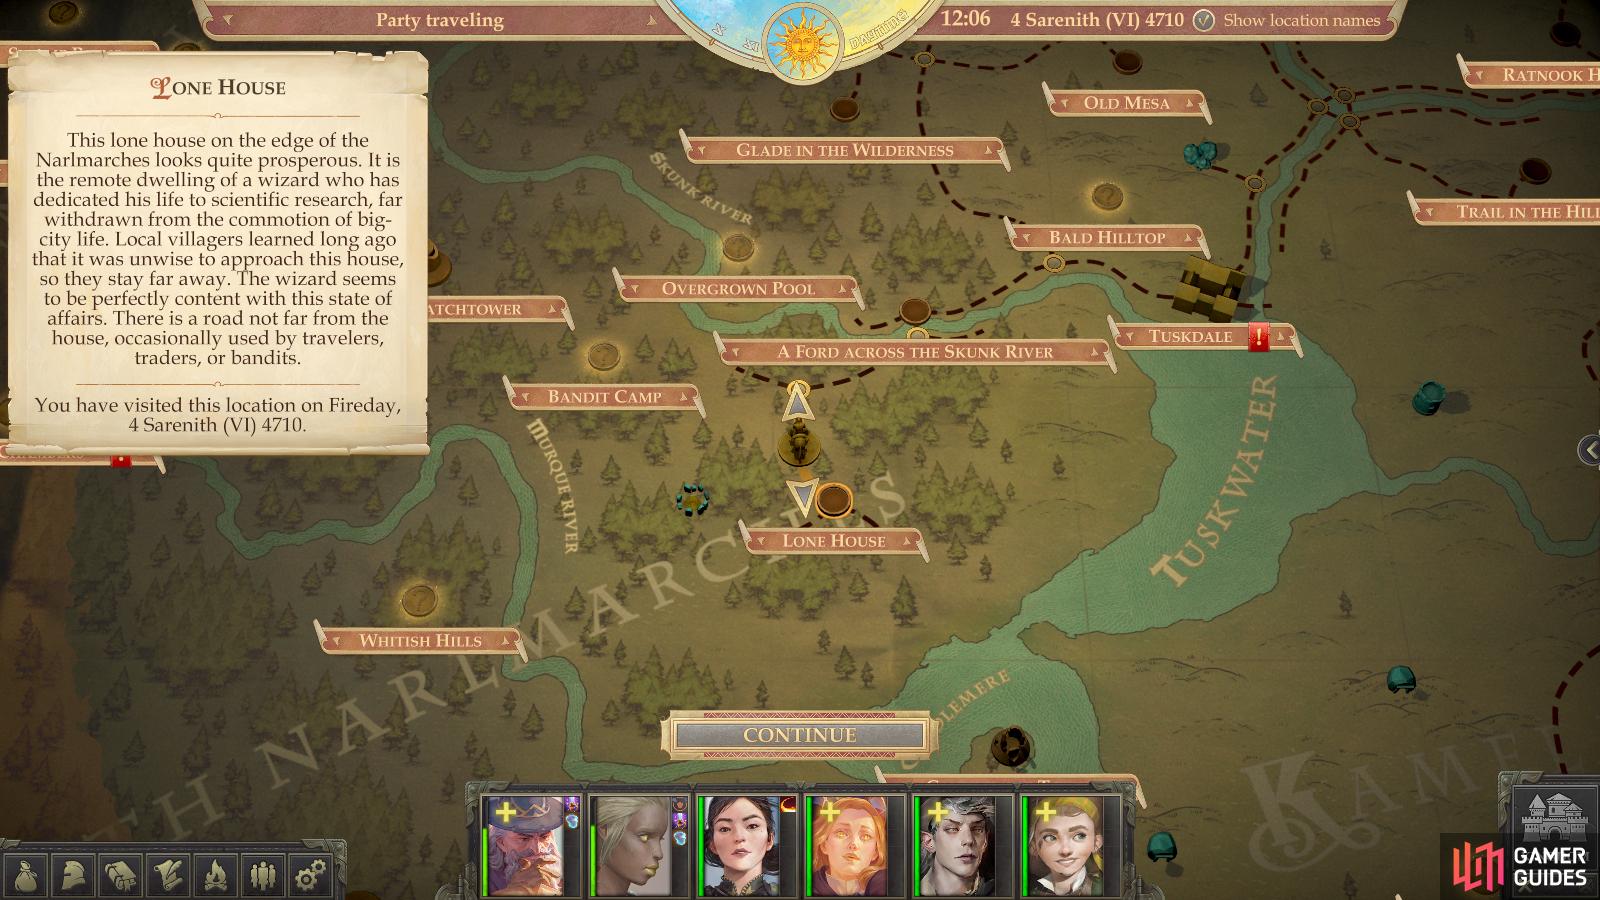
Travel: Lone House
To reach this location from your capital, follow these directions:
- Northwest
- Southwest to reach landmark: A Ford Across the Skunk River
- South (cross Skunk River)
- Southwest
- South
This area might not appear until you reach it, but never fear, once you hit the node it’s on, you’ll be able to enter.
Kill a group of bandits on the road
then search them and their victim.
Clearing the Road of Bandits
When you arrive, you’ll hear a man whining in the distance - at least, if you pay attention to your text window at the bottom right of the screen. Anybody screaming that loudly can’t be all that hurt, but it’s something to keep in mind as you explore the area.
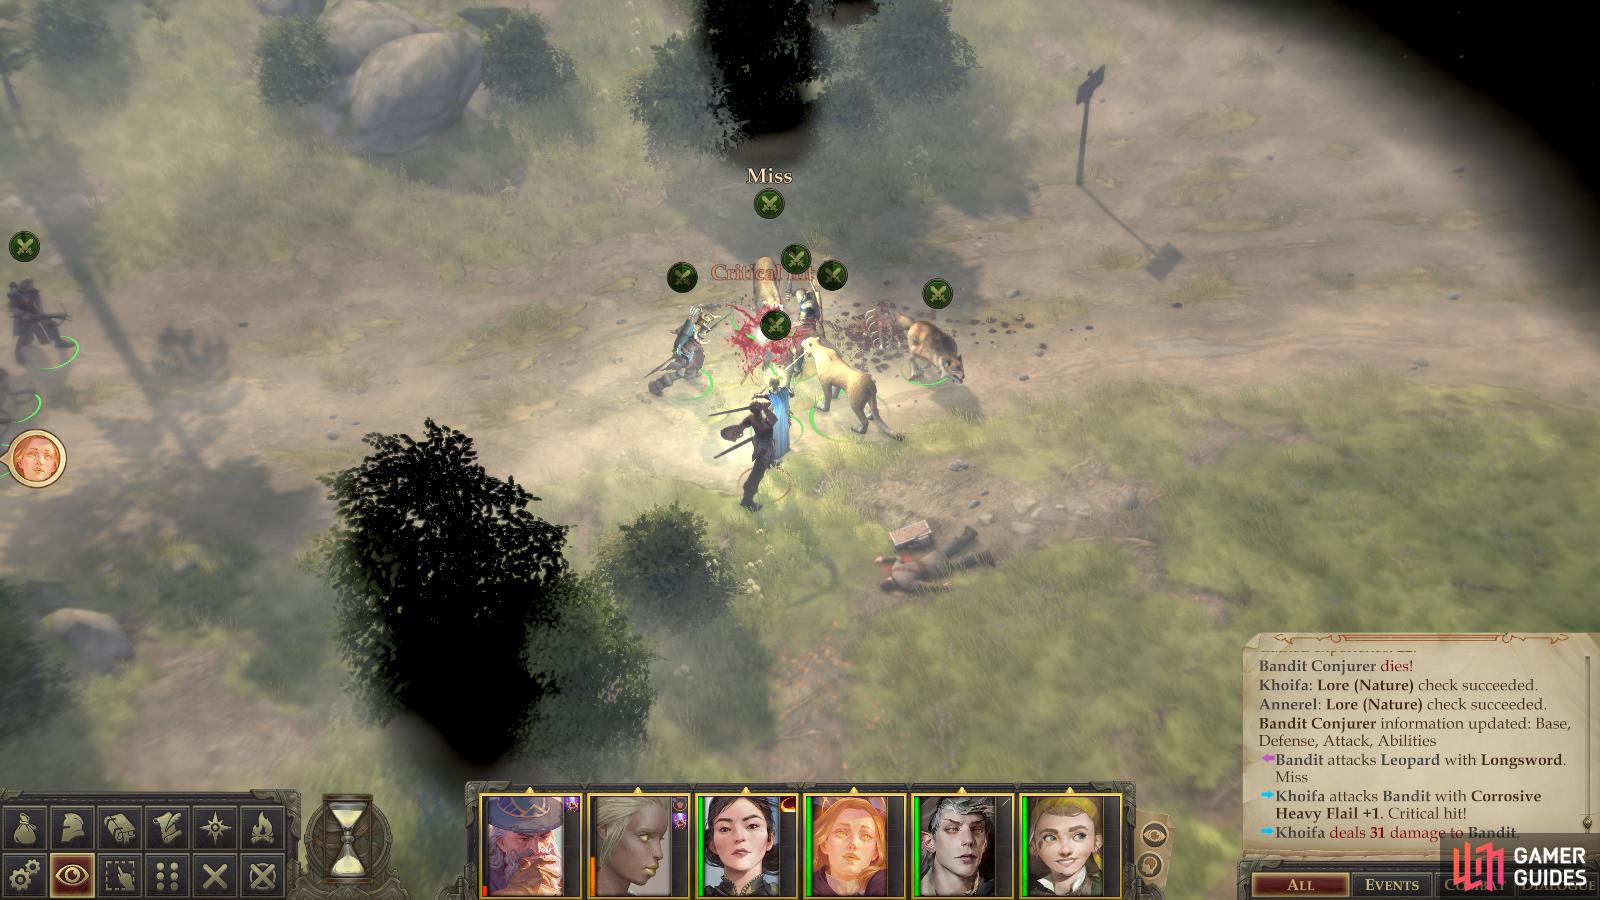
You’ll start out in the southwestern corner of the area, so just venture east along the southern end of the map, following a dirt road that runs through the area. Eventually you’ll come across two bandits, who can do little but roll over and die when they’re confronted with the full might of your party.
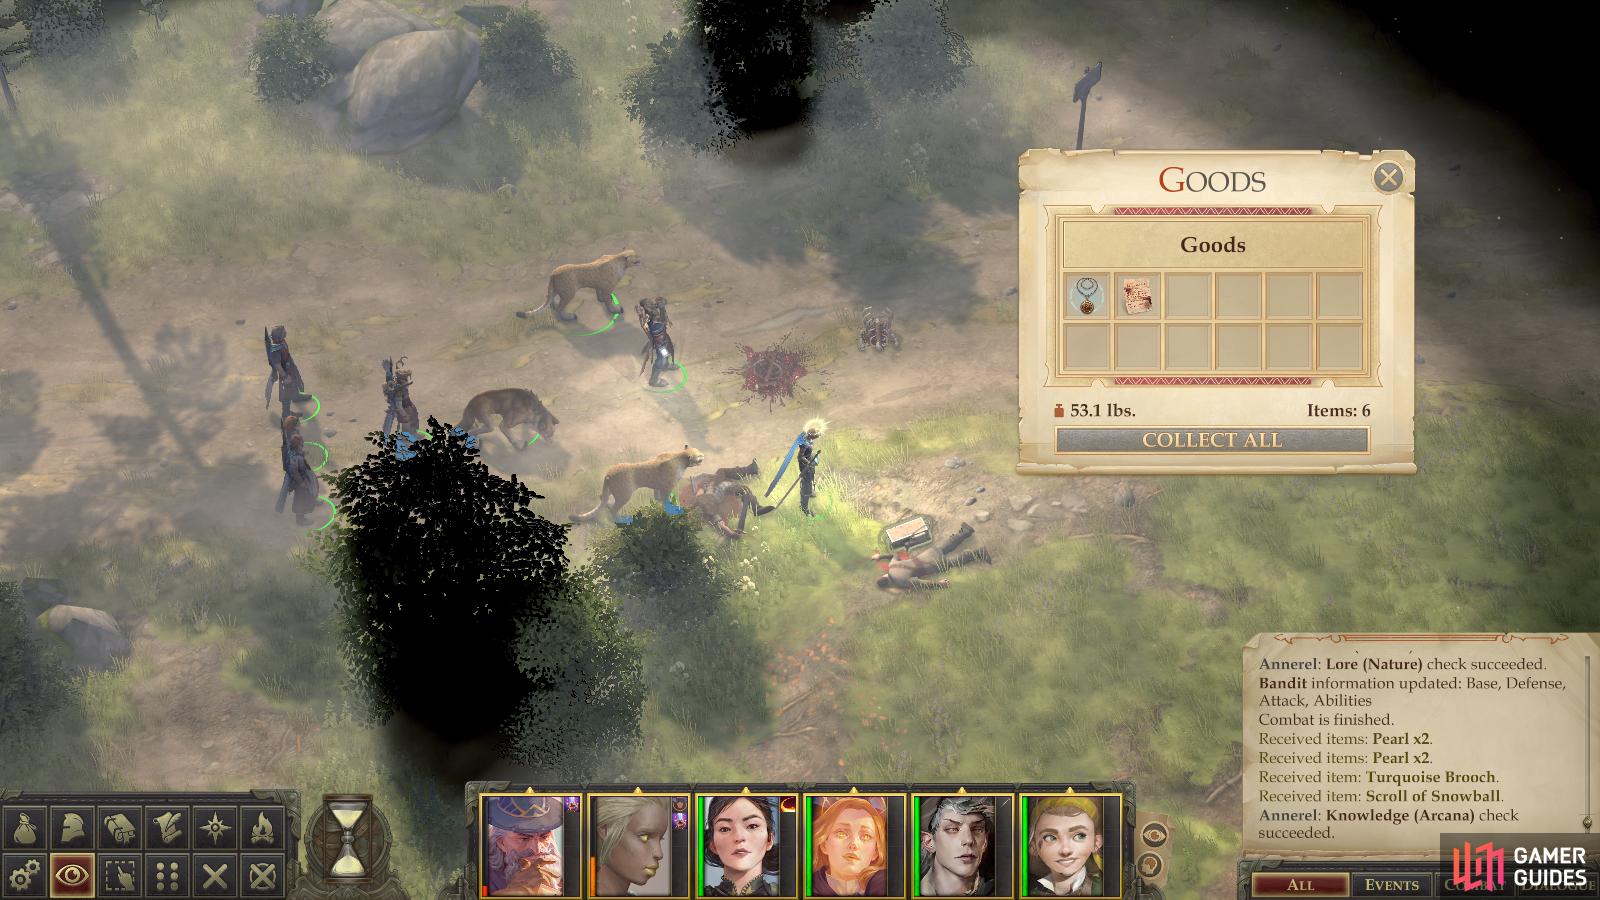
Further east you’ll find another group of bandits, including a Bandit Conjurer who will relentlessly summon wolves, but again, they should be no match for you and should require no special strategy to defeat. When this second group of bandits is dead, loot a chest near a corpse to find an Amulet of Agile Fists and a Merchant’s Letter. The amulet essentially gives the wearer the Weapon Finesse feat, albeit only when making unarmed or natural attacks - good for a high Dexterity Monk, and few others. Also be sure to loot one of the bandits to find a Turquoise Brooch. Don’t sell it, as it’ll be useful shortly.
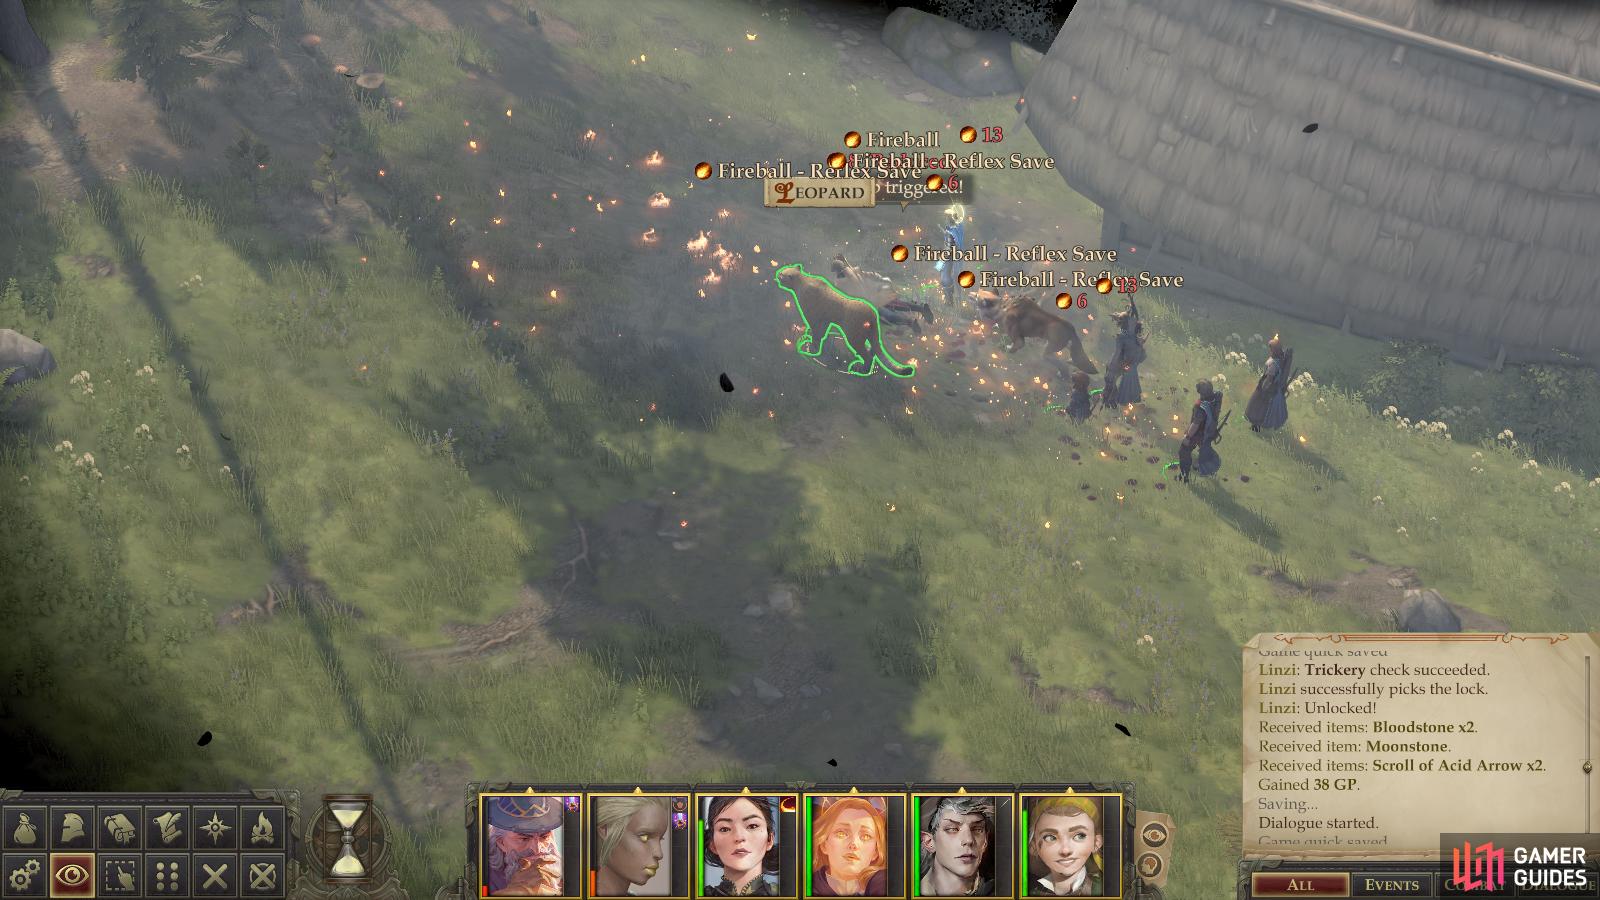
Be wary of traps north of the road, as they’ll spring Fireball traps.
On the other hand, if you’re capable of disarming them they’ll cumulatively give you a nice bit of XP.
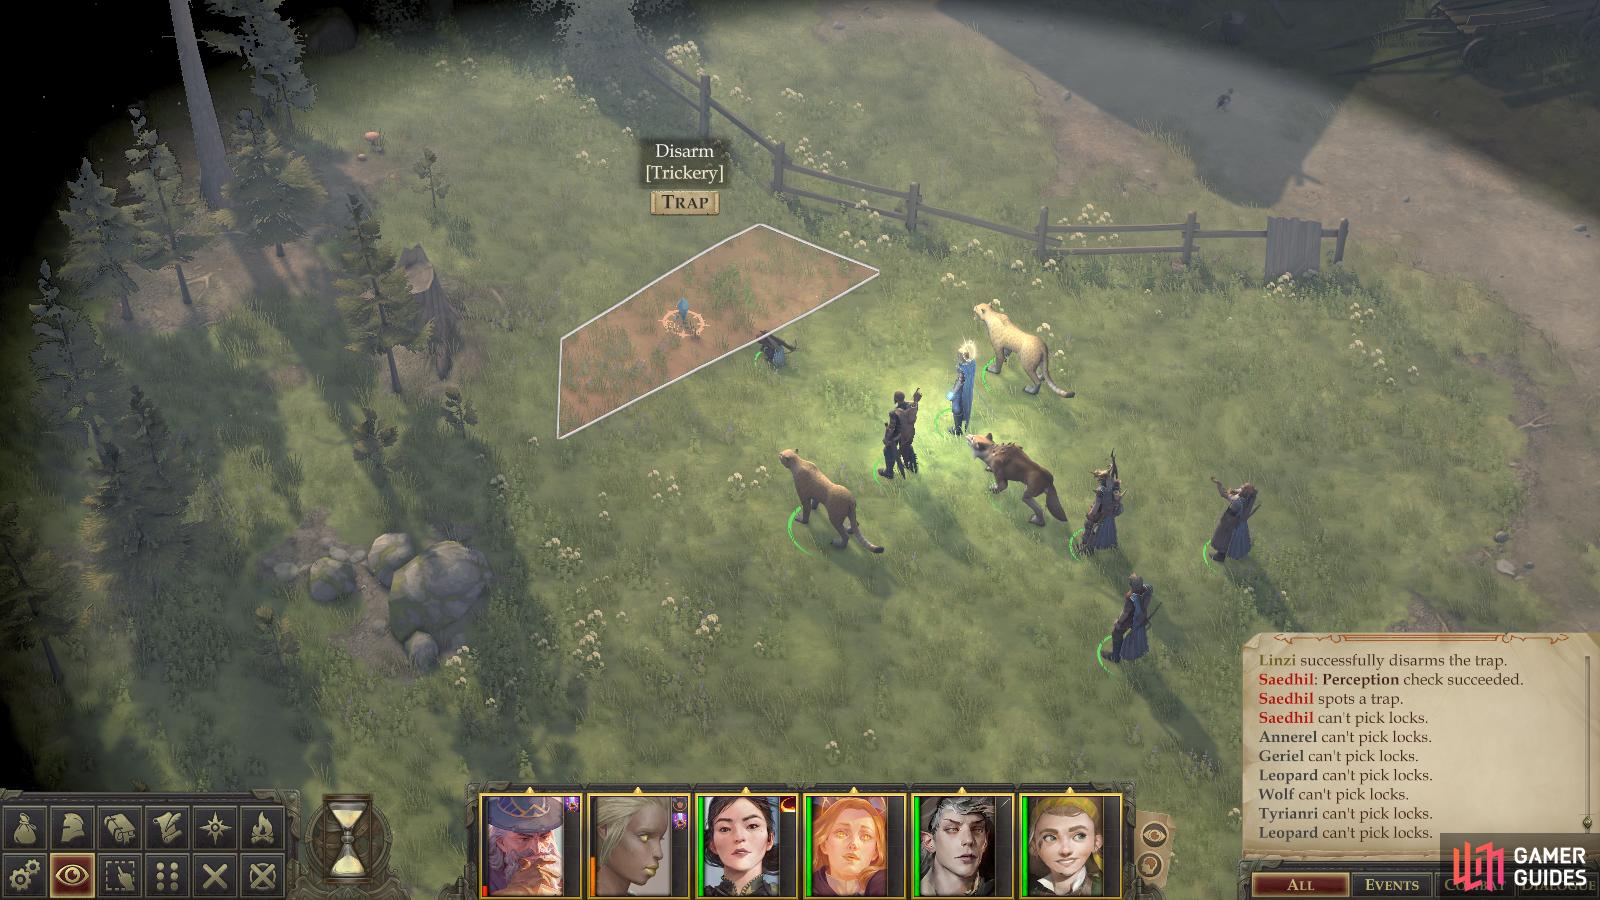
Traps off the Trail
Further east you’ll find an area transition. That being the case, it’s time for a change in direction. Note a sign along a fork in the road to the north which promises traps ahead. Fun. Sure enough, venture up the trail to the north and you’ll spot [Perception 20] your first trap just off the road to the west. Disarm it [Trickery 20] and enjoy that juicy experience - a rather silly amount for such a trivial task, really.
From the first traps you encounter, veer off the road to the west to find a log you can loot for a Potion of Cure Moderate Wounds and some other trinkets, then return to the road and continue north and disarm a second trap and loot a stump for some gems. Next continue north to find the estate of Bartholomew Delgado, along with the man himself. First find [Perception 22] and disarm [Trickery 22] a trap along the front of his fence to the west, then head east of his house to find [Perception 7] some rocks you can loot for a Dwarven Helm Shard.
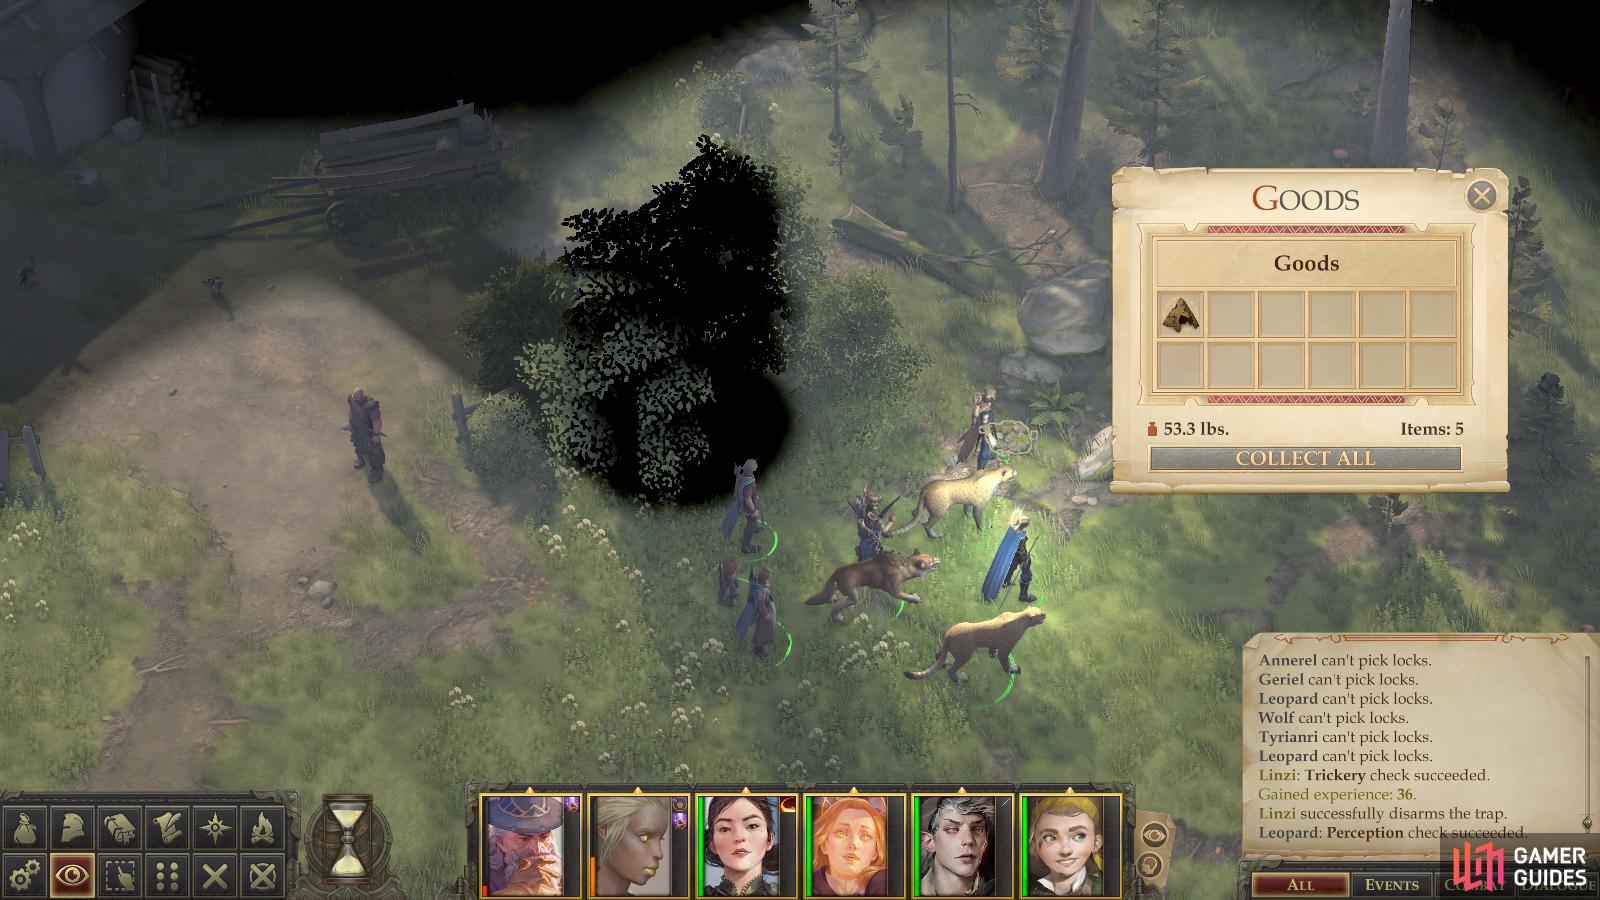
Don’t let traps deter you from looting the area - items like this Dwarven Helm Shard await.

When you reach Bartholomew, buy A Pouch of Feather Tokens from him.
Bartering with Bartholomew
Once done, introduce yourself to the magically-adept hermit and chat a bit, if you must. He’s got little of interest to say at this time, but he does sell a variety of interesting trinkets, including a Giantslayer’s Clasp (good against Trolls!), two Wands of Acid Arrow, and a number of arcane spell scrolls, including Hold Person, Fireball, Haste, Acid Arrow, Scorching Ray and the humble Recipe: Kameberry Pie. It’s worth noting that most of these items are useful against Trolls. Curious thing, that.
What you came here for, however, is A Pouch of Feather Tokens which you can buy for 500 gold. It’s not cheap, but it’ll pay for itself in a bit, and give you more options for resolving an upcoming quest. Kind of the entire reason we came here so early, in fact. If you want to ensure you have another quest item, buy the book Of Transmutations and Bodily Poisons, Part I, as it’s part of the quest An Ancient Formula. Also worth noting is the Bag of Holding, Small he sells for 2,500 gold. While it only gives you 100lbs of extra carrying capacity, its price is only 2,500 gold, making it a much better value than the Bag of Holding being sold by Hassuf in the capital.
When you’re done dealing with Bartholomew, continue north to his house and loot a chest [Trickery 18] which contains two Scrolls of Acid Arrow and some baubles. Next venture northwest to find a barn which you can’t enter without a key, but you can disarm a trap on the ground nearby. Disarm it, then continue west from this barn to find another pair of traps [Perception 22] worth dealing with [Trickery 22]. From this second trap turn south to find a man named Waine standing amidst some trees, screaming for help.
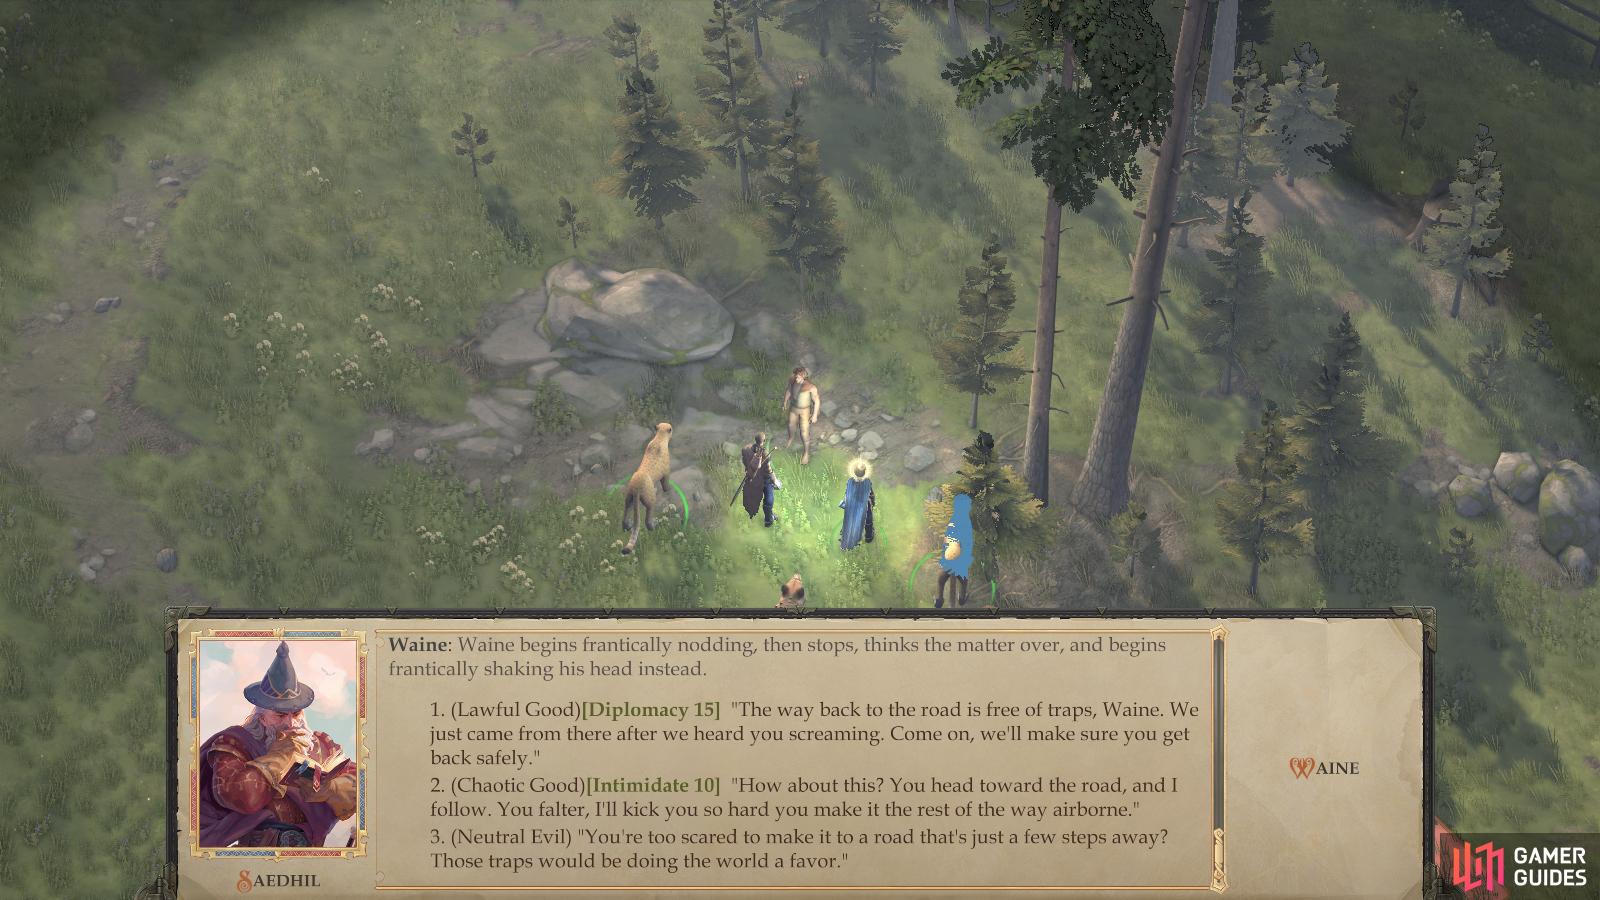
Convince Waine to stop wailing and get back to the road to the south.

When Waine reaches safety, talk to him again and give him his friend’s Turquoise Brooch for some XP.
Whining Waine
This is the man whose screams caught your attention when you entered the area, and you might as well see what’s going on. Talk to him and, after he recovers what little courage he has, he’ll tell you a tale of explosive traps and the little merchant who was perhaps a bit too curious. Simply put, he had a close call with one of Bartholomew’s traps, and has been standing here screaming ever since. Apparently Bartholomew put too much faith in literacy.
Eventually, after much whining on Waine’s part (and a bit of intense disdain from Amiri) you’ll be able to help this poor merchant through the power of dialogue. If you pick the [Neutral Evil] action, you’ll do nothing but convince him to stay put after which you’ll get nothing more out of him. Meanwhile, both Amiri [Chaotic Neutral] and Octavia [Neutral Good] have their own approaches that both successfully get Waine back to the road to the south in one piece. Pass a [Diplomacy 15] check and you can convince him the way back is free of traps, while an [Intimidate 10] check will offer a boot-propelled solution to his problem. The former option is a [Lawful Good] dialogue choice, while the latter is, somehow, a [Chaotic Good] choice.
If you picked Amiri’s [Chaotic Neutral] approach or the [Chaotic Good] choice, you can finish up with a [Chaotic Evil] dialogue option by talking to Waine again when he hits the main road to the south, sending him running off again. You can also tell him about the fate of his friend, Lesken, and give him Lesken’s Turquoise Brooch [Lawful Good]. Seems that when it comes to a choice between wizard traps and bandits, traps are the safer option. If you give Waine the aforementioned necklace, you’ll get a humble reward.
| Reward |
|---|
| 150 XP |
For more treasure, loot a chest [Perception 17] near the corpses of two bandits who had a bad encounter with some of Bartholomew’s traps to claim a Bastard Sword +1.
Speaking of bandits and wizard traps, there’s one more encounter worth dealing with in this area. First, the traps. There’re numerous traps to the southeast and west of where Waine was standing, all of which require a [Perception 22] check to spot, and a [Trickery 22] check to disarm, yet give less experience for dealing with them. Amidst a cluster of trees to the southeast of where Waine was standing you can also find a branch concealing some treasure.
Yet another trap [Perception 20], [Trickery 20] can be found to the northwest of where Waine stood, near some bandits.
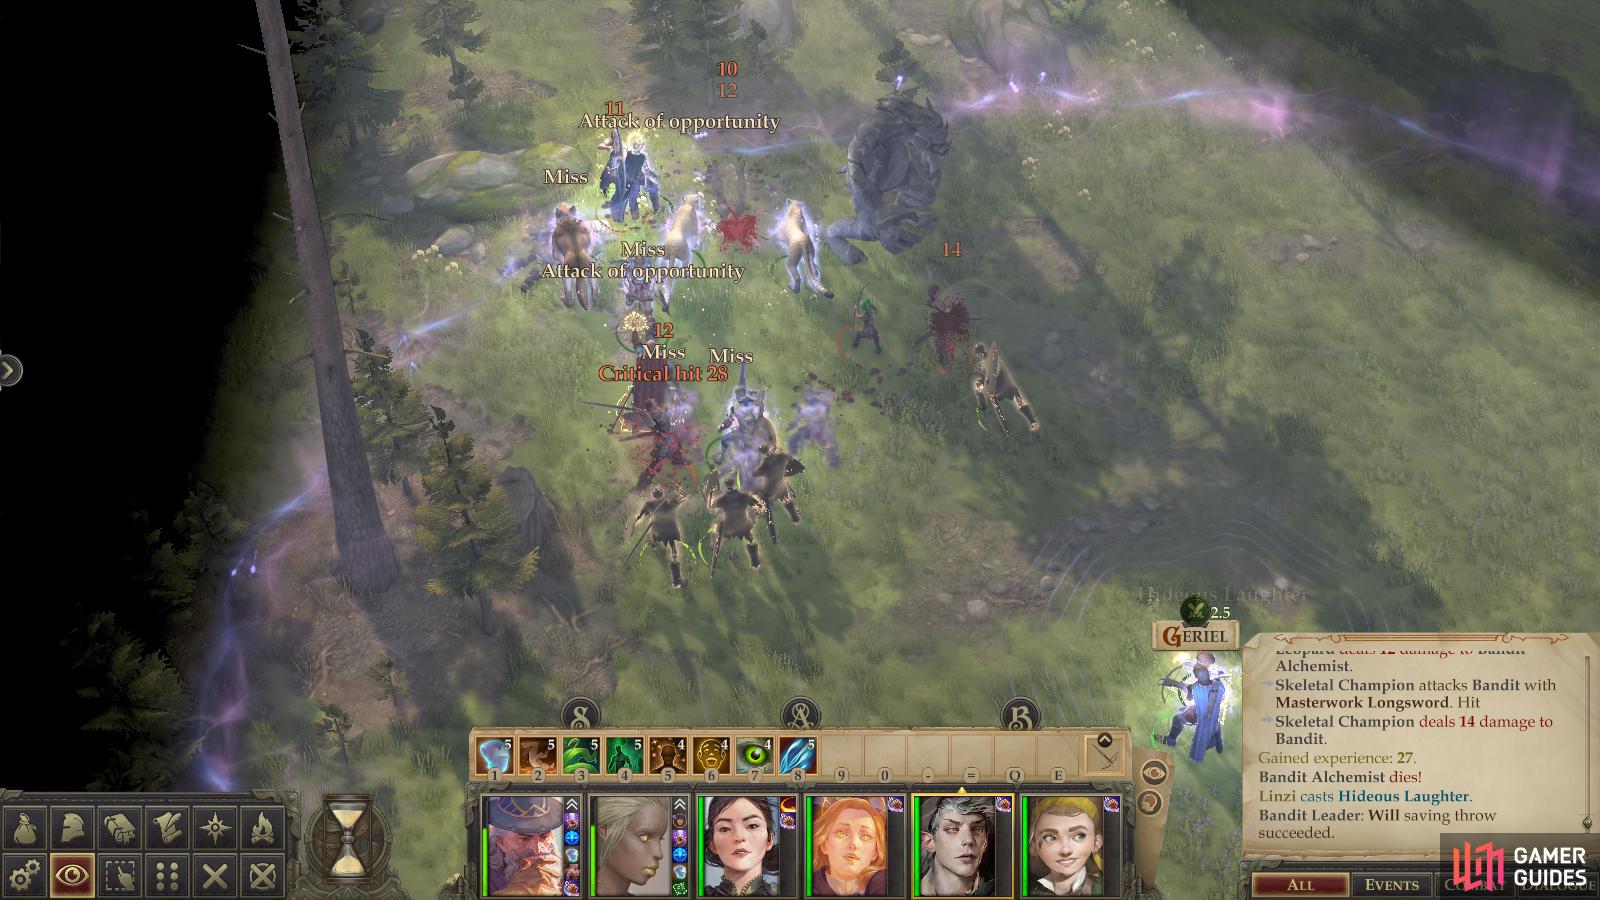
(1 of 4) Buff considerably and engage the bandits - distract their leader with a hardy unit or debilitate him with magic and exterminate his underlings.
Battling Well-Armed Bandits
Deal with the traps, then turn your attention to the bandits. While the other bandits you encountered in this area have been worthy of little more than your contempt, these ones are strong enough to give you trouble if you just rush in and attempt to bully your way to victory. The Bandit Leader is incredibly well armored, boasting a fine Armor Class and capable of dishing out an unseemly amount of damage - a feat in which he’s aided by drinking one of his Potions of Enlarge Person. On top of this threat, there’s a Bandit Alchemist safely tucked away behind some rocks, who will make your life hell if you let them chuck bombs at you for any length of time.
Haste, Slow, Bless and Prayer should decisively tip the odds in your favor, but the good old double Web strategy works fine here, too. In the latter case, keep your tank equipped with melee weapons and up front, as you’ll want to draw missile fire to them. Have your archers target the alchemist first, then the bandit archers, then the lesser bandits. If you have Tristian, starting out with a Fireball won’t hurt matters, either.
The Bandit Leader’s Armor Class is high enough to be troublesome, and he should be saved for last, as you’ll have a much greater chance of quickly eliminating his goons. If he escapes from your Entangle, Grease, Web spell(s), lure him far enough away that you can safely encircle him, then engage in melee - against the full might of your party, he should die fairly quickly. Spells like Hideous Laughter and Hold Person can also help neutralize him, as he’s got a poor Will Save.
Defeat the bandits, then loot the Bandit Leader to find out what, exactly, made him such a tough nut to crack. The answer? His gear. He’ll leave behind a Masterwork Bastard Sword, a suit of Full Plate Mail, a Potion of Cure Serious Wounds, two Potions of Enlarge Person, a Belt of Mighty Constitution +2, Torag’s Pendant and the heavy shield Protector of the Unjust. This artifact is a Heavy Shield +2 that also gives its bearer a +2 Resistance bonus to Saving Throws. Furthermore, it imparts an additional +2 bonus to Armor Class and Saving Throws against outsiders of Lawful or Good alignment, and subsequently cannot be worn by Lawful or Good characters. Bad news for Valerie, but the shield will suit Harrim just fine.
Also be sure to loot a corpse near the bandits, as on it you’ll find a Wand of Fireball, 376 GP, an Amulet of Natural Armor +2 and a Shard of Knight’s Bracers, to just name the noteworthy loot. Maybe those bandits would have fared better had they equipped some of this stuff, eh? Oh well, their loss, your gain. You can also take a gander at a petrified rock troll standing nearby. Hopefully you’ll have some help from the sun if you ever encounter any of these photophobic monsters…
To finish up the area, head south along the western edge of the map and you’ll spot a branch you can loot, which is a fine way to end this area. While perhaps not as lucrative as the Ruined Watchtower area, you did score some fairly nice loot here, and disarming all the traps in that area should have earned you a hefty bit of experience.
No Comments