When the New Troll Sightings event occurs (about two weeks after An Ancient Curse, Part 2 begins), head to your throne room and Kesten Garess will update you on the advance of the trolls through your lands, and mention Bartholomew. This event will herald a change in the Lone House area, which now warrants another visit - if you’re following this guide, it’ll be our third trip to this area.
If you’re following along with the walkthrough, an ideal time to return to the Lone House area would be after completing the Kamelands Expedition, on the trip down to the Dwarven Ruins. Just make sure you’ve witnessed the New Troll Sightings event (see above and link), as that seems to trigger the change in Lone House.
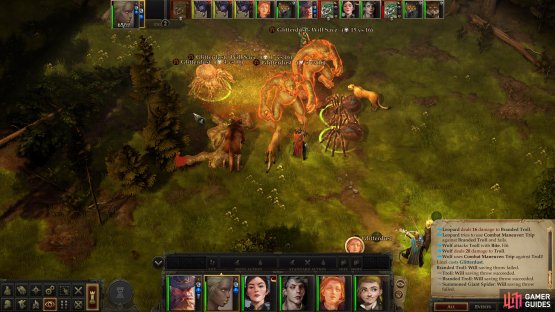
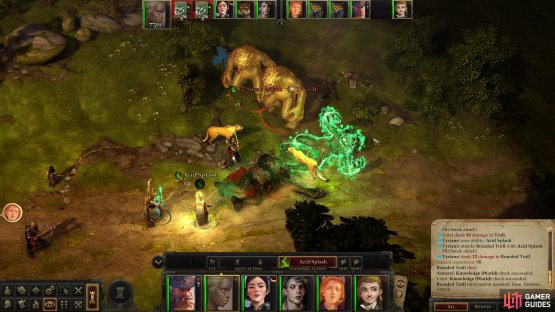
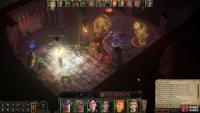
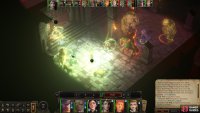
(1 of 2) You’ll find numerous trolls standing between you and Bartholomew’s cabin.
You’ll find numerous trolls standing between you and Bartholomew’s cabin. (left), Take them out by whatever means are at your disposal. (right)
When you arrive, you’ll want to make your way to Bartholomew’s house in the northeastern end of the map. This is easier said than done, as the area is now overrun by trolls - Trobold may be gone, but the Narlmarches will ever be a home for trolls. Typically you’ll find mixed groups of several Trolls and Branded Trolls along the road, encounters which are hardly worthy of individual discussion at this point in the game. We buffed with Mage Armor and Shield and cut our way through the various packs of trolls:
- Three Trolls and a Branded Troll on the western end of the road.
- Two Trolls and a Branded Troll fight three Bandits on the road.
- Two Branded Trolls and two Trolls on the eastern part of the road.
- Numerous Trolls and Branded Trolls fighting Summoned Giant Spiders in numerous running battles along the road to Bartholomew’s house.
- A Troll and Branded Troll in the middle of the woods.
- Two Trolls and two Branded Trolls near a petrified rock troll in the northwestern corner of the map.
- A Branded Troll and four Trollhounds near Bartholomew’s laboratory.
In addition to these trolls (who should be little more than a source of easy - if meager - XP, you’ll find some new traps scattered about, presumably laid by Bartholomew since your last visit.
Fight through the hordes of trolls and avoid the odd trap to reach Bartholomew’s laboratory (the shack behind his house) and make sure you’re healed and buffed before you enter, as another, rather annoying fight awaits you within.
When you’re ready, enter the laboratory and head downstairs to find as many as three trolls (two Trolls - possibly including Dimwit, Bartholomew’s former captive - and a Branded Troll) are in the process of exacting their revenge against Bartholomew. If you have turn-based mode active, turn it off for now, as leaving turn-based mode on will just cause your party to bottleneck at the doorway - you can turn it back on once you clear the doorway, however.
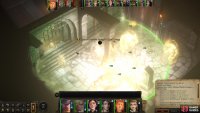
(1 of 6) You’ll find Bartholomew in a… less than ideal situation. Two hits from the Branded Troll near Bartholomew can kill the mage.
Bartholomew is in a bad spot, stuck between three trolls, and he’s not well protected by spells, Hit Points or Armor Class. Your goal is to save Bartholomew, and he does you no favors, as he won’t refrain from casting spells while threatened, likely giving his assailants free Attacks of Opportunity against him. Two bad hits from the Branded Troll - a stronger-than-average specimen - could well be enough to do Bartholomew in, as he’ll deal around 30~ damage per hit. Given the Branded Troll’s Attack score and Bartholomew’s Armor Class, it’s fairly likely that the troll will hit every time it tries, barring concealment.
We’re not going to lie, this battle is more RNG than tactics, and the game puts you in a bad spot. You’ll probably have to try this encounter a few times before things go your way, but there are some steps you can take to make the outcome more favorable. First, you must debilitate the trolls - Bartholomew’s Mirror Image isn’t going to last forever, and it’s too fickle in any event. Try to hit the far Trolls with Glitterdust as soon as possible, while the Branded Troll should be targeted by spells like Hideous Laughter. None of the trolls have a high Will Save (you couldn’t tell that by looking at their dice rolls in our game, however) and given the Branded Troll’s offensive out, he absolutely cannot be allowed to attack Bartholomew. Summons might seem like a good idea, but in our experience, they didn’t really help much - the trolls are deadset on kill Bartholomew and forcing you to reload and will ignore summons to achieve these goals.
Aside from these debuffs, make sure your party is under the effects of a Haste spell to allow you to engage quicker and dish out more damage. Focus on the Branded Troll, and don’t be shy about using healing or throwing some buffs on Bartholomew if you can manage it. A Displacement or Stoneskin spell certainly won’t hurt your odds, and even if your only option is to Channel Positive Energy, consider doing so. Healing Bartholomew is more important than worrying healing the trolls - you can do more damage than your healer can restore.
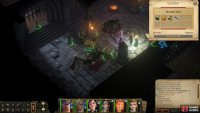
Defeat the trolls with Bartholmew alive, then loot the Branded Troll for a Torag’s Pendant and The Crusher (a +2 Greatclub that has the “Oversized” property, increasing the weapon’s base damage to 2d8 while imposing a -2 Attack penalty on medium-sized wielders), the latter of which helps explain the Branded Troll’s damage output. Talk to Bartholomew after this and he’ll thank you, marking the location of the troll stronghold on the map (the Dwarven Ruins area) and giving you a Wand of Acid Arrow to help your troll hunting.
| Reward |
|---|
| 375 XP |
| 90 XP |
With that out of the way, you’re done in this area… again. For now. If you’re following the walkthrough chronologically, it’s time to continue our journey south to the Dwarven Ruins.



No Comments