

Resolving the War
By now you’ve met both of the leaders of the Mites and Kobolds, and you should have had time to talk to or fight both of them. Below are a variety of options for resolving the war between the Mites and Kobolds, based on alignment. Pick the one which suits your protagonist’s inclinations (or your power-gamey goals) the best:
-
If both Queen Bdaah and Chief Sootscale have been slain, you’ve resolved the contest by simply eliminating both sides, and while no quest rewards await you, the loot and experience you gained by killing them more than makes up for it. This is a fine choice for any evil party, but it particularly makes sense for a Chaotic Evil character.
-
If you have a choice between which faction to serve and your primary concern is material wealth, kill Sootscale, loot his Belt of Incredible Dexterity +2, which is by far the better of the two prizes. Another good choice for an evil party.
-
Defeat either Queen Bdaah or Chief Sootscale and when they beg for mercy, spare them. Once done, report to the surviving leader for a reward. This is a passable solution for a good protagonist who didn’t make the [Neutral] response when first encountering the warring factions. An evil protagonist ideally sided with the Mites and hence got the better reward from Chief Sootscale, or just exterminated both, while a neutral protagonist has a better good option, ironically enough.
| Reward: For defeating Chief Sootscale |
|---|
| 200 XP / 100 GP |
| Reward: For defeating Warrior Queen Bdaah |
|---|
| 200 XP / 100 GP |
– If you’re trying to play as good of a protagonist as possible, well, it’s a tricky situation, considering that both races are predominantly Lawful Evil, as far as lore goes. Given the options for restraint and reconciliation, however, you should pick the [Neutral] option at the first encounter (if not, see the above entry - the best you can do in this case is side with one leader and defeat and spare the other) and avoid provoking either side as you explore the Old Sycamore Caves and Old Sycamore Depths. Talk to both and get the Mites’ Relic from Chief Sootscale and get Queen Bdaah to remove her guards from the root-barrier, but otherwise leave the conflict unresolved as you go to confront Tartuccio.
Battle: Tartuccio
After dealing with the Mites and Kobolds in whatever fashion you find the most suitable, you should have obtained the Mites’ Relic from Chief Sootscale, and have cleared the guards out from the root barrier south of Queen Bdaah either by talking to the queen or by killing them, it matters not. Once both of those conditions are met, you’ll be able to interact with and open the door.
Go down the tunnel that was blocked by the root barrier and you’ll witness Tartuccio - still in Kobold disguise - transporting the artifact he came here for via the contrivance of a magical portal. After he’s done he’ll turn his attention to you. You can question him about his disguise, reveal that you know he’s a Pitaxian spy, or ask about his mission; you can even try to avoid a fight. It doesn’t matter, Tartuccio is hell-bent on his own demise and will attack you regardless of what you say, not that you have terribly many options.
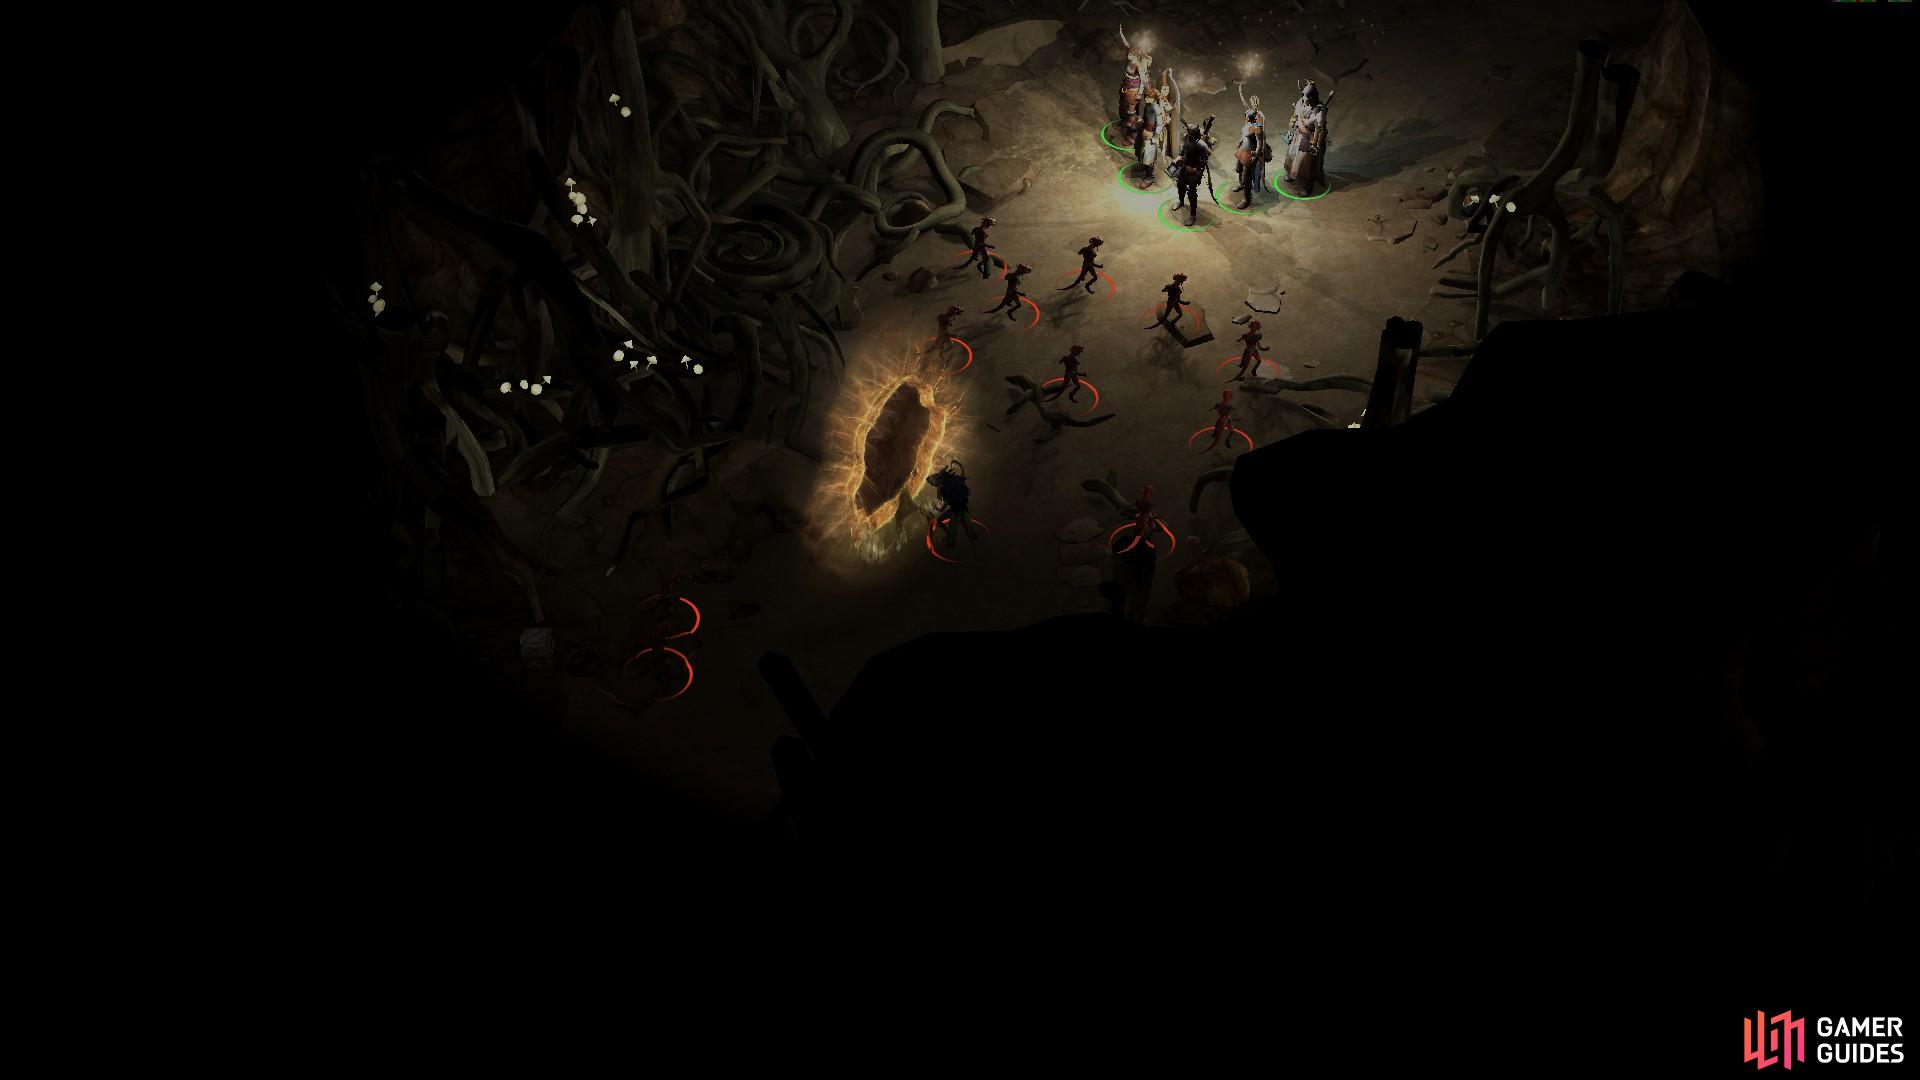
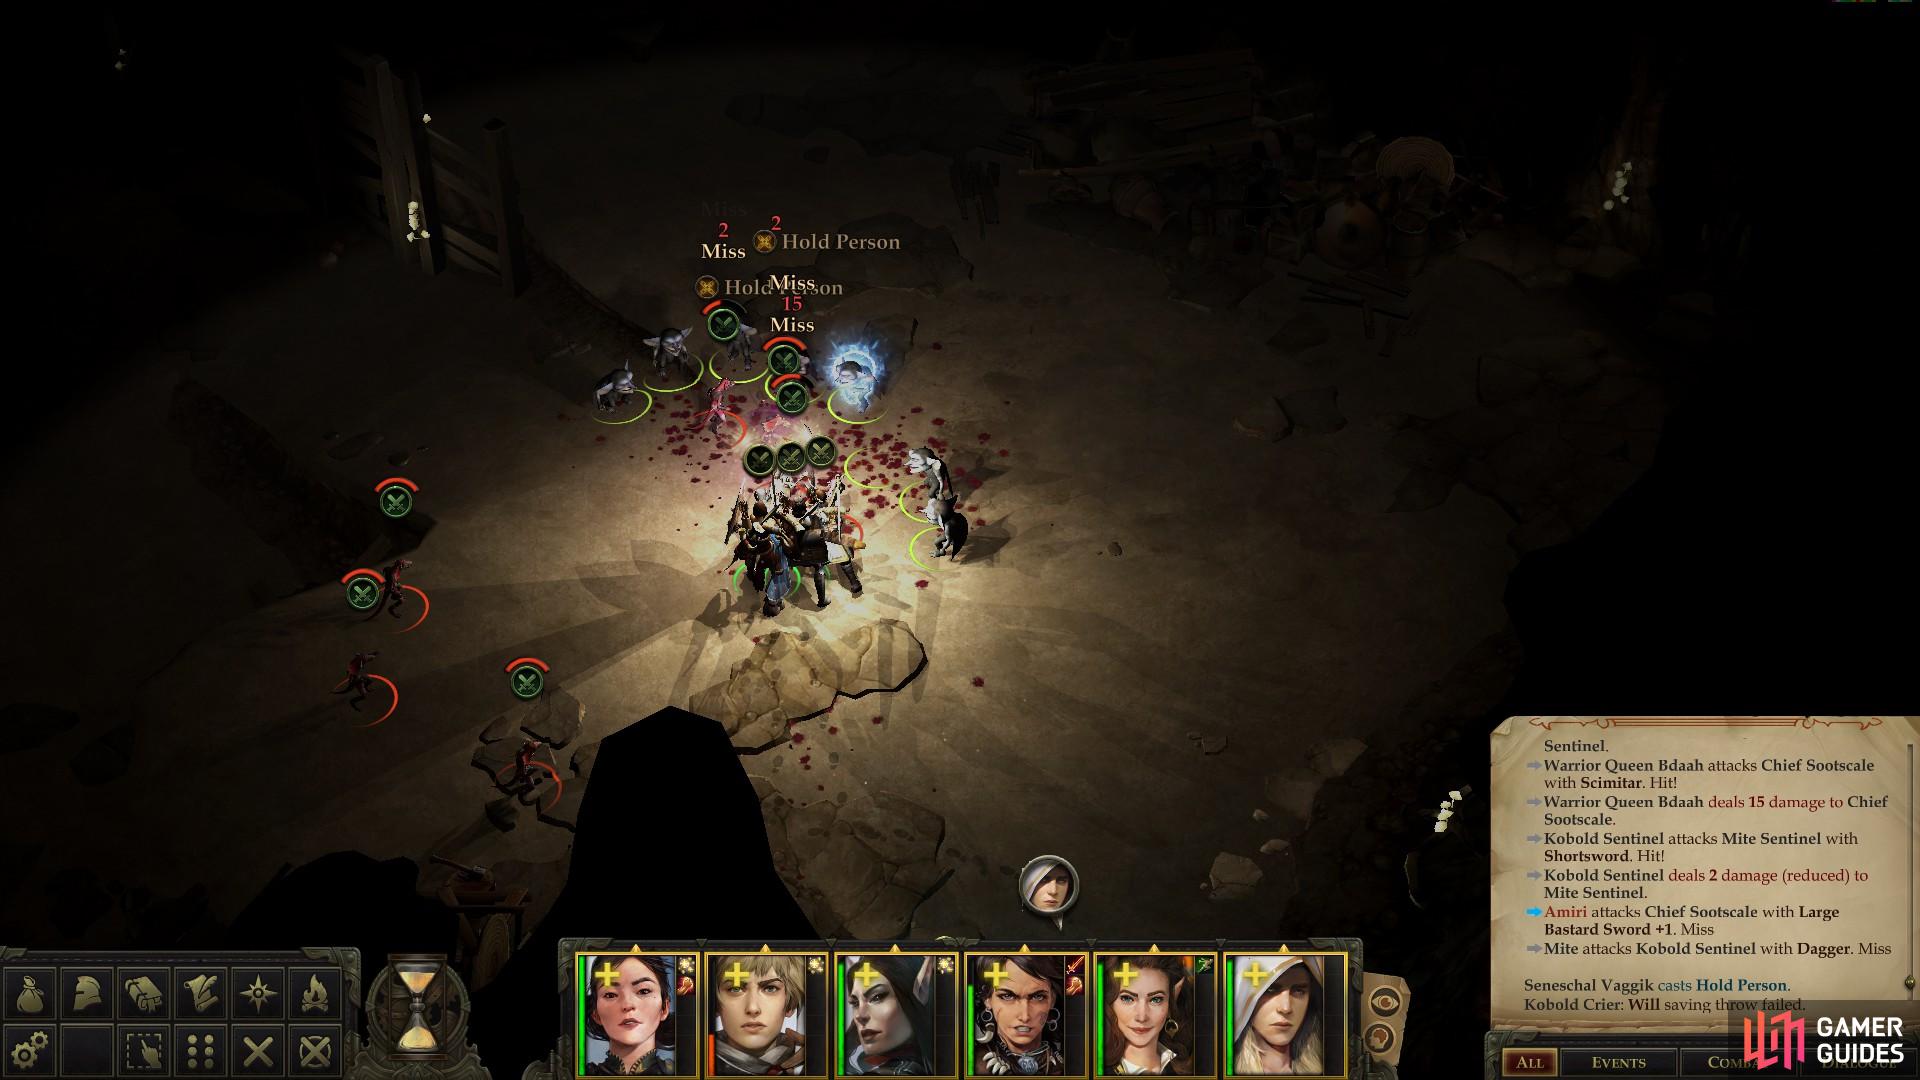
Tartuccio comes with quite a host of minions, including five Kobolds, four Kobold Sentinels and two Kobold Archers, but he’s really biting off more than he can chew. Tartuccio is the only challenging foe here, but being a sorcerer, he’s got more magical might than brains.
His strategy is to fix you in place by having his Kobold minions charge, while he launches a Fireball which will eradicate most of his allies, and deal significant damage to you. This is a painfully simple strategy to counter, although it will require one of your party members to take one for the team. As soon as combat begins, retreat with all your characters save the one targeted by Tartuccio (he chooses targets based on proximity, so it should be one of your front-liners), around whom the Kobolds should gather. After Tartuccio launches his attack, charge him with all your characters and cut him down to prevent him from unleashing a second Fireball, then mop up the surviving Kobolds, being wary of not leaving your archers and mages unattended, in case the Kobolds get smart and target them.
A Bitter Rival, Finale
When you’re victorious, loot your vanquished foes for whatever appealing treasure they have. Tartuccio, unsurprisingly, has the only noteworthy gear, including a Ring of Protection +1, a Restovic Inquisitor’s Broken Crossbow and a Wand of Magic Missiles. Next loot a chest to the southwest, wherein you’ll find a Scroll of Mage Armor, a Scroll of Divine Favor and a Heavy Shield +1. Finally, and perhaps anti-climatically, loot a pile of rocks in the southwestern corner to score a Token of the Dryad.

When you leave the chamber where you fought Tartuccio, you may have the option to resolve the war - or lie.
You can use this opportunity to take out whichever faction you despise the most.
Leave the chamber and, if you spared both factions up until now, they’ll have gathered outside, simultaneously eager to fight, and to hear what you discovered. You’ll immediately be given the choice to [Tell the truth] or [Lie], and in the latter case you can keep one of the sacred branches and hand the other one off to the faction of your choice. Of course, the other faction won’t stand for this, and will attack. If you wanted to kill one of the leaders, however, it was arguably more lucrative to have done so earlier, as you can’t get the quest reward now, and the merit of keeping one of the relics (which can sell for around 125 GP) is dubious at best compared to simply dealing with the quest another way. Alternatively, if you’re Chaotic you can rubbish the old tradition and replace those “sacred branches” with a new relic for these critters to squabble over - your gloves.
Suffice to say, if you’ve come this far without fighting either of the leaders, you may as well tell the truth now, give back both relics, and watch as both sides agree to a truce. It’s certainly not the most lucrative way of resolving this conflict, but well, at least you avoided unnecessarily killing a bunch of evil little critters? A good deed is its own reward and all that rot. In any event, now that this matter with Tartuccio has been settled, it’s time to return to Oleg’s Trading Post and report the gnome’s demise to Kesten Garess although, as you leave the Old Sycamore Caves, you’ll witness a scene suggesting this rivalry may not be quite over.
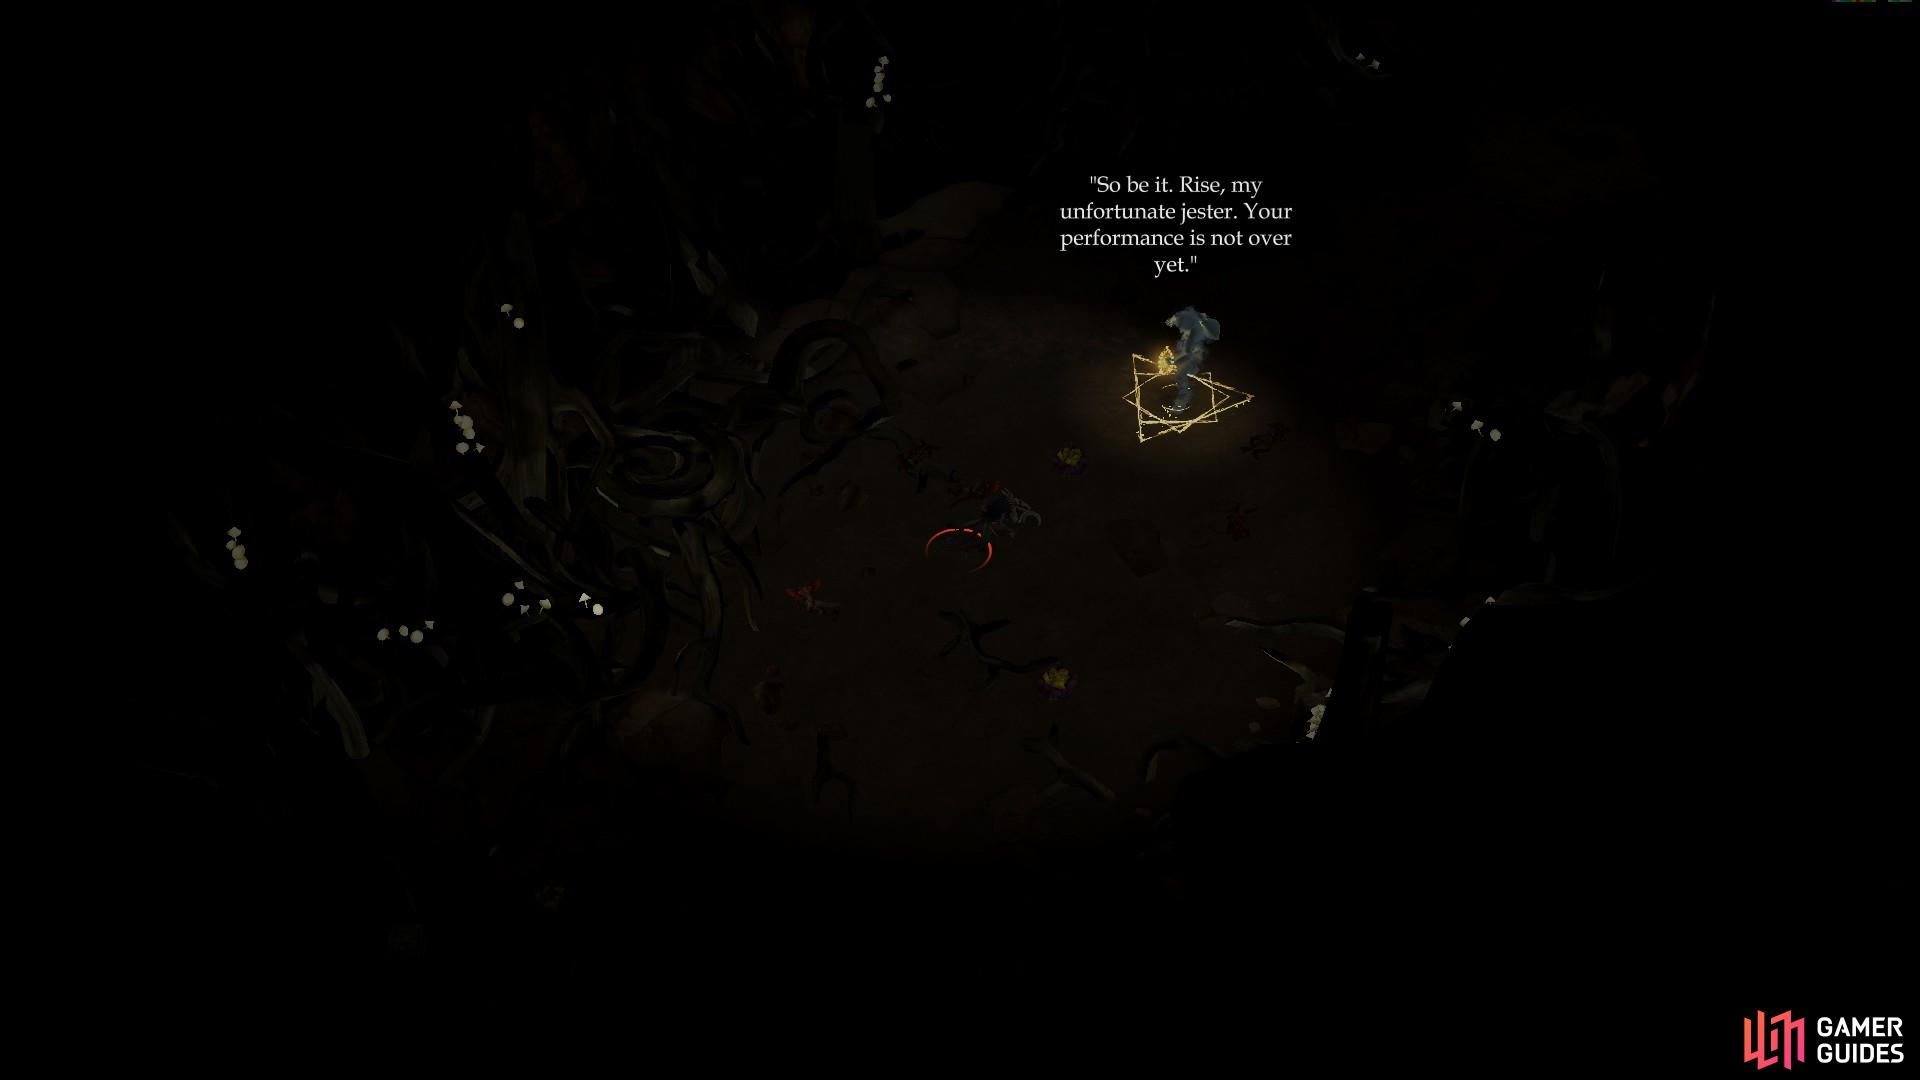
(1 of 3) As you leave the Old Sycamore Caves, dark forces at work will set up the second stage of this rivalry.
Return to Oleg’s Trading Post and as you start to head into the palisade, you’ll be pestered once again by the Guardian of the Bloom, who will bestow the aptly named The Nymph’s Gift amulet to you. This little trinket gives its wearer a +2 Dodge bonus to Armor Class against ranged attacks, making it a fine trinket for both tanks that may be used to draw fire, or mages who might otherwise be threatened with such attacks.
Take care of any business around the trading post you need to attend to, then head inside the building and tell Kesten Garess about Tartuccio. He’ll whine about the outcome, but reward you nonetheless. Hey, not like he could do any better, right?
| Reward: For telling Kesten Garess about Tartuccio |
|---|
| 1,000 GP |
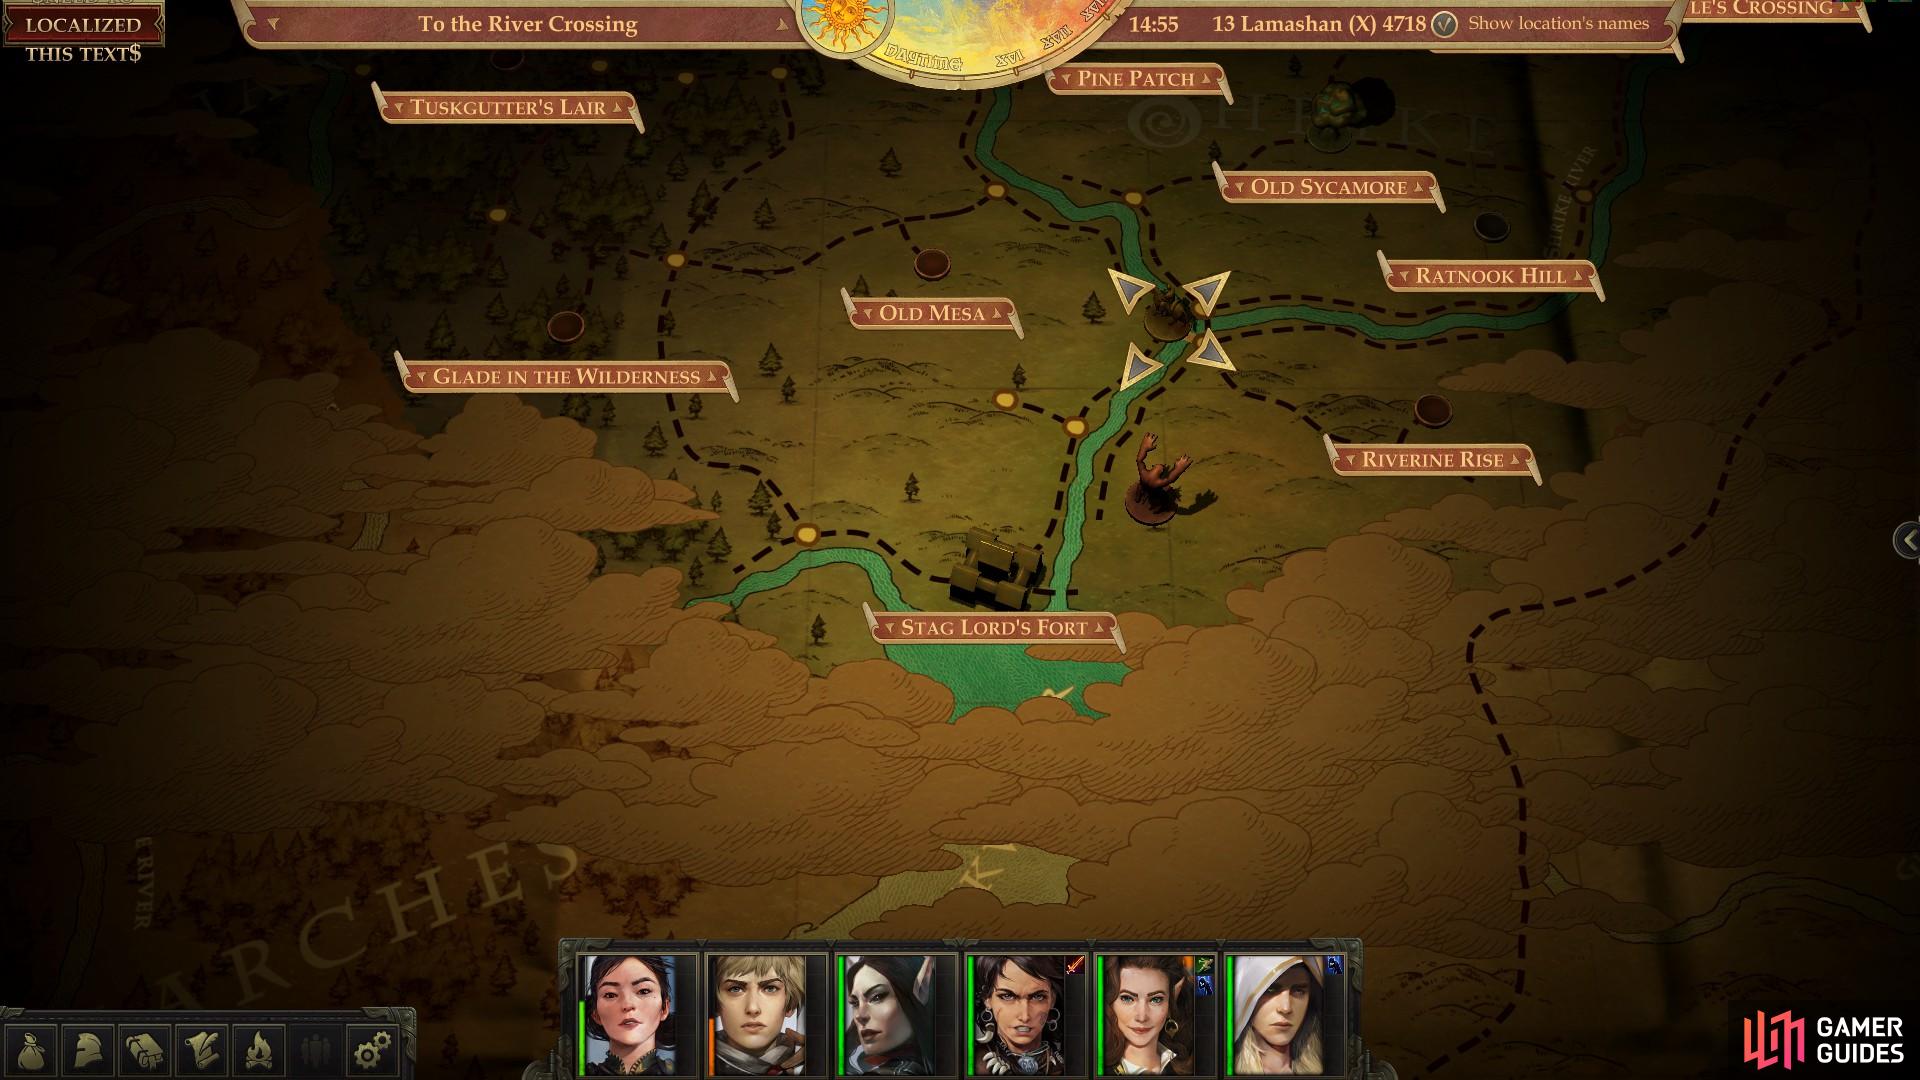
While the mist may have risen enough for you to find the Stag Lord’s Fort, it hasn’t dispersed enough to allow for full exploration of the Narlmarches.
When you cross into areas currently choked by fog, you’ll get an Illustrated Book Episode which largely only serves to illustrate (pun intended) how futile further travel is.
You’ve finally settled the affair with Tartuccio, and the fog concealing the Stag Lord has been weakened enough for you to assault him. It’s nigh time to challenge this bandit and claim your crown… or coronet? Whatever barons wear. Before that, however, your newfound strength opens up new possibilities for you - like challenging Tuskgutter and clearing out optional map areas, like the Old Oak. The rewards are more than worth the trouble, provided your party is up to the challenge and you have enough time left to spare exploring.
This next expedition will be covered on the Northern Shrike Expedition page.
No Comments