

This quest is acquired near the beginning of chapter 2. Harrim will approach you in the throne room of your capital, informing you of some ancient dwarven ruins in the area which he would like to visit. The location of these ruins will become known to you after meeting Ekundayo during Troll Trouble - A Score to Settle.
Once you’ve learned the location of the dwarven ruins, make sure that Harrim is in your party before you venture to them. If you haven’t explored the region yet, take the following directions from the Ruined Watchtower:
- Southeast
- South
- South
- South
- South
- West

The location of the Dwarven Ruins (bottom left) in relation to your capital (top right).
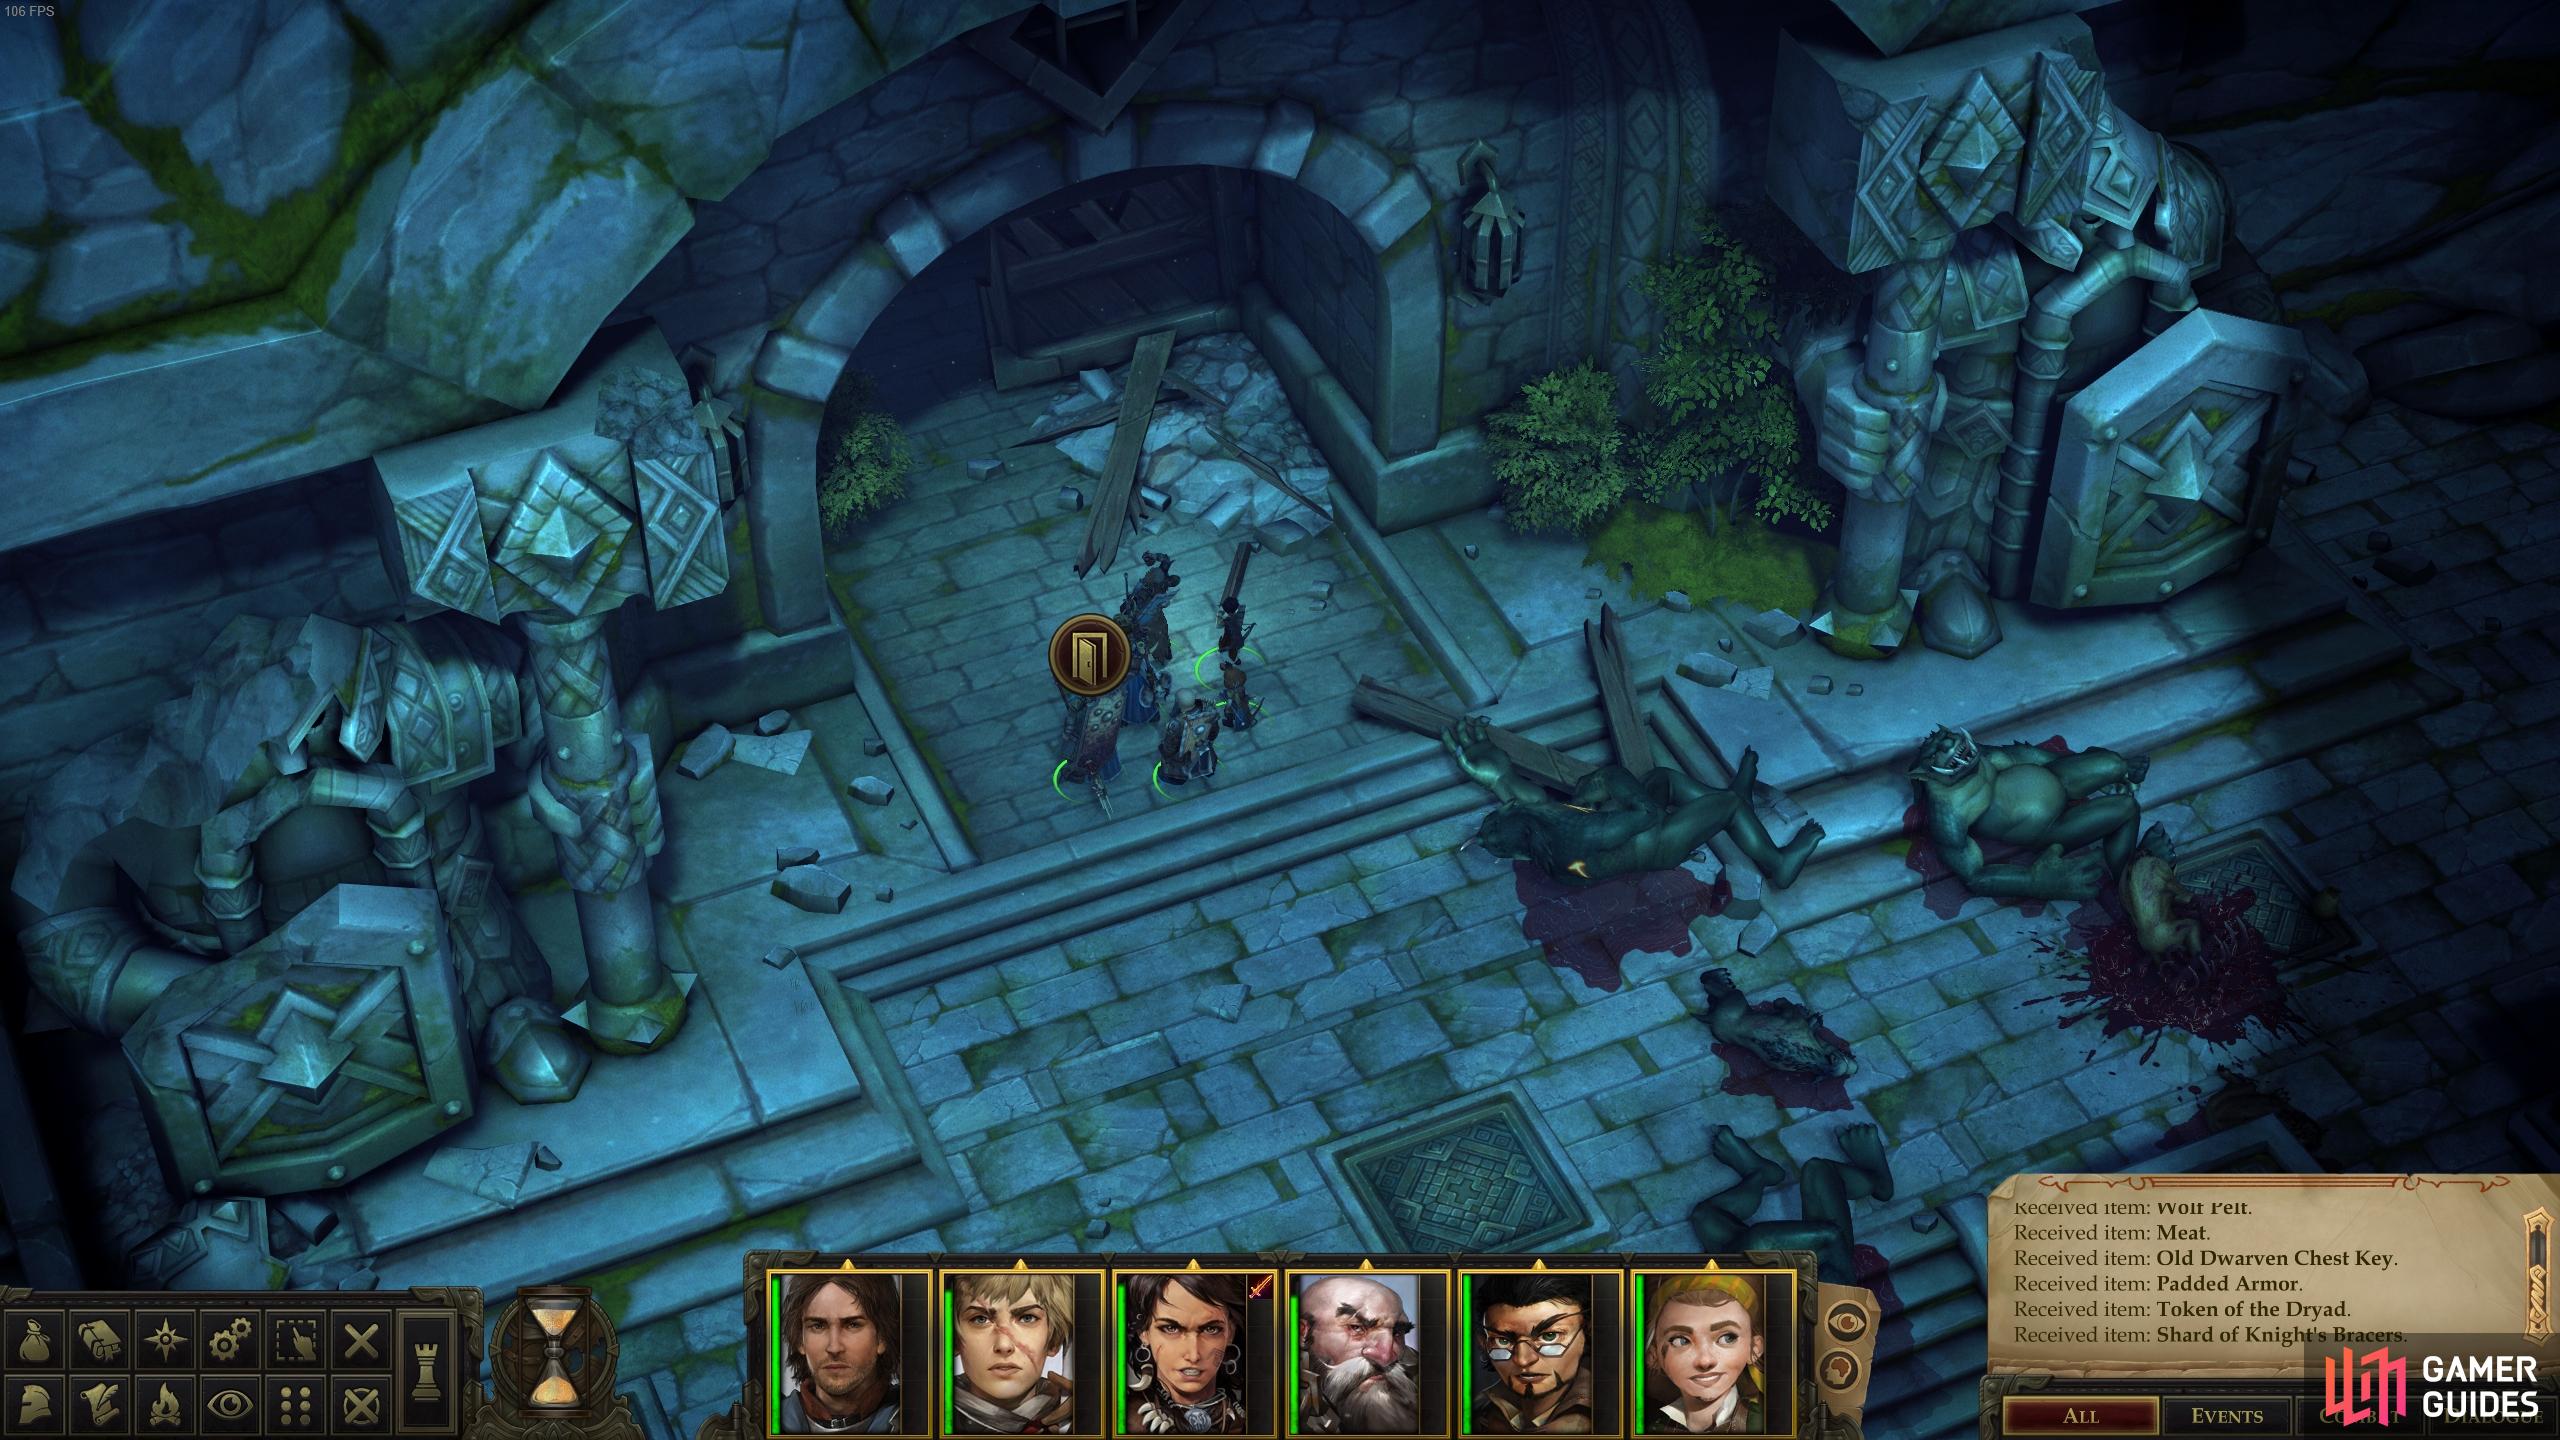
The entrance to the Dwarven Ruins, also known as the Troll Lair.
When you enter the Dwarven Ruins, you should notice an update to the main quest Troll Trouble. You’ll find a detailed guide for the area as a whole at Troll Trouble - Dwarven Ruins.
With Harrim in your party, head up the path until you encounter a group of hostile Kobold warriors. These can be dealt with easily by any party at this level, and so shouldn’t cause any problems. Once the Kobolds are dead, proceed further west and then north. Here you’ll encounter two Trollhounds and a regular Troll. As with the Kobolds, they’re no match for your party.
With these intial enemies defeated, you should find yourself at the entrance to the dwarven ruins to the east. These ruins also happen to be the troll lair you’ve been searching for. In the courtyard, you’ll find a combination of enemies that you’ve already encountered, but you’ll also encounter some Branded Trolls and Greater Trollhounds. These are slightly tougher than their lesser counterparts, but good use of acid weapons, spells and scrolls will make short work of them. A more complete description of the battle can be found here, if you’re having trouble.
If you bring Harrim along (now or later), examine a dwarven statue outside the entrance to the Troll Lair.
Assuming you have Harrim with you, be sure to examine the statue to the east of the entrance to the Troll Lair, as it’ll prompt some dialogue related to this quest. There are several such relics you must examine with Harrim in your party, and some of them will have hidden skill checks associated with them. This one, however, does not.
Once inside the dwarvenr ruins / troll lair, you’ll find a detailed walkthrough at Troll Trouble - Troll Lair and Troll Trouble - Troll Lair Depths. For the purposes of Harrim’s companion quest, however, there are only a few things you really need to care about here.
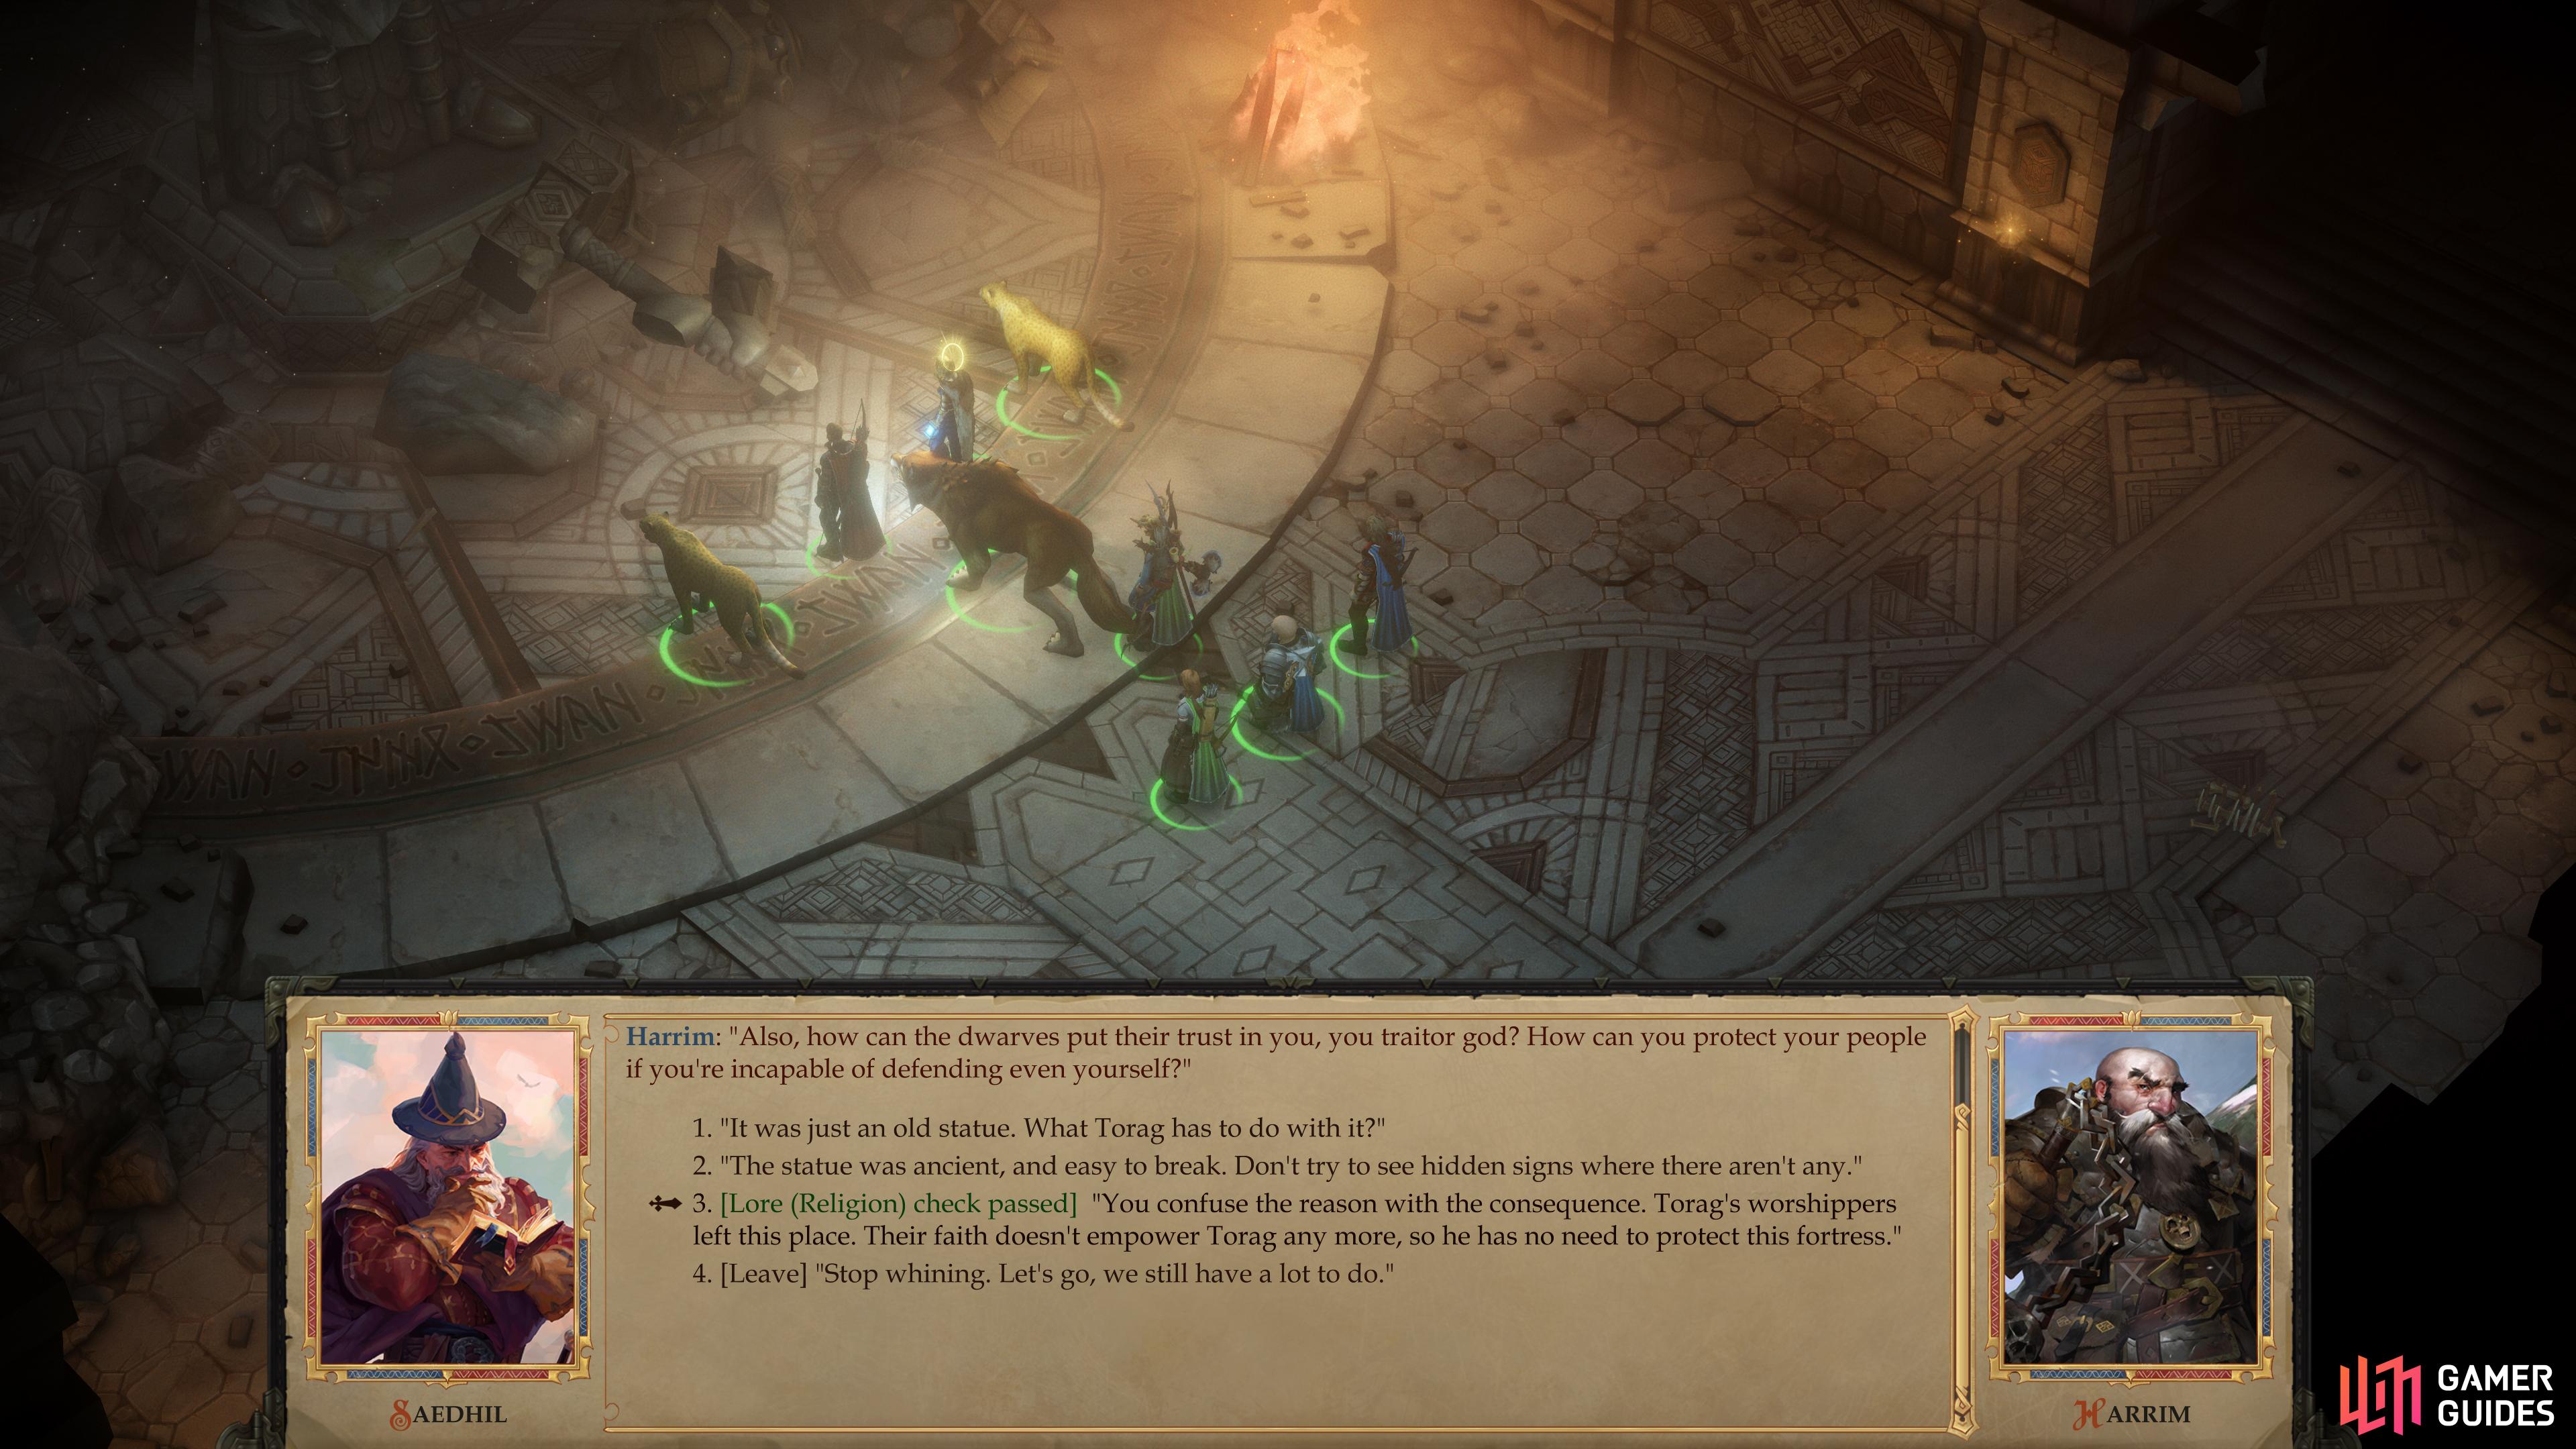
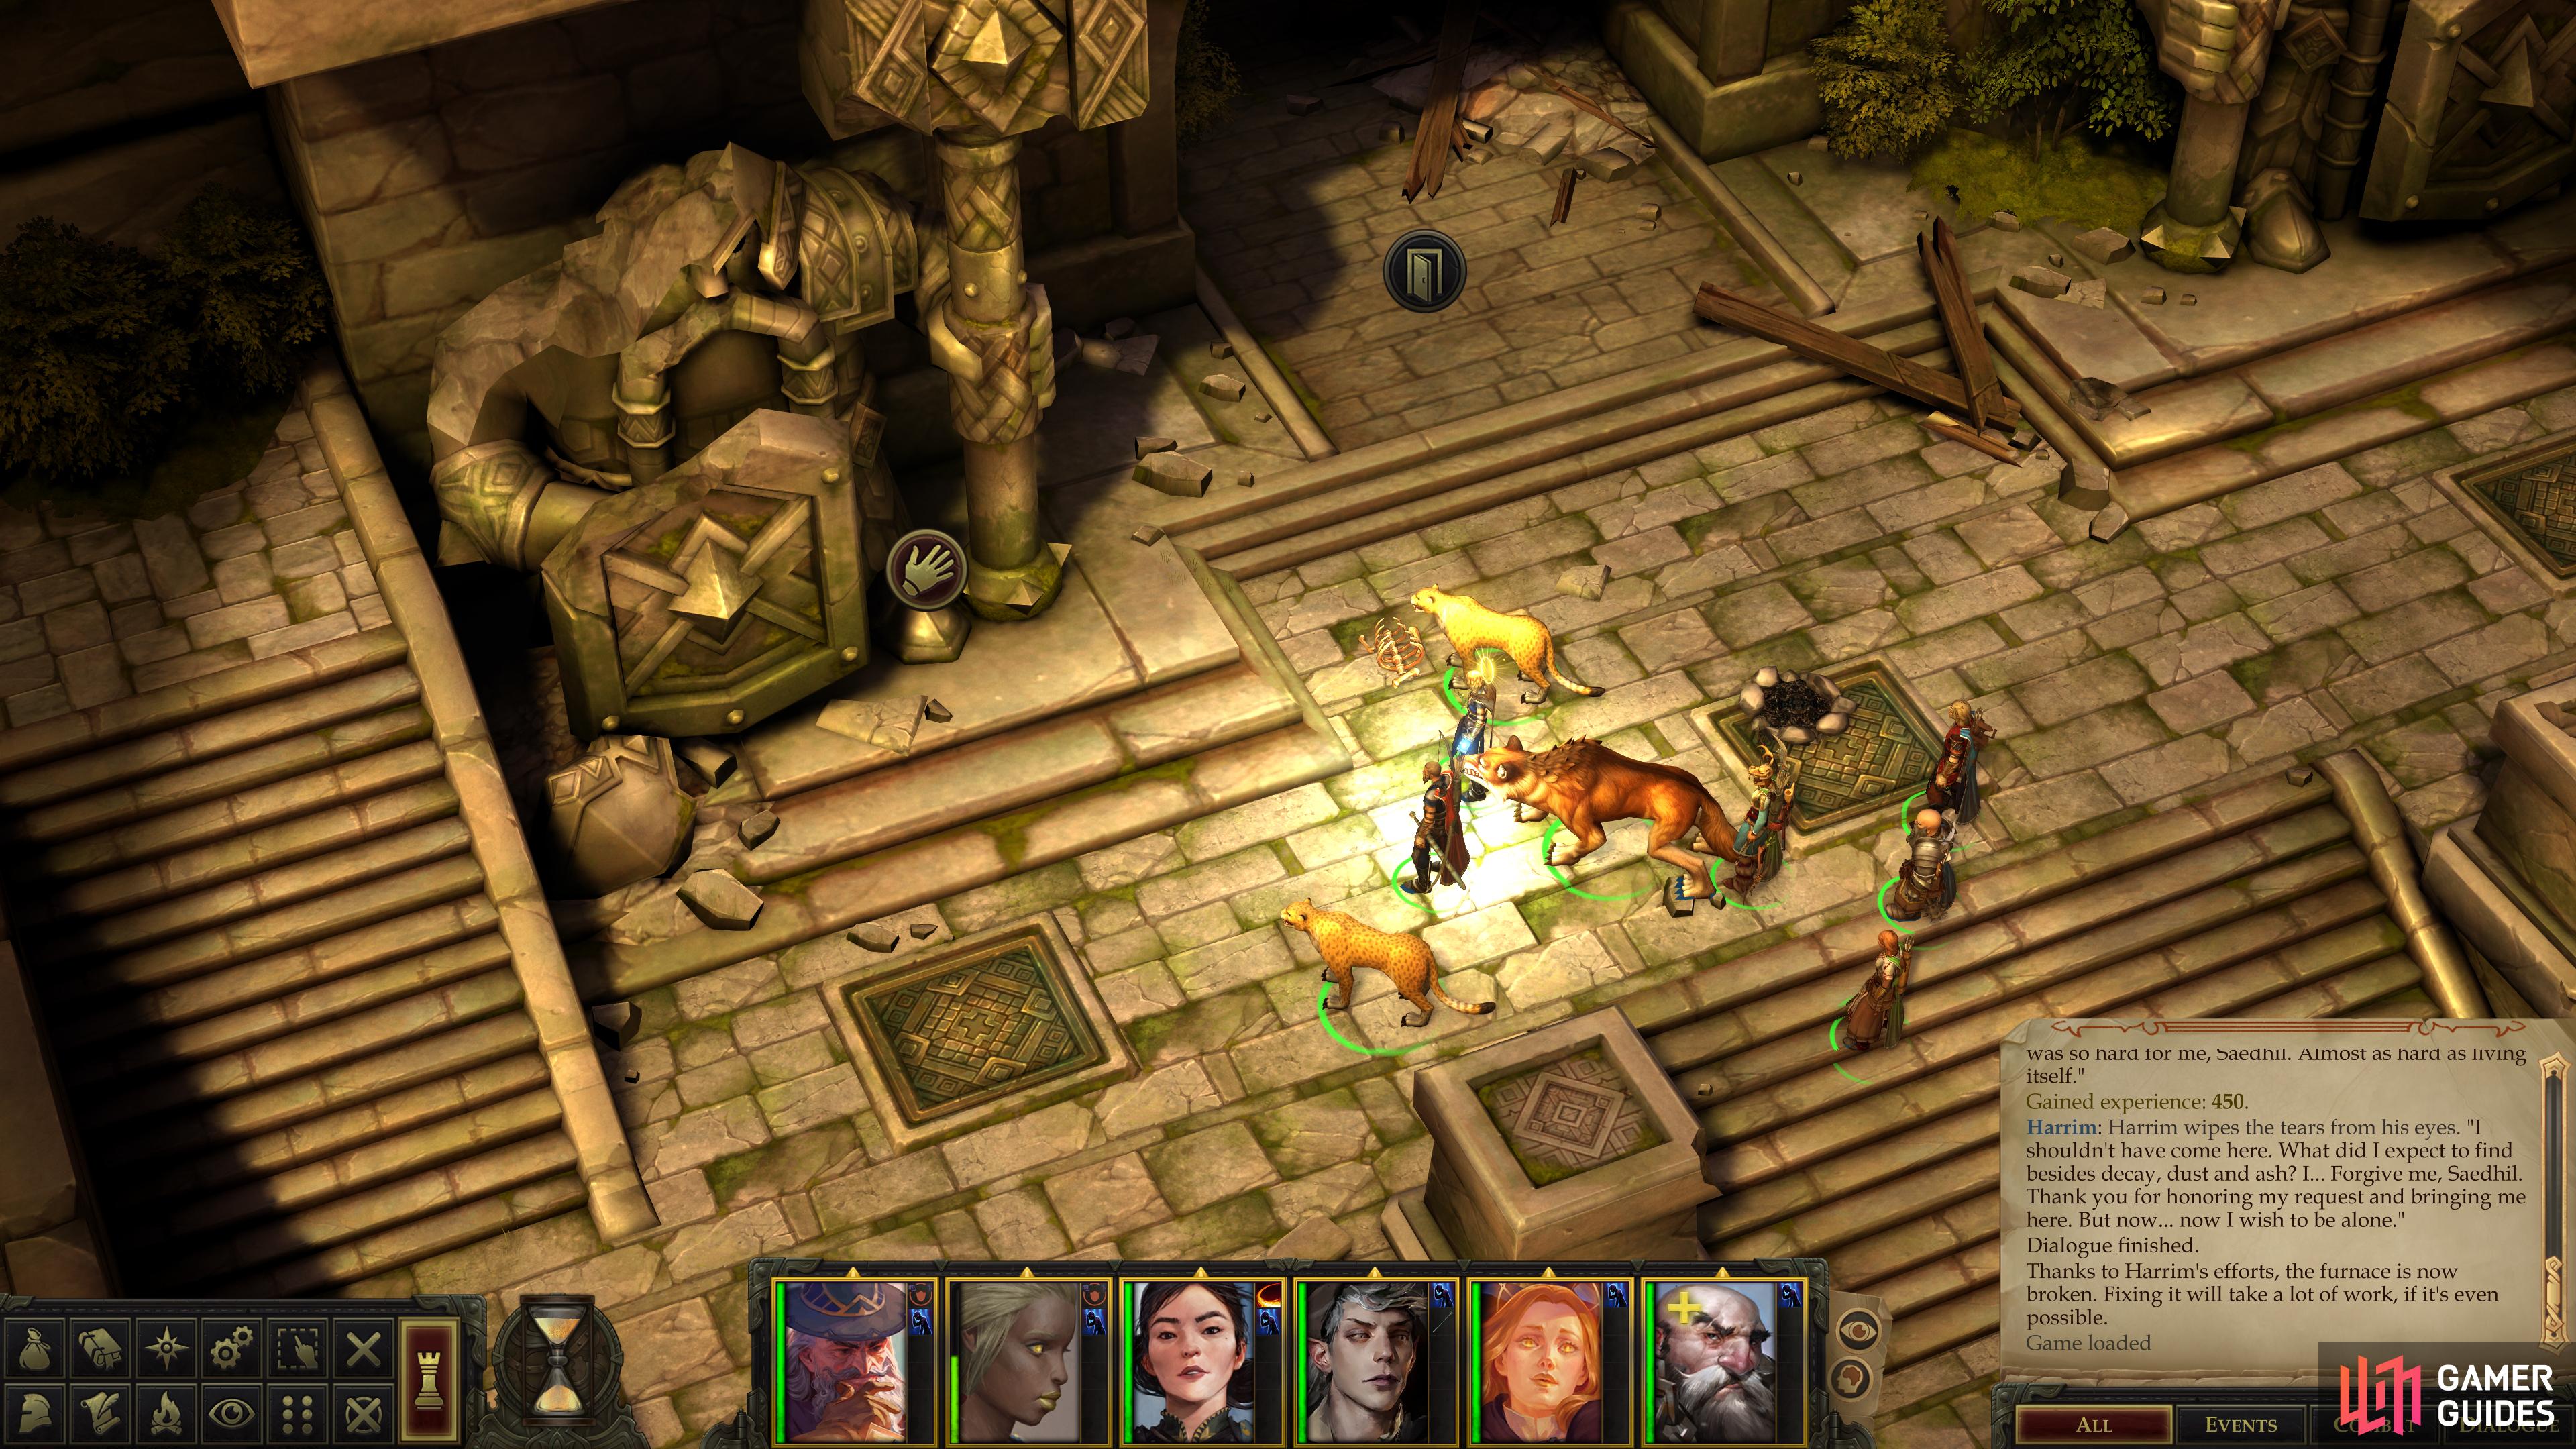
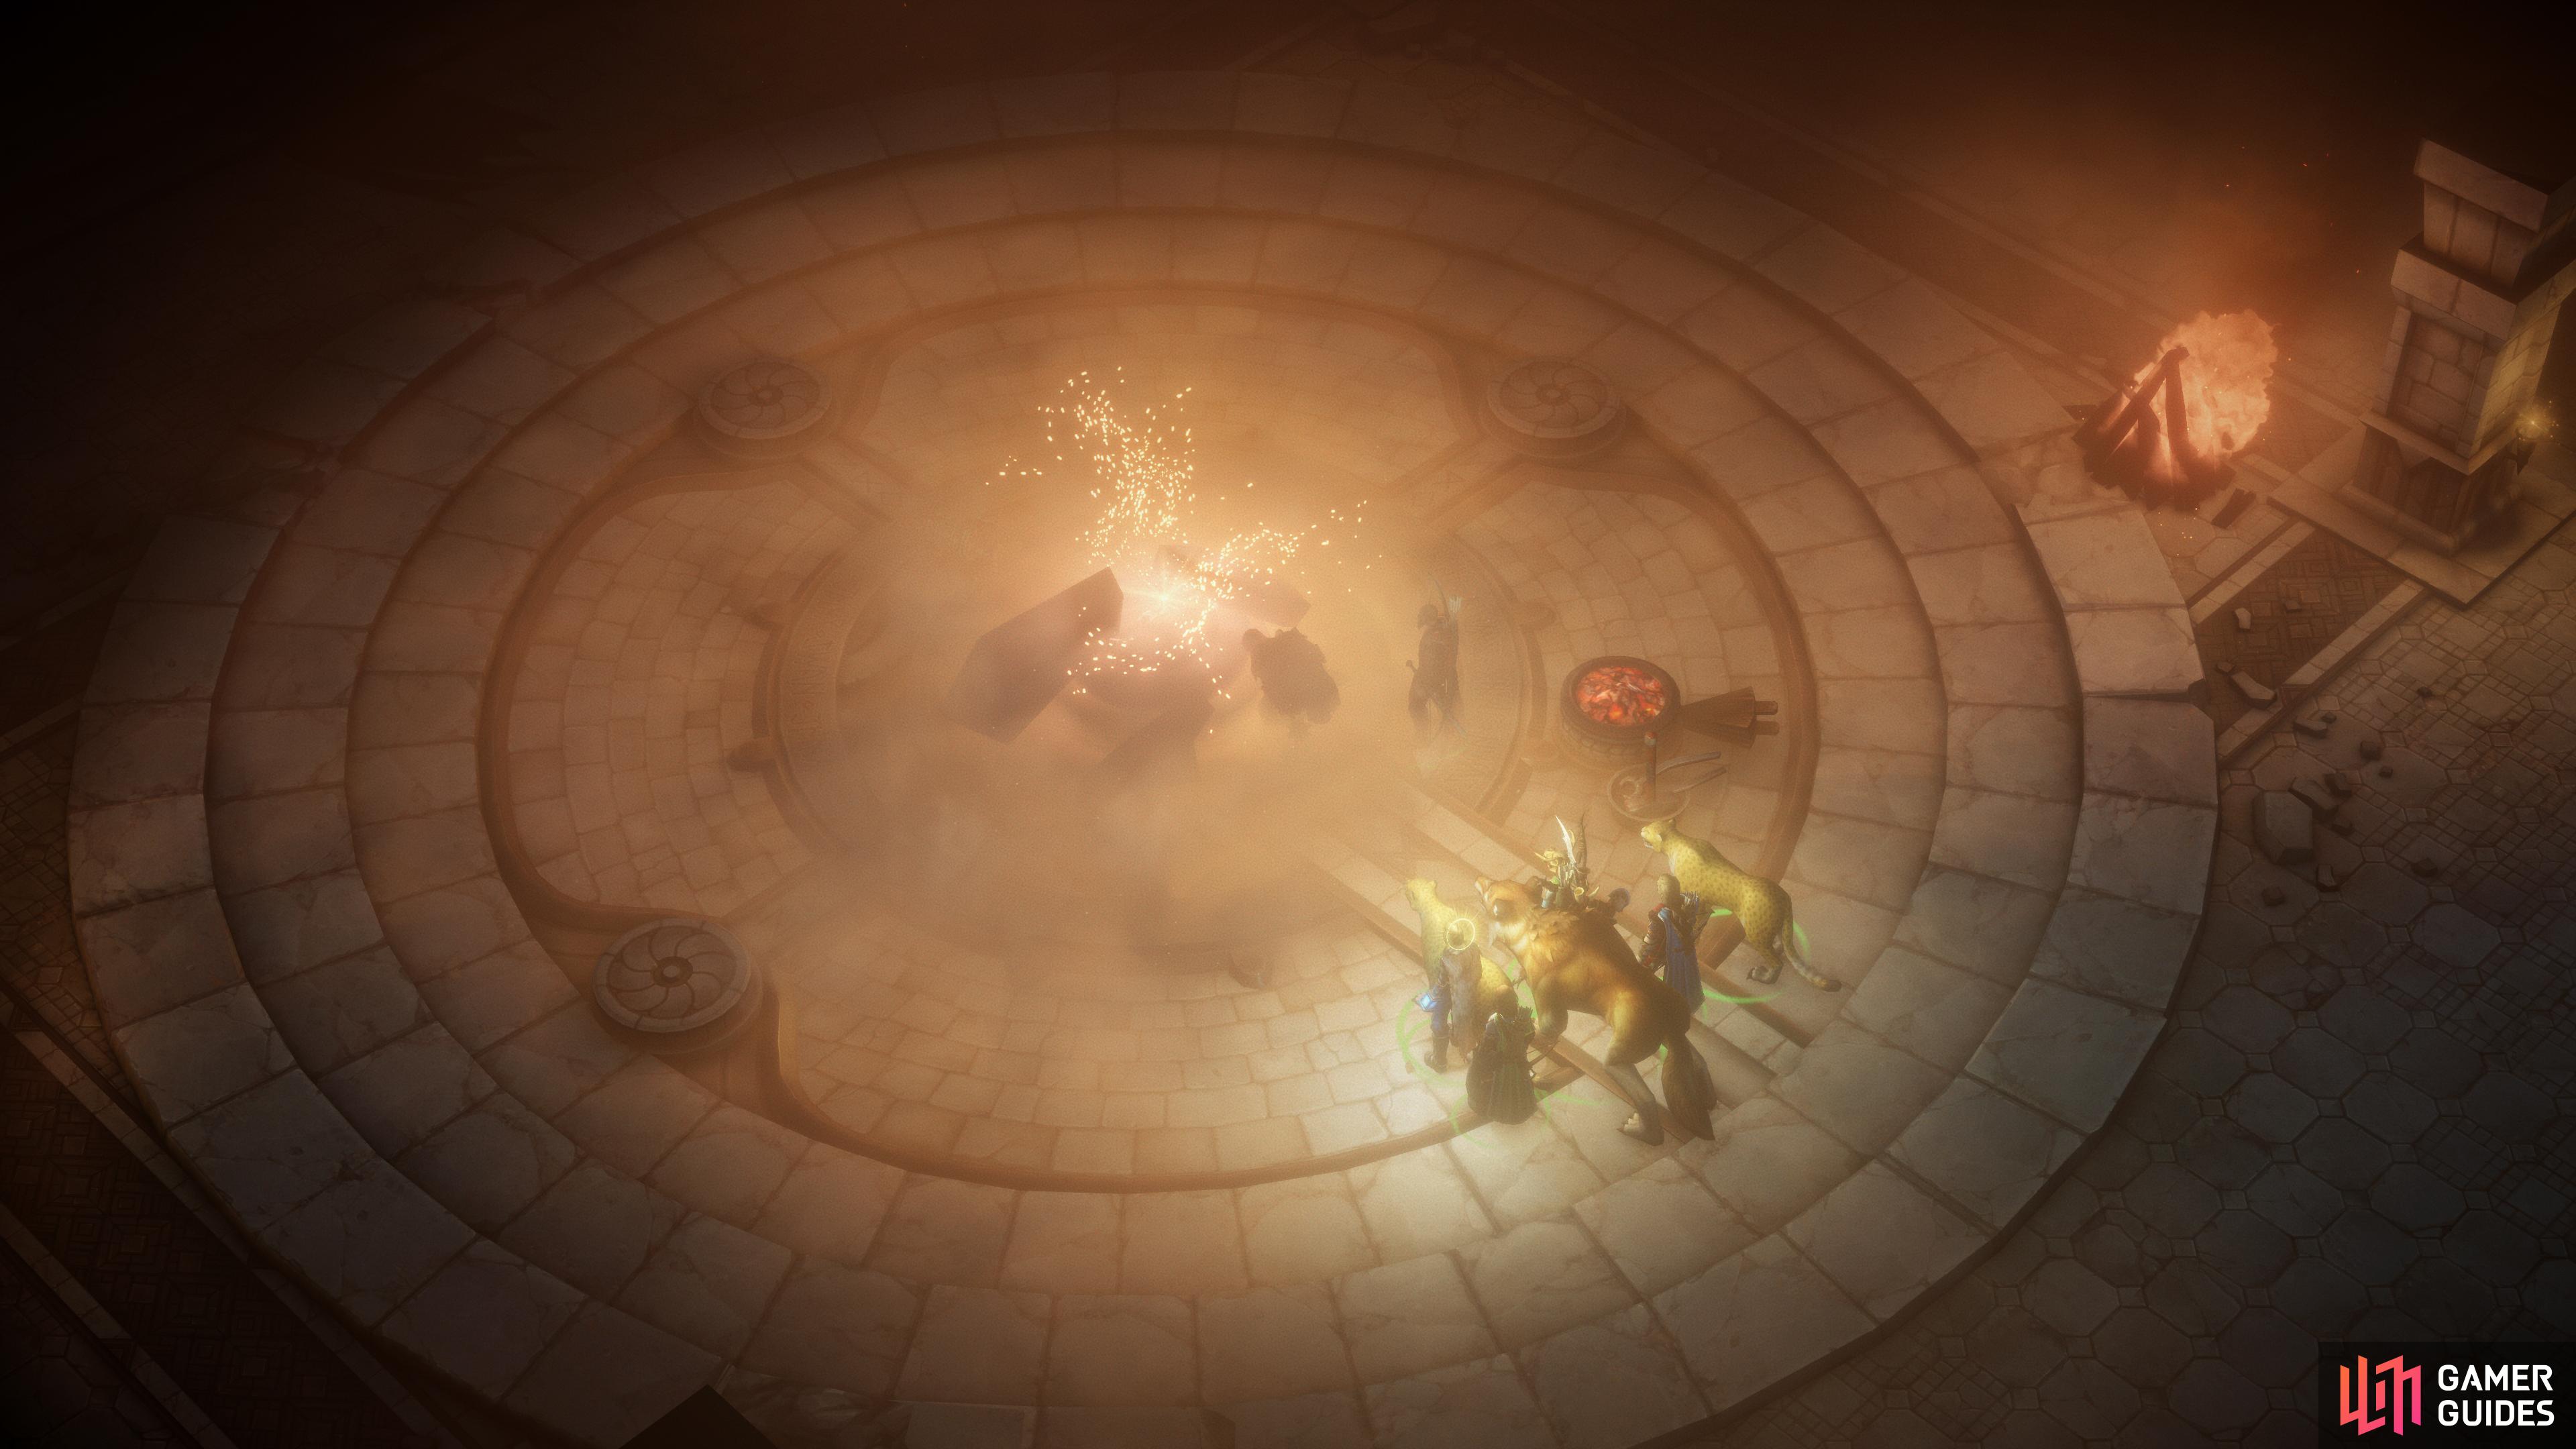
If you have Harrim with you, be sure to save, then pass a Lore (Religion) check when you examine the statue Hargulka smashed.
First, examine the statue of Torag that Hargulka demolished when you first entered the Troll Lair and make sure you pass a [Lore (Religion) 15] check to unlock the dialogue option “You confuse the reason with the consequence. Torag’s worshippers left this place. Their faith doesn’t empower Torag any more, so he has no need to protect this fortress.”. Doing so will enable you to get an item you’ll need later.
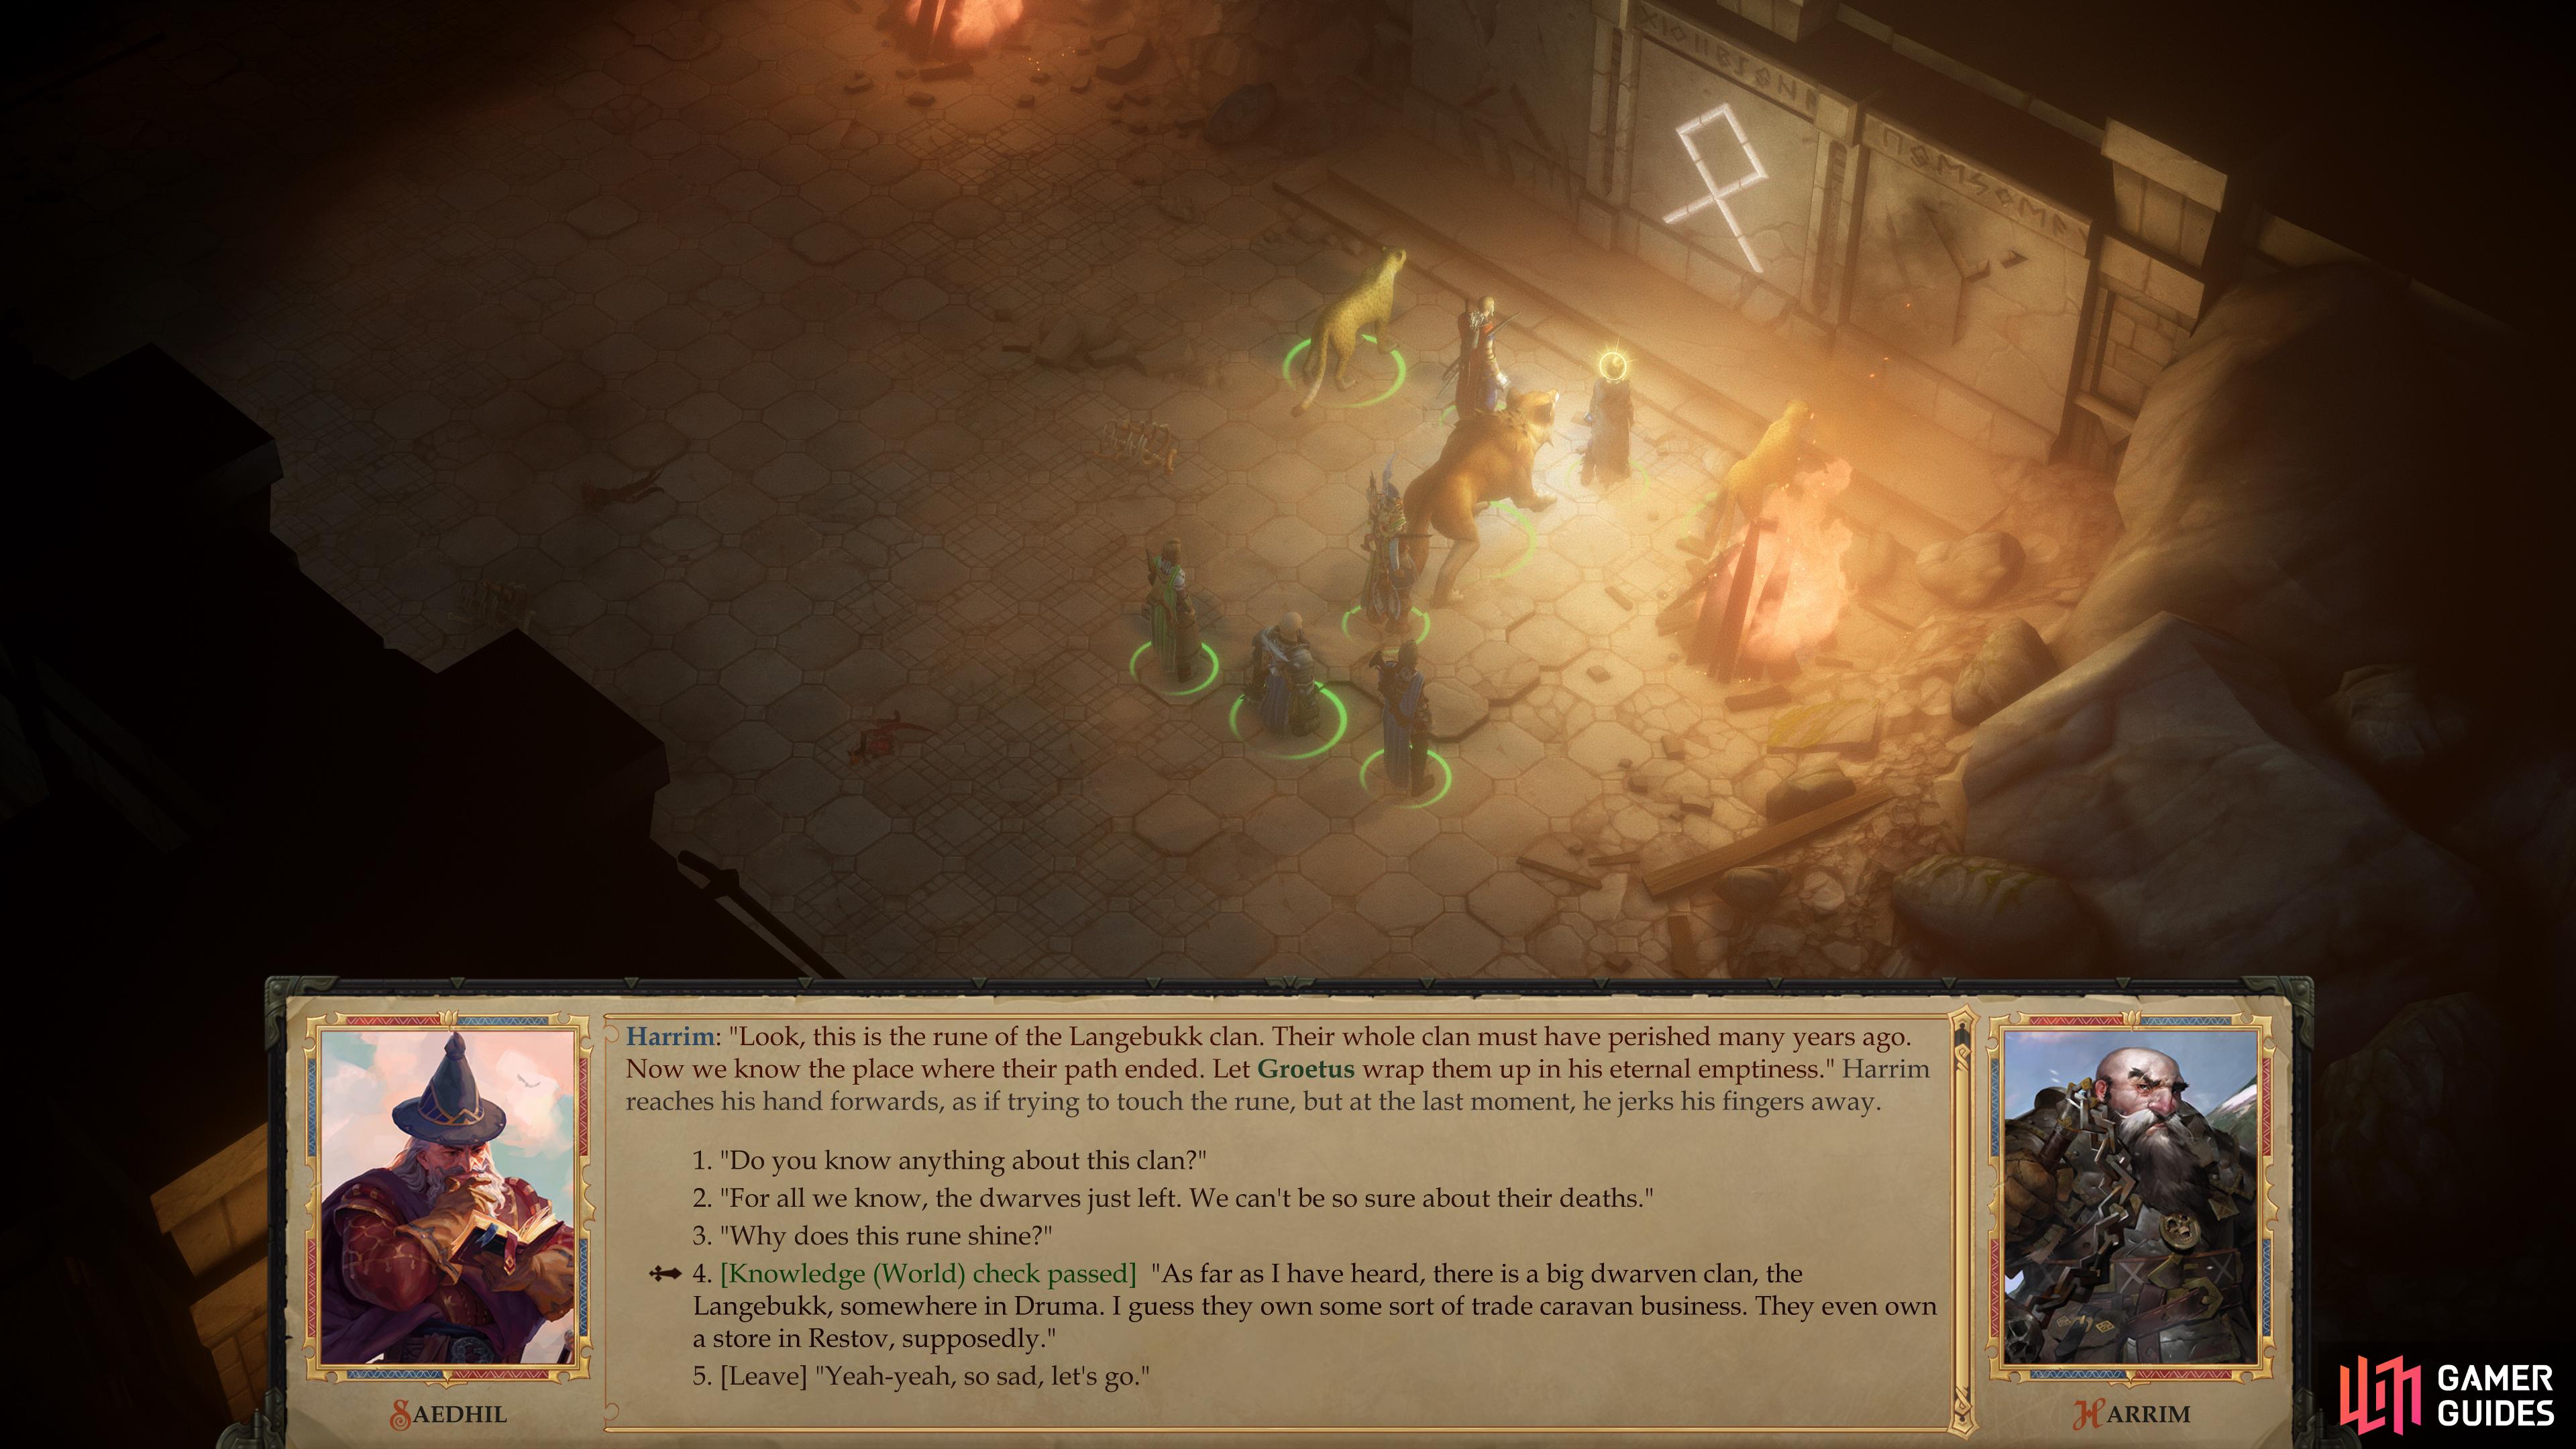
If Harrim is in your party, examine a rune on the northeastern wall and pass a Lore (World) check.
Second, in the Troll Lair Depths you’ll encounter Jazon again (assuming you didn’t kill him earlier), along with some other Trolls and Kobolds. Defeat them, then note a glowing rune on the northeastern wall. Like with the statue on the previous floor, save, then interact with it and pass a [Lore (World) 17] check to get the dialogue option “As far as I heard, there is a big dwarven clan, the Langebukk, somewhere in Druma. I guess they own some of the trade caravan business. They even own a store in Restov, supposedly.”. This will keep you on track to complete this quest optimally.
Speaking of which, after this the next room you need to be concerned about is the throne room of the Troll King, located in the far north west of the Troll Lair Depths . Once there, you will see an anvil in the centre of the room. Once Hargulka and Tartuk are defeated (see here for the battle strategy), you will be able to interact with the anvil unhindered.
With Harrim in your party, interact with the anvil,

and if you examined various relics and passed associated skill checks, you’ll get the “Heart of the Anvil”.
Save your game, then interact with the anvil and pass a hidden [Lore (Religion) 17] check and pick the associated dialogue choice when you get a chance (if you don’t see it before the conversation ends, you didn’t pass the check). If you examined all four relics and passed all three hidden skill checks, Harrim should punch the anvil twice, in which case you’ll obtain the Heart of the Anvil and some extra XP. If you missed/failed something, he’ll only punch the anvil once. Hold onto the Heart of the Anvil, as it’ll prove useful later. Either way, Harrim’s quest will complete. You’ll find an exit from the ruins to the southwest of the throne room.
No Comments