

Undead, Ankou and Spiders in the Ruins
When you’re ready to continue with the main questline, return to where you found Salim doing battle with the Crag Linnorm. From there continue east to find a host of Ghostly Guards hiding in and around some ruins. There’s little chance you’ll spot them unless you’re capable of making a Perception check in the 60s, so lead with your (heavily spell-buffed) warriors and hope they withstand the onslaught. Include Remove Fear in your usual preparations to hopefully give your warriors a better chance at resisting their Frightful Moan, which they all tend to use as once, making a save somewhat difficult. There’s no point in trying to slow them down, either, as they’ve got a +20 profane bonus to their Reflex Saves and are immune to mind-affecting effects, so you’ll just have to resort to good old-fashioned butchery.
They might start out with melee attacks, but if they find that insufficient (their Attack Bonuses aren’t impressive) they’ll start resorting to spamming Corrupting Touch, which, being a touch attack is much more likely to hit your warriors. Corrupting Touch can do significant damage, too, and each one has the ability to perform 7d6 sneak attack damage, too, being 14th level Rogues, so… definitely spell-buff to give your warriors the best offensive and defensive chance they’ll have and use your casters to hit enemies with damaging area-of-effect spells to speed the process up. Unfortunately any source of damage that’s not force, holy or a ghost-touch weapon will only deal half damage.
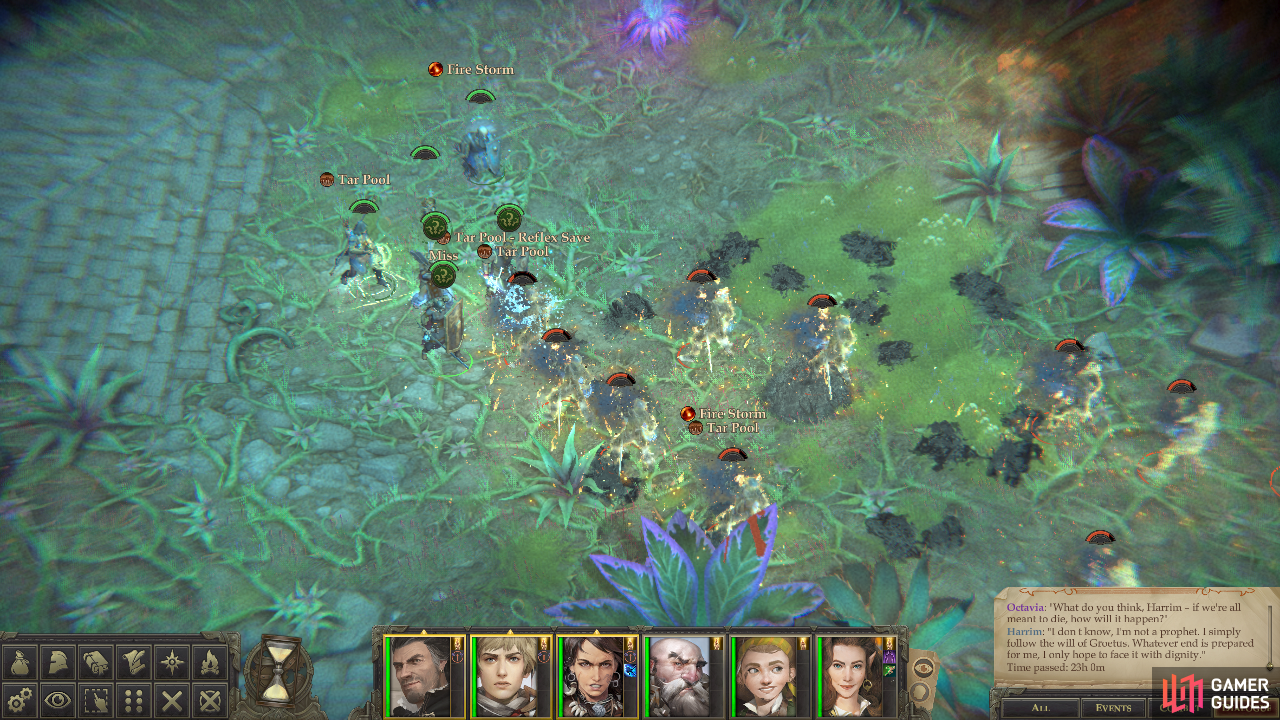
Use damaging spells to whittle down the health of the ghosts that attack you while your warriors hold the line
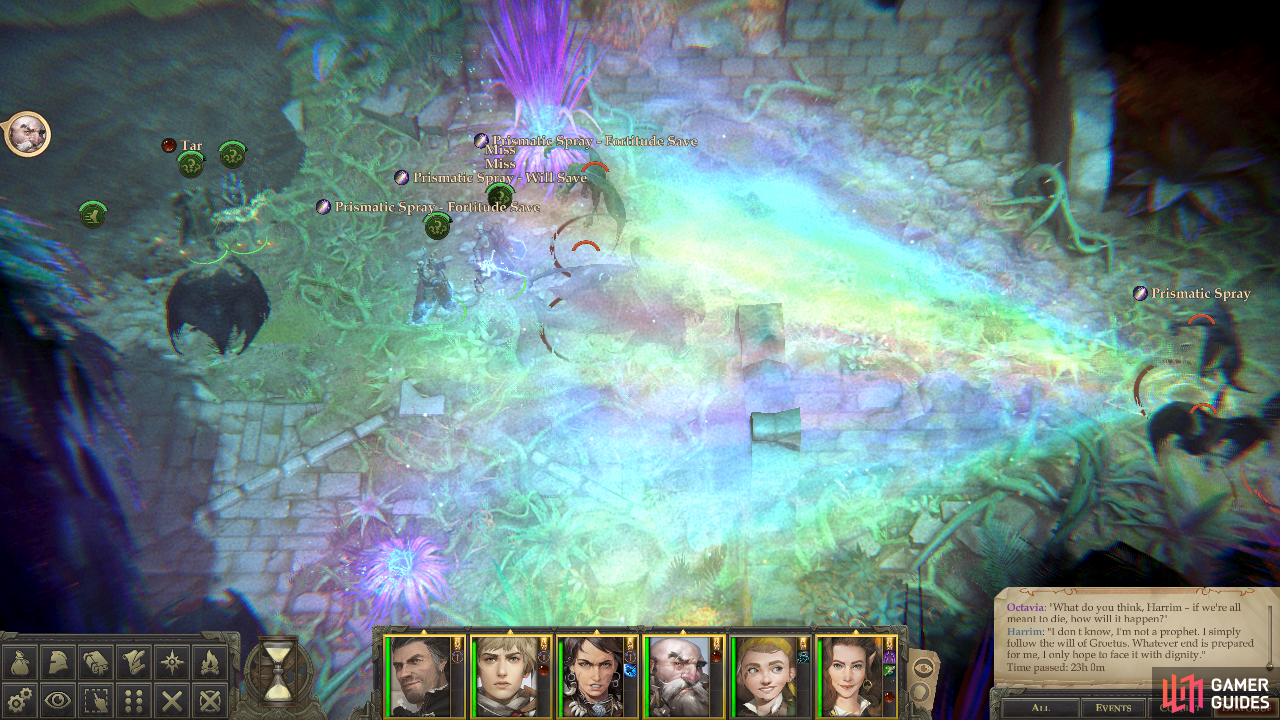
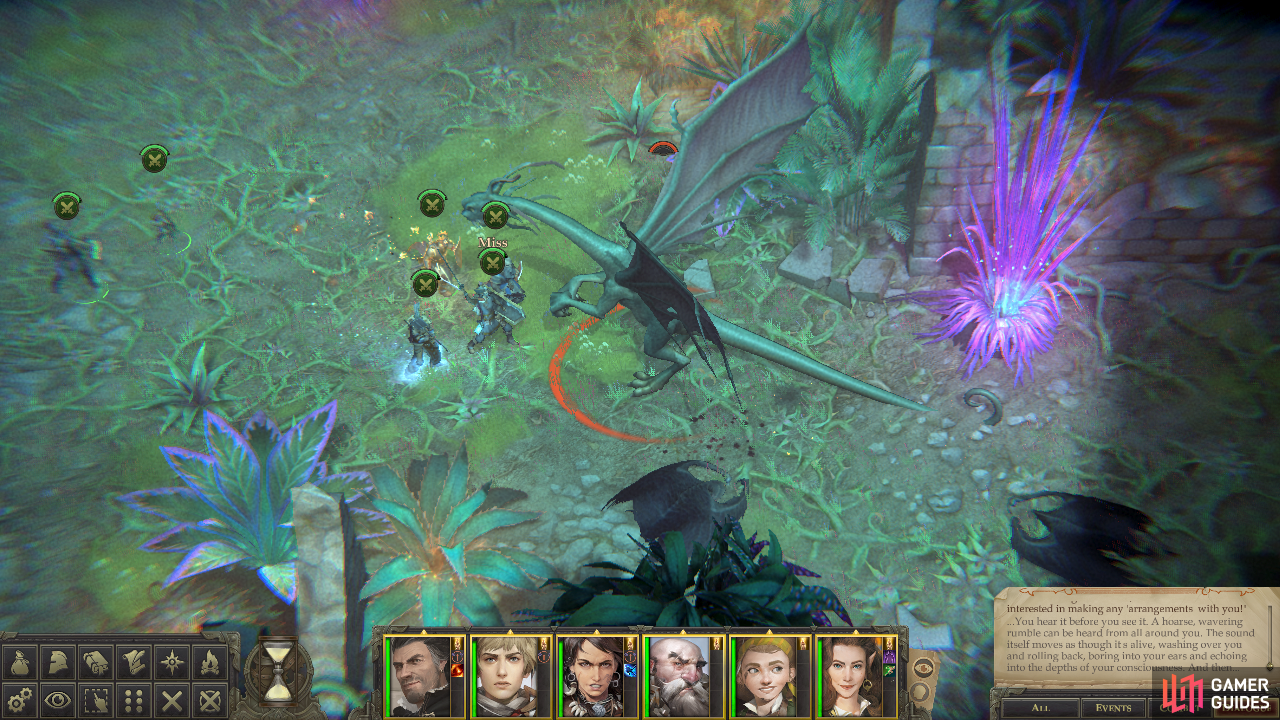
Be wary of engaging Ankou, as their Prismatic Spray ability can devastate your party.
Whatever you do, don’t press too far to the east while you’re dealing with the Ghostly Guards or otherwise unprepared, instead luring stragglers west to dispose of them. East of the Ghostly Guards are several Ankou, who, while weaker than the Ghostly Guards, are also capable of unleashing Prismatic Sprays. You don’t need this added complication while dealing with a bunch of overly-optimized ghosts, but on the plus side they’re not immune to mind-affected effects like the ghosts, so if they do show up hit them with a Phantasmal Web and keep your distance. If you can absorb the Prismatic Spray with a well-placed summon, great. Their only immediate follow-up is to use Mirror Image and attack, where they’re far less dangerous.
Clear out the ghosts and Ankou, then continue east through the ruins, turning north when you get the chance to find [Perception 11] a rock you can loot for an Ancient Elven Bead.
Send a single warrior (perhaps protected by Delay Poison and some elemental resistance) to the ruins to the northwest to trigger the next encounter, which consists of several Primal Spider Matriarchs and Quickspider Swarms. Both enemy types are incredibly out-matched by now, but swarms can still be annoying, so chuck an area-of-effect spell at them (hence the elemental protection on your warrior) then help said warrior squash the larger bugs. Once done, loot the chest in the corner to obtain Champion of Graves, a bardiche +5 with the Deteriorative (+3d6 negative energy damage) property. A fine weapon, so long as it’s not employed against undead.
The Horned Hunter
When you’re ready, assemble your party just east of the ruins where the Ankou and Ghostly Guards lurked and advance with one well-protected (and again, hopefully buffed) character. Standing in front of a portal ahead you’ll find a being known as the Horned Hunter, one of Nyrissa’s minions who threatens you over your possession of the Briar. Exhaust his dialogue options if you wish, you can even try to talk your way out of a fight [Neutral Good], but all in vain.

As usual, Baleful Polymorph has some chance of knocking one of your foes out of the fight
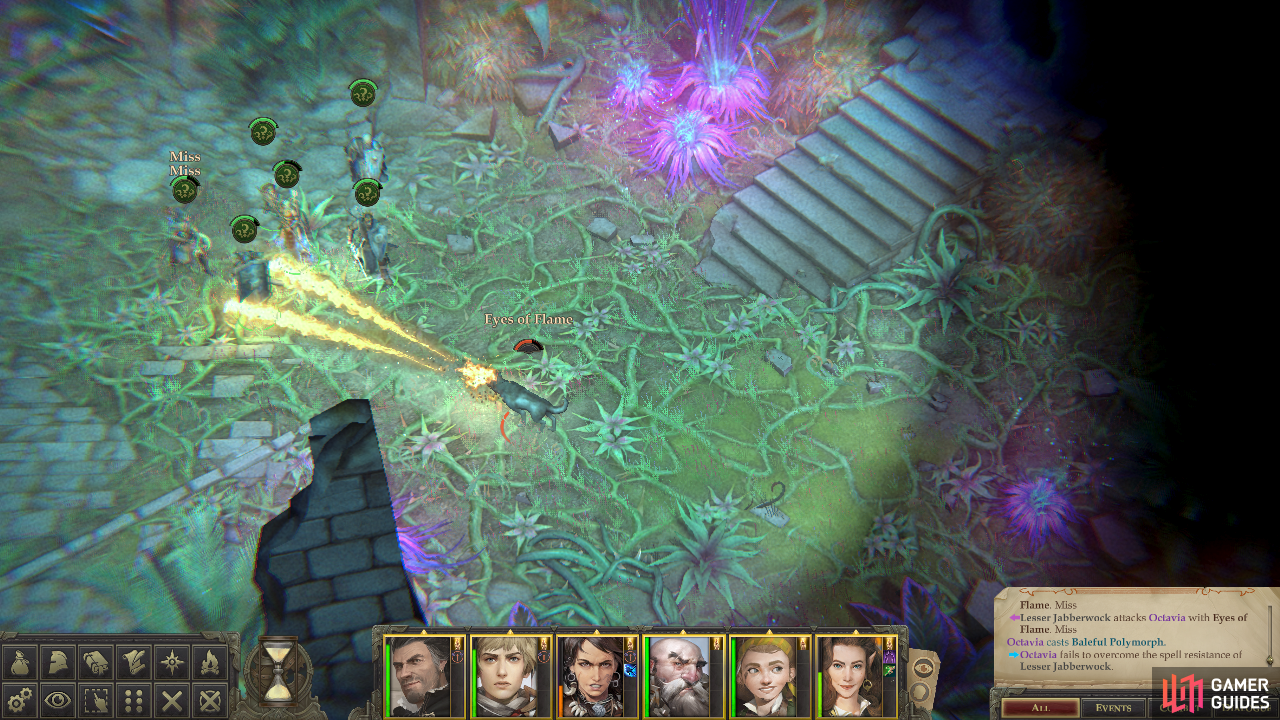
Although the Lesser Jabberwocks can still use some attacks while polymorphed, they’re far less dangerous
After he’s done talking he’ll retreat through the portal and leave the real guardians to defeat you - two Lesser Jabberwocks. The “lesser” here is somewhat relative, as these are still dangerous foes that boast a high Armor Class, Spell Resistance, Fast Healing 15 and Damage Reduction 15/-, not to mention immunity to fire and resistance to acid, electricity and sonic 30. Their Attack Bonus is high enough to hit your warriors somewhat regularly, but worse is their Burble ability which can confuse all characters in a 60-foot radius for 1d4 rounds (Will DC 27). They’re immune to paralysis, so you can outright ignore Hold Monster and Chains of Light, but Web and Phantasmal Web both work, especially the former due to their lackluster Reflex Save. This probably won’t help out too much in the long run, however, so instead busy your casters with Baleful Polymorph and Insanity. It’s a bit of a long-shot, but neutralizing one of the beasts will make cutting down the other much easier.
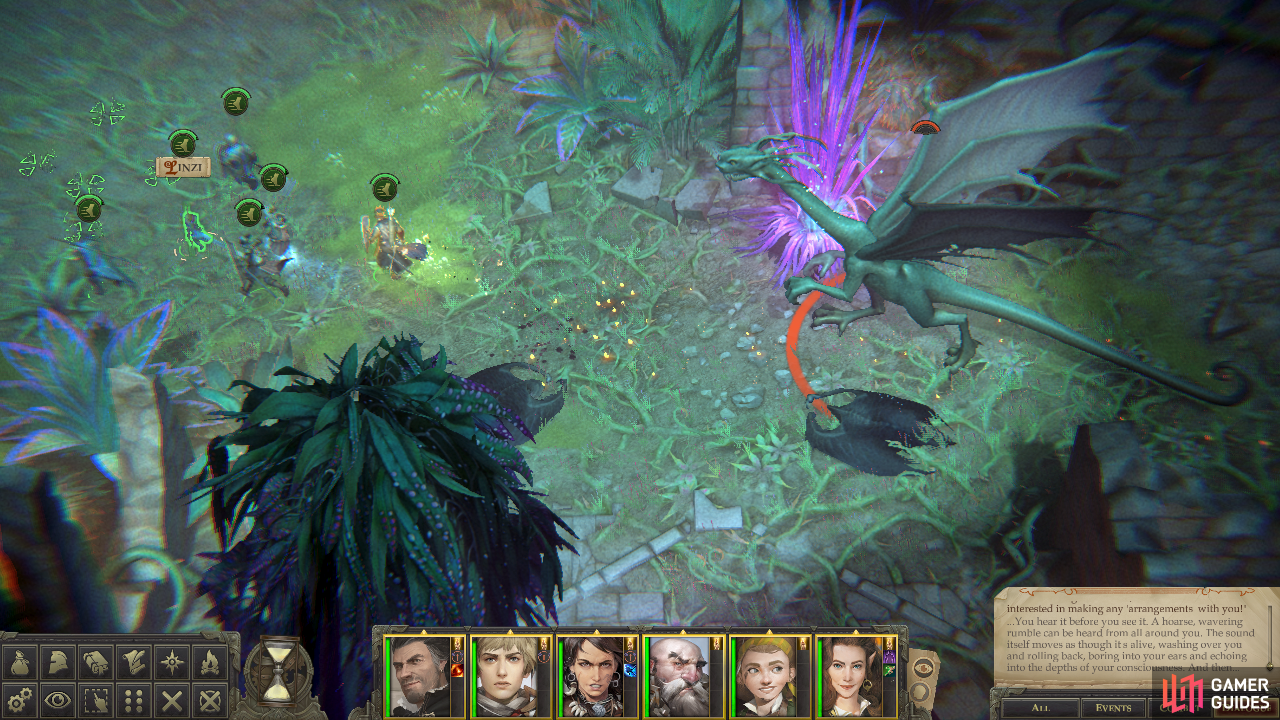
Attempt to lure one of the Jabberwocks away
and pounce on it when it’s isolated.
Fortunately the Lesser Jabberwocks aren’t usually keen on following you far, and it’s possible that if you retreat far enough away you can lure one away… albeit only after it performs its Eyes of Flame (ranged touch attack, fire damage) and Burble abilities. In additions to your usual buffs, throw on some fire resistance and perhaps Mind Blank for whatever “bait” character you’re going to start the encounter with, but ideally as many of your warriors as possible will have some protection from their Burble ability.
So, to summarize: provoke the Lesser Jabberwocks by approaching the portal, retreat to shake them or stand your ground if only one gives chase, use debilitating spells (Baleful Polymorph, Insanity) to reduce its effectiveness, then repeat for the other Lesser Jabberwock.
When the Lesser Jabberwocks have been smote, form up your party near the portal, make sure to rest, and make a hard save. Things could get tricky ahead, especially if you haven’t completed all your companion questlines. It might also be a good idea to unequip your companions in this case, as it’ll make for an easier transition. You can tell if you’ve completed all of a character’s companion quests by looking at the “Summary” page of their character sheet. Each one should have four titled images under the “Story” header. If they don’t, expect complications.
When you’re ready (or when you think you are, at least) head through the portal and when the trivially short Illustrated Book Episode pops up pick the option “…stepped into the portal! to advance. This marks the end of the quest Against All Odds and begins Sound of a Thousand Screams.
No Comments