This quest will begin when there are eleven days left on An Ancient Curse, Part 2, after which time you’ll be get the opportunity to invite a group called the Embeth Travelers (and some local nobles) to your realm to hunt some of the monsters that have been propagating. Not only is this a good opportunity for improve foreign relations, but you can get some dolts to help you hunt down some nasty critters for you, and perhaps learn a thing or two about the origins of these beasts.
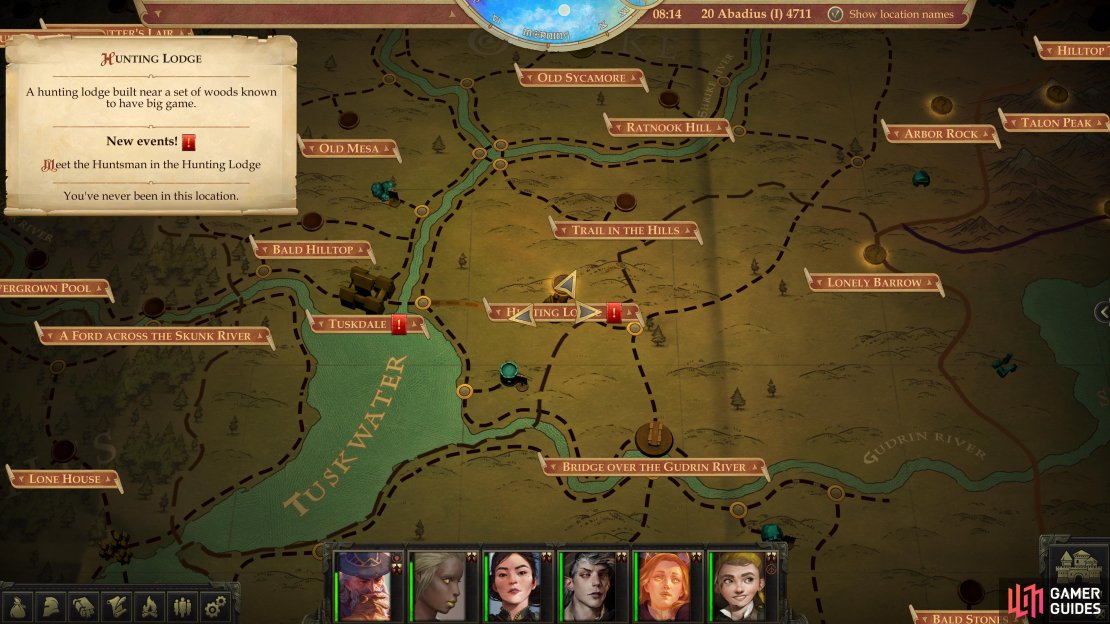
With so many positives and so few negatives, offering an invitation to the Embeth Travelers seems like a no-brainer, and since this is the first quest in the Season of Bloom main questline, you’ve got plenty of practical reasons to engage with this content, as well. In addition, there’s a good bit of XP and loot to be had. Extend the invitation and the Hunting Lodge area with be added to your map - it’s a short distance to the east of your capital, near the border between Shrike and the Kamelands.
You have until there are 260 days left on [An Ancient Curse, Part 3] to complete this (+260 days AAC3 time) to complete this quest, after which point it’ll automatically fail and the rest of Season of Bloom will continue.
The location of the Hunting Lodge area in Pathfinder: Kingmaker.
Hunting Lodge
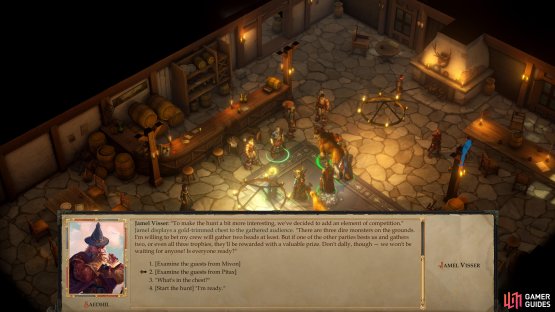
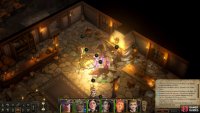
This quest requires you to take a short, leisurely trek to the Hunting Lodge area just to the east of your capital. All you need to do is leave your capital and head east twice, then north once. When you arrive, a man named Jamel Visser will give a little speech: you won’t be hunting mere vermin, but rather owlbears, hydras and wyverns, and to make this already high-stakes hunt more interesting, they’ll be engaging in a bit of friendly competition. Of all the monsters prowling about, there are three “dire monsters” of special interest. The team who bags the most of these beasts will earn themselves a “valuable prize”. When he’s done talking, inspect your rivals, then commence the hunt, which will reveal the Hunting Grounds area.
(1 of 2) Talk to Jamel Vissel to learn about the hunting competition,
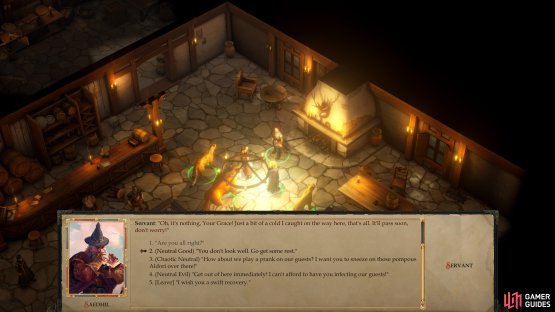
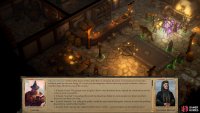
Talk to Jamel Vissel to learn about the hunting competition, (left), then speak with an ailing servant for an alignment choice. (right)
Talk to Jamel Vissel again and ask what questions you will, then search behind the counter to find a chest [Perception 20], which you can unlock [Trickery 24] and plunder for 221 GP and two Potions of Bear’s Endurance.
Of more interest is the “Servant” standing near the fireplace, who seems to have caught a bit of a cold. This leads to a moral choice, with which you can express a kind, but useless [Neutral Good] wish for him to get some rest, you can rudely demand he leave to safeguard your own well-being [Neutral Evil], or you can ask him to try and sabotage your rivals by spreading the illness [Chaotic Neutral].
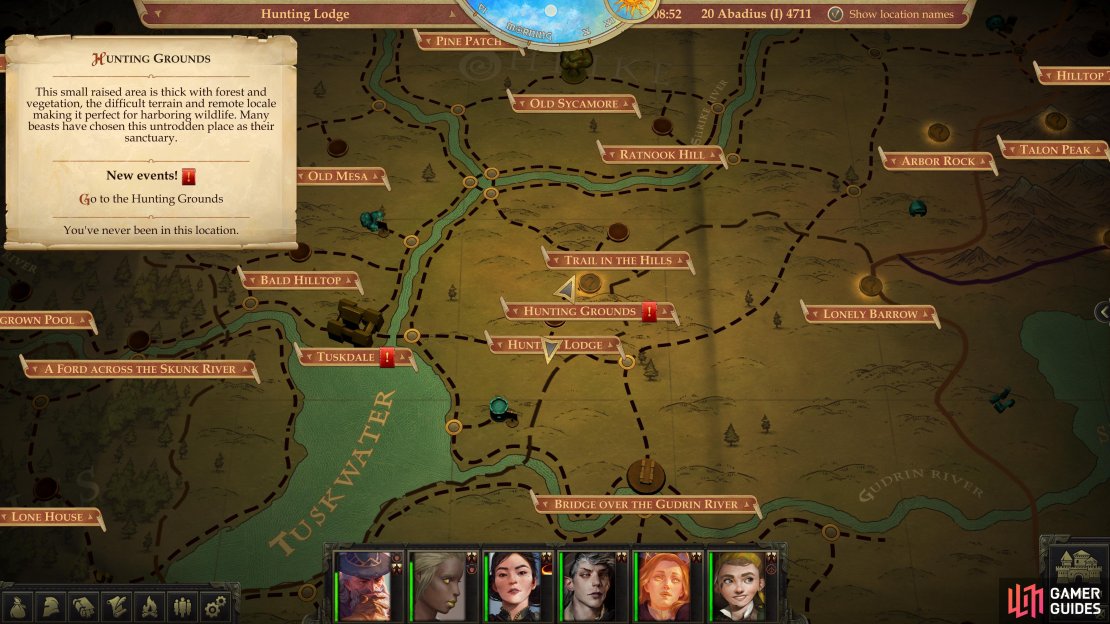
The location of the Hunting Grounds area in Pathfinder: Kingmaker.
Hunting Grounds
When you’re done causing whatever mischief you’re up to, leave the Hunting Lodge, then head north to reach the Hunting Grounds area, which should have appeared on your map.
(1 of 2) Fend of a pack of worgs hiding in ambush,
Fend of a pack of worgs hiding in ambush, (left), then test your mettle against an owlbear. (right)
Hunting Grounds: Worgs and Owlbears
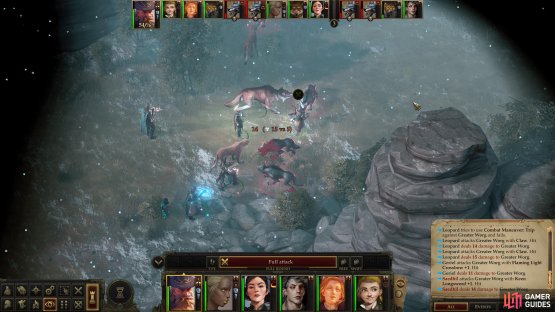
You’ll arrive on the southwestern edge of this area, and if you head north along the western edge of the map, the tone for this area will be set very quickly. Here you’ll find a pack of worgs waiting in ambush, including one Alpha Worg and three Greater Worgs. Don’t become complacent because you’re familiar with the beasts - these critters are more powerful than most previous variants you’ve fought. The Greater Worgs boast five Barbarian levels and the Alpha Worg has seven, and this consequently gives them good Hit Points and decent Attack rolls. A well-built tank won’t have any issues, but anything with less than a 30 Armor Class will get mauled - an outcome hastened by their obligatory trip attacks that accompany their standard bite.
Fortunately, they’re not well-protected by their Will Saves, and a Glitterdust spell will make ths fight much, much easier. Grease and Web may also bear fruit, but their Reflex Save is a bit higher and should be reserved for after lines of battle have been established to force them to make repeated saves, if you bother at all.
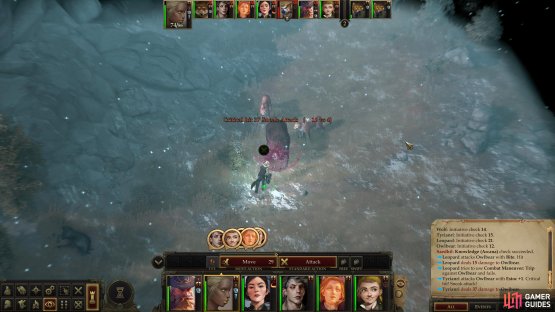
Polish off these wolves, then make your way to the northeast where you’ll find some Owlbear figurines along some rocks. A curious find in an area recently overrun by such monsters, and to drive the point home, you may well be accosted by an Owlbear which prowls the nearby area. Owlbears aren’t quite the threat they used to be, but this one can still pack quite a punch, being even stronger than the Greater Worgs. If you haven’t done so already, don’t be shy about using buffs, especially longer-lasting ones like Mage Armor, Shield, Shield of Faith, Bull’s Strength, Mirror Image and Stoneskin.
By now an adequate tank will really need to be pushing 40 Armor Class if they want to stand a chance at engaging with such beasts and emerging relatively unscathed afterwards. Even then, their number of attacks and damage output can be a problem, and every point of Armor Class over 40 you can get will make a huge difference. This entire hunt is basically a rehearsal for what you’ll be doing the rest of the chapter, so if you’re having trouble with these Worgs and Owlbear, you could be in for a tough stretch of gameplay.
Should one Owlbear not be a sufficient challenge, venture north to find several Owlbears, which are trouble enough on their own, but in a group they have the potential to deal serious damage. Use Glitterdust to blind them and/or Grease and Web to (hopefully) slow them down and deal with them one or two at a time. Animate Dead can also delay some Owlbears by providing them fodder to chew on, and Haste will significantly increase your own offensive output.
Heal up if you must, then continue north. Be wary, however, as another pack of worgs - three Greater Worgs - lie in ambush in the scrub to the west. Dispose of them, then search the trees to find some elevated claw marks, which suggest the passage of a massive Owlbear.
(1 of 4) For all their bluster, the Aldori sisters are no match for the Greater Enraged Owlbear.
Hunting Grounds: Greater Enraged Owlbear
Sure enough, if you continue north you’ll find this beast. A Greater Enraged Owlbear dwells up in the northwestern corner of the area, and it’s not alone. It seems the Mivonian hunters found it first, but they’re no match for such a foe. Be sure to hit it with a debilitating spell like Glitterdust and/or Slow (buffing yourself with Haste also won’t hurt, but may not be strictly necessary anymore) before engaging. Kill the beast, then loot it to obtain the Owlbear’s Head - your rightful prize.
Afterwards the Aldori sisters will bicker among themselves (provided at least one of them survived the fight - if both fell, they’re dead) over the fiasco. If you insult their fighting skills, this will allow you to make a [Chaotic Neutral] moral choice to defuse the situation, or a [Chaotic Evil] choice to provoke a fight. Both will drop Dueling Swords +1, two Potions of Cure Light Wounds each, a suit of Studded Leather Armor +1 and a Cloak of Resistance +1, or you could just let the Owlbear do the work for you and claim the same loot with a somewhat cleaner conscience. If you keep them alive, they’ll just babble about Mivon’s silly martial culture.
Before you continue on, search the cliffs to the west to find [Perception 24] a chest [Trickery 22], inside of which you’ll find 86 GP, a Potion of Invisibility and three Jasper gems. Not much of a reward for all this effort, but better than nothing.
(1 of 2) You’ll stumble across some goblins worshipping a wyvern.
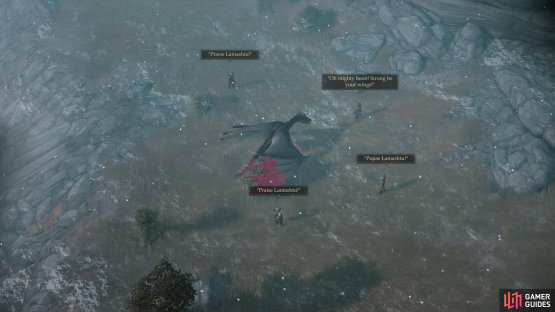
You’ll stumble across some goblins worshipping a wyvern. (left), After the wyvern shows its due respect to the goblins, put it down, and eradicate several of its fellows. (right)
Hunting Grounds: In Praise of Lamashtu
Venture east from where the Greater Enraged Owlbear was worrying the sisters from Mivon, turning southeast as the terrain demands. Along the way, stop to find some arms and armor amidst a pile of bones, the significance of which may not be immediately clear. The ubiquitousness of dangerous wildlife in this area has been well established already, after all.
To further reinforce this point, continue southeast to find a trio of Dire Bears, which are roughly as dangerous as the Great Worgs are, save they can’t perform a trip attack, but they get more attacks per round to compensate somewhat.
Eradicate the ursine menace, then continue southeast to find an interesting interaction taking place. A group of goblins are celebrating a Ferocious Wyvern, praising its more dangerous traits in the name of one “Lamashtu”. Whatever makes goblins happy can’t be a good thing- not that a wyvern on your lands is a good thing, goblins or not.
Once the goblins flee, rush on in and cut down the Ferocious Wyvern, which is probably the least dangerous foe you’ve encountered in this area, all things considered. Its Attack Bonus is appreciably lower than that of the other foes you’ve encountered in this area (around half the Attack Bonus of the Greater Enraged Owlbear!) although it does compensate somewhat by having six attacks it can employ in a single round.
(1 of 2) Dispatch another mixed group of worgs,
Dispatch another mixed group of worgs, (left), then grab a “Taldan Snaffle” behind where the worgs were. (right)
Continue south along the cliffs to find a tree which shows the sign of a large beast abusing the poor plant. Unfortunately, any number of monsters in this area could account for the damage. From here head east, killing two more Ferocious Wyverns as you go. When you find a path leading uphill to the north, ascend the slope, and when that path splits, veer off to the northwest. Be sure to lead with a tank, as another pack of worgs (an Alpha Worg and three Greater Worgs) await you. Kill them, then continue northwest until you reach a dead-end, where you can find [Perception 7] a stone you can loot for a Taldan Snaffle. You guessed it, another relic for the antiquarian.
Backtrack to the southeast, then head up the previously neglected (and worg-free!) northern path. Your ascent will be complicated by a trap [Perception 22] [Trickery 22], beyond which you’ll find some enormous paw prints. Hopefully another trophy-worthy beast can be found nearby!
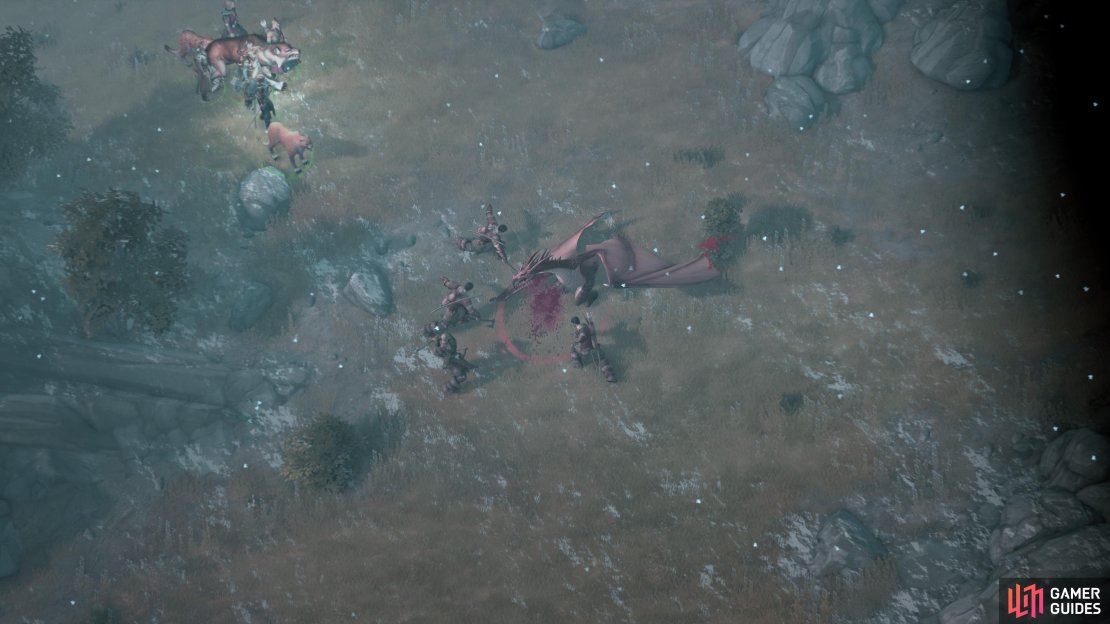
(1 of 3) Watch as the Embeth Travelers surround and subdue a wyvern,
The Embeth Travelers and the Ancient Wyvern
Continue north until you hit the northern end of the area, then turn east to find another band of rival hunters. This group - the Embeth Travelers - are more competent than the ladies from Mivon, as evidenced by their strategies for taking down their prey. Be wary of another trap [Perception 22] [Trickery 22] as you approach, and when you get near the Embeth Travelers will resolve their fight with their foe - an Ancient Wyvern - via cutscene.
After the fight, the Embeth Travelers will engage you in dialogue. If you tripped the trap on your approach, the leader of this group will chastise you, otherwise he’ll boast about their accomplishment. Either way, the conversation thereafter will be mostly the same: in the latter case you can make a [Chaotic Neutral] choice to try and demand the prize from them (and will be promptly refused), leaving only congratulation or conquest [Chaotic Evil] your only options.
Should you choose to take the trophy by force you’ll find that the Embeth Travelers aren’t terribly strong, as their leader isn’t any stronger than the staple monsters you’ve been fighting in this area. If you defeat them, loot their leader for a Falchion +1, a Masterwork Heavy Crossbow, a Scroll of Haste, a Potion of Cure Moderate Wounds a Potion of Cure Serious Wounds, a suit of Chainmail +2 and, of course, the Wyvern’s Head (among other trinkets), while the noteworthy gear from his companions includes three Handaxes +1, three Masterwork Longbows and three Potions of Cure Moderate Wounds. You need not resort to violence, however - you only need two of the three trophies to claim the prize, after all.
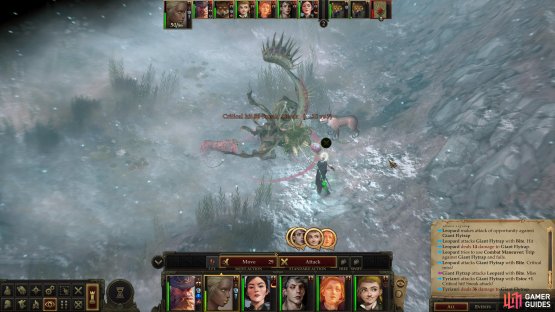
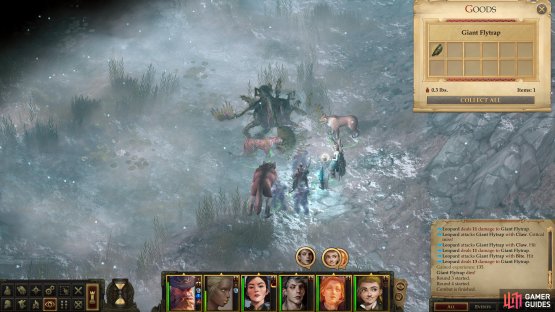
(1 of 3) The Primal Giant Flytrap has many means of mitigating incoming damage, making it difficult to kill.
Hunting Grounds: Primal Giant Flytrap
After your encounter with the Embeth Travelers, explore south from where the Ancient Wyvern was slain to find a familiar-looking foe: a Primal Giant Flytrap. A stronger version of the beast you fought earlier at the Verdant Chambers, this beast is nastier in almost every way, possessing a higher Attack Bonus (somewhat higher than the worgs you fought in this area, but not near the Greater Enraged Owlbear’s), a troublingly high Armor Class, and Damage Reduction 10/cold iron and magic. It also has Blindsight, so the normal tactic of casting Glitterdust won’t really help at all, nor will any form of concealment. It, of course, randomly has 20% concealment (for no apparent reason) and this will further mitigate the damage you deal to this overgrown cucumber. That all said, a potent enough tank should be able to engage it somewhat safely, and if you can surround it, you should be able to cut it down with some effort. Haste, of course, will shift the odds further in your favor.
Defeat it and loot it to score a Melted Shard of a Ring and a Throwing Axe +1, then make your way west to find a trap [Perception 20] [Trickery 20] guarding two chest. The larger chest [Trickery 27] will yield a Wand of Searing Light and the Recipe: Hunter’s Roast, while the smaller chest you can contains another Melted Shard of a Ring.
(1 of 4) Search a hidden tent to find “Kneesplitter’.
Hunting Grounds: Pitaxian Picnic
Backtrack downhill to the area just east of where the goblins were praising a wyvern and notice the abundance of options. You already explored to the north and northwest, but you can further explore to the southeast and southwest. There’s plenty left to kill, but before you run off in search of extraneous game to hunt, you might as well take down the third dire monster and claim your trophy. After this, you’ll have more time to spend on the rest of the area.
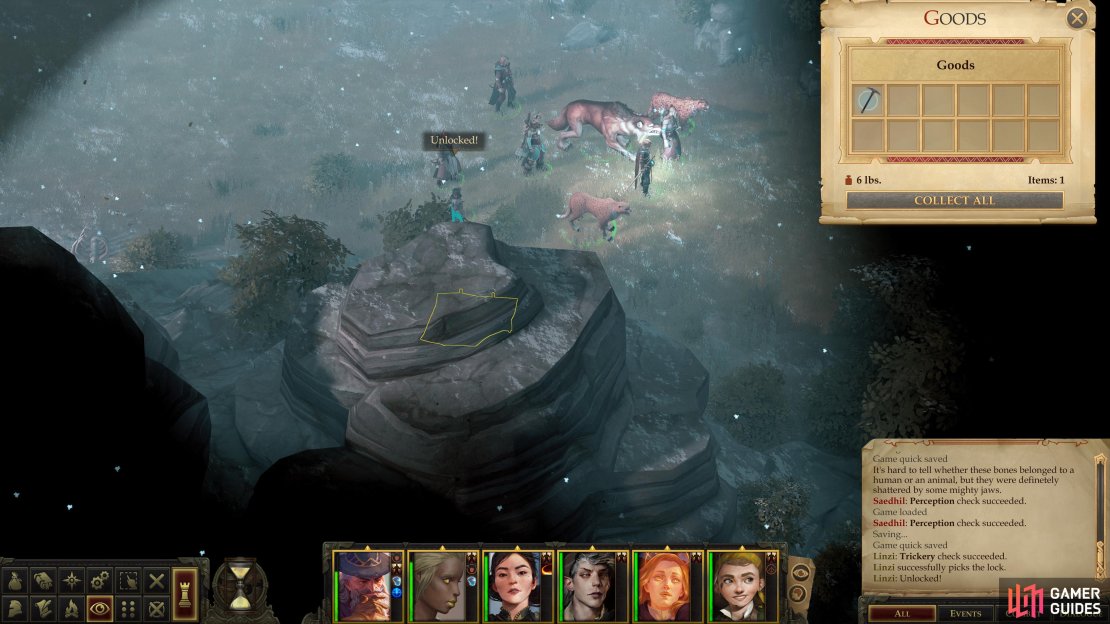
With that immediate goal in mind, venture southeast, where the path will promptly split again. Examine some bones at the elbow of this split to notice the feeding habits of another dangerous predator, then continue east to reach a dead-end. To the south you can spot [Perception 25] an abandoned object covered by the foreground. Unlock it [Trickery 26] and claim Kneesplitter as your prize. This Heavy Pick +2 has the “Giant Bane” property, making it count as a +4 weapon against giants and dealing an extra 2d6 damage against them. Shame you didn’t have it when trolls were rampaging throughout the land, but you’ll probably find an excuse to use it sooner or later. Next search some rocks to the north to find a Torag’s Pendant, then backtrack west to the fork.
Now take the western fork to the south and follow the rocks until you find a humble camp to the east. Seems the Pitaxians - led by Annamede Belavarah - are taking a somewhat different approach to hunting. Specifically, they’re of the “life’s too short to get chewed on by nasty monsters” persuasion, and they’ve accordingly set up a picnic to better enjoy the day. Chat with them if you like and when you’ve exhausted the rest of their dialogue options, you can choose to attack them [Chaotic Evil], join them (this will finish the hunt with whatever progress you currently have) or just leave and get back to business. If you’ve a mind to win this competition, choose the latter - the Pitaxians are certainly not going anywhere any time soon.
If you want to spare them some trouble down the road (literally!) continue east and you’ll find some worgs hiding in the brush. This includes an Alpha Worg and three Greater Worgs, making it a fairly standard fight for this area, but by no means a push-over. After you smite them, search some brush behind (east of) them and to the north of the trail to score a Token of the Dryad.
Return to the Pitaxian camp and follow the trail nearby to the west and southwest until you find an abandoned cart. Well… not so much abandoned as… let’s just say its former owners probably won’t care if you loot it for some scrolls, coins and gems. West of this cart you can spot [Perception 8] a rock under which is hidden a Taldan Warrior’s Dog Tag.
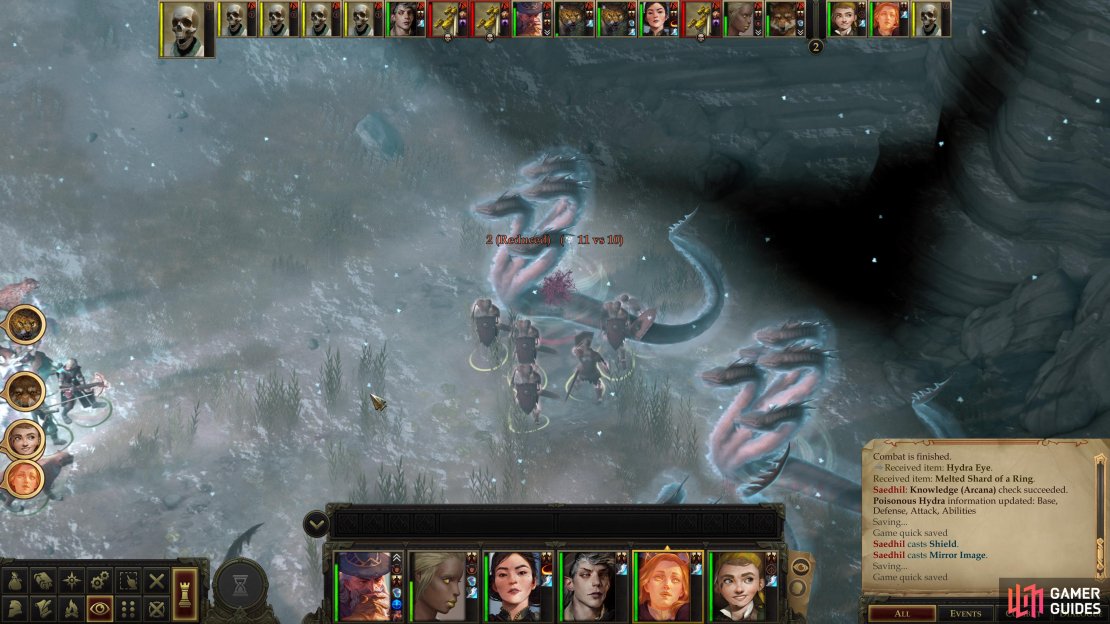
(1 of 2) Be wary of the Poisonous Hydra - it may not be a melee bruiser, but its breath weapon can be debilitating.
Be wary of the Poisonous Hydra - it may not be a melee bruiser, but its breath weapon can be debilitating. (left), Defeat the beast and claim a head as a trophy. (right)
Hunting Grounds: Poisonous Hydra
The final fight - should you care about winning this tournament, anyway - is just to the north of this cart. Make your way downhill into a depression, where you may find a Ferocious Hydra prowling about. Be sure to exterminate it first, as this beast is just a warmup for the real - much more dangerous - threat, the Poisonous Hydra. You don’t need another hydra showing up mid-fight to spoil things.
You’ve dealt with hydras and with poison before, but those experiences may (provided you didn’t stumble upon an incredibly unfortunate random encounter in the Kamelands) not have prepared you for this foe. The Poisonous Hydra doesn’t just inflict poison with its bite (although it does that, too), it’ll also spit clouds of poison at its foes, potentially poisoning numerous characters.
There are a few ways to deal with this hydra’s venom, the least ideal of which is to simply weather it. If you have plenty of Restoration spells handy, you can recover from the ability point damage well enough to go throughout the rest of the area without being too hindered, but there are other, somewhat more elegant solutions. Speaking of which, if you have Jaethal in your party you can have her engage the hydra while the rest of your party sticks back and provides ranged support, but there’s a good chance she’s not capable of weathering - even if buffed - the hydra’s attacks. If you’d rather expend magic at the start of a fight, rather than at the end, you can always prepare several Delay Poison (or a single Delay Poison, Communal) spells and apply them to your warriors. Finally, you can simply avoid the attack by being wary, as the Hydra won’t use it unless there’s several characters nearby it can hit with it. Just keep an eye out for the purple action icon that indicates this attack is coming and withdraw your characters. You’ll provoke an Attack of Opportunity, but the Hydra will abandon the attack, and you can just re-engage, repeating until it falls. Whatever strategy you adopt, Haste comes highly recommended.
Emerge victorious and loot the Poisonous Hydra for a Melted Shard of a Ring and a Hydra’s Head, which should be enough to secure you victory in this little hunting competition. There’s still more creatures to fight and treasure to gain, however, so the rest of this section will be dedicated to finishing up the area. If you don’t care to do so for whatever reason, skip ahead to “The End of the Hunt”.
(1 of 3) Summon some skeleton to occupy a hydra or two,
Hunting Grounds: Clear the Hunting Grounds
If you’re sick of hydras, you’re not going to be keen on the next task, as three Primal Hydras await you along the eastern end of the watery depression these multi-headed reptiles seem to thrive in. While not the most formidable of foes on their own, they’re serious enough that three of them at once may present some problems if you don’t spell buff. It’s another fight where Haste and Web (or something like Obsidian Flow - a 4th level arcane spell that can start replacing Web) will make all the difference in the world. Alternatively, you can just summon some skeletons via Animate Dead and let a hydra chew on them while you dispatch its fellows.
Primal Hydras have around the same Attack Bonus as the worgs you’ve been fighting have, although they get a whopping five attacks per round (multiple heads and all), and while their Armor Class isn’t great, they have Damage Reduction 10/cold iron and magic, Fast Healing 9 and are permanently under the effects of the Blur spell… because everybody knows that hydras - just like overgrown cucumbers - apparently gain access to illusion spells at some point. Especially when stats need to be padded. They don’t, however, have Blindsight, so Glitterdust will help mitigate their offense.
Defeat them, then continue northeast to find the body of a dwarf lying against some rocks, on which you can find some gold coins and gems. Not a great reward for such a fight, honestly.
(1 of 2) Dispatch another Giant Flytrap,
Dispatch another Giant Flytrap, (left), and claim a “Shard of Knight’s Bracers”. (right)
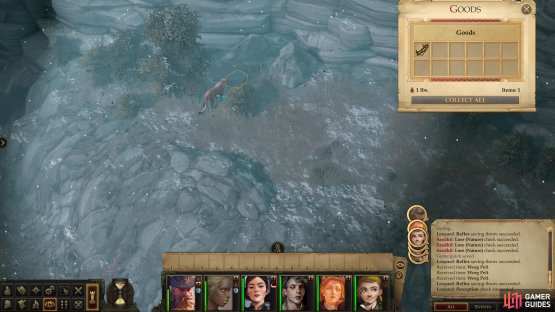
Return back to where you fought the Poisonous Hydra and from here continue north and somewhat west to find [Perception 19] a tree stump you can loot for some gold, gems, and potions. Northeast of here you’ll find a Giant Flytrap, which is a stout foe, but nowhere near as powerful as the Primal Giant Flytrap. You shouldn’t need any more refined tactics than rushing with your warriors and perhaps flanking it, as it lacks the Armor Class, Damage Reduction and concealment that the Primal variant enjoyed. Search its remains to discover a Shard of Knight’s Bracers.
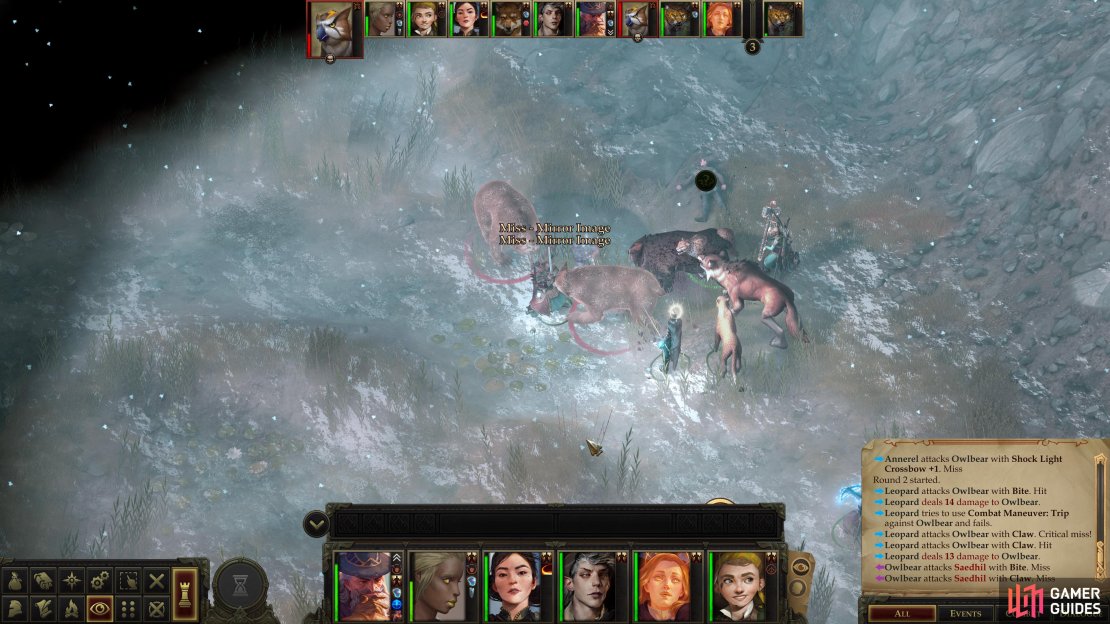
(1 of 4) A well-built tank will prove their worth again, as they can shrug off the attacks of a host of Owlbears.
Continue north and you’ll find the final encounter in this watery, sunken pit - a trio of Owlbears. Respect their damage output (their Attack Bonus and damage are all comparable to the Greater Enraged Owlbear you fought earlier), spellbuff sensibly and engage with your tanks and you should win without too much trouble. Haste is a given, Glitterdust will cause half their attacks to miss, and summoning some skeletons via Animate Dead can occupy one or two and let you focus on cutting one down - typical tactics for big nasty critters you don’t want tearing you limb from limb. After they’ve been culled, search a rock to find more statues, this time of hydras preying on humans. What a, ahem, strange coincidence. You can also loot a nearby corpse for some coins and gems.
Make your way back south to where you fought the Poisonous Hydra (last time, promise!) and from here head south then west up a grassy hill. Loot a boulder to score a Taldan Warrior’s Dog Tag, then continue west to stumble across a trio of Greater Dire Bears. Don’t let their adjectives fool you, the Owlbears you fought a moment ago were considerably more powerful -f if you need any buffs at all, Haste and Glitterdust should do the trick. Dispatch them, then head through a narrow pass between some rock formations to the southwest, stopping to search some rocks hiding a Token of the Dryad.
With that, you’re done with this area. All you need to do is find an area transition (there’s one in the southeastern corner and southwestern corner of the map) and travel back to the Hunting Lodge. Or, if you prefer to be more sociable, spend some time with those Pitaxian nobles and enjoy the rest of the day.
(1 of 3) If you claimed two trophies, claim your prize,
The End of the Hunt
Whether you cleared the Hunting Grounds or not, and regardless of how you ended the hunt, return to the Hunting Lodge and report your exploits to Jamel Visser. Should you have acquired two of the heads (and there’s no good reason why you couldn’t have) you’ll win the mystery prize which turns out to be a hefty 2,500 GP and twelve Exquisite Pearls.
If your protagonist is evil or chaotic, you can make [Evil] or [Chaotic] checks to claim the prize for yourself - deserving or not. This naturally doesn’t please Jamel Visser much, since it amounts to little more than simple robbery but you’ll get the prize, and Jamel will leave after making a subtle threat.
| Reward: For completing the hunt |
|---|
| 180 XP |
| Reward: For winning the hunting competition |
|---|
| 2,500 gold, Exquisite Pearl x12 |
After you’re done talking to Jamel Visser, the servant’s sickness will finally progress to its final, horrifying stages. Now transformed into a Ferocious Owlbear, it’ll express the mindless hostility which is a staple of this wretched species. Put the beast down, then contemplate what just occurred. A magical beast infestation is enough of a threat, but an illness that transforms people into monsters? That’s a far more startling development, one that may very well threaten your entire kingdom, should the plague spread.
Before you leave, talk to your envoy - whomever that may be - and you’ll get several moral choices to make for how to handle the news of this plague. You can try to keep the details of this plague quiet [Lawful Evil] or [Lawful Neutral], or you can be more open about it [Chaotic Neutral] or [Chaotic Good]. The latter choice will ultimately end up endearing you to your populace in an event where their approval of your handling of the situation matters, but if your protagonist has a GOOD alignment, you need not worry about this too much.
Make what decision you will, then return to Tuskdale. There’s a storm approaching, but for now there’s little you can do but manage your kingdom and wait for more developments. Be sure to rest and save your game, as when the next major event card appears, you’ll be forced to deal with a bit of business before you get the opportunity to gather your party, rest, and explore freely.




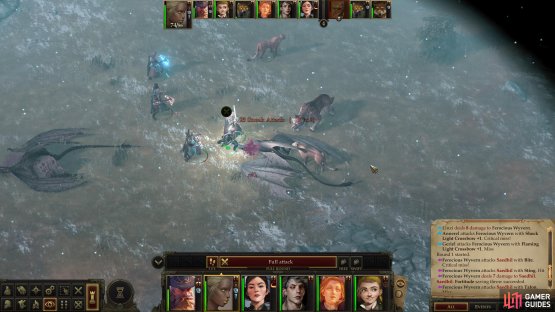




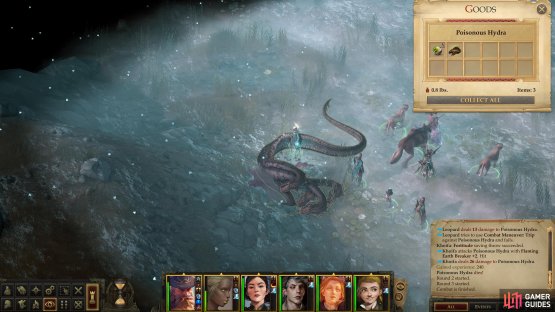



the ferosious hydra is the one that drops the melted shard of a ring the poisonous just drops head and some eyes