

Moving on the World Map
You’re finally free of the confines of Jamandi’s Mansion in Restov, your next destination being Oleg Leveton’s Trading Post. Right now there’s not much agonizing as to which direction to take on the world map; your route is more or less set and you can really only choose to go forward towards your aforementioned destination, or back to Restov, which is a waste of time. That being the case, click the left arrow on the map to move in that direction and watch as you progress past a fork in the road. Beyond this fork you’ll be treated to a not-so-random encounter where you’ll face off against three Thylacines.
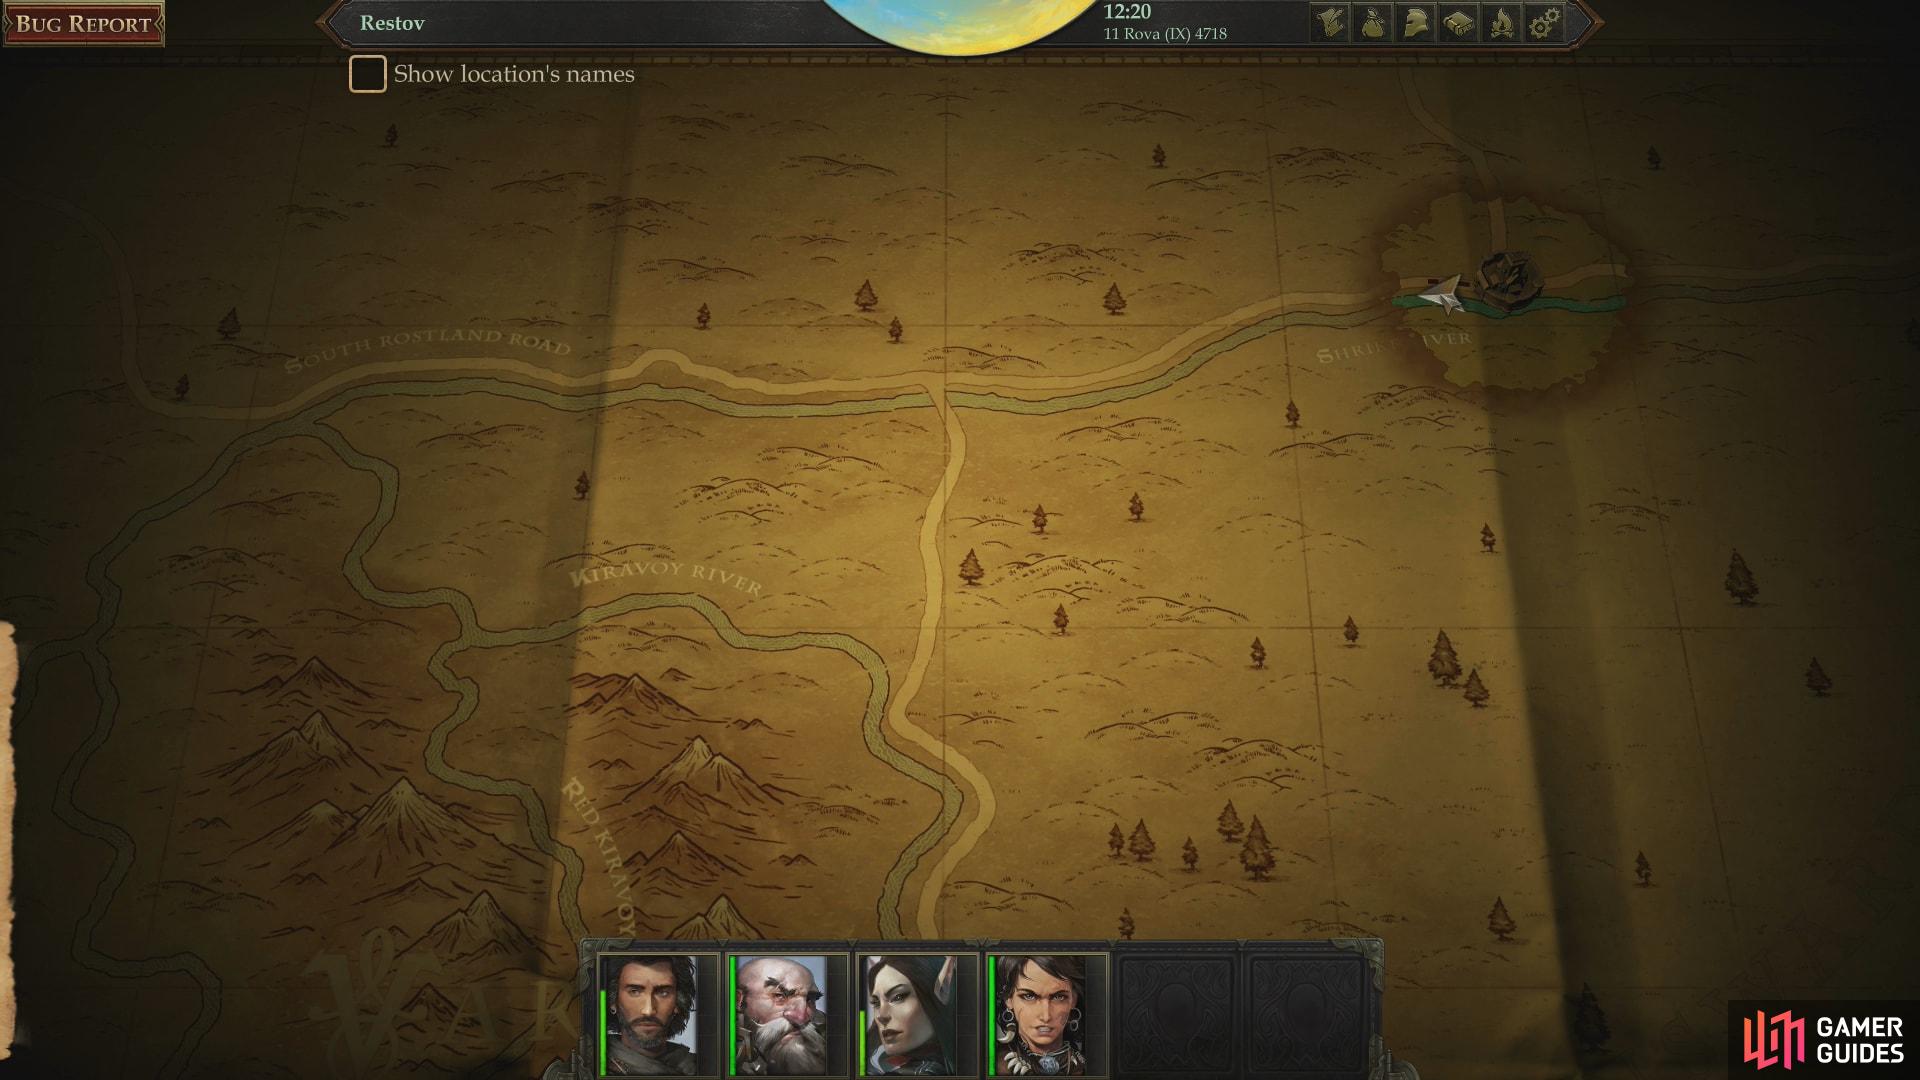
You can move on the world map by clicking the arrows, or by selecting an empty node
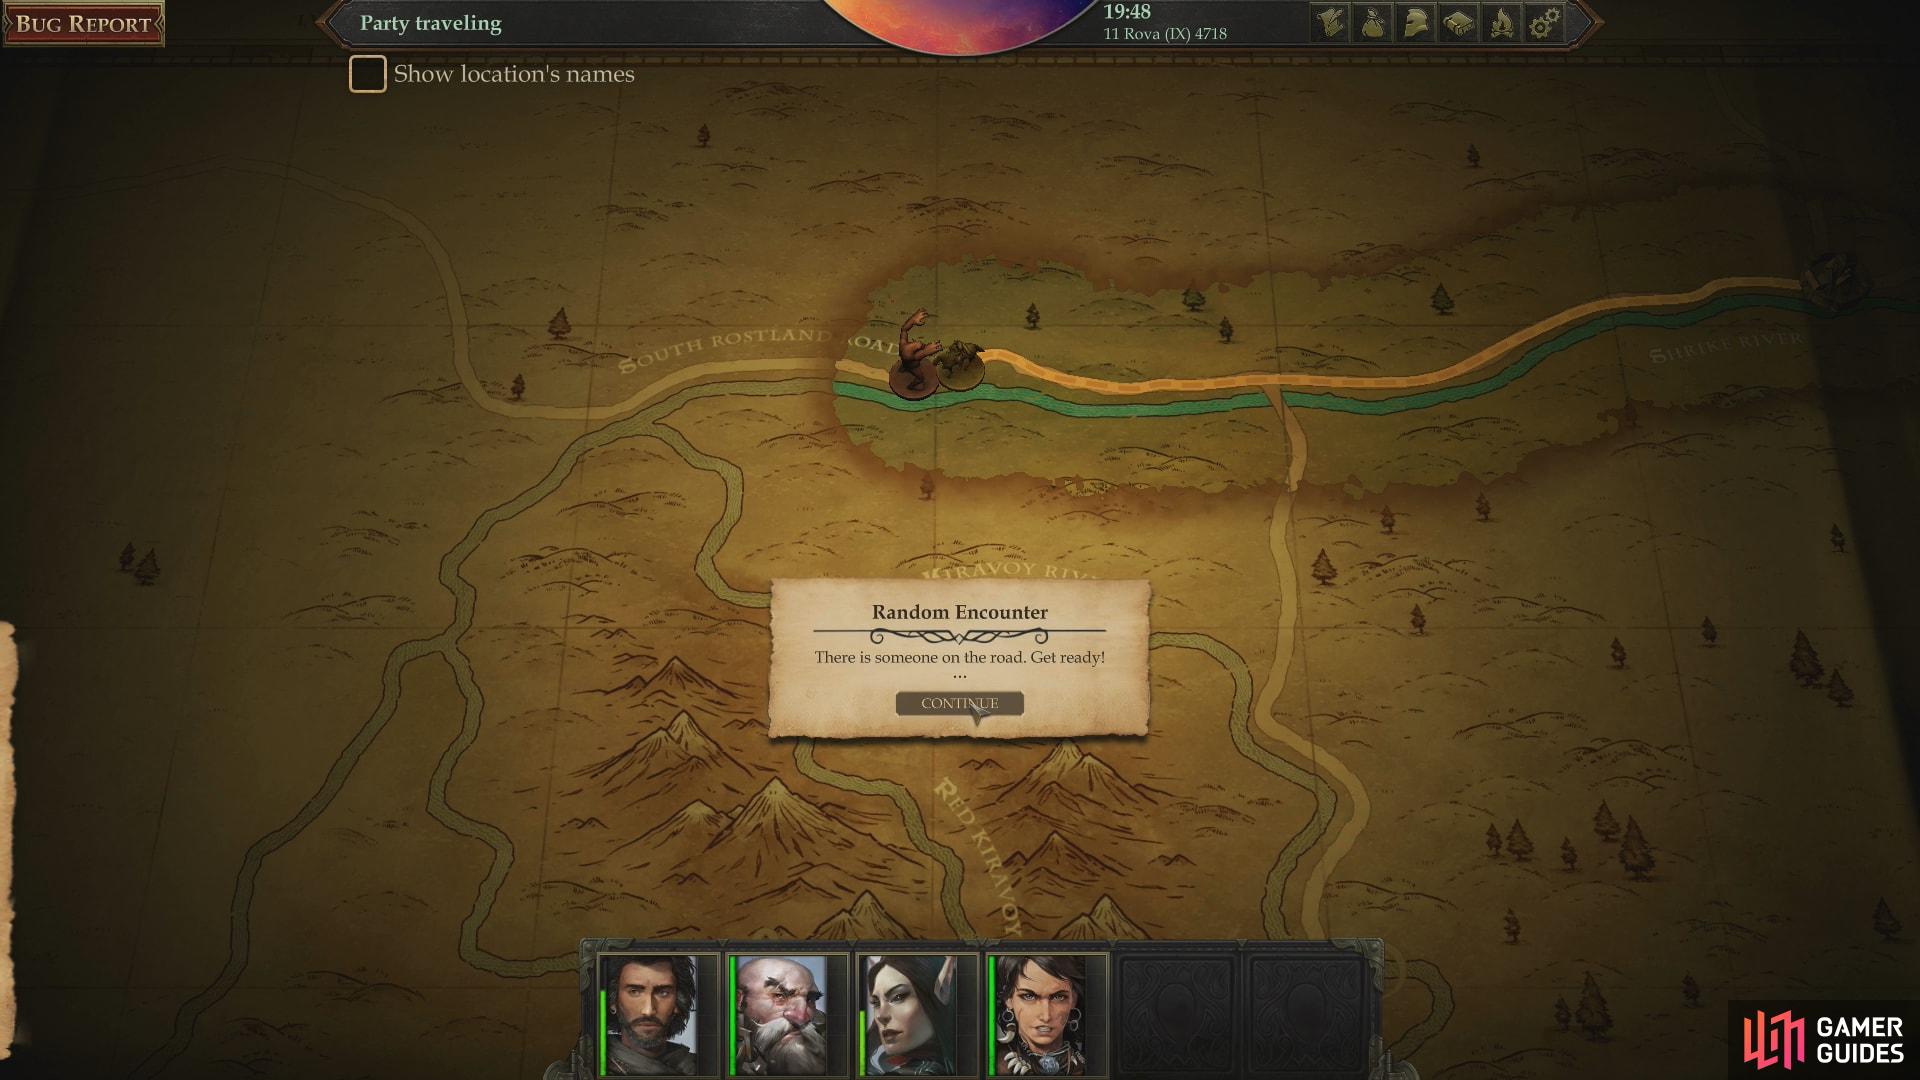
but be wary of random encounters (or not-so-random encounters, as the case may be)
Setting Up Camp
These are marginally stronger than the Assassins you faced in Jamandi’s mansion, and the game does you no favors with party placement at the start of the fight. Withdraw vulnerable characters to the rear while commanding your high Armor Class characters to engage, and as much as possible try to focus your attacks to take them down one at a time.
Dispatch your lupine foes, after which it’ll be time to set up camp for the first time!
As the tutorial suggests, press the “R” button to bring up the camp outline, then move it to an unobstructed spot. If the camp image is green, you’re good to go, if it’s red, try somewhere else. Once done, select your party and click on the campfire and they’ll move to the camp and begin preparing for their various roles.
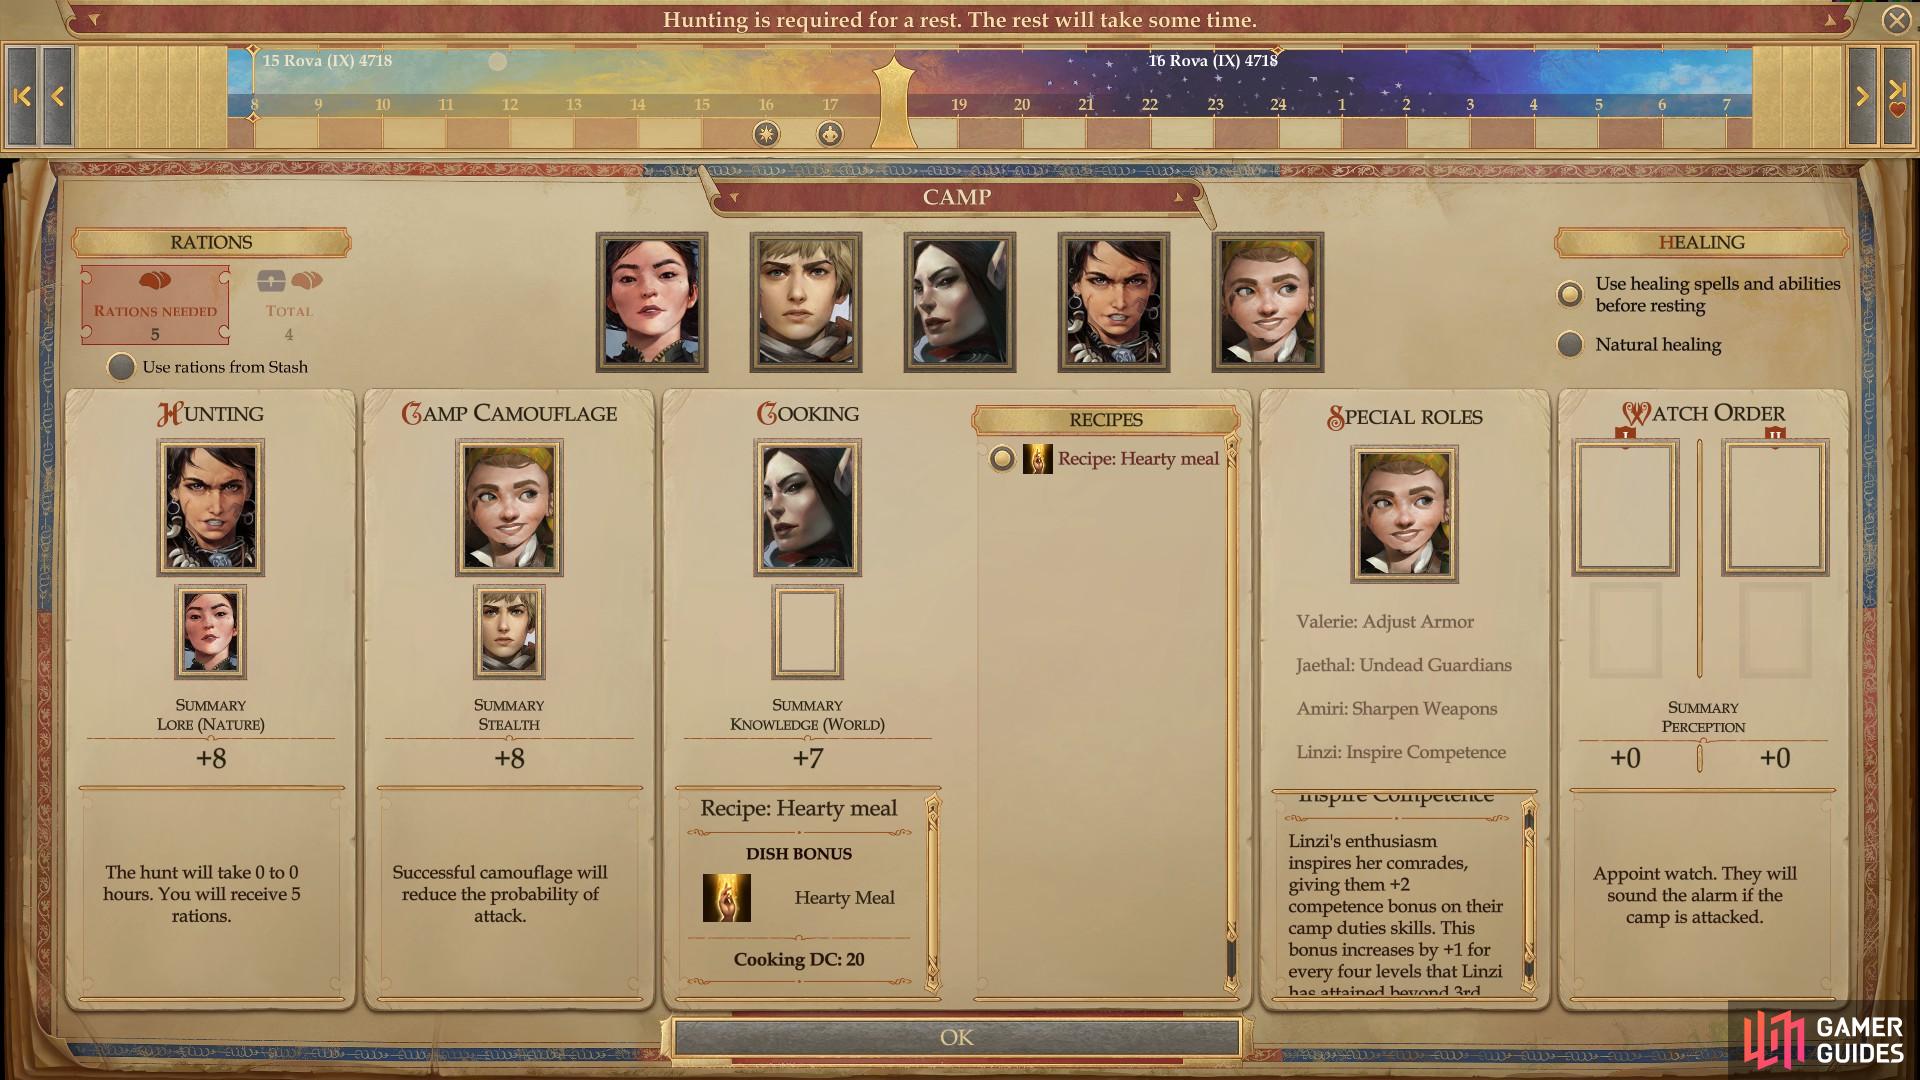
Select your character to various roles, being sure to cover hunting, camouflage and cooking, at least
after which the outcomes of your camping session will be determined by skill checks.
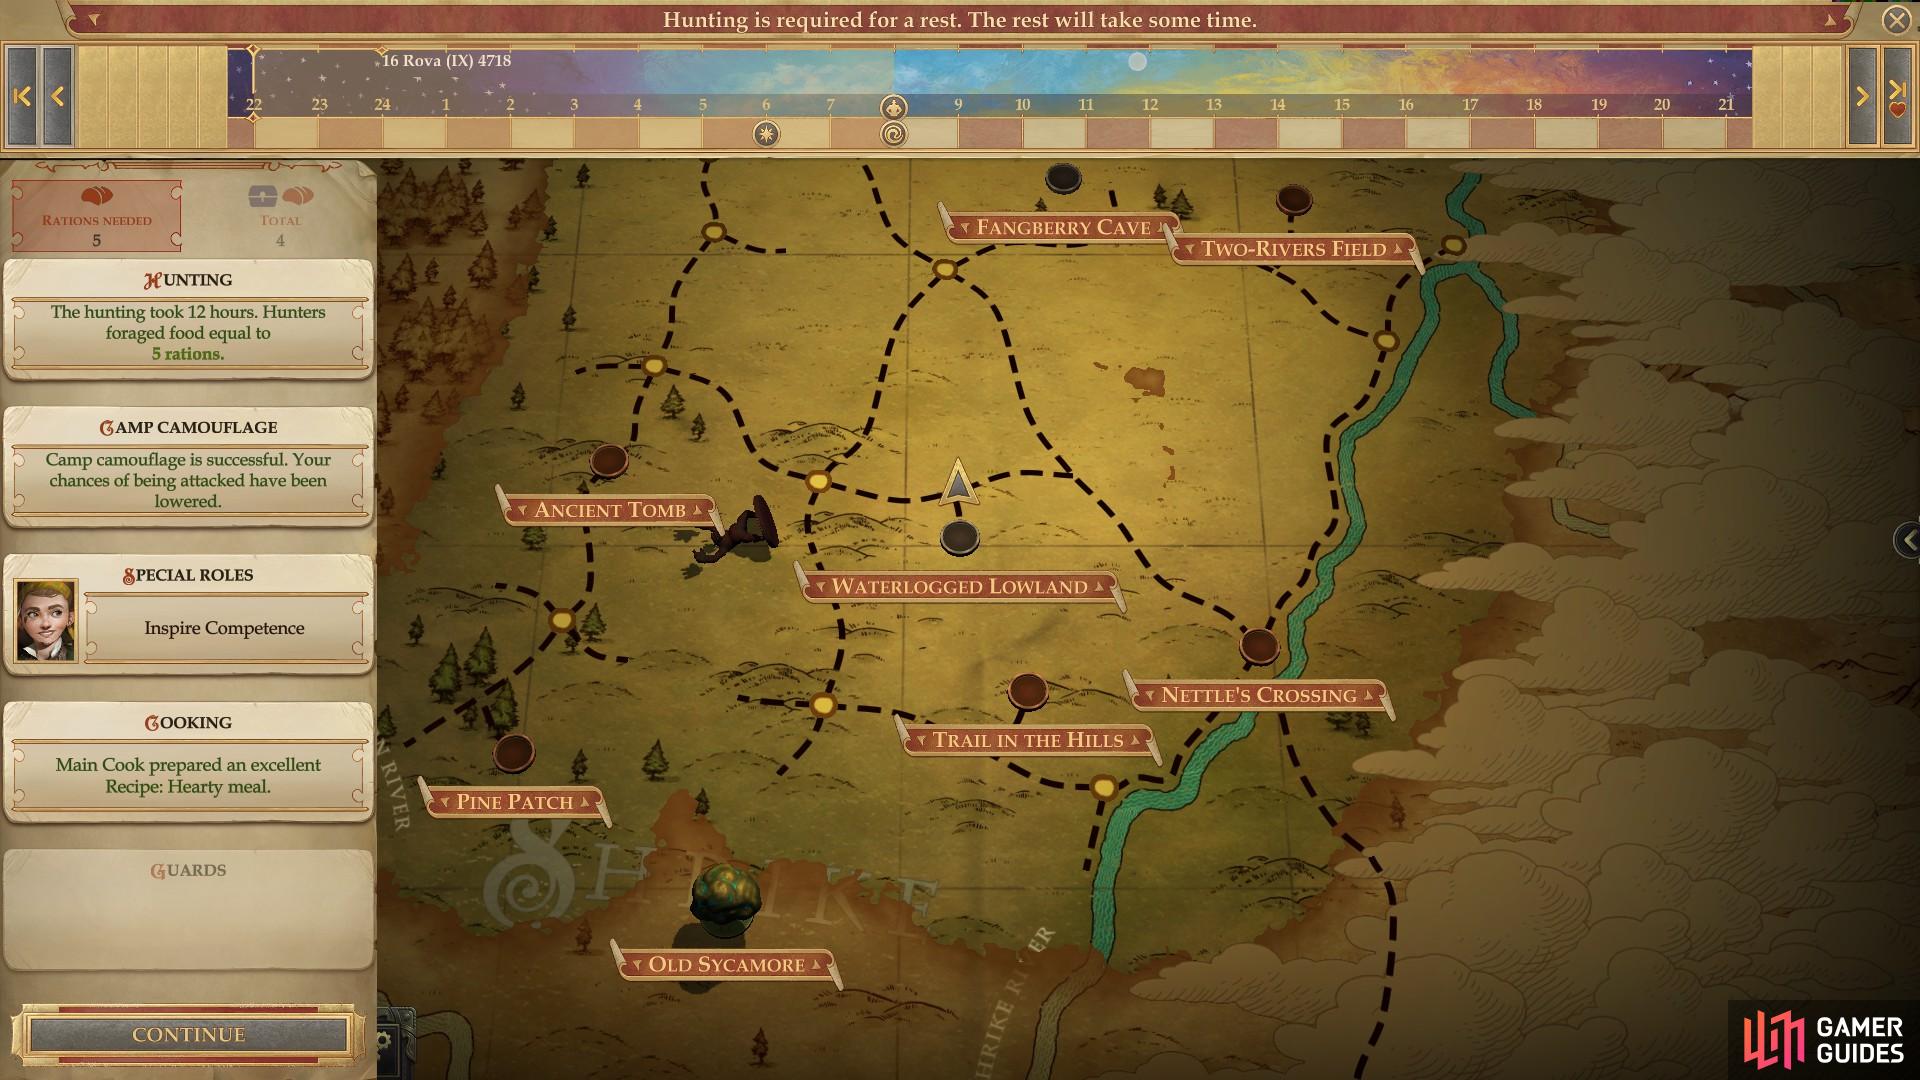
What’s not evident from the in-game tutorials is how much you can get done while camping (while camping, press the Manage button near the bottom of the screen), and some of the finer points of how things work. First, for every party member you’ll need a ration. Jamandi gave you four, and this first bout of camping will take up all of them. When you hunt your hunter must make a [Lore (Nature)] check against the area’s DC, and the balance of the scores determines how many rations worth of food they return with. If you don’t meet the required DC, they come back empty-handed, and they’ll gain additional rations the higher their skill check exceeds the area’s DC. If they fail to bring back sufficient rations (or if you’re unable to hunt, given the area) you can always expend rations from your pack. Keep in mind, however, that you can’t use camp hunting to gain rations, only to offset the hunting cost (even to zero) the amount of rations you’ll need to expend. If you have insufficient rations when you set up camp, your hunters will stay out until they secure enough rations, which may drastically increase the duration of a camp session.
Amiri, with a [Lore (Nature)] skill modifier of +5 has a good chance of bringing back something, but you can improve her odds drastically by having another character help. To do this, note the portraits at the top of the screen, which you can click and drag over to the empty boxes below that of each task’s primary character. Assigning an additional character will add +2 to the skill check, regardless of their own skill modifiers. You can also assign characters to Watch shifts, where they will add their full Perception scores to oppose any potential enemy Stealth checks… at least if their Perception skill modifier is the highest, otherwise they add +2, as usual.
Camp Camouflage is pretty self-explanatory: you make a [Stealth] check against the area’s DC, and if you fail, there’s a much higher chance you’ll be attacked while resting. Only if you get attacked by resting do the Watch shifts even matter, so if you’re confident in the camouflage check, you may not even need to bother with watch shifts. If you do get attacked without watch, the enemy will begin combat adjacent to your prone party.
Cooking is also pretty simple, you make a [Knowledge (World)] check opposed by the meal’s DC. The default Hearty Meal has a DC of 20, and you can change what meal you’re making by selecting a different recipe from the list adjacent to the cooking tab. You learn new meals by finding or buying new recipes, and different meals offer different buffs… but you may need to provide ingredients for more complicated meals.
Finally, the special abilities. Different characters can be assigned to different tasks while camping. Jaethal will summon some undead to help in case of an ambush, Amiri will sharpen her weapons, giving her an Attack and Damage buff, and Linzi will give all other campers a +2 bonus to their camping skill checks, for example. You can’t assign a character to use their special ability and undertake another camping task… not if you expect them to get any rest, anyways.
All in all, never forget that your key ally when it comes to camping is saving and loading until you get the results you want.
No Comments