

To reach the Ironstone Gully area from the Bridge Over the Gudrin River, follow these directions:
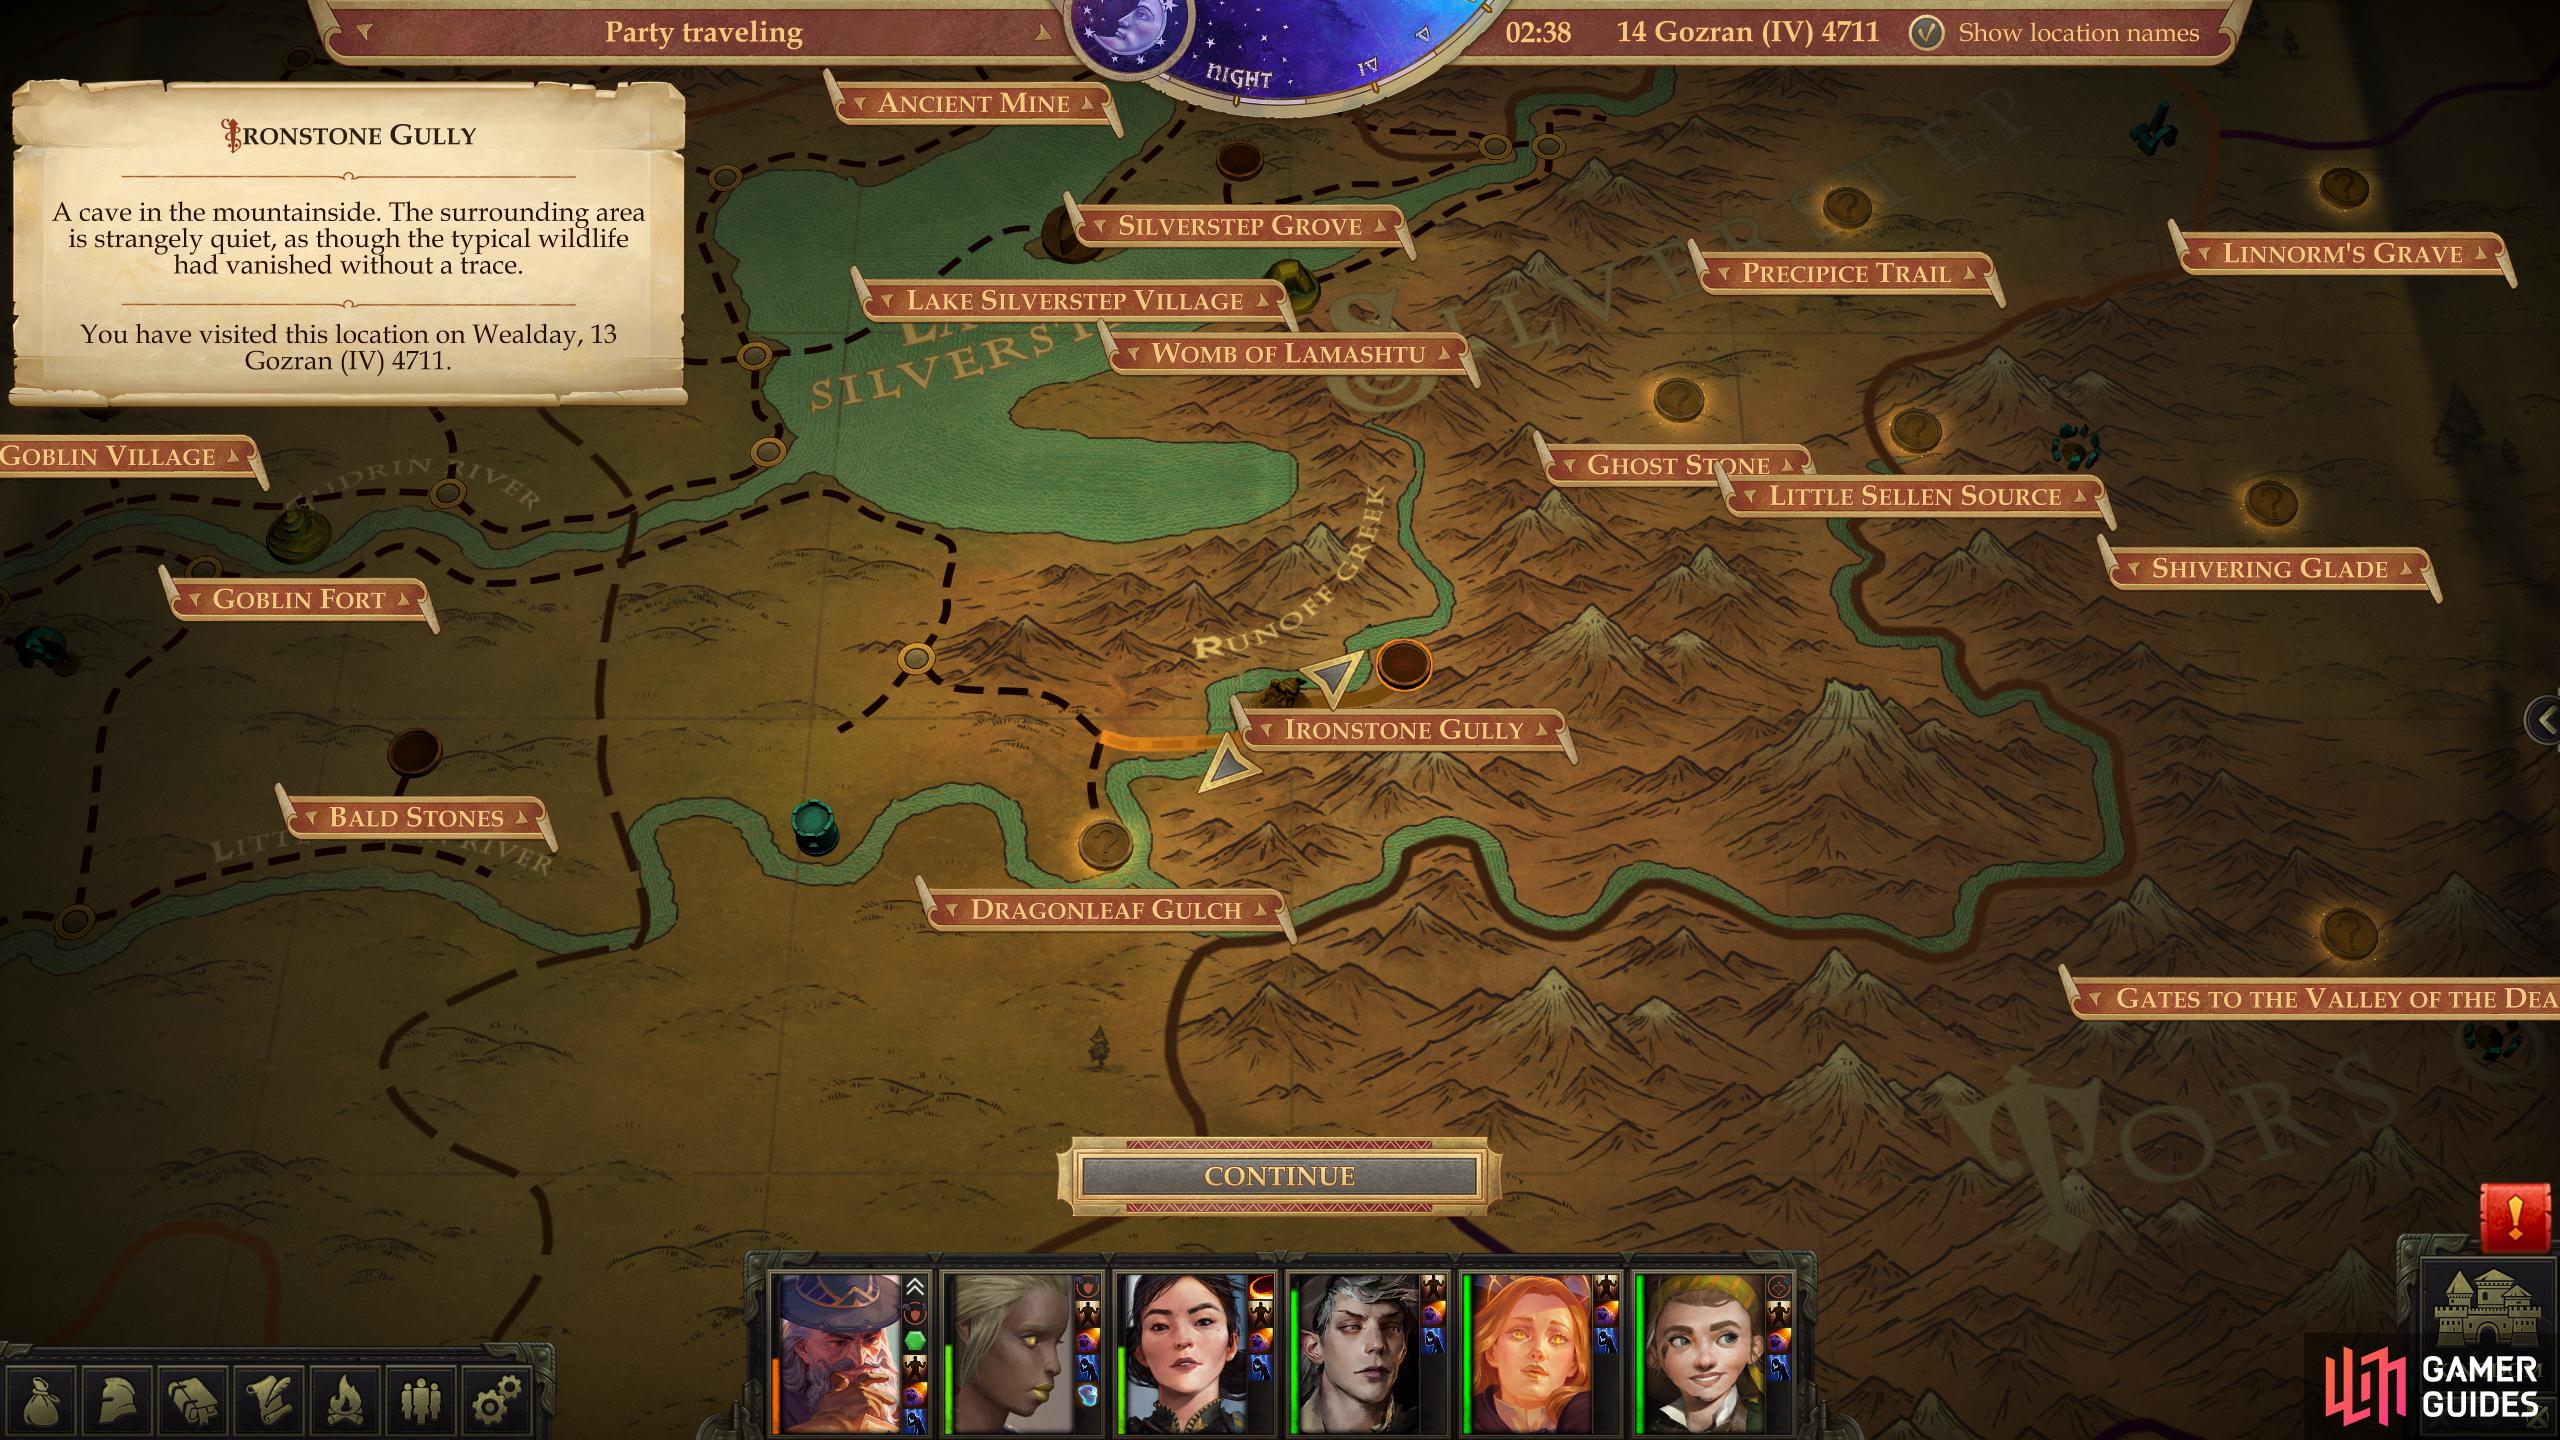
The location of Ironstone Gully on the map.
- south (across the Gudrin River)
- east (along the Gudrin River)
- east (along the Gudrin River, to the Goblin Fort area)
- east (along the Gudrin River, veers south at end)
- southeast
- southeast (across Runoff Creek)
Scour the Spider Chambers
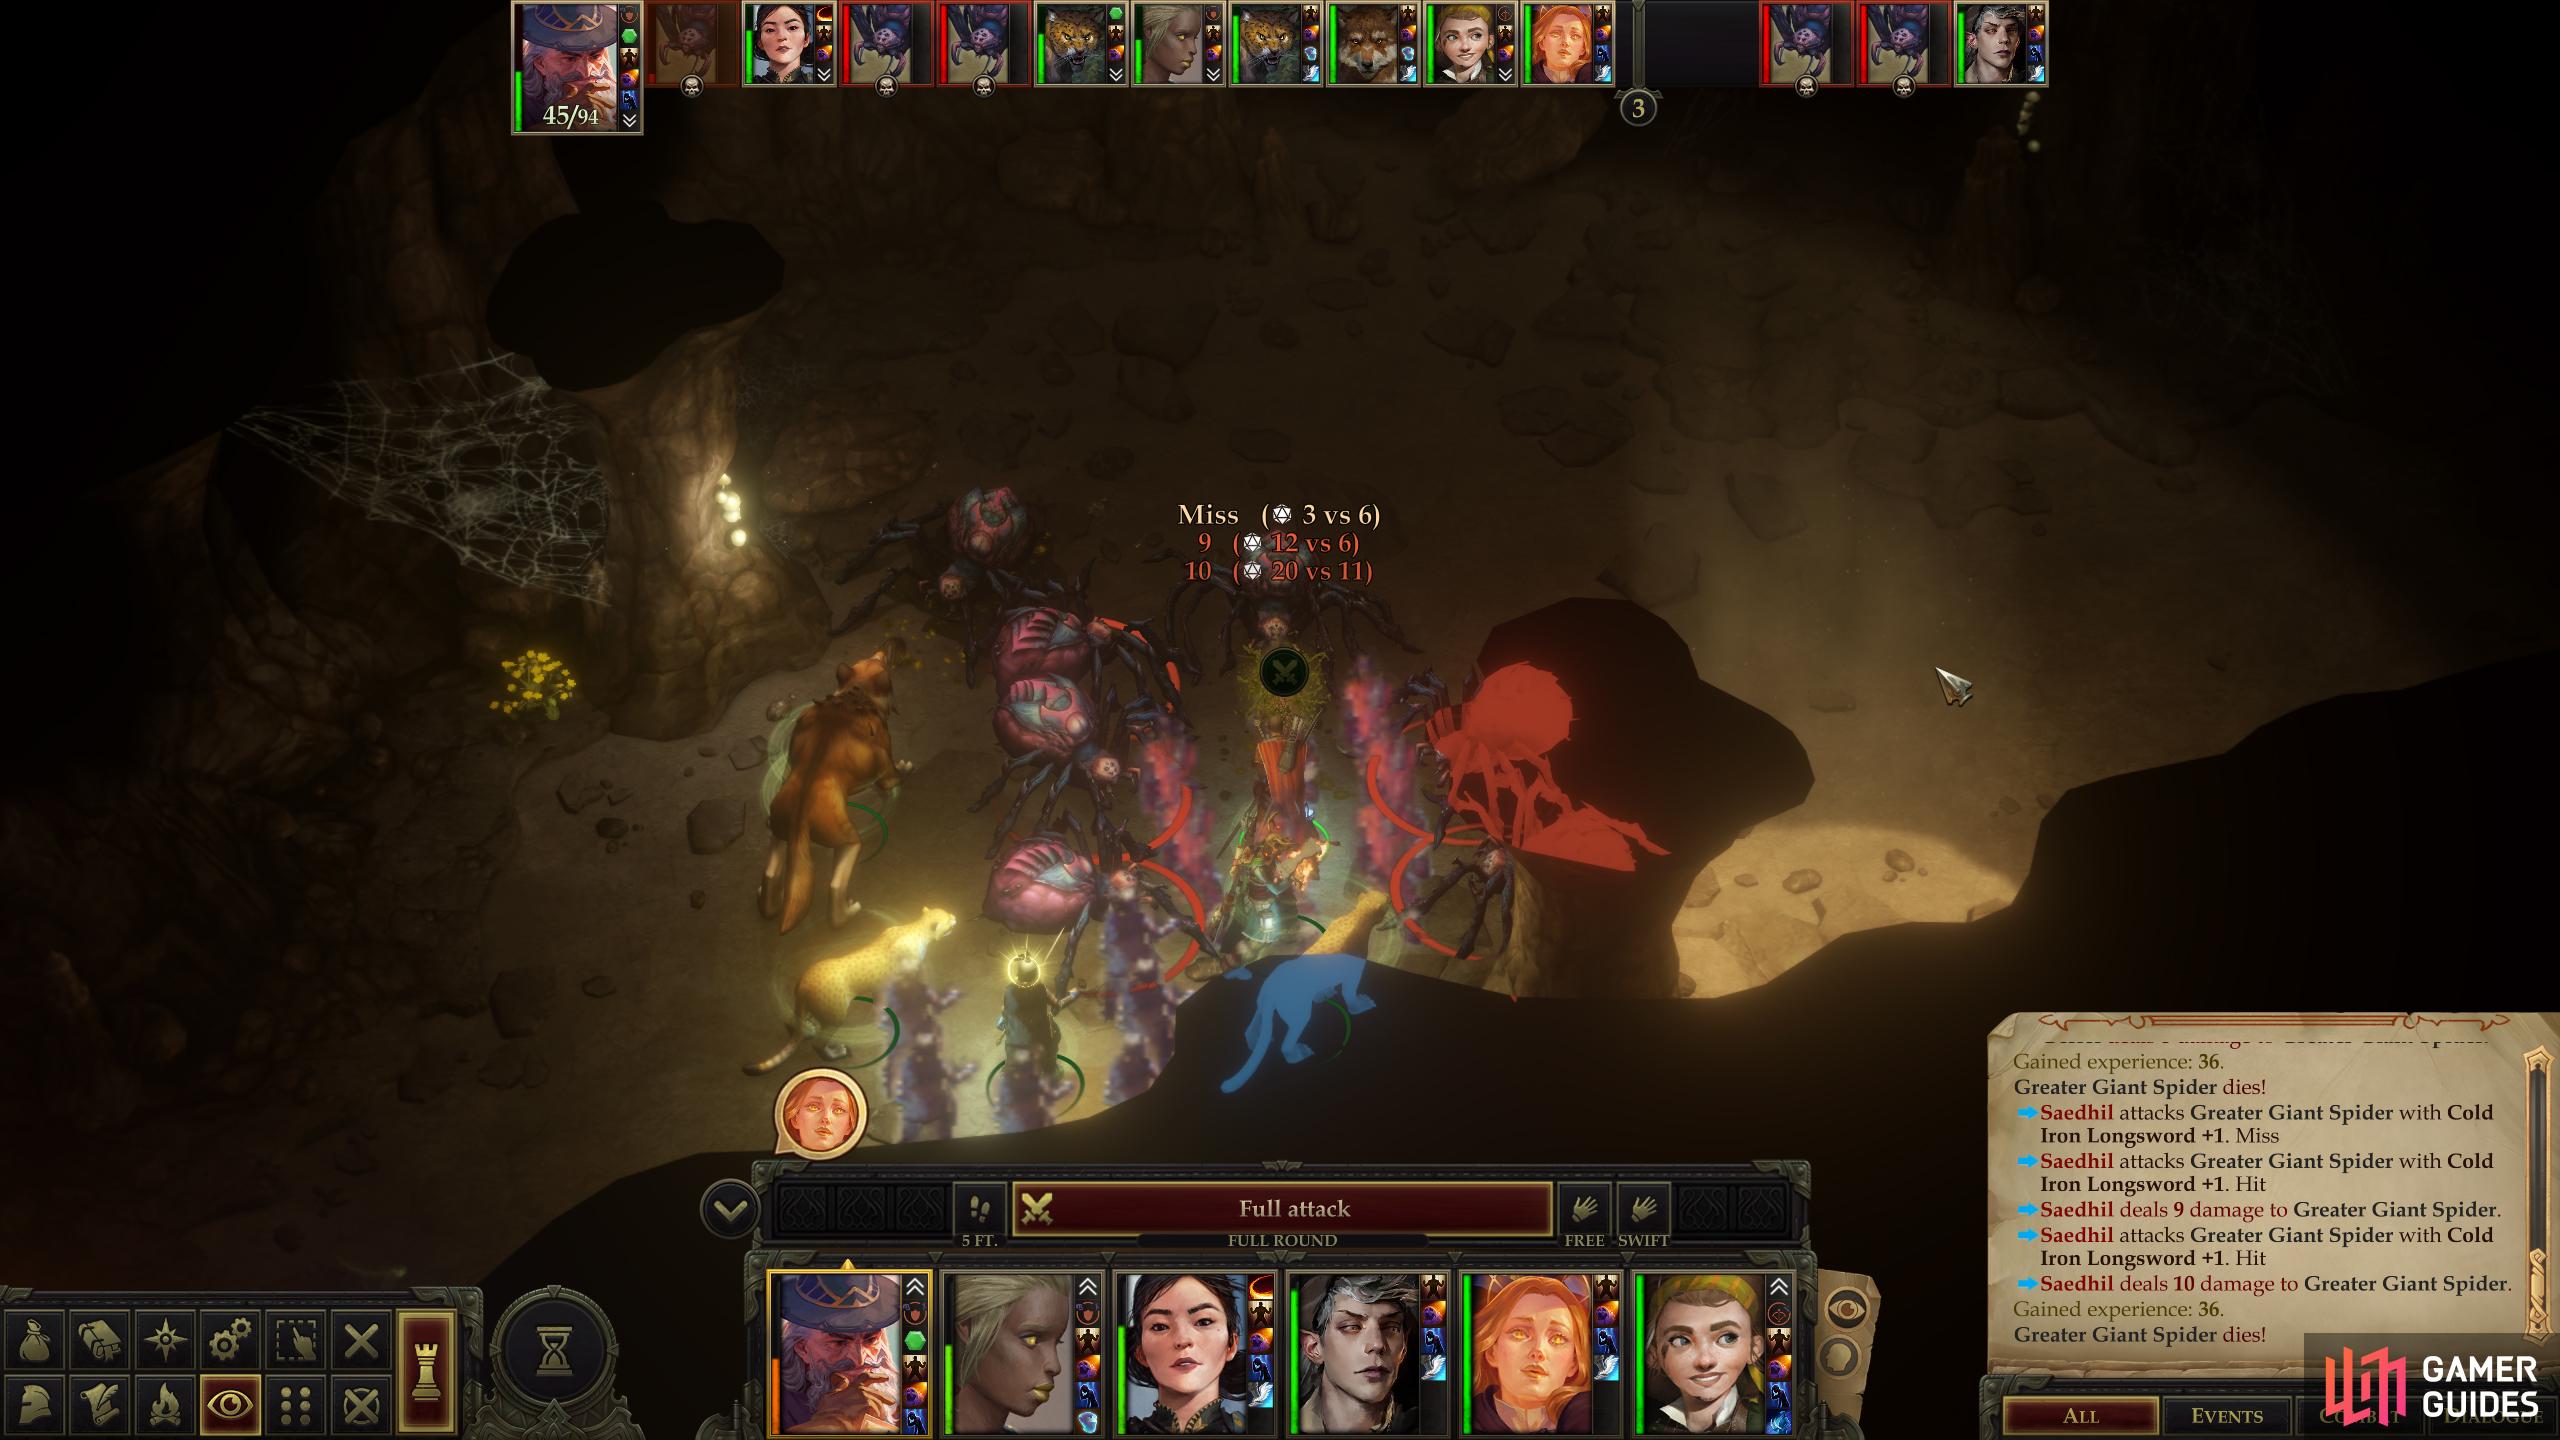
You’ll appear on the southern end of this area, from which you have little choice but to head north up a linear tunnel. When this tunnel opens into a larger chamber, turn northeast to find a nest of Giant Spiders. These foes present no new challenges, being roughly as strong as the ones you fought at the Ruined Watchtower in the Narlmarches.
Squash them, then continue down a tunnel to the east to reach a fork in the path. Turn south first, and when this tunnel terminates in another chamber, send a tank into the room alone to provoke the Giant Spiders dwelling there. Lure them back to the mouth of the tunnel to the north not so much to bottleneck them, but to secure your flank. When the first batch of Giant Spiders fall, another group will spawn around the room and attack, potentially threatening your squishier characters if they were left exposed. Forming a line at the mouth of the tunnel prevents any unfortunate mishaps.
When the second squad of Giant Spiders is smote, a third group will arrive, this time led by a Primal Giant Spider. This monstrous arachnid is not only much larger than its fellows, but it has the stats to match, boasting a higher Attack bonus, Armor Class, and a relatively deep HP pool, although in all honesty this only puts it on par with other large foes you’ve slain thus far. Eradicate these bugs, then search a chest along the western end of their chamber to obtain a Token of the Dryad and some Camping Supplies and Rations, along with a variety of treasure you can sell.
Clear the Centipede Chambers
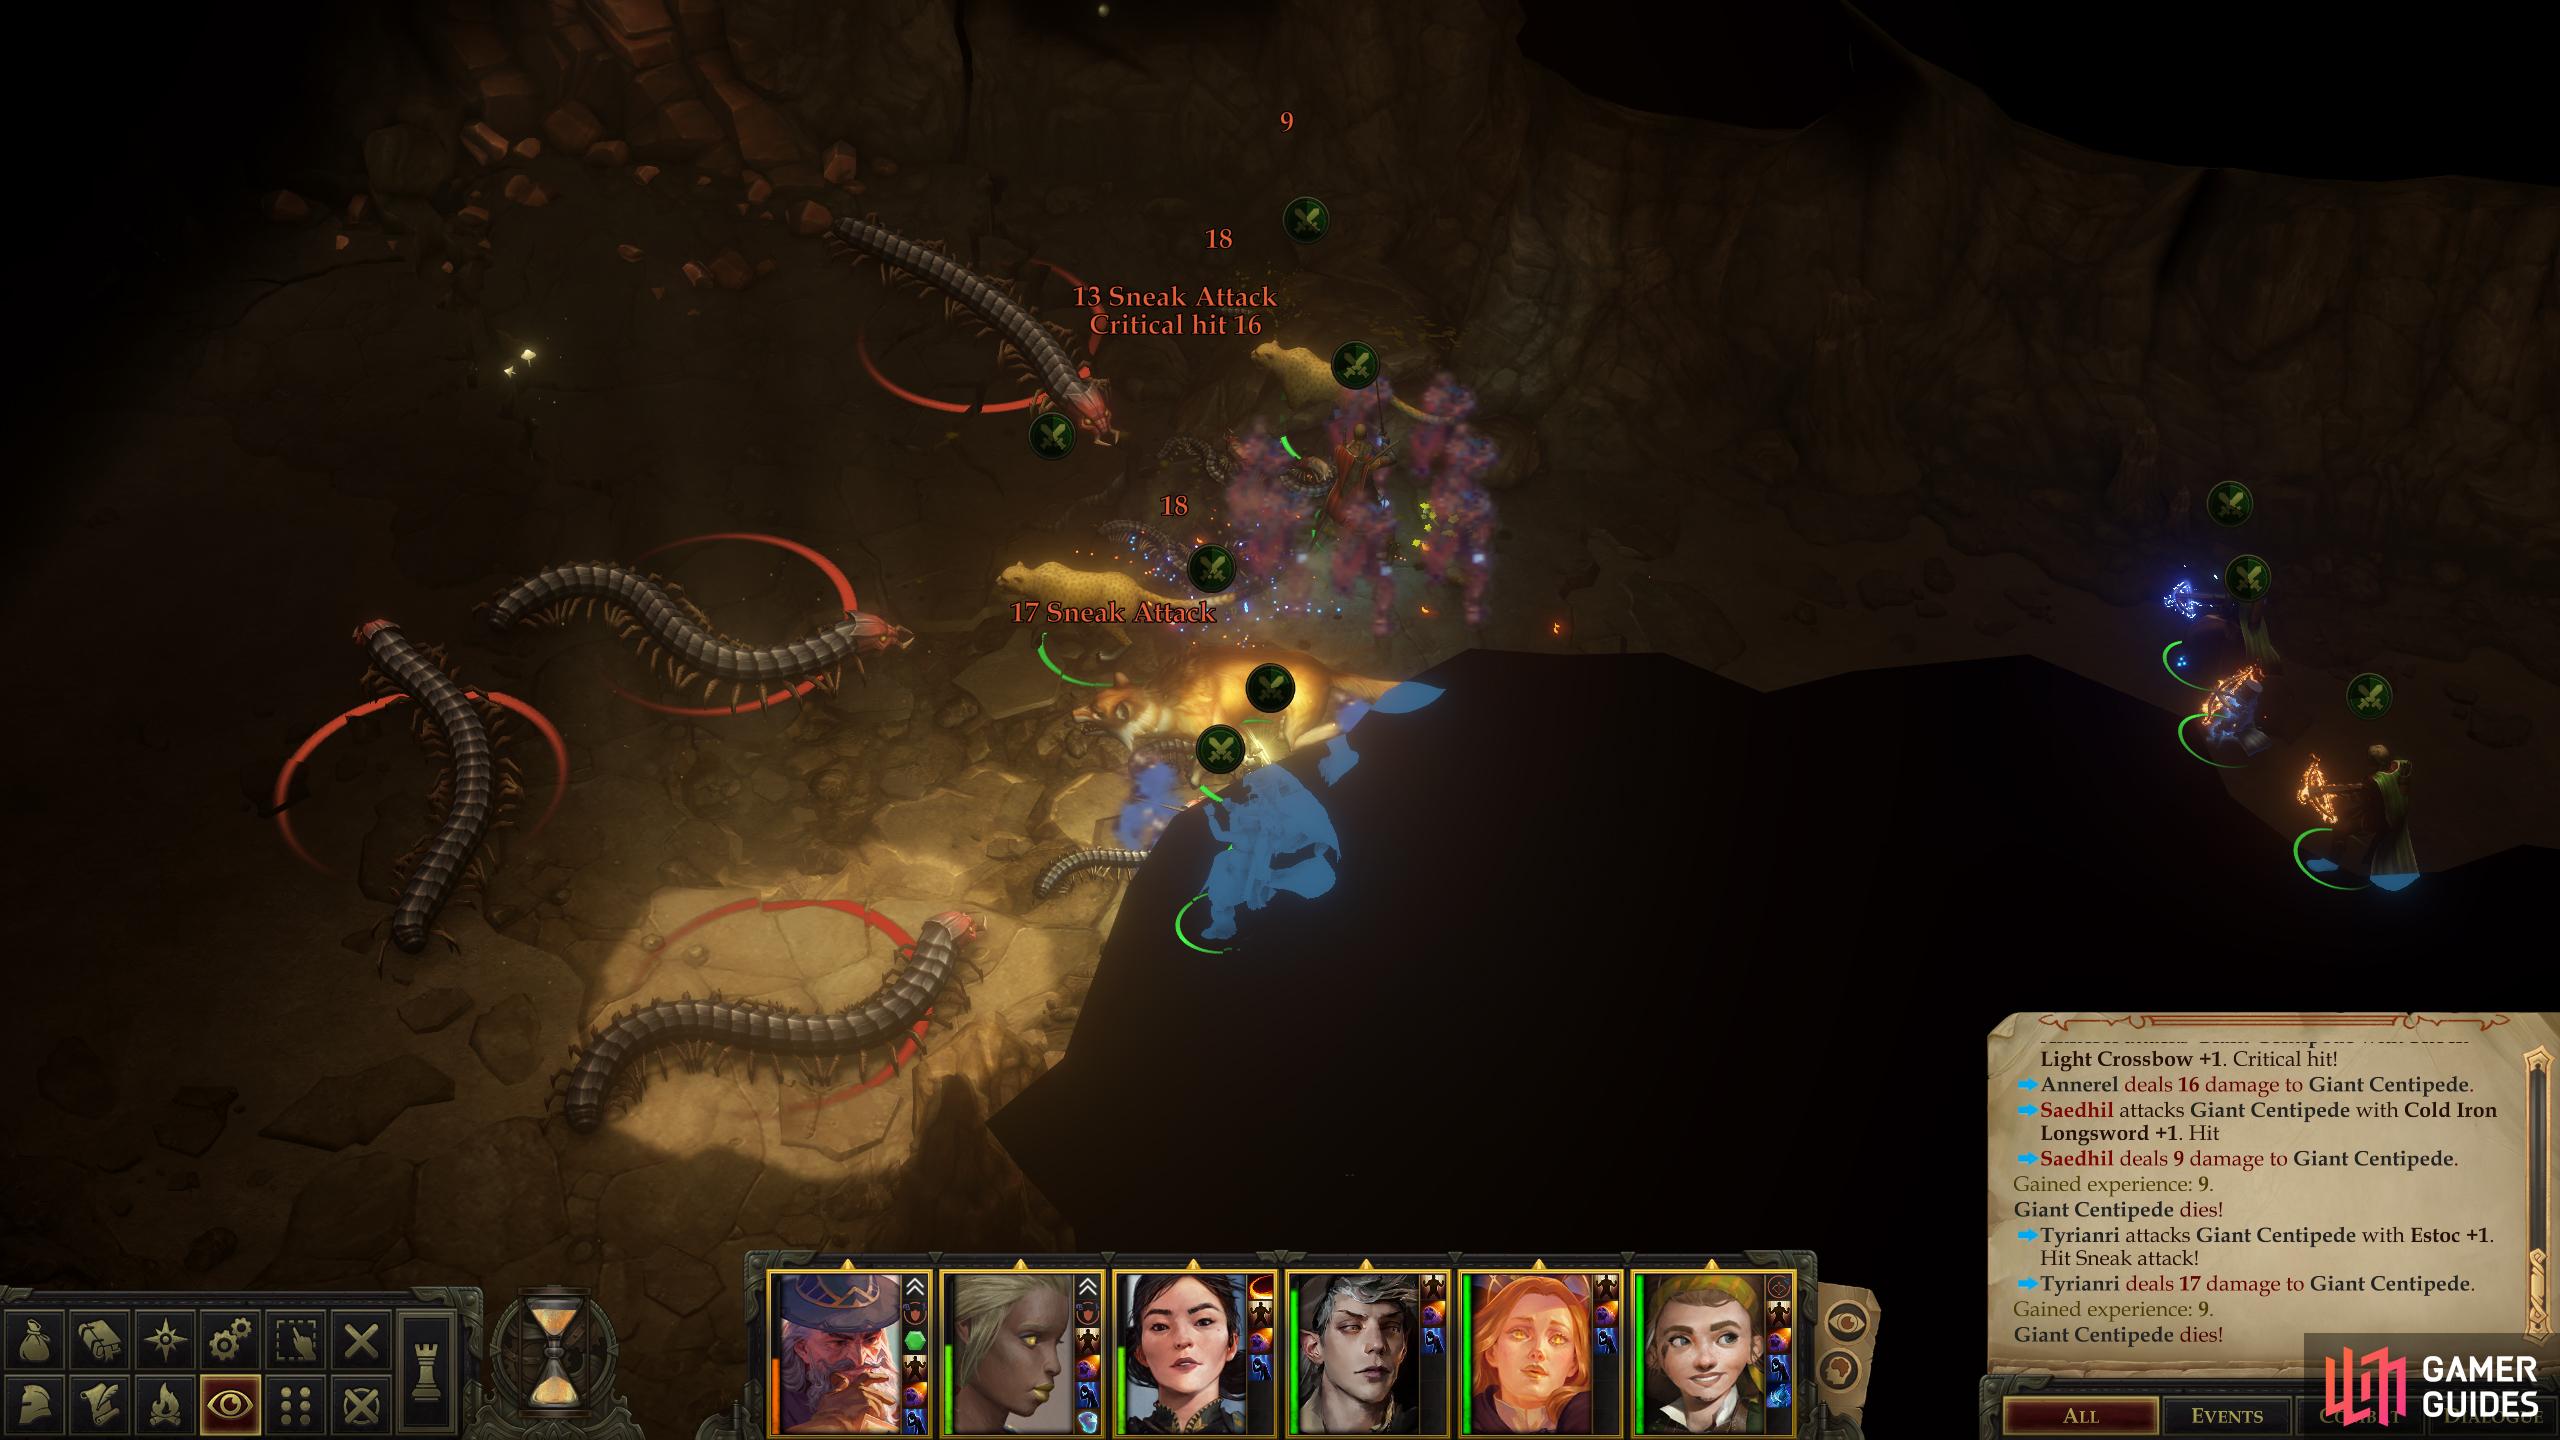
Backtrack up the tunnel to the north to return to the fork, and this time continue north along the previously neglected northern tunnel to find another large chamber occupied by insects. This time you’ll be facing off a host of centipedes, including numerous Giant Centipedes led by two Tremendous Centipedes. The larger centipedes are so large, in fact, that their girth impedes, making it easy to bottleneck them near the mouth of the tunnel. At the very least, you should be able to kill one of them before most of the lesser centipedes can squirm their way past. Don’t play too passive, however, as these larger centipedes can spit venom at you, which deals little damage but forces all characters in an area to pass a [Fortitude 19] save or suffer Dexterity damage.
Banish this batch of bugs, then burgle a box beside a body to become richer by a Potion of Resist Cold and another Token of the Dryad. Once done, turn your attention to the west, where another cavern full of centipedes awaits. This time there are four Tremendous Centipedes, and they writhe behind a mass of smaller bugs, meaning you’ll likely have to weather repeated venom blasts from them before you can engage. This is one of the few times where a blasty area-of-effect spell like Fireball makes good tactical sense.
Clear out this second group of centipedes, then pass a [Perception 20] check to notice an ore vein on the northern end of the cavern. Probably useful information, no? This cavern also houses a chest [Trickery 10] to the west which will leave you richer one Taldan Warrior’s Dog Tag and a Headband of Alluring Charisma +4. To leave, just make your way south and climb down a cliff to return to the area’s first chamber.
No Comments