

You can pick up this quest by talking to Bokken at Oleg’s Trading Post, along with the quest Moon Radishes for Bokken. If you’re following the walkthrough, we suggest completing this quest during the Fangberry Cave Expedition. Be sure you’re well-rested before entering this area, as the Fangberries you’re after will spoil if too much time is wasted after picking them, so returning to Oleg’s Trading Post immediately afterwards makes good sense.
To reach this area from Oleg’s Trading Post, follow these directions:
- South
- East (path winds to the south)
- South
- West
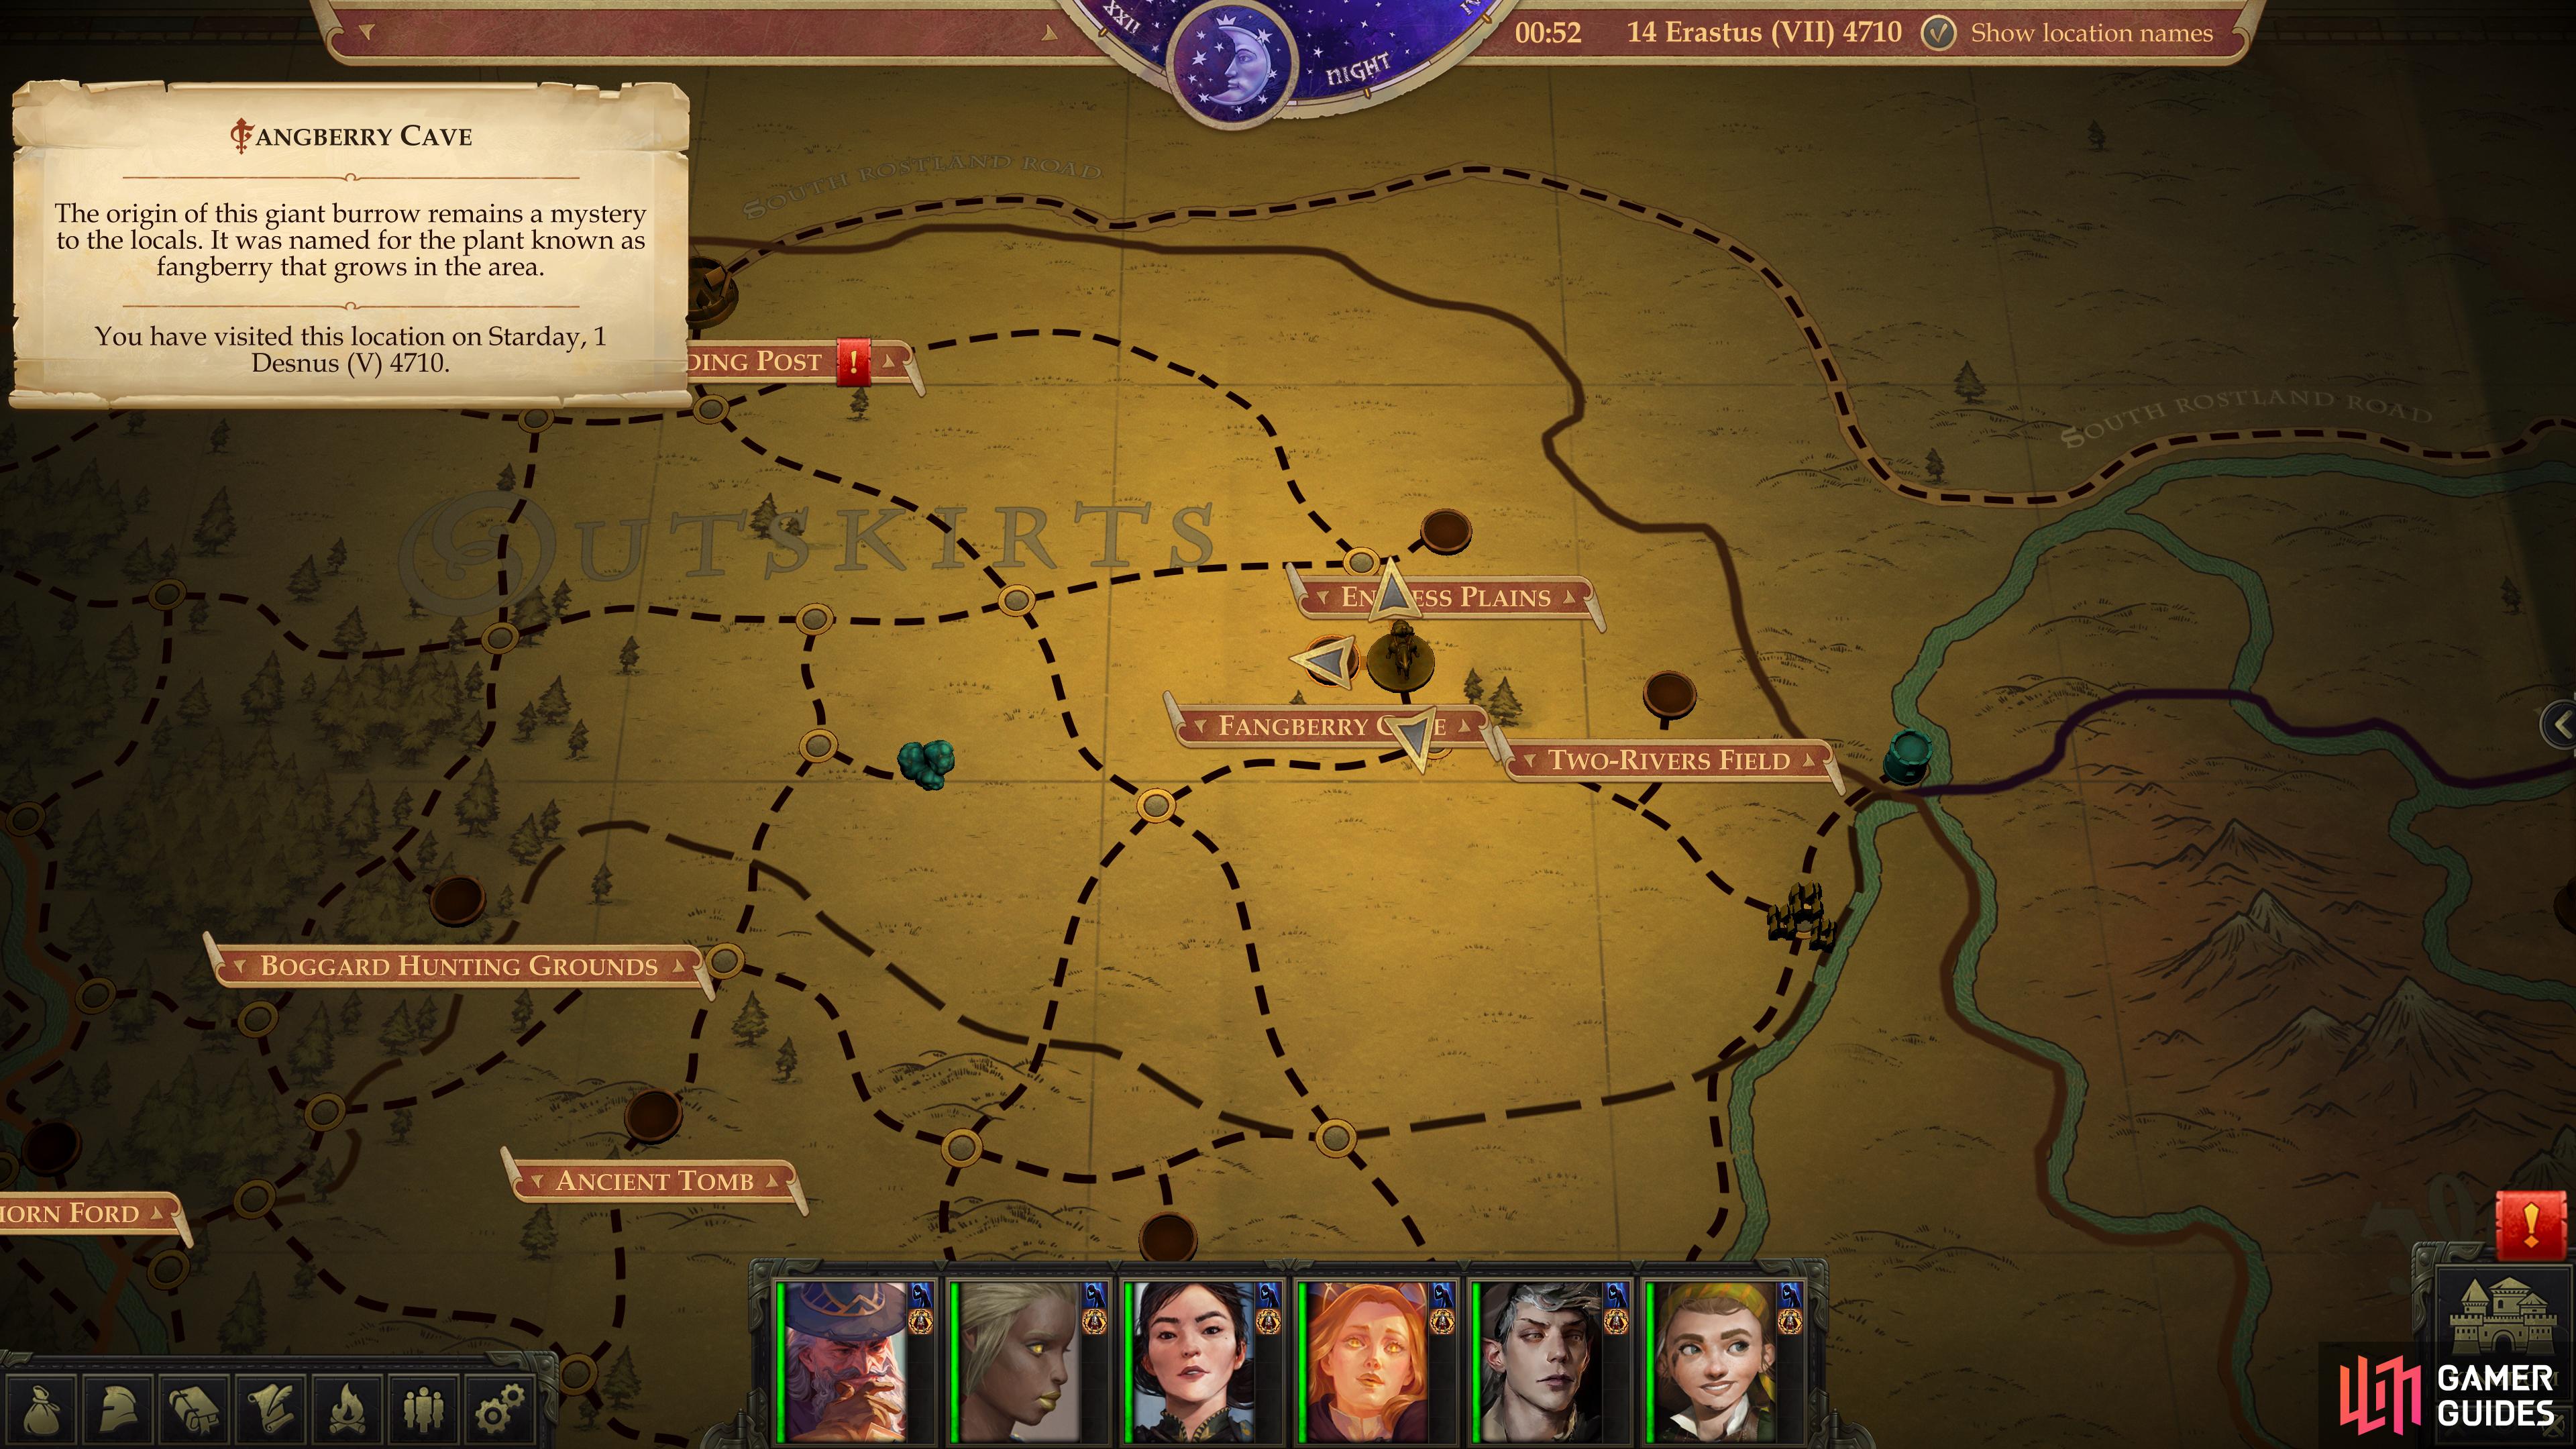
Fangberry Cave: Exterior
Despite being here for the flora, there’s actually a bit of fauna to contend with in this area. From where you start on the eastern end of the map, head south to find a trio of Young Deer, who will actually respond rather aggressively if attacked. Put them down for their delicious XP and meat, then search a Kobold corpse nearby to acquire some treasure, including a Potion of Cure Light Wounds. Was this critter overwhelmed by those deer? If so, it doesn’t speak too highly of the hunting prowess of Kobolds, eh?
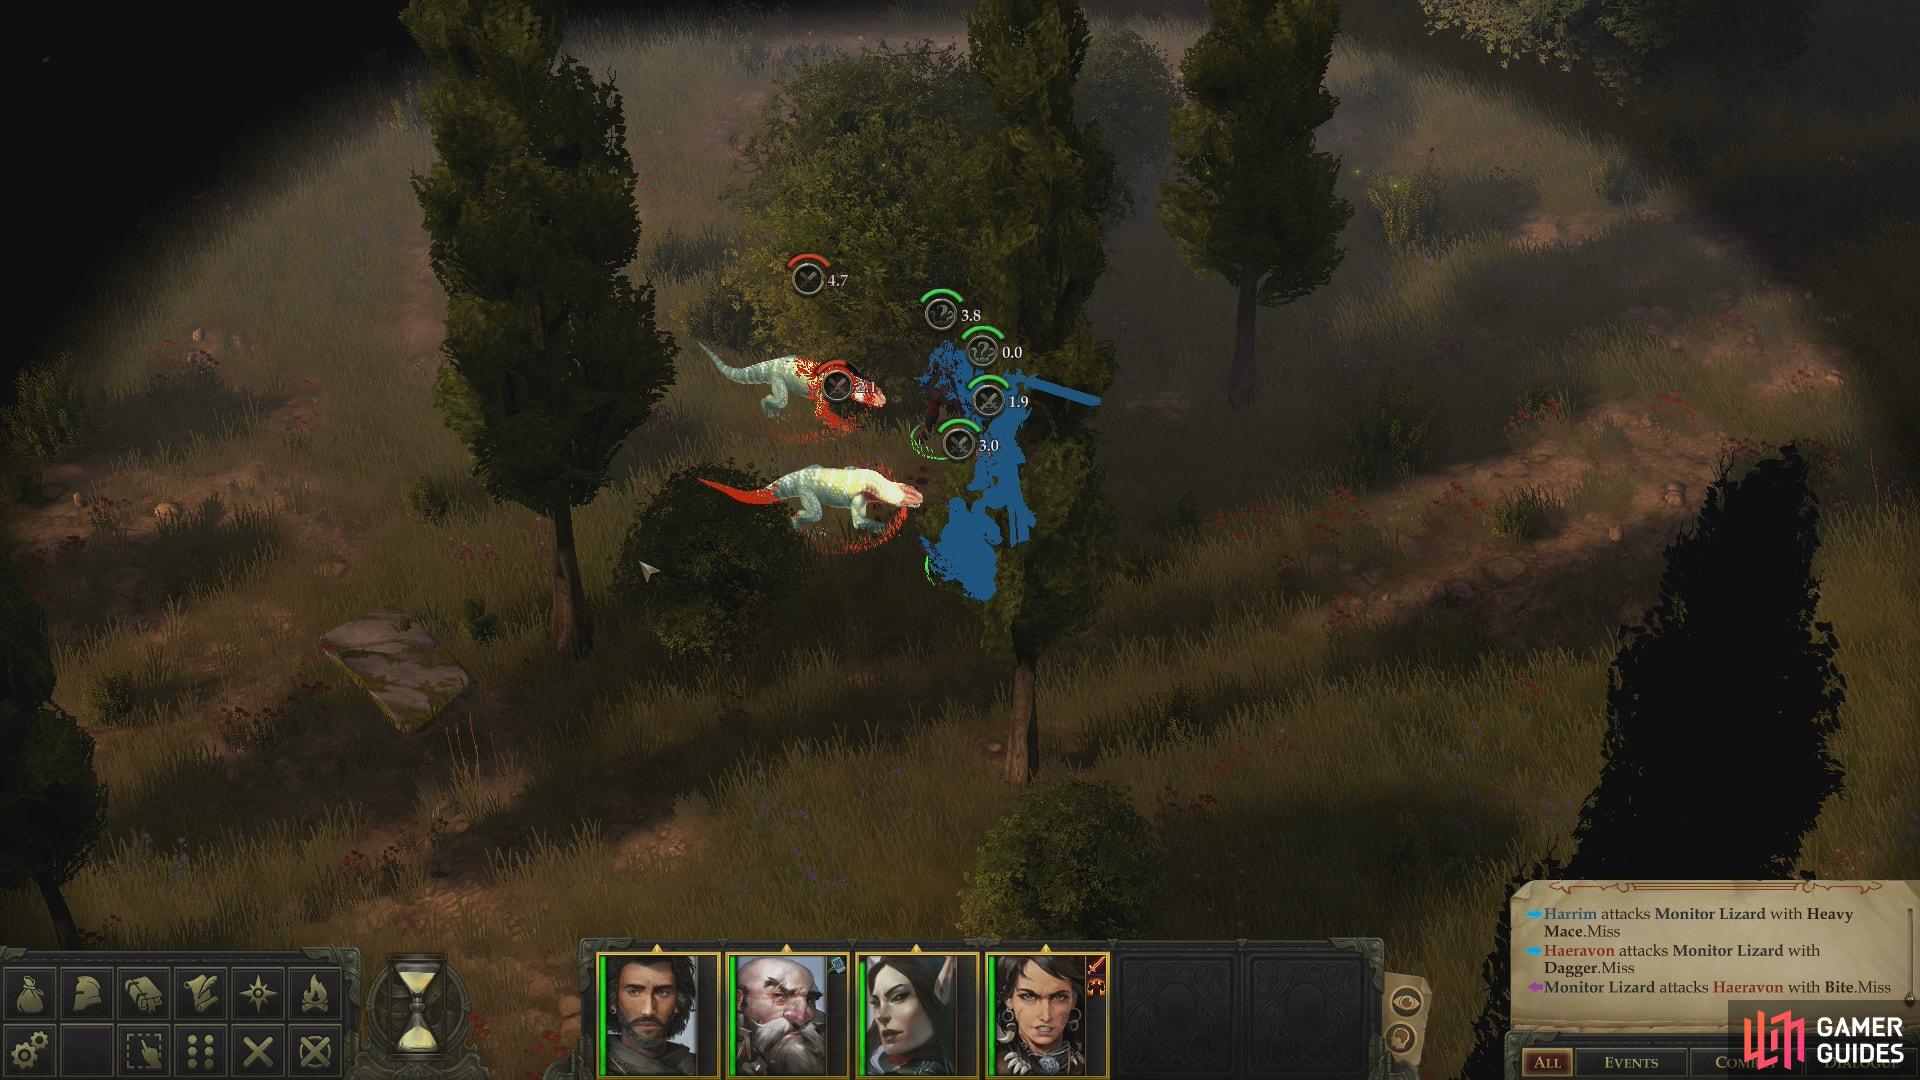
Continue west and you’ll find stronger foes - a pair of Monitor Lizards. While being fairly sturdy, the real threat comes from their venom (DC 11), which can inflict Dexterity damage.
Cut down the Monitor Lizards - Jaethal is immune to their poison, and hence makes good bait, if you have her - then loot them for some more meat. Finish up by looting a nearby slab of stone to acquire some trinkets which can be sold, as well as some GP.
Fangberry Cave: Interior
From where you encountered the Monitor Lizards, continue west until you hit the western edge of the area, then turn north to find the Fangberry Cave, near the northwestern end of the area. Save your game before entering, and spell-buff as best you can (Bless or Bardsong or both will do nicely), then head into the darkness.
The cavern is a bit dark, and although it’s not prohibitively so, it does bring up an opportunity to talk about a wonderful, humble spell: Light. Most casters should have it as a 0-level spell, and it has unlimited castings (although it can only be applied once per caster) and a duration of ten minutes per Caster Level. Yep, a long-lasting, infinitely-reusable, cast-and-forget source of illumination. It’s a simple thing, but welcome, and it won’t be long before it has some serious practical applications - and it’s much more convenient than a torch! Or, you know, you could just use the lantern Valerie came with.
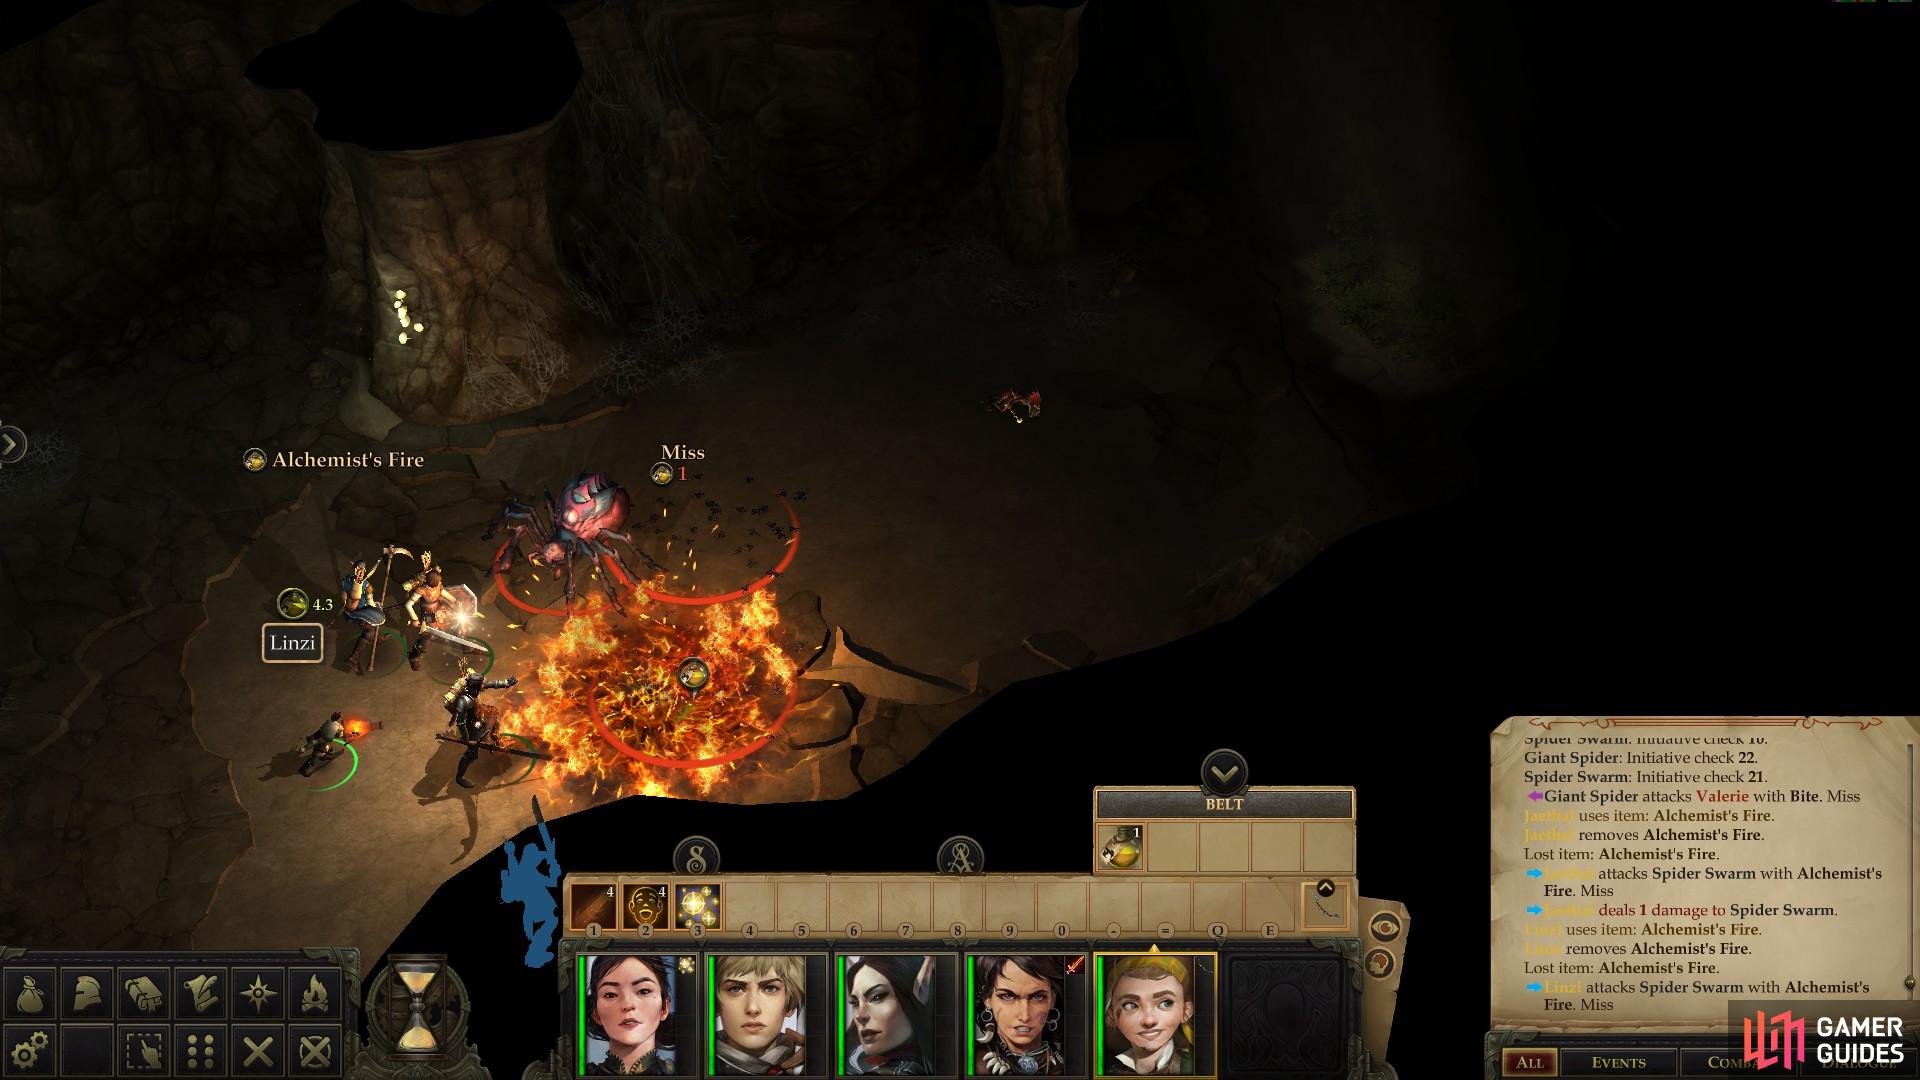
Defeat the Spider Swarms with area-of-effect attacks like Burning Hands or Alchemist Fire
then loot the Fangberry bush - which lives up to its name!
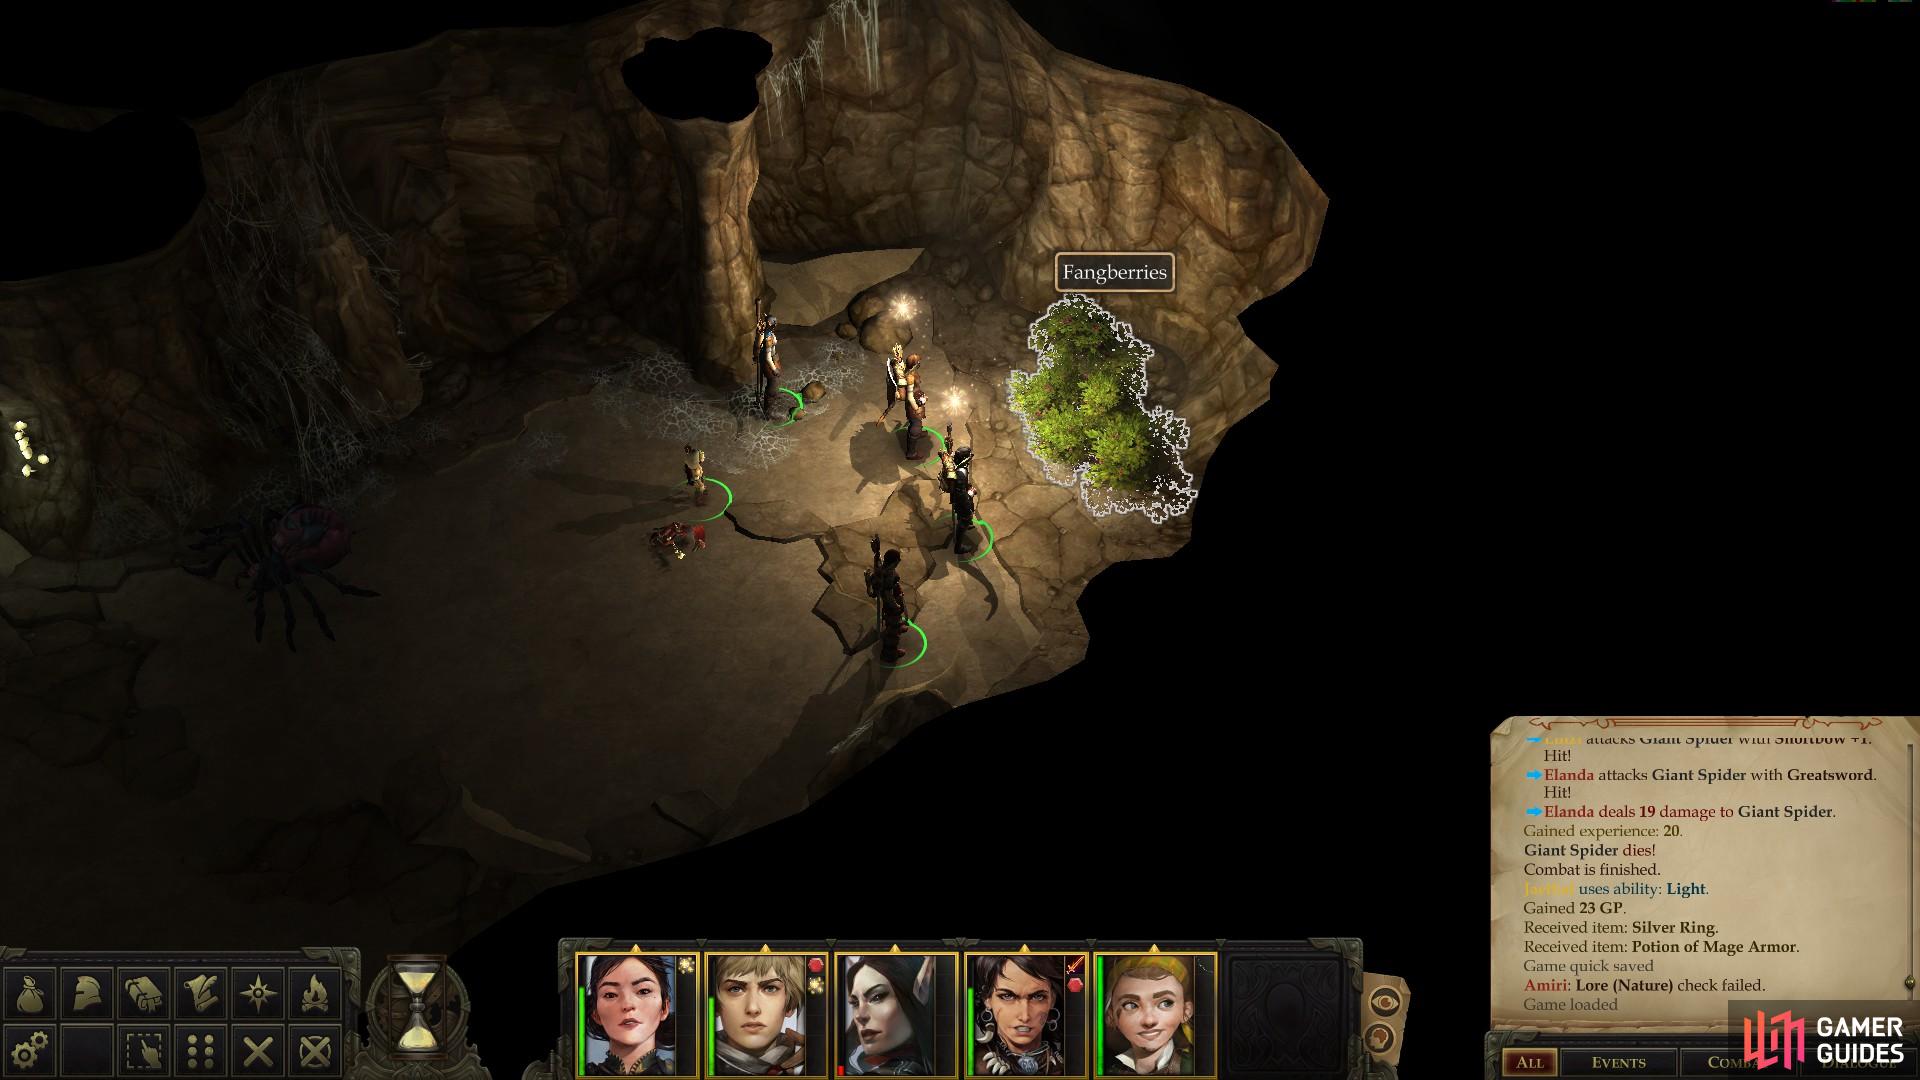
Light up as you wish, then head southwest from the entrance to find a large chamber. Here you’ll find some of the spiders Bokken mentioned, including several Giant Spiders. Giant Spiders are simple enough foes - although their poison can be a nuisance, they’re not otherwise difficult opponents. Lead with a tank so they can hopefully avoid damage (and poison) and cut the critters down, loot an unfortunate Kobold to find some treasure, including a Potion of Mage Armor, then continue southwest to find another large chamber. Use the narrow passage connecting these two chambers as a bottleneck, send your tank down southwest to lure some more Giant Spiders to the rest of your party, then dispatch this second group of spiders.
Once this second batch of bugs are beaten, continue southwest, then west to find the Fangberries bushes that Bokken sent you here for. Take the character with the best [Lore (Nature)] score, save your game, then interact with the Fangberry bushes to the east. These vile bushes didn’t get their name for nothing, and if you fail a [Lore (Nature) 20] they’ll deal damage to the would-be picker. Painfully persevere until you pick your prize, after which you can depart the cave, or risk venturing further…
| Reward: For obtaining some Fangberries |
|---|
| 12 XP |
There’s more to see to the northwest, but if you don’t have Alchemist Fire (Bokken should have given you some) or an AoE spell (Burning Hands will suffice)… well, this might be a “better part of valor” situation. Up to the northwest you’ll find some Spider Swarms, and common sense might make you wonder what a bunch of tiny bugs can do to hinder you when giant ones proved insufficient to the task. Well, Pathfinder doesn’t care about that sort of logic - these Spider Swarms can be troublesome, as swarm enemies cannot be killed by conventional tactics. Indeed, smashing a swarm of critters with a mace or sword may kill a few of them, but the majority of the swarm will persist undeterred by such a trivial loss of biomass. They have no mind (although they act collectively), and targeted spells will likewise bear no more fruit than melee or ranged attacks. Not only that, but their method of fighting is unique, as they occupy the space of victims and attack everything they encompass automatically every round. The damage they do is slight, but the poison is more of a nuisance, and since you’re not terribly well-protected by HP at this stage in the game, even minor damage can add up and become a problem.
So how to deal with these pests? The best solution is to use aforementioned area-of-effect attacks or spells like an Alchemist’s bombs or Burning Hands, although unless you made an arcane spellcaster of your own (or explored the Northern Narlmarches) you may not have access to these attacks/spells yet. Failing that, you can always make use of Alchemist’s Fire, which you can buy from Bokken. Convenient, that. One or two direct hits should kill a swarm, which fortunately don’t have many HP, but expect misses and hope for the best from splash damage. Should either of those options not be viable for whatever reason, spells that require a ranged touch attack (like Acid Splash) or torches may prove marginally effective, although at that point you might as well just return when you’re a higher level and/or better equipped.
There’s only one Spider Swarm in the room ahead, so it shouldn’t be too hard to get past it if you’re even modestly prepared for such a fight. It’s also joined by two Giant Spiders, so don’t let your guard down. Your reward for getting past these foes? You can loot a corpse to score a Wand of Cure Moderate Wounds and a Potion of Restoration, Lesser, among other trinkets.
Another chamber can be found to the northeast, but it’s not for the faint of heart, as it contains another several Giant Spiders and a Spider Swarm. Simple enough, you quite possibly have enough Alchemist Fire from Bokken left to defeat a second Spider Swarm… but after you do, insectoid reinforcements will arrive in the form of another two Spider Swarms and Giant Spiders. Suffice to say, if you don’t have a good stock of AoE attacks of some form and at least two characters who can reliably use them, this fight is going to get ugly. If you can clear this room, loot a corpse to the northeast to claim an Orc Double Axe +1, a Potion of Cure Moderate Wounds, some Coal (?) and a Masterwork Dagger.
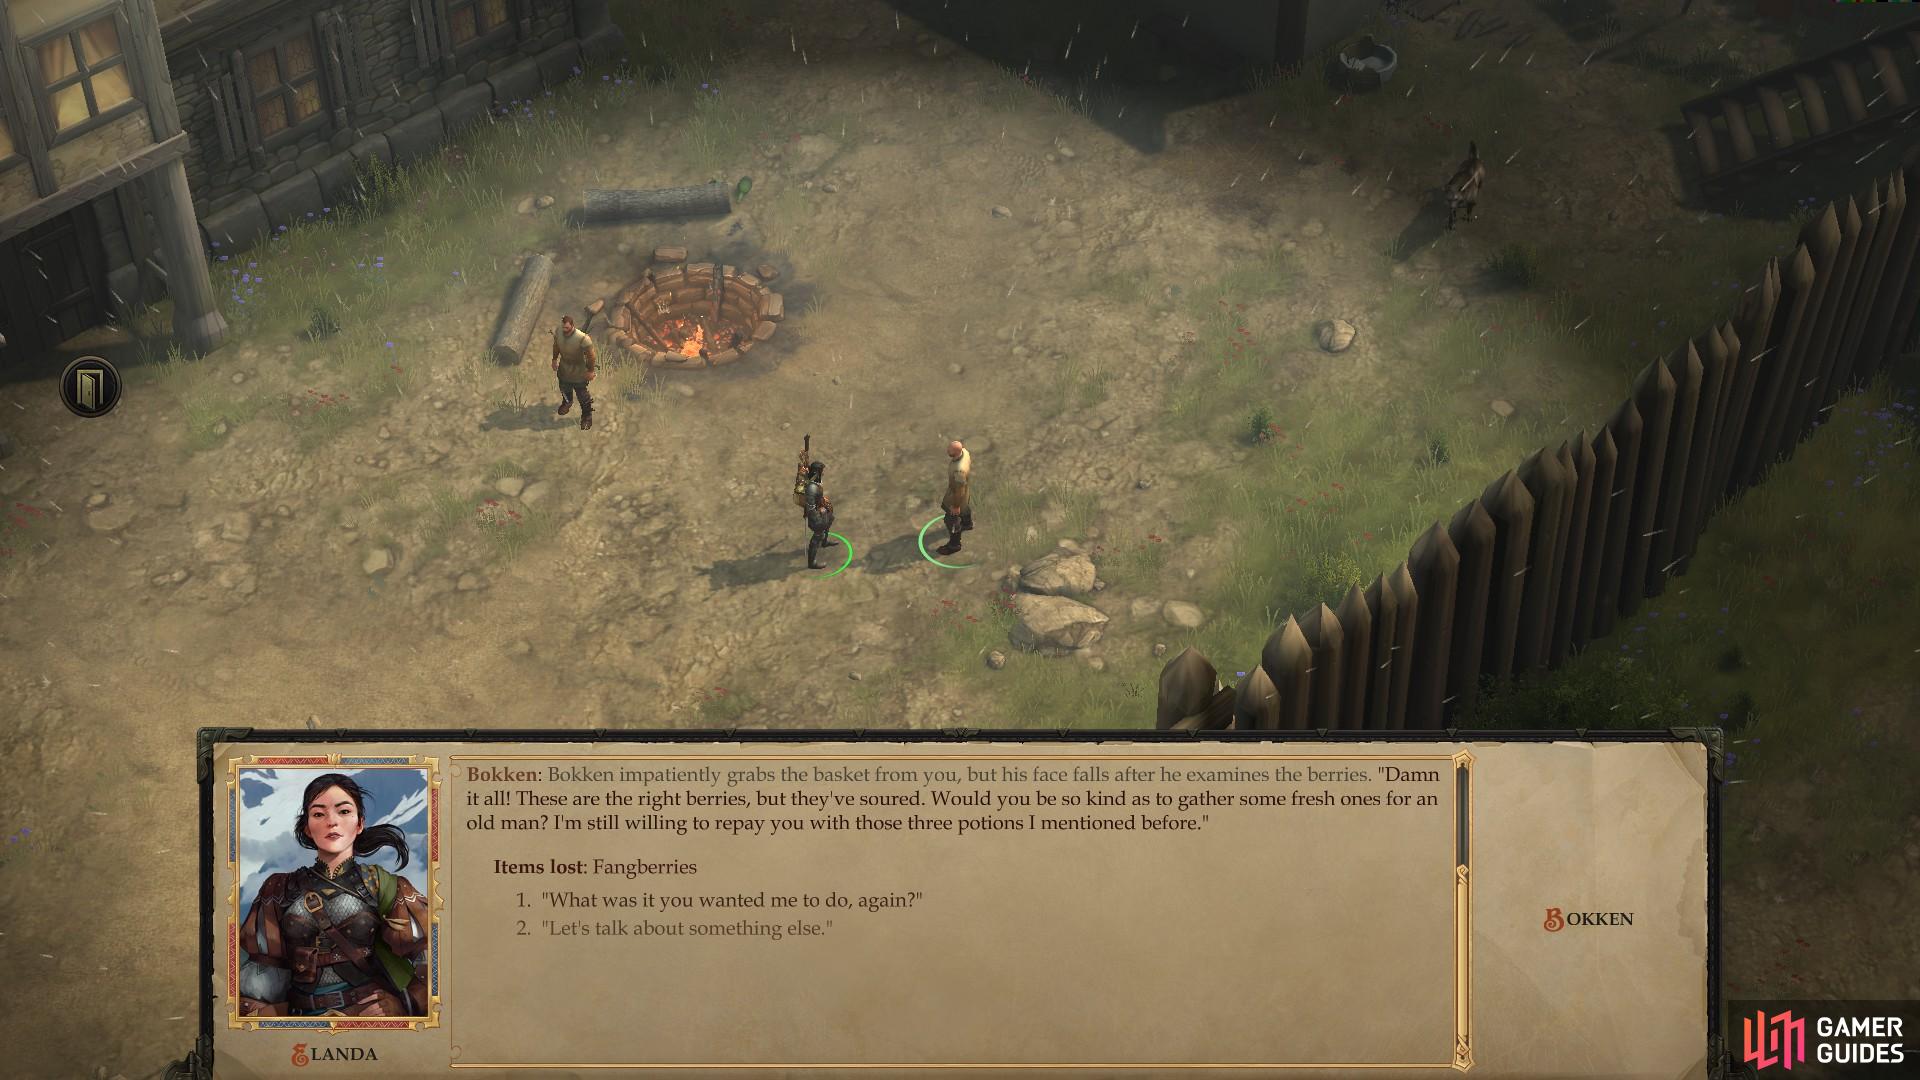
Should you delay too long, the Fangberries you picked will spoil
so save yourself some trouble and head straight back to Bokken to complete the quest.
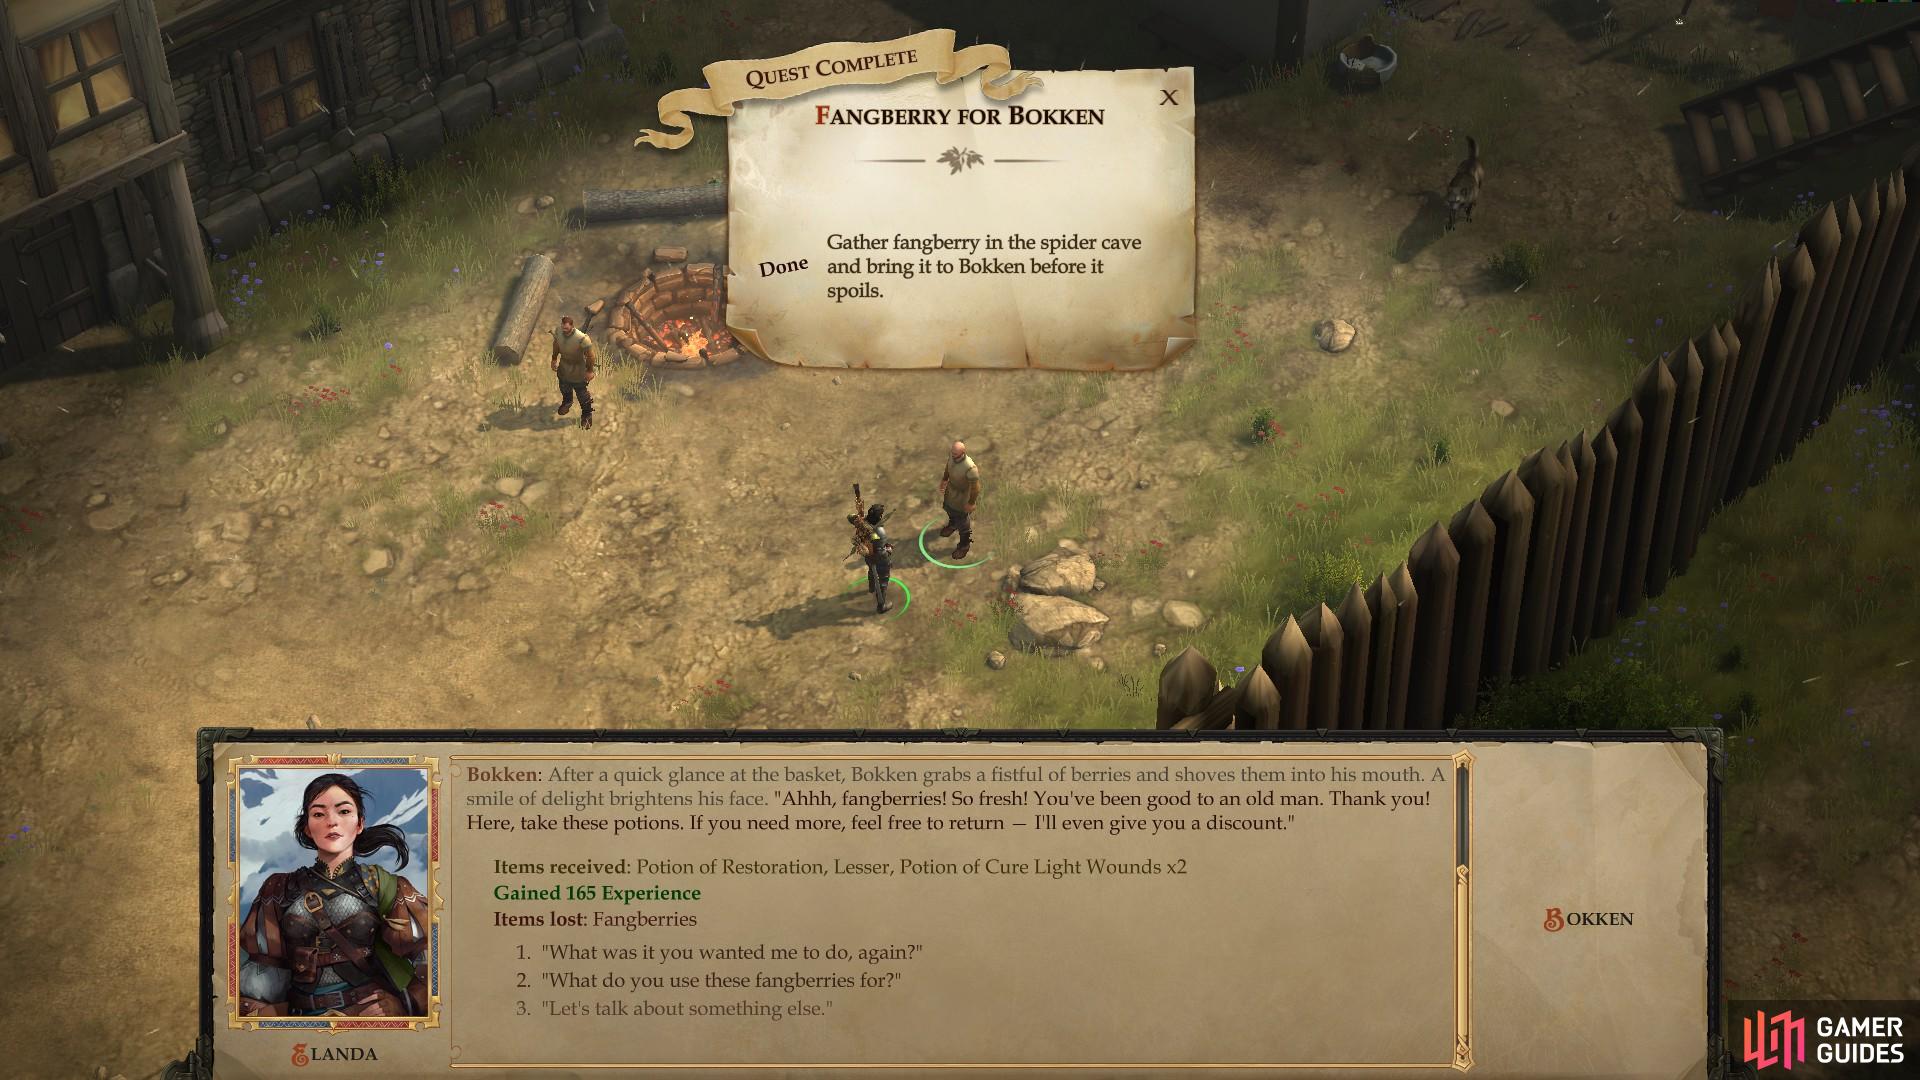
Next stop, Oleg’s Trading Post. You’ve got a fair amount of time before those berries spoil - around twenty-four hours, to be precise - but there’s no need to delay, and precious little you can do in that time without risking your hard-picked Fangberries. When you arrive back, talk to Bokken and give him his Fangberries to get your reward and complete this quest.
| Reward: For giving Bokken some Fangberries |
|---|
| 150 XP / Potion of Restoration, Lesser / Potion of Cure Light Wounds x2 |
Sell off any loot you may have obtained (if you completed the suggested Outskirts expedition, the Emerald from the Waterlogged Lowland sells for 500 GP on its own!) then get some rest at the inn. If you visited Nettle’s Crossing already, it should be uninterrupted sleep. When you’re all rested up and ready for another bout of adventuring, hit the area transition and assemble your party. No sense in putting it off any longer; it’s time to go see what Tartuccio is up to. This is a rather lengthy segment of game that’ll likely require some resting out in the field and/or some trips back to Oleg’s Trading Post before you’re finished, but there are many compelling reasons to prefer this over seeking out the Stag Lord’s goons in Thorn Ford, as you’ll soon see.
No Comments