

One of the three quests that’ll start following the [Monster Invasion] event card, you have to complete The Seed of Sorrow before you can begin this quest. You’ll get the quest by talking to Jhod, something which will happen the next time you visit your throne room after Monster Invasion becomes active. Jhod will inform you of Kesten’s departure (if he was assigned as an advisor, you’ll have to fill his position with somebody else for now) and give you Kesten’s Letter.
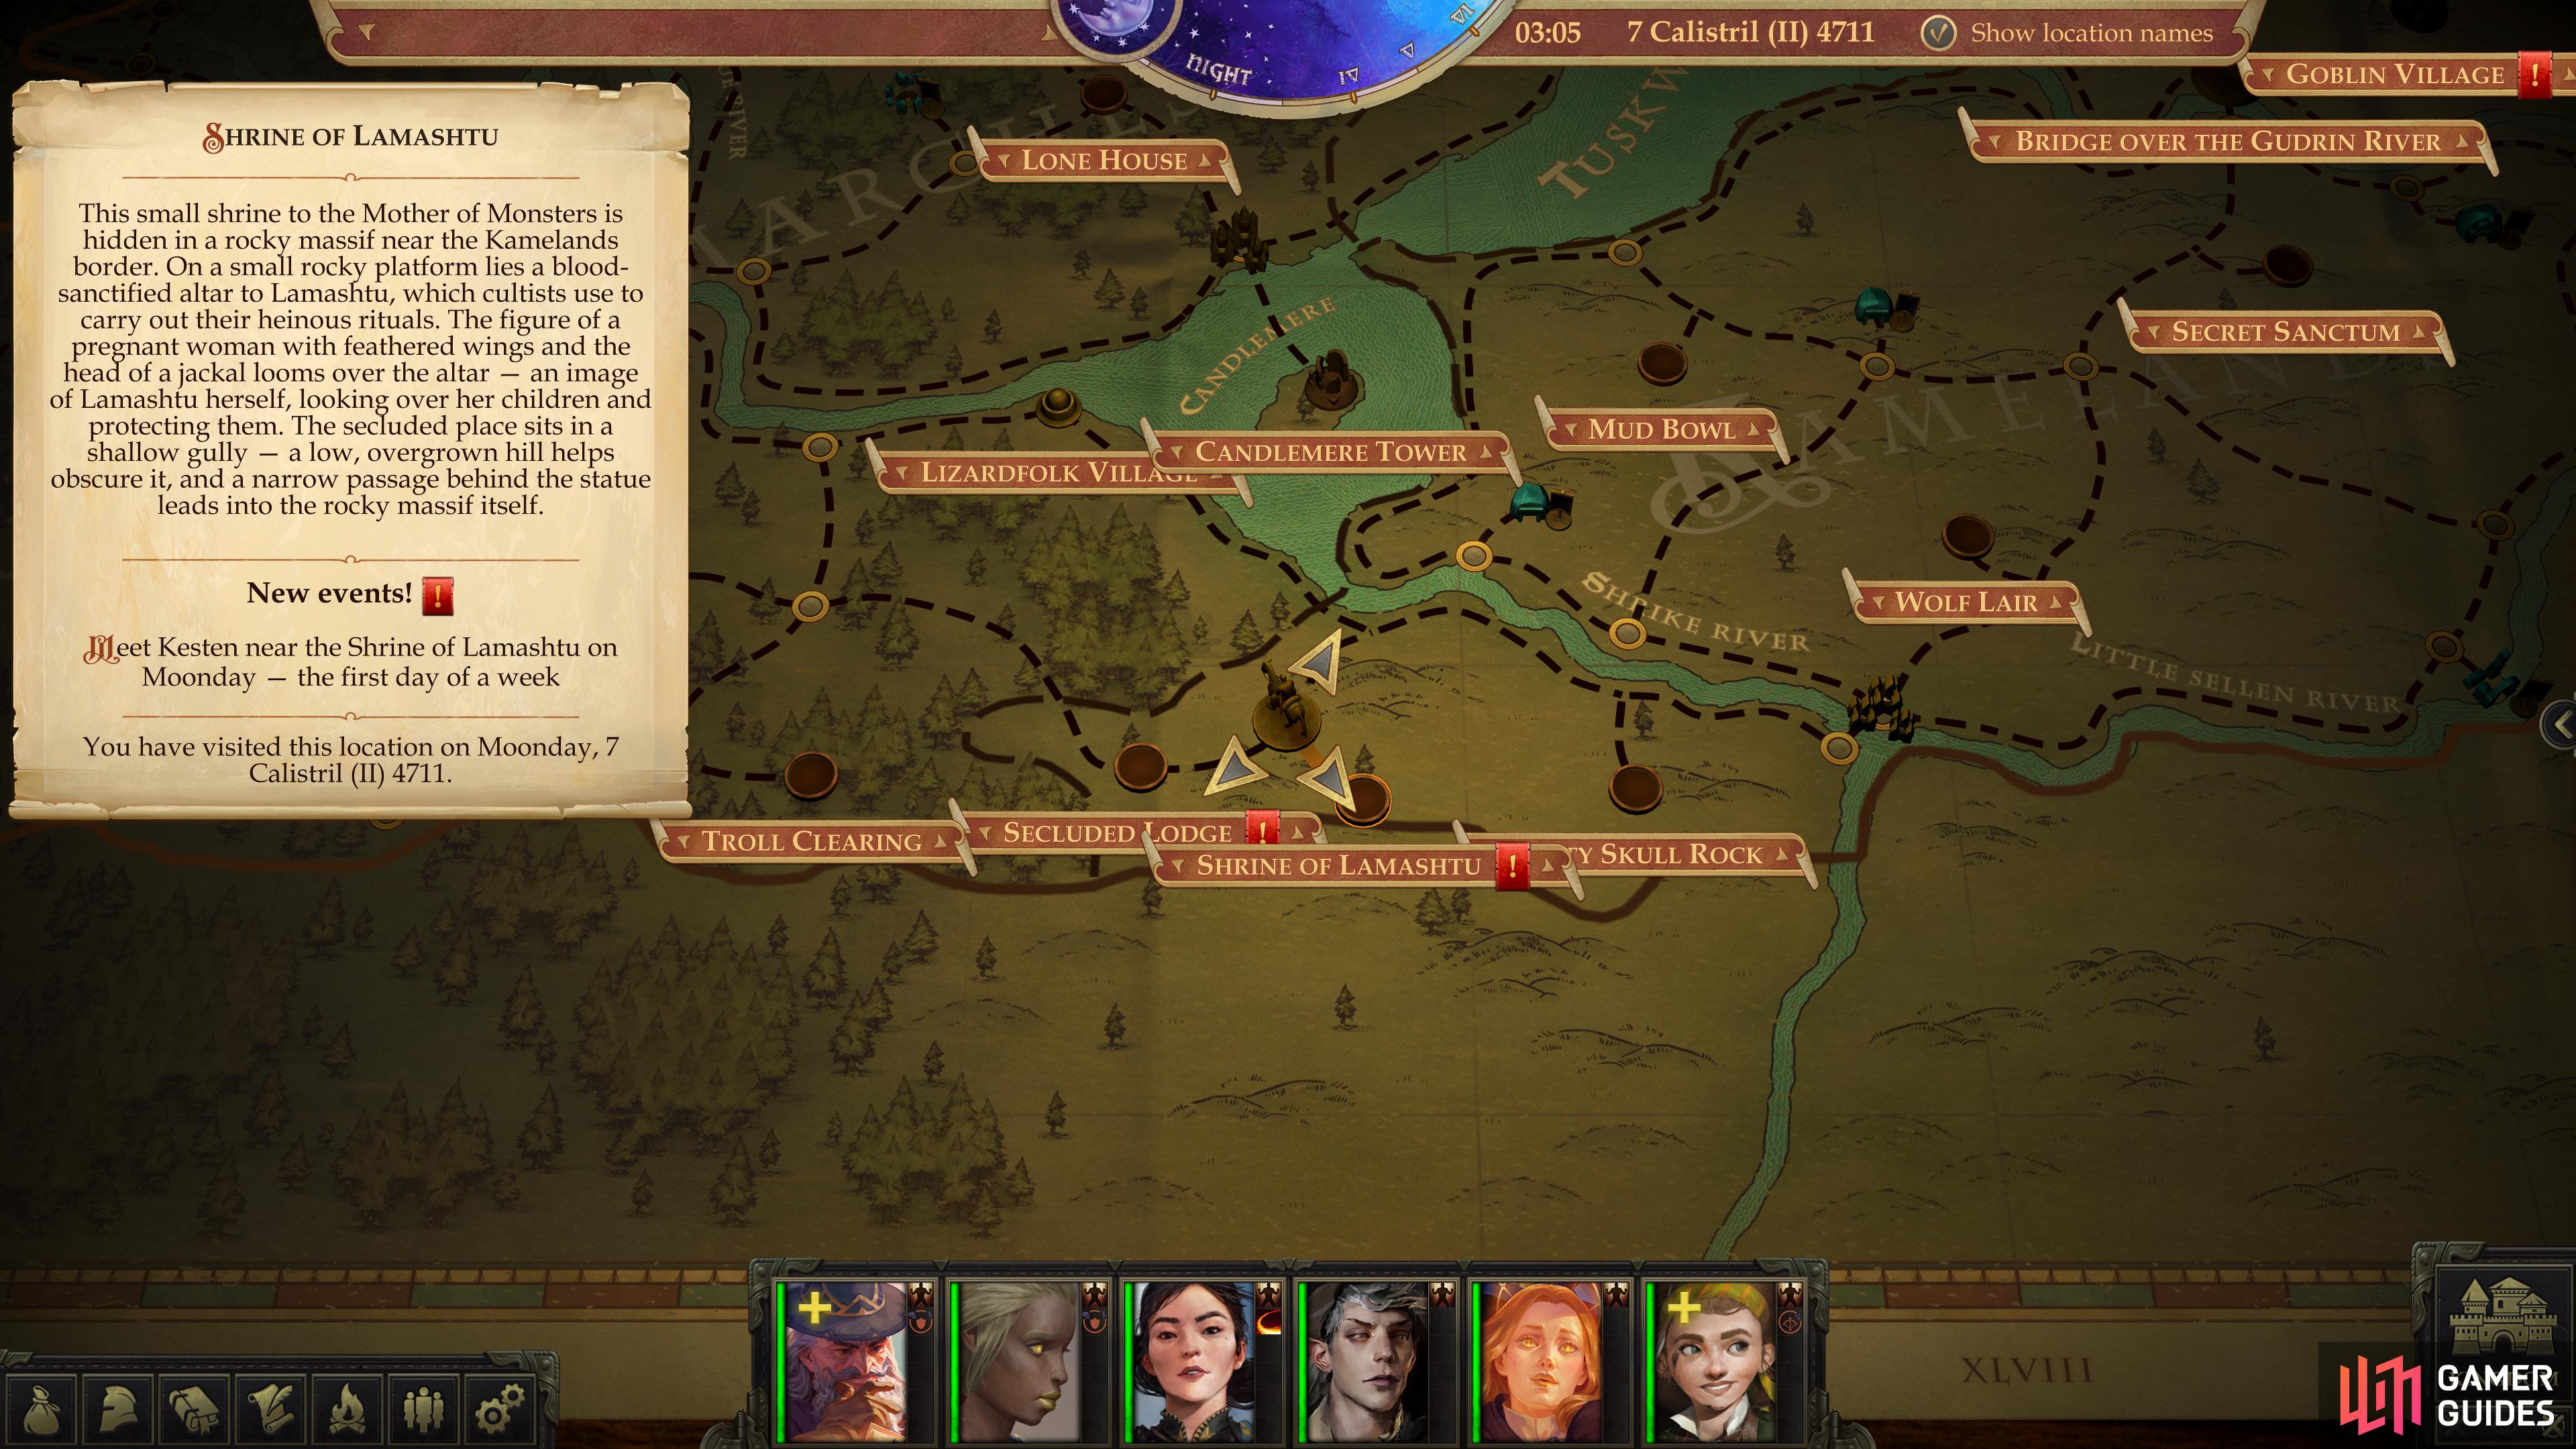
Location of the Shrine of Lamashtu on the map.
Travel: Shrine of Lamashtu
Read Kesten’s Letter and in it, Kesten will divulge what he’s discovered. As previous allies have suspected, it seems that Lamashtu cultists belonging to more civilized races than goblins may be involved, and Kesten has not only located their shrine, but deduced their routine. They gather at this shrine “at the beginning of each week”, and despite leading an upstart militia he’ll beseech your aid.
The long and short of it: you need to head down to the Shrine of Lamashtu on a Moonday so you can help Kesten ambush some cultists.
To get there, head to the southeastern edge of the South Narlmarches, where the Shrine of Lamashtu area should be revealed on your map. Both the Secluded Lodge and Lizardfolk Village areas are fairly close, just head east, and southeast from the Secluded Lodge to get there.
Shrine of Lamashtu: Fight the Cultists
When you arrive at the Shrine to Lamashtu, head north to find Kesten Garess hiding behind some rocks. Kesten’s here to chew bubblegum and smite cultists, and well, bubblegum probably doesn’t exist in Pathfinder. Learn what you can from Kesten, then tell him when you’re ready to start the ambush. The cultists will conveniently show up afterwards, head to the shrine, then babble about the supposed works of their goddess. Curiously enough, given the monsters rampaging throughout the land, they seem to focus on relatively trivial matters.
| Reward: For rendezvousing with Kesten. |
|---|
| 135 XP |
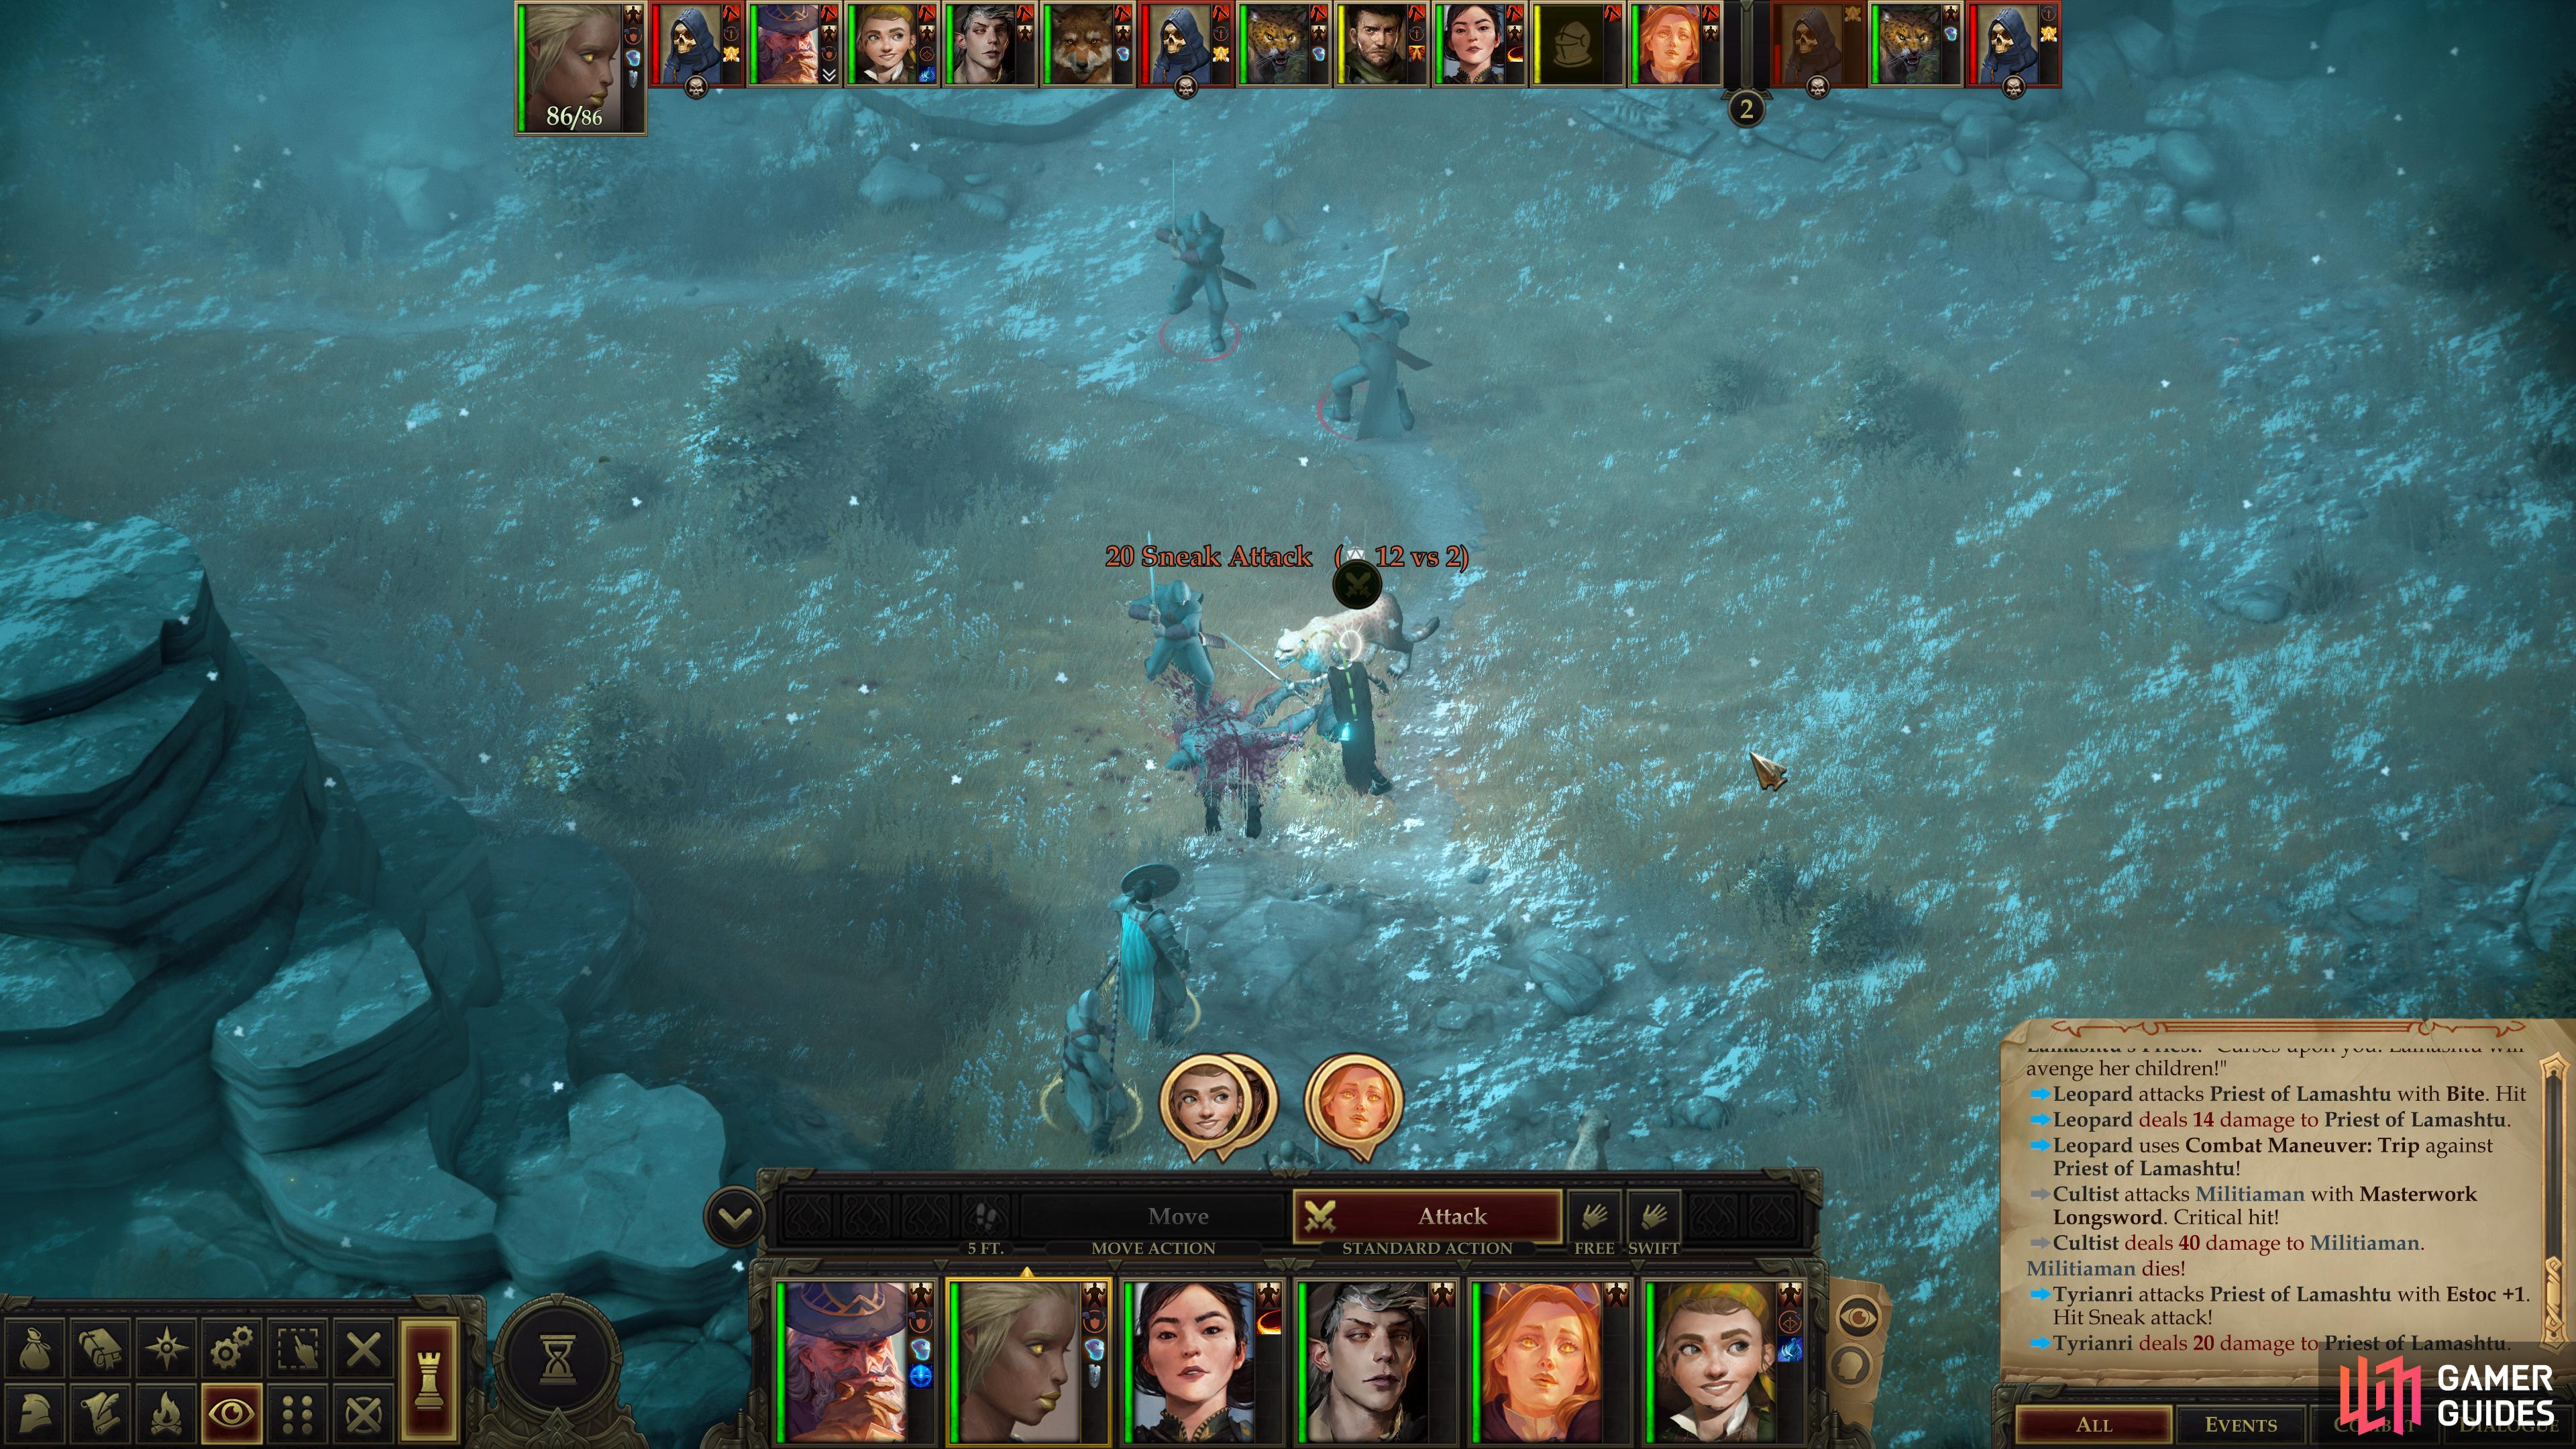
Focus on the Priest of Lamashtu,
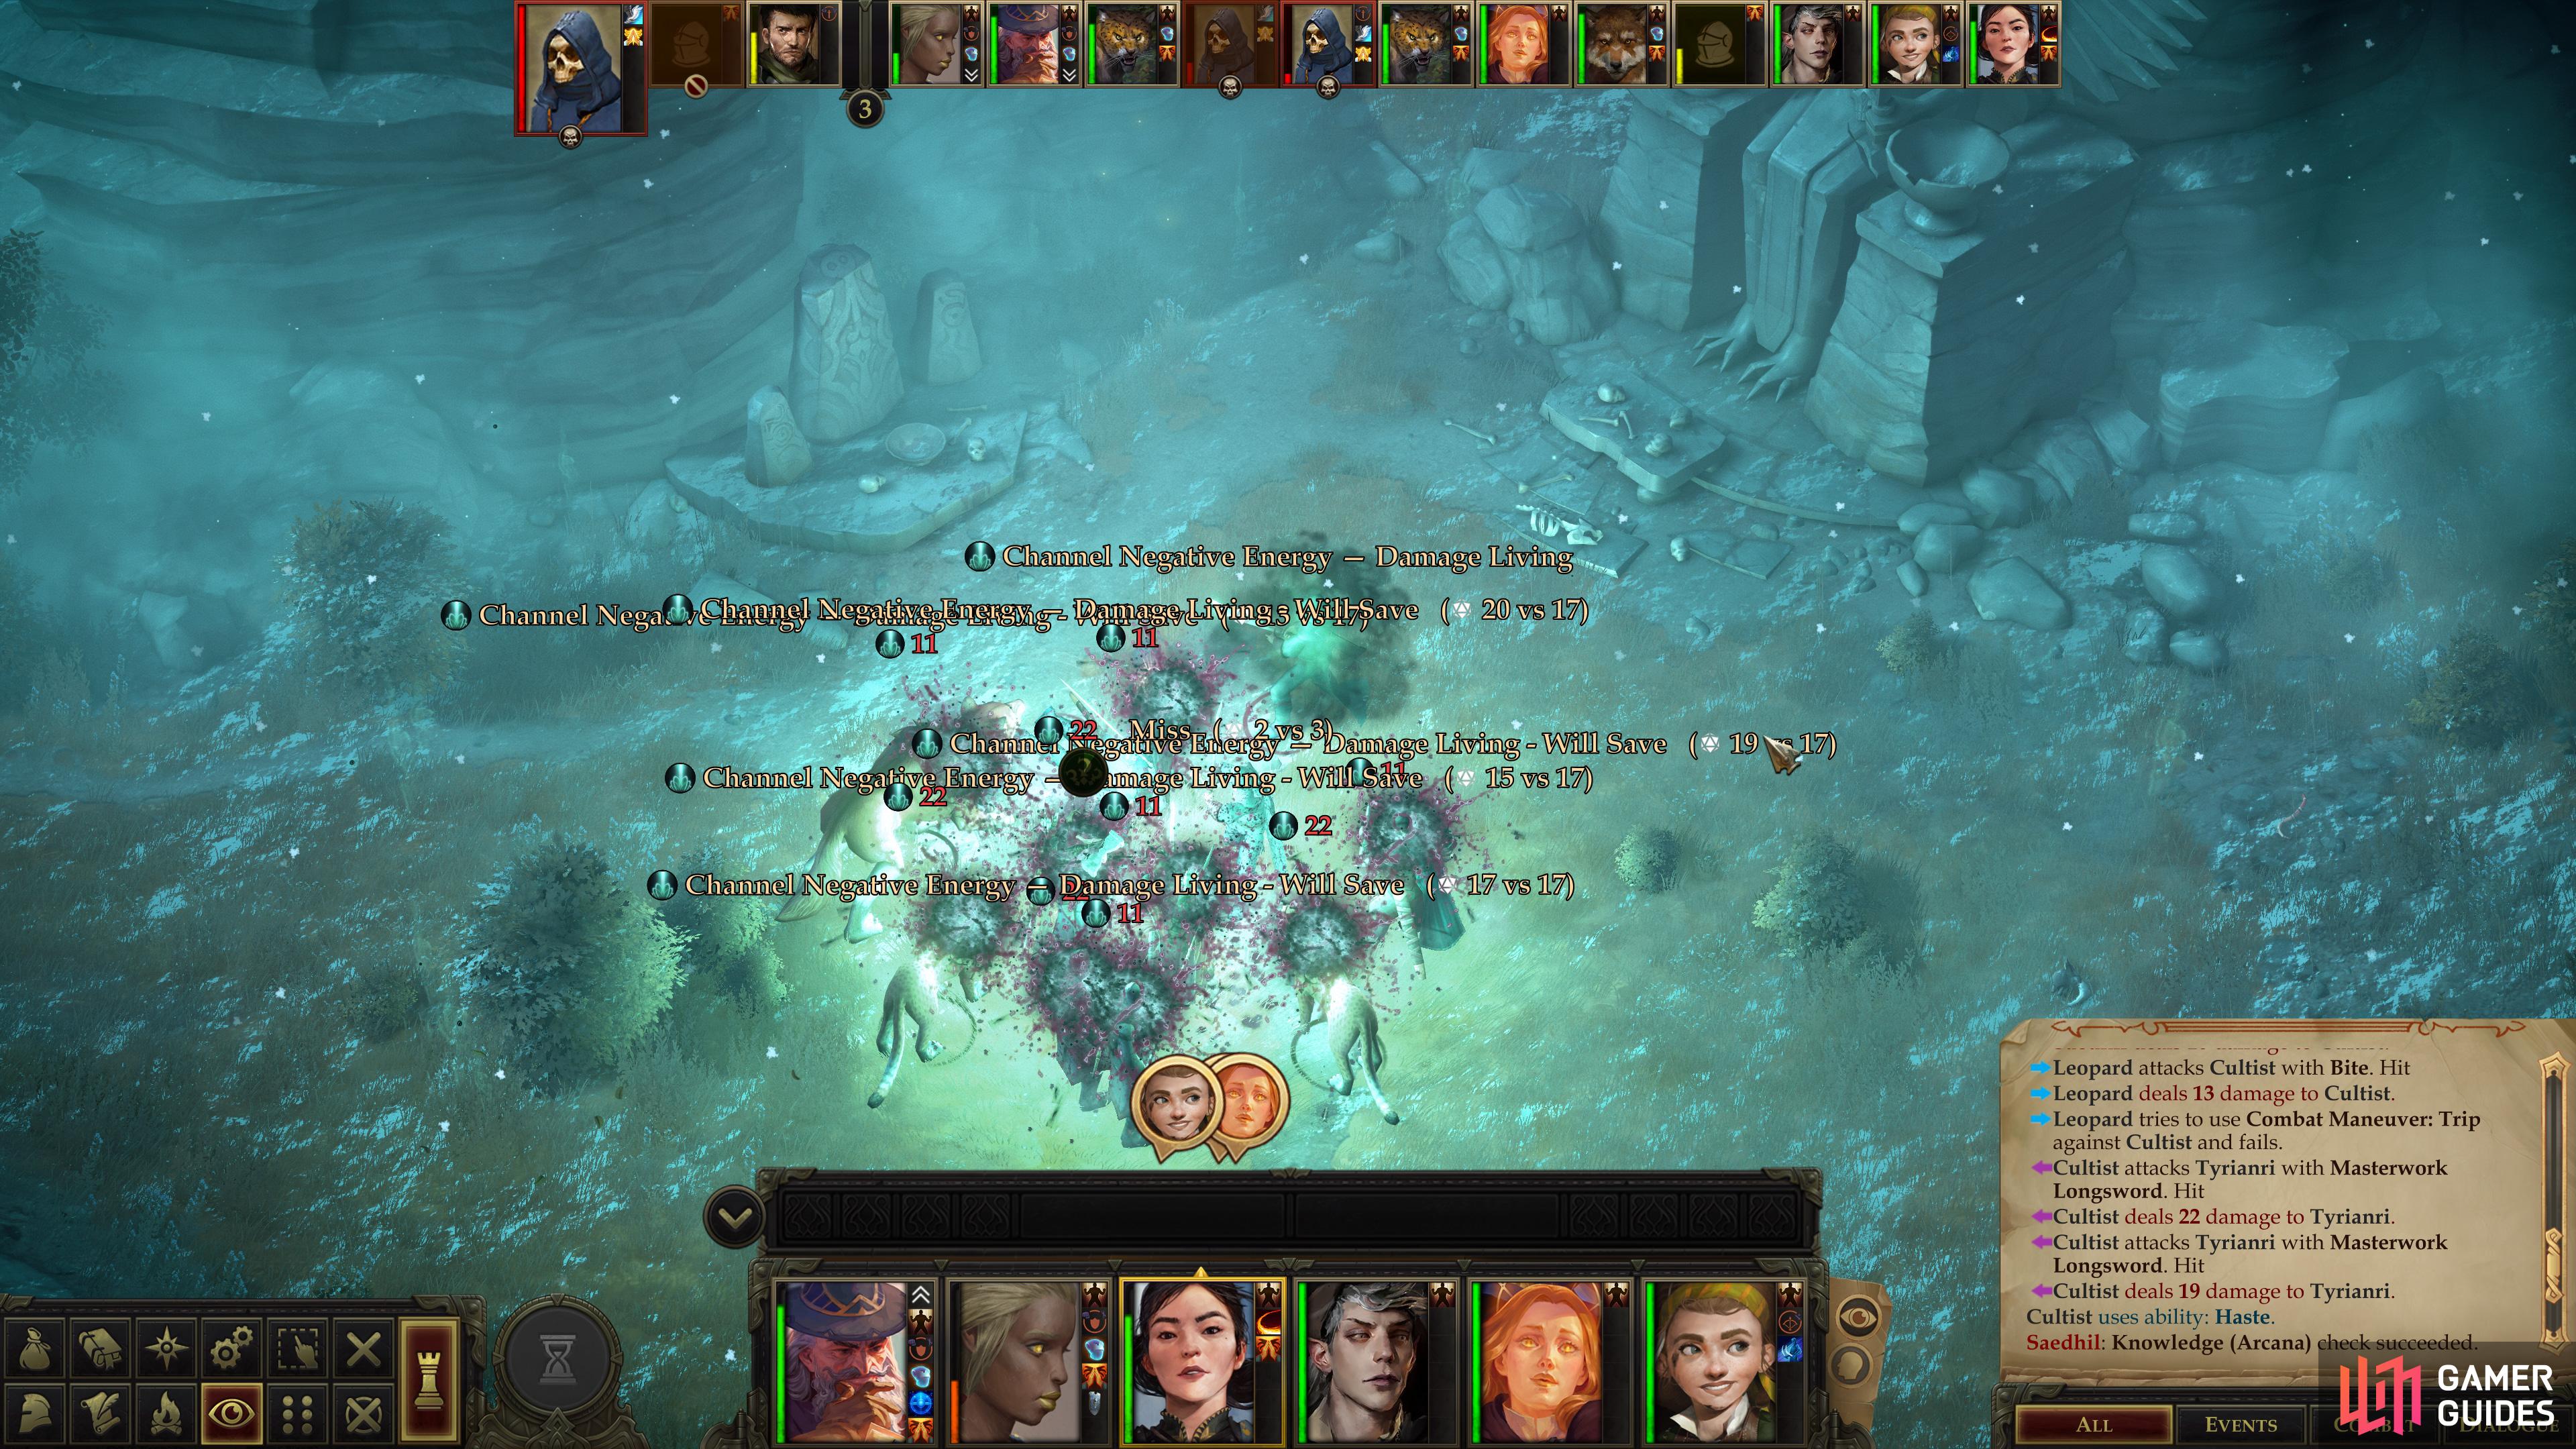
as if he’s left to his own devices, he’ll spam his ability to channel negative energy.
No sense worrying about cultist priorities. Garess will begin to stir, so let him engage, then follow him into the fray. One of the cultists will immediately flee, leaving you to engage three Cultists and a Priest of Lamashtu, the latter of which should be your priority, as the priest will cast spells and channel negative energy. The cultists - armed with swords and shields - are capable warriors, but nothing compared to the beasts you’ve been fighting lately, although one of them (apparently a 10th-level Fighter) can somehow cast Haste. Because reasons. Cut them all down, then loot the priest for a Bloodstained Piece of a Manuscript, which says all you really need to know about the goals of this cult.
| Reward: For defeating the cultists. |
|---|
| 135 XP |
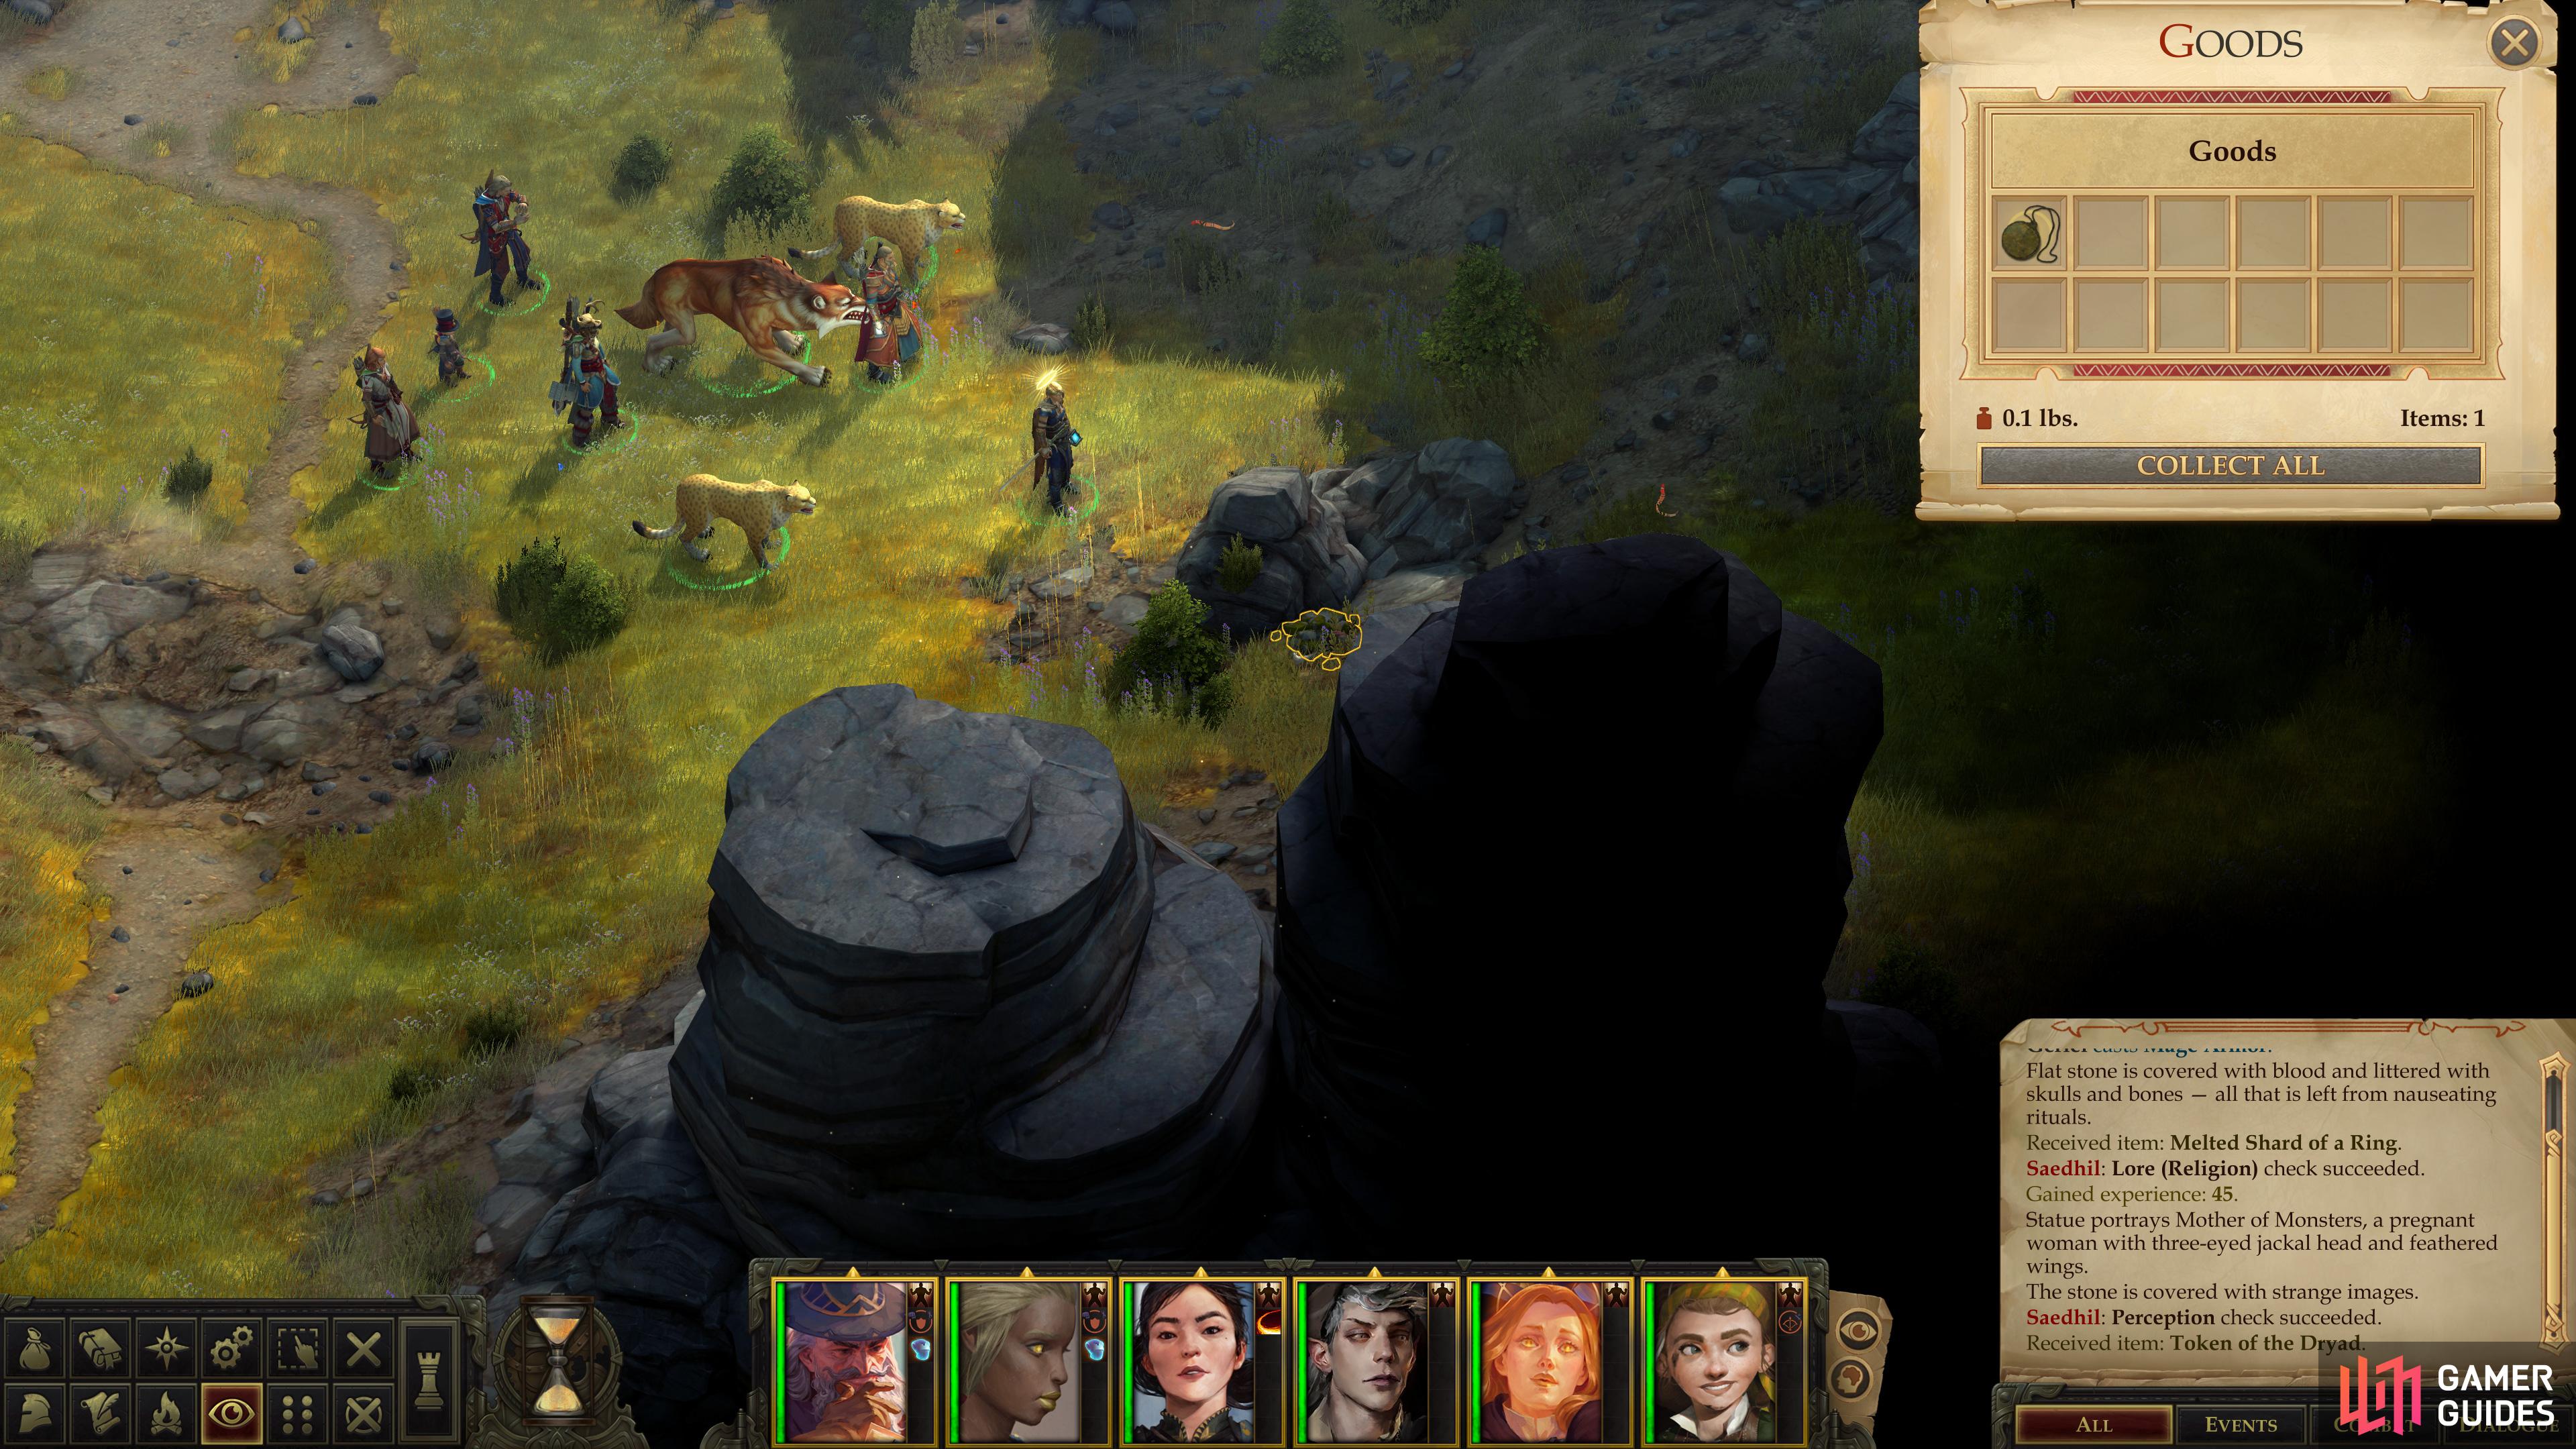
Before you run off in pursuit of the escaping cultist, you might as well search the area. Don’t worry, delay won’t affect your chances of catching the cultist who fled. First head southeast of where you fought the cultists and find a Taldan Warrior’s Dog Tag in some rocks, then head west to find a pile of branches near a stream hiding a Token of the Dryad. Next make your way over to the shrine and search a rock near a smaller shrine to the west to find a Melted Shard of a Ring. Finally, search to the east of the large sitting statue (of Lamashtu?) to find a chest containing Gift of Death, a Kukri +2 that deals 2d6 bonus damage vs good foes while also gaining a +2 damage bonus against stunned, paralyzed, nauseated and frightened foes.
Once those treasures are yours, head north and exit the area to pursue the runaway cultist which of course takes the form of an Illustrated Book Episode!
Shrine of Lamashtu: Catch the Cultist
This is a relatively simple Illustrated Book Episode in that there’s arguably no “wrong” way to do it. If you can succeed at the checks, you’ll get some experience, if not, you won’t. Either way, you’ll end up where you need to be.
The first choice you need to make is a either a [Dexterity 17] check or a [Mobility 21] check, the latter of which is probably easier. After all, even a character with a phenomenal Dexterity score still has a good chance of failing. If you fail the initial checks, you’ll get a [Reflex 18] or [Reflex 10] check (respectively) to recover. If you somehow manage to fail both the initial check and the save afterwards, you’ll end up in the “Secluded Lodge” area in pursuit of your quarry.
If you picked - and passed - the Dexterity check (or at least the Reflex Save afterwards) you’ll get two more options. Either pass a [Perception 20] / [Intelligence 13] check or a standalone [Athletics 20] check to successfully track down the cultist. Fail both the Perception and Intelligence checks, or the Athletics check and you’ll fail to track the cultist.
Alternatively, picking the Mobility option at the start will - assuming you pass it or the Reflex Save afterwards - enable you to follow up with two pairs of checks. Either choose the [Strength 18] and [Intimidate 20] pair, or the [Dexterity 18] and [Perception 20] pair. Pass one of the checks in any pair and you’ll track down the cultist, fail both of any pair and you won’t.
| Reward: For tracking down the cultist |
|---|
| 225 XP |
Secluded Lodge Investigation
Either way, succeed or fail, you’ll arrive at the Secluded Lodge run by Dumra, which you may have visited before. It’s somewhat busier now than it was then, and it seems like there’s no shortage of suspects, although simple process of elimination should make this painfully easy. Immediately inside Kesten will pester you again, giving you three options. You can trust his instincts and let him harass the people here (his instincts, as it turns out, are terrible), you can go through a lengthy search, or you can simply pick the [Chaotic Neutral] option, which surprisingly works quite well.
Investigate by talking to the guests at the lodge and examining various objects of interest,
then accuse Tsanna of being the cultist you’re looking for.
If you conduct an investigation yourself, you’ll need to go talk to people and collect clues. Getting keys from the Tedrims is as simple as a [Perception 10] dialogue check, while Olika will simply hand hers over, albeit reluctantly. If you search her room (upstairs, middle room on the southeastern side of the hall), check her bed and succeed at a [Perception 20] check, which will open up dialogue options. Her story is sad, and there’s probably no need to expose matters - the cultist clearly wasn’t encumbered by pregnancy.
If you question the Tedrims, say “Tell me about yourself”, then pass a [Bluff 18] check. Also be sure to ask him “Far from Brevoy, are you not?”, then ask about his hunting to find out he doesn’t have a clue what he’s talking about. His response to “An odd place to rest for the night.” is also curious. While they’re clearly up to something, a know-nothing city-dweller and his wife - neither of which could probably survive the night in the Narlmarches - don’t match the profile of the cultist you were chasing earlier. You can be nosy and investigate their room and if you pass a [Perception 20] check you’ll be able to note they have no hunting equipment. If you confront the Tedrims about this, you can pass another [Perception 20] check to overhear Una coaching her hapless husband
Dumra is surprisingly argumentative, but you can convince her to hand over her room key with a [Diplomacy 20] or [Intimidate 20] check - this ultimately turns up nothing of interest, however.
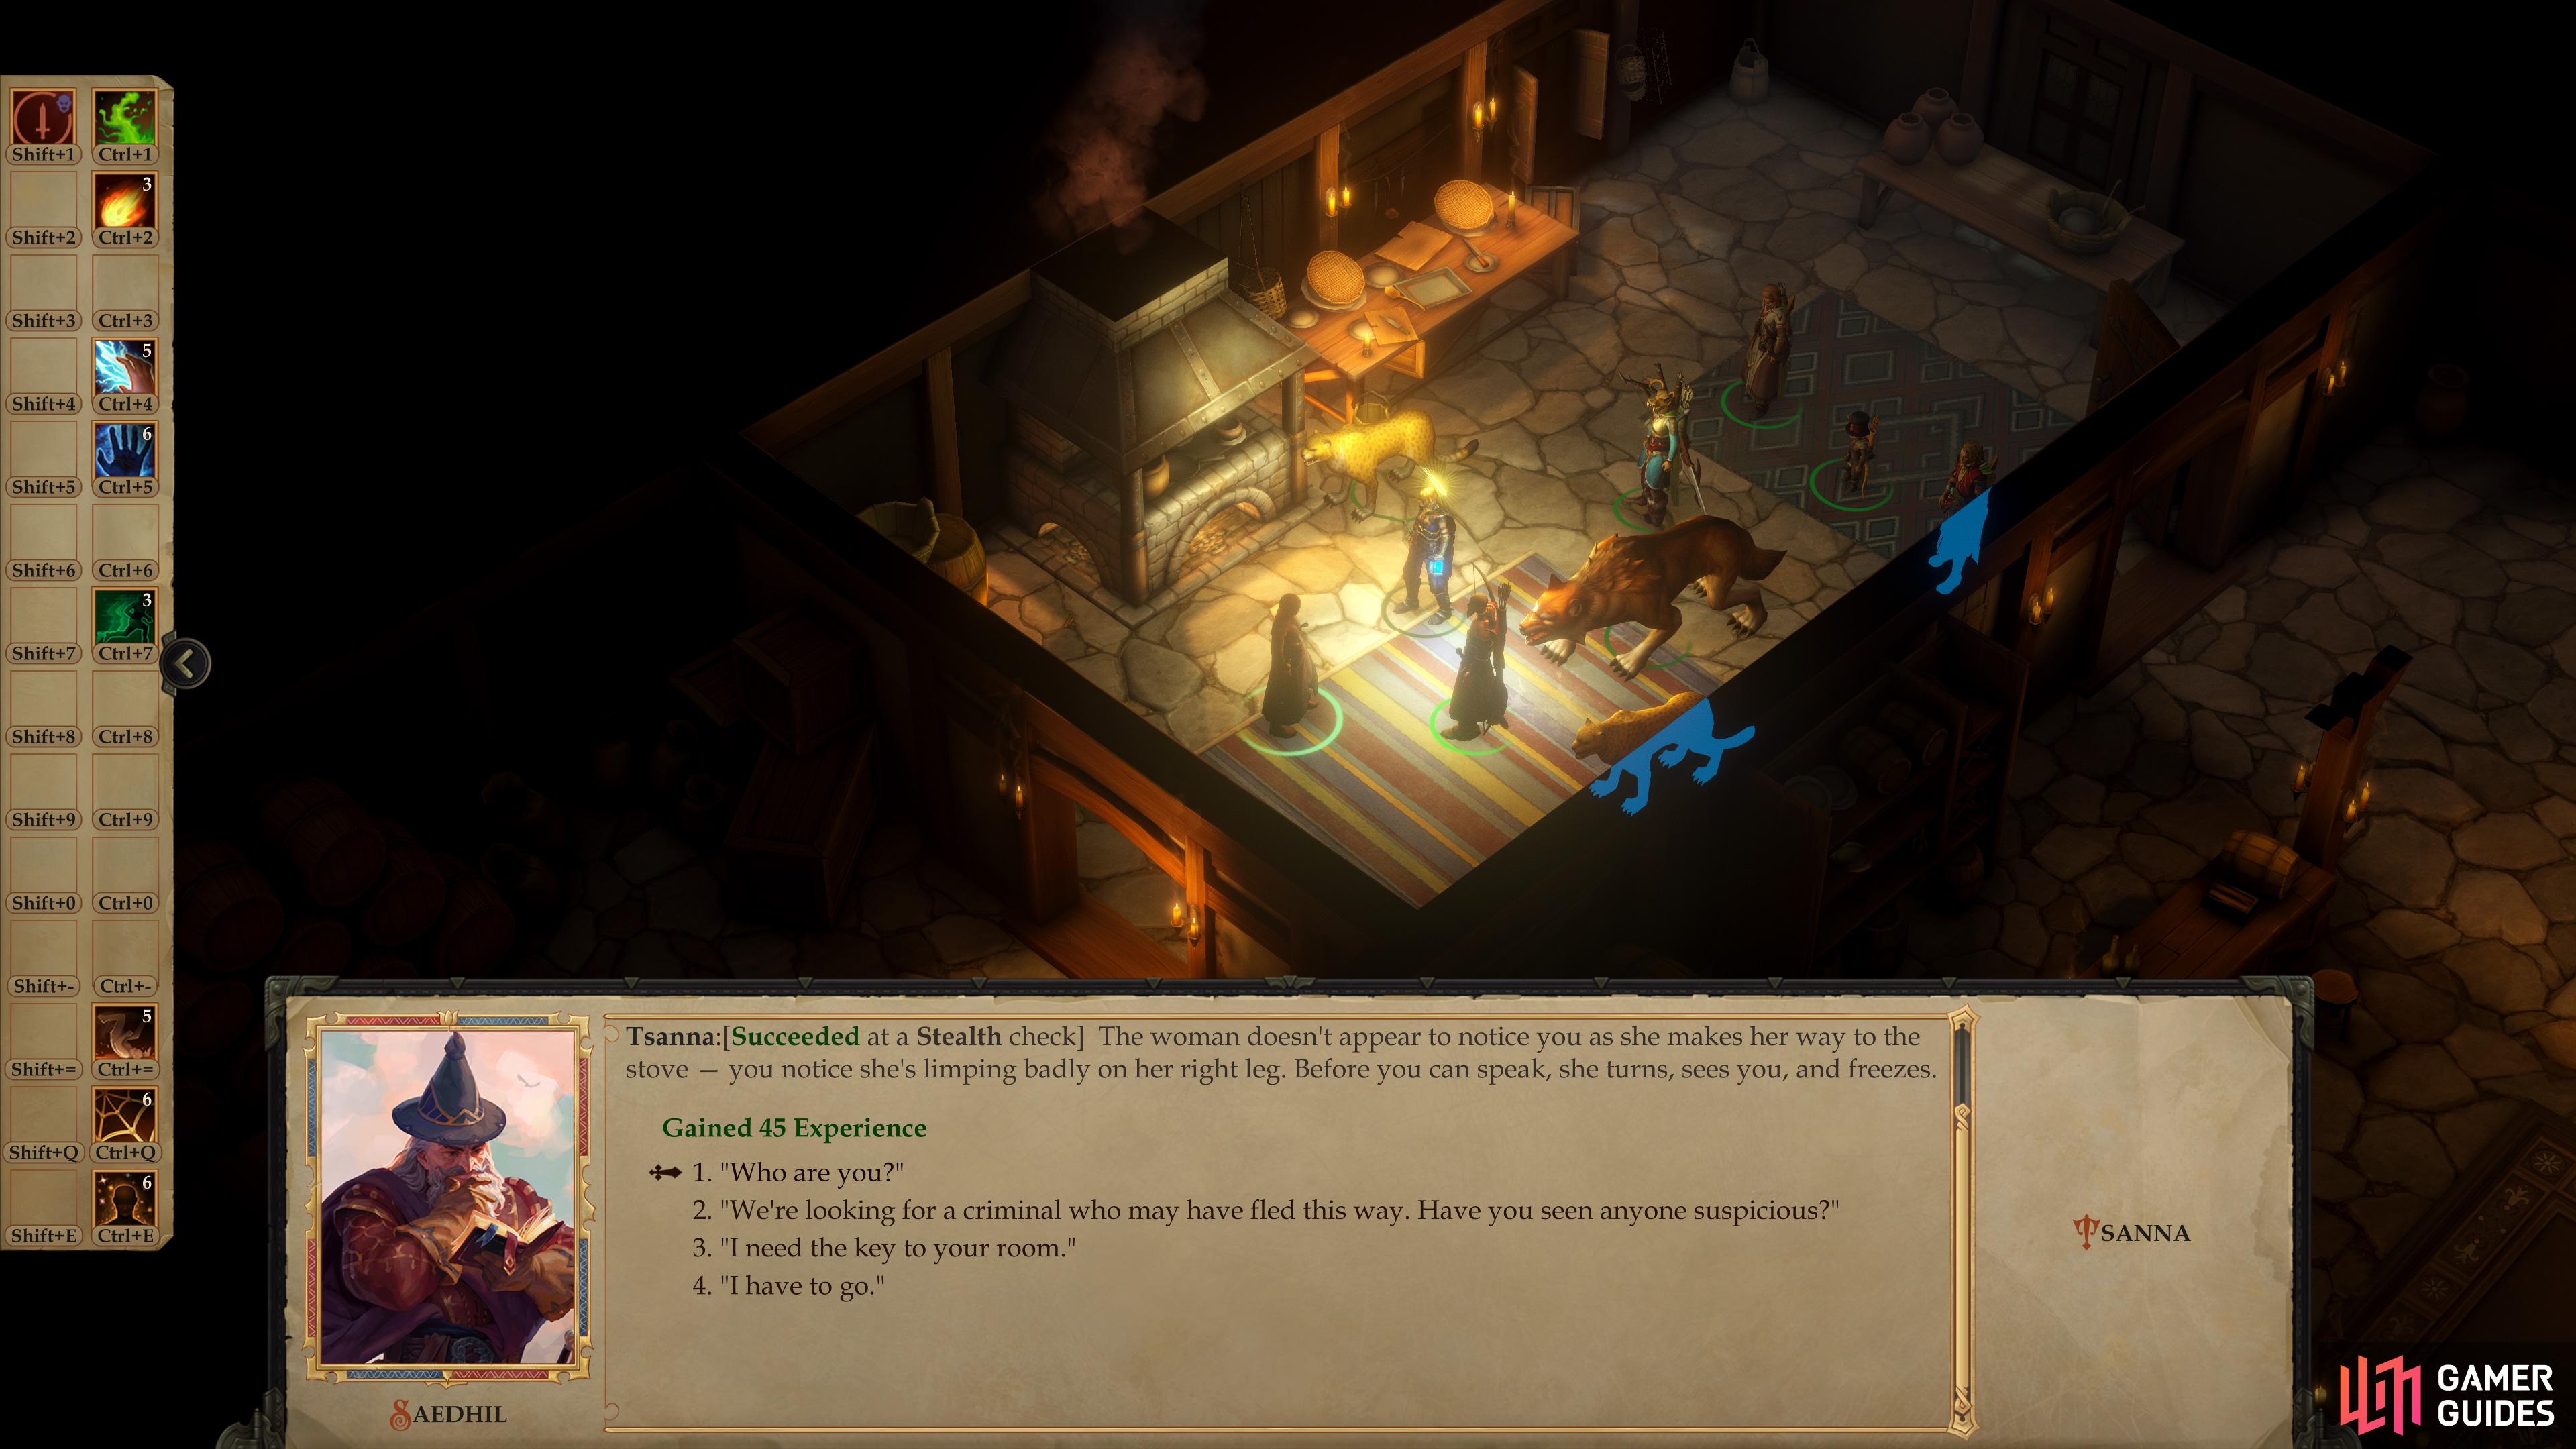
That leaves Tsanna, who is in the kitchen. Investigate the stove [Perception 15] to find out that whatever is cooking was modified recently. Head past Tsanna and check out the back door to discover [Perception 15] that it was used recently. Once you’re done snooping, talk to Tsanna and pass a [Stealth 10] check to notice that she’s limping… just like the cultist you were chasing. Go through her dialogue and pick [Peek into the stewpot]. to see that Tsanna is either the worst cook you’ve yet encountered, or a very imaginative poisoner.
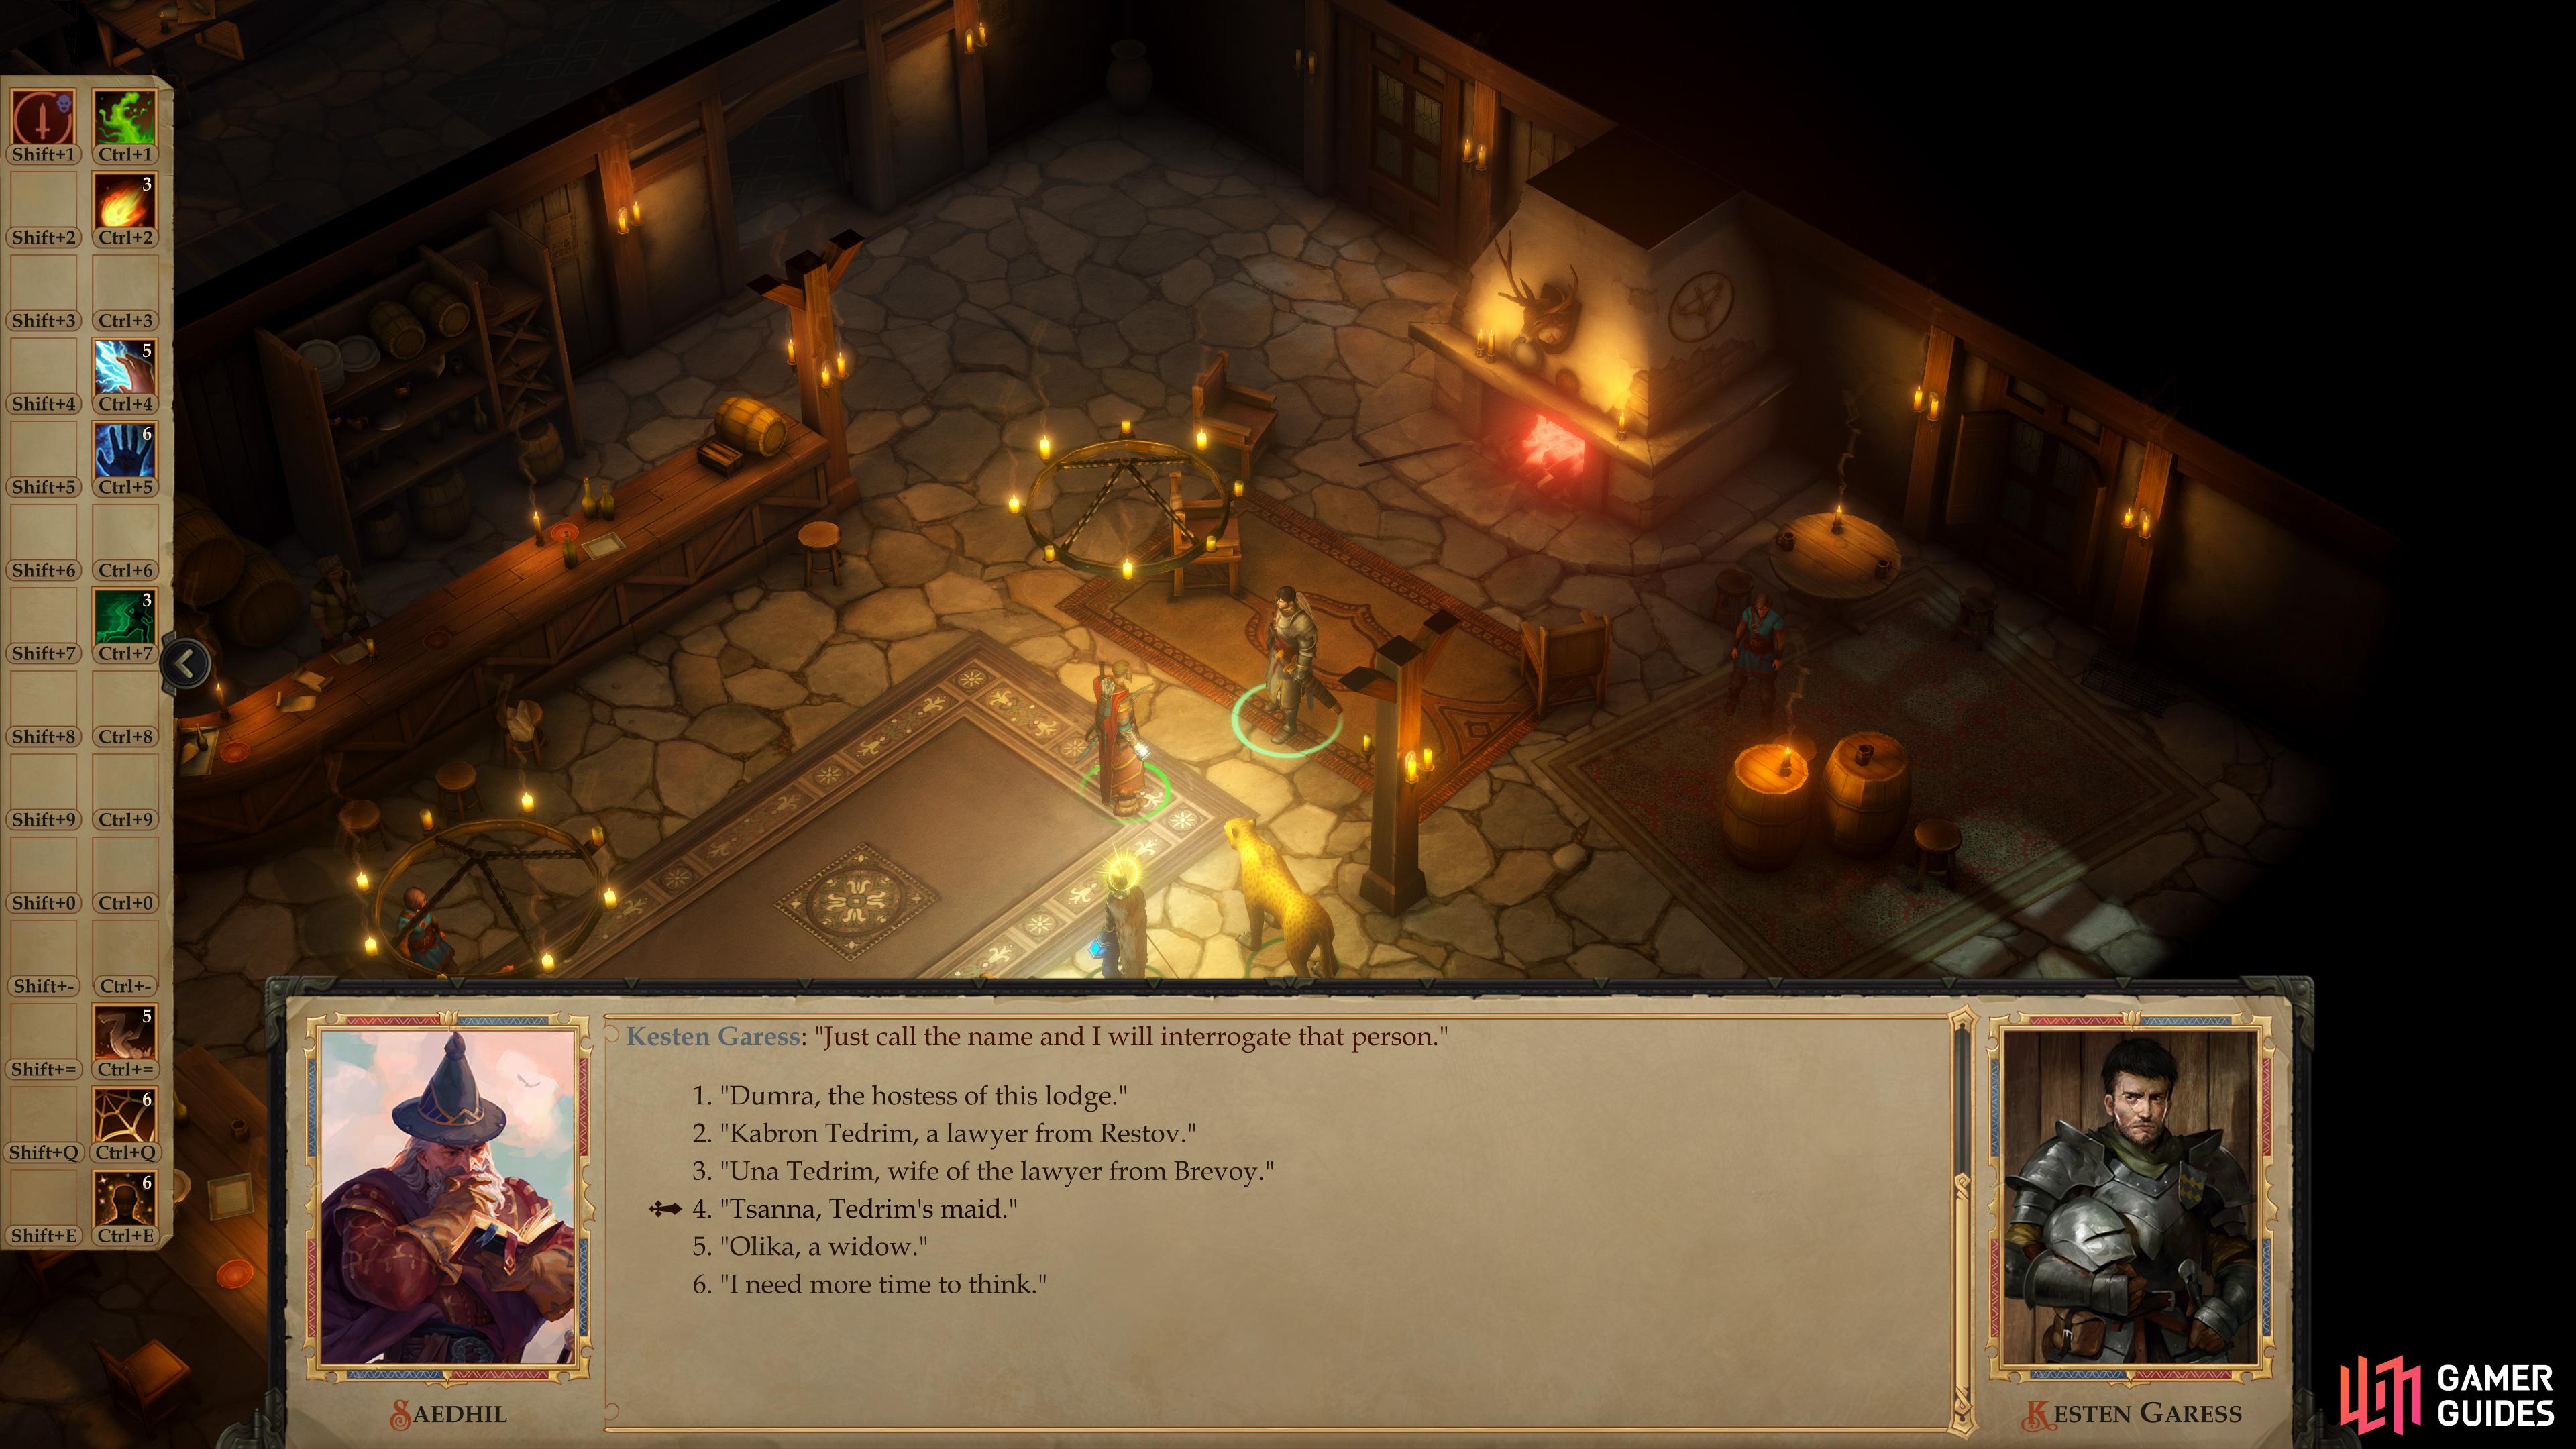
Ready to bang the gavel yet? Tsanna is the only person here who remotely matches the profile of the cultist you’re after. Head over to Kesten and say “There is someone who seemed especially suspicious to me.” followed by “Tsanna, Tedrim’s maid.” to expose the cultist. If you leave it up to Kesten to interrogate, he’ll finger the wrong suspect, while simply picking the [Chaotic Neutral] option will get the cultist to expose herself after some chatter. If you accuse the wrong suspect, Tsanna will grow annoyed at your buffoonery and will attack, but not until after she summons four Redcaps, which by now are scarcely a threat. Either way, you end up having to fight Tsanna; the only benefit to successfully conducting an investigation or picking the [Chaotic Neutral] option is avoiding the Redcaps.
| Reward: For interrogating Tsanna. |
|---|
| 180 XP |
| 360 XP |
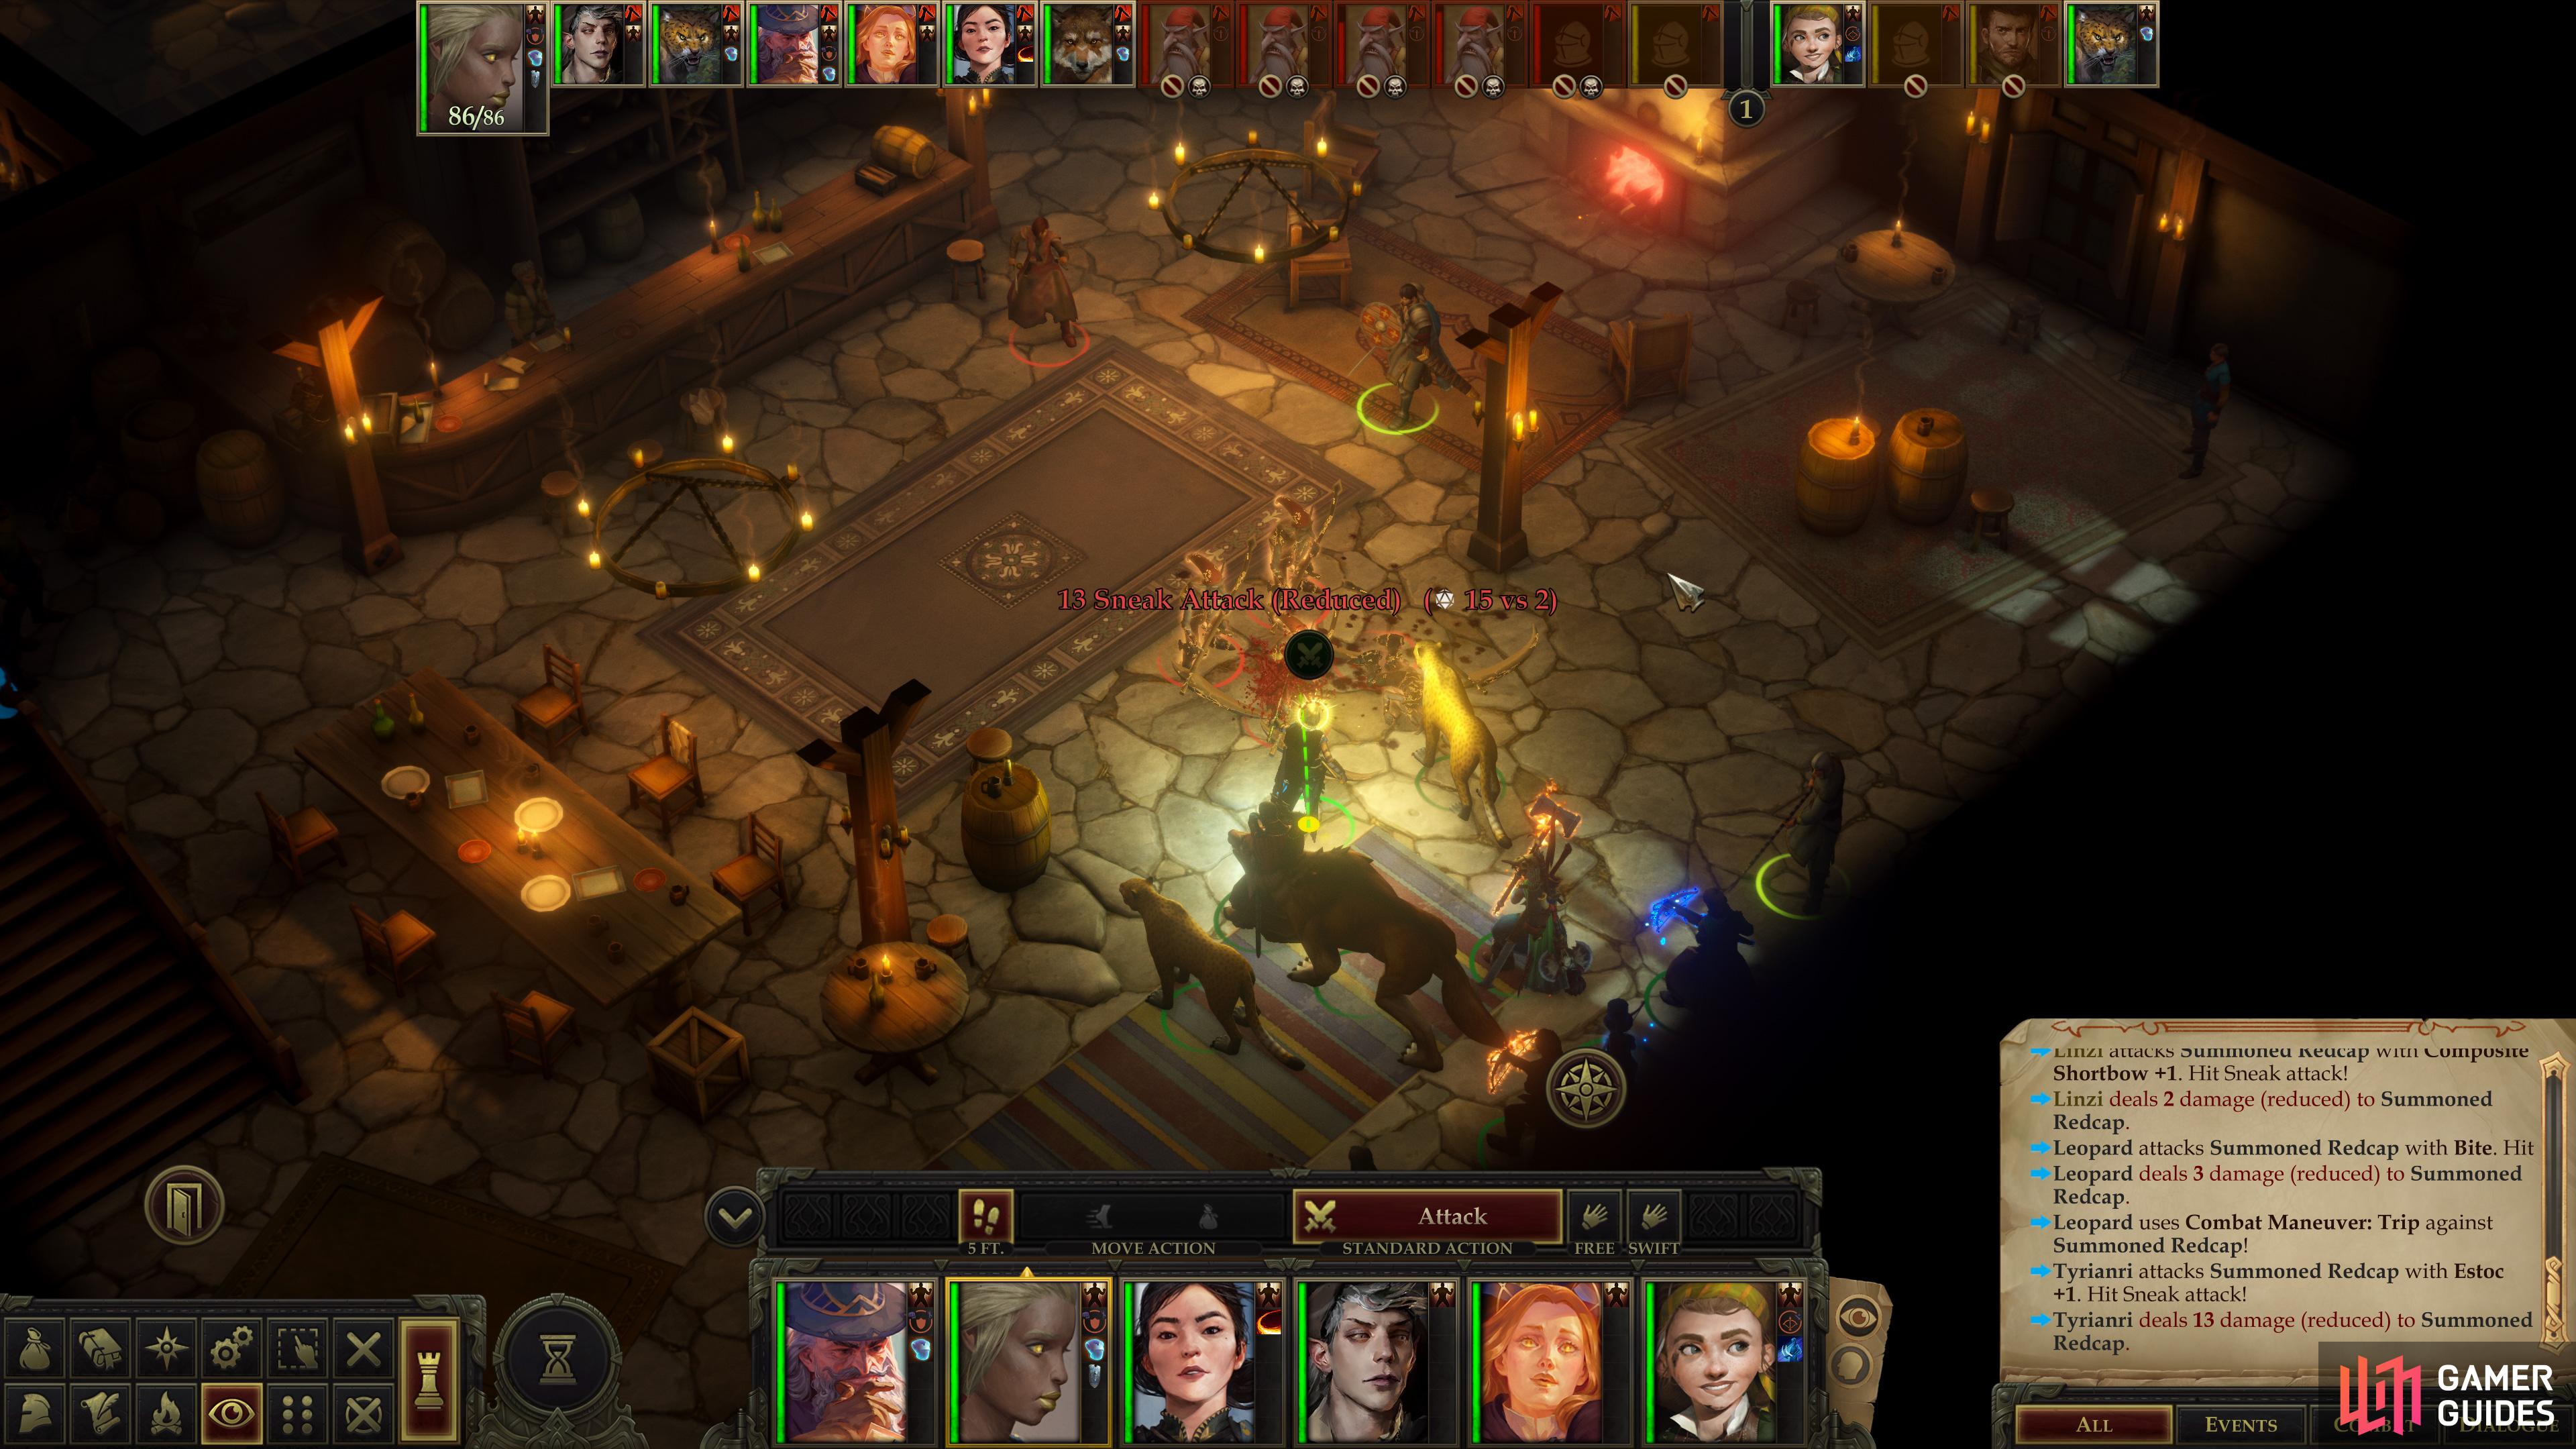
(1 of 4) If you botched the investigation, Tsanna will be able to summon some Red Caps, who are unremarkable save for their damage reduction.
Battle: Tsanna
Tsanna’s not as dangerous as some casters you’ve fought, as she’s not terribly well-protected by Armor Class, concealment or Damage Reduction. The Red Caps - if she was able to summon them - are her defense, and if you can sneak an attacker up to her (or better yet, summon some skeletons via Animate Dead near her) she’s probably toast. Not that she can’t cause mischief if left to her own devices, as she’s rather fond of using Slay Living to dish out heavy damage, an attack armor will provide little protection from, and after a few bouts of that, she’ll resort to channeling negative energy to damage all living creatures in the area. Needless to say, you should focus on her first, if possible. Her Red Caps are little more than fodder, not having a great Attack Bonus or Armor Class, but being sturdy solely by the virtue of their Damage Reduction 10/cold iron.
Tsanna: Exile, Execute or Exonerate
After she’s defeated, go through her dialogue options and she’ll deny Lamashtu being involved in the matter at all. You can also learn about Lamashtu from the perspective of a cult member, which isn’t unbiased, but it is biased in the opposite direction of every other opinion you’ve heard (as an aside, having both Octavia and Valerie in your party is worth it for the line “Could we please bypass the theological debates about which cult has better orgies?”).
When you’ve made it through the rest of the dialogue options you’ll have the opportunity to pronounce judgment on Tsanna. You can simply let everybody go [Neutral Good], banish Tsanna [Lawful Good], execute Tsanna [Lawful Neutral] or execute the lot of them [Lawful Evil]. In the case of banishment or execution, Olika will - perhaps brazenly, given your verdict - beg you to allow Tsanna to perform her ritual. The cultist of Lamashtu will agree to perform it readily enough if she was banished, otherwise she’ll demand you commute her death sentence, first. The fate of Tsanna and of Olika’s unborn child depend on your decisions here.
| Reward: For investigating the cult of Lamashtu |
|---|
| 600 XP |
Whether Tsanna ended up free, banished or executed, you’ve at least determined that this sect of Lamashtu isn’t behind the monster-seeds plaguing your peasantry. One lead down, one to go.
If you haven’t already completed it, your next stop should be the Goblin Village, where the quest Mother of Monsters will take place. The Goblin Village may have been revealed to you by your Councilor during the throne room events that started after the [Monster Invasion] event card appeared… but only if you declined to inform your populace of the source of the plague at the end of An Amusement for the Nobles.
The Goblin Village can be found northeast of the Bridge Over the Gudrin River. If you don’t have the Goblin Village marked on your map for whatever reason (likely because you told the truth at the end of An Amusement for the Nobles or skipped the quest entirely), you still have options: You can discern its location: by exploring the Lonely Mill area, which should appear in the Kamelands between the Hunting Lodge and Lake Silverstep. The Lonely Mill area will be covered below, but if you wish to skip it and continue on with Mother of Monsters, you can do so by clicking the provided links.
Visit the Shrine of Lamashtu again and recruit Tsanna,
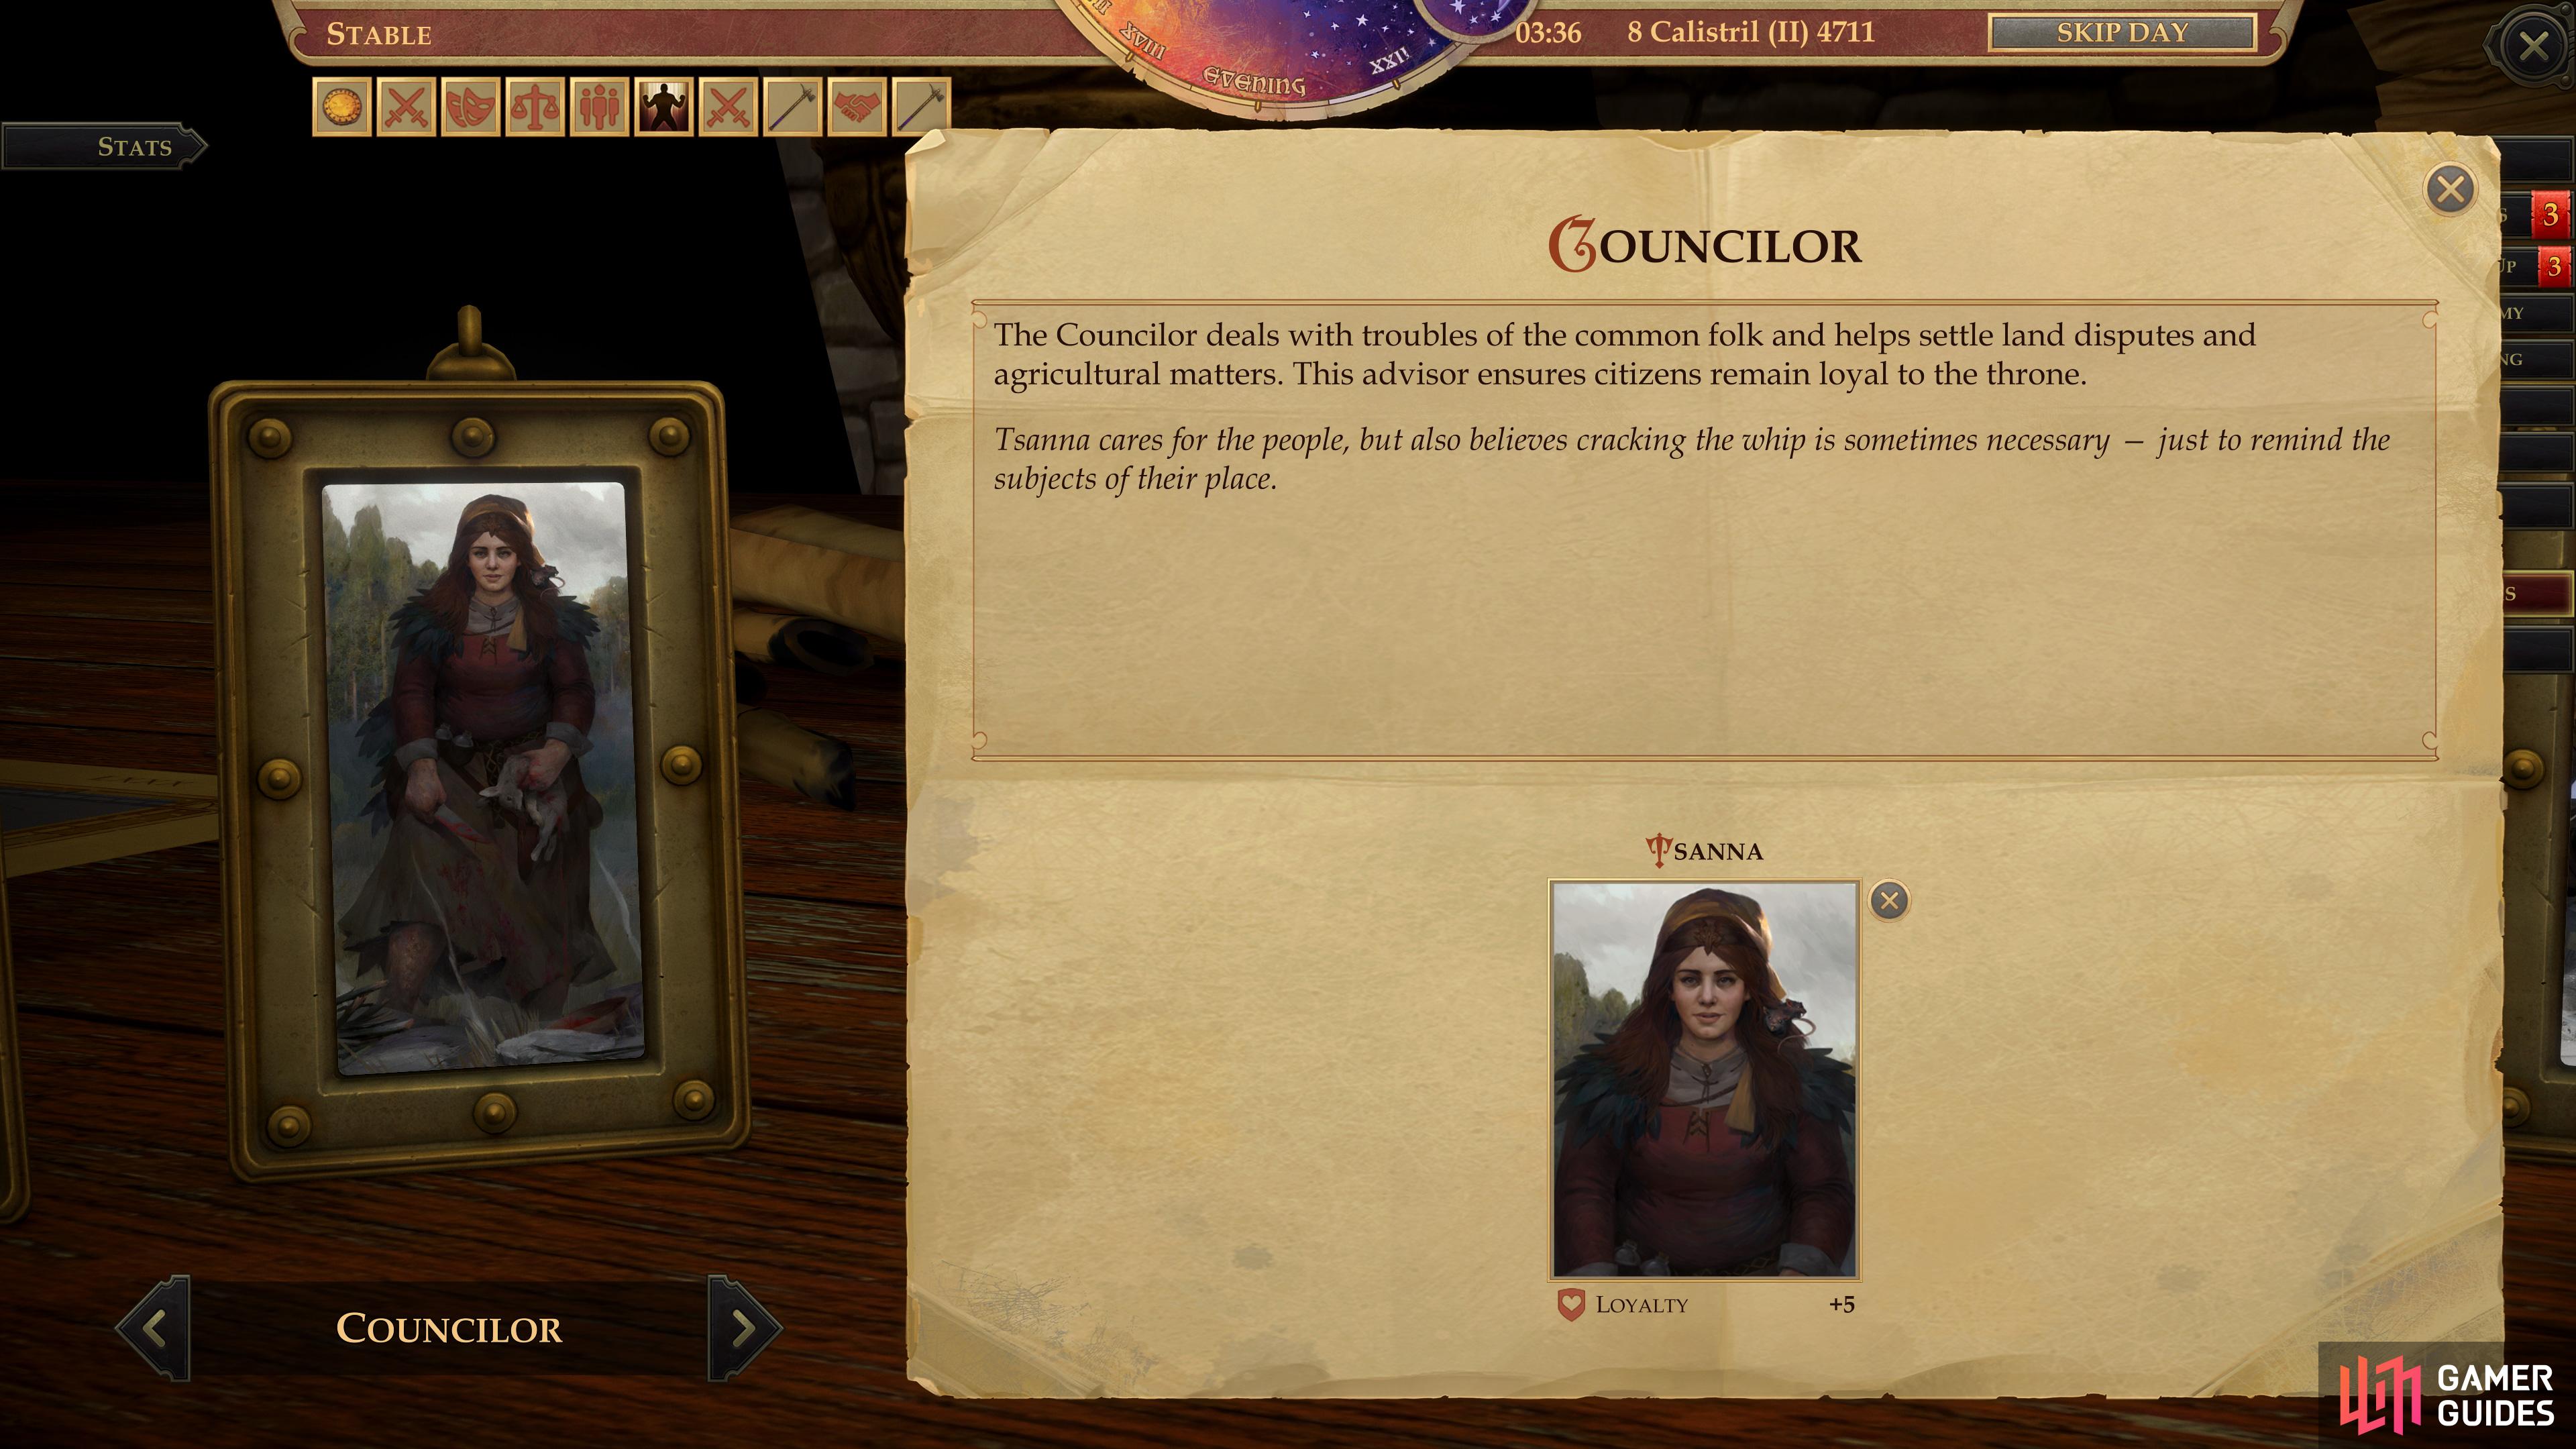
who can be assigned to act as your Councilor or your High Priest.
Recruit Tsanna
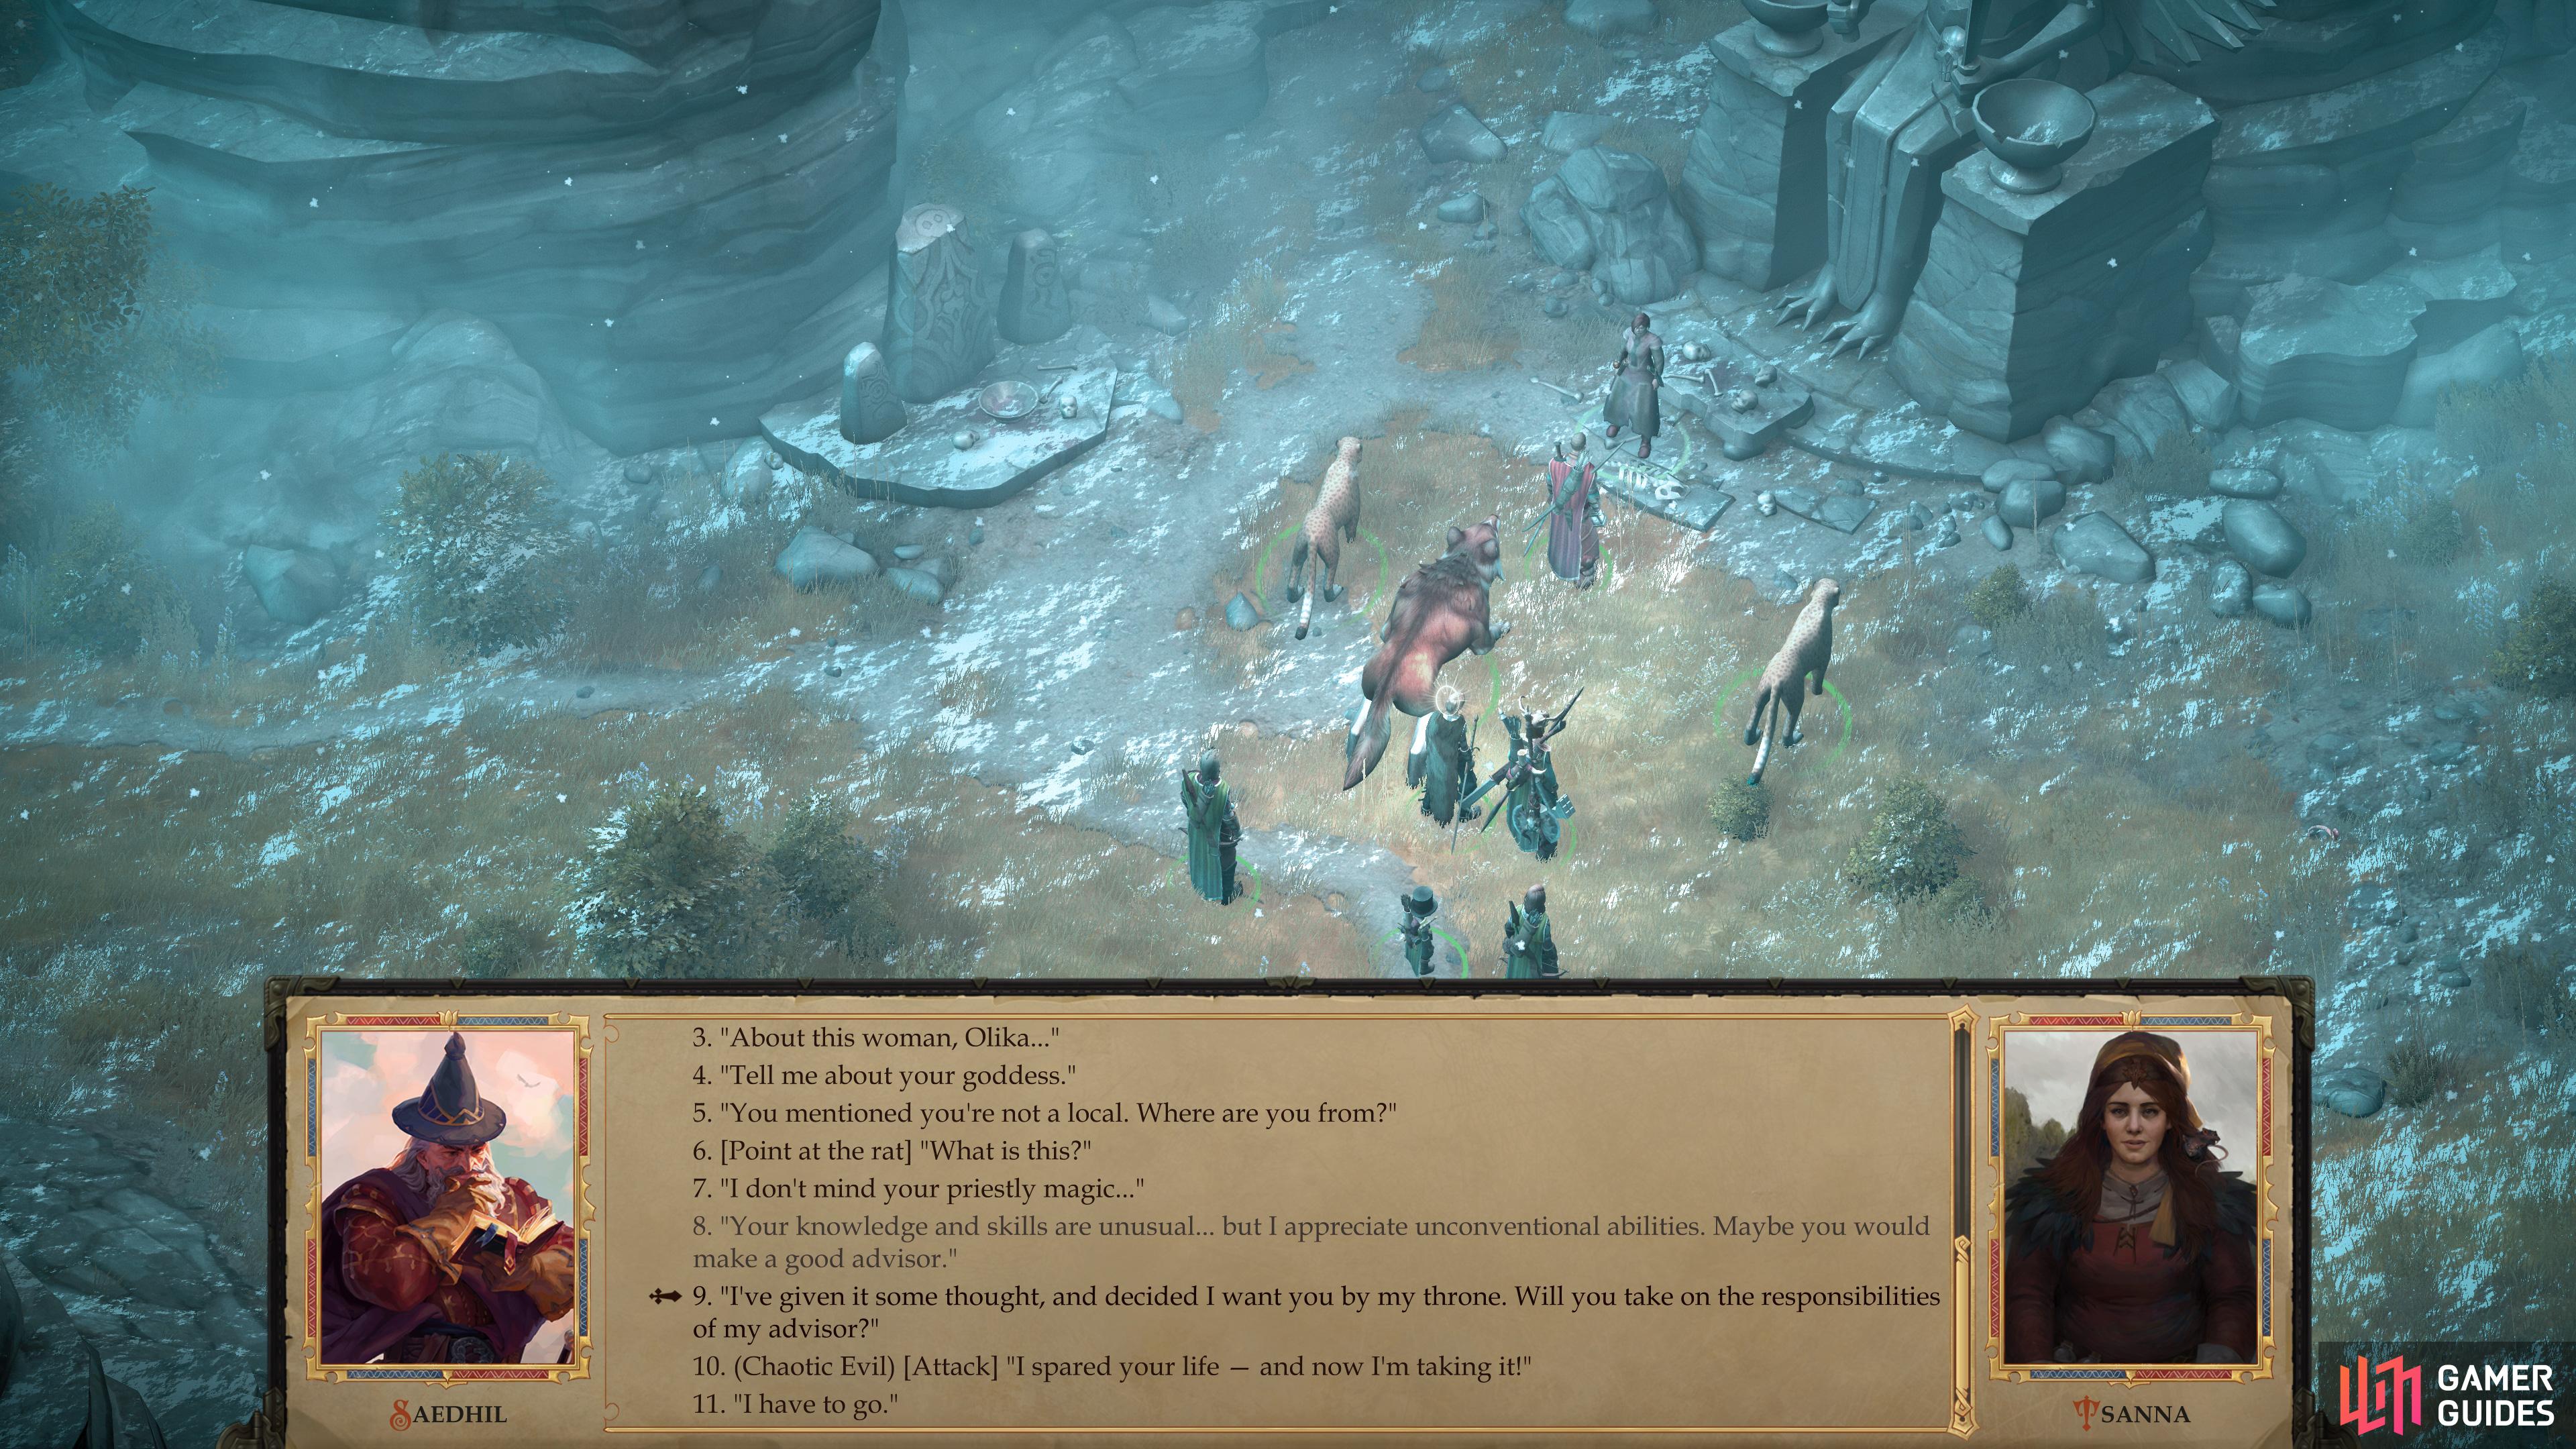
Before that, however, you can recruit Tsanna to your cause if you spared her life earlier, and didn’t banish her from your realm. Return to the Shrine of Lamashtu and talk to her near the shrine, where you can pick the following dialogue options to recruit her:
- ”Your knowledge and skills are unusual… but I appreciate unconventional abilities. Maybe you would make a good advisor.”
- ”I’ve given it some thought, and decided I want you by my throne. Will you take on the responsibilities of my advisor?”
Tsanna can serve either as Councilor or High Priest, although she may not be the best choice for goodly barons…
At the Shrine, there is also a crate in the far South East corner. Contains: Frost Falchion +1, Potions Cure Moderate Wounds x2, Scrolls of Haste x2, a Fowl, a gold ring, Herbs x2 and a Jug of Milk.
At the Shrine, there is also a crate in the far South East corner. Contains: Frost Falchion +1, Potions Cure Moderate Wounds x2, Scrolls of Haste x2, a Fowl, a gold ring, Herbs x2 and a Jug of Milk.