Return back to the capital after completing the Verdant Chambers Expedition, sell off any excess loot you have, make sure you’re rested, and ensure you have one or two Camping Supplies and Rations. Potions and scrolls of various sorts will also help - it’s just going to be your protagonist for this journey, so you’ll need to provide for them as best your resources allow.
It’s also not a bad idea to make a HARD SAVE here just in case something goes awry.
Travel: Verdant Chambers
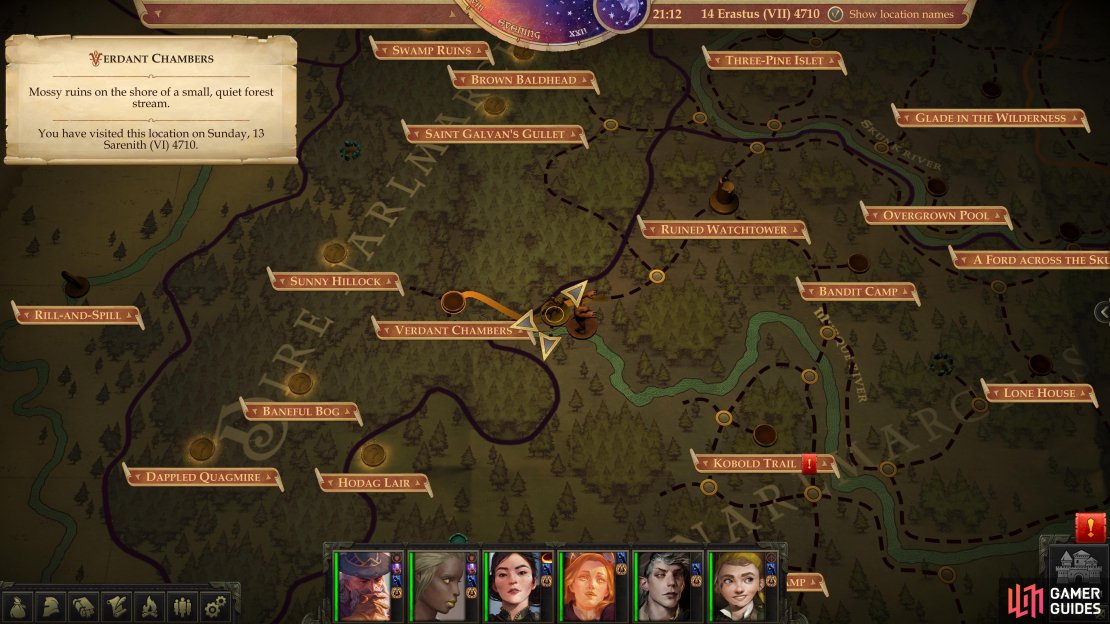
Make sure you leave your companions behind, leave Tuskdale and be wary of your inventory weight - loads that may have been bearable with six characters might be more of a burden with just one. You can mitigate the weight you’re carrying by equipping some of the heavier gear and excess wands and potions on your companions. They’re staying home, anyway, so they can be safely used as mules. Despite the tenuous excuse used to justify the previous bout of exploration, you’ll be taking a slightly different route to reach the Ruined Watchtower, and hence the Verdant Chambers. Follow the directions listed below:
- Northwest
- Southwest to reach landmark: A Ford Across the Skunk River
- South (cross Skunk River)
- Southwest
- Northwest
- Southwest to reach landmark: Ruined Watchtower
- Southwest
- Southwest
- West
Be sure to quicksave at every node you reach. Depending on your class, your ability to handle random encounters may vary. A character with a high Stealth score might just avoid everything, a warrior might be able to fight through a low-quality encounter or two, and a Cleric might find victory summoning minions and healing themselves afterwards. Most characters, however, will find their healing options limited to drinking potions or relying on their natural healing rate from resting, the former of which is limited and the latter of which is painfully slow. Suffice to say, this trip can be a chore depending on your class. When you arrive at the Verdant Chambers, risk resting so you’re in top form for your encounter with the Guardian of the Bloom. You’ll need your energy.
(1 of 4) Pass a mobility check to cross a gorge
A Gift of Invisibility
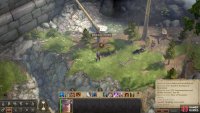
When you’re ready, enter the Verdant Chambers and make your way northwest to reach the ruins of a once mighty wall. Head up to the gateway, and from there turn northwest to find a gap you can leap across with a successful [Mobility 22] check. If at all possible, consider trying to cross this gap until you pass this check, as it’ll make completing this area much, much easier. Once across, continue east to find two Ferocious Wolves feasting on a corpse. Put them down by whatever means you have at your disposal, then loot the corpse they were munching on to score two Potions of Invisibility a Scroll of Freedom of Movement a Piece of Skymetal and the book Of Transmutations and Bodily Poisons, Part III. You may be needing those potions and scrolls shortly, while the book is required for the quest An Ancient Formula.
Note that you can also ascend into the fort via a nearby tree [Mobility 19], which will allow you to explore the keep a bit early. It’s unnecessary to do this, however - you’ll be coming back here with your party before long.
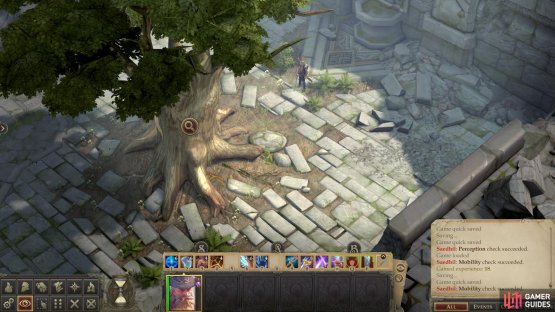
(1 of 2) Approach the tree in the center of the keep from the northeast, for reasons which will become clear.
Approach the tree in the center of the keep from the northeast, for reasons which will become clear. (left), Interact with the tree and the Guardian of the Bloom will summon some monsters to deal with you. (right)
Nature’s Wrath
Return to the gap you jumped and pass the Mobility check again, or just use the nearby area transition to leave the area, then immediately return. However you go about it, return to the keep’s gate and pass under the ruins of a once-mighty stone wall. Sure puts Tuskdale to shame. Once you’ve passed under the gate, turn northeast to find a large tree - presumably the one the Nymph calls home. Circle around and approach the tree from the northeast (you’ll see why soon enough) and sure enough, the Guardian of the Bloom will arrive.
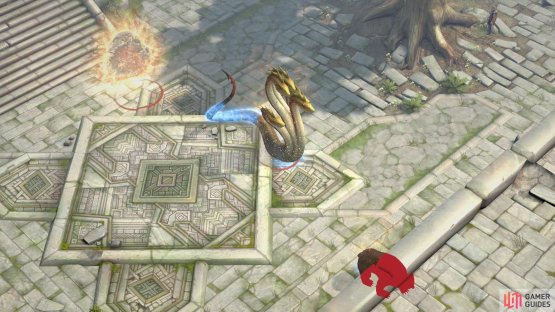
If you were expecting some great reward, you’re bound for disappointment, as, after interacting with the tree, a Young Hydra, a Ferocious Manticore and an Owlbear will be summoned to the southeast, while the Guardian of the Bloom will appear on the wall. Her wish is for the Stolen Lands to remain without a leader, although her reasons are anybody’s guess. Desperately fighting back against the forces of civilization that may develop the area at the expense of nature? Trying to ensure her own supremacy over these lands?
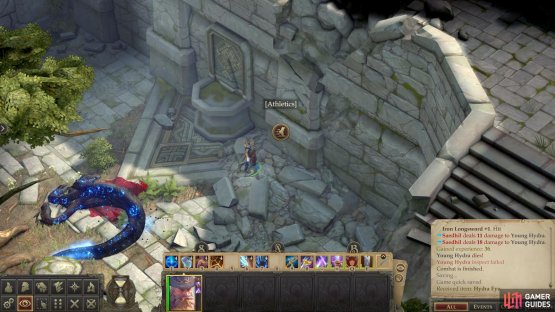
(1 of 2) If possible, defeat the Young Hydra
If possible, defeat the Young Hydra (left), then scale a wall by passing an Athletics check. (right)
Survival
Her reasons are less important than your survival, and you should follow the advice of the quest as it updates: survive. Even the strongest warrior isn’t likely going to be capable of fighting through all these foes, and fortunately you have options. If you interacted with the tree from the northeast, you should be far enough away from the monsters to the southwest that only the Young Hydra will attack, which a very strong warrior can defeat in single combat with a little luck. This will allow you to save/load, a useful ability to have, considering that to the northeast you’ll find a wall you can climb with a successful [Athletics 20] check. Failure will knock you prone and deal damage, success will see you atop the wall. Depending on your class, you’ll either have to make a run for it and attempt the wall, Young Hydra be damned, or fight the young Hydra first, then climb the wall.
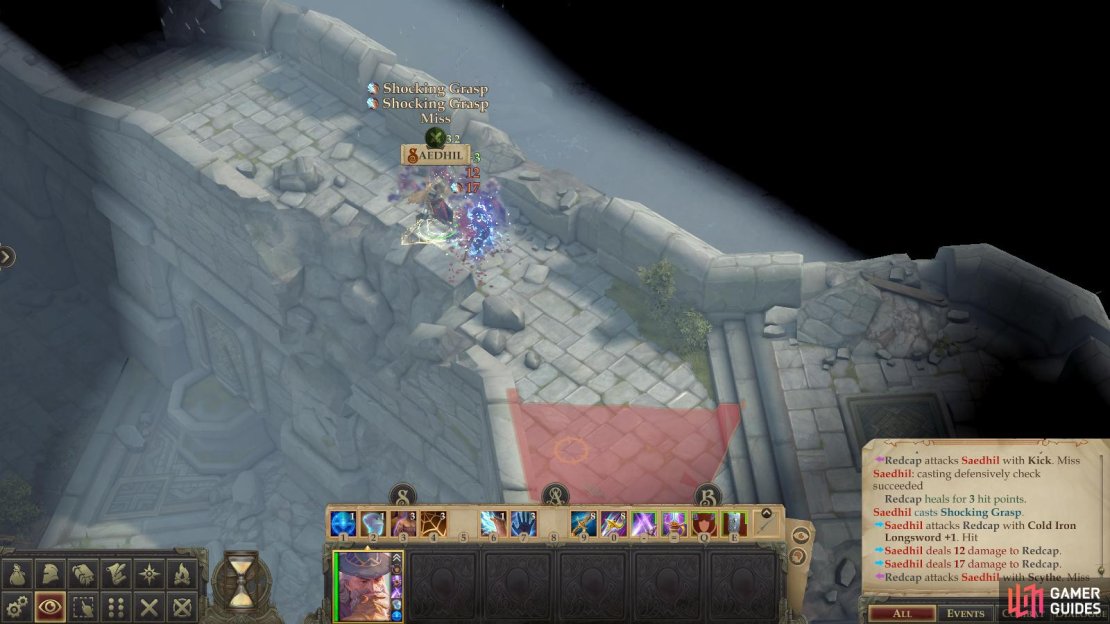
However you manage it, when you’re atop the wall venture southeast, being wary of the Redcap atop the wall as you go. The Redcap is a fairly strong foe in its own right, but matters are further complicated by a combination Glitterdust/Entangle trap which will hinder your movement and Stealth. If you can make it past these threats, turn southwest on the wall to find a collapsed tree, which you can navigate with a successful [Mobility 15] check. Failure will get you down, albeit in the capricious hands of gravity, while success will facilitate a less painful descent. From here all you have to do is make your way past two Ferocious Wolves (if you didn’t kill them earlier) and exit the area.
Frankly, it’s an ordeal if you have to rely on your combat prowess and skill checks alone. Fortunately, that’s where those potions and that scroll come into play. As soon as the enemies attack, drink a Potion of Invisibility to throw off the Young Hydra. Unfortunately, invisibility isn’t enough to get you out of this mess on its own, as approaching too near the enemies to the southwest will lead to them detecting you, and even if you can outrun them, there’s a more dangerous foe sitting near the main area transition - a Giant Flytrap. You won’t evade it, you won’t outfight it, and since it’s near the area transition, you won’t be able to leave.
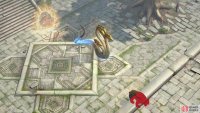
(1 of 3) Defeat a Redcap atop the wall or flee from it
That being the case, once the Young Hydra has lost interest, save your game and scale the wall to the northeast. When you make it up in one piece, you can use the Scroll of Freedom of Movement on yourself should you belong to a class that can use it, or should you have the Use Magic Device skill. If so, you won’t be hindered by the Entangle spell ahead. Otherwise, you’ll just need to make a run for the crumbled wall where you can jump/climb/fall down via a Mobility check and hope the Red Cap’s attack rolls are low, and your Reflex Saves are high. If you killed the Ferocious Wolves earlier, once you make it down alive, you’re in the clear - except for the long, dangerous trip home, that is.
There are many ways your escape can play out. If you have access to spells, you might be able to neutralize the Red Cap on the wall with Web, or distract it with a summon. If you’re a Rogue, maybe you can disarm the trap and evade the Red Cap? A warrior of quality might - with luck - defeat any one foe here save the Giant Flytrap. Haste and Expeditious Retreat may make it easier for you to escape on foot (in one of our playthroughs, our Monk/Magus protagonist had a high enough Armor Class and damage output that they were able to fight their way through everything save the Giant Flytrap). With the Potions of Invisibility you get and a little luck, everybody should be able to make it out, however injured. Make your way home node by node and when you get back, attend to any business via the campaign map. Ideally this entire endeavor would have taken around three days, so barring any extremely poor planning, you shouldn’t have missed anything important.
Now that the Guardian of the Bloom - this hostile, pestilential fae creature that haunts the forest near your capital - has shown her true colors, it’s time for a revenge expedition. Gather your party and venture forth - with any luck this expedition won’t take a week to complete, and since you know the start point and end point already (Tuskdale and the Verdant Chambers) a rough window of 4-5 days is a fair estimate.



No Comments