

Slavery or Slaughter
While you’re poking about in the Northern Narlmarches (presumably on your way to or back from the Abandoned Hut) you may come across a random encounter that’s significant enough to be worth mentioning… and even if you don’t encounter it yet, you will almost certainly have to deal with it after crossing the Thorn River.
You’ll be confronted by a Technic League Mage, led by another mage named Kalannah, who will suggest that one of you volunteer to replace their now-deceased slave. Resistance will be made with a quick death, or so they claim. Their boasts are somewhat beyond their abilities, but they’re still a tough fight. If you wish to defend the freedom of your allies, simply pick the appropriate [Lawful Good] or [Chaotic Neutral] moral choices.
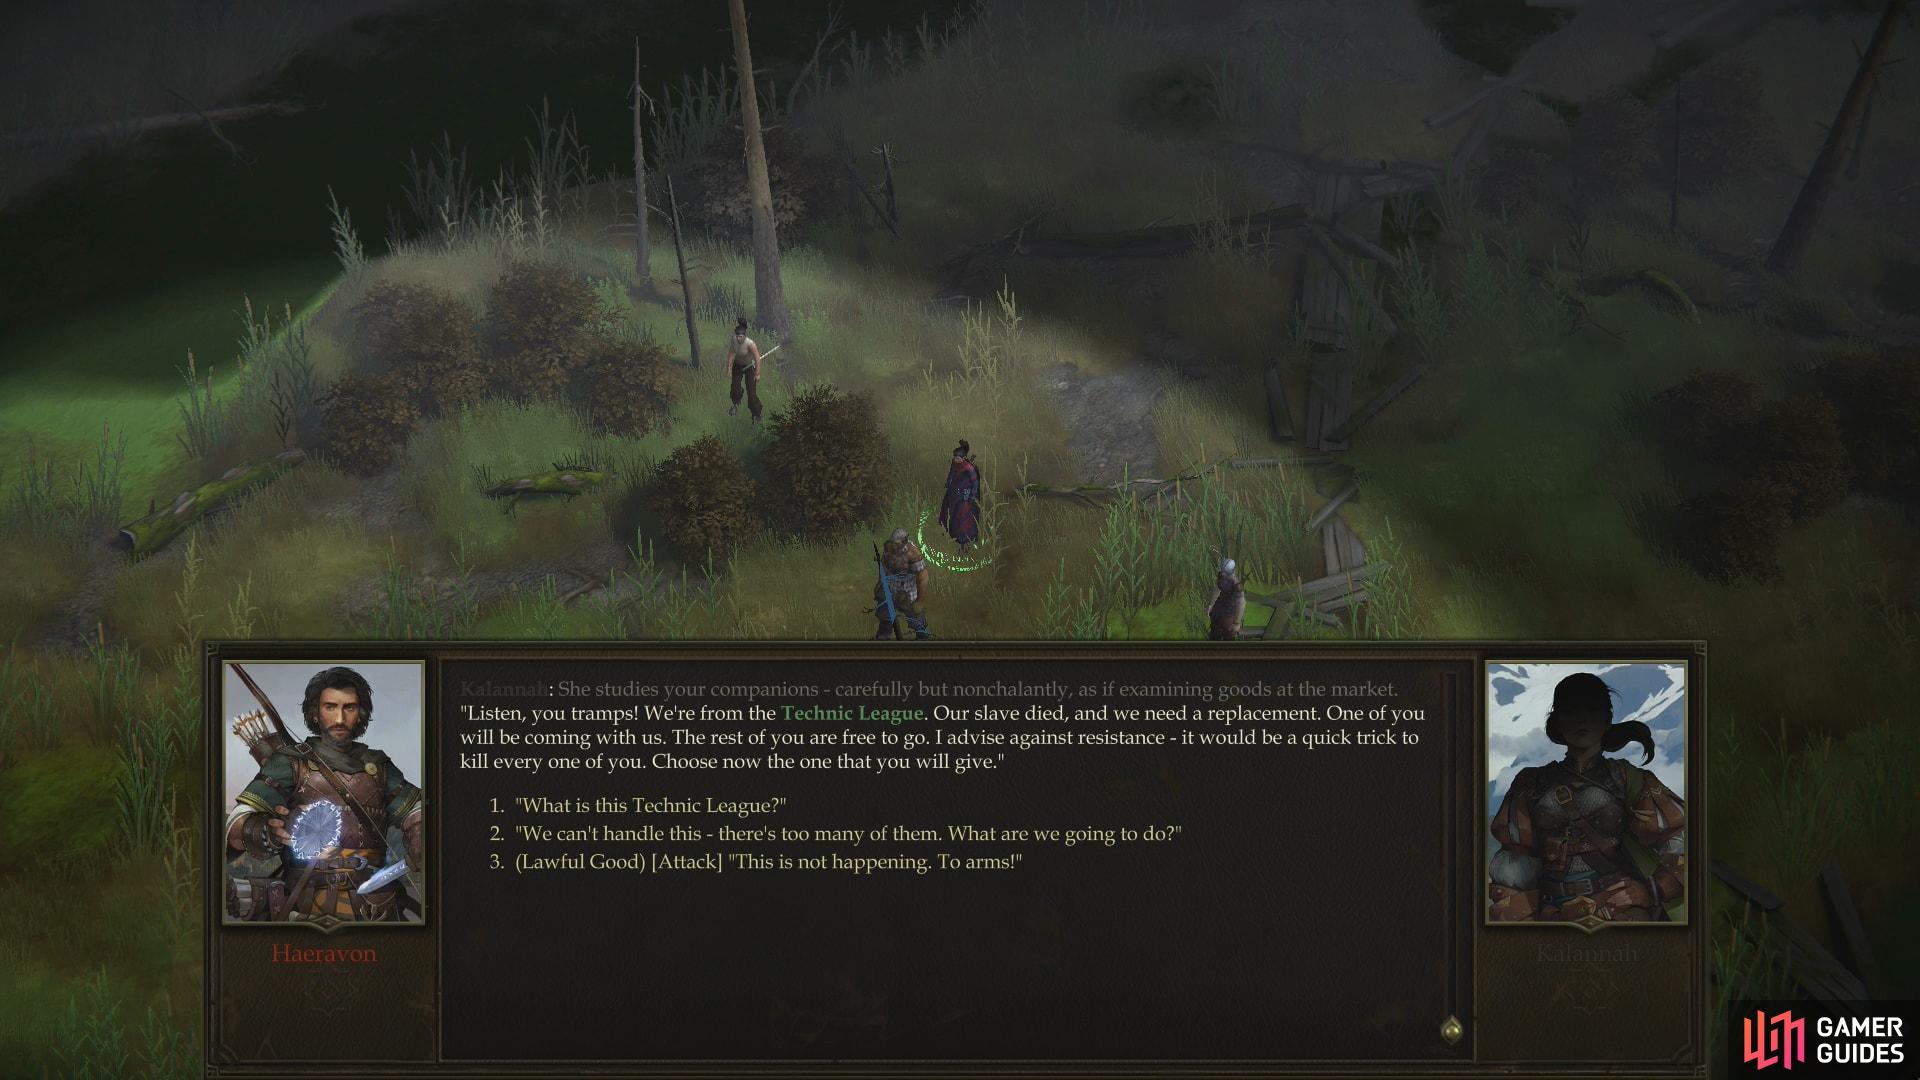
While traveling in the Narlmarches you’ll encounter some slavers - the Technic League

whom you can placate by surrendering one of your companions.
If you contemplate subjugating one of your companions for fear of the enemy’s strength, you’ll eventually be given a variety of new options: pick the [Neutral Good] option and volunteer yourself, or volunteer a comrade, all of which are [Neutral Evil] choices - yes, even though Amiri all but volunteered.
The best course of action here, arguably, is to attack immediately. You can’t volunteer as a slave (that damn snout of yours, you know), and forfeiting a companion might suit your morality, but it certainly is counter-productive to your goal of defeating the Stag Lord. Plus, if you want that companion back you’ll end up having to find where the Technic League goes, and defeat them in force while you yourself are handicapped. Whatever you choose, this starts the quest Hand of the Technic League (formerly known as A Warm Welcome from the League).
Battle: Kalannah and Company
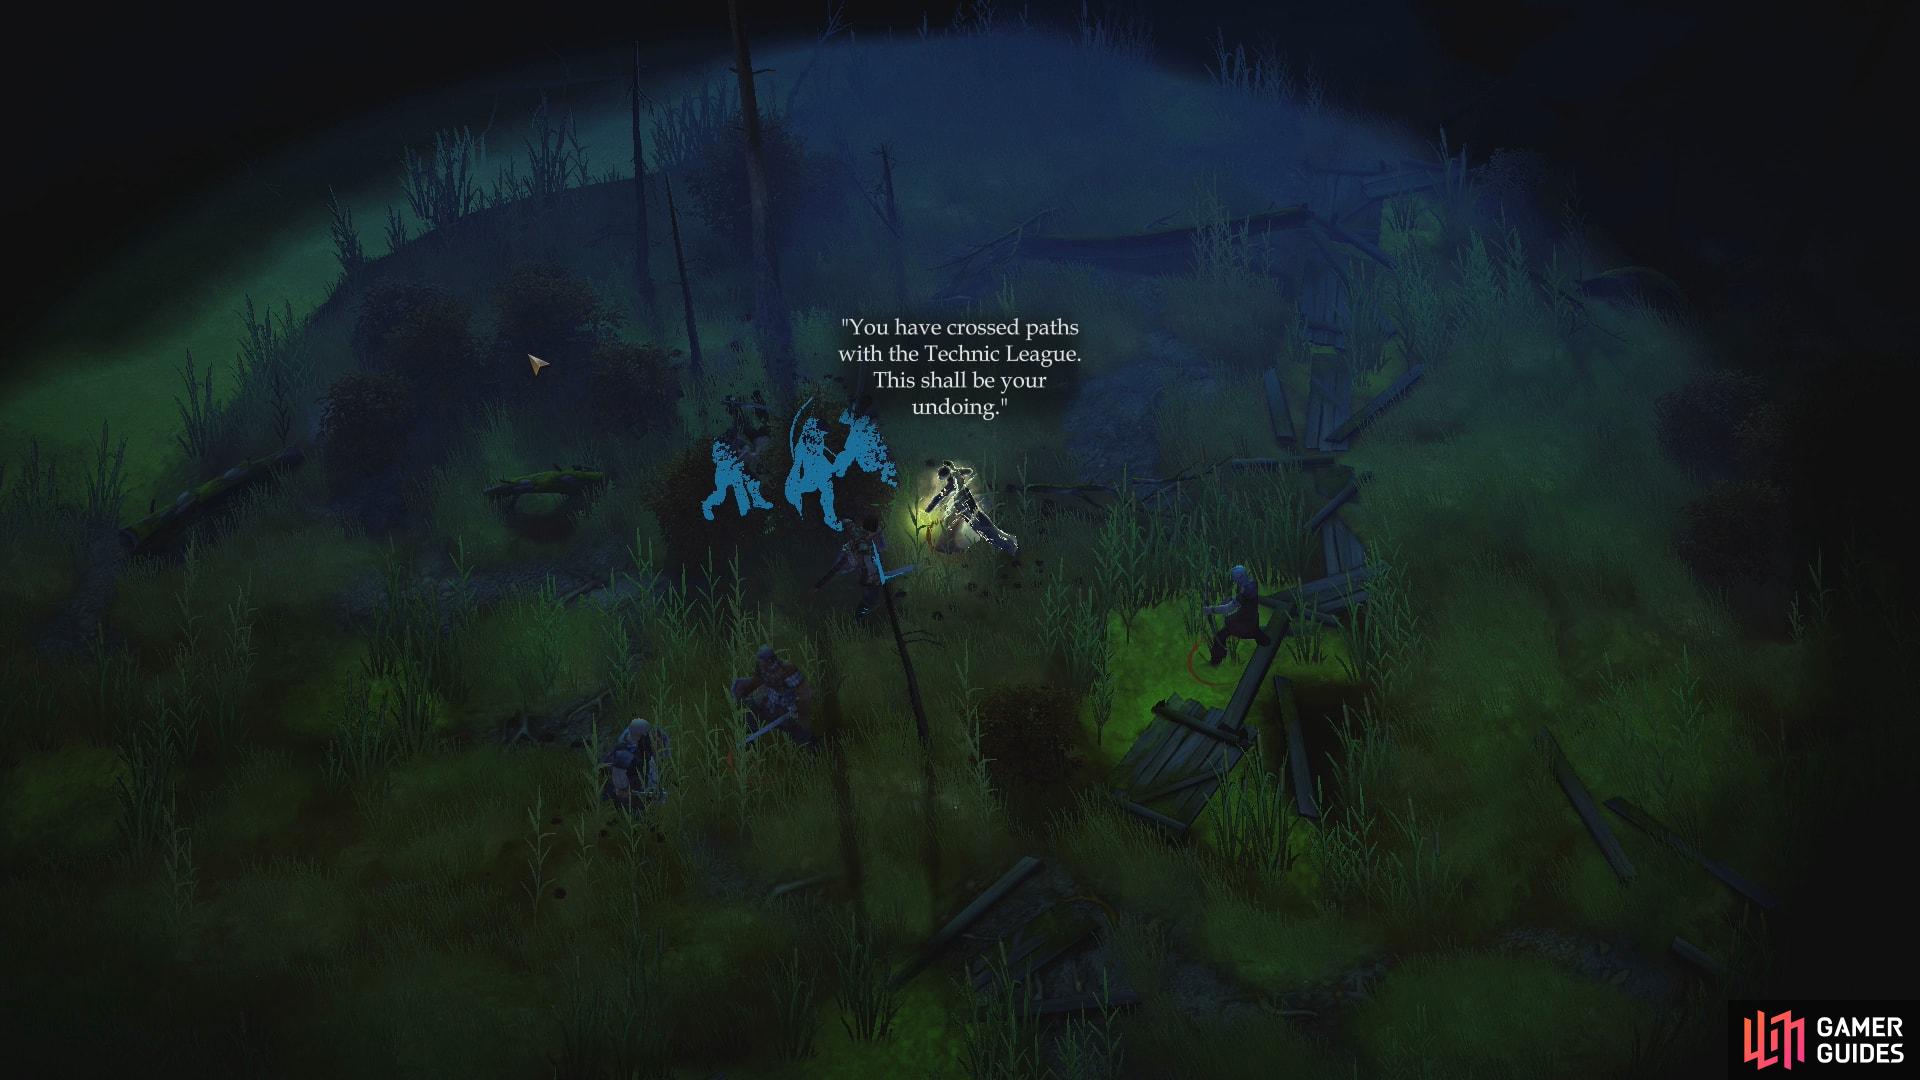
That being the case, decline their generous offer of mercy and servitude and consign yourself to an encounter. The most annoying foe here is the Technic League Mage furthest north, as she will constantly cast Cause Fear spells on you, which is a wretched debuff that can incapacitate a good portion of your party - and may prove fatal in a fight like this. Having Remove Fear handy is a good idea, but even better you should consider charging this mage with most of your warriors and hopefully prevent her from ever getting that spell off in the first place.
This leaves two Technic League Swordsmen, Kalannah and a Technic League Bowman for you to deal with. Ignore the Bowman for now, try to debilitate the Swordsmen with Sleep, Color Spray, Hideous Laughter or Hold Person, and have one warrior attack Kalannah. Kalannah will flee after taking damage, and left unattended she’ll summon Wolves to aid in combat.
If you’re lucky and the tactic works it’s entirely possible to chase off Kalannah, smite the Mage and incapacitate the Swordsmen in short order, but the battle doesn’t always go so smoothly. Clean or messy, when you stand victorious, loot your would-be masters to score an Estoc +1 and a Masterwork Longbow, then save your game and leave the area.
Kalannah can be chased off by harming her, leaving only two non-mage members of the Technic League

Focus on the Technic League Mage to prevent the caster from getting out too many Blind spells
Tracking the Technic League
You may have fought off the Technic League, but Kalannah is still out there somewhere, and such an assault can’t go unpunished! If you surrendered a companion, your need to seek out these slavers is even more dire. Either way, you’ll fortunately get an Illustrated Book episode, during which you can track down the Technic League. This varies a bit depending on whether you gave up a companion or not.
- 1: “[Knowledge (Arcana 20)] Tried to understand, based on what we’ve seen, what kind of spell Kalannah used to get away, and where it could bring her.”
or
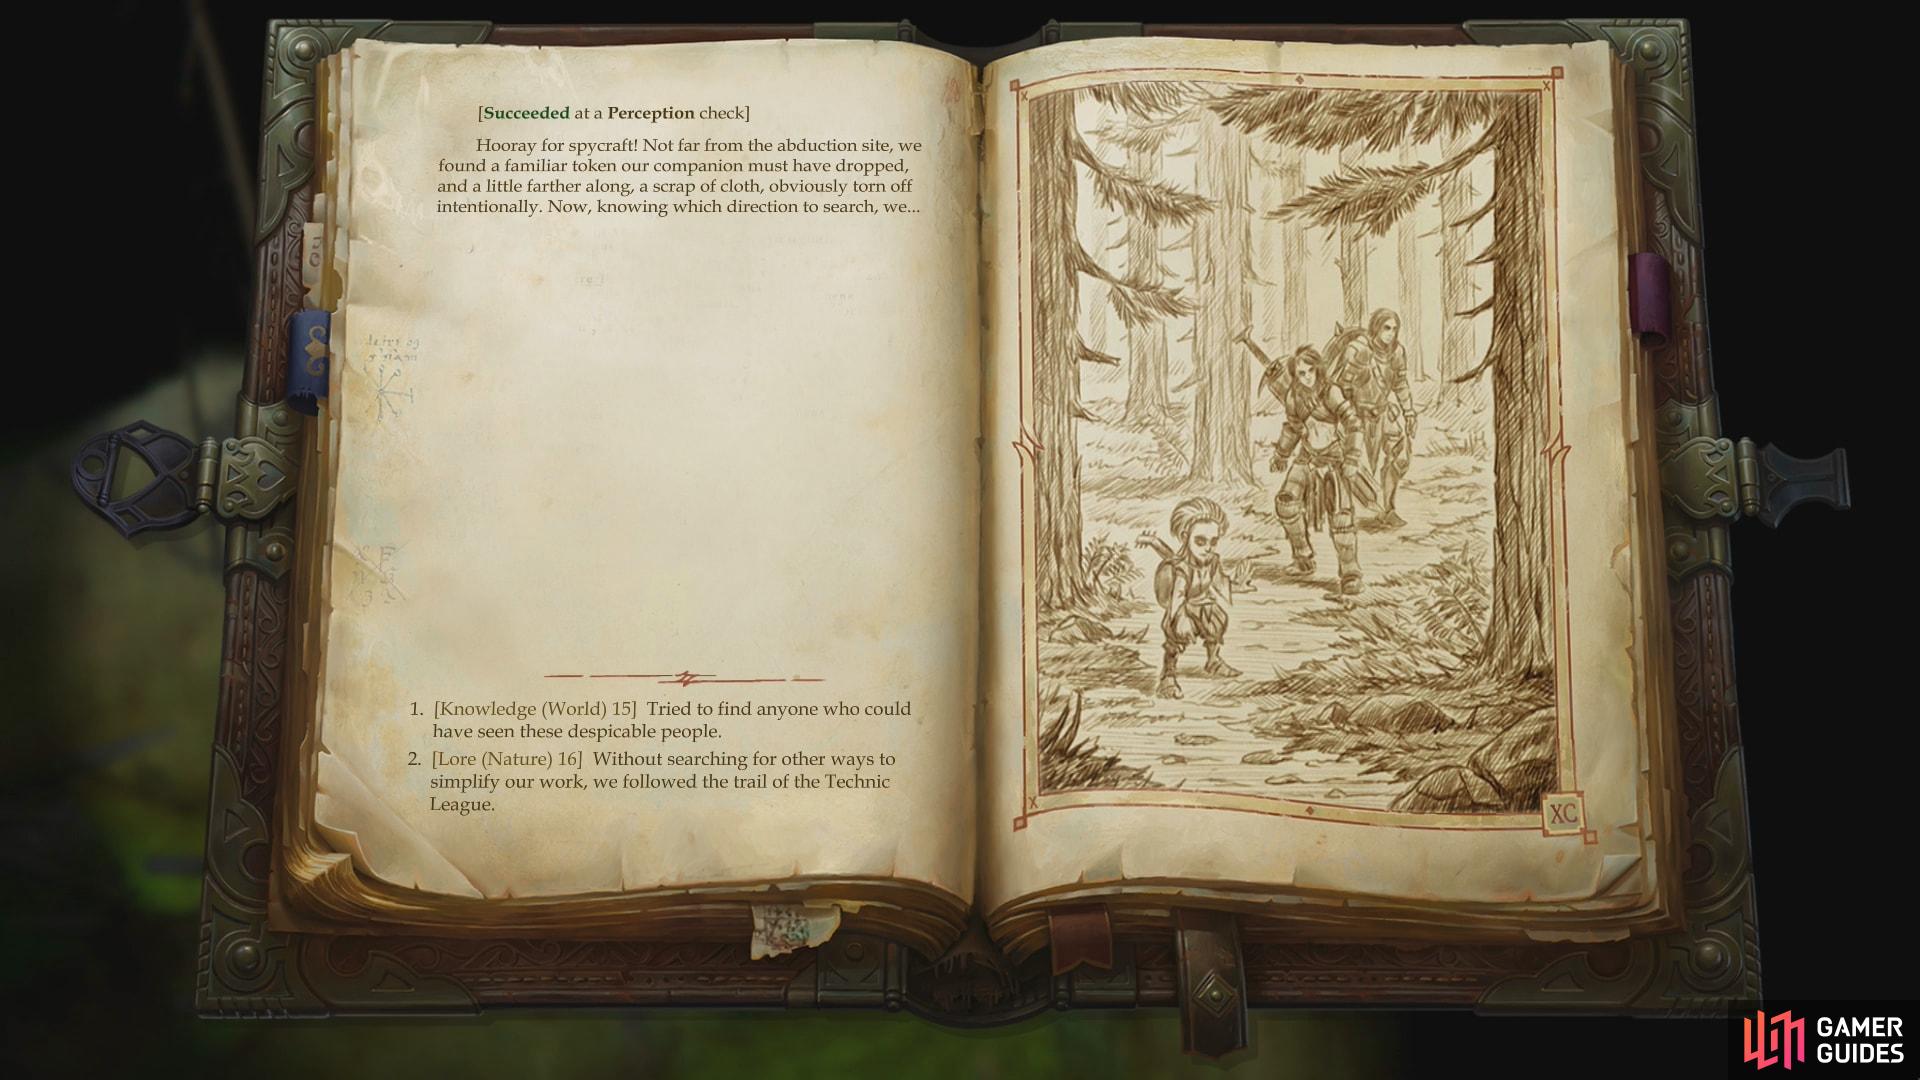
“[Perception 15] Searched for signs or trails that our abducted companion could have left for us.”
If you allowed the Technic League to take a companion, you’ll get a [Perception] check, while if you defeated them and chased off Kalannah you’ll have a significantly more difficult [Knowledge (Arcana)] check. The only point either of these serve is to reduce the difficulty of the [Lore (Nature)] check by two.
- 2: “[Knowledge (World) 15] Tried to find anyone who could have seen these despicable people.”
Like the previous check, this one won’t get you any closer to Kalannah, but if you’re successful here, it’ll lower the difficulty of the [Lore (Nature)] check by two.
- 3: “[Lore (Nature) 18] Without searching for other ways to simplify our work, we followed the trail of the Technic League.”
When you leave the area, you’ll get an opportunity to track the Technic League back to their camp
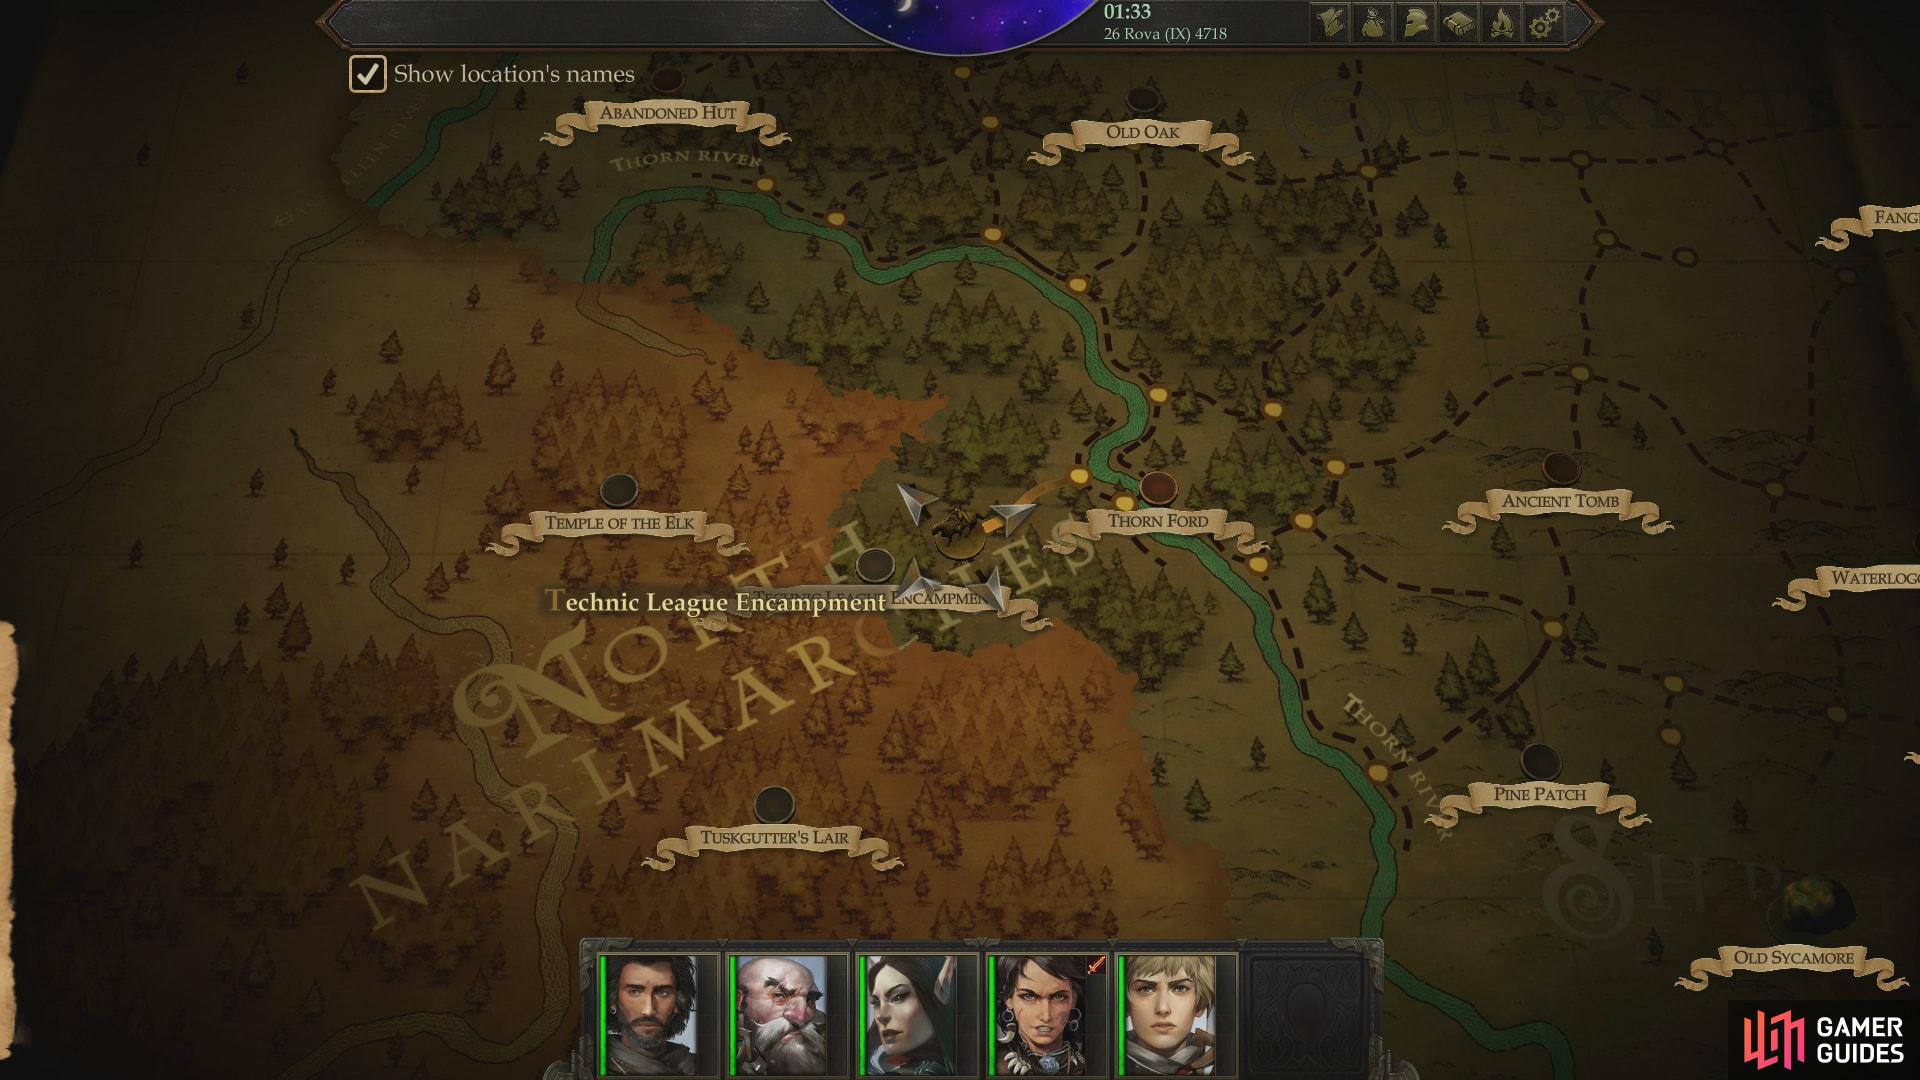
The Technic League Encampment can be found southwest of Thorn Ford
It doesn’t matter much if you succeed or fail here, and this is the only decision that even remotely matters in this Illustrated Book episode. You’ll find the Technic League Camp whether you succeed or fail, and the difficulty of this check can be reduced by four - two each time you succeed at one of the checks above. If you succeed you’ll be rewarded with some experience.
| Reward |
|---|
| 160 XP |
| 400 gold |
Fortunately, you don’t have to travel there right away, nor do you move there. It’s quite deep in the forest that covers the North Narlmarches, so travel will be slow and will take quite a bit of time. Don’t bother with such a diversion yet - you might as well continue on to the Abandoned Hut. Don’t worry, you’ll find an excuse to head down to that area shortly.
No Comments