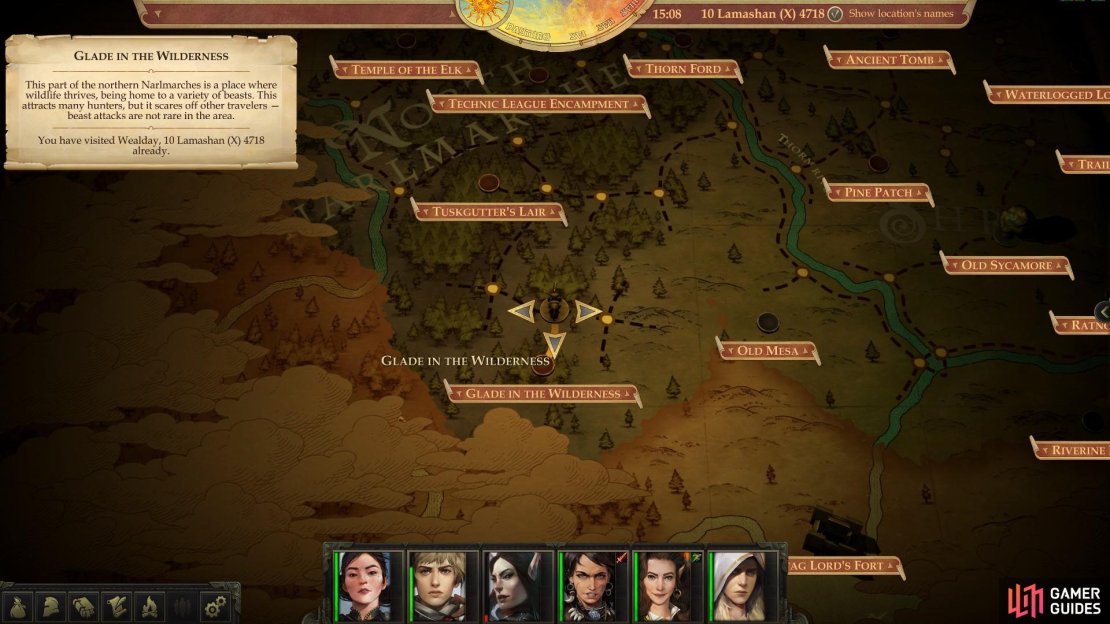
To reach this location from Tuskgutter’s Lair, follow the directions below:
- East
- South
- East (to reach empty node north of Glade in the Wilderness)
- South
On the other hand, for a more generalized approach from Thorn Ford, use these directions:
- Southwest (cross the river)
- Southeast (along river)
- Southwest (veers south)
- South
- West (to reach empty node north of Glade in the Wilderness)
- South
The location of the Glade in the Wilderness area on the map.
From where you arrive, head northeast along the road to find two Dire Wolves (Wolves from Silent’s Pack) nearby. Better get used to them, as these are the main foes you’ll be fighting in this area. Despite their name, they’re only slightly stronger than other wolves you’ve fought thus far, which by now should make them rather underwhelming foes. Their Armor Class is paltry and their HP mediocre - the only thing they really have going for them is a decent Attack bonus and the ability to freely perform a trip attack when they hit a bite. By now, however, most of your warriors should have a high enough Combat Maneuver Defense score to make it unlikely (although by no means impossible) for them to be tripped.
Further to the northeast you’ll find three more Dire Wolves who happen to be guarding a cave. Kill them, then enter their cave and kill another pair of Dire Wolves. Continue north, then turn southeast to find… a Beholder! No, seriously though, just another pair of Dire Wolves. Defeat this last pair of Dire Wolves and note another, larger group of canines (consisting of two Dire Wolves and three Silent’s Wolflings) who can be found around the corner to the northwest.
(1 of 2) Defeat some wolves near the start of the area
Defeat some wolves near the start of the area (left), and another group near the entrance to a cave. Wonder what lurks inside? (right)
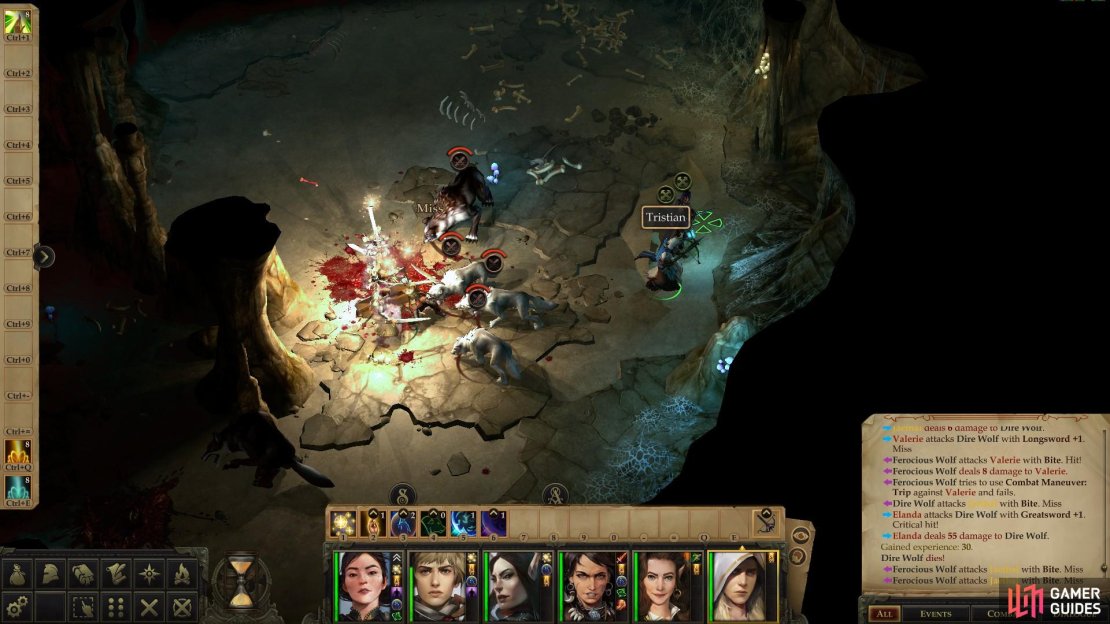
If this was a simple, straight-forward fight, rushing in and cutting them down would be a sufficient tactic, but it’s not, so a more sophisticated approach is in order. First, pick your best tank, buff them with Blur and/or Shield of Faith and buff your whole party with Bardsong and/or Bless, then send them to engage the Wolves to the north, leading with your tank, of course.
After you exterminate some of the wolves to the north, another group of wolves (specifically two Dire Wolves) will spawn behind you, led by Silent, the Wolf Alpha - by far the strongest mutt you’ll face in this area. If you’re unprepared, this could be a devastating development, at the very least for your squishy characters hanging back. With this fore-knowledge you can prepare for, and hopefully counter, this ambush.
To prepare for this inevitability, move your ranged characters northeast so they’re behind your warriors. Space might be tight, so be careful, but provoking an Attack of Opportunity might be a necessary risk to move your ranged characters out of danger. Once they’re behind the line of your warriors (who should be engaging the northern wolves still), your arcane spellcaster has one more trick to play before resigning themselves to a support/archery role.
Once they’re safely to the north and not near enough to any wolves to provoke an Attack of Opportunity, cast Web (if you picked it for a third or fourth level spell, as suggested) to the south, near the entrance to the den the northern wolves inhabit, as the area of effect should be large enough to cover the entire entrance. Best case scenario, this will stop the southern wolves from arriving before you wipe out the northern ones, and force them to engage you piecemeal. If you have the capacity for it, consider casting two Web spells stacked on top of each other, as their effects stack, and forcing your opponents to make two saves every round will effectively prevent them from making it through the affected area. Remember this strategy well, it may come in handy later.
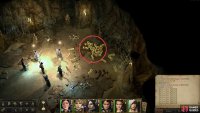
(1 of 3) Sneak your casters and archers behind the wolves to protect them from future arrivals.
If all the wolves are stuck by the Web spell, equip your characters with ranged weapons and shoot them down, although it’s usually a good idea to keep one character ready with a melee weapon to draw the aggro of enemies that break free from the Web spell, and to give the rest of your warriors time to switch back to melee weapons - an ideal role for your tank. If at all possible, kill the lesser wolves first as while the Alpha Wolf is the greatest individual threat, it’s danger is multiplied by having other wolves around to take advantage of its trip attacks.
Once the magically-aided slaughter is over, loot a pile of bones to the north to obtain a Scroll of Bane and a Scythe +1, among other treasures. Jaethal will find the upgrade most helpful.
Despite the lofty pretensions of this expedition, this is, sadly, the last bit of gear you’ll find that’s a notable upgrade. That’s not to say there’s no treasure ahead, just nothing quite on par with what you’ve found so far. If time is tight or the spirit is wanting for motivation, now might be a good time to prepare for the assault on the Stag Lord’s Fort. If you’re good to continue on and want to clear the last of the areas that are both reachable and within your power, carry on with the next two areas: the Old Mesa and the Riverine Rise.





No Comments