

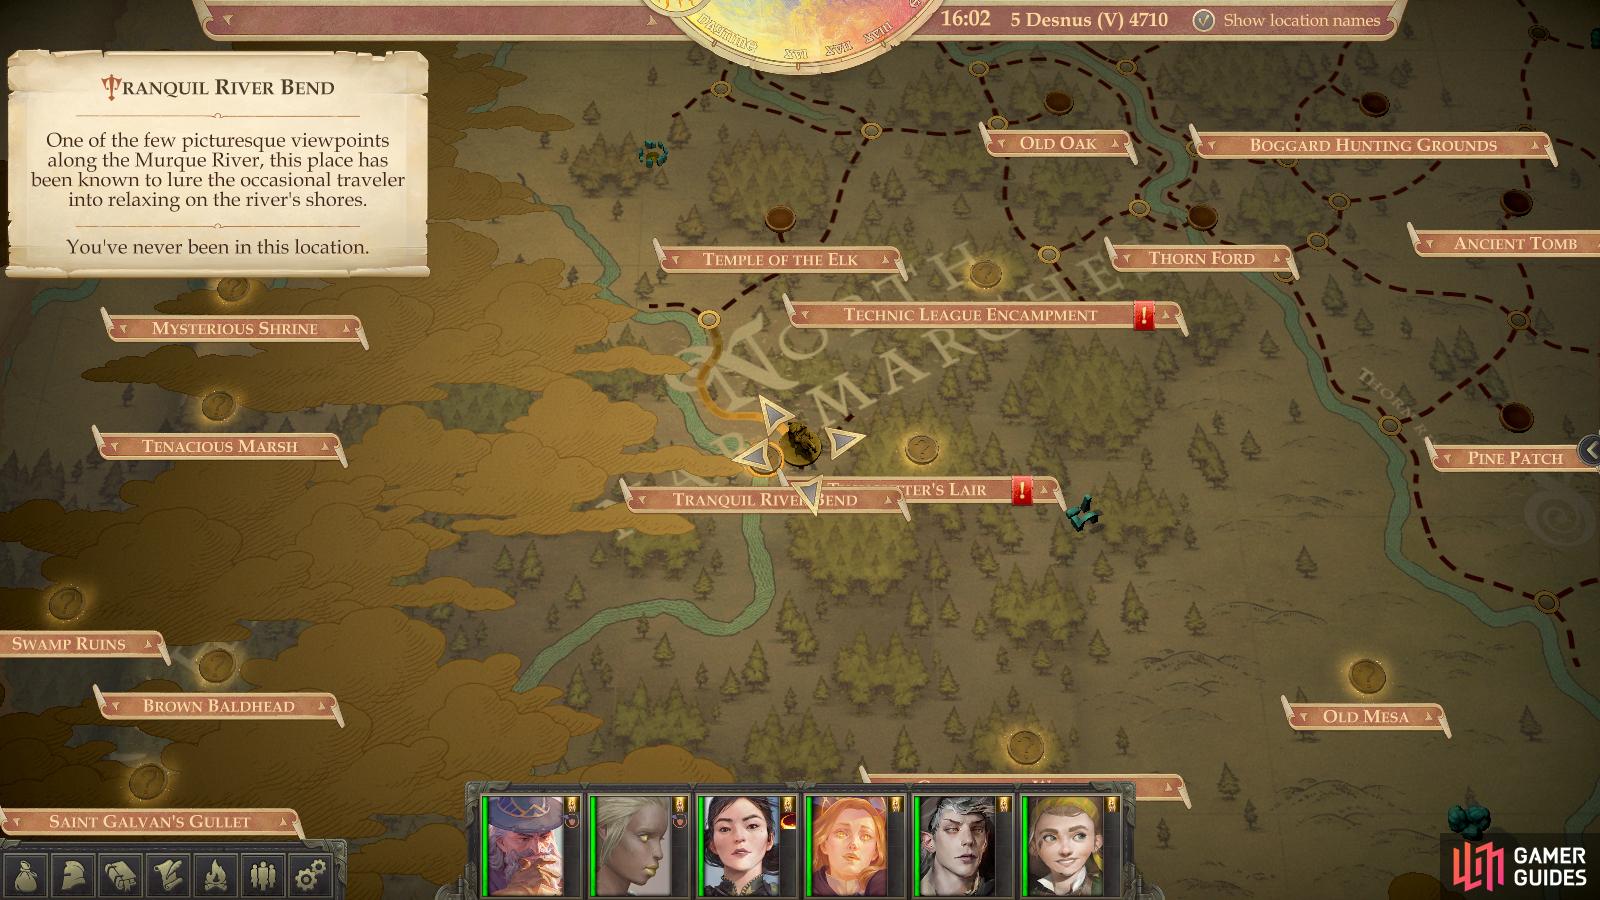
To find this area, follow these directions from Thorn Ford.
- Southwest (across Thorn River)
- Northwest
- Southwest
- Southeast (path veers southwest)
- Southwest
- Southwest
While you can access this area in Chapter 1, it’s one of the more far-flung areas you can actually reach. Suitably, it has some of the strongest foes in the entire chapter, so you’d best come prepared. The most power-gamey parties might be able to handle this area as early as 4th level, but it’ll be much easier at 5th level.
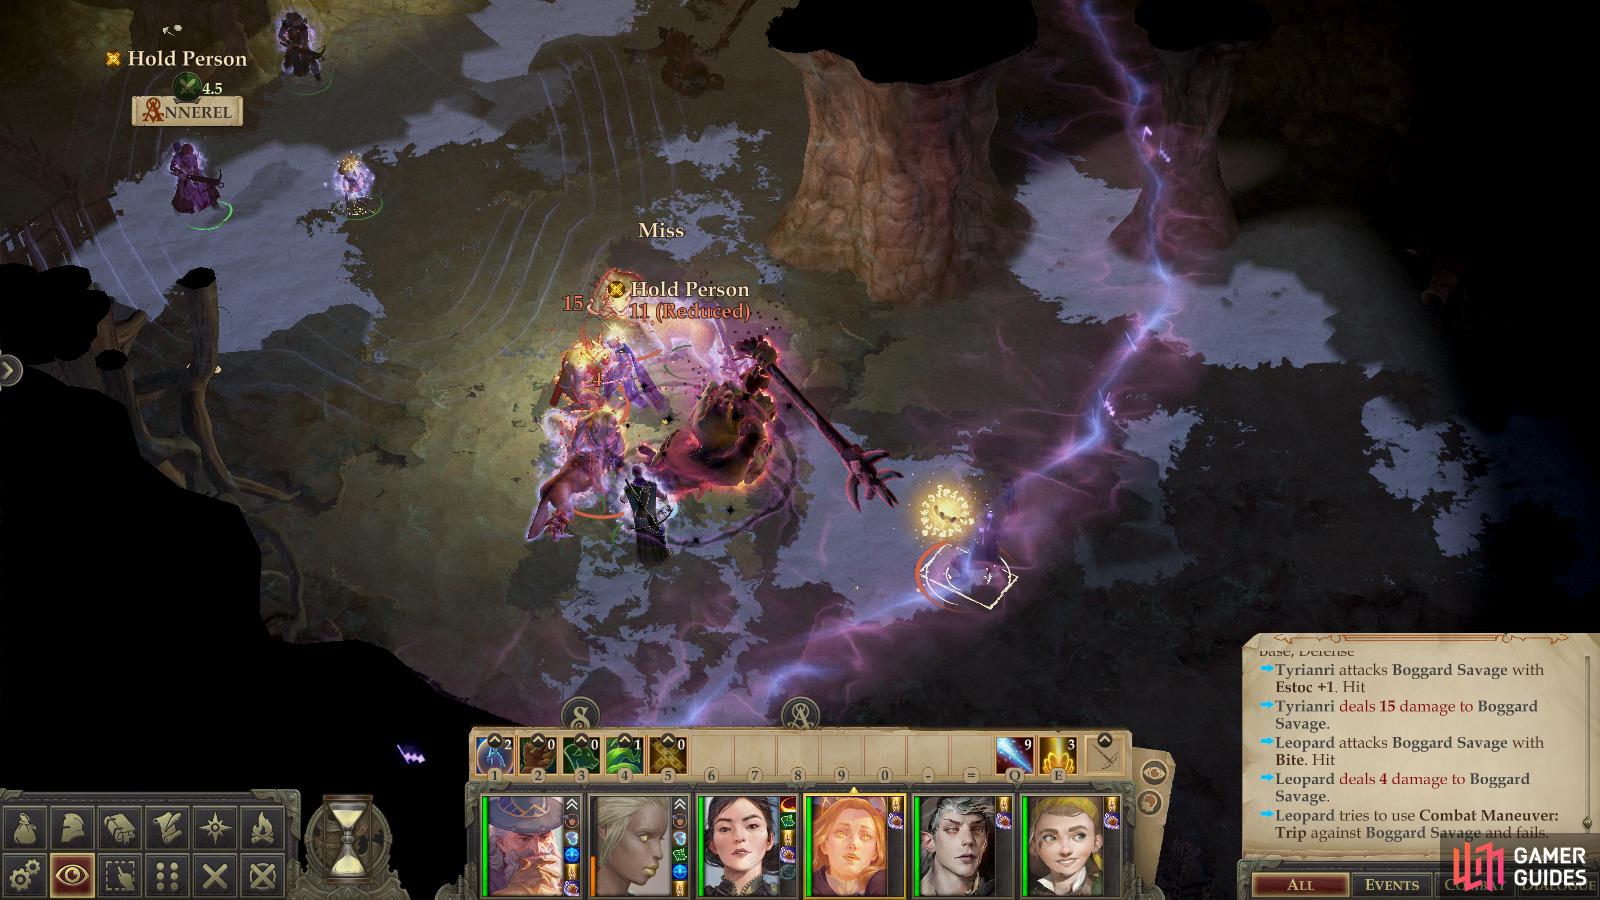
When you arrive on the western edge of the map you’ll spot a campsite, which looks peaceful enough. Save for the corpses. On second thought, perhaps you should stay put and buff, as your foes won’t be long in wandering by. The first enemies you’ll fight here are a Boggard Savage and Boggard Scarred One, both of which have Barbarian levels to augment their base Boggardness. The Boggard Savage (Barbarian 2), while not a push-over, pales in comparison to the Boggard Scarred One (Barbarian 4), as the latter’s four levels of Barbarian is enough to give it a second melee attack per round. Add this to the fact that the Scarred One variant has an outrageous Attack bonus and damage output (and enough HP to keep him swinging, despite his low AC) and you’ve got a foe you can’t expect to miss regularly unless your tank has an Armor Class of 30+. Suffice to say, unless you’ve significantly min-maxed, a 5th-level party might have some trouble here. While not typically crafty opponents, you do need to be wary of charge attacks - Boggards are not above rushing past your warriors to wreak havoc among your ranged attackers.
Even if you can weather this encounter, don’t get cocky, as a second pair of Boggards can be found a short distance to the east of the first, and a third can be found to the southeast. While the Scarred Ones are definitely bruisers, you can debilitate them with any spell that targets Reflex or Will (Entangle, Grease, Web, Hideous Laughter, Hold Person, etc.), which will drastically improve your odds. They’re also surprisingly easy to trip, so if you have a pet (say a leopard or wolf) - now is their time to shine.
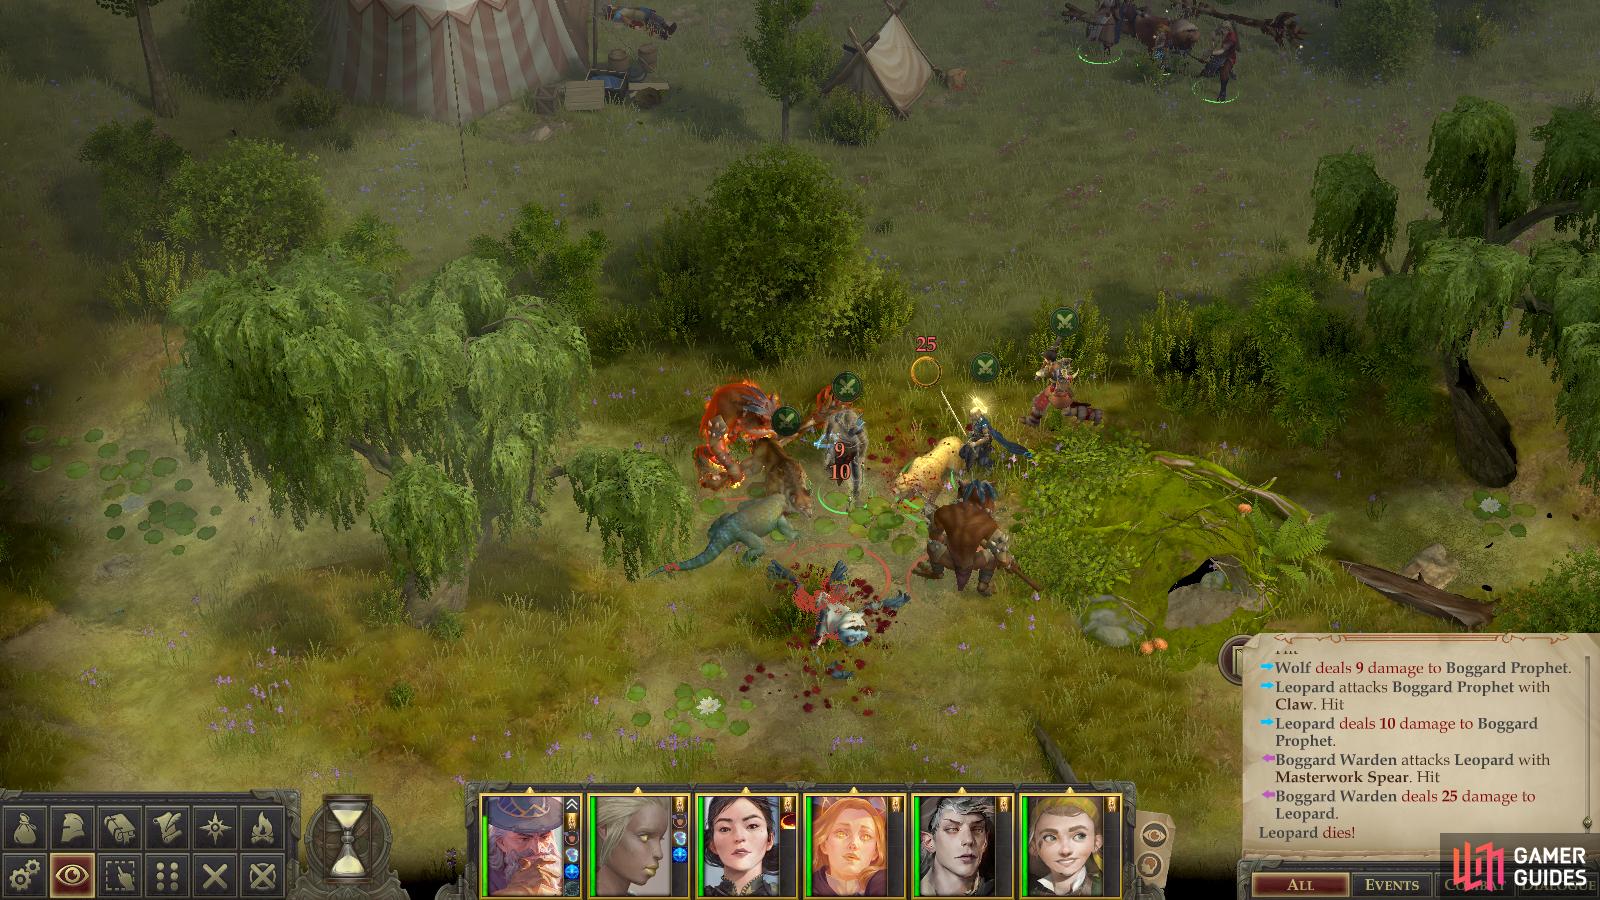
Clear out the three pairs of Barbarian Boggards, then head to the south of the camp is where the real challenge awaits: three more Boggards, including the Prophet (Sorcerer 4) and Warden (Ranger 5) variants and a Monitor Lizard… because why not? The Warden is largely uninteresting, being a somewhat sturdier combatant with less offensive output than the Scarred one, while the Prophet largely wastes its potential as a caster by sticking to offensive spells - Burning Arc and Magic Missile being its favorite spells to spam. While this will wrack up guaranteed damage, they’re not debilitating spells that can change the outcome of a fight.
If you emerge from these fights victorious, you can safely set your sights on looting (and rest smug in the knowledge that you can likely defeat anything in this chapter). The Boggards all possess masterwork weapons, (mostly Greatclubs) which are worth selling, at the very least. The Boggard Prophet will also yield a Ring of Protection +1 and a Cloak of Resistance +1 On a corpse lying against a tree near the western edge of the map (near where you entered) you’ll find a Flaming Nunchaku +1
All in all, not a bad bit of loot in this proving grounds area in Chapter 1. Pat yourself on the back for a job well done and… oh wait… there’s more?
That’s right, these Boggards came from somewhere, and that somewhere can be found on the southeastern edge of the map, where you’ll find an entrance to a cavern. Given what you encountered on the surface, and hence what likely dwells below, you should probably ensure you’re rested before you venture into the caves. Then again, maybe the Boggards sent out their best troops to raid the surface? (No seriously, rest up and prepare…)
Defeat a batch of Boggards in the cavern
then advance to find another group of Boggards, including two Prophets.
Boggard Cavern
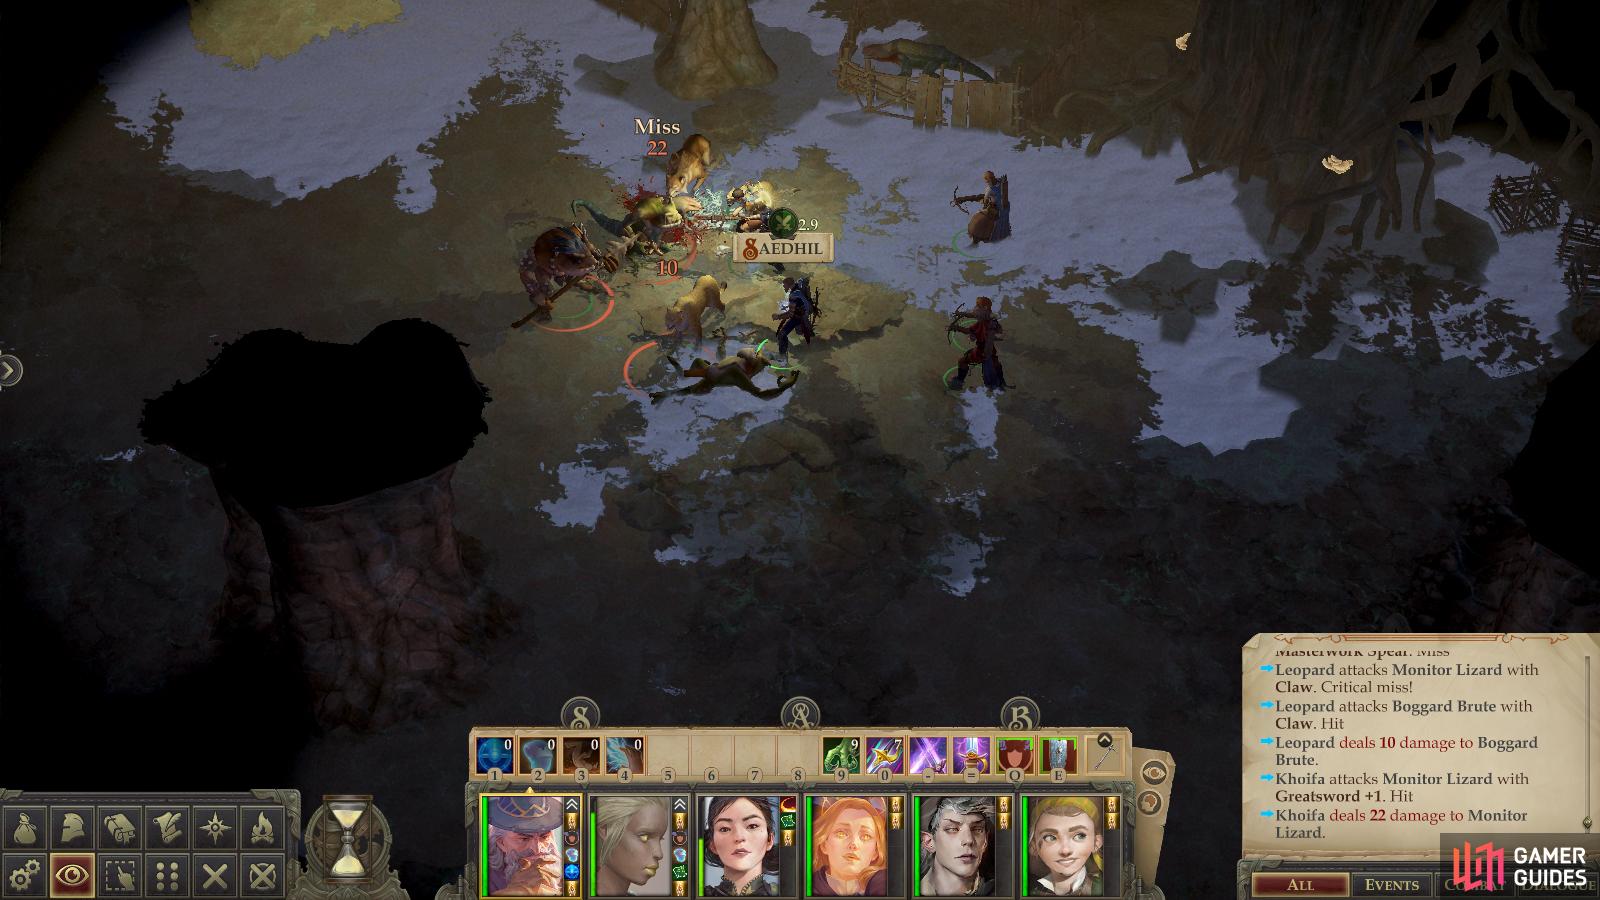
When you enter the cavern, buff up with the usual spells, then head northwest to reach a large, watery cavern occupied by Boggards. Fortunately these are mostly lesser sorts, including two Brutes, a Savage, a Warden and a token Monitor Lizard. These foes shouldn’t require much finesse to cut down. Loot them for whatever masterwork weapons they may have, then search some barrels and crates to the southwest for some trinkets.
A trickier fight awaits in another cavern to the northwest, where you’ll encounter a Savage, a Scarred One and two Prophets. Obviously a nuisance fight, the goal of which is to waste your time on the melee Boggards while the Prophets pick away at you. There are many ways to go about this, but we prefer to focus on two: Debilitation or tanking. The Boggard Prophets have terrible Reflex Saves, and a well-placed Grease, Entangle or Web spell can hinder them significantly. Failing that, you can always just rush a warrior of your own up there to occupy them. Buff them with Resist Elements (fire) and you should be able to shrug off most damage from Burning Arc, buying you several rounds to dispatch the Savage and Scarred One and bring the rest of your party up against the Prophets.
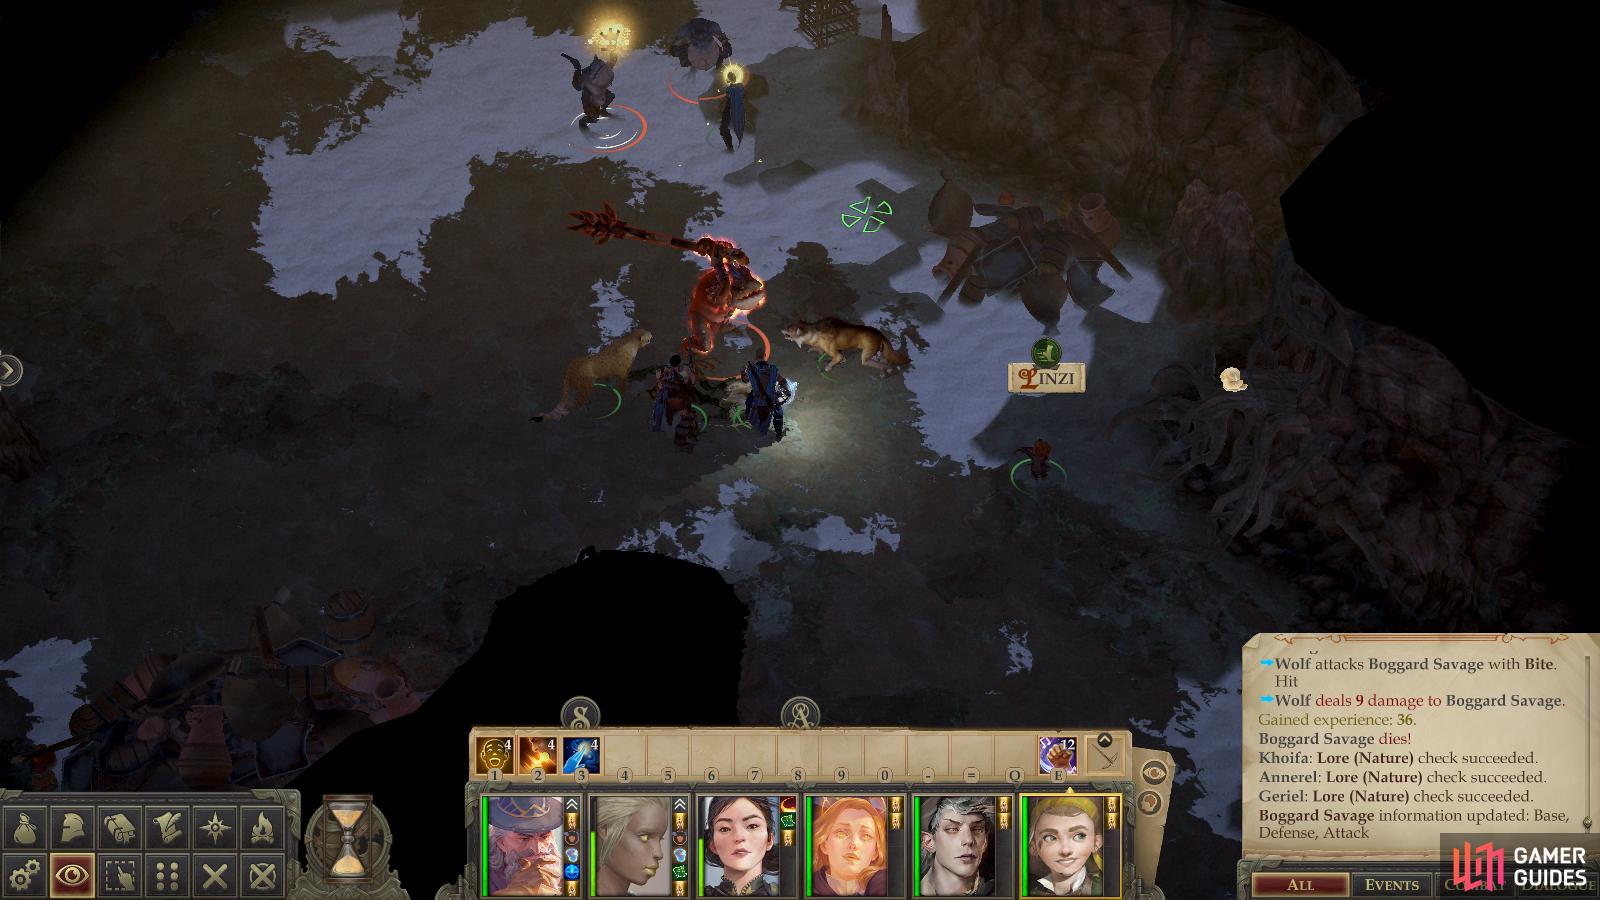
Attain victory, loot the Boggard bodies (and a barrel) then continue northwest to find another small chamber occupied by two Savages and a Scarred One, which should be a rather easy fight by now. Walk down a long passage to the southwest for a change of pace and at the end you’ll find another batch of Boggards, including a Savage, Scarred One, Warden and their pet Monitor Lizard.
One more encounter awaits, but it is not for the faint of heart, as it includes a singularly powerful foe… and its retinue of moderately powerful minions. Venture a short distance to the southeast and you’ll spot three Boggard Savages (who mostly serve to take up space in this fight - something they honestly rather excel at), a Boggard Prophet, and a Boggard Champion (Barbarian 8). This last one is the real danger, and against it even an Armor Class of 40 can’t guarantee your safety, as its Attack Bonus is well over +20. Its Greatclub also ensures that when it hits, it’ll leave an impact, and if it fells a foe with an attack it’ll Cleave onto another, potentially devastating an unprepared party. The Prophets both have a Ring of Protection +1 and a Cloak of Resistance +1.
It’ll further boost its offensive prowess with Power Attack, Lethal Stance and Rage, and while it’s Armor Class still isn’t great (despite being buoyed by Barkskin), it’s high enough to slow down your attackers, and his vast store of Hit Points means it’ll take more than a few lucky shots to bring him down. Fortunately his Will Save isn’t insurmountable, so something like Hideous Laughter or Color Spray could, with a little luck, hinder him for a bit.
On top of that you’ll want to make sure everybody is fully healed and buffed as much as possible. Mage Armor, Shield, Shield of Faith, Barkskin, Blur, Mirror Image and Bless. Focus on the Champion and bring it down as quickly as possible, after which you can worry about the Prophet. The Savages can be ignored for last.
When you stand over the broken bodies of your beaten Boggard baddies, loot them to claim your spoils. The Boggard Prophet once again has a Ring of Protection +1 and a Cloak of Resistance +1, while the Boggard Champion forfeits a Greatclub +2 (a definite upgrade for any two-handed warrior). If that’s not enough treasure (is it ever?) search a chest to the southeast to find an Amulet of Natural Armor +2. Loot doesn’t get much better than this in Chapter 1.
No Comments