

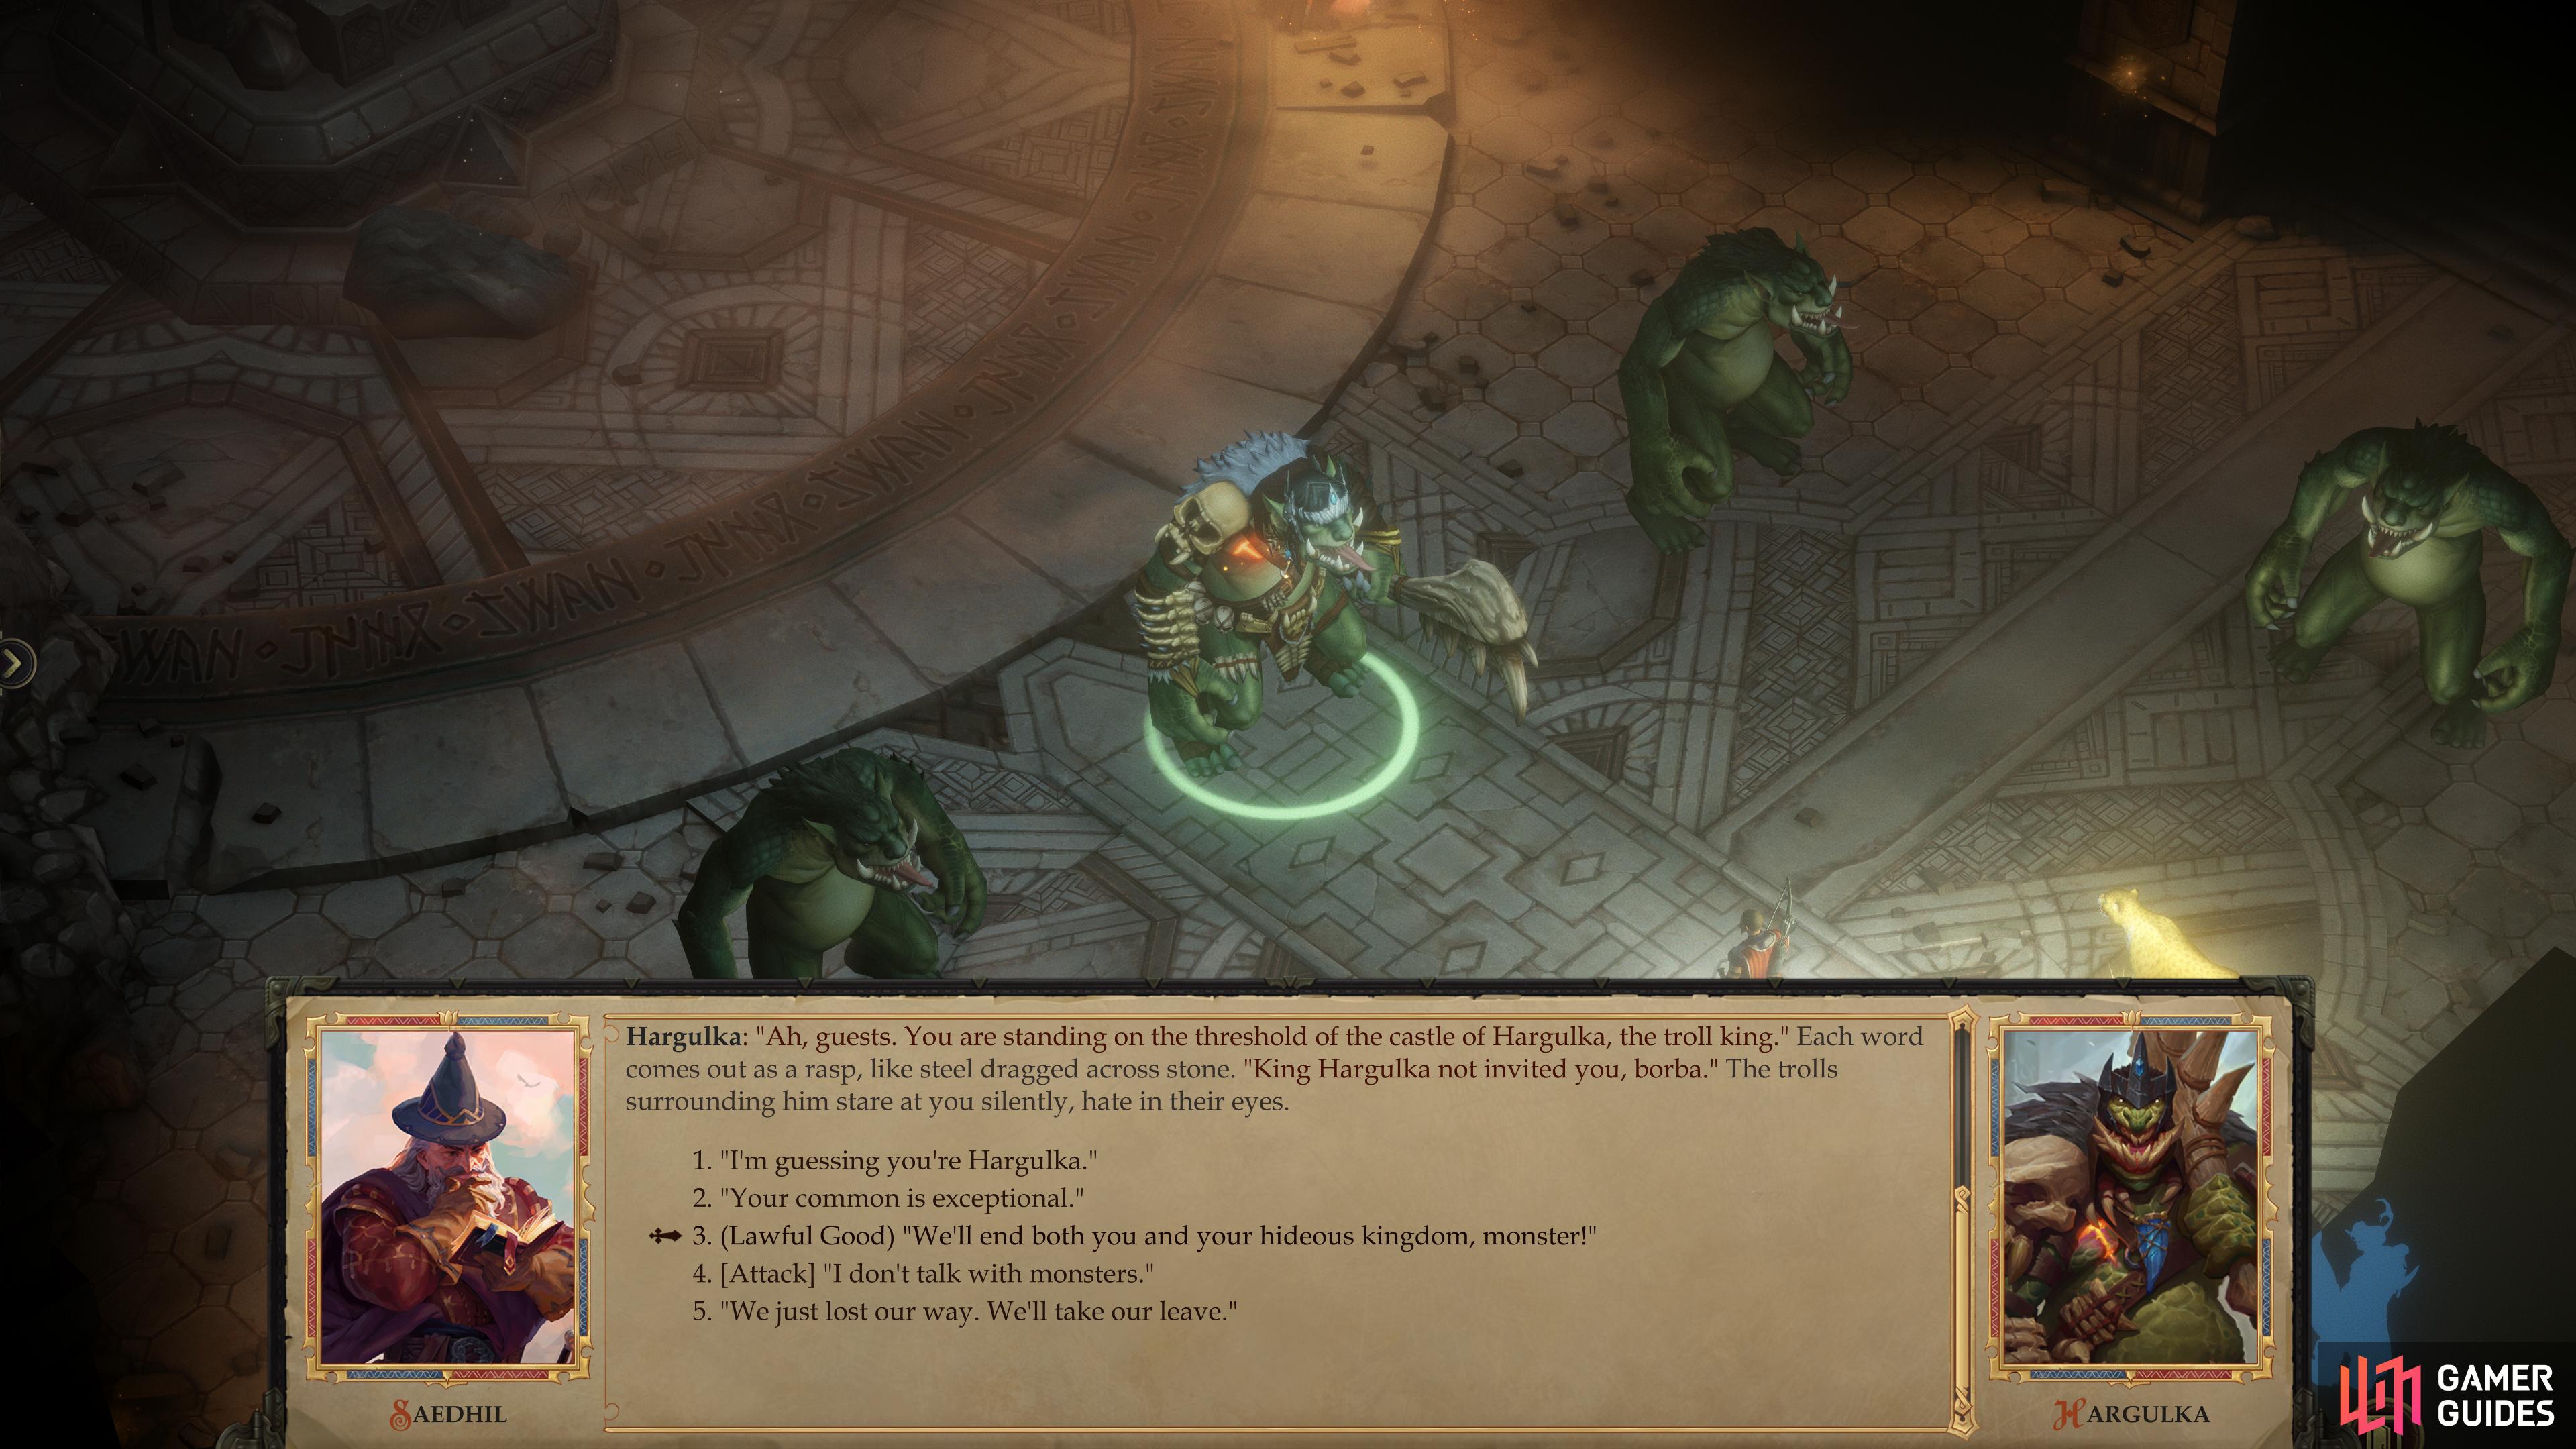
(1 of 4) When you enter the Troll Lair, you’ll be met by Hargulka, who has no time for diplomacy.
Hargulka’s Diplomacy
When you enter this area, you’ll immediately be confronted by Hargulka and four subordinate trolls. If you got Jazon to bring you here, Hargulka will lose little time dismissing him (with a rather fisty reprimand) before turning his attention to you. While you’re presented with numerous dialogue options, there aren’t too many different ways this encounter can end.
Picking the [Lawful Good] or [Attack] dialogue options will quickly get you into conflict. On the other hand, if you respond with “I’m guessing you’re Hargulka.” or “Your common is exceptional.”, you’ll get to hear Hargulka boast about the troll’s newfound “immortality”. After he’s done puffing out his chest you can respond with an [Intimidate 20], or a [Lawful Neutral] option, among other less interesting options. All of these lead to Hargulka retreating and siccing two of his minions on you, but the [Lawful Neutral] choice is at least a moral choice and the [Intimidate] check does get you some flavor text.
If you want to spare Jazon later on, you’ll have needed to have picked the dialogue option [Lawful] “All right, take me to your kings and we’ll see if trolls can hold a civil conversation. I’m the king/queen of the lands your Trobold stands on, and as such, your kings and I have much to discuss.” when talking to him earlier in the Dwarven Ruins area. This will skip the Dwarven Ruins area and lead to the audience with Hargulka, above. Furthermore, because you mentioned you’re a “king/queen” you’ll also get the dialogue option [Lawful Neutral] “You’re the king of trolls, I’m the king of humans. Let’s make peace, as rulers do. Your people won’t go near our villages, and in turn, we will leave you be.” when talking to Hargulka. It won’t change Hargulka’s response to you, but it will give you more options when it comes to dealing with Jazon later.
No matter what you do, Hargulka will end up stomping off (indulging in some petty vandalism as he goes), leaving you to face the two Trolls flanking you. They’re relatively weak as far as trolls go, so just occupy one with a tank and focus the rest of your party on the other. Given the troll supremacist talk by Hargulka, his contempt for Tartuk’s more peaceful designs, and of course his outright hostility, it seems that diplomacy isn’t going to be an option. Trobold must first be humbled, and perhaps annihilated, to secure the safety and integrity of your barony.
While seemingly a wanton act of vandalism, Hargulka’s destruction of the statue of Torag did disperse enough debris to block the way forward. This means you’ll have to find a roundabout, giving you a convenient excuse to explore the rest of the area, secure the first level of Trobold, gather more loot and experience, and generally just be in a good position to fight Hargulka later. He might be smart for a troll, but he’s still just a troll.
You have two options available to you, either head northeast or southwest. Go southwest first, as there’s a key encounter you’ll want to quickly get out of the way, as well as some choice loot that’ll make the rest of your adventure much easier.
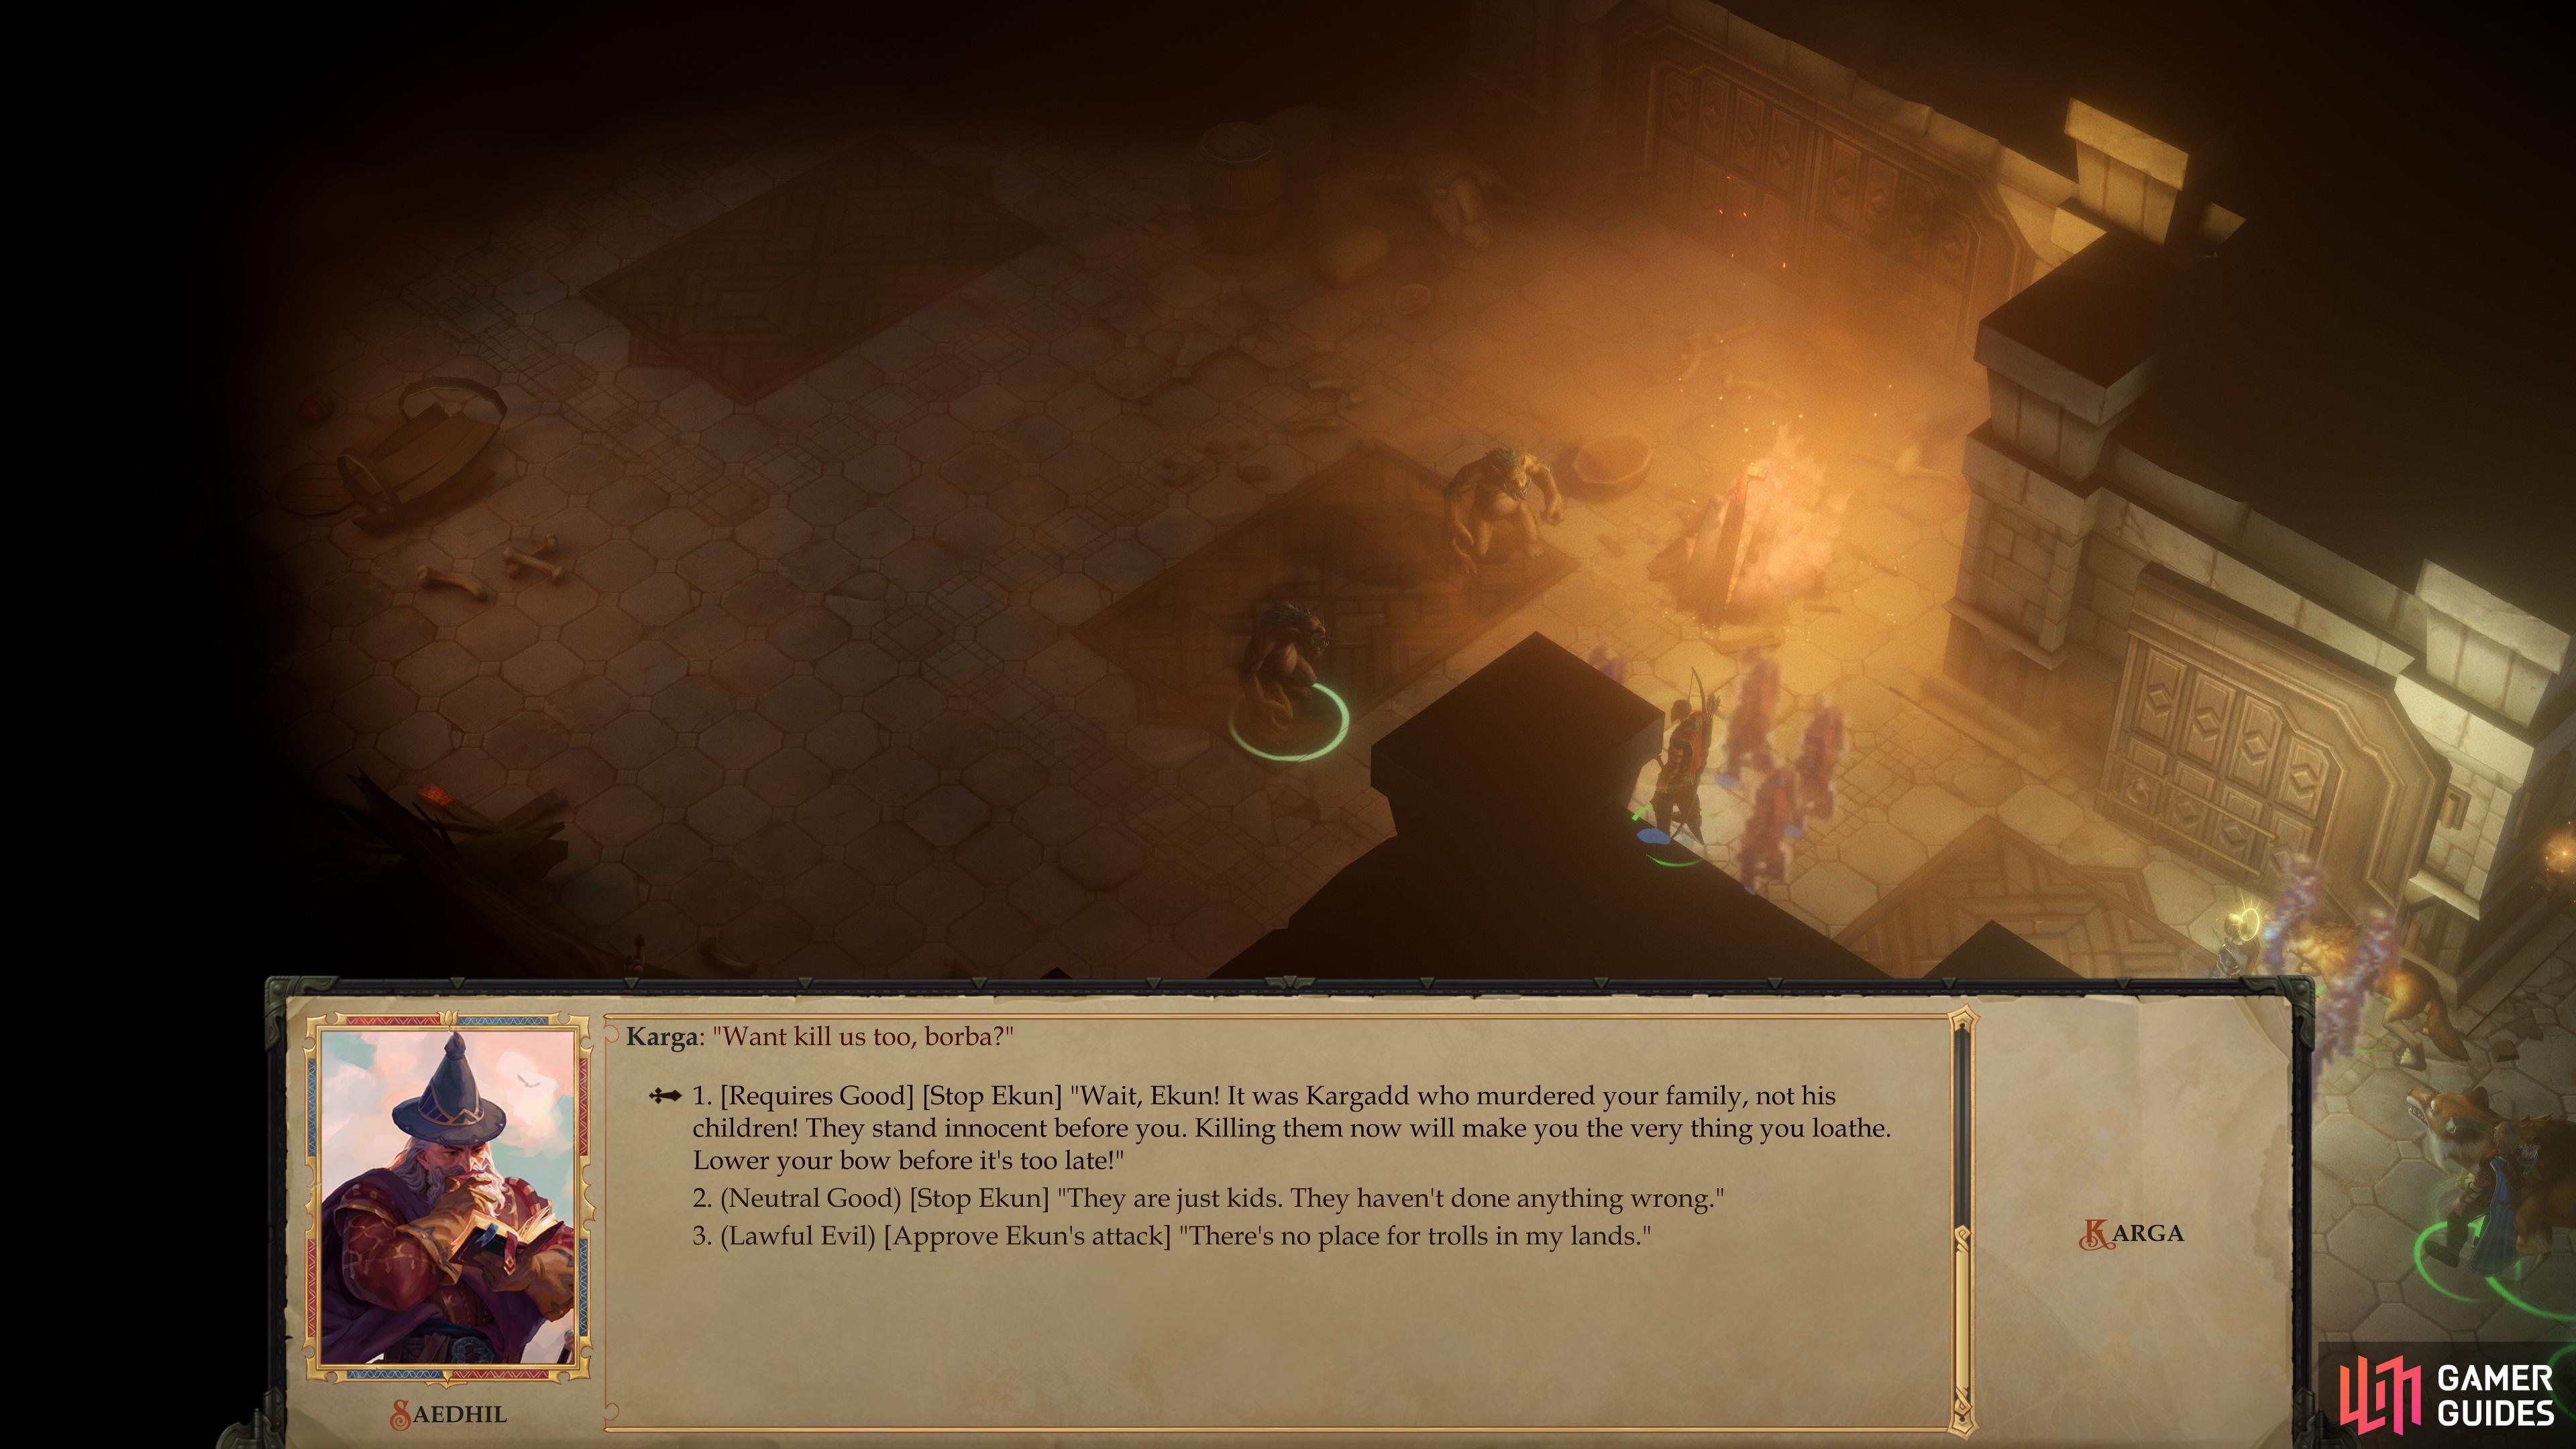
(1 of 7) While searching for Kargadd, you’ll first stumble across his children - creating a moral dilemma for Ekundayo.
Battle: Kargadd
As you head down the hallway into the first chamber on the southwestern side of the level, Ekundayo will speak to you… provided he’s in your party, of course. Kargadd is near, and since a fight with his arch-nemesis is imminent, he feels it’s time to tell you about this adversary. Detailing the painful secrets of his past are apparently a worthwhile trade-off if it enhances your chances at victory. You can fish around for the more painful details of his past if you wish, or avoid them with a [Neutral] dialogue choice, but the most useful bit of information he’ll relay is that Kargadd - like all Rock Trolls - is fatally allergic to the sun.
Continue southwest and you’ll spot a conspicuous patch of sunlight in the chamber you reach, covering the central part of the room up to the door to the northwest. Open the door and send your tank forward, only to be intercepted by two… complications. Kargadd is indeed nearby, and he brought his family, namely his children, Karga and Argadd.
Your options will vary a bit here, depending on whether you have Ekundayo with you or not. If you do, he’ll draw his bow and aim at the children of his hated foe. If your protagonist’s alignment is any [Good] you can pick a dialogue option to talk Ekundayo into not becoming a monster similar to Kargadd. Alternatively, you can approve his attack [Lawful Evil], or attempt to stop him [Neutral Good]. In the latter case, Ekundayo will size up the rock troll children and judge them based on the “rock troll” aspect of their nature, rather than the “child” bit. Pass an [Intimidate 20] check to command Ekundayo to stand down and give the young rock trolls a chance to run - with a warning against future mischief (a [Lawful Good] act), or you can endorse Ekundayo’s murderous intent (a [Lawful Evil] act). On the obscure chance your character is an adherent of Calistria, you’ll also have a unique option to endorse Ekundayo’s violence.
If Ekundayo isn’t with you, your options are simpler. You can either tell the young rock trolls to skedaddle, or you can declare that your lands are no place for trolls… living ones, anyway.
In combat, the juvenile rock trolls aren’t much of a threat, having a pathetic Armor Class and only moderate HP. Their Attack bonus is passable, but their damage output is miserable. Your party should have no trouble cutting them down. As far as profitability goes, you’ll get slightly more experience for killing them than for sparing them, along with a few gems and/or gold.
| Reward |
|---|
| 81 XP |
After dealing with the children (one way or the other) Kargadd will show up, and he’s in a violent mood regardless of whether you slew or spared his offspring. As Ekundayo promised, Kargadd is a bruiser, although not significantly more powerful than other foes you may have faced (Greater Enraged Owlbears come to mind). He gets multiple attacks per round, and his Attack bonus is high enough to ensure he has a good chance of hitting your tanks… unless you’re using one of this guide’s suggested builds, in which case Kargadd’s Attack Bonus, high as it otherwise may be, is still something of a longshot. Against less well-protected characters, Kargadd will chomp right through them.
Haste and Slow should be enough to decisively swing things in your favor (along with persona buffs like Shield and Mage Armor if your tank is a Magus). Kargadd’s Armor Class is rather low, and although he makes it up by having a great amount of Hit Points, if your Hasted party is able to surround him, there’s not much he can do.
If that’s too simple and direct for you, you can always try luring him into the sunlight. To do this, retreat southeast into the previous room and send most of your characters back into the entrance hall where you met Hargulka, leaving only your tank behind to lure Kargadd into the light. Alternatively, you could have just left your party behind and only advanced on Kargadd with your tank. Either way, this isn’t an ideal way of going about things, as the lightweight sun will only petrify Kargadd if he fails a [Fortitude 21] check, which isn’t likely considering he’s got a +21 Fortitude Save. The difficulty of this check will increase by one per round, so it’s not quite as hopeless as it seems, but you’ll likely have to withstand Kargadd’s melee attacks or the rocks he’ll throw for several round, and that’s if he’s pliable enough to follow you into the light in the first place.
Given the hassle that petrifying the troll entails, you may be better off simply buffing, then pulverizing him. However you do it, once you emerge victorious Ekundayo will muster one last painful show of contempt. Better still, you’ll be able to loot your fallen adversary for a Belt of Physical Might +2, which will boost the Strength and Constitution of its wearer by +2, making it a useful item, even if it’s not as good as the Belt of Physical Perfection you may have obtained earlier.
| Reward |
|---|
| 112 XP |
Kargadd’s corpse is just the first of the loot you’ll have access to now that the rock trolls have been dealt with. In the sunlit room you can find a chest containing a Potion of Cure Moderate Wounds and some Soot-Blackened Gloves - an artifact the Storyteller would like to see - along the southwestern wall.
In the chamber Kargadd occupied you’ll find three cells along the northeastern wall. In the southern-most one [Trickery 20] you’ll find a chest containing two Scrolls of Divine Favor, a Potion of Fox’s Cunning three Potions of Barkskin and a Dwarven Helm Shard. Nice. Pass a [Perception 18] check and you’ll also find a floor tile you can search for a Scroll of Fireball and a Torag’s Pendant. In the northern cell you’ll find a sack [Perception 7] containing a Bronze Dwarven Key and another Torag’s Pendant among other less interesting loot.

Dying Dwarven Priest
In the central cell you’ll find a chest containing three Scrolls of Bless, a Potion of Cure Moderate Wounds, a Scroll of Cure Light Wounds and some Camping Supplies and Rations. With a successful [Perception 15] check you’ll also be able to find a horribly maimed - but still living - dwarf stuck in a pile of corpses among livestock and humanoids. The trolls of Trobold are indiscriminate feasters.
You’re left with several options, including the option to [Examine the dying dwarf], which just confirms that the moribund dwarf will, indeed, not likely survive. If you pick the [Chaotic Good] option you’ll put the dwarf out of his misery, while the [Neutral Evil] option leaves the dwarf to a slower, more miserable fate.
The [Neutral Good] option will heal the dwarf, giving him enough energy to start casting… something. This prompts more possible responses, including two new options to put the dwarf down, one being an appeal to your allies (“Somebody do something!”) while the other is a [Chaotic Neutral] moral choice. If you pick the option [Retreat towards the exit] “Let’s run! Hurry before he finishes!” or the [Lawful Neutral] moral choice, the dwarven chew-toy will waste the last of his life cursing you, inflicting you with Crushing Despair (-2 attacks, saves, ability checks, skill checks and damage for 9m). On the other hand, if you pick the [Neutral Good] option and heal the dwarf again, he’ll bless you, giving you the Good Hope buff (+2 attacks, saves, ability checks, skill checks and damage for 9m), a decent enough buff that’ll last long enough for you to make significant progress through the level.
| Reward |
|---|
| 90 XP |
Kobold Painter
When you’re done tormenting dying dwarves and scouring the area for troll treasure, continue into another, smaller chamber to the northwest. In this room you’ll find an elderly “Kobold Artist” doing what can generously be called painting. Probably not any less technically inept than your typical Jackson Pollock “painting”. If you talk to the engrossed painter and choose the options to yell at the kobold or watch him work (followed by yelling to get his attention), you’ll annoy him and he’ll refuse to answer any questions. If at any point you choose to leave him be (a [Neutral] action) you can talk to him again and directly ask him about the painting… a query which he also refuses to answer. Oh well. Failing that, you can attack him (a [Lawful Evil] act) or just leave him be without pestering him ([Neutral]). All you’ll get for killing him is a Dirty Paintbrush.

Secret Treasure Room
Before you leave this room, search the wall near the Kobold Painter to find a hidden panel [Perception 20] which you can interact with to move a section of wall to the northeast, revealing a secret treasure room. Inside you’ll find an obvious chest and a hidden chest [Perception 7] as well as a hidden cache in the eastern wall [Perception 14]. The hidden chest is also locked [Trickery 7]. In all of them you’ll find a collection of gems, jewels and coins, but you’ll also find the Cypress Queen’s Goblet in the locked chest and a Frost Greatsword +1 in the eastern wall.

Devourer of Metal
Return back to the Kobold Painter’s room, then head up a hallway to the northwest to reach a tiny chamber where you may be pestered by a suicidal Kobold Sentinel. Crush the patrolling reptiloid, then turn down another hallway to the northeast where you might find another Kobold Sentinel scuttling around.
The kobolds are the least of your worries, however, as a trio of trolls - two Branded Trolls and a normal Troll, to be specific - lurk in the larger chamber ahead. Fortunately, you can lure them down the tunnel to the southwest and effectively bottleneck them so you only ever end up facing them one at a time, or you could just cast Haste, charge them, and cut the trolls down.
Once the trolls are dead, occupy the room they lurked in. Note the strange, rotatable dwarven device on the ground, which you should leave alone for now. Instead, search a wall to the northeast to find a hidden panel [Perception 18], inside of which you’ll find three Scrolls of Cure Light Wounds and a Torag’s Pendant.
Other than the hidden panel, note the stairs down to the northwest and a collapsed bridge to the northeast, the first of which you’ll be neglecting for a moment, and the second of which is, sadly, impassable. Instead, turn your attention to a door to the southwest of the area transition. You can open this door with a Steel Dwarven Key you’ll find later, or you can just pick the lock [Trickery 22]. Inside you’ll hopefully spot a floor tile of interest [Perception 22], which is also trapped [Perception 22].
Disarm the trap [Trickery 22] then search the floor tile to find the Devourer of Metal. This Composite Longbow +1 bears the Oversized and Extreme Corrosion properties, the former of which increases the weapon’s base damage from 1d8 to 2d6 at the cost of a -2 Attack penalty, and the latter adds 2d6 acid damage to attacks. Simply put, it’s an excellent troll-slaying weapon, and belongs in Ekundayo’s hands if you have him. This weapon is the reason you explored this half of the area first, as it’ll make everything ahead that much easier. Speaking of which, it’s time to backtrack to the entry hall and from there explore the rest of the level. Before you leave, however, plunder a chest in the room where you found the Devourer of Metal to score another Torag’s Pendant along with a variety of baubles..

If you failed to pick the lock to the door leading to the “Devourer of Metal”, you can find a key that’ll get you in.

Search the balcony to find another “Torag’s Pendant”.
Explore the Northeast
Return to the entry hall and head northeast this time to find three Trollhounds in the room just off the entry hall. Smash these underpowered mutts, then search the northeastern end of the chamber to find [Perception 18] a locked container [Trickery 17] inside of which is a Potion of Heroism.
Open a door to the northwest to find another small room in which three Trollhounds and a Branded Troll lurk. Nothing special about this fight, just avoid the dark, decorative floor panel, as it’s trapped [Perception 20]. It can be disarmed [Trickery 20] after the fight is over. After defeating your foes and disarming the trap, unlock [Trickery 22] a door to the northeast to reach a balcony from which you’ll be treated to a scenic view of the surrounding area. Of more tangible benefit is the chest [Trickery 17] along the northwestern end of the balcony, in which you’ll find a variety of baubles and some Camping Supplies and Rations.
Return to the room with the trapped floor decoration and head up a hallway to the northwest, stopping long enough to dispatch a group of foes identical to the ones that originally occupied the previous room (three Trollhounds and a Branded Troll). Once smote, continue northwest until you’re forced to turn northeast, branching off of which you’ll find numerous passages to explore. Ignore the stairs to the northwest for now and instead search some dead end cubbies to the southeast to find a chest [Trickery 18] containing a Potion of Cure Moderate Wounds and 50 GP, then loot another chest near the aforementioned stairs to score a Rusty Dwarven Key, the Commandant’s Journal (First Half) and 110 GP, among other trinkets.
Dwarven keys have treated you well in the recent past, and hopefully this one will be no different. The Commandant’s Journal, on the other hand, provides some interesting - if not useful - history of the dwarves in the River Lands. Their failure might be worth learning from, lest you make the same mistakes they did.
Continue up some stairs to the northwest to reach a chamber that is larger than it initially seems due to a few isolated walls between the stairs you used and the more open part of the chamber. Conflict is inevitable, as a Troll stomps around up here, and behind him lurks around half a dozen Trollhounds and a Kobold Sentinel. It’s quite possible that you can detach the Troll and kill it separately, leading to a somewhat simpler fight. Be wary of a trap [Trickery 20] in front of you - if you advance, you’ll want to work your way around a wall to the southwest instead of continuing northwest into the trap. After you’re victorious disarm the trap [Trickery 20],, turn your attention to some doors to the northeast, exit out onto another balcony, then loot a corpse to the northwest to obtain a Steel Dwarven Key, a Torag’s Pendant and some trinkets.
Be sure to take that Steel Dwarven Key and use it to obtain the Devourer of Metal if you haven’t already done so.

(1 of 4) While stronger than your average troll, Nagrundi has little answer to a tank with a few buffs.
Battle: Nagrundi
Grab the loot, then return to the large chamber adjacent to the balcony and venture west past where you fought your last battle. On the floor of this chamber you should find another rotatable dwarven device. Of more immediate interest, however, are the Trollhound and a troll named Nagrundi waiting to the northwest.
Nagrundi and the Trollhound are both unusually strong specimens, having a higher Attack bonus, damage Armor Class and HP than your normal trolls and trollhounds. In fact, Nagrundi isn’t too much weaker than Kargadd, all things considered. While they might not be strong enough to justify a Haste/Slow combo, they’re strong enough that you should exercise caution, ensure your warriors don’t start the fight too injured, and expend some of your less limited buffs. Moderately buffed tanks should have little trouble with them, but a pre-emptive Glitterdust also wouldn’t hurt. Defeat them and you’ll be able to loot a Potion of Cure Moderate Wounds and some baubles from Nagrundi, who, interestingly enough, wore armor. Let’s hope other trolls don’t get the bright idea to start wearing armor, eh?
More treasure can be found to the west of where Nagrundi stood, including a chest containing two *Potions of Cure Light Wounds, a Torag’s Pendant and a Dwarven Helm Shard and a more well-hidden chest [Perception 20] that holds two Potions of Cure Moderate Wounds and a Heavy Shield +1.
Finally, behind (northwest of) Nagrundi you’ll find stairs descending to the next level. This is the flight of stairs you want to go down, as they’ll give you access to a majority of the level below.
No Comments