

This quest shares the same name as Chapter 1’s super quest, Stolen Land, and it’s equal parts its own quest, and a means of tracking your progress throughout the chapter as a whole.

(1 of 2) You can move on the world map by clicking the arrows, or by selecting an empty node
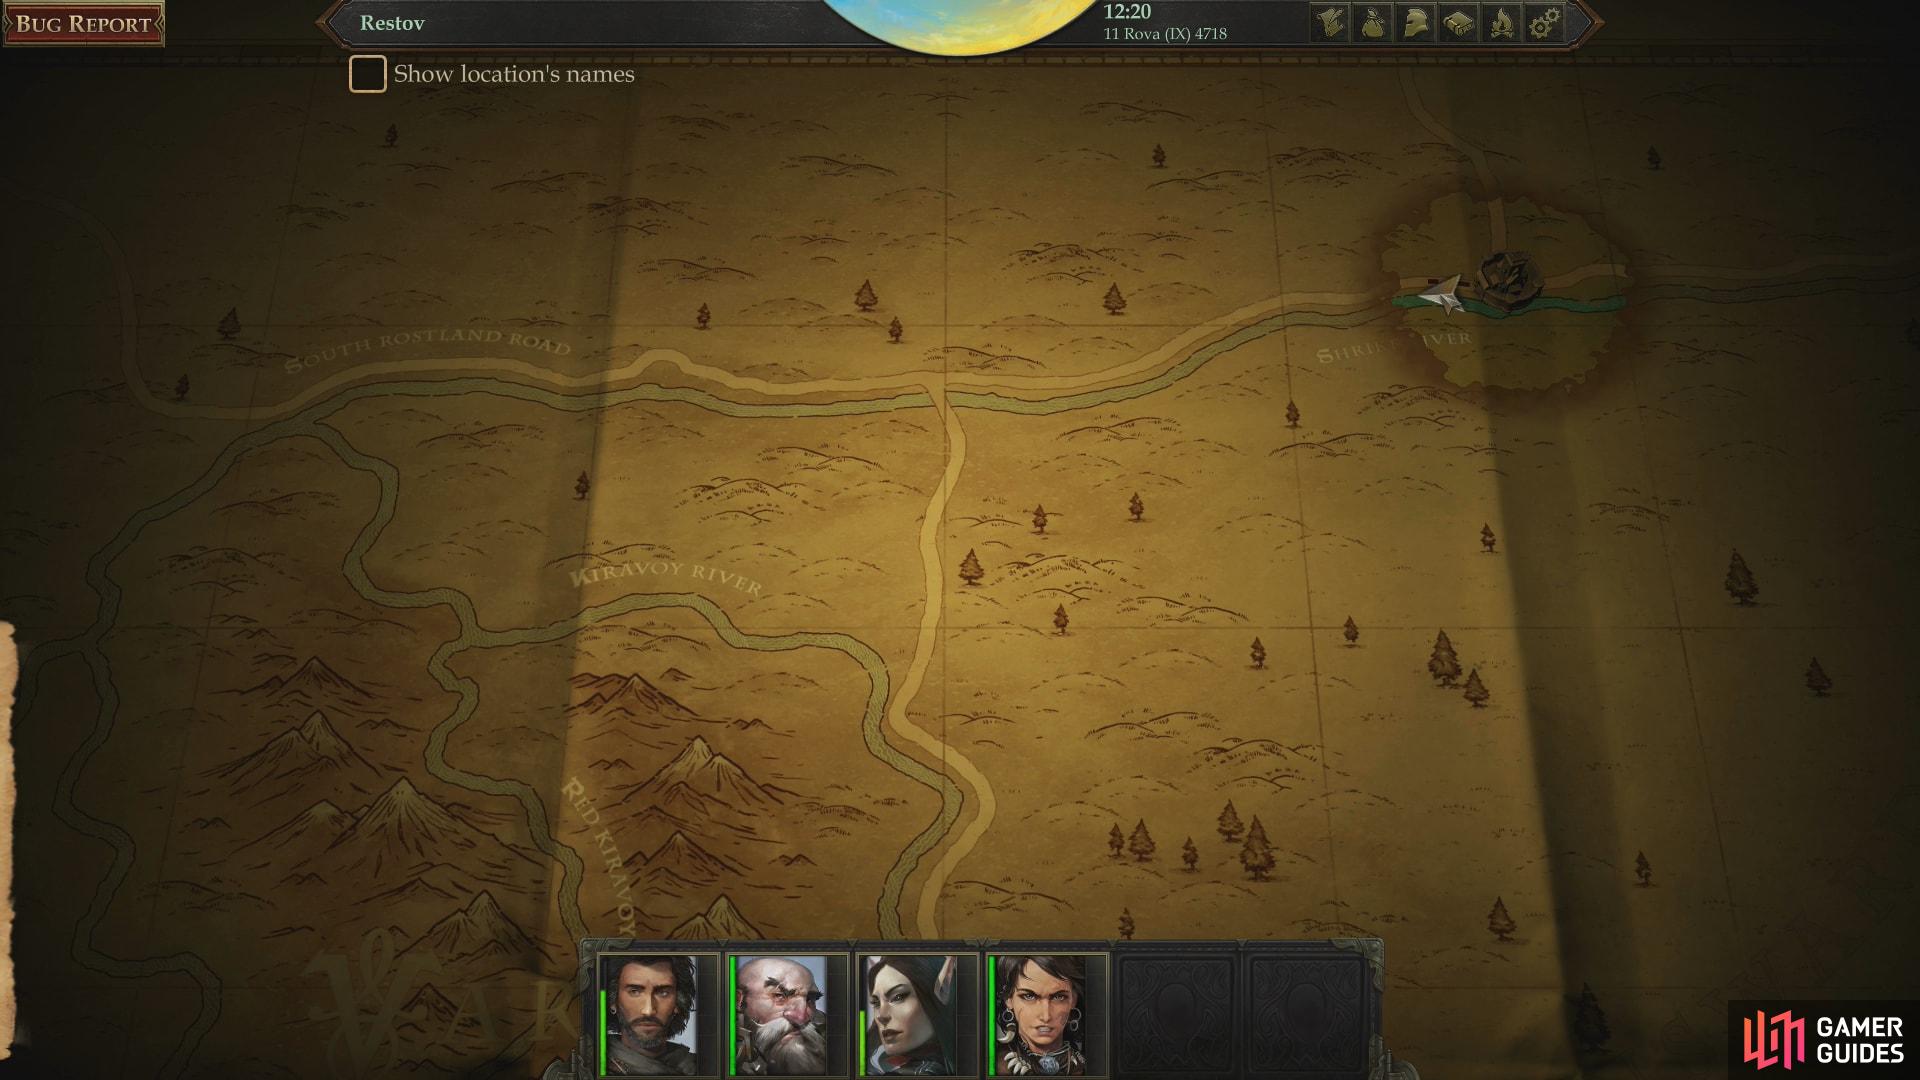
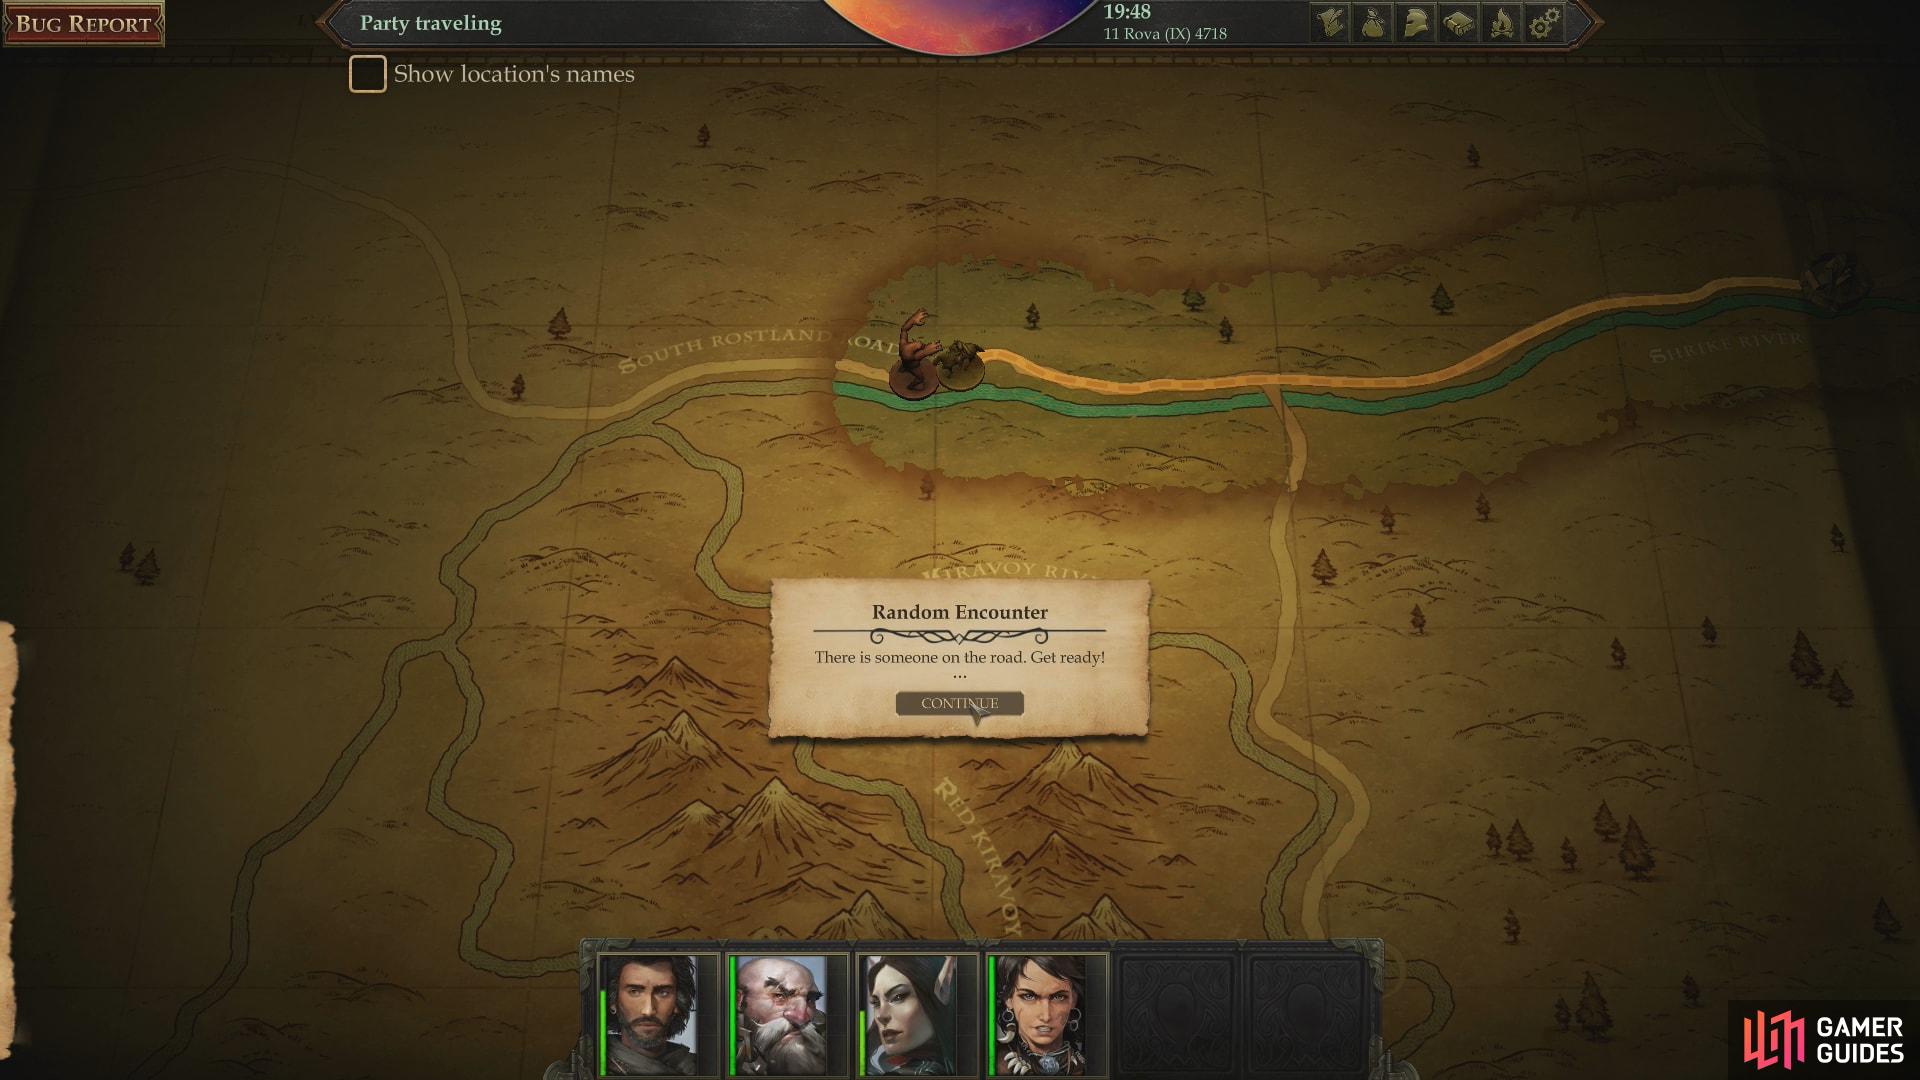
You can move on the world map by clicking the arrows, or by selecting an empty node (left), but be wary of random encounters (or not-so-random encounters, as the case may be) (right)
Traveling to Oleg’s Trading Post
The first action this quest is concerned with is the mundane matter of making your way west to Oleg’s Trading Post. Click the left arrow on the map to move in that direction and watch as you progress past a fork in the road. Beyond this fork you’ll be treated to a not-so-random encounter where you’ll face off against three Thylacines.
These are marginally stronger than the Assassins you faced in Jamandi’s mansion, and the game does you no favors with party placement at the start of the fight. Withdraw vulnerable characters to the rear while commanding your high Armor Class characters to engage, and as much as possible try to focus your attacks to take them down one at a time.
Defeat the Thylacines, after which you’ll be encouraged to set up camp for the first time, which you can do by pressing “R” either on the world map or within areas. In the latter case, you’ll have to pick a location for your camp, then click on the completed camp again to bring up the camping interface.
Camping is covered in greater detail on the page First Night in the Stolen Lands. Camp if you wish (you should do so sometime before reaching Oleg’s Trading Post to remove fatigue), then continue west to Oleg’s Trading Post.
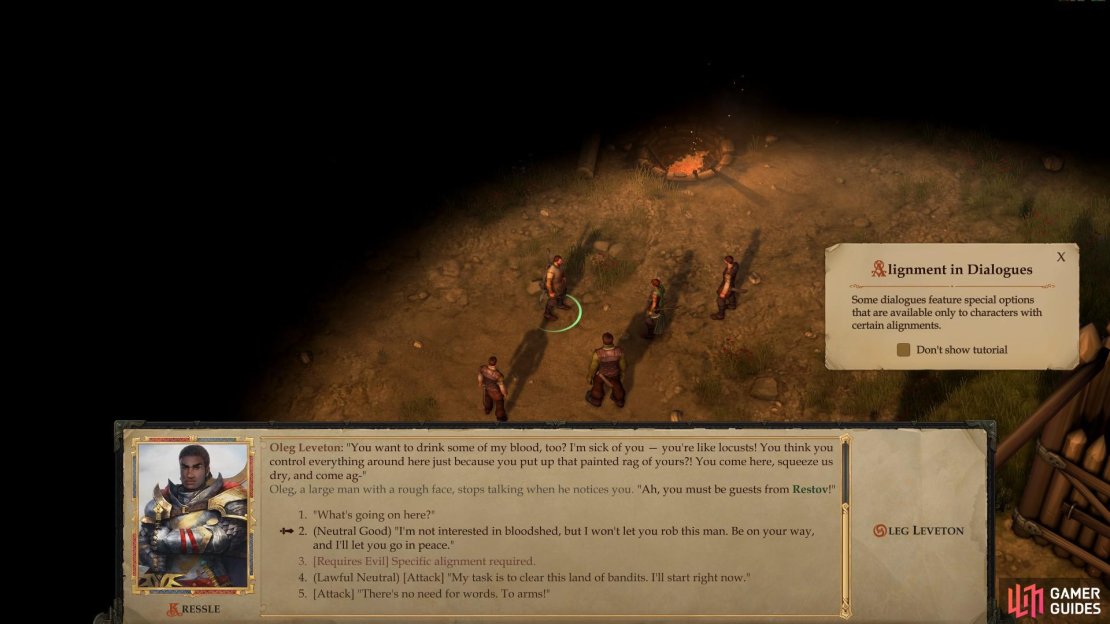
(1 of 3) When you arrive at Oleg’s Trading Post, you’ll interfere in an in-progress shake-down
Bandits at Oleg’s Trading Post
When you arrive, head northeast until you find a gate to the northwest, beyond which you’ll find Oleg being accosted by several bandits, who are in turn led by a bandit named Kressle. They’re here on a “tax” collecting mission, although the other bandits aren’t shy about making somewhat more repugnant demands.
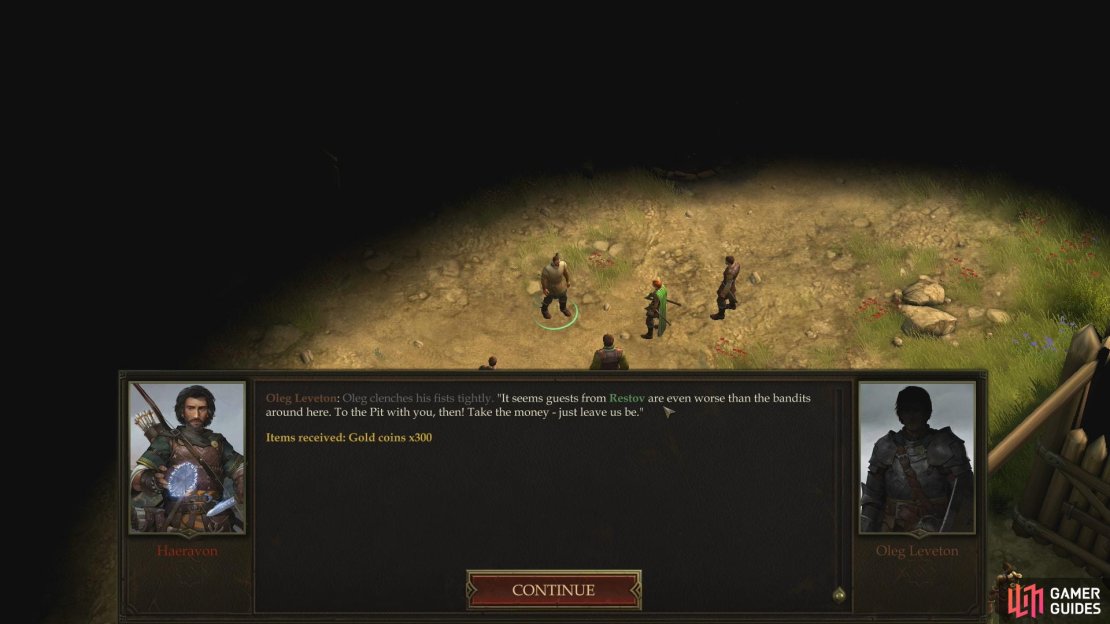
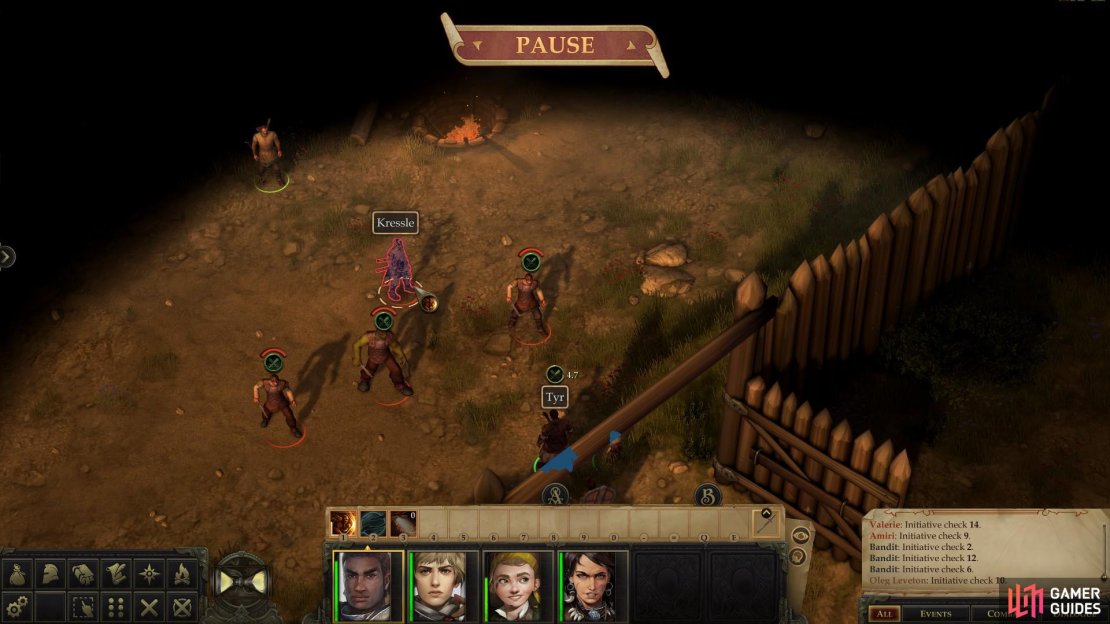
Approach the scene and the bandits will turn their attention to you, and shortly you’ll be given a chance to respond, notably with two different moral choices. If you’re evil, you can pick the corresponding [Evil] dialogue option that’ll cause you to cut in on the bandit’s business and shake down Oleg for money, scoring you 300 Gold Coins. In face of an even more rapacious bandit, the Stag Lord’s men will leave, vowing retaliation. If you pick the [Neutral Good] option (or just choose to attack) a fight will begin, in response to which Kressle will turn invisible and run off. This leaves you to fight three-on-four odds, with Oleg providing ranged support. Although these foes are tougher than the assassins were, you should still have little trouble cutting them down.
| Reward: For driving off the Bandits |
|---|
| 216 XP / 300 GP* |
*if you made an [Evil] moral choice to demand money from Oleg you’ll shake him down for 300 GP
Respond how you will and defeat the bandits, if necessary, after which talk to Oleg, who will complain about the imminent bandit reprisals. Sell whatever excess loot you’ve acquired since the beginning of the game, then set about seeing to your defenses:
Ask Oleg about the man you saw running from the outpost earlier and he’ll identify him as Bokken, a talented alchemist whose talents are in demand by the Stag Lord. Maybe he’ll use his skills to aid you? Before bothering with that, exhaust Oleg’s dialogue options, being sure to ask about the bandits that he fears are soon to return. This option will allow you to learn more about their numbers, which will get you some info on two particularly nasty bandits - Auchs and Dovan. Even more importantly it’ll lead to another moral choice, giving you a [Lawful Good] option and a [Neutral Evil] option. Pick whichever (if any) you wish, and be sure to nag Oleg about using Alchemist Fire, the deployment of which will greatly help during the upcoming fight.

![and succeed at a [Diplomacy] check to gain Bokken’s support, as well](/assets/guides/145/Bokken_Diplomacy_Check.jpg)
(1 of 2) Convince Oleg to spare some Alchemist Fire during the upcoming bandit attack
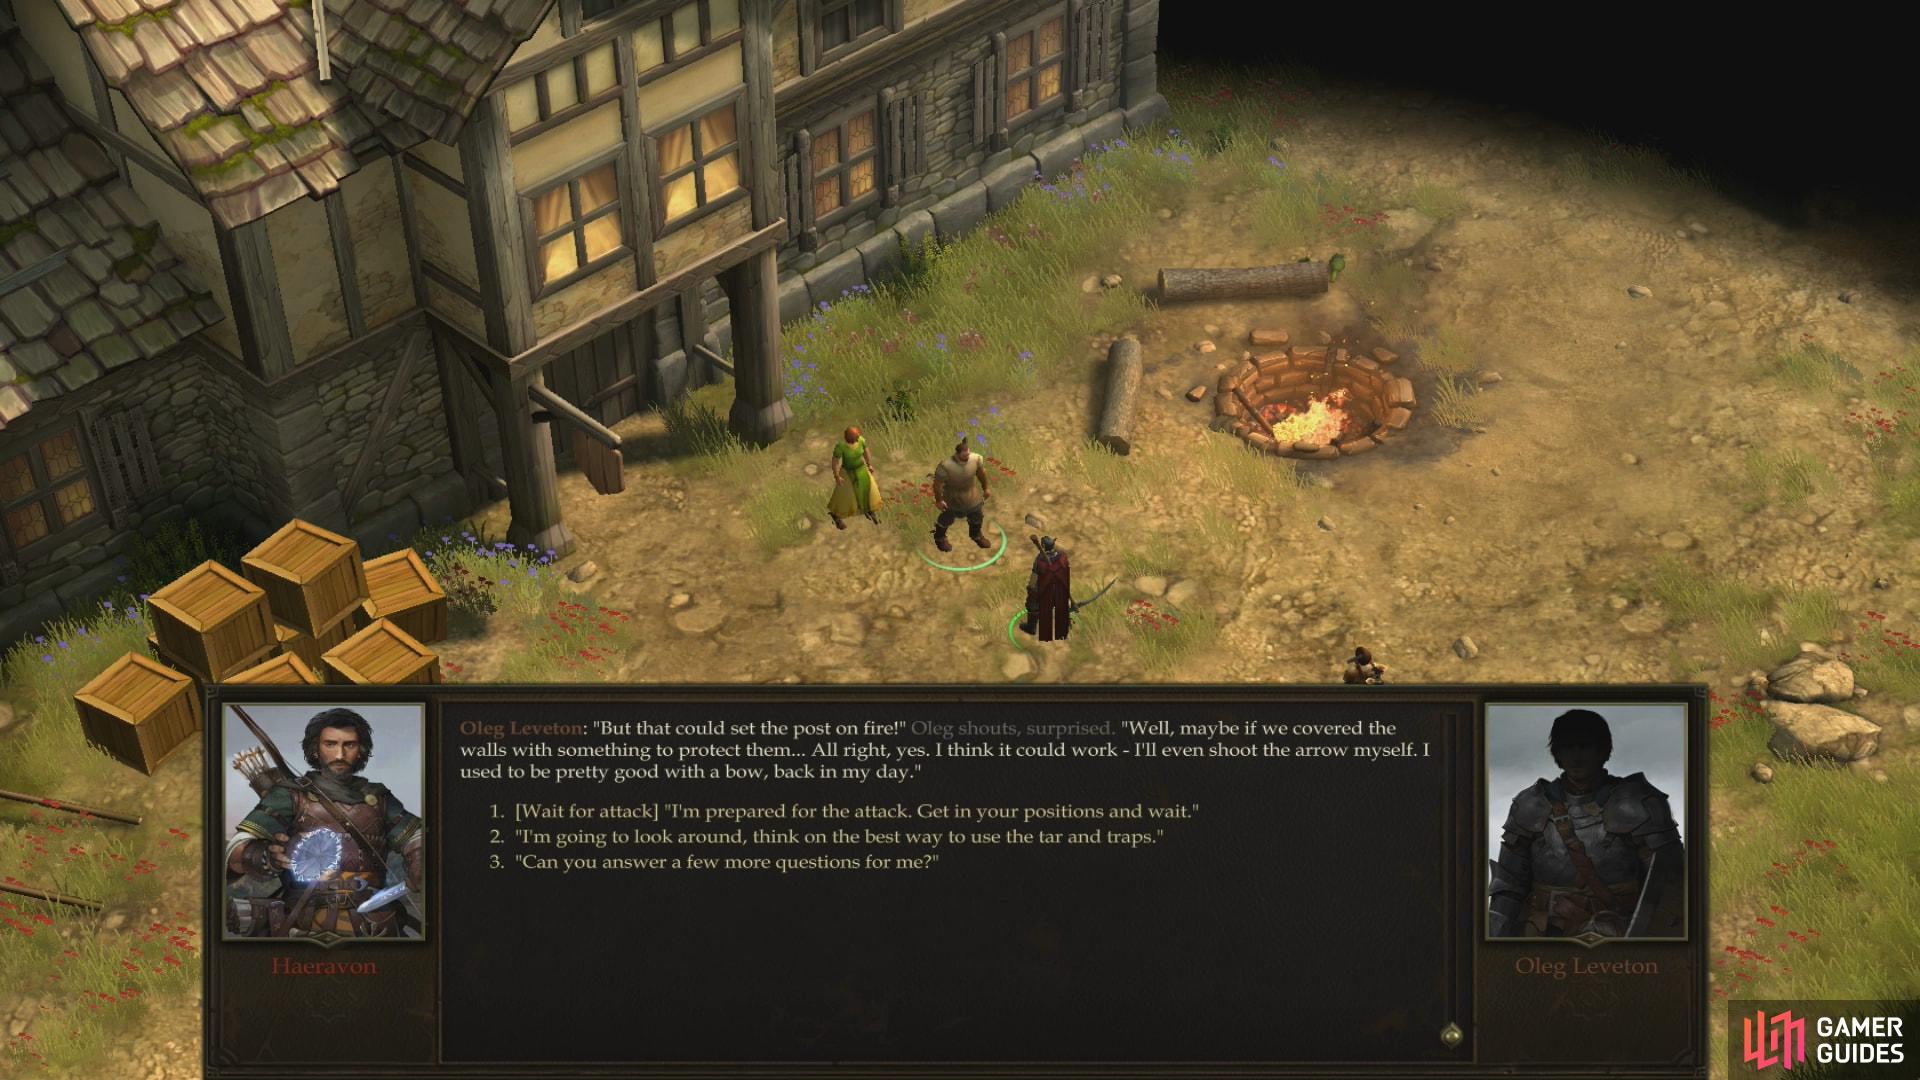
Convince Oleg to spare some Alchemist Fire during the upcoming bandit attack (left), and succeed at a [Diplomacy] check to gain Bokken’s support, as well (right)
Next talk to Bokken, who is standing to the northeast of Oleg. If you ask for aid against the bandits he’ll fork over a Potion of Cure Light Wounds… not much help, admittedly. Afterwards you’ll get a chance to make a [Diplomacy 16] check to cow him into providing more substantial support.
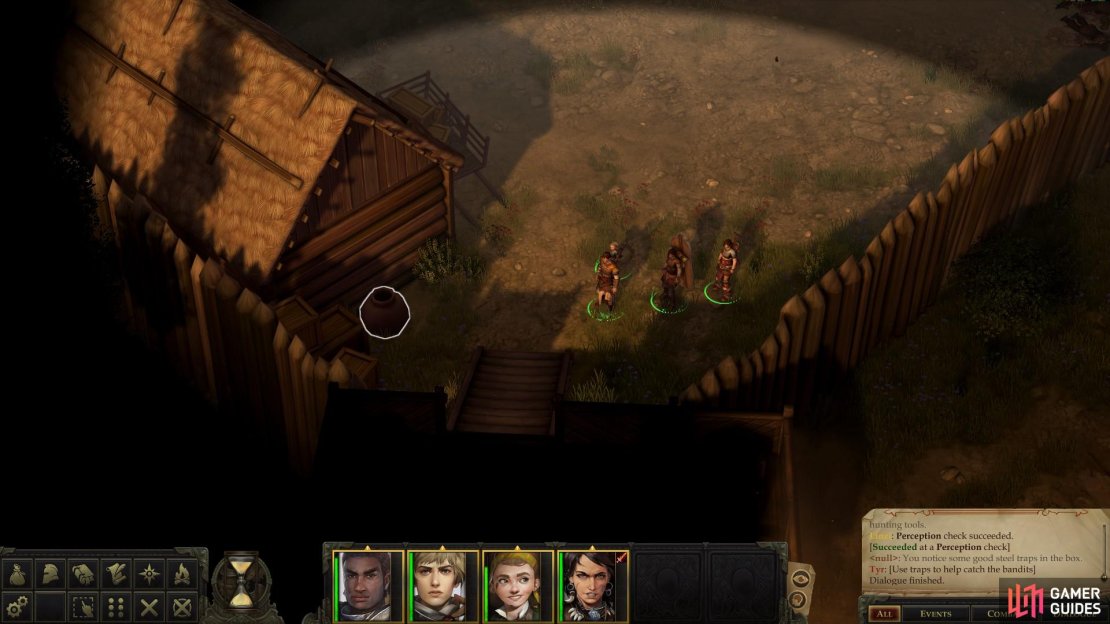
![and succeed at a [Perception] check to find the traps within.](/assets/guides/145/Bandit_Attack_Preparation_Trap_Check.jpg)
![and pass a [Lore (Nature)] check to identify the substance within as tar.](/assets/guides/145/Bandit_Attack_Preparation_Tar_Nature_Check.jpg)
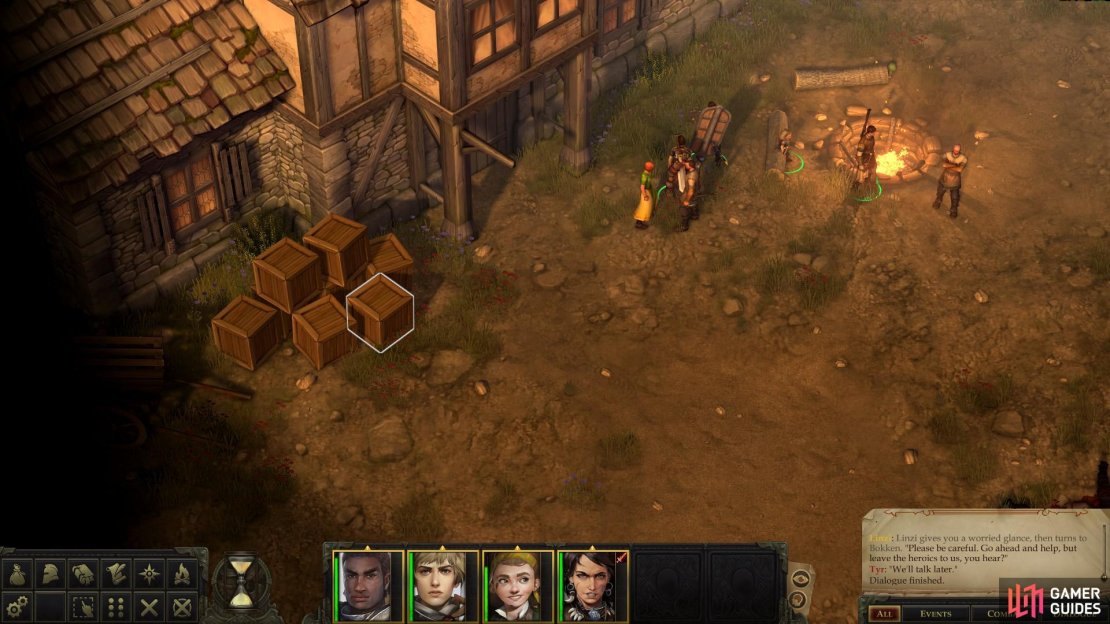
(1 of 4) Examine some crates near Oleg
After you’re done talking, it’s time to prepare for the inevitable bandit attack. Save your game before you do anything, as there are checks involved that you can re-roll if you fail them. First up, interact with a crate near Oleg and Svetlana to deploy some traps, then make your way to the southwestern end of the outpost, where you’ll find a jar of tar you can interact with. If you do, you’ll discover some tar you can place near the entrance to the outpost, which will form a brutal combination with those traps you deployed earlier.
Finally, when you’re ready for the big fight, talk to Oleg and choose the [wait for attack] option, after which the bandits will shortly arrive. This is honestly quite a fight, easily the biggest battle you’ve engaged in thus far. There are about ten bandits, not including their leader, an archer named Happs Bydon, who is capable of doing some nasty damage with his bow from a safe distance.
If you got Oleg to commit to using Alchemist Fire, he’ll start out the fight by tossing some, after which he’ll rely on his bow. Bokken, too, will chuck some Alchemist Fire later on if you secure his aid, and the traps will do some grievous damage to the bandits if you allow them to stroll over them. On Normal difficulty, between Oleg, Bokken and the tar, only one bandit from the first wave even made it far enough that we had to lift a finger. The second wave wasn’t much more successful, and aside from knocking down the odd straggler and seeking out an archer that avoided immolation, we actually had very little work to do in this fight. Nice.


(1 of 2) If convinced to deploy it, Oleg will make good use of Alchemist Fire
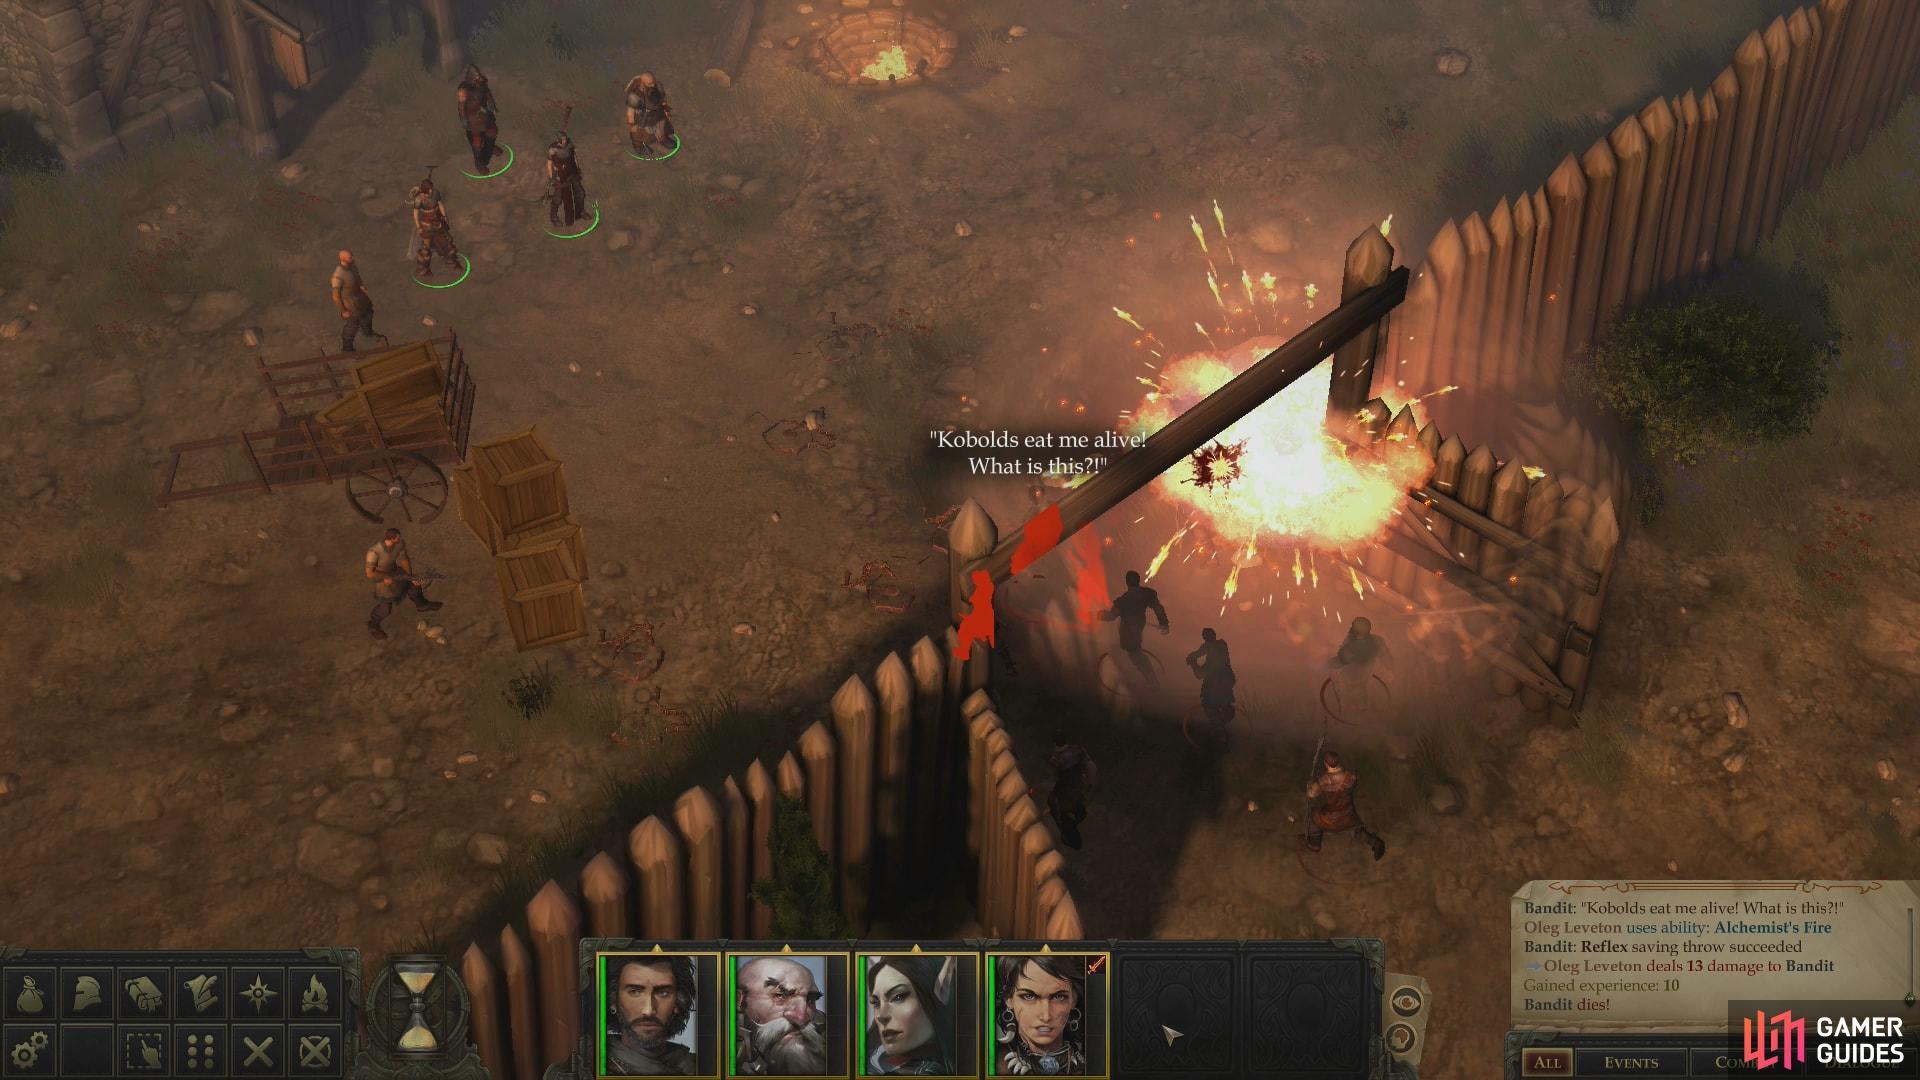
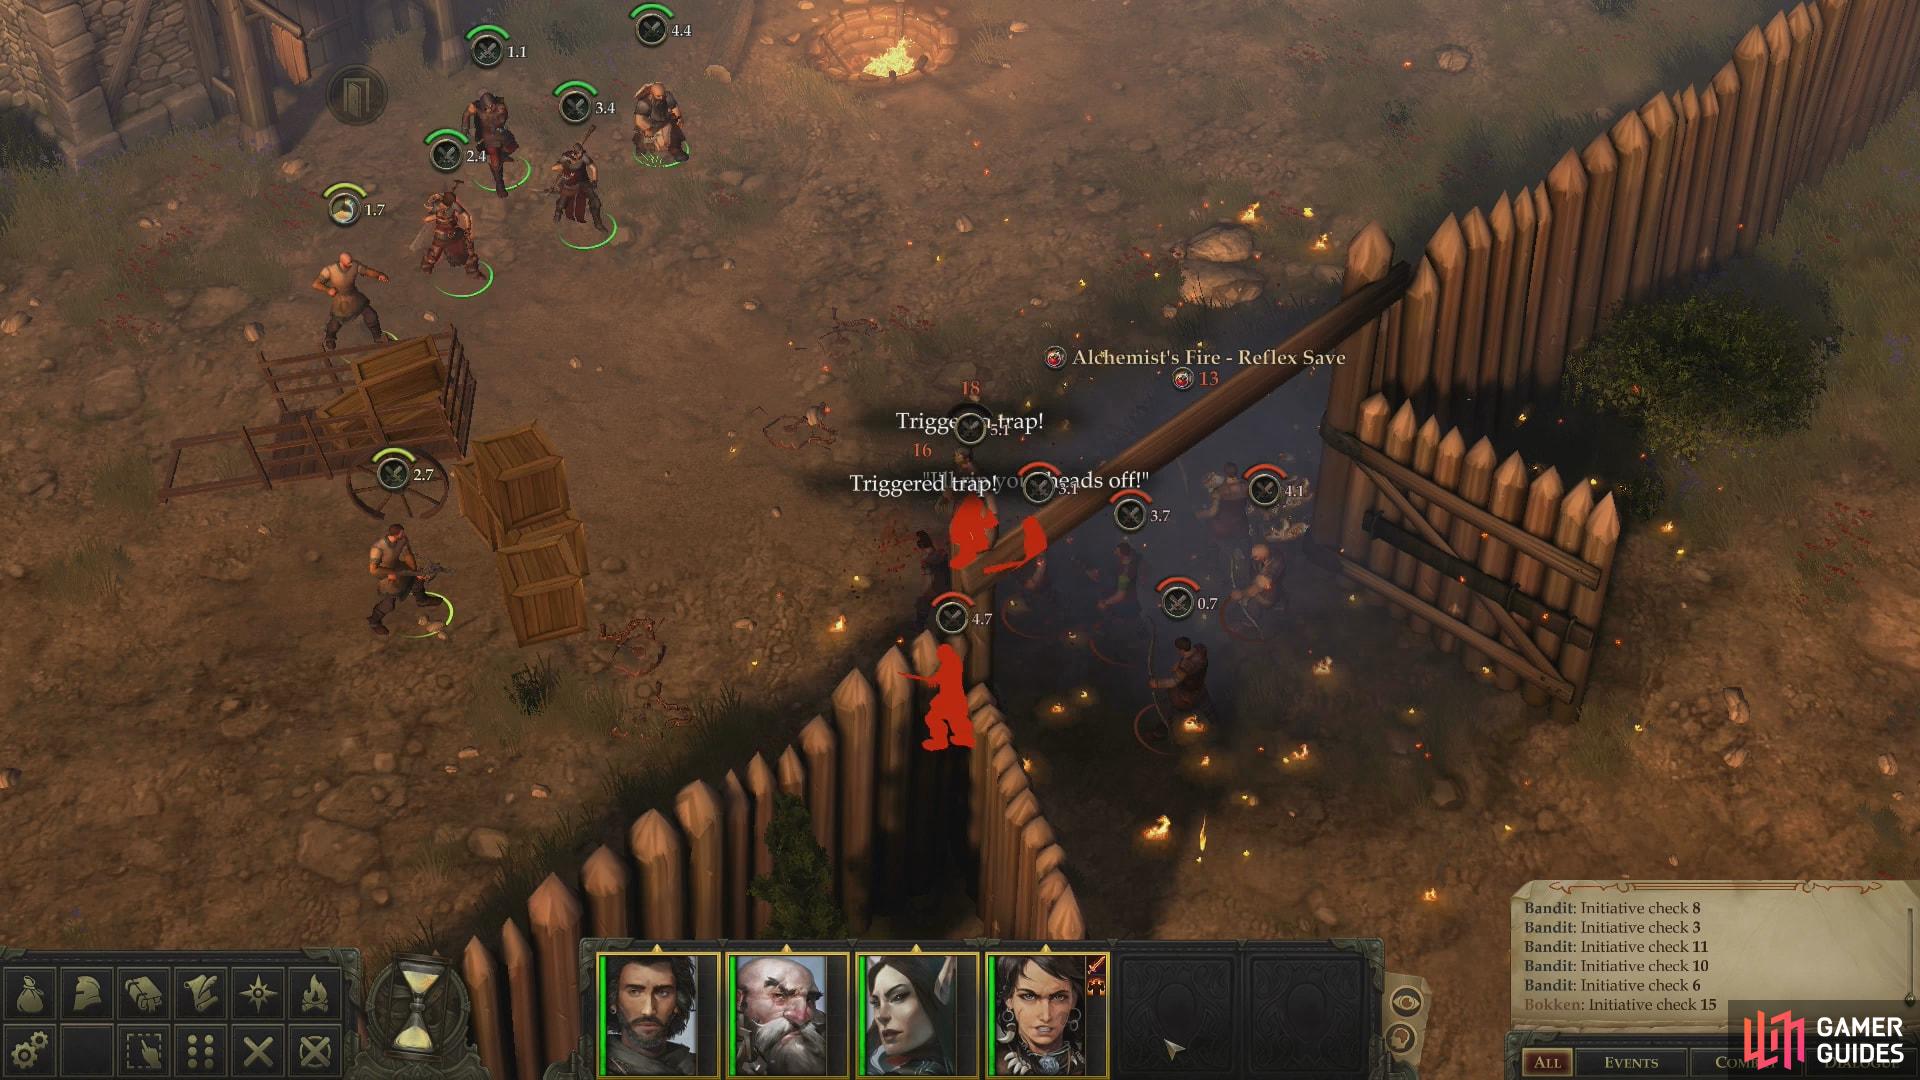
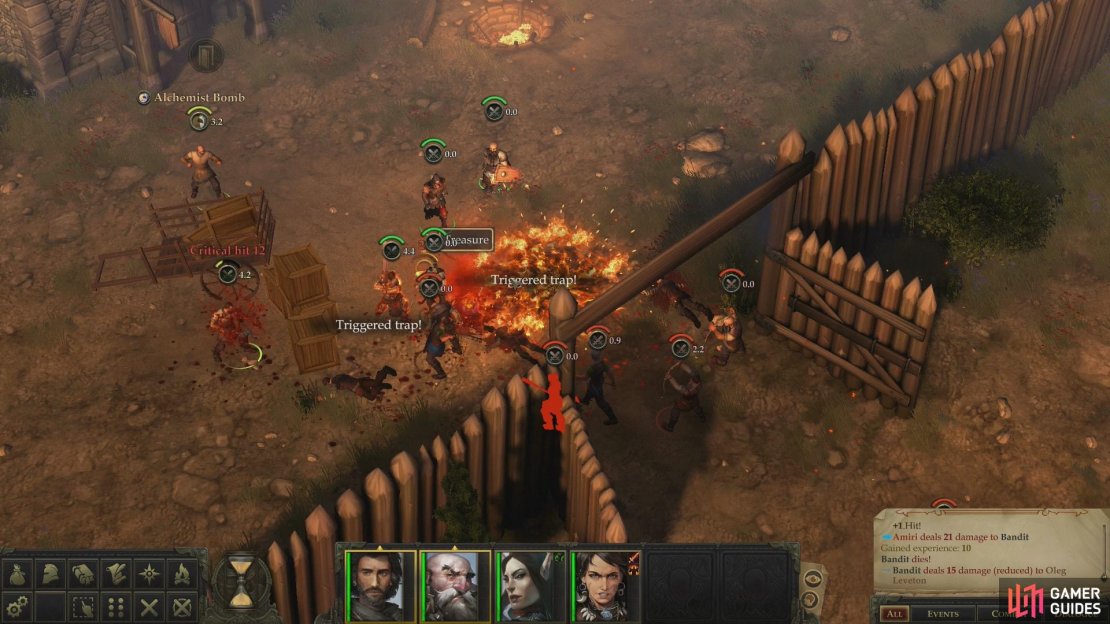
If convinced to deploy it, Oleg will make good use of Alchemist Fire (left), Traps and tar will further add to the attacking bandit’s woes. (right)
If your foes are proving more resilient, hitting them with a debilitating spell like Sleep can congest things further, and if you’re confident in your warriors (and the damage the bandits sustained) you may want to try a divide and conquer strategy. Sending somebody to aid Oleg may keep him in the fight longer (he can’t be permanently killed, so there’s no need to worry about protecting him, but he’ll tend to get himself picked off by archers if you leave him alone, not to mention the Attacks of Opportunity he’ll provoke if anything engages in melee), while another character - ideally your tankiest warrior - can stand just beyond the traps opposite the gate, ready to cut down bandits as they limp forward. Another fighter can be sent to the east, getting close enough until they can charge at the archers by the gate. Getting a warrior close to them - even if it means being isolated - will allow you to cut them down with satisfying quickness, and lessen the likelihood of suffering unwanted missile fire.

(1 of 3) Move to intercept the bandits as they head towards Oleg
When the bandits are all dead, be sure to loot their bodies. The gear they’ll drop is largely mundane (save for generous Happy Bydon, who will leave behind a Cloak of Resistance +1), but since there’s a merchant standing right next to you, everything can be converted into quick cash.
| Reward: For defending Oleg’s Trading Post from bandit reprisal |
|---|
| 100 GP* |
*if you did not perform the [Evil] dialogue option earlier to shake Oleg down for money, he’ll reward you after driving off the bandits
After the fight, talk to Oleg, who will offer to allow you to use one of his rooms to recover from your fight. Accept his generosity and head inside the inn, then go upstairs and when you’re ready to rest, interact with the bed. As you sleep you’ll be pestered by a spirit - and it doesn’t go away when you wake up. Speak with the spirit and - regardless of your alignment - maintain some civility, as you’ll get more information out of her this way. She’ll talk to you about the Stag Lord, suggesting that your shared foe may be somewhat more than a common bandit lord.
To reach the stronghold of the Stag Lord and claim your rightful seat as ruler of this land you’ll need to dispel a malevolent fog that’s blocking the way. To do this, you’ll need to find some “old house” in the forest which “echoes with the remnants of a strange power”. However, to find this house you’ll need to go to the bandits’ camp near the Thorn Ford and squeeze the information out of some ne’er-do-wells. Looks like you’ve got your work cut out for you.
Thorn Ford
To reach Thorn Ford from Oleg’s Trading Post use the following directions:
- South
- Southeast
- West
- South
- South, southwest to reach landmark: empty node north of Ancient Tomb
- Southwest
- Southwest
- Southwest
- Northwest
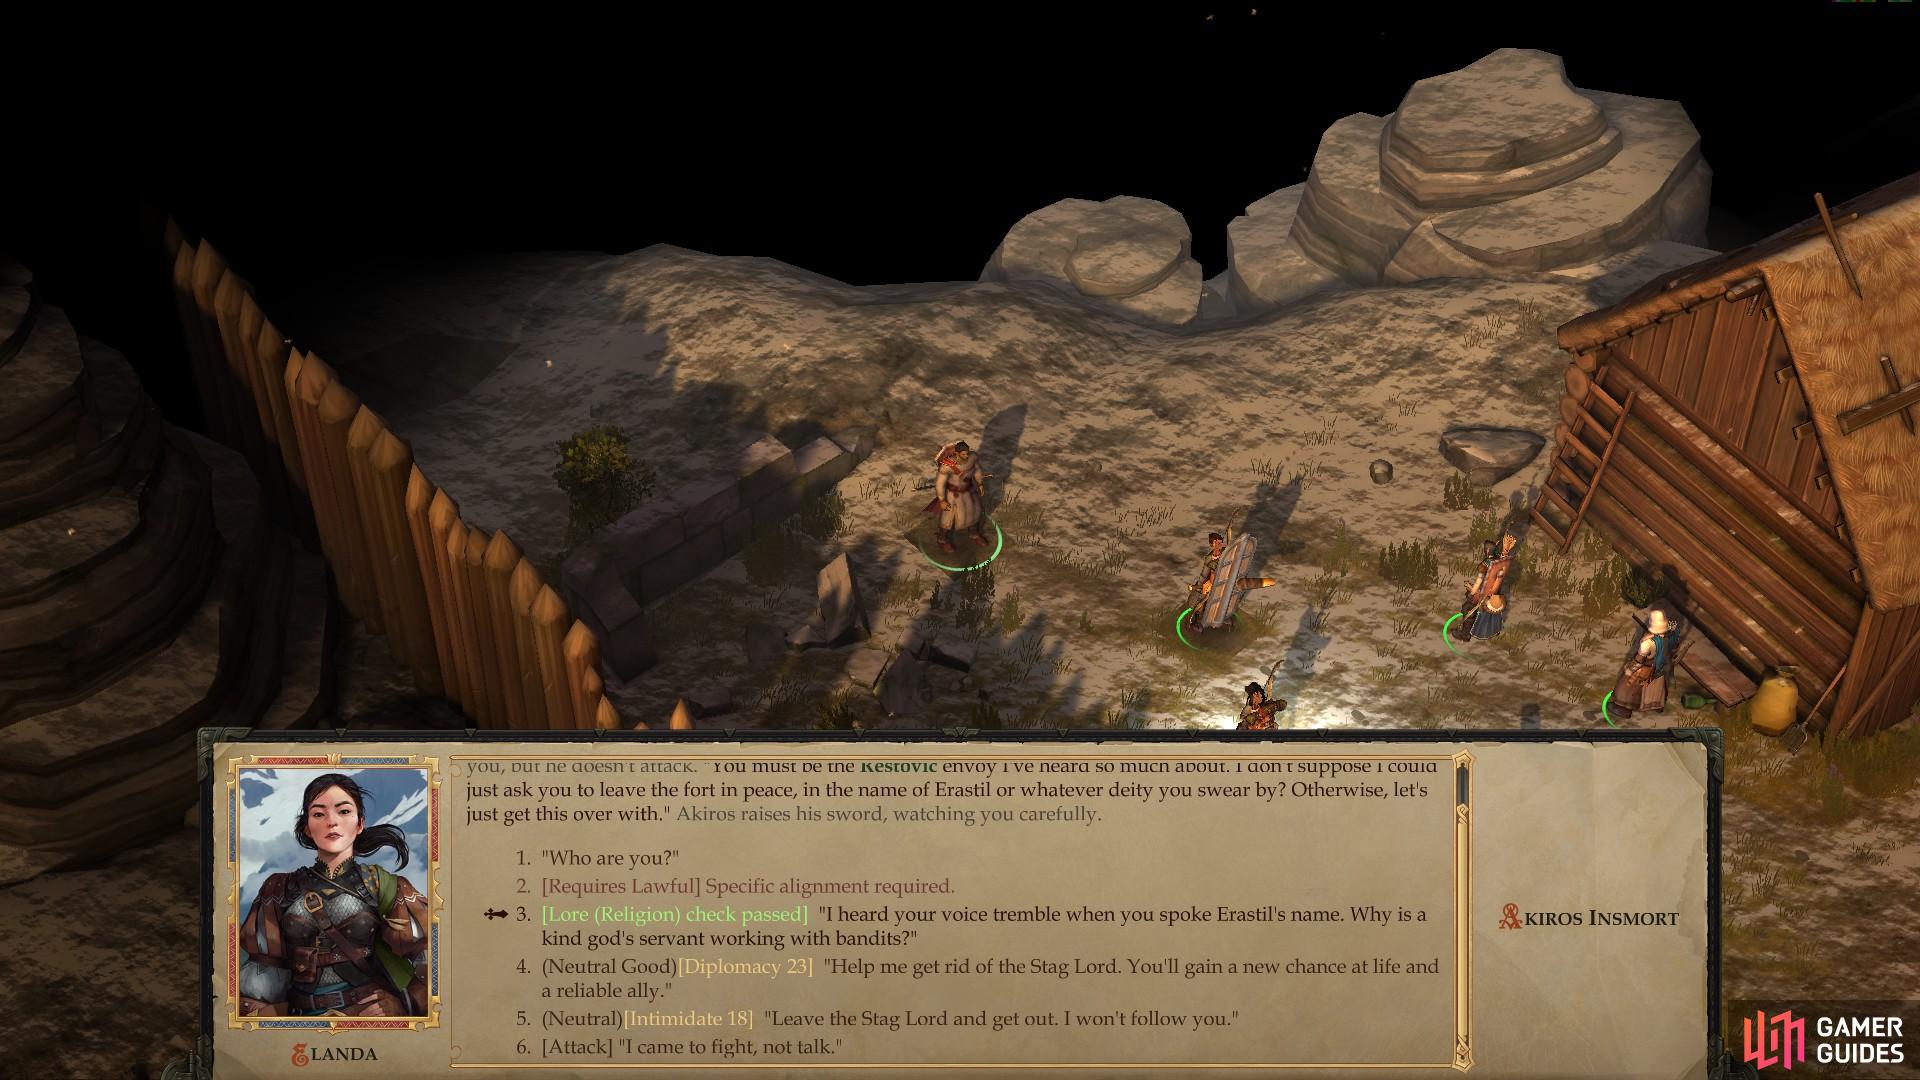
When you arrive, cross a river to the south, then head south along the eastern edge of the area until you reach the bandit camp. If you came here before entering the Ancient Tomb you’ll find a rather dignified man named Akiros Insmort. He’s obviously a higher-ranking lieutenant of the Stag Lord who seems to have a variety of traits the crude ruffians you’ve encountered thus far don’t: composure, intelligence, diplomatic acumen, and possibly some genuine competence.
He’ll start out admonishing Kressle for her failures before turning his attention onto you. You can skip the chatter by attacking outright, but if you want to make some moral choices, respond with “And just what do you want to talk about?”, at which Akiros will attempt to discourage you from your current task while also arguing for the Stag Lord’s legitimacy. He might have a point, too, but regardless of your alignment, you’ve got counter arguments. For a good party, the Stag Lord and his gang have committed their share of dastardly deeds - enough to cede the moral high ground and deserve to be deposed. For an evil party… well, might makes right, and the Stag Lord is only the rightful ruler of these lands so long as he can keep you from ripping the title - and his last breath - from him.
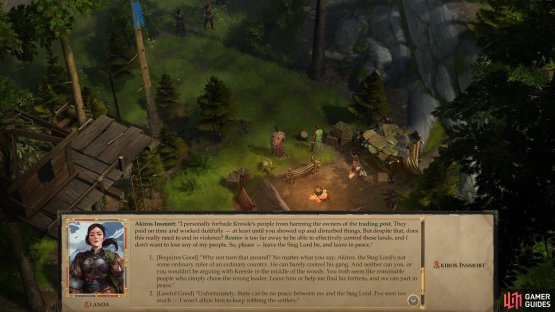
(1 of 2) If you traveled to Thorn Ford before the Ancient Tomb, you’ll meet the Stag Lord’s right-hand man, Akiros.


If you traveled to Thorn Ford before the Ancient Tomb, you’ll meet the Stag Lord’s right-hand man, Akiros. (left), You’ll get a variety of dialogue options for Kressle, but only Good-aligned characters can talk their way out of a fight. (right)
The following responses - [Lawful Good], [Chaotic Good], [Neutral] and [Neutral Evil] - all have the same outcome: Akiros flees, and Kressle picks the fight she neglected to have back at Oleg’s Trading Post. Only if your protagonist is Good-aligned can you pick the [Requires Good] response, which seems to succeed because it points out the Stag Lord is the “wrong leader” for these lands.
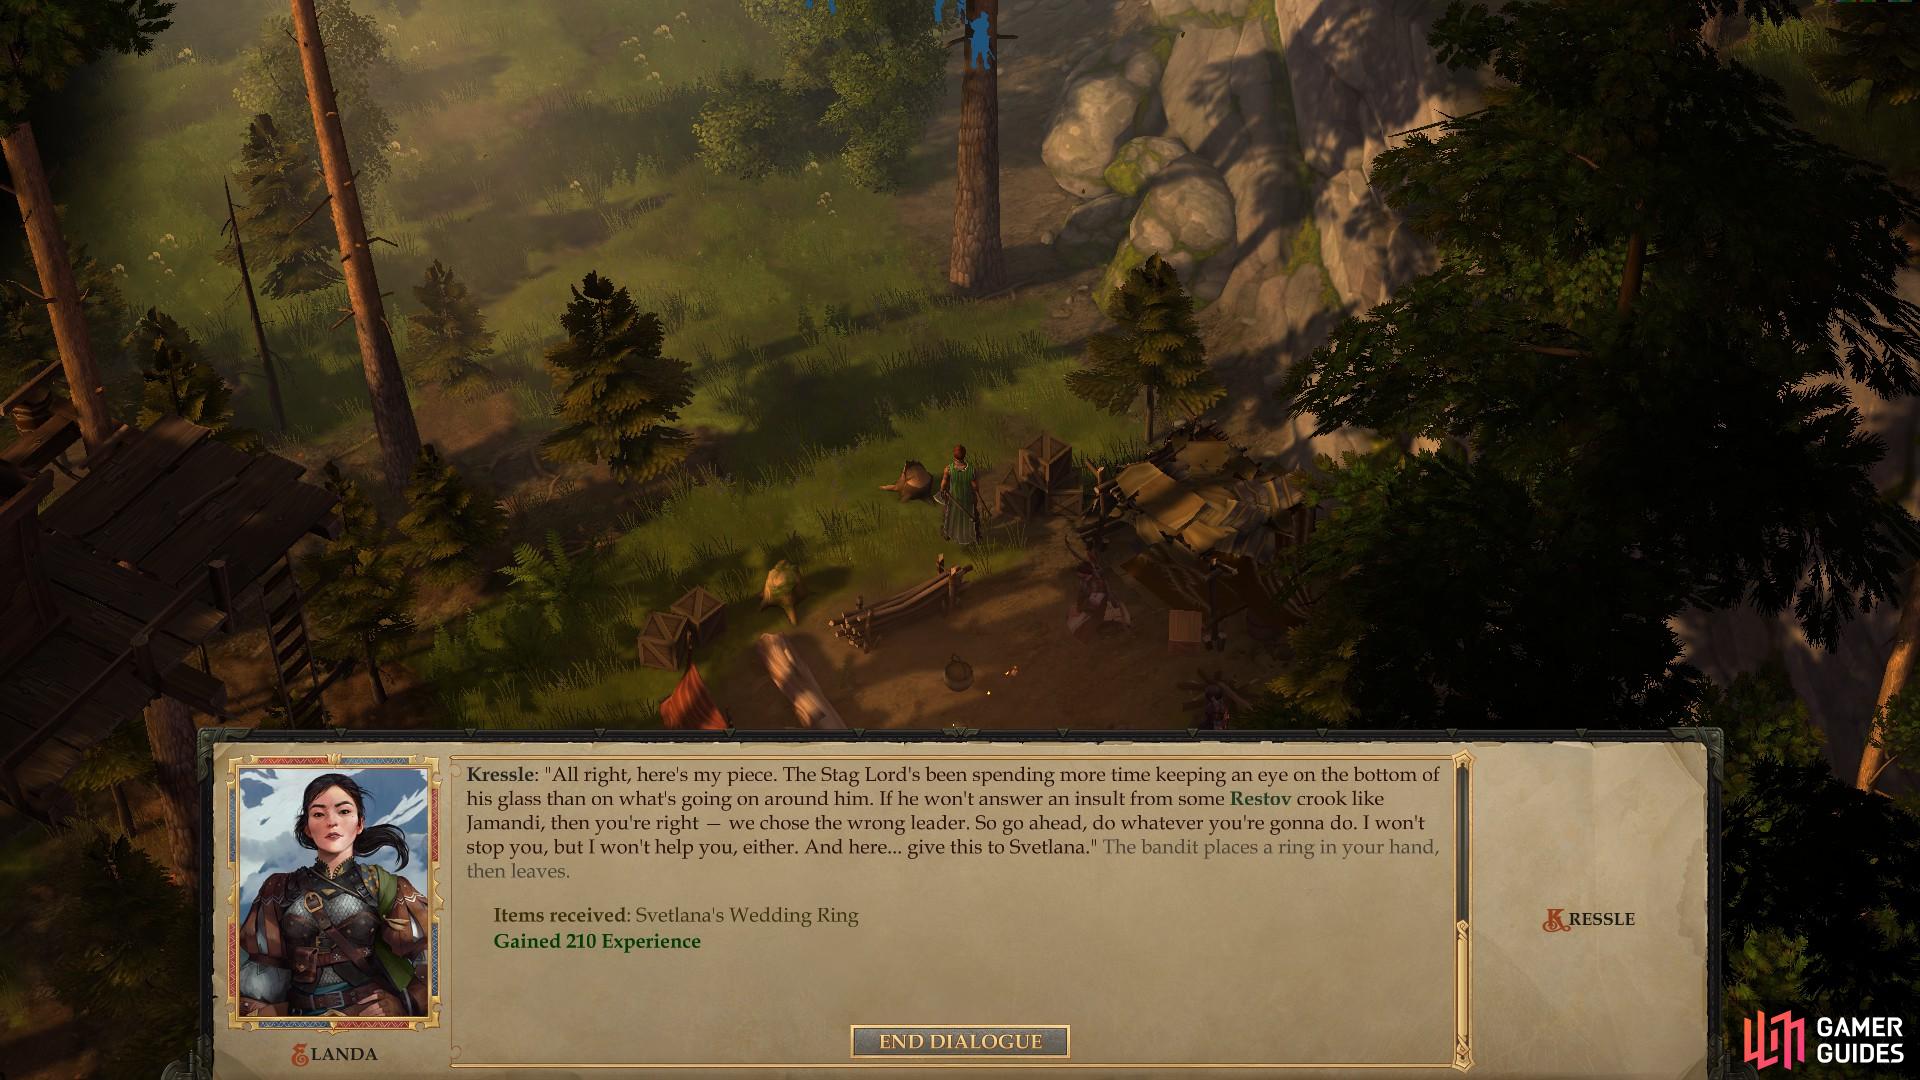
Akiros will still flee, showing admirable loyalty for a bandit, after which Kressle attempts to come to an understanding with you. Whatever moral choice you pick here has the same result (yes, even the [Neutral Evil] one): Kressle abandons the Stag Lord while refusing to come over to your side. As a parting gift she gives you Svetlana’s Ring and asks you to return it to her. That’s right, Kressle is the “dark-haired woman who wields dual axes” Svetlana asked you to spare, and you can only do so with a Good-aligned protagonist.
| Reward: For resolving your encounter with Kressle peacefully |
|---|
| 189 XP / Svetlana’s Wedding Ring |
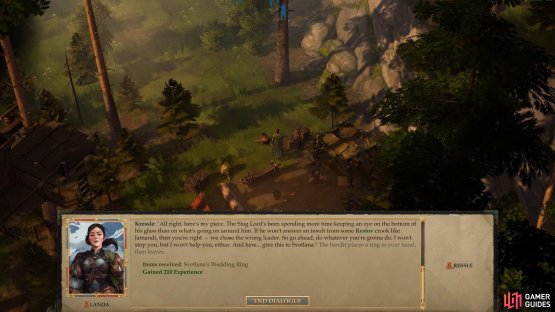

(1 of 2) You can get Svetlana’s Wedding Ring via diplomacy
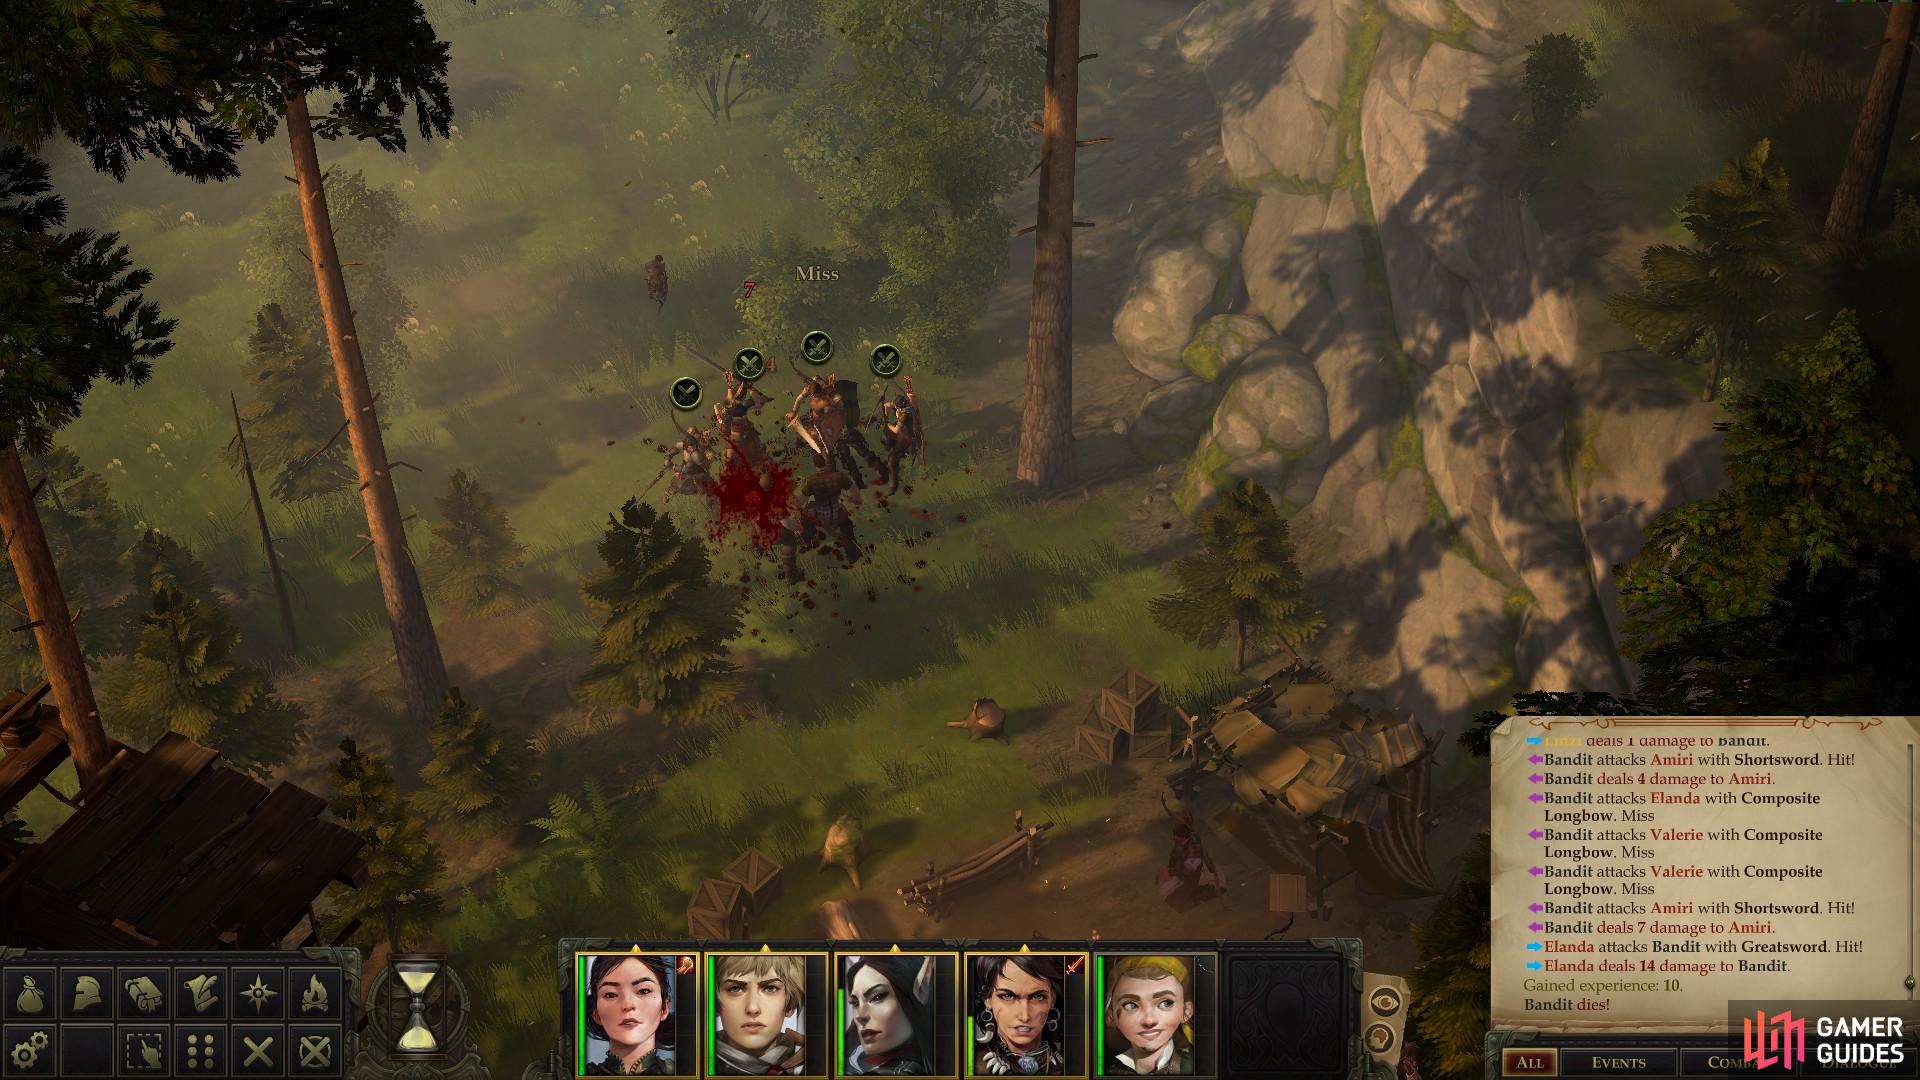
You can get Svetlana’s Wedding Ring via diplomacy (left), or through violence. (right)
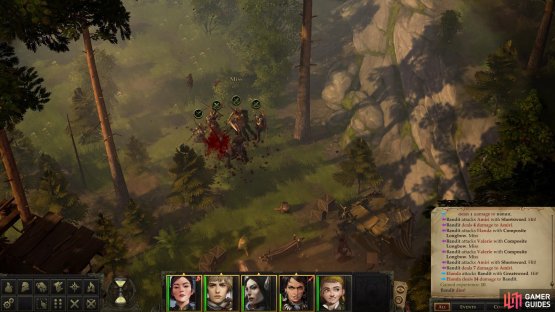
If your protagonist is not Good-aligned or if you simply didn’t choose the [Requires Good] response, a fight with Kressle will ensue. She’s got a lot of archers backing her up, and is rather fearsome with those dual axes of hers, which are of masterwork quality. She’s by far the most dangerous target, and you should focus your sole attention on her in an attempt to take her down quickly. If you’ve got debilitating spells, target her with Color Spray or Hideous Laughter, while saving Sleep for an opportunity to disable several of the other Bandits if they bunch up invitingly.
After you emerge victorious (or avoided combat), loot Kressle and her fellow Bandits and nab their weapons. Kressle in particular is well-equipped, having a pair of Masterwork Hand Axes, a suit of Studded Leather +1 along with Svetlana’s Wedding Ring. Once done, loot a crate in the camp to obtain some Written Orders and the Recipe: Sweet Pancakes. The former mentions an abandoned house in the woods the Stag Lord wanted his goons to burn down, which is the next objective in the quest Stolen Land, while the latter will allow you to cook different food while you camp. Just go into your inventory, right-click on the recipe, then pick the “Copy Recipe” option. Provided you have the proper ingredients, you should be able to attempt to cook this meal.
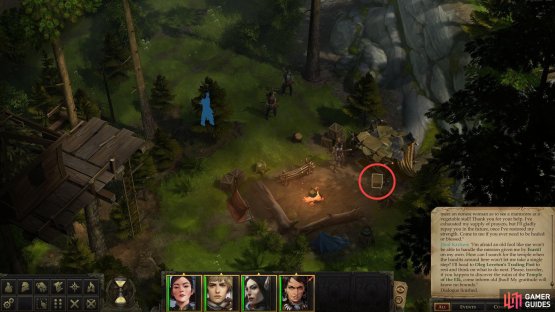
(1 of 2) Loot Kressle’s Camp to find the Stag Lord’s orders, giving you a new objective.


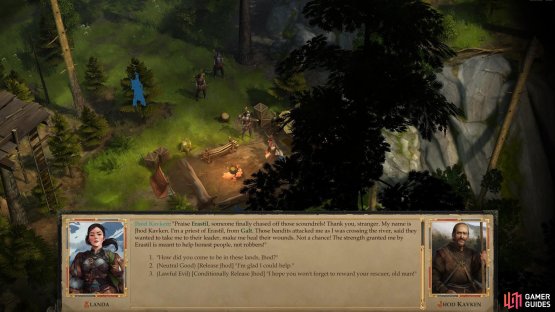
Loot Kressle’s Camp to find the Stag Lord’s orders, giving you a new objective. (left), Be sure to talk to - and free - Jhod before you go to learn about the Temple of the Elk. (right)
Pocket these papers and your attention will be directed to one Jhod Kavken, who remains bound throughout your interaction with Kressle and company. This priest of Erastil will tell you of how he came to be in the position you currently find him in, and will mention a place called the Temple of the Elk. Recognizing that the task of discovering this temple is currently beyond him, he’ll opt to lick his wounds back at Oleg’s Trading Post, where he’ll offer his clerical services, should you need them. Talking to Jhod about the Temple of the Elk will start the rather bluntly-named errand Find the Temple of the Elk.
Abandoned Hut
To reach the Abandoned Hut from Oleg’s Trading Post, use the following directions:
- South
- West
- West
- Southwest to reach landmark: empty node east of Oak-That-Strayed
- West
- Southwest
From the southwestern edge of the area (where you arrive) head east to find the Guardian of the Bloom, ghostly as ever. Follow her as she solemnly walks to the northwest and continue past her to witness a ghostly, father-son bonding scene play out. After the scene ends, pass a [Perception 8] check to look a nearby crate, inside of which you’ll find a Potion of Enlarge Person and some trinkets.
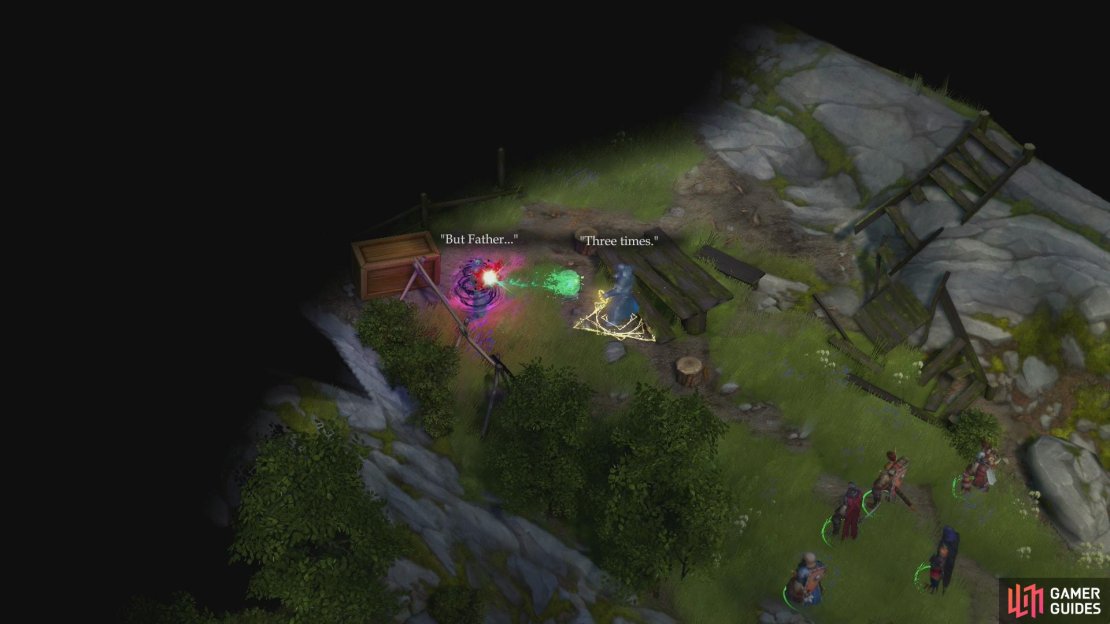
(1 of 3) Shortly after entering the area you’ll see some ghostly images play out an old act of cruelty.
Continue northwest until the path forks, at which turn southwest, then south to find a pair of Ferocious Wolves. Cut them down, then search a nearby well to find Nugrah’s Old Notes - the writings of the Stag Lord’s father - which reveal some insights into their history. Return back north to the fork, and this time continue north to witness another scene. The power balance has clearly changed abruptly, and one has to wonder where the Stag Lord received this newfound power from.
(1 of 2) Find Nugrah’s Lost Note
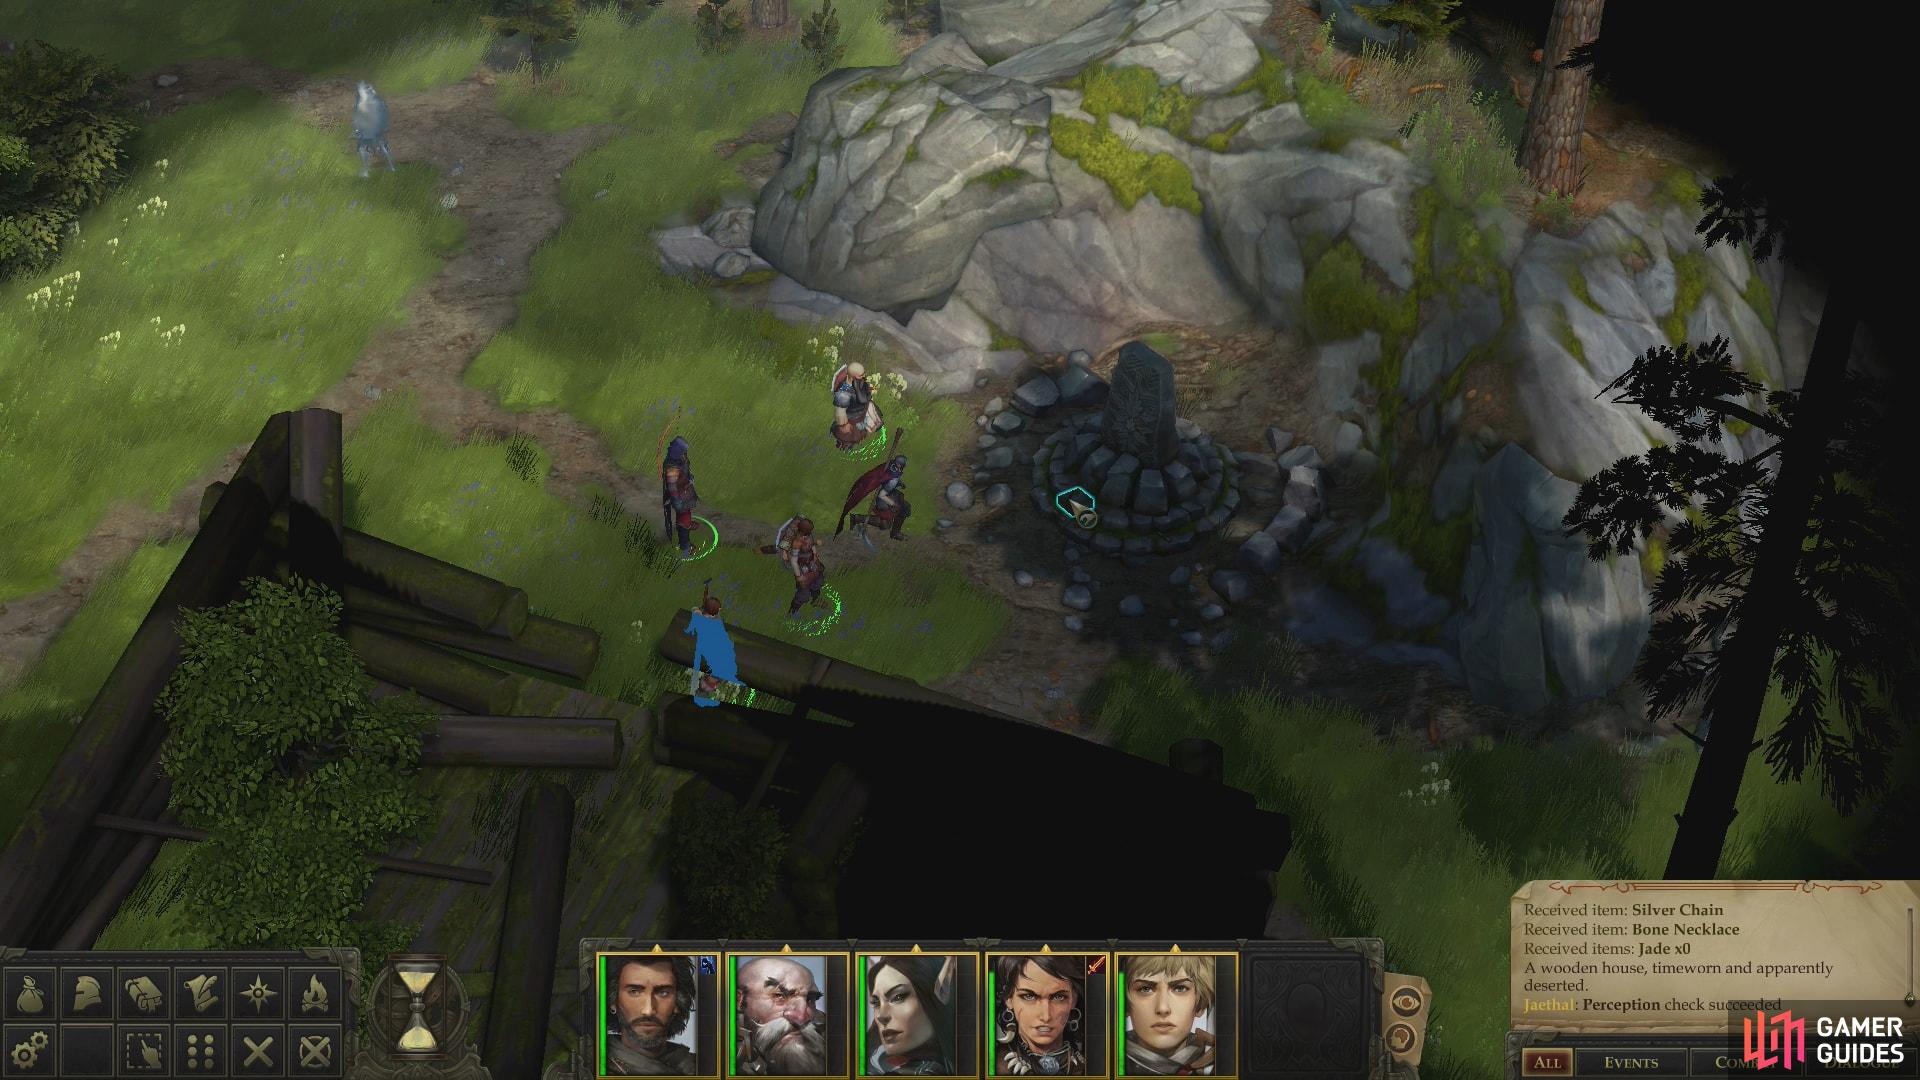

Find Nugrah’s Lost Note (left), then the Guardian of the Bloom will direct you to the Temple of the Elk. (right)
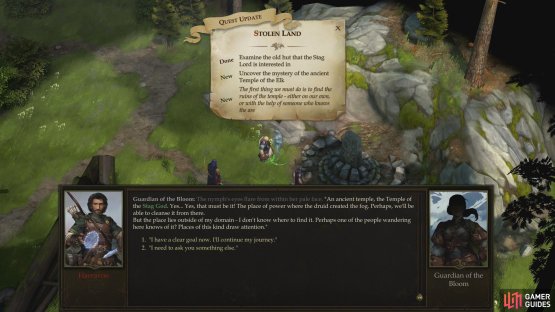
Turn southwest to reunite with the Guardian of the Bloom and ask about the Stag Lord’s troubled past, and about what steps to take next. When you’re done chatting, continue south to reach the ruins of the dwelling which gives this location its name. Southwest of the nymph’s projection you can find a poorly hidden stash [Perception 6] containing a Token of the Dryad, and beyond that a crate full of baubles. Next, head over near the house and search some herbs to score some Edible Moss, then muster the depths of your perception to pass a [Perception 1] check to reveal a stash containing Nugrah’s Lost Note near some stonework. Seems this note mentions a “Temple of the Elk”, or the Temple of the Stag God. Surely no connection to this Stag Lord, right? In any event, it’s your next destination, but you’ll get no help from the nymph, as the location lies outside her domain.
With that, you’re done with this area… at least as far as the Stolen Land quest is concerned. It’s time to head to this Temple of the Elk, which appeared on your map after finding Nugrah’s Lost Note. The Temple of the Elk is south of here, although working your way around the edge of the Thorn River will add time to your journey, and almost certainly ensure you encounter the Technic League, if you haven’t already.
Temple of the Elk
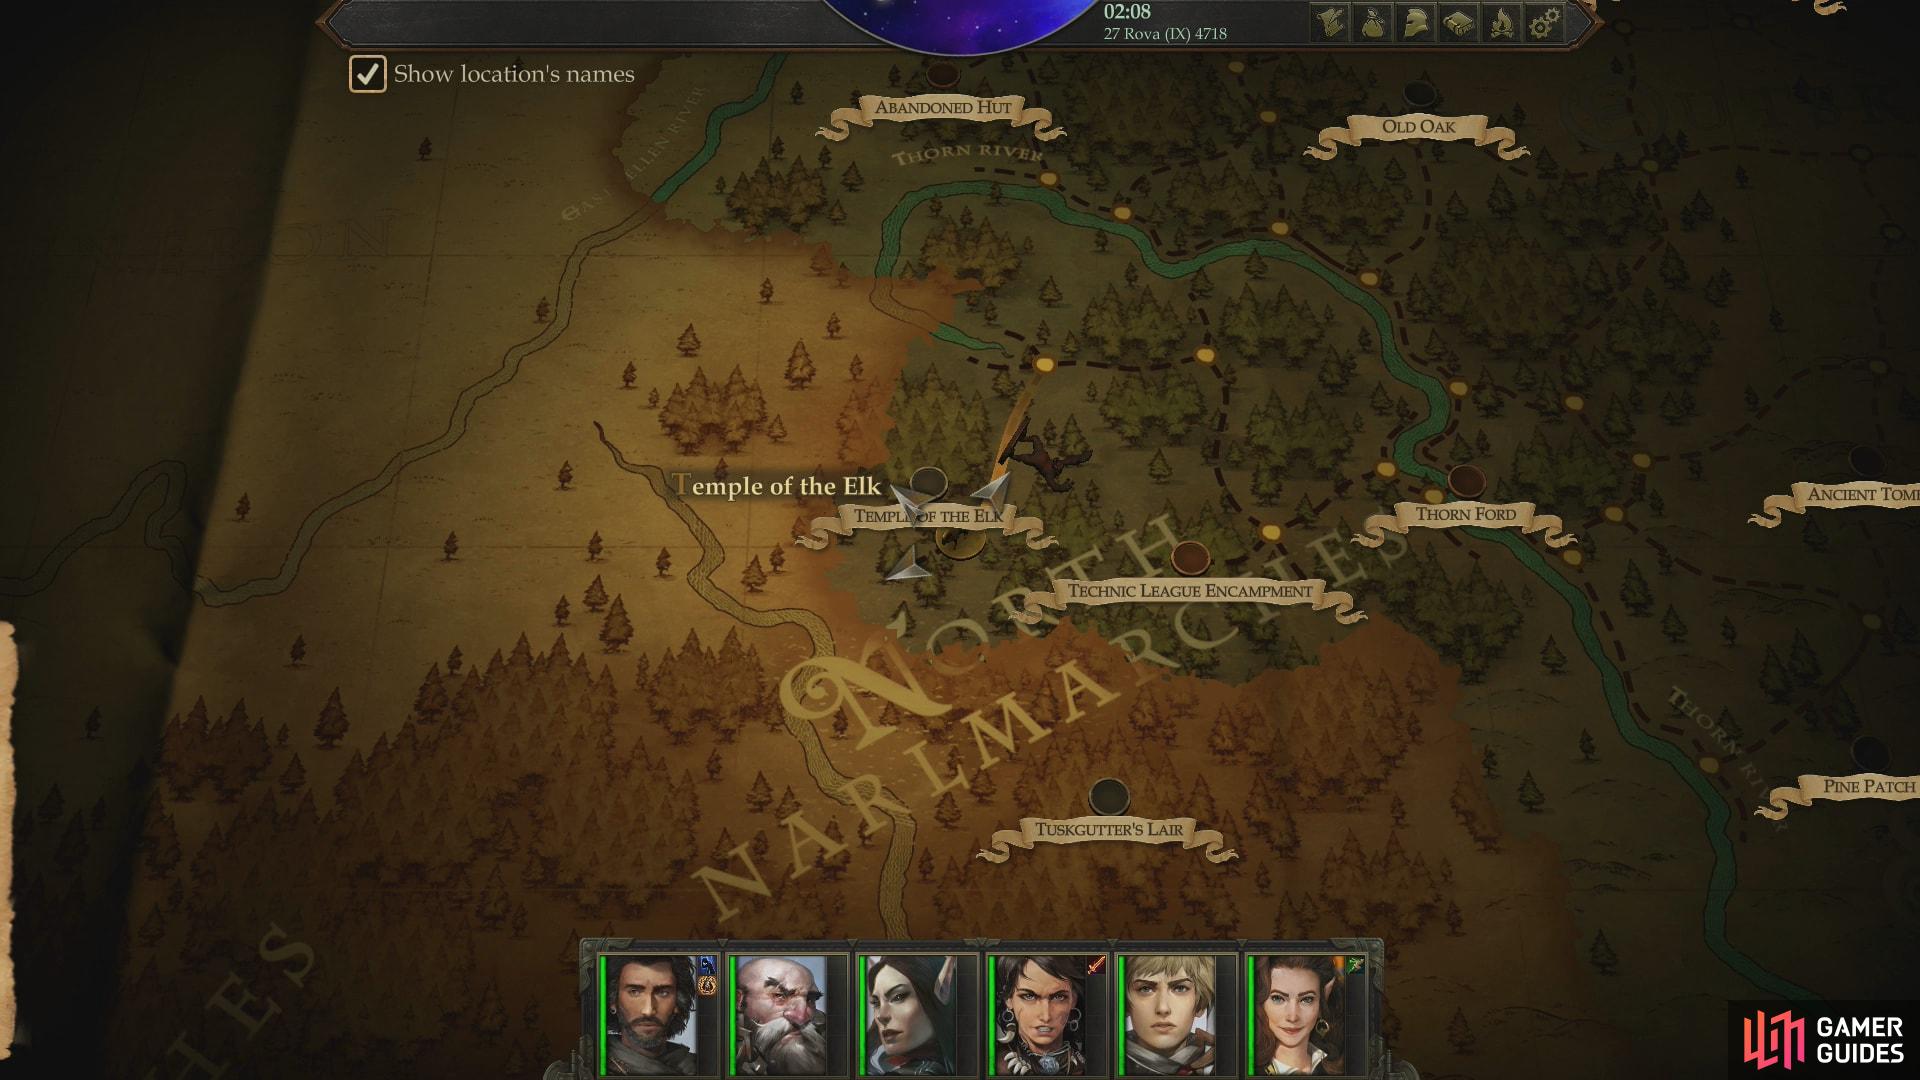
You’ll locate the Temple of the Elk south of the Abandoned Hut.
To reach the Temple of the Elk, first return to Thorn Ford. From Thorn Ford follow these directions:
- West
- Northwest
- Southwest
From where you arrive, head west to encounter the Guardian of the Bloom again, who will offer positive reinforcement and a warning. Beasties lurk about, and they must be exorcised to rid the place of the evil Druid’s influence. Continue west and pass a [Perception 15] check to find a Token of the Dryad in some foliage, then turn northwest into some ruins to encounter a trio of Primal Giant Frogs. These are the least of the foes here, and you should have no trouble dispatching them - if you do, you should seriously consider leveling up!
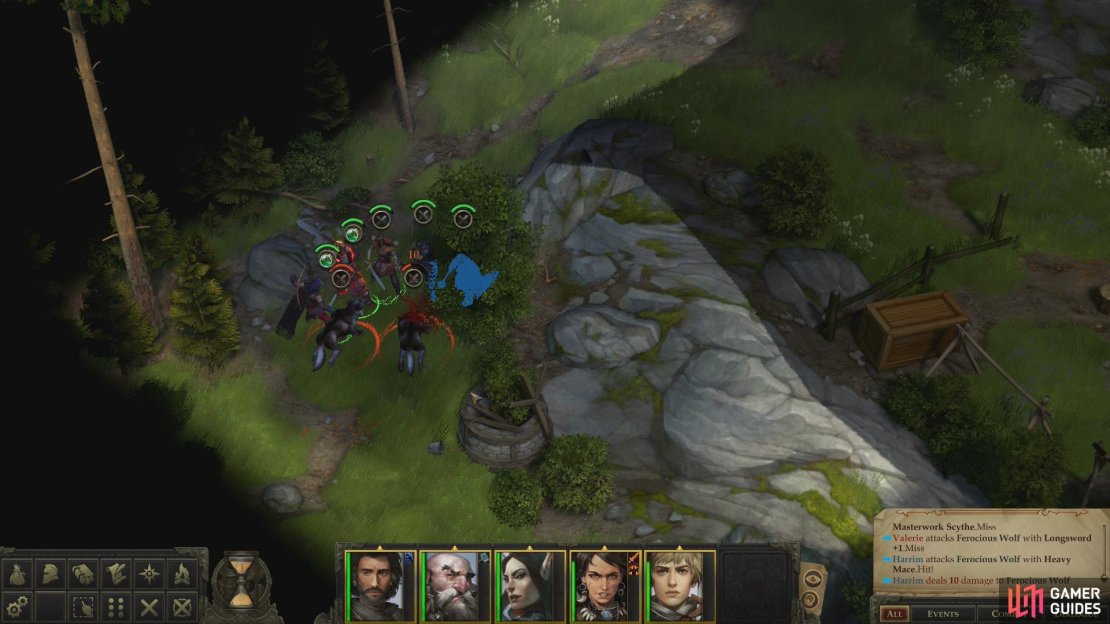
Investigate a pool and a statue in the middle of the ruins, then turn southwest to face a more dire challenge. Three Primal Ferocious Wolves lurk just outside the ruins, and they fight like other wolves you’ve encountered in that they’re keen on performing trip attacks, after which they’ll get an Attack of Opportunity against the prone victim. With three wolves attempting this at once, it can get rather painful, so position your party just outside the entrance to the ruins and bottleneck the wolves. There’s no good reason you shouldn’t fight them with a six-on-one advantage.


(1 of 2) Attacking the wolves brazenly could lead to grief, as they can trip opponents and entitle each other to Attacks of Opportunity.
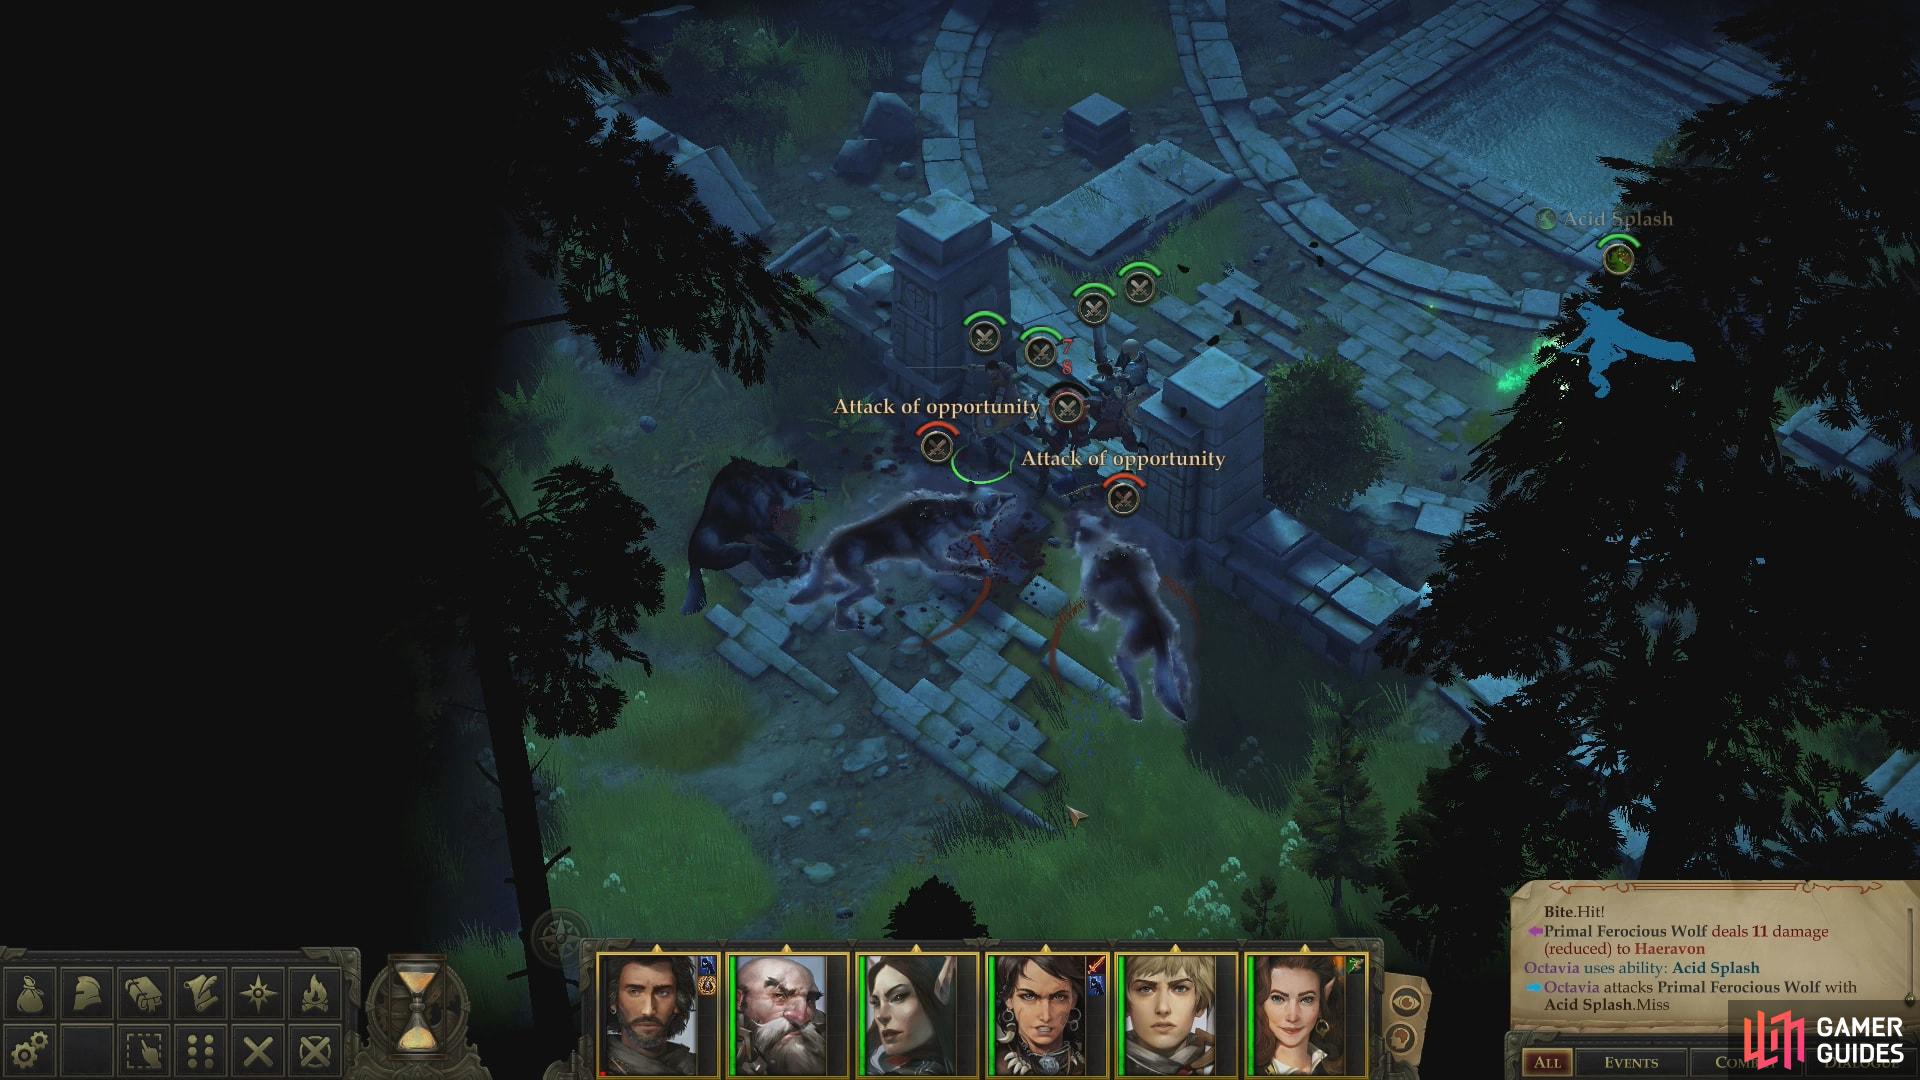
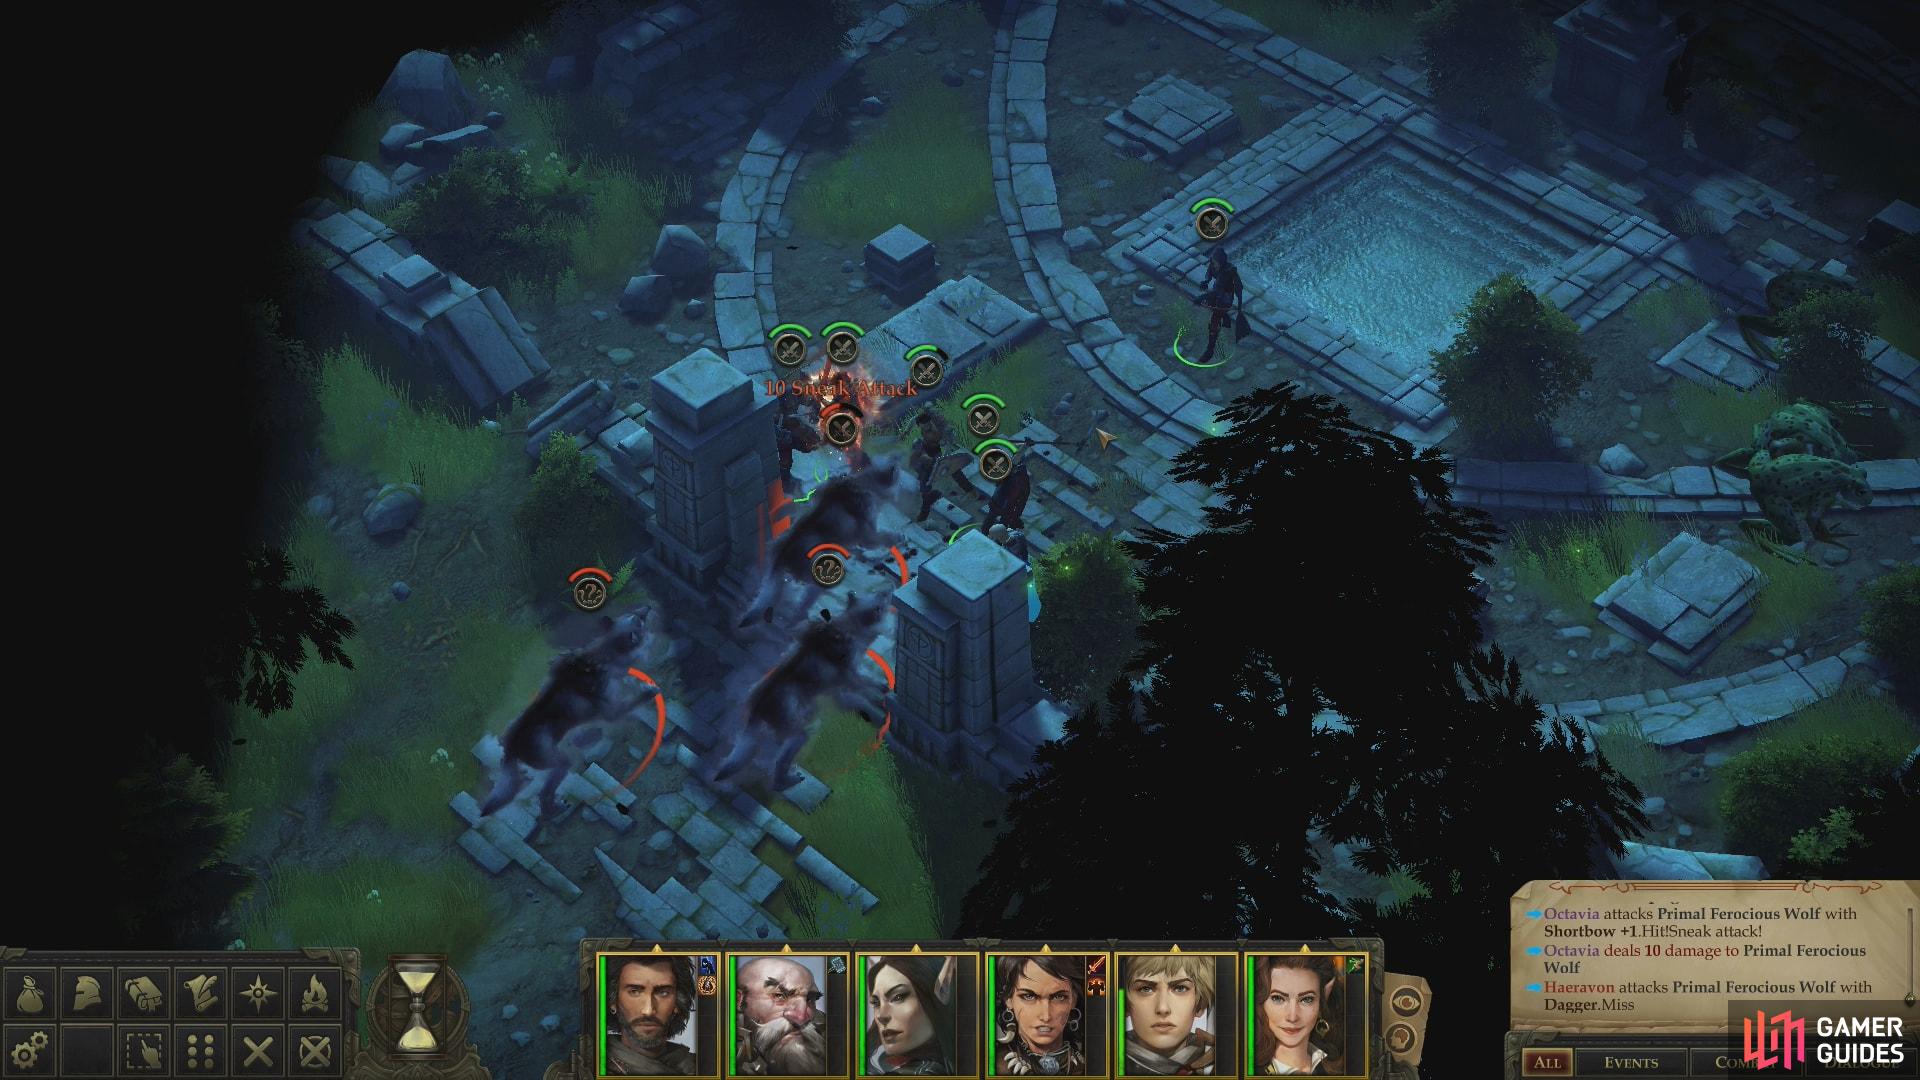
Attacking the wolves brazenly could lead to grief, as they can trip opponents and entitle each other to Attacks of Opportunity. (left), If you can manage to bottleneck them, however, you’ll make the fight considerably easier. (right)
Defeat the wolves, then return to the center of the ruins and from there head northwest. The area outside the ruins here is the demesne of a Primal Dire Boar, and if you want any excuse to delay the hunt for Tuskgutter, this might give you a few. This boar hits hard and has a high Attack bonus, so expect to suffer some damage here. Still, if you surround the pig and heap punishment upon it with your entire party, it should fall before you do. Once it’s dead, continue northwest and loot some foliage to find another Token of the Dryad.
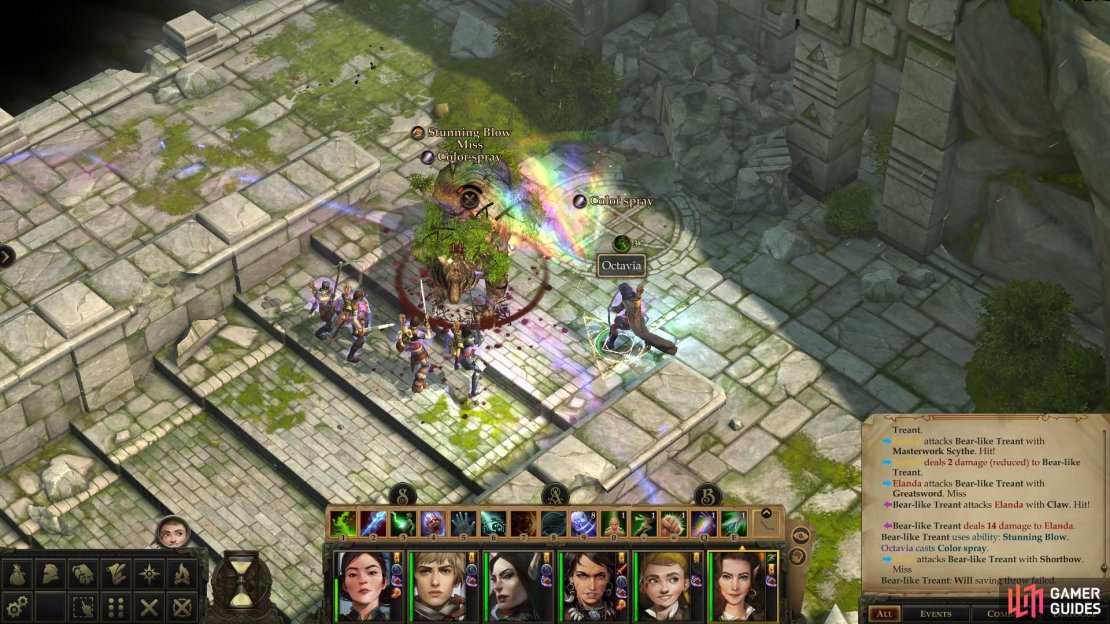
The last, greatest challenge lies ahead. Return to the center of the ruins, heal as much as possible, then turn your attention to some stairs to the northeast. At the top of these stairs you’ll find a Bear-Like Treant fighting a man named Tristian. Don’t expect him to remain standing for long, however, after which the bear will turn its attention to you. Like the Primal Dire Boar, the Bear-Like Treant hits very hard and has a high Attack Bonus. It’s also fairly well-protected with HP, Armor Class and Damage Reduction, and can perform Stunning Blow attacks.
A level three party that is mindful to flank, use spell-buffs (Mage Armor, Shield, Shield of Faith, Blur, Mirror Image, Bless) and/or bardsong should cut through it without too much trouble, but a level two party might struggle due to their lower HP and Attack bonuses. Ray of Enfeeblement can also slow down its offense a bit, and every advantage will help. If you have access to Color Spray the spell may hinder it for a short period of time, and the Treant-Like Bear’s Will Save isn’t really up to the challenge of resisting such a spell if cast by a competent Wizard.
A level two party with two custom warriors (including the protagonist) and a custom Sorcerer spamming Color Spray had little trouble taking this beast down, whereas a level two party using pre-generated companions on another playthrough found this encounter nigh impossible. Your mileage may vary depending on what characters you have at your disposal.
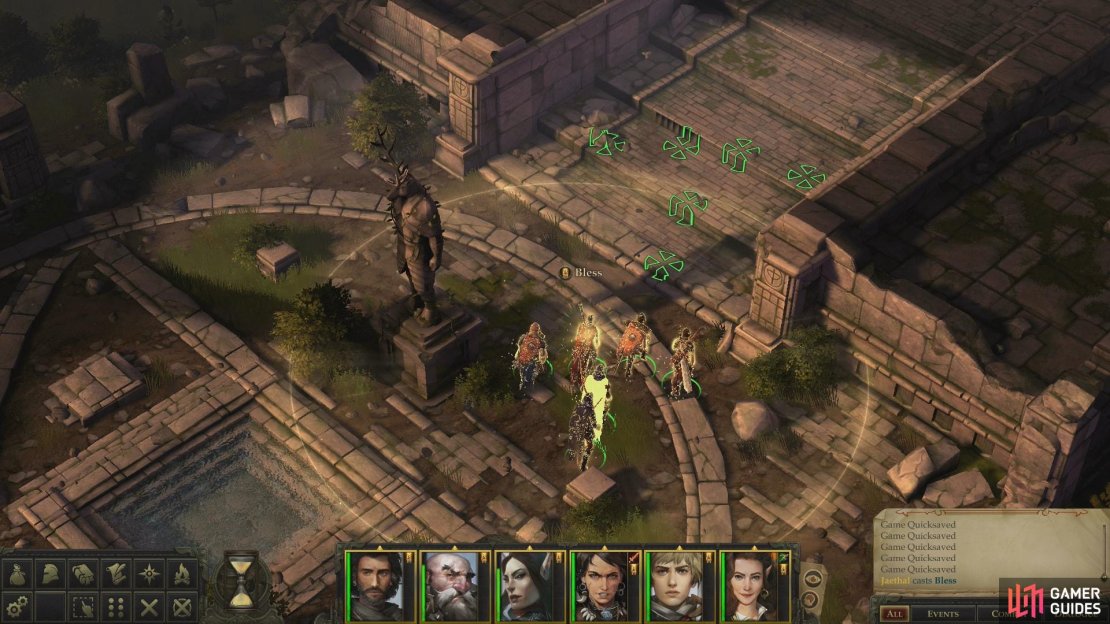
(1 of 3) Ensure you’re spell-buffed before engaging the bear.
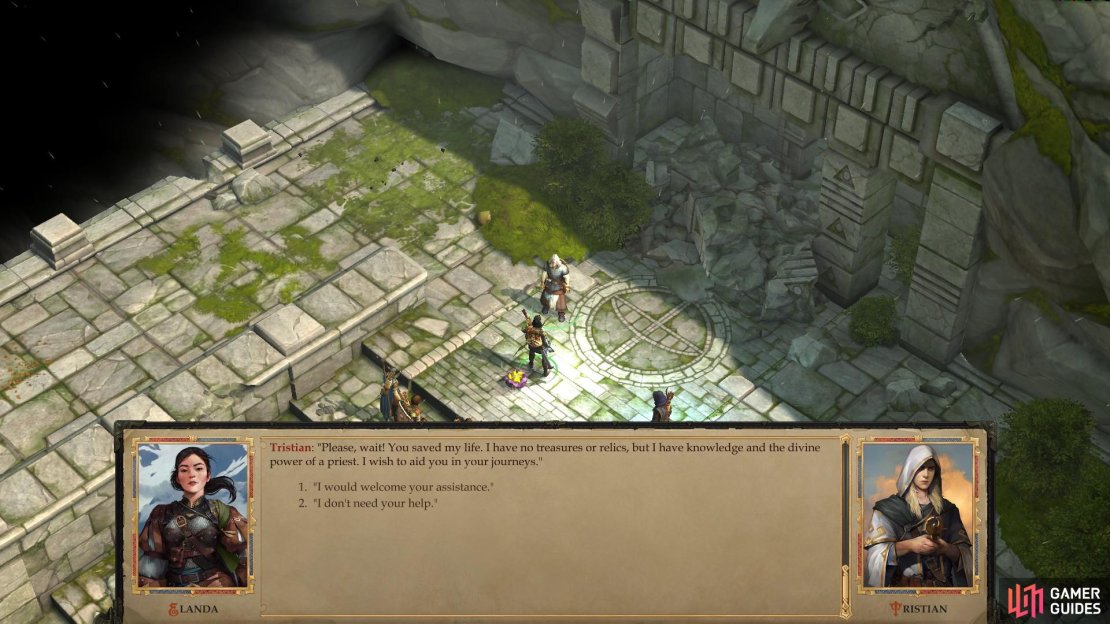
Vanquish the Treant-Like Bear and talk to its victim, Tristian, who will identify himself as a priest of Sarenrae and be… somewhat less than honest about how he fared in the fight. He’ll also confirm that defeating the temple’s guardian beasts should dispel the fog, but unfortunately the fog won’t dissipate immediately. More on that in a bit, but in the meantime, finish your conversation with Tristian and he’ll offer you his services.
Stag Lord’s Fort
You shouldn’t need any specific preparations before heading off to this place, although you may want to buy some rations - enough to rest twice without any hunting success should suffice (you can’t rest inside the Stag Lord’s Fort area, but you can always exit to the world map and rest). If you want to be successful, you’ll disabuse yourself of the notion that you’ll be assaulting some keep and routing the defenders in one great action. At least, if you want to win, that is.
Instead, routing the Stag Lord’s garrison will ideally involve infiltration and the surgical removal of isolated pockets of bandits without any escaping to summon their friends. Only when all of these groups are destroyed should you make your move on the Stag Lord, himself. There’s a lot of fighting to be done, and you may have to burn through spells to ensure a clean victory, which may, in turn, require you to retreat and rest a few times during the larger operation - a good reason why you should have left yourself at least two weeks for the trek and the assault.
Once those preparations are made, all that remains (you know, besides all the fighting) is traveling there, which you can achieve with the following directions (from Thorn Ford):
- Southwest (cross the river)
- Southeast (along the river)
- Southeast (along the river, a third time)
- Southwest (along a different branch of the river)
- Southwest
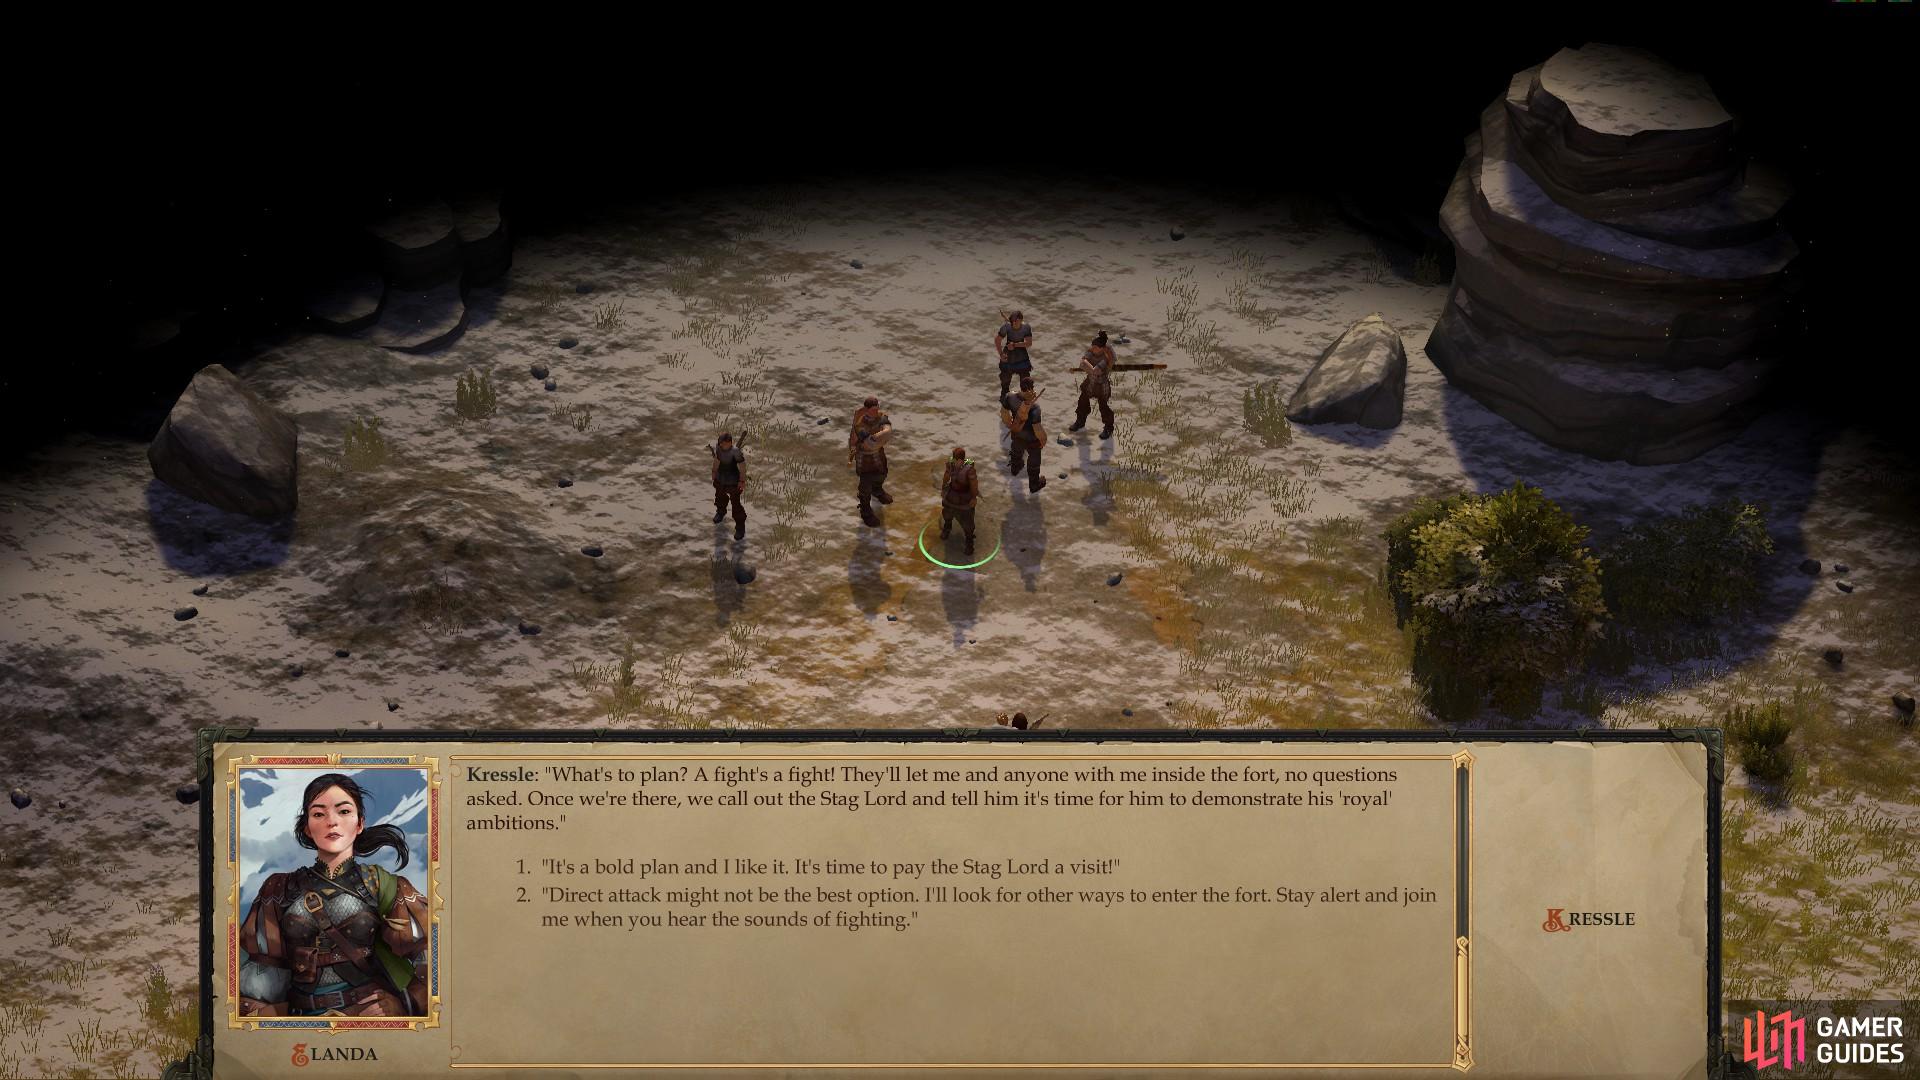
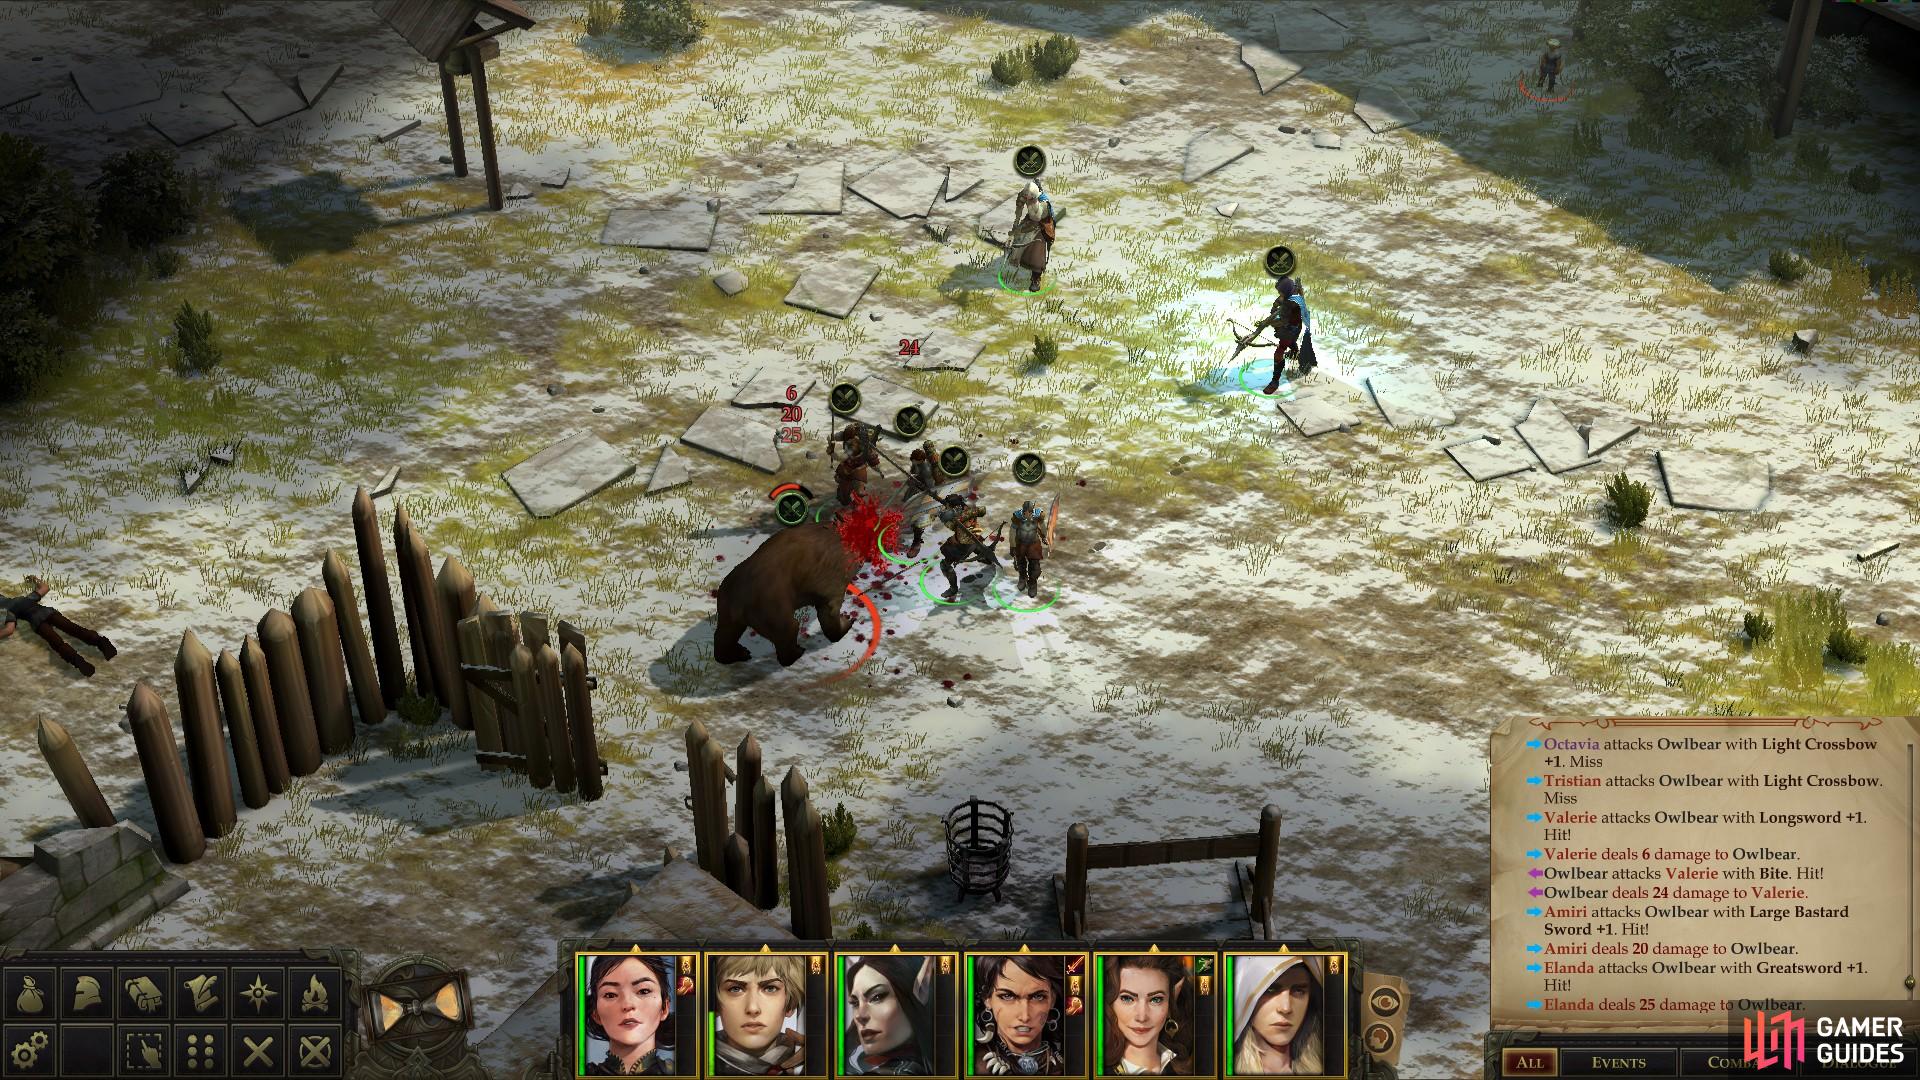
You’ll arrive along the southern edge of the map. From here, follow the path north where, if you spared her earlier at the Thorn Ford camp, you’ll find Kressle. Her old loyalty to the Stag Lord is gone, and now she - and a group of her fellows - seeks an audience. As far as strategy goes, Kressle is useless, and if you indulge her straightforward approach by picking the dialogue option “It’s a bold plan and I like it. It’s time to pay the Stag Lord a visit!” she’ll come to a bad end - and you probably will, too. The Stag Lord’s personal guards are enough of a fight, but if they end up joined by other bandits (not to mention the Stag Lord’s pet Owlbear) you could easily end up overwhelmed.


(1 of 2) If you spared her, Kressle will offer to help you with a frontal assault.
If you spared her, Kressle will offer to help you with a frontal assault. (left), Not all options are good options, however, and the Stag Lord is quite difficult to defeat in a head-on confrontation. (right)
That being the case, pick the dialogue option “Direct attack might not be the best option. I’ll look for other ways to enter the fort. Stay alert and join me when you hear the sounds of fighting.” Don’t worry about the wording, she’s not as impulsive as all that - you’ll only have to worry about her coming to your aid when you confront the Stag Lord, or if you slip up and the alarm is sounded.
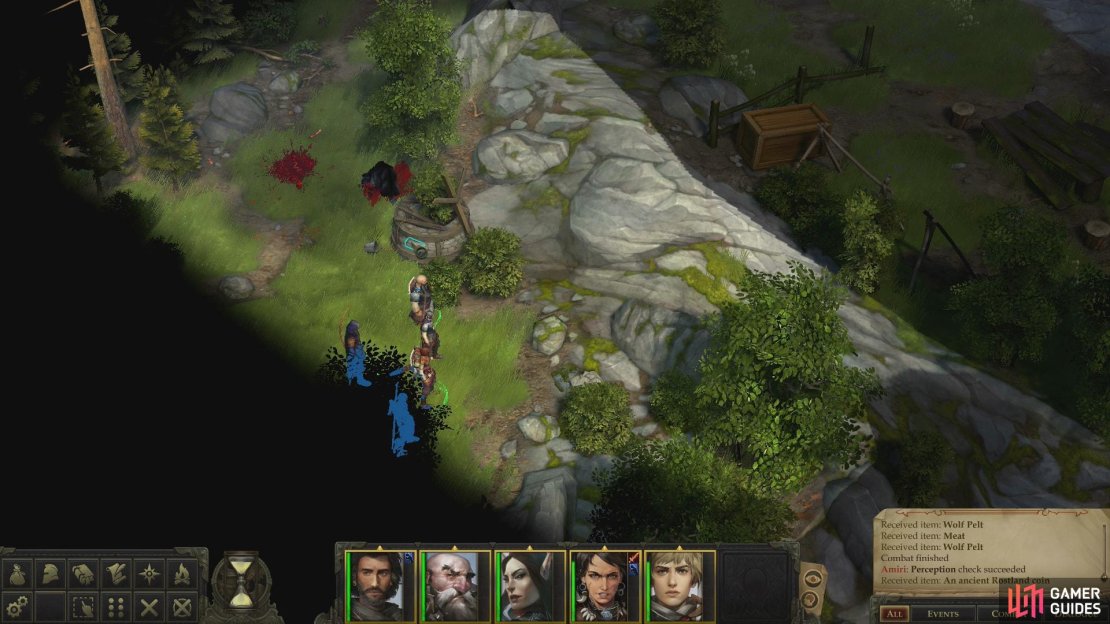
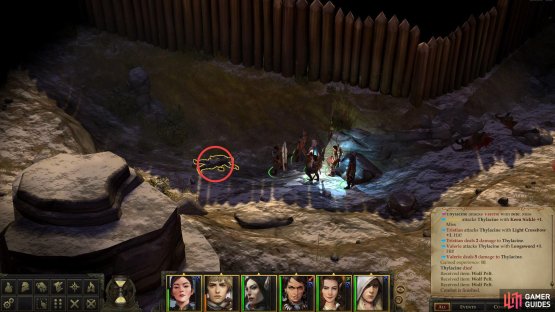
If you continue northeast along the southeastern end of the map you’ll eventually reach the fort, which consists of wooden walls behind a shallow ditch, inside of which lurk some Thylacines. It’s not terribly interesting, but you can find a corpse in the moat, on which is An Ancient Rostlandic Coin and some other trinkets.

(1 of 2) Defeat the Thylacines scavenging in the ditch around the fort
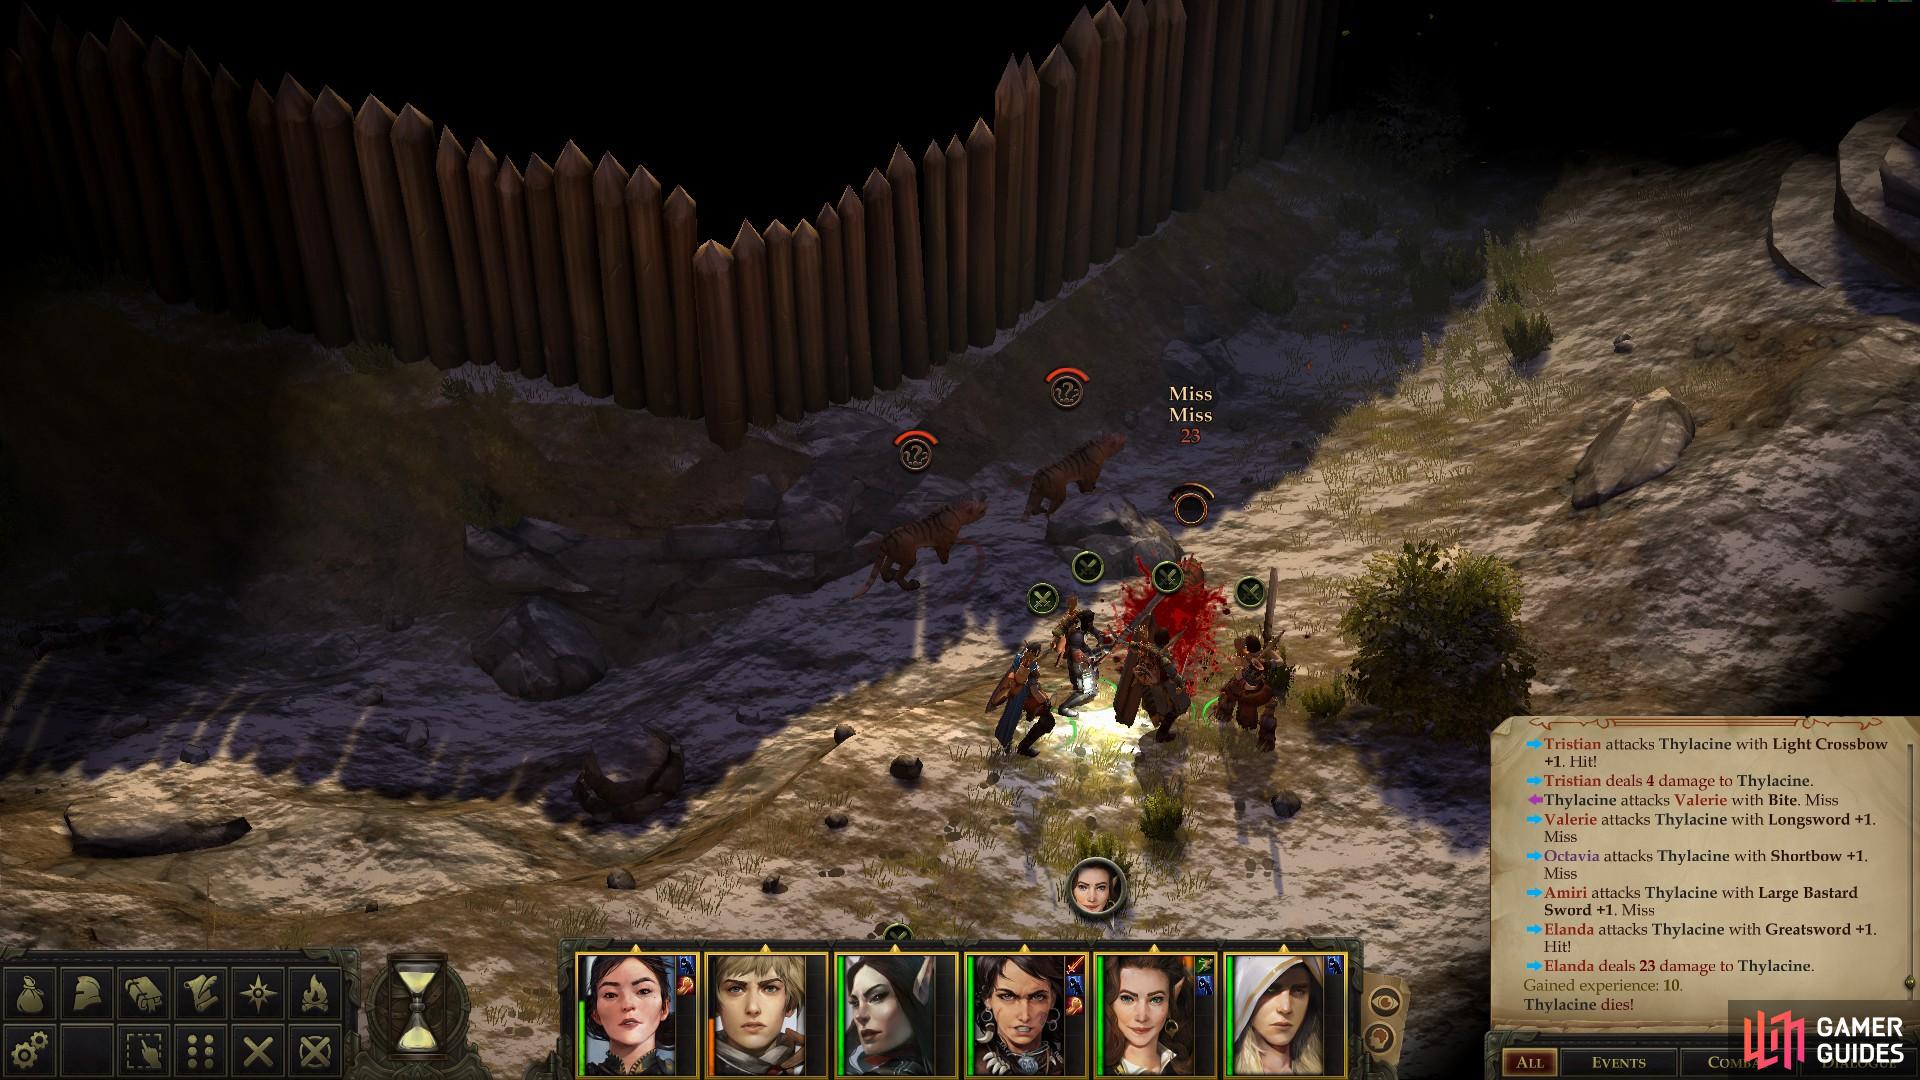
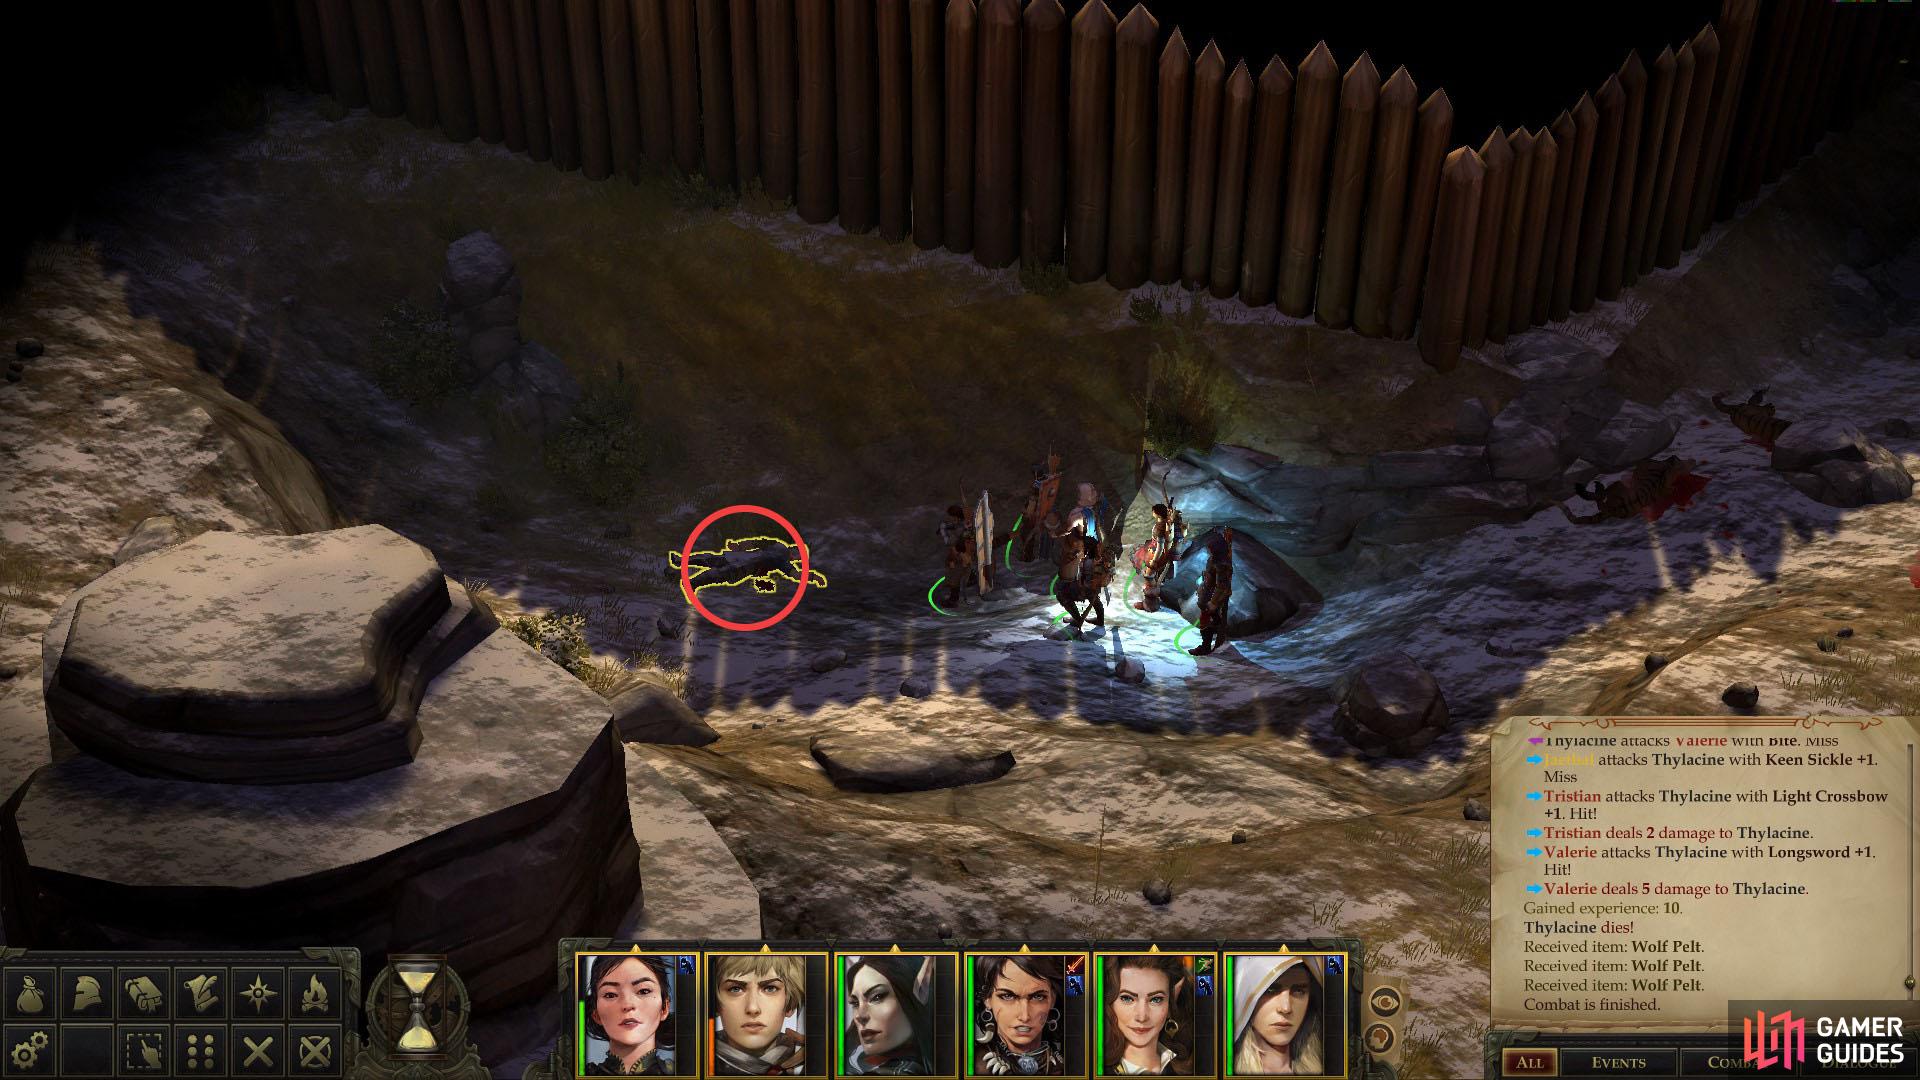
Defeat the Thylacines scavenging in the ditch around the fort (left), then loot a corpse to find An Ancient Rostlandic Coin. (right)
After turning down Kressle’s direct approach, it’s somewhat silly to try the front door, but the approach isn’t entirely without merit. Interact with the door and you’ll have a number of responses you can make, most of them being varying degrees of useless. Claiming to be a traveler will just make them raise their guard and keep the door locked, while threatening to attack will achieve the same dubious result. Picking the [Lawful Good] option will indeed gain you an audience with the Stag Lord, although you’ll be fighting the Stag Lord’s personal guards, this time without the aid of Kressle, making it an even worse option.
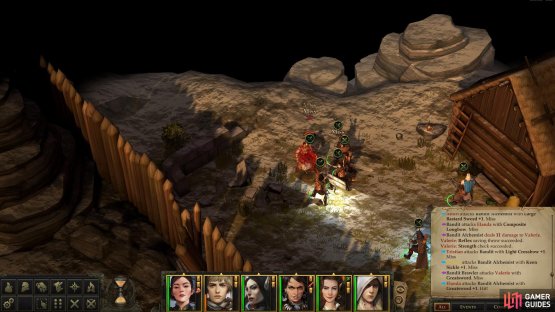
Succeeding at a [Bluff 21] check might be worth the results, however, as it’ll get the doors open. Unfortunately you’ll be recognized by one of the guards, but with 6-on-3 odds, it’s too little, too late. This is a pretty straightforward fight that shouldn’t really be one you can lose (you may wish to rethink this whole “baron” thing if this battle presents you with any trouble).
There is a complication, however, and it’s one that you’ll need to keep in mind for every fight in the fort. Once a group of bandits has been reduced to one survivor, that survivor will attempt to flee and sound the alarm. If you’re not positioned advantageously, they could very well succeed, given that most of the bandits are more lightly armored than your warriors, and hence can outrun them. That being the case, prepare for this inevitability ahead of time by switching your focus off severely wounded bandits in favor of stronger ones, and try to have several characters near the soon-to-be last bandit before killing their last remaining ally. Done correctly, Attacks of Opportunity should spare you some grief. If you fail and the alarm is rung, you may as well just reload, rather than attempt to fight the entirety of the Stag Lord’s forces. Spells like Hideous Laughter and Hold Person are also invaluable here, as you can keep a bandit from running with it, deal with their allies, then finish them off at your leisure.
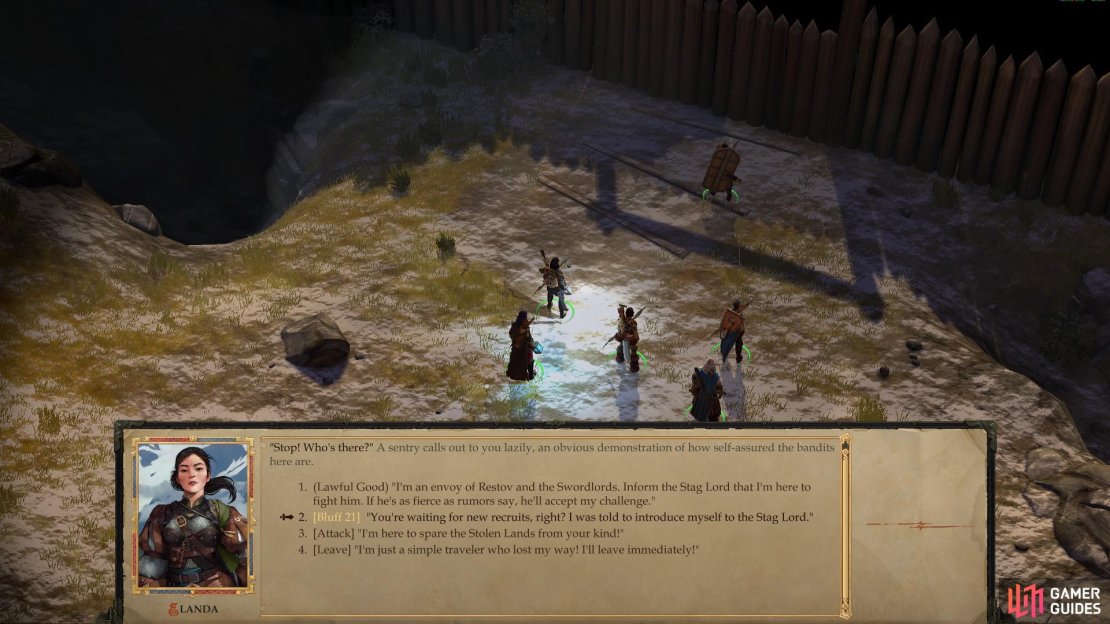


(1 of 3) Succeed at a Bluff check to get the bandits to open the gate.
Feel free to talk your way into the gate and exterminate the gate guard - it’s honestly not a bad way to eliminate this group of Bandits and secure a way into the fort. Whether you do this or not, however, there’s merit in seeking out another approach as well, so after you defeat the gate guards, abandon your gains for now and leave the fort.
In addition to the gate, there’s another way into the Stag Lord’s Fort that’s somewhat less direct, although you’ll have to fight to get there. Make your way northwest along the moat surrounding the fort, killing Zombies as you go. While they may be new foes, they’re not much of a threat, having a fair share of HP, but little to speak of in the way of Attack or Armor Class. Their only noteworthy feature (besides being undead and hence immune to mind-affecting effects) is their Damage Reduction 5/slashing or bludgeoning.
Eradicate them and continue northwest along the moat until you find a larger, more dangerous group of Zombies near some ruins, which are led by two Zombie Lords. While somewhat stronger, they’re still weaker than basically every bandit you’ll have to fight, but unlike normal Zombies, at least they’ll drop Masterwork Scimitars for your trouble.
Once you’ve fought through the Zombies and reached the western end of the fort you should notice (hold down the “Tab” key) a variety of ways to interact with a less than well-maintained section of the wall. Succeed at an [Athletics 20] check to force open a satisfactorily large breach in the wall, or a [Mobility 20] check to climb over the wall. If you fail the Athletics check it’ll alert the fort, while failing at the Mobility will remove that as an option. On the plus side, however, once you succeed you can freely travel back and forth without incident.
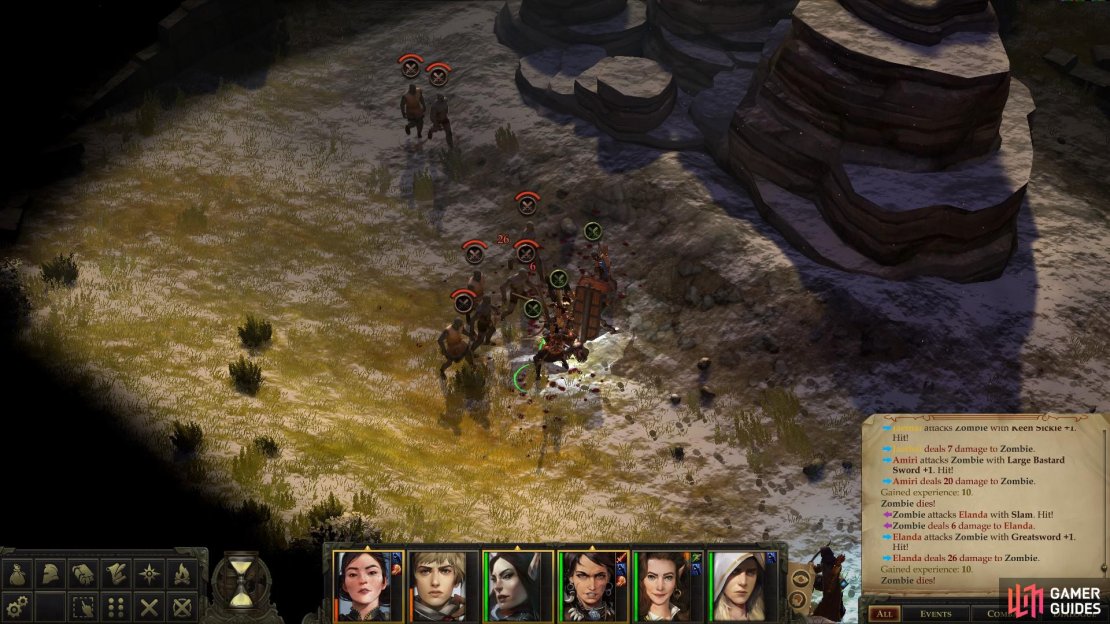


(1 of 4) Dispatch numerous mobs of zombies near the ruins outside the fort.
Note this potential entry point, but don’t pursue it just yet, as there’s more undead to kill and loot to obtain. From the western wall, head southwest along the northwestern edge of the area, killing another group of Zombies near some ruins. When they’re all dead, loot some stonework north of the Zombies for a Taldan Warrior’s Dog Tag then pass a [Perception 6] check on some more ruins to the southeast to find another Taldan Warrior’s Dog Tag. To the southwest of the Zombies you can find a pile of corpses - properly inanimate ones, this time - one of which possesses a whopping 723 GP. On the other corpse you’ll merely find some trinkets. Finally, you can also find a Heavy Pick +1 just sitting among the debris… fitting, I guess, if somebody was tearing these ruins down.
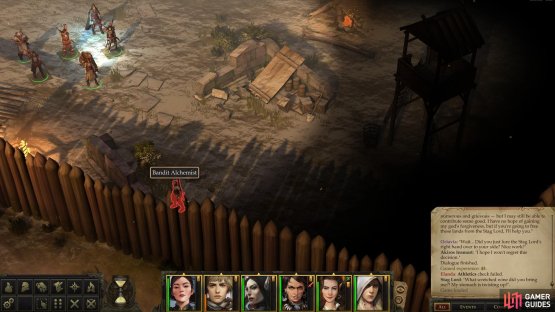
Now that the exterior of the fort is cleared, return to the western wall and gain access, either through Mobility or Athletics. Once through the wall you’ll find a man named Akiros Insmort, who you may have met before, if you went to the Thorn Ford bandit camp before going to the Ancient Tomb, and if you did so in a timely manner. Given the benefits of not doing that, however, you probably didn’t, so you may want to introduce yourself. Don’t want to be rude, after all.
Akiros isn’t nearly as chatty here as he was (or would have been) at Thorn Ford, but you’ll largely get the same information from him, both textually and subtextually: he’s much more reasonable than the Stag Lord, and would rather legitimately rule than terrorize the area’s inhabitants. That said, his loyalty to the Stag Lord has diminished somewhat in recent days, making him susceptible to a [Diplomacy 23] check (which is also a [Neutral Good] act). Succeed at this aforementioned check and he’ll join your fight against the Stag Lord under the same conditions as Kressle: he’ll only show up when you encounter the Stag Lord himself, or when the alarm is sounded. Still, he’s a sturdy warrior, and every bit of help is appreciated. You can also achieve this end by passing a [Lore (Religion) 18] check, which is done automatically at the beginning of the conversation. If you find the [Lore (Religion)] option available, it’s because you passed the check.

(1 of 2) Try to coerce Akiros to your side or talk him out of fighting.

Try to coerce Akiros to your side or talk him out of fighting. (left), Or you can just kill him. (right)
If you can’t gain an ally, you can always try for an [Intimidate 18] check (a [Neutral] action) to convince him that this isn’t his fight. If your protagonist is Lawful, you can select a special dialogue option that convinces Akiros to leave and surrender himself to justice. If you fail either the Diplomacy or Intimidate checks listed above, Akiros will attack, a matter you can expedite by simply picking the [Attack] option.
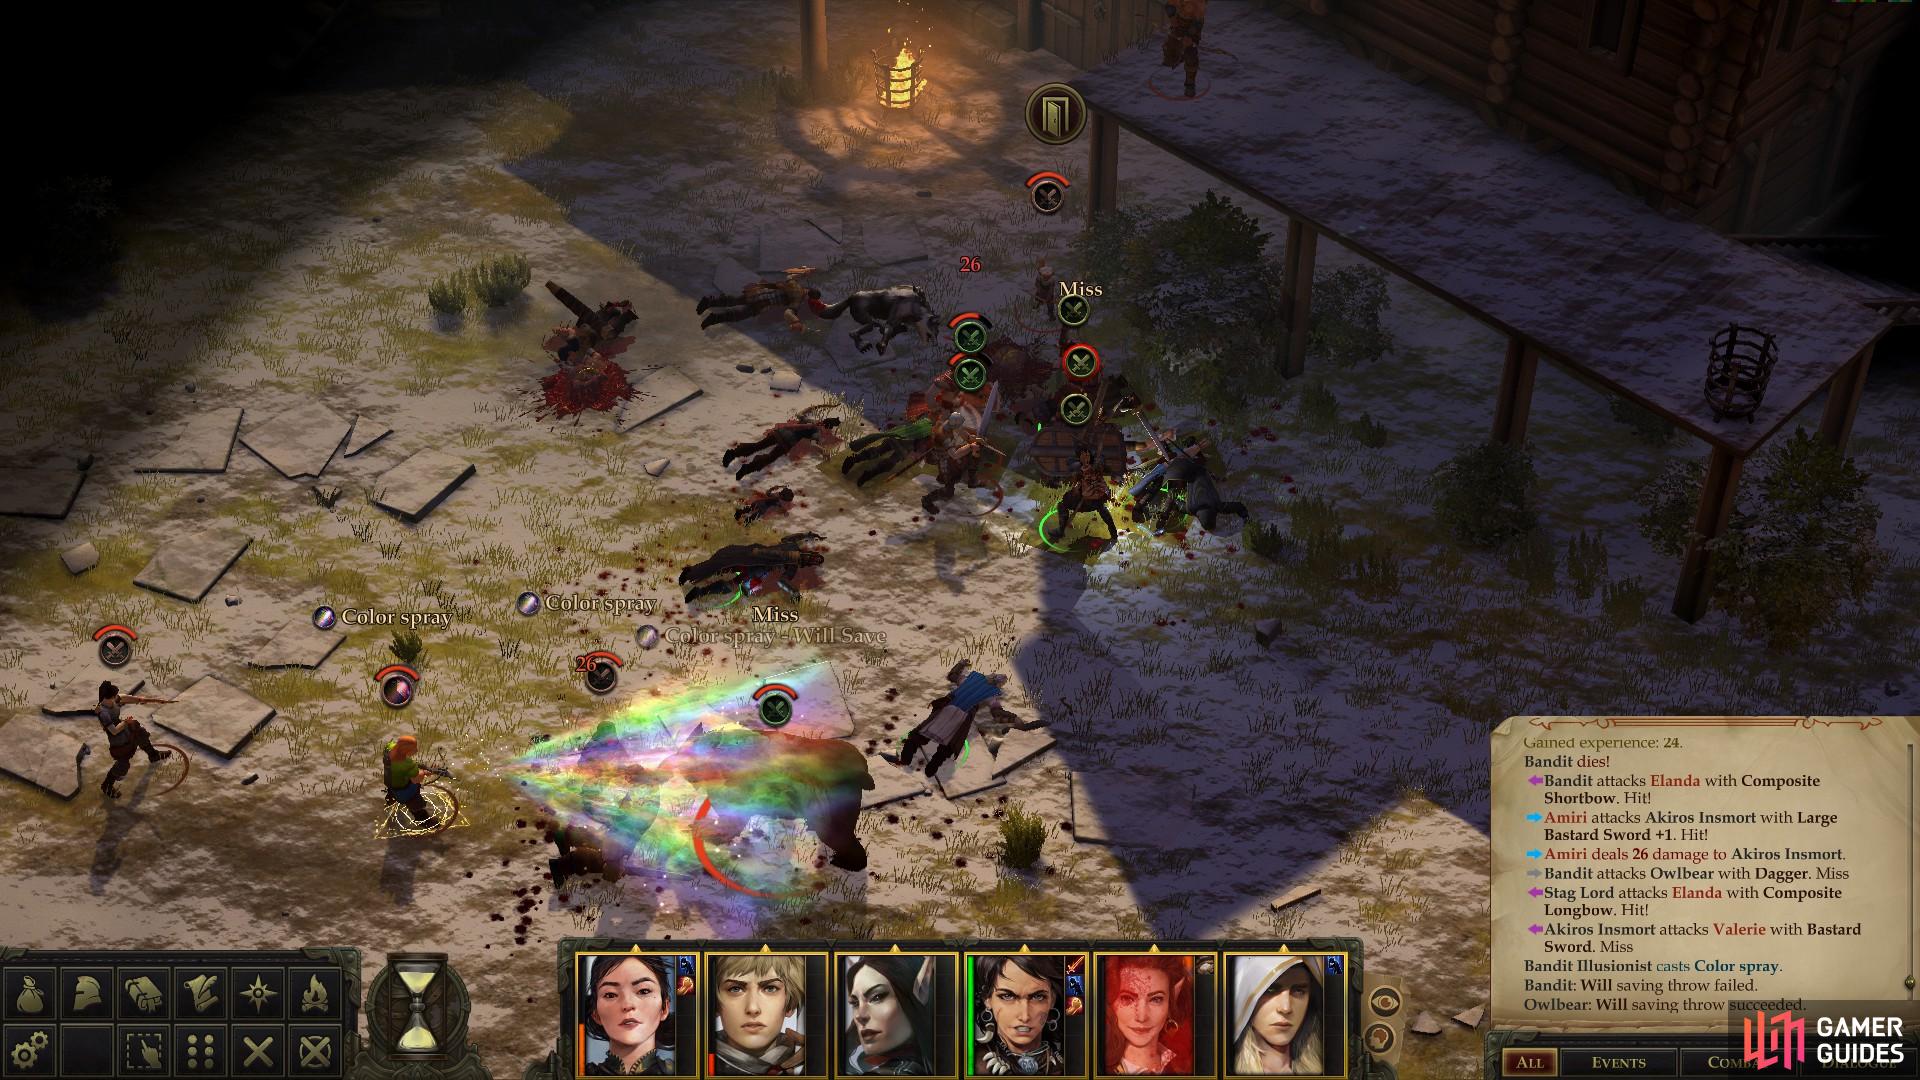
Should hostilities break out, Akiros won’t fight entirely alone, as his call will summon some nearby bandits: a group to the southeast and another to the northeast. You can delay these bandits with area denial spells (Grease, Entangle, Web, etc.), as the ground to the southeast of Akiros - between the nearby stable and the fort’s wall - is just large enough to accommodate this spell. Cast one of the aforementioned spells (or two) in the aforementioned location, gang up on Akiros and cut him down, and hope at least a few of the bandits to the southeast are caught by the spell so you can pick them off with ranged attacks. In particular, go after the Alchemist first, as he’s the real nuisance in this fight. Just be wary of the ruined stone wall, as it can give your targets cover - a benefit you won’t receive.
Given all these complications, it may be easier to eliminate these groups of bandits that Akiros would otherwise summon before talking to Akiros.
To eliminate the southeastern group, you may find it easier to enter via the front gate (Akiros will spot you if you go through the western wall and don’t immediately talk to him) and turn west, where you’ll find them hiding behind some wagons. These impediments make a direct ranged assault unlikely to succeed, and if you find area denial spells too messy, there’s another, arguably better solution. Approach with your Cleric just close enough to spot the Bandit Alchemist and hit him with a pre-emptive Hold Person spell. With his terrible Will Save there’s a great chance you’ll take him off the board with a single spell, after which you should rush him, cut him down, then deal with the others.
This requires a little more planning that it may seem, however, as your character may struggle to navigate the terrain (and enemies) to get to their target in a timely fashion, plus you need to get past the Bandit Brawler, who is quite a bruiser in combat. Line up your warriors to the north, near the well in the middle of the fort, and buff one of them with Blur and Shield of Faith and make sure they lead the charge. Once the Hold Person is cast and combat begins, charge, and pay attention to your warriors to ensure they reach their target. Lastly, keep an eye on the Bandit Bard, as he’ll target your characters with Hideous Laughter. While only a [Will 14] save, he can still make a nuisance of himself with it, and should be smote immediately after the Bandit Alchemist.
Failing that, simply spell-buffing (Bless, Blur, Bull’s Strength, Shield of Faith) and attacking may suffice. Send your tank around the wagon to the north to occupy the Brawler (and draw the attention of the Alchemist) while the rest of your warriors move south between the wagon and the wall. While your tank draws fire and takes damage, cut down the Bard and Alchemist, cast a Hold Person spell on one of the two surviving bandits, then clean up.
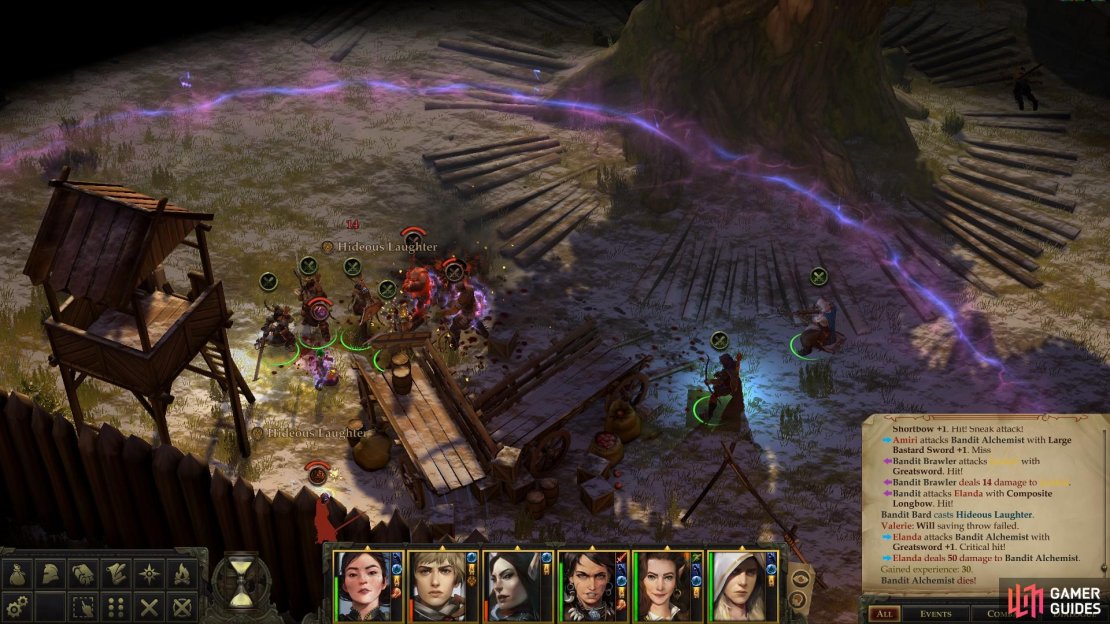

(1 of 3) Target the alchemist and try to take this troublesome bandit out quickly.
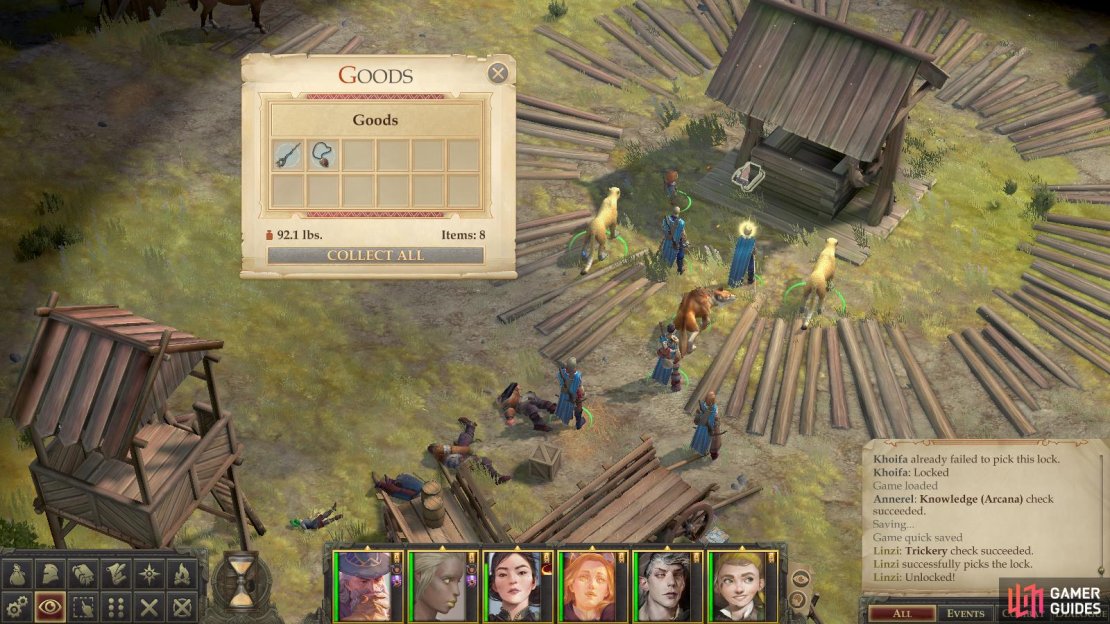
As far as loot goes, you can find a satchel [Perception 22] [Trickery 17] near the well north of these four bandits who would have come to Akiros’ aid, inside of which is a Wand of Vanish and an Amulet of Natural Armor +1. Near the wagons those aforementioned bandits gathered around you can also find a chest with a Potion of Shield of Faith.
From the bandits between the gate and Akiros, head north around the well in the center of the fort. Approach until you can see the southern-most bandit (a Half-Orc specimen whose size makes him clearly stand out) and cast a Grease, Entangle or Web spell (or two!) just north of him. This should subject the entire group of bandits to the spell’s effect, and two such spells will all but end this fight outright. After the spell(s) are cast, have your characters use ranged weapons to pick off bandits preferentially, starting with the Bandit Illusionist, then working on the Half-Orc, if for no better reason than the fact that his high HP will make him hard to stop should he be the last one remaining. The two southernmost bandits (including the Half-Orc) are inclined to melee combat, and once they’re gone, it’s a straight shoot-out.
Be wary of one thing, however: the straggler on patrol to the east. He should join the fight soon enough, and after both melee bandits and the illusionists are down, target him, as well. So long as you eliminate him when he shows up, you should be fine. Otherwise, if you forget about him and he’s the last survivor, he’s right next to the alarm, and will be unimpeded by the spell(s) the rest of his fellows are suffering through. As always, when there are two bandits left, consider using Hideous Laughter or Hold Person to neutralize one and save the held foe for last.
Alas, unlike the last group of bandits, these ones weren’t the guardians of any great treasure. Not only is their equipment paltry, but the only container they guard is a chest, wherein you’ll find a Potion of Reduce Person and a Potion of Enlarge Person.
Once these two groups of bandits are gone, you can freely interact with Akiros and pick whatever fights you wish. If you kill him, he’ll drop a Bastard Sword +1 among other, less-interesting treasure.
Find a new home for these items, then make your way back to the fort’s gate, as there are more bandits in need of a good smiting. You’ve cleared the gate and the western-most corner of the fort, now it’s time to head southeast from the gate and deal with the bandits in the southern corner of the fort. Here you’ll find another three foes, including a Bandit Brawler, a Bandit Alchemist and a Bandit armed with a sword and shield.
This time the Bandit Alchemist does you a favor by pacing from the campfire her fellows are gathered at to the wall to the southwest. Get close enough to spot her, and when she approaches the wall, rush her and cut her down quick-like. After that, you just need to deal with the two remaining bandits, a comparatively simple affair, since it’s a straight melee fight. The Bandit Brawler can dish out the damage, while the other bandit is more sturdy. Either try to spread your damage out evenly during the fight to prevent them from fleeing when isolated, or have a Hold Person ready to stop the last bandit.
(1 of 2) Wait for the Bandit Alchemist to wander away from its companions before launching an ambush.

Wait for the Bandit Alchemist to wander away from its companions before launching an ambush. (left), Kill some wolves in their pen. (right)
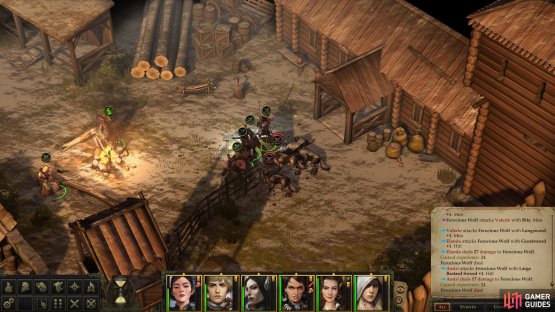
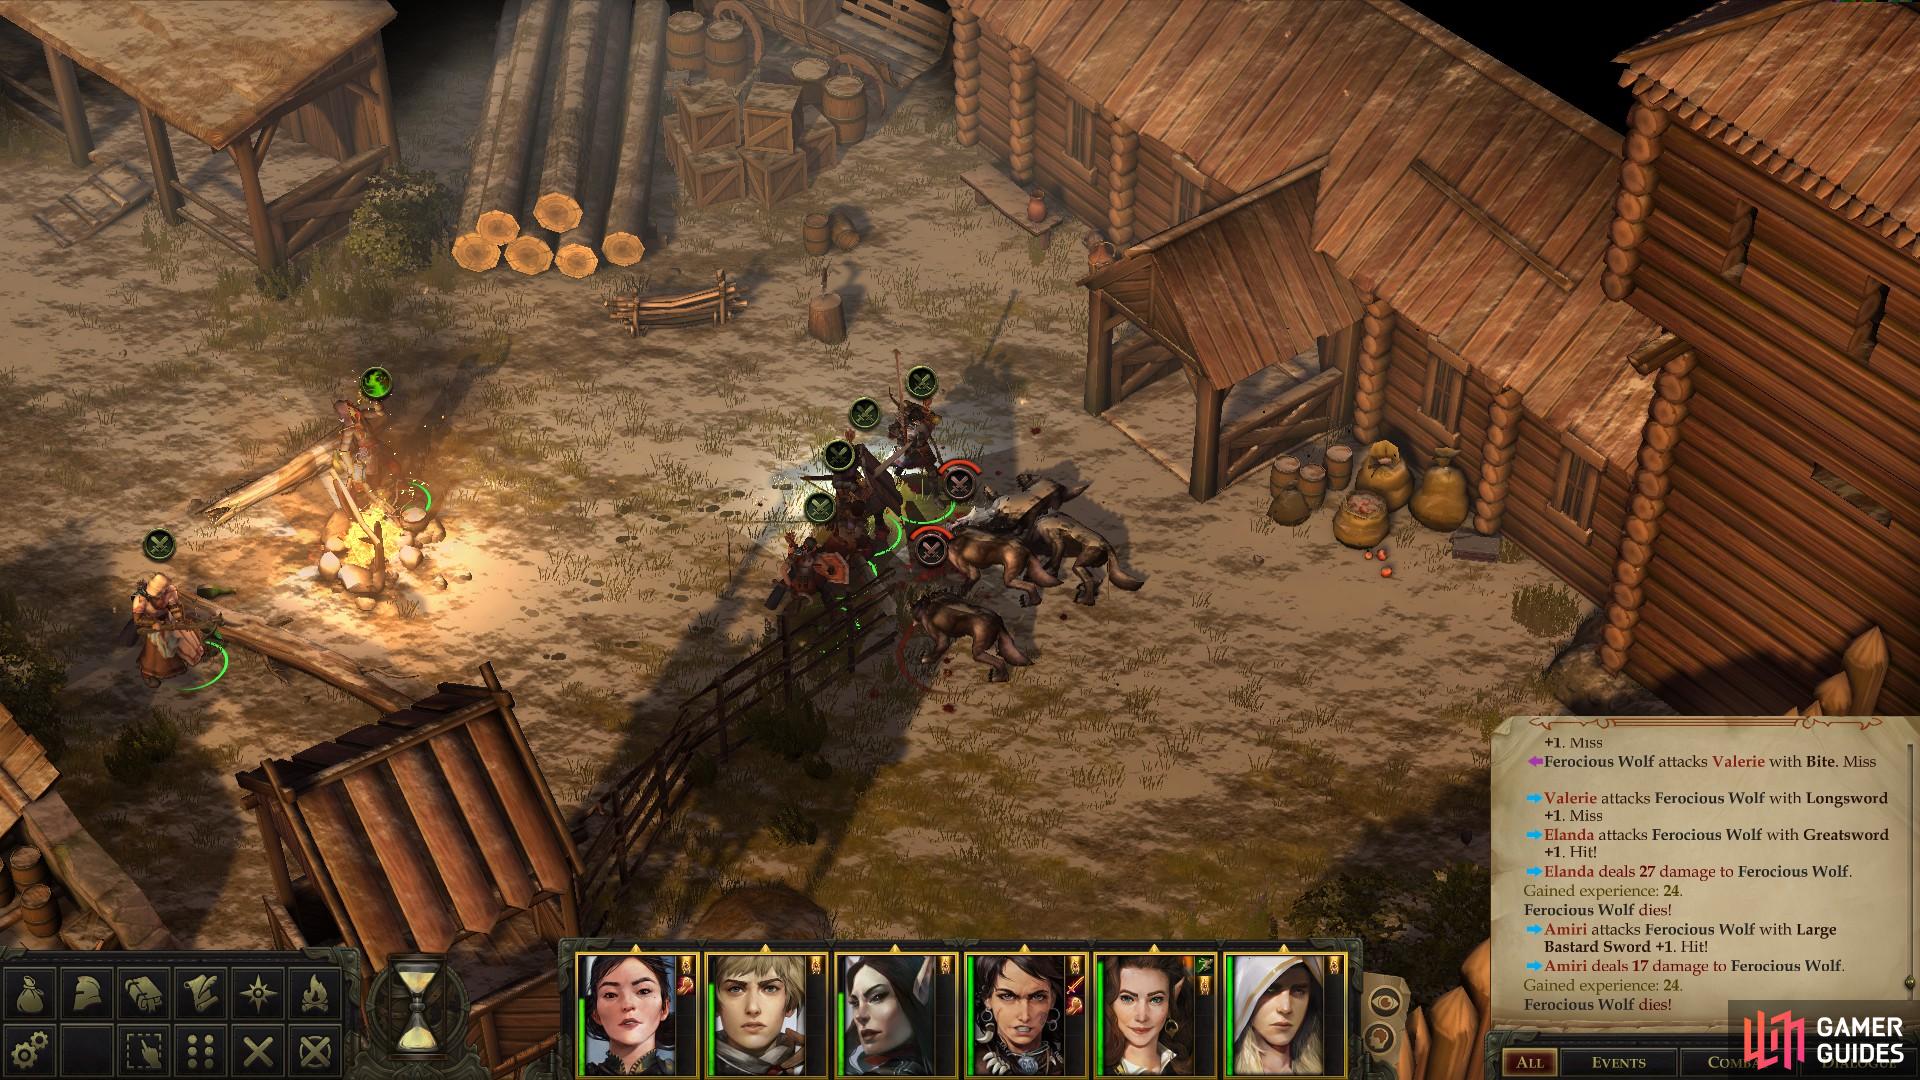
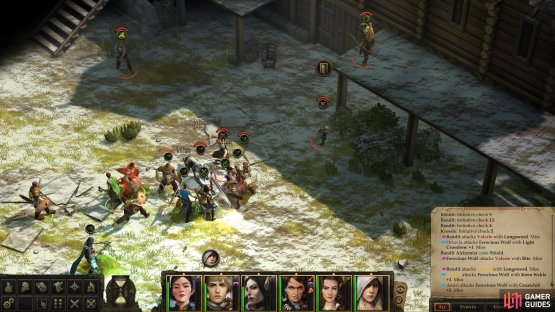
Don’t relax your guard after defeating these bandits, however, as more fighting awaits. Just east of their campfire you’ll find a pen where four Ferocious Wolves lurk. By now these are paltry foes, and you should need little instruction to deal with them.
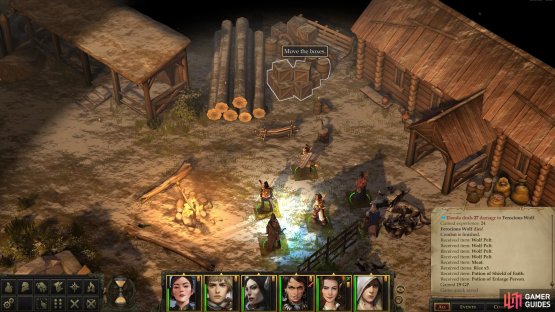
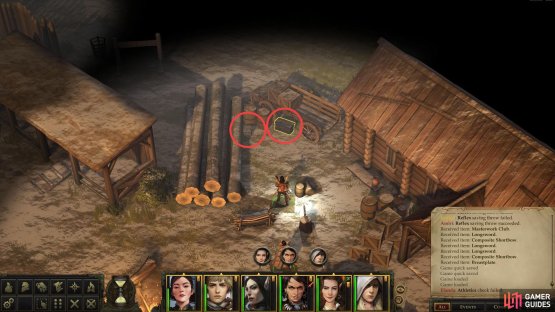
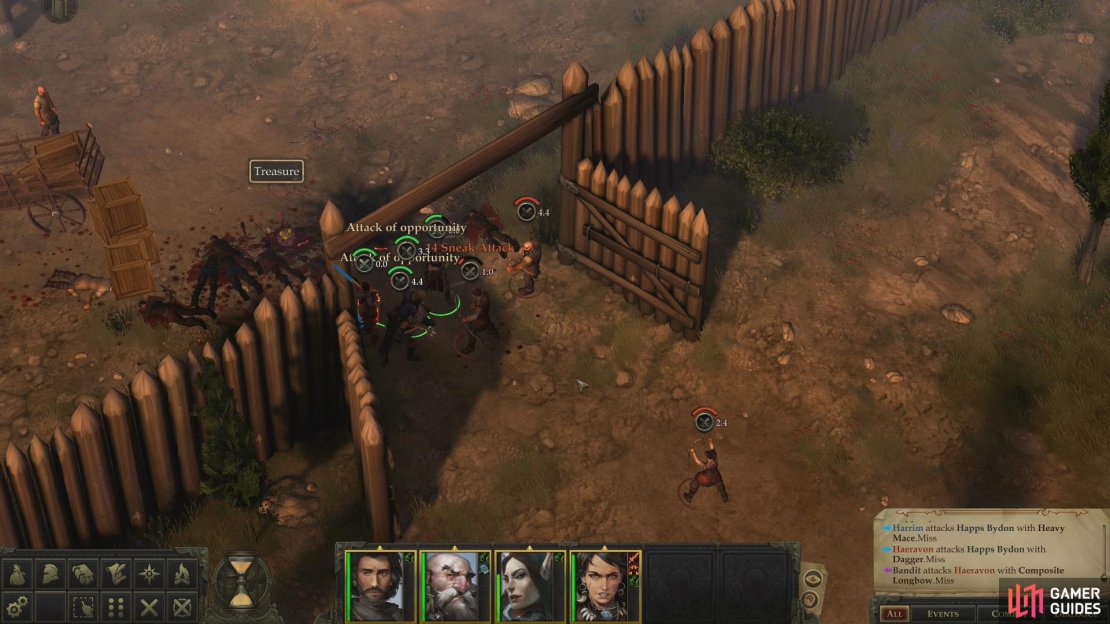
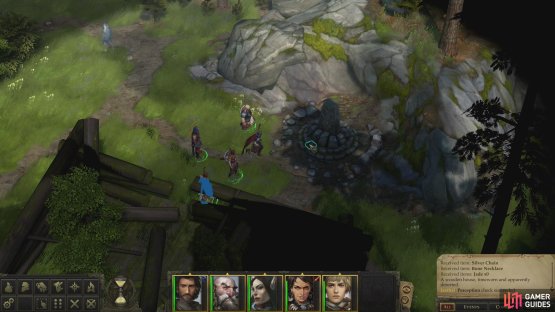
(1 of 2) Move the boxes out of the way

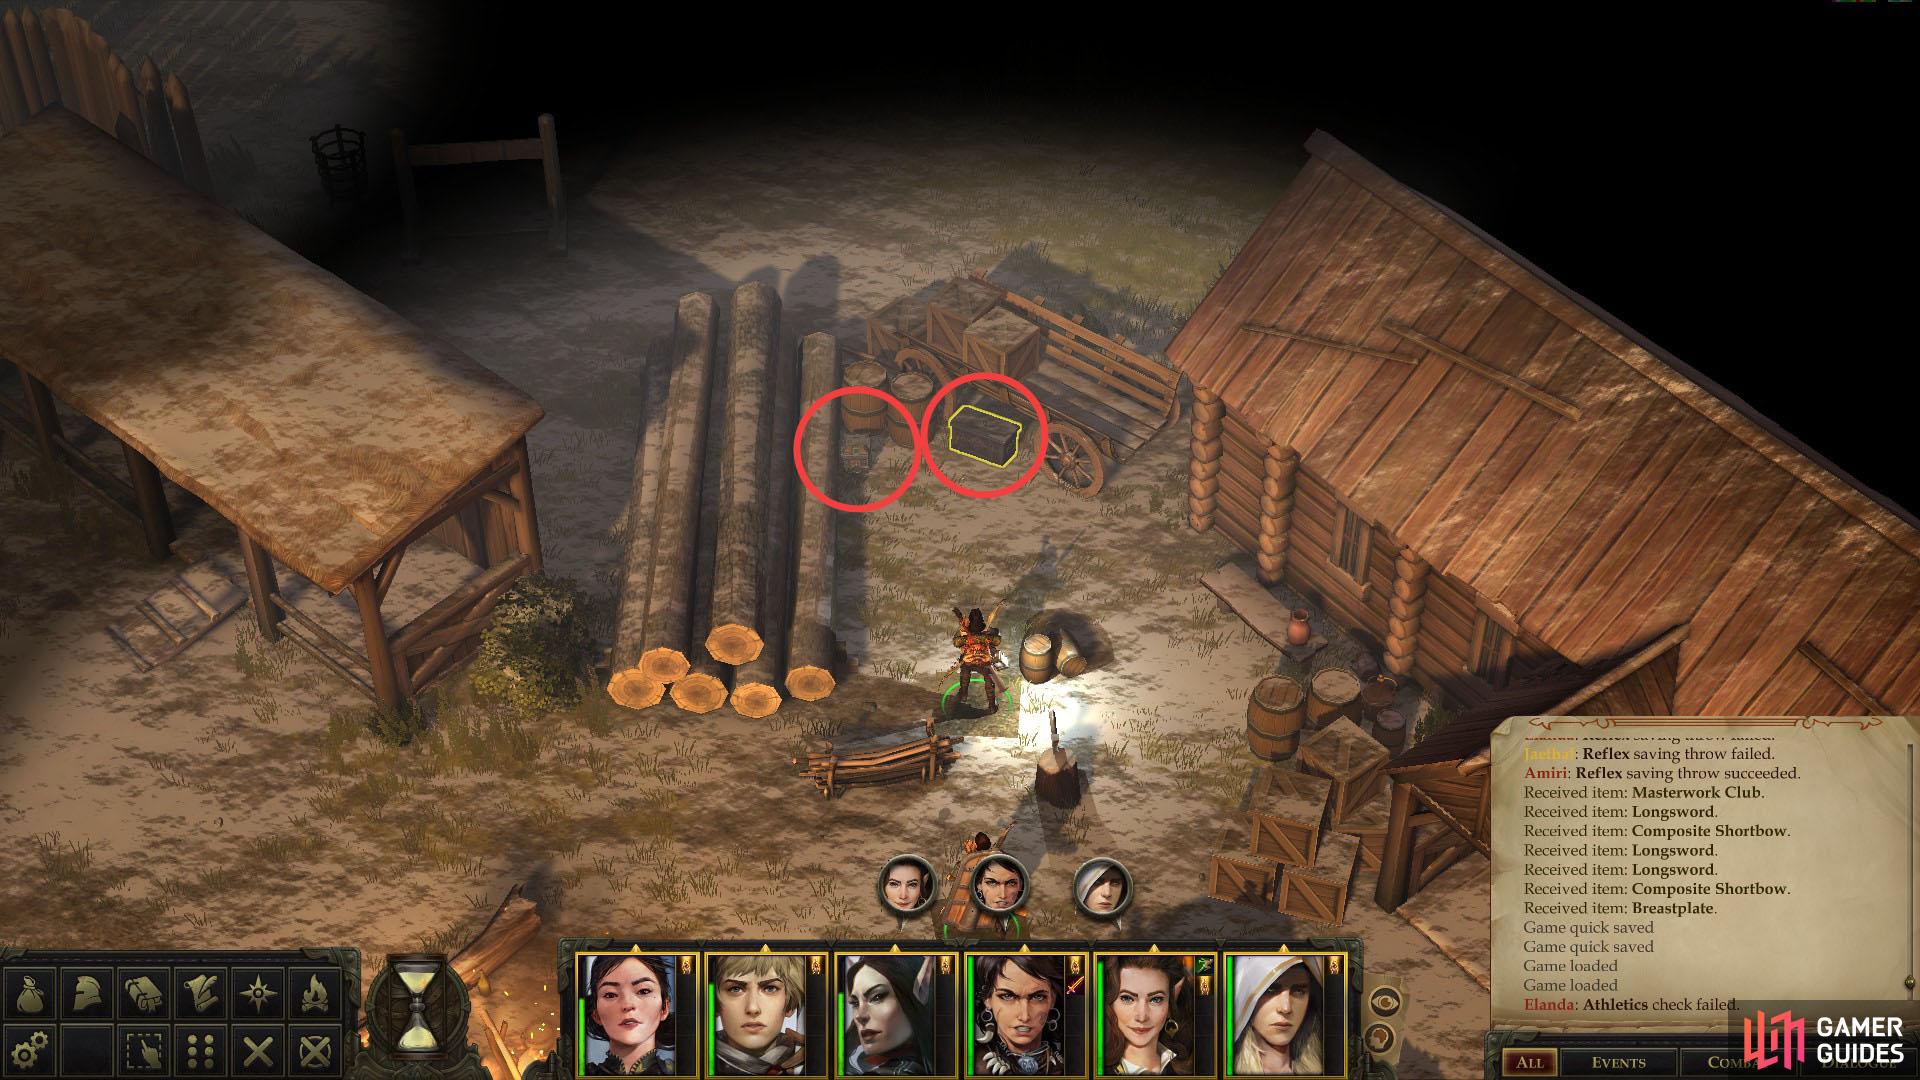
Move the boxes out of the way (left), and claim the treasure hidden behind them. (right)
Kill the wolves, then get to looting. There’s a chest (Trickery 15) near some crates south of the watchtower in the corner of the fort which contains a Potion of Shield of Faith, among other trinkets. On the eastern front of a house east of the bandit’s campfire you’ll find a chest containing a Potion of Shield of Faith and a Potion of Enlarge, while on the northwestern end of the house you’ll find some boxes you can move ([Athletics 19], otherwise the task will take four hours). Do so, but be careful, as bandits lurk both behind the house and further northwest, including a wandering archer who may spot you and start a fight. If you killed this wandering archer - whose patrol took him near the Owlbear cage - when you eradicated the bandits in the shadow of the fort’s well, you won’t need to worry about this nuisance.
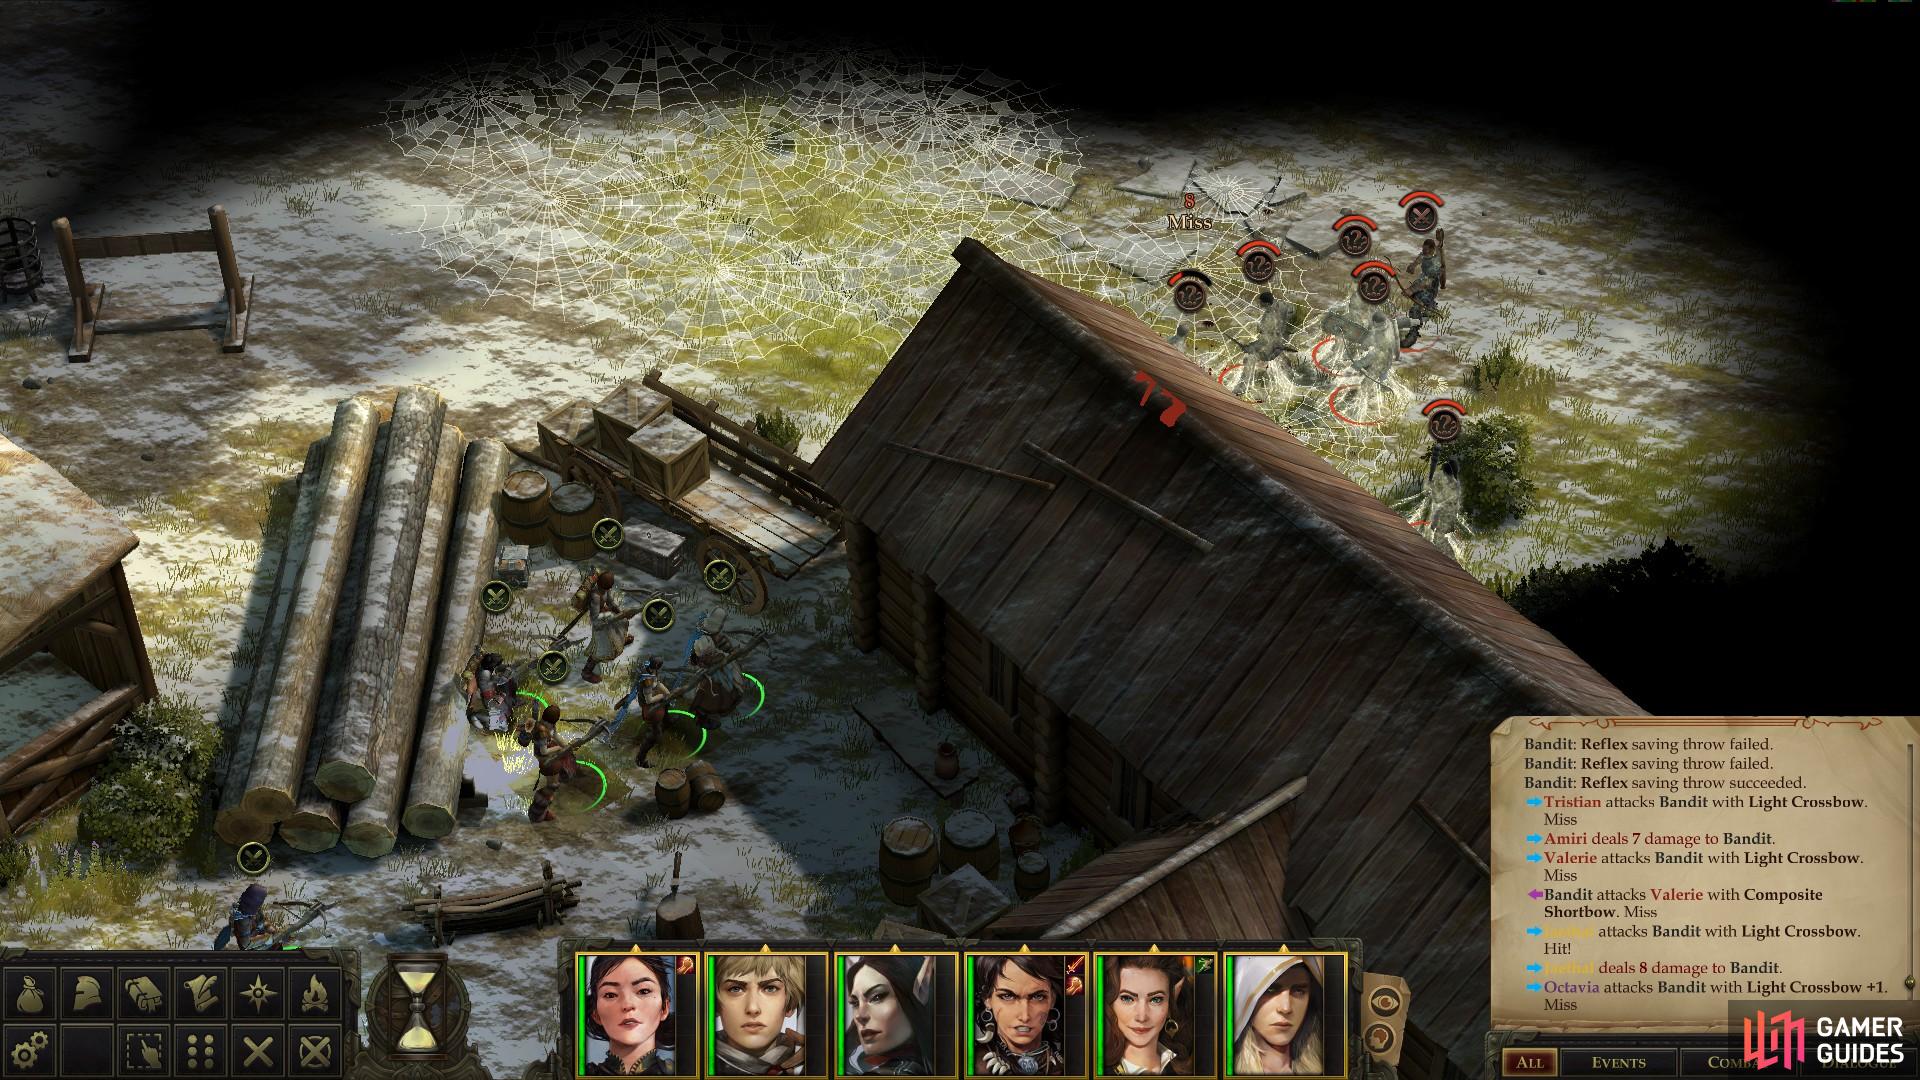
This can prove to be an opportunity more than a hindrance, however, depending on your luck and strategy. Cast a Web spell (or two!) north of the wagon that forms a barrier between you and the bandits, then equip all your characters with ranged weapons and start shooting the bandits behind the house, as there are two in sight who are easy targets. Don’t give them your undivided attention, however, as there’s a Bandit Priestess back there, too, who will make her presence known shortly by casting Bless. Her following spells aren’t as nice, and include Hold Person, so target her immediately and shoot her down, then focus on the bow-armed Bandits who will undoubtedly return fire and who can score Sneak Attacks with their bows.
At this point it should be your six characters shooting at two bandits, as the melee-inclined bandits (of which there are several) will either get stuck in the Web trying to get around the many objects between you and them, or they’ll take so long to get to you that you’ll have ample time to prepare a character to meet them. The only concern now is the potential for you losing track of a bandit, killing all his fellow bandits, and being unprepared to stop him as he runs for the alarm.

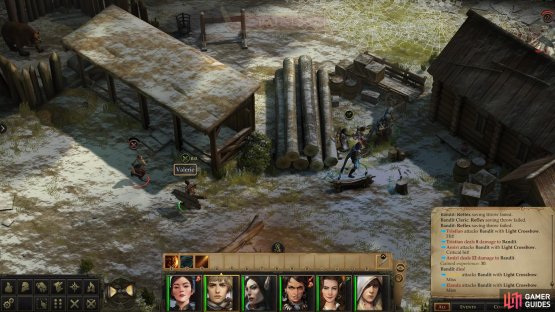
(1 of 2) Carpet the area to the north with Web spells to hinder the bandits there.

Carpet the area to the north with Web spells to hinder the bandits there. (left), Be prepared to intercept any ambitious bandits that make it through the Webs. (right)
Be aware of this potential and seek to eliminate it through vigilance - kill the Priestess and the archers to ensure that the only bandits left will be either stuck in the Web spell(s), moving to engage your party, or actively attacking in melee. Always focus on any bandits not stuck in the Web spell(s), and when there are two left, consider using Hold Person to neutralize one of the two, as extra insurance that they’re not going anywhere.
While doing this, be sure not to have any characters too far to the northeast (in the wedge formed by the logs and the wagon), as if you provoke the wandering archer, he’ll bring in his five friends. They’re somewhat less suitable for this strategy, as all but two of them will employ ranged attacks of their own, and many are too far out to be reliably stopped by a Web spell.
If you wish to avoid provoking this second group of bandits to the northwest, just make sure their archer isn’t wandering nearby, and use the time when he’s away to loot the chests. You can also do this to avoid any confrontation here, if you wish to deal with the group of bandits behind the house in a different fashion. The large chest contains a Glaive +1, while the small chest (Trickery 21) holds a Cloak of Resistance +1.
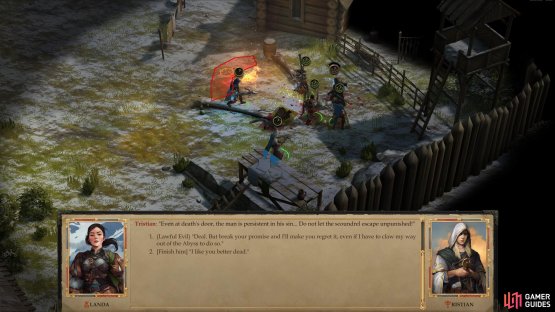
Now that most of the bandits here - all but the personal attendants of the Stag Lord - make your way back to the alarm bell. This device is just east of the bandits who camped north of the well, and unfortunately you can’t disable it. You can, however, deal with the Stag Lord’s pet Owlbear, which is penned up just south of the alarm bell (southwest of the aforementioned camp, northeast of the aforementioned well).
This large, dangerous aberration would have been all too eager to attack your flank should you have neglected it in favor of confronting the Stag Lord. Having fought your way through the camp, however, you have a variety of ways to deal with this beast.
Interact with the gate to bring up a dialogue box, where you can choose to make a [Lore (Nature) 18] check to calm the Owlbear down and convince it you’re not a bad guy, after which you can free the Owlbear (a [Chaotic Good] action) and let it wander its way to freedom. Not a bad idea for kind-hearted do-gooders who perhaps lack a bit of foresight.
You can also simply perform a [Chaotic Good] action and free the Owlbear, but if you don’t pacify it first, it’ll attack you. While dreadfully strong (it boasts around a +20 Attack bonus and will likely deal no less than twenty damage per hit), if you are fully healed, protected by defensive spells, engage with your tank, and have a bit of luck on your side, you should be able to cut it down. Your only reward for doing so, however, is some experience and a Bear Pelt. A hard sale, honestly.
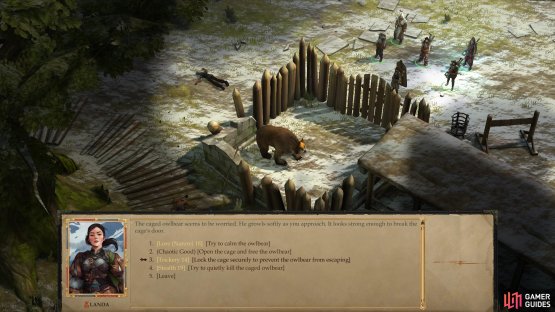

(1 of 2) Interact with the owlbear pen to get a variety of options for disposing of the beast.

Interact with the owlbear pen to get a variety of options for disposing of the beast. (left), Including the inelegant solution of just putting the beast down. (right)
A safer, more neutral option is to pass a [Trickery 14] check to simply seal the Owlbear in its cage. No animal cruelty, but also you won’t be letting this Owlbear wander around the countryside, or worse, attack you as you fight the Stag Lord.
Finally, you can try to put the beast down by passing a [Stealth 19] check. A caged animal isn’t hard to kill, but failing the check will result in you doing so somewhat less than quietly, effectively alerting the Stag Lord and whatever surviving bandits he has left, which may not be much of a downside, depending on how many you’ve slain thus far.
From the Owlbear pen, head east to get behind a house along the fort’s southeastern wall. You should have killed the bandits in front of the house earlier, and possibly the ones behind it, as well. If not, the tactics for cleanly doing so from this direction are similar to the tactics employed against the bandits camped in the shadow of the fort’s well or for dealing with this same group of bandits while behind the house to the south, for that matter.
Creep forward to spot the northwestern-most bandits, cast a Web spell (or two!) just southeast of them, and shoot down webbed bandits starting with the Bandit Priestess followed by any melee foes. When you’re down to two targets, paralyze one with Hold Person and finish them off. Once the bloodshed has ceased, loot the Bandit Priestess for a Masterwork Club.
Mighty fine progress! With this much of the fort clear, there’s a good chance you can confront the Stag Lord directly and hope to win. Still, there’s more you can do to shift the odds further in your favor. Two of the Stag Lord’s top goons can be found nearby, northeast of the house the last bandit group (with the Bandit Priestess) hid behind. Here you’ll find Dovan from Nisroch and Auchs, who were mentioned much earlier, then scarcely brought up again.
They’re relatively strong opponents, but not so overwhelmingly strong that you should feel compelled to make use of debilitating spells like Hold Person or Web. Buffs like Mage Armor, Shield, Bless, Blur, Shield of Faith and in Jaethal’s case, Divine Favor and Judgment should suffice. Auchs fights with a Greatclub, making him a somewhat heavy-hitting opponent, albeit one who has a laughably poor Armor Class (a weakness he’ll partially offset by chugging a Potion of Barkskin) and nowhere near enough HP to compensate.
Dovan is more well-protected, and will play to his strengths by drinking a Potion of Invisibility and a Potion of Haste, and while this is enough to allow him to store a telling first strike (via sneak attack), it’s not enough to make him challenging. The only thing you need to watch out for with Dovan is allowing him any opportunity to make repeated Sneak Attacks, flanking with Auchs being the primary concern.
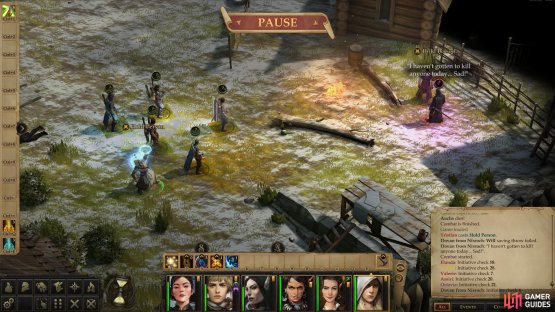
(1 of 2) Dovan’s weak Will Save makes him vulnerable to Hold Person


Dovan’s weak Will Save makes him vulnerable to Hold Person (left), after which you can promptly smite him before he gets up to any trouble. (right)
If you can eliminate Auchs, Dovan won’t be as much of a threat, but there are other tactics you can employ and other things to keep in mind. First, there’s a trap [Perception 16] just west of Auchs and Dovan which you can easily avoid during the fight, then disarm [Trickery 19] it later. Second, while Dovan is the clear threat and wily with his potion use, he’s got a fatal weakness: a joke of a Will Save. You can start this fight out in style by hitting Dovan with a Hold Person spell, after which it should be trivial to rush him and cut him down. This stops him from using his potions (although you won’t get to loot them) and from performing sneak attacks and otherwise making a nuisance of himself.
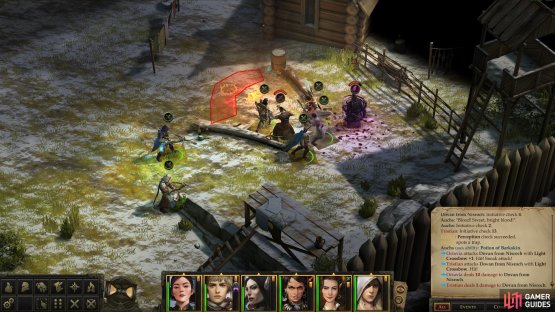
(1 of 2) When bested in combat, Dovan will have the good sense to surrender.


When bested in combat, Dovan will have the good sense to surrender. (left), Surprisingly, he’s honest about his stash. (right)
After defeating Dovan (whether or not Auchs is defeated yet) he’ll do what any sensible villain in his position would do: he’ll try to strike a bargain to save his sorry hide. This might seem like a classical good party vs evil party decision, but well, you may want to let the actual loot involved be your guide.
If you spare Dovan (a [Lawful Evil] act) you’ll indeed find his stash in the ditch to the left (northwest) of the gate. This stash contains a Diamond (sells for 1,250 GP) and an Amulet of Natural Armor +1. On the other hand, if you kill him you can loot his Agile Rapier +1, Chainmail +1 and Potion of Cat’s Grace. While the magical Chainmail is nice, and you probably have no shortage of characters who can use it, the Amulet of Natural Armor is more versatile but you’ll get more of them to the point where you’ll likely be replacing it before long, anyway.
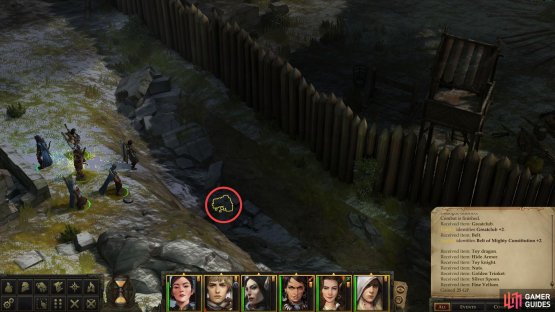
In either event, you can loot Auchs for his Greatclub +2 and Belt of Mighty Constitution +2. This club is a potential upgrade for Amiri, although it’s not an uncontested upgrade; it should raise her Attack bonus by +3, but lower her damage per hit by a good bit, as well. It really depends on what you want out of Amiri; if you’ve spent feats bolstering her bastard sword, you might as well stick with it, otherwise feel free to equip this weapon and make use of it. This doesn’t necessarily mean you should shift focus, feat-wise, especially since there’s plenty of great two-handed weapons out there you might want to alternate between as the situation demands. The Belt of Mighty Constitution +2 should go on a front-liner, either on a character whose Hit Points are somewhat suspect (Jaethal) or a tank that’s expected to soak extra damage (Valerie). Don’t worry too much about it, though - it’s only four HP at this point.
Deal with Auchs and Dovan however you deem suitable, then make a [Perception 16] check to spot a satchel you can loot behind a ladder south of the campfire Auchs and Dovan were at. North of the same campfire you can find a barrel, while further north, near a building, you’ll find a pack with a Scorched Fragment of a Necklace in it.
With that, you’re done clearing out the fort, save for the Stag Lord. It’s about time you introduced yourself perhaps after a spot of rest to make sure you’re in top form.
If you’ve completed everything listed above in the walkthrough, you should have a fine shot at defeating the Stag Lord. There’s no guarantee, however, as the Stag Lord still has minions to guard him, and he’s no slouch in combat, himself. When you approach the estate at the northern end of the fort enough to provoke one of his guards, the Stag Lord will be called for, and he’ll answer the call.
After the cutscene he’ll move himself to a platform southeast of the estate’s door, from which he’ll merrily shoot at anybody within sight. He’s a deadly archer, with a high Attack Bonus and a healthy supply of HP, but the worst bit about this fight is how troublesome it can be to get your characters to move onto that balcony. You’re basically limited to attacking the Stag Lord and hoping for the best, as far as pathfinding goes. Against an unprepared party lacking buffs, who get caught up in the Stag Lord’s minions, and who have trouble focusing on the Stag Lord due to the platform he’s on, he’s quite capable of wiping the entire party. And no, he won’t provoke Attacks of Opportunity if you close on him.
On top of the Stag Lord himself he’s joined by a Bandit Priestess (on the opposite balcony) and a bunch of lesser bandits who either will engage in melee or with ranged weapons. They’re nothing you haven’t dealt with many times over by now, but with a foe like the Stag Lord taking advantage of every delay and distraction, they can be troublesome enough. Fortunately, there’s a simple way to deal with most of the Stag Lord’s minions: the Stag Lord is loath to leave his platform, so you can simply provoke some bandits, retreat, then cut them down out of the Stag Lord’s sight.

(1 of 2) Rout the bandits on the ground
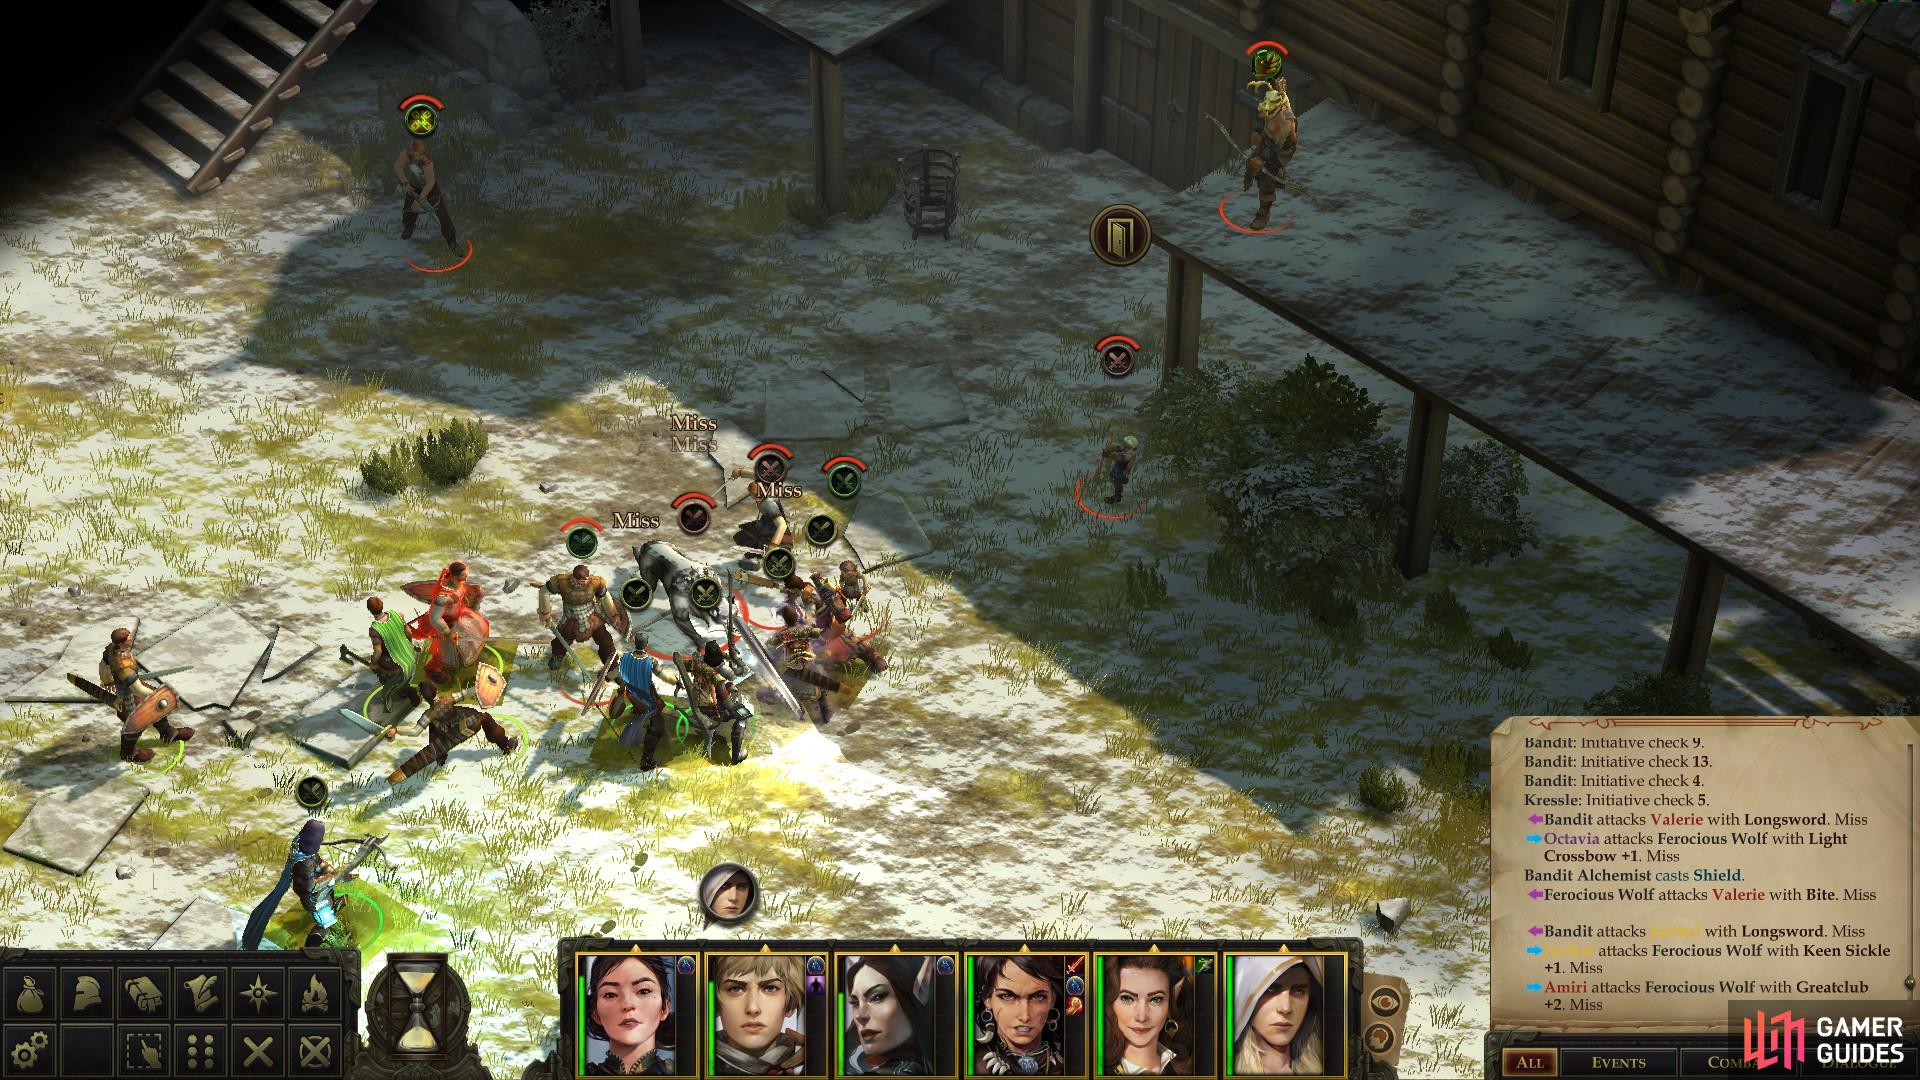
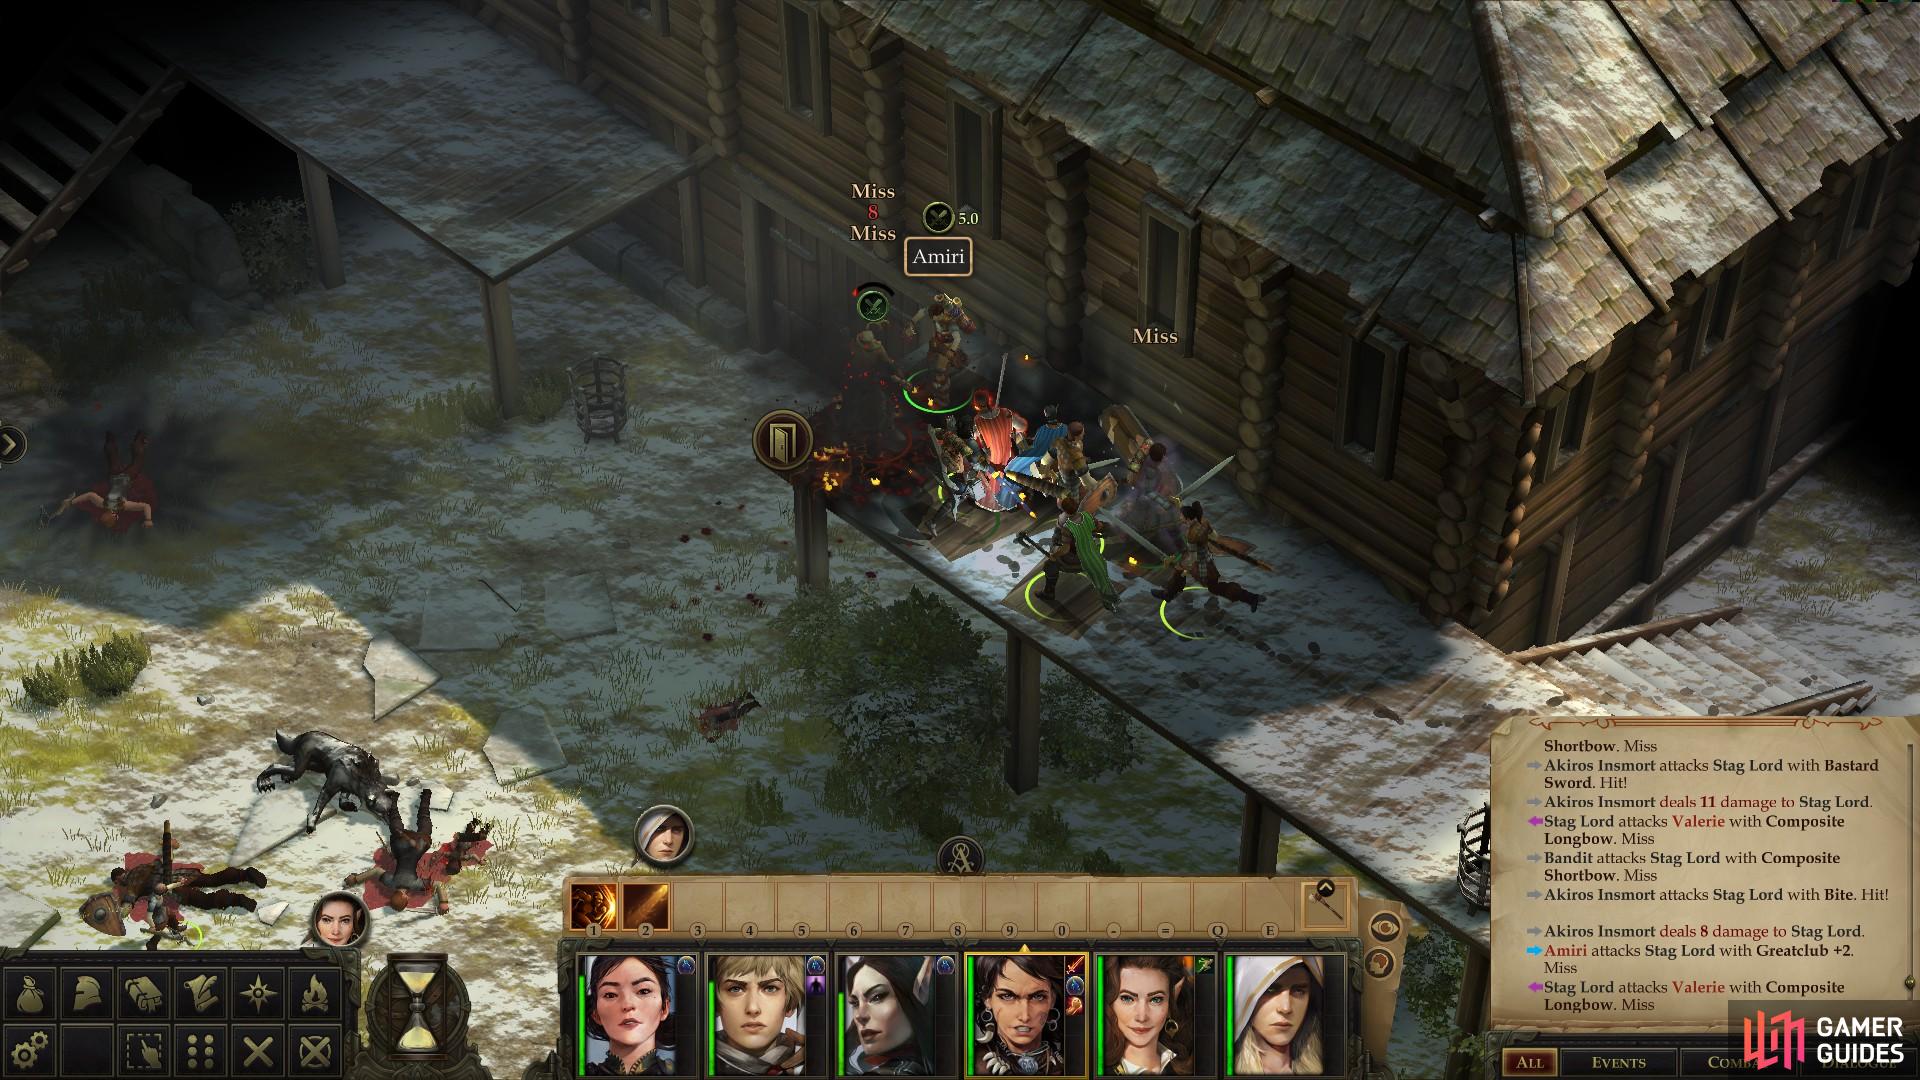
Rout the bandits on the ground (left), then ascend to the Stag Lord’s platform and kill him. (right)
Another possible solution - depending on your previous actions - is to simply let Kressle and/or Akiros help in the fight. They should appear after the fighting starts once the Stag Lord is summoned, in which case they’ll occupy the Stag Lord’s minions, allowing you to circle around to his platform and attack with your entire party.
Of course, buffing up before you engage, hitting the Stag Lord with a debilitating spell like Tasha’s Hideous Laughter or Hold Person to buy yourself some time to mop up his minions also works well.
Suffice to say, you’re spoiled for options.
Vanquish the Stag Lord and you’ll get a series of moral choices ([Chaotic Good], [Lawful Neutral], [Lawful Evil] or [Chaotic Evil]). Choose whichever one you find most fitting, as the result is the same either way. Some odd magic going on there, and who is this “her” he’s talking about? Mysteries to be solved another time. After defeating the Stag Lord, vanquish all his minions, and when the fight ends you’ll be able to get to looting.
Most of the lesser bandits have little of interest, but the Stag Lord, fittingly, is a treasure trove. Search his body to claim his Savage Bow, Woodlan’s Aegis, Stag Helmet, Boots of Elvenkind, Lesser Bracers of Archery, Cloak of Winter Veil and The Stag Lord’s Broken Charm.
The Savage Bow is a Composite Longbow +1 that has the “Aspect of the Falcon” ability which, when used, gives you a +1 competence bonus on ranged Attack rolls and an expanded critical hit multiplier. If your protagonist is an archer, you just scored big, but anybody with a high Strength score can benefit from that Savage Bow and it’s not like you haven’t been switching to and from melee weapons regularly by now, anyway.
Woodland’s Aegis is +2 Studded Leather armor that allows the user to cast Barkskin once per day, which further grants the wearer a Natural bonus to Armor Class. Except for your protagonist, the Woodland’s Aegis will go well on any character who can wear light (but not medium) armor. Anybody who can wear medium armor likely already has a suit of armor that gives a +7 Armor bonus to Armor Class. Regongar will make fine use of it.
The Stag Helmet gives its wearer a +1 Attack bonus against flanked and flat-footed foes. The Stag Helmet will ideally find its way on a character who can regularly perform Sneak Attacks, although if you bestow Precise Strike on your warriors, it’ll do well anywhere.
The Boots of Elvenkind give their wearer a +5 bonus to Mobility checks. Any character who may make Mobility checks frequently - whether it’s a ranged character who may need to retreat from enemy attackers, or a warrior who might want to charge through foes to reach their vulnerable allies - will put the Boots of Elvenkind to good use. Failing that, put them on your character with the highest Mobility score to make future Mobility checks that much easier to pass.
Lesser Bracers of Archery will bestow a +1 competence bo

 Sign up
No Comments