


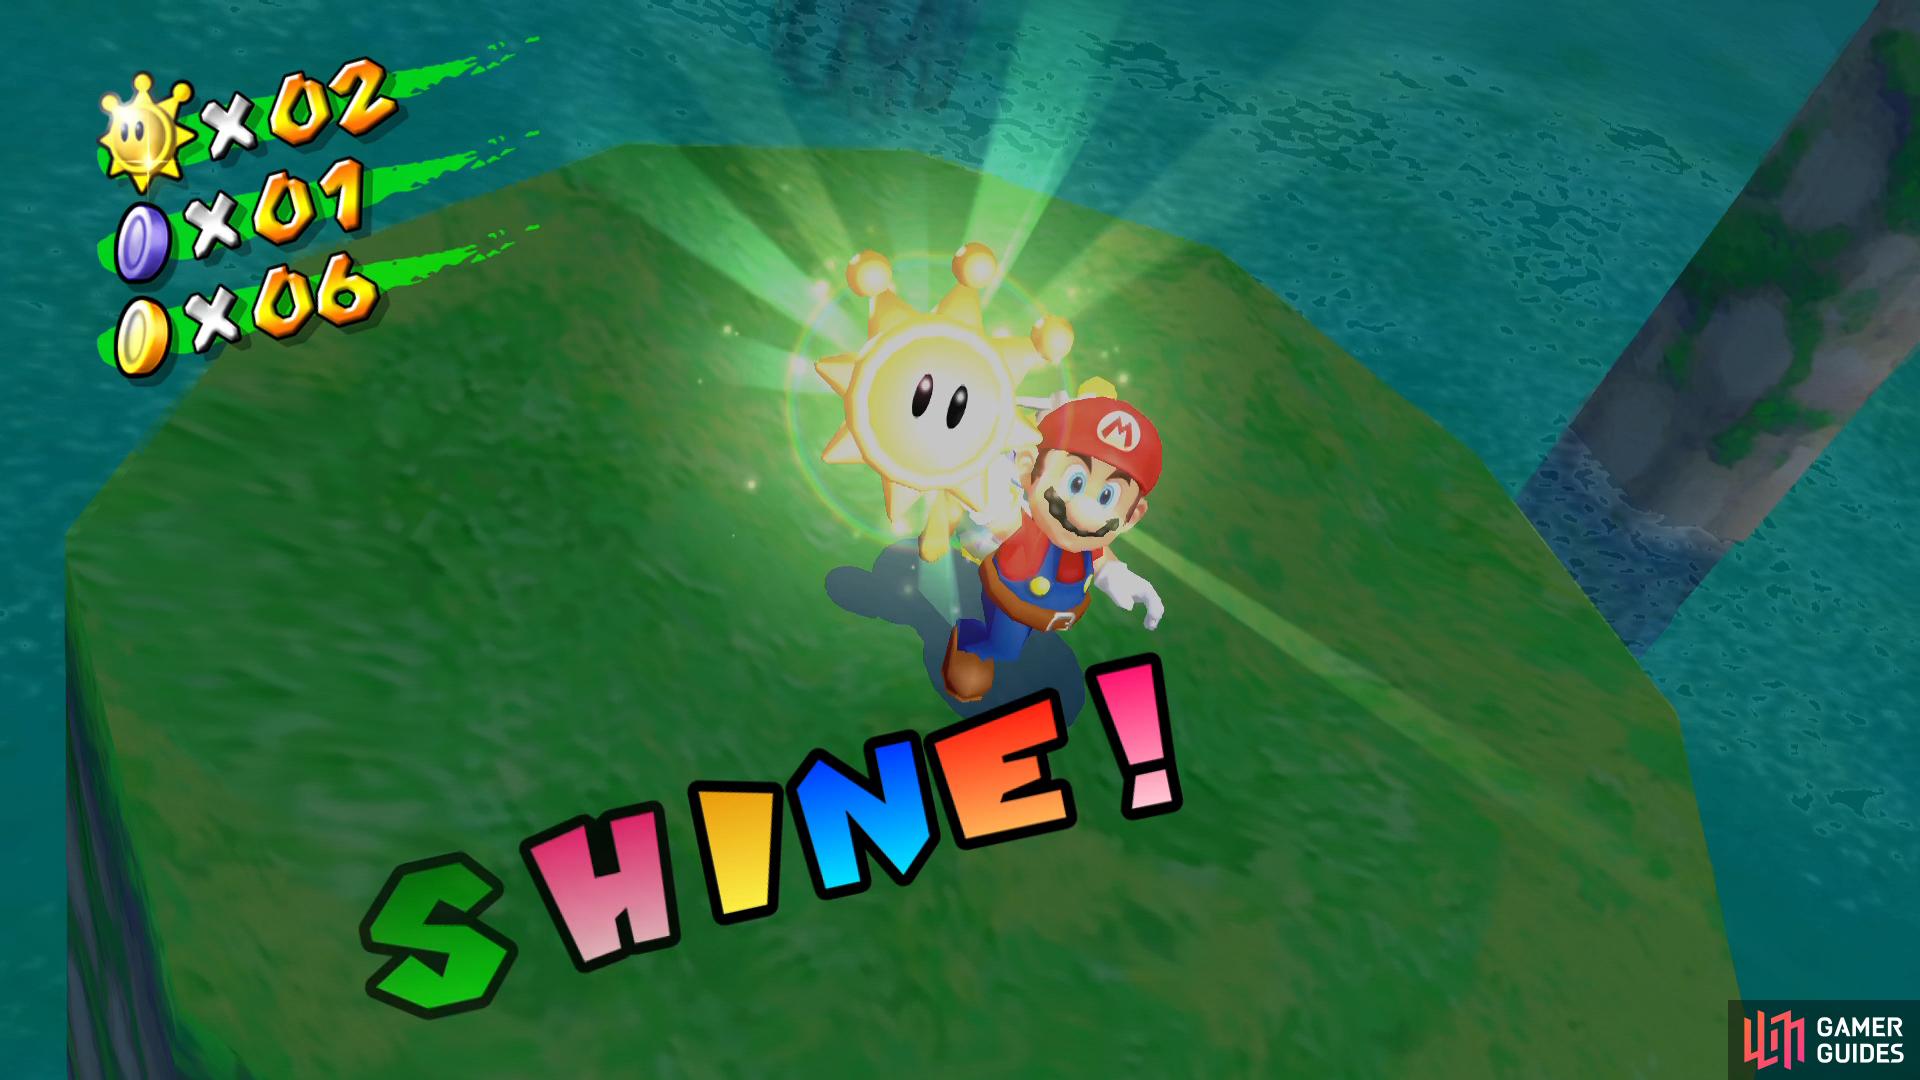
Description
This page offers a guide on all of the Shines that you can find scattered in the hub area of Delfino Plaza.
Shine #1
| Availability | Location |
|---|---|
| First Visit | On the beach |
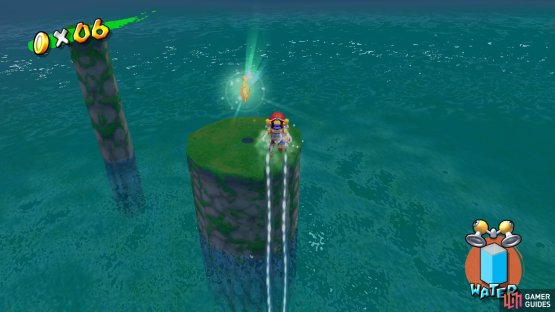
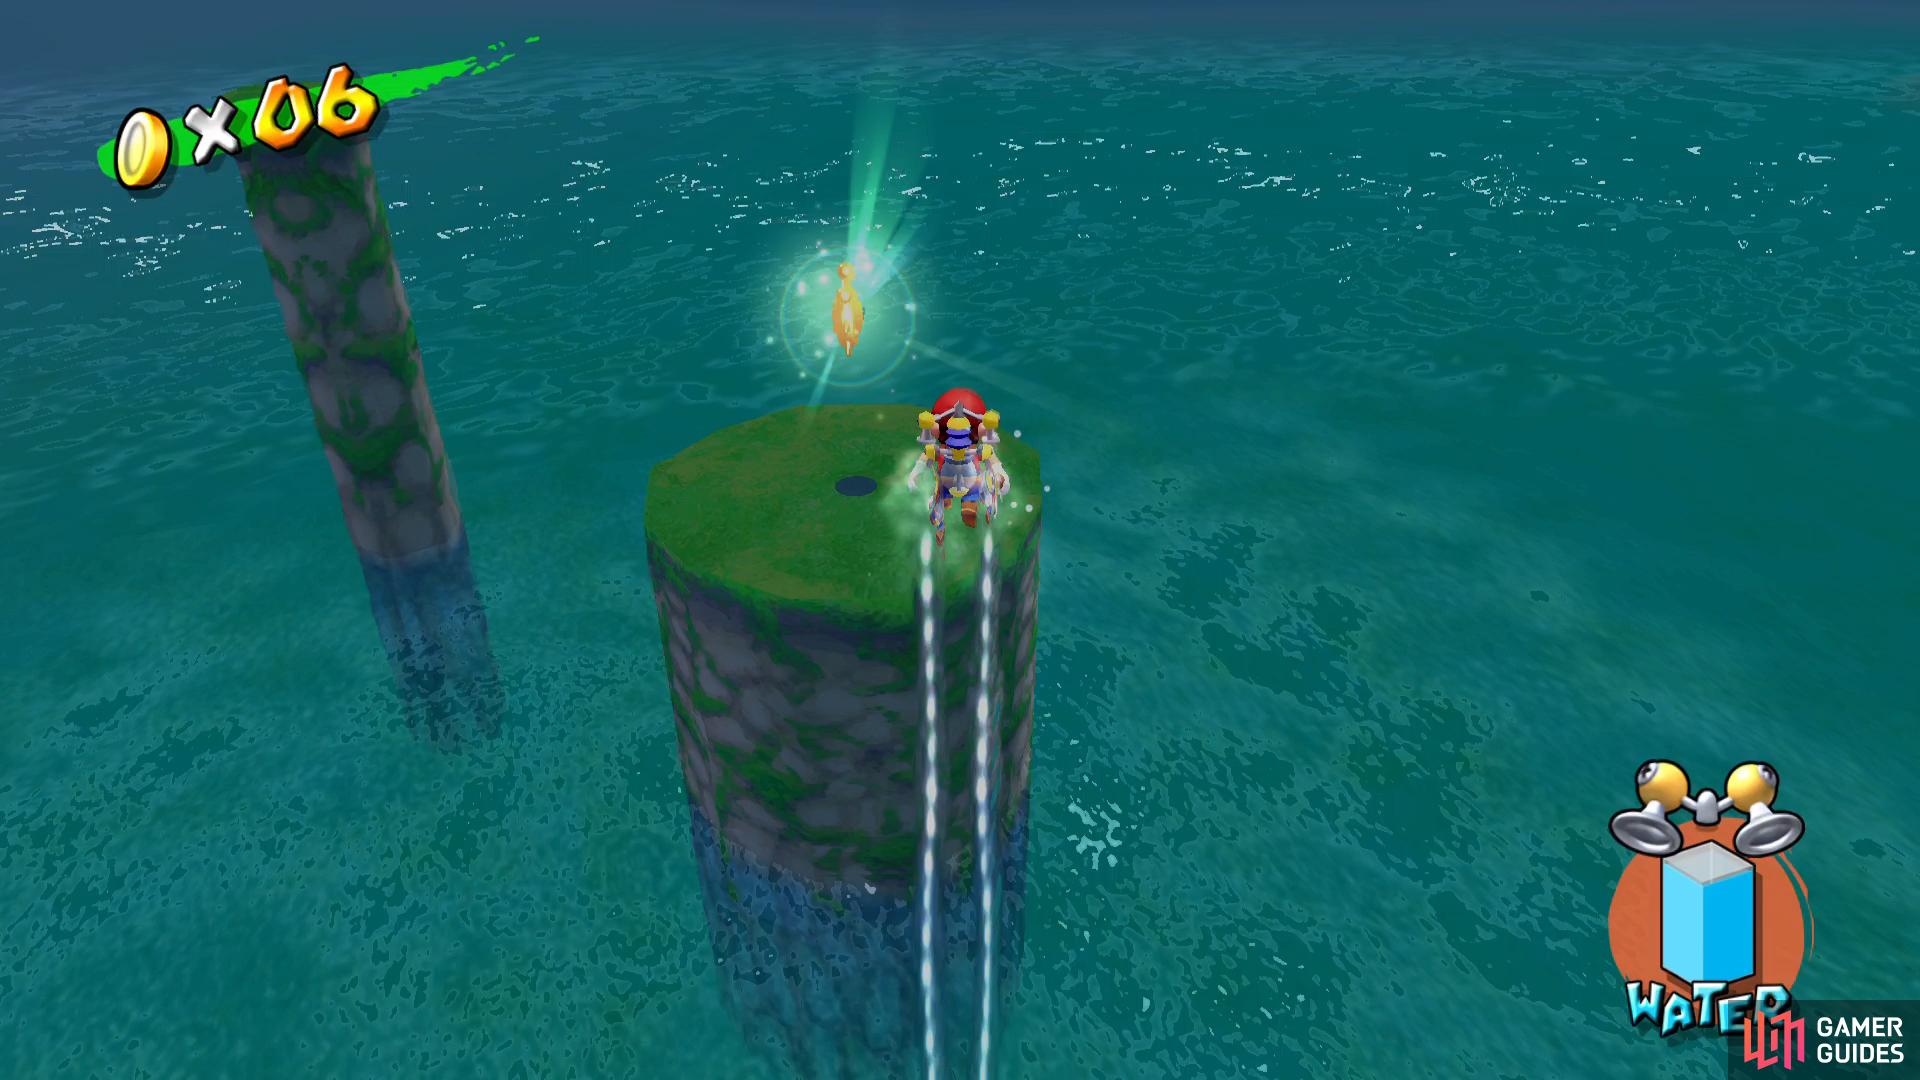
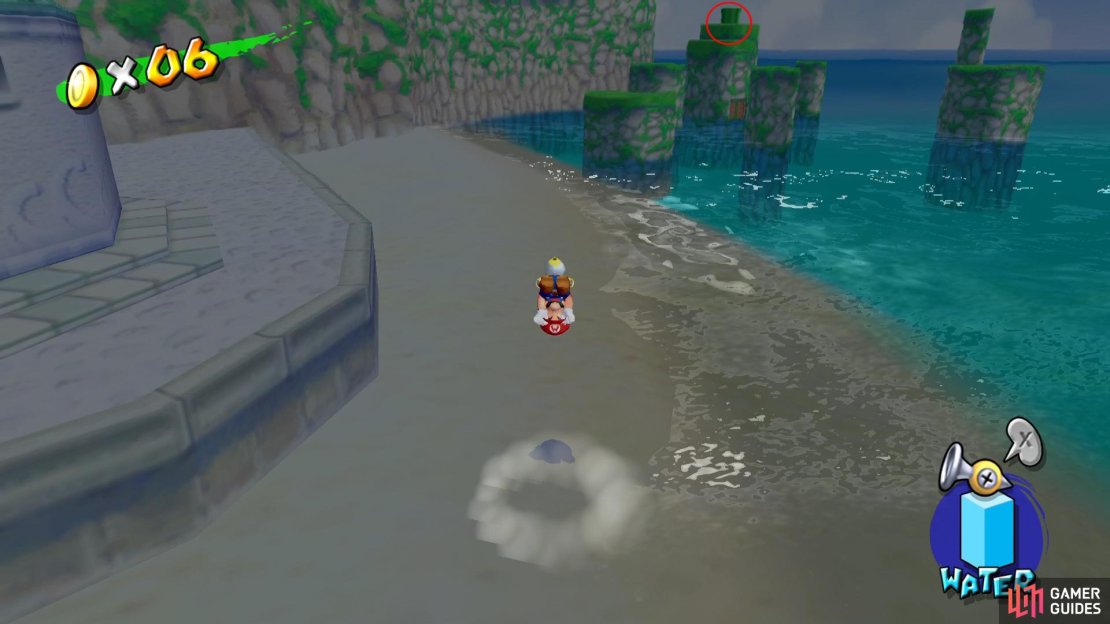
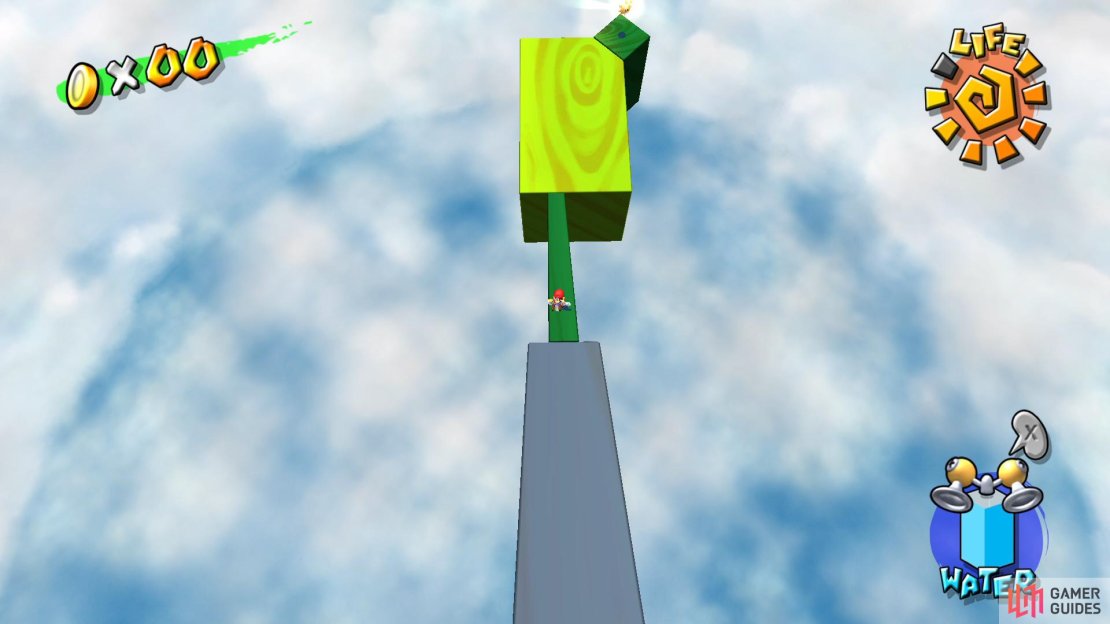
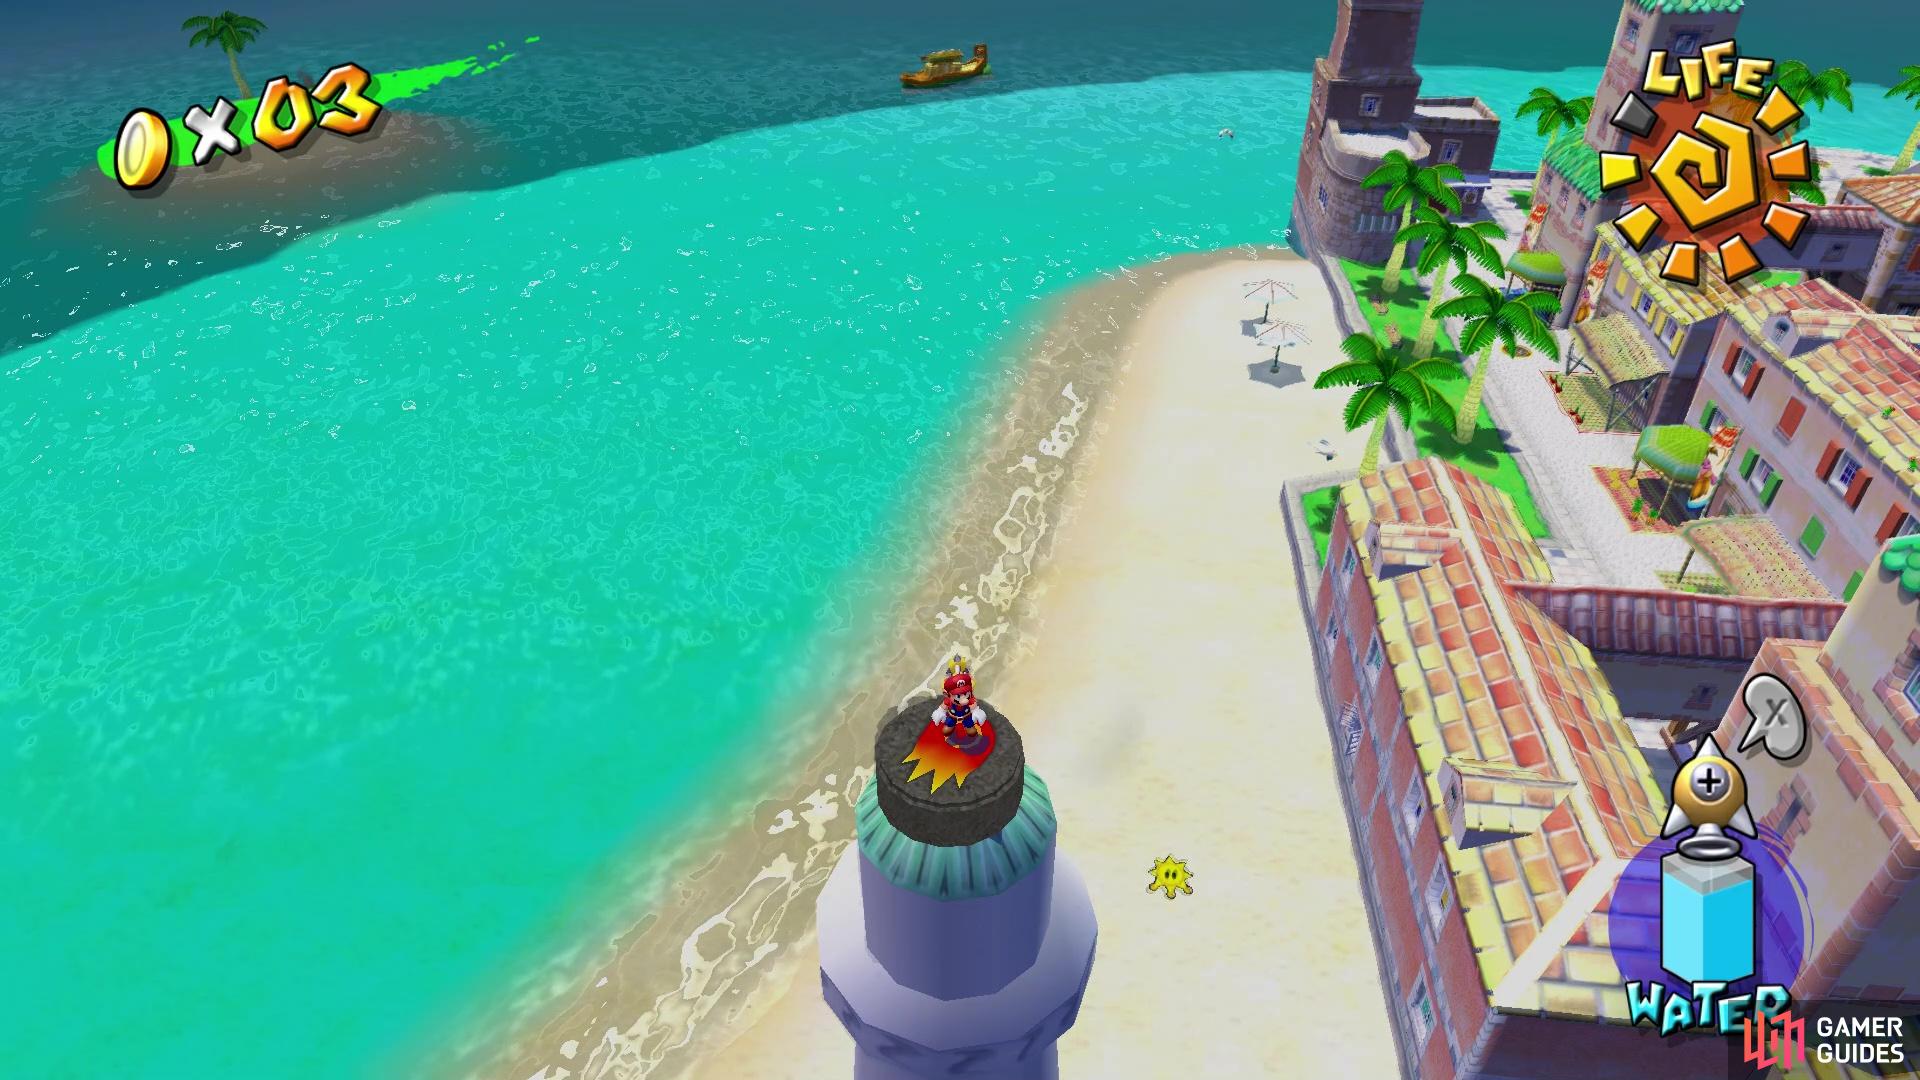
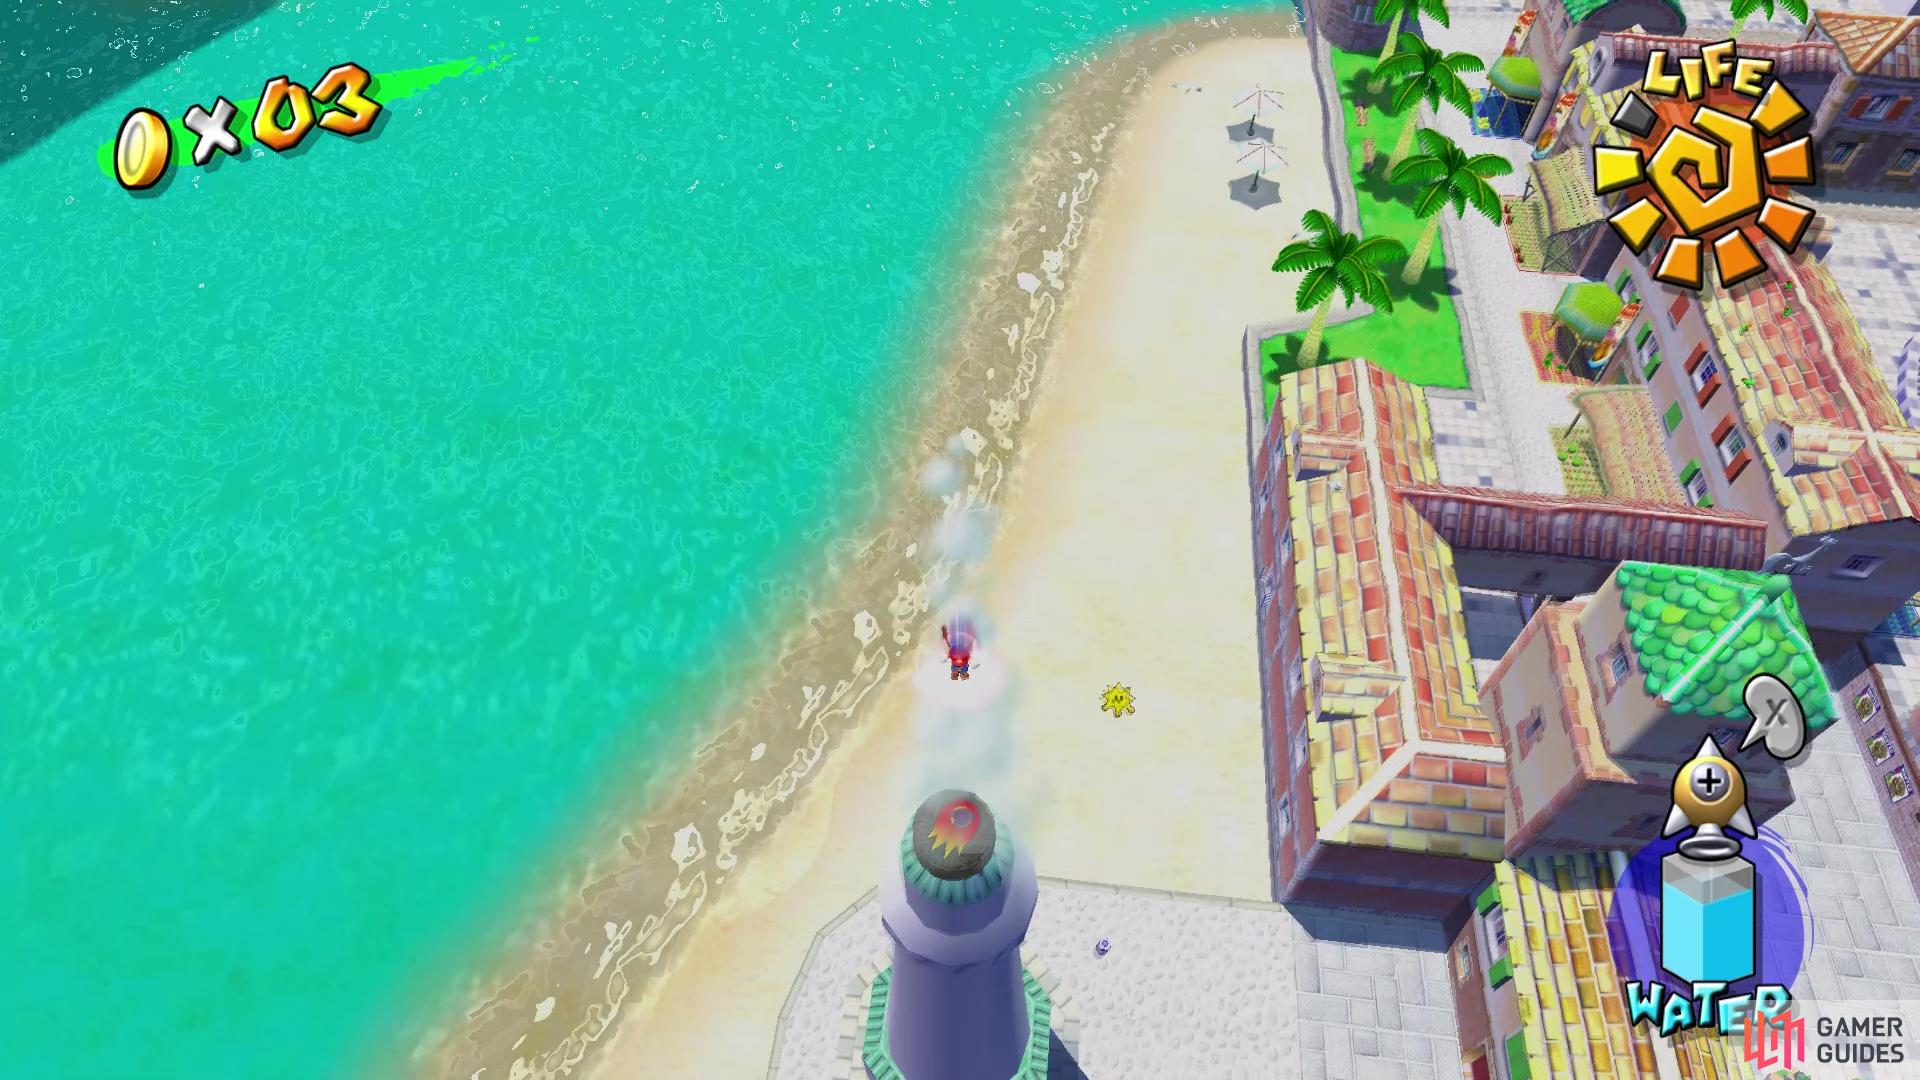
From the very first moment you step into Delfino Plaza, you can score this Shine very easily. Make your way to the northeast of Delfino Plaza and you’ll eventually spot a Lighthouse. Stand on the beach south of it and start spraying on the sand to reveal an image of a Shine which in turns, causes a Shine to shoot over to the platforms in the distance. Head over to the nearest platform and use either a double jump or use a Side Somersault to reach it, making use of the Hover from FLUDD after to get over to the Shine and snag it.
(1 of 2) Shoot the sand here to reveal the Shine

Shoot the sand here to reveal the Shine (left), then leap across the platforms to reach it. (right)
Shine #2
| Availability | Location |
|---|---|
| First Visit | Complete the secret course via the pipe near Shine #1 |
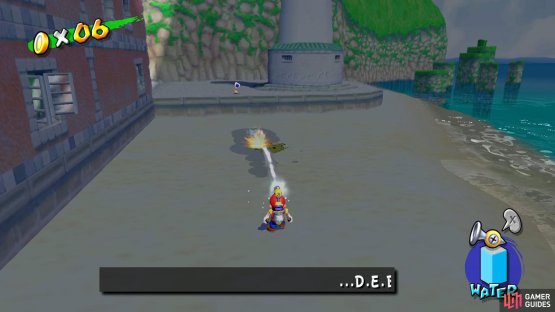
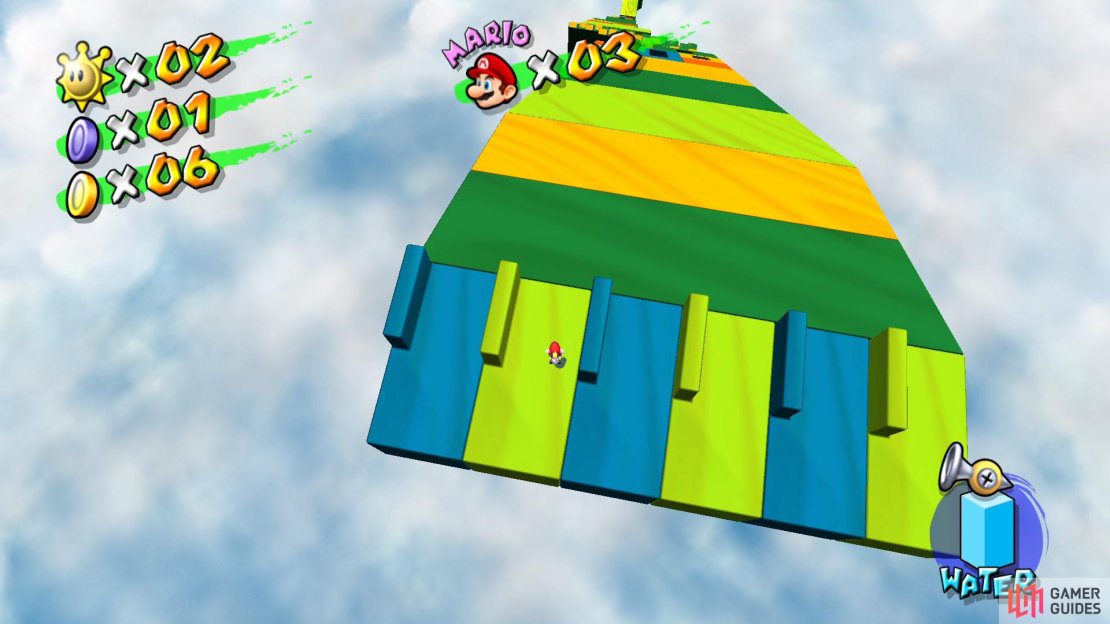
Another early Shine available is close by to your first Shine you just pocketed, make your way back to the platforms in the water but this time, head over to the pipe and enter it to find yourself in a secret course, the Super Slide.
Begin by starting on the first green block on the left and slide down, holding back on the Left Stick to slow your speed. Keep to the left here and you’ll go over a red block and then a small ramp so be sure to keep holding left so that you don’t fall off the edge. As you continue to slide down, slide across the red blocks to avoid the holes and then get ready for a jump coming up, making use of FLUDD’s hover if needed. The last part requires some precise movement, the platforms will get thinner as you need to navigate to a final green one in the center. Once you make it to the end, your prize, another Shine, will be waiting for you.
Shine #3 and #4
| Availability | Location |
|---|---|
| Upon unlocking Bianco Hills | Complete the two Crate Games |
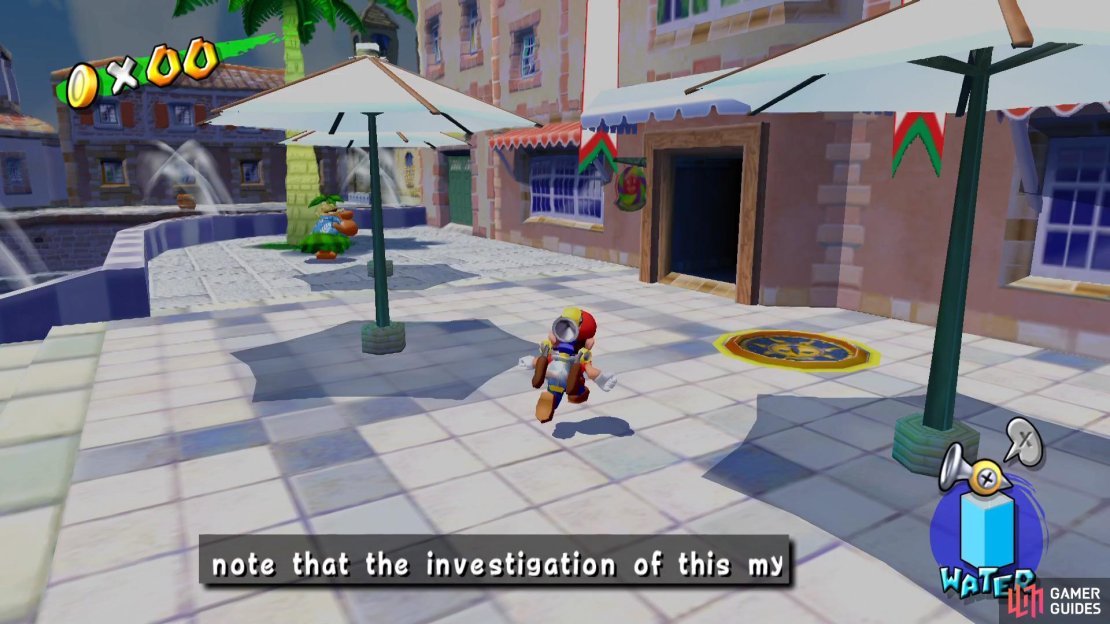
Once Bianco Hills is open, you can head to the center of the Plaza and leap across to the other side where you’ll find a building is now open, this is the Crate House and inside, the Pianta will task you with destroying all the crates within 30 seconds for a Shine. This is easiest done by making use of the Ground Pound by pressing the ZL button in the air.

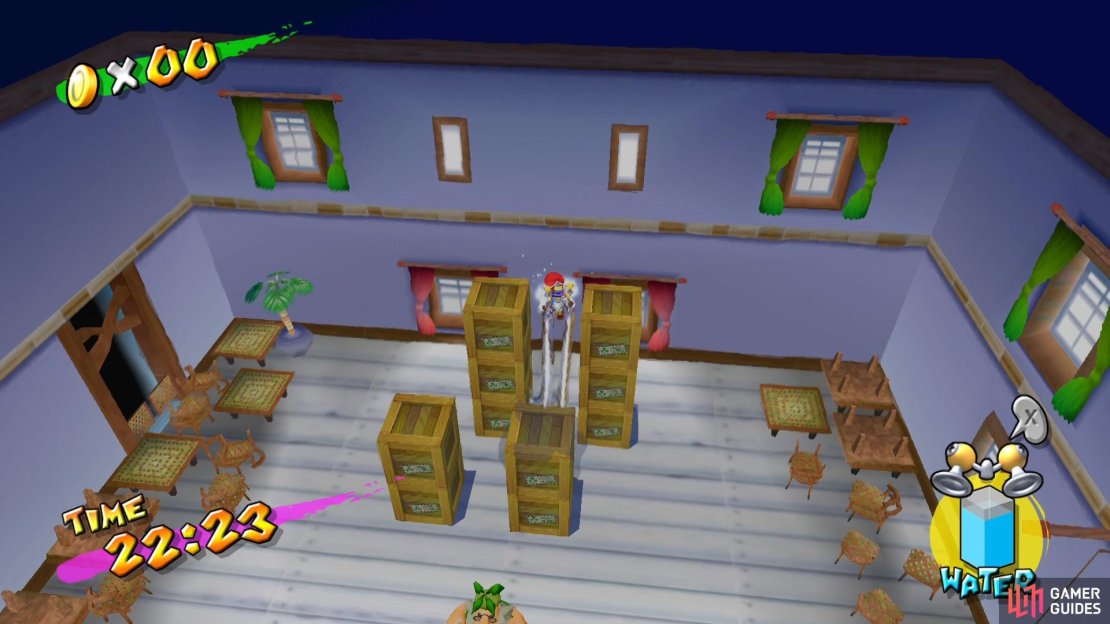
(1 of 3) Head to the now open Crate House
Once you’ve received your first Shine, you can score a second one by playing the game again, this time you’ll need to reach the higher crates first. Make use of either the Spin Jump (Spin the Left Stick and then jump) or the Side Somersault (make a U-turn and then jump) and start with the highest crates first.
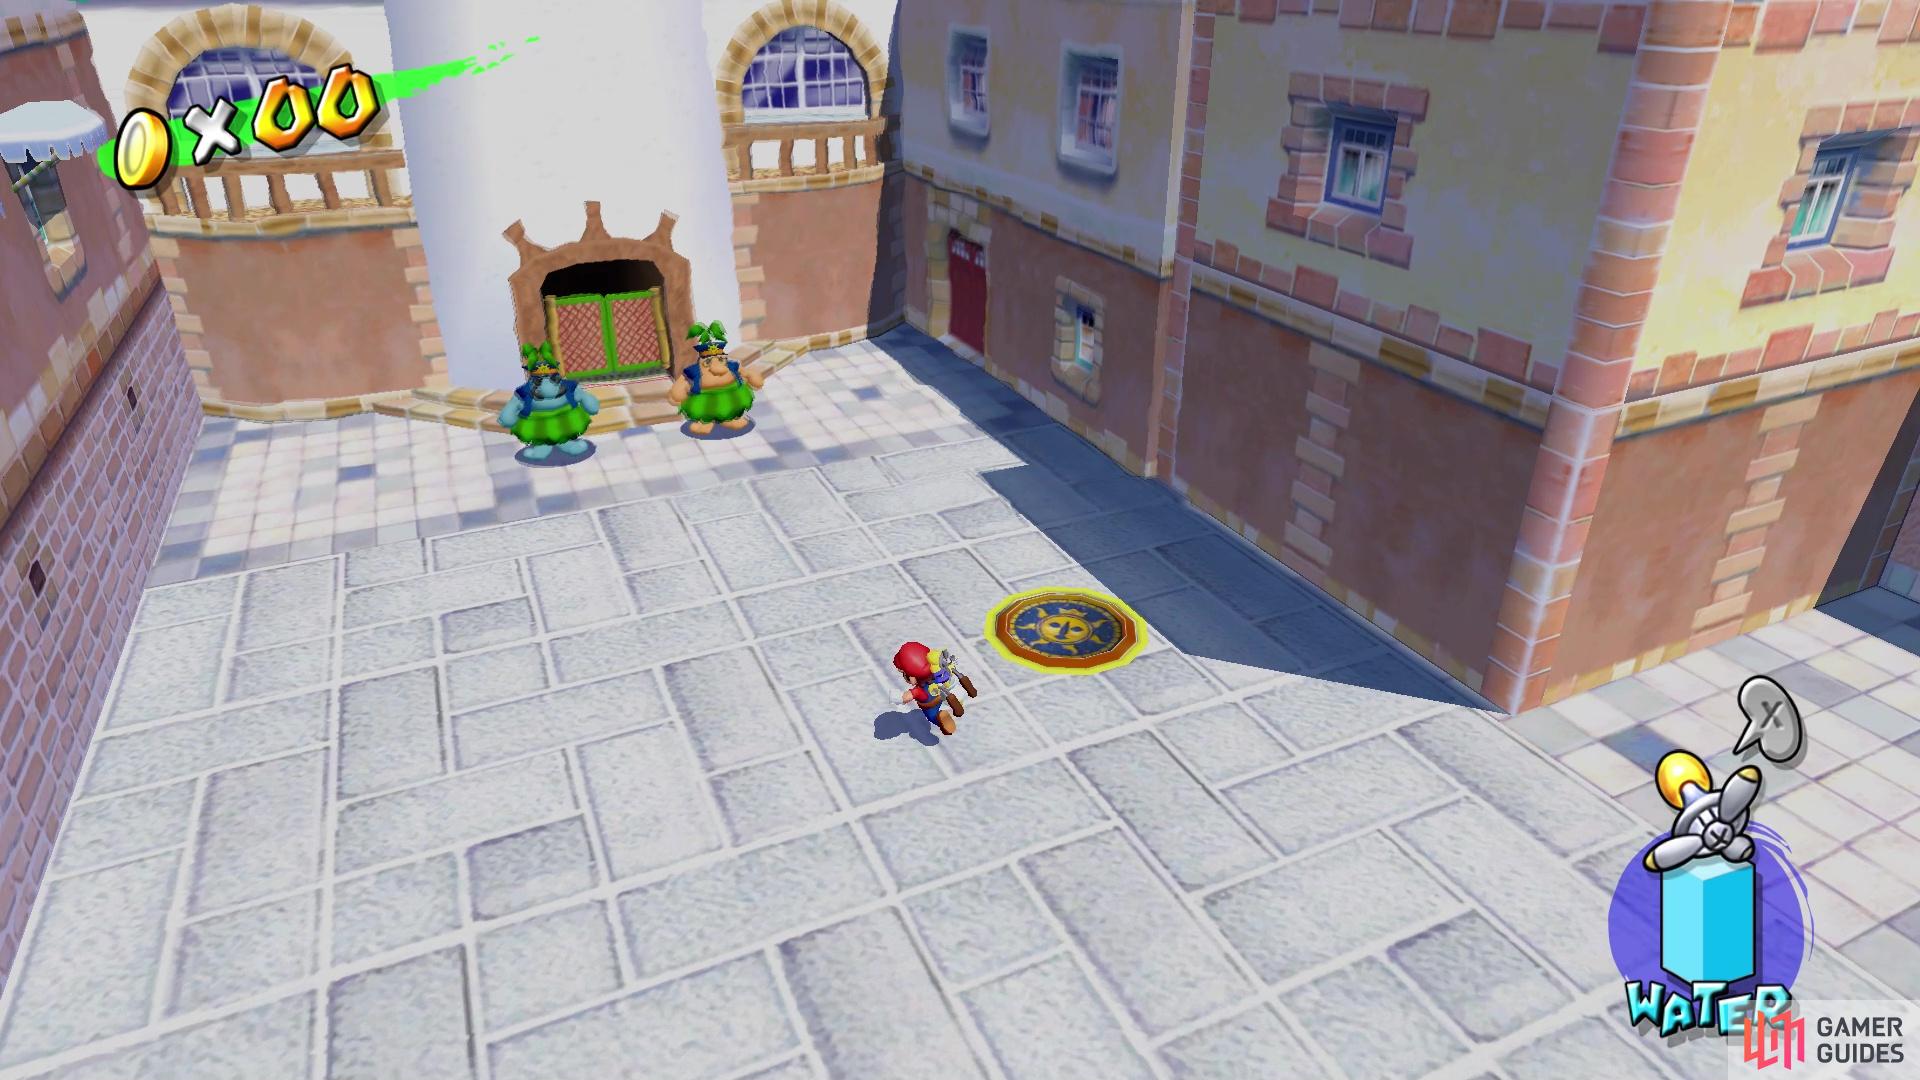
Shine #5
| Availability | Location |
|---|---|
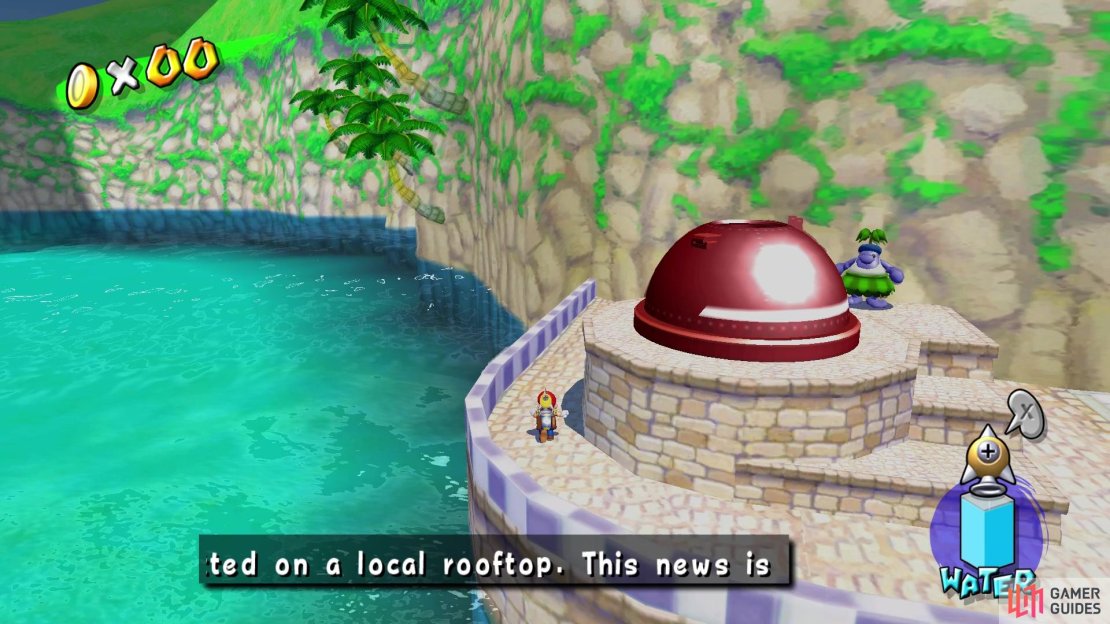
| Upon unlocking Bianco Hills | Get thrown inside one of the towers |
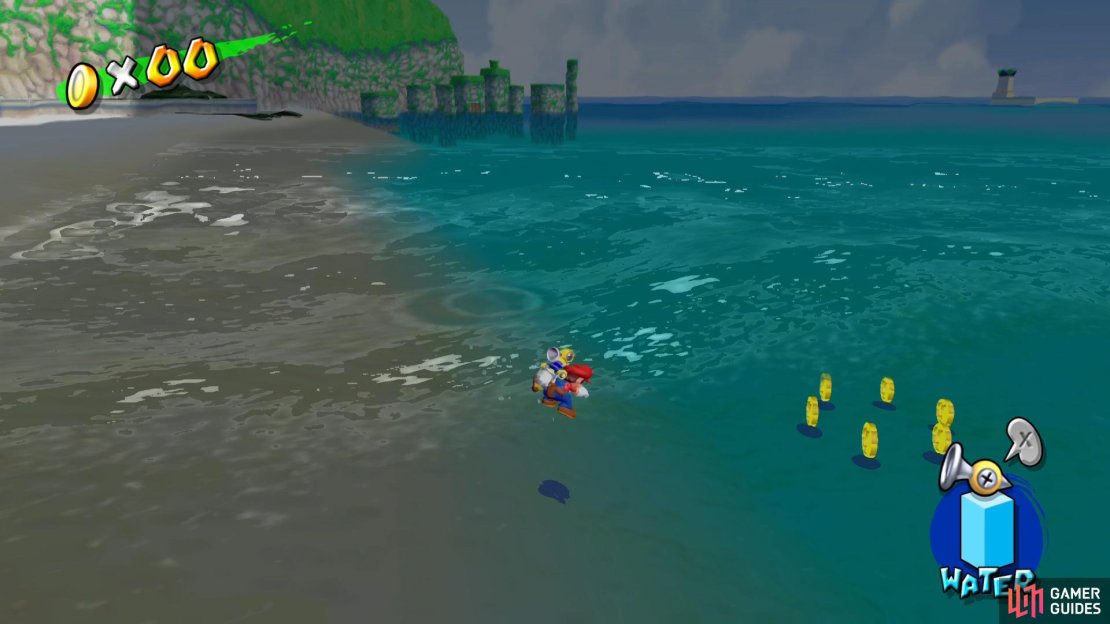
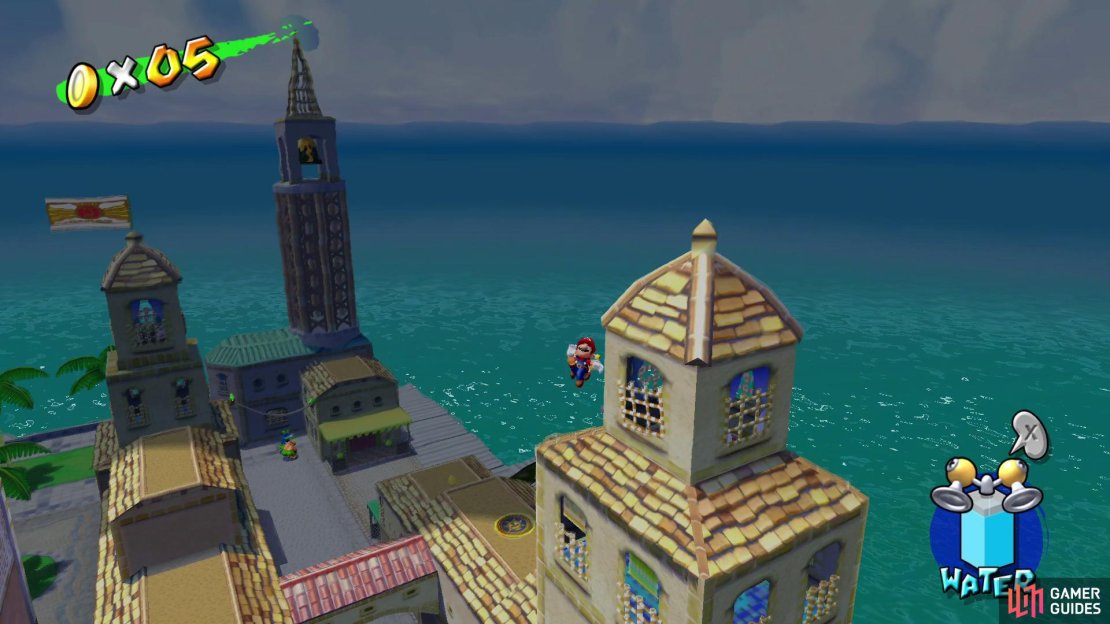
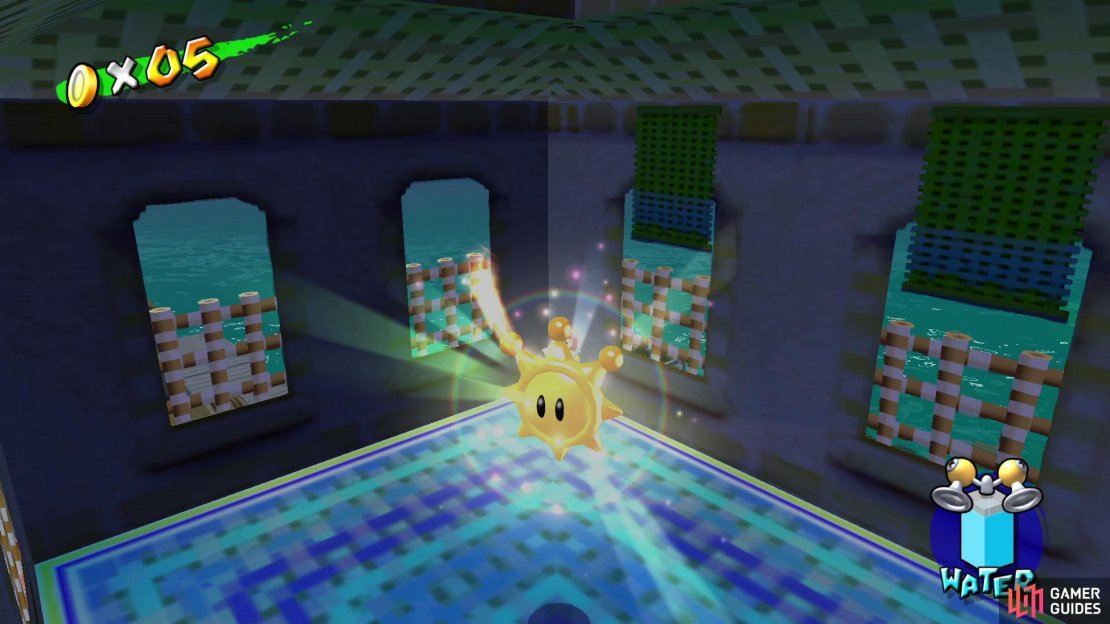
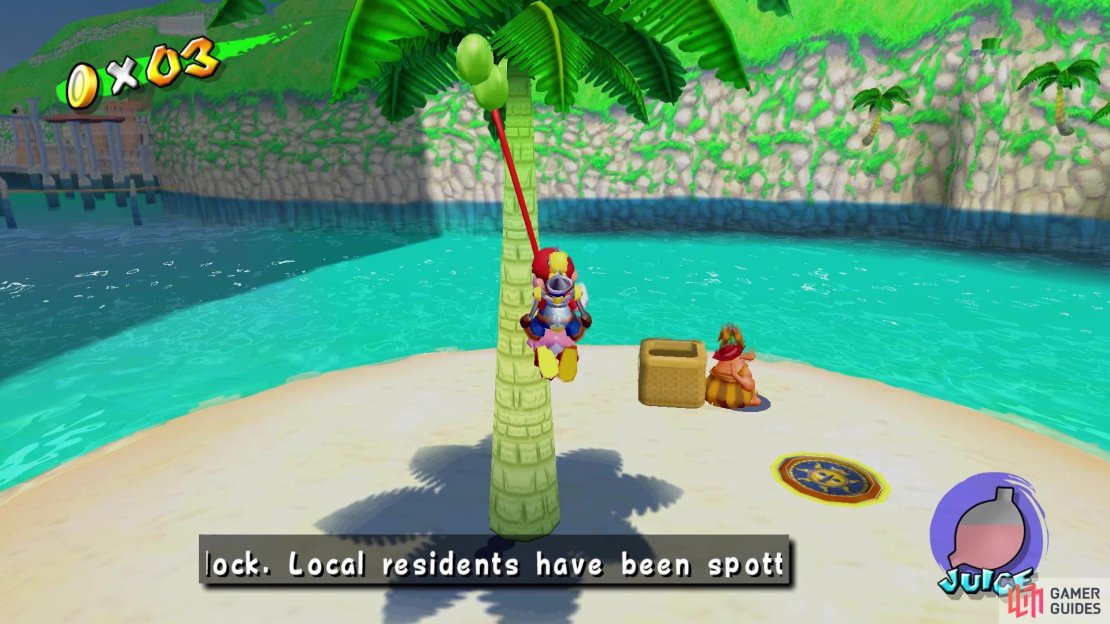
This is another simple one to locate but before you can even begin, ensure you have at least one Coin in your possession, this can be found easily by searching in the water near the Lighthouse. With the coin in hand, make your way to the rooftops using a Spin Jump and then head along them until you reach a Pinata standing on one to the left of the Shine Gate. Upon speaking to him, standing in the position shown in the image below and he’ll toss you through the window of one of the nearby towers where a Shine awaits.
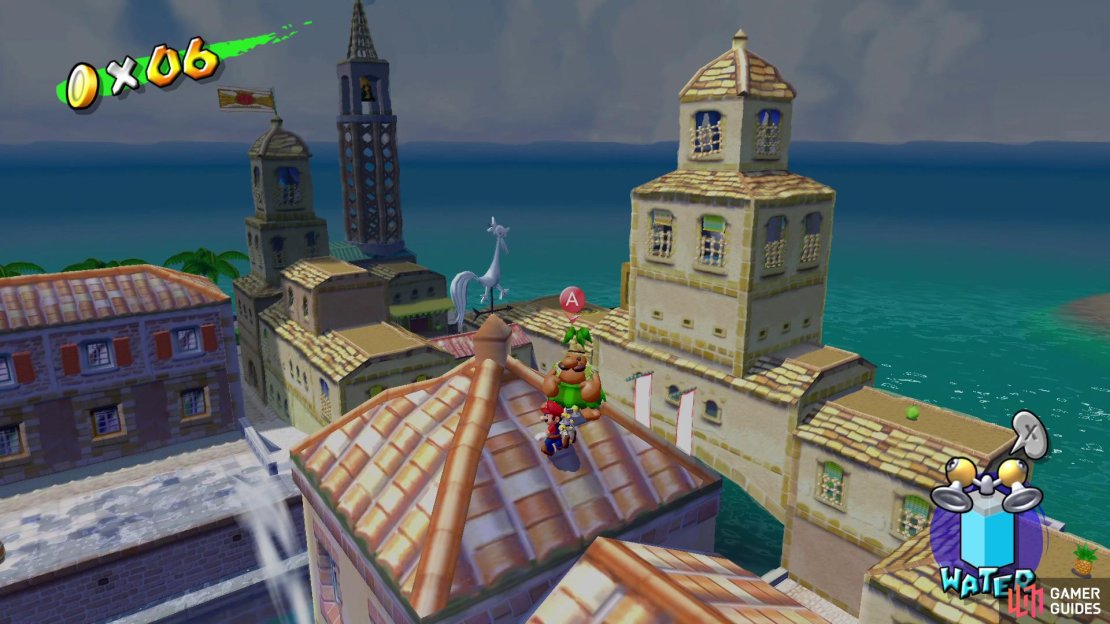
(1 of 4) Look for at least one Coin
Shine #6
| Availability | Location |
|---|---|
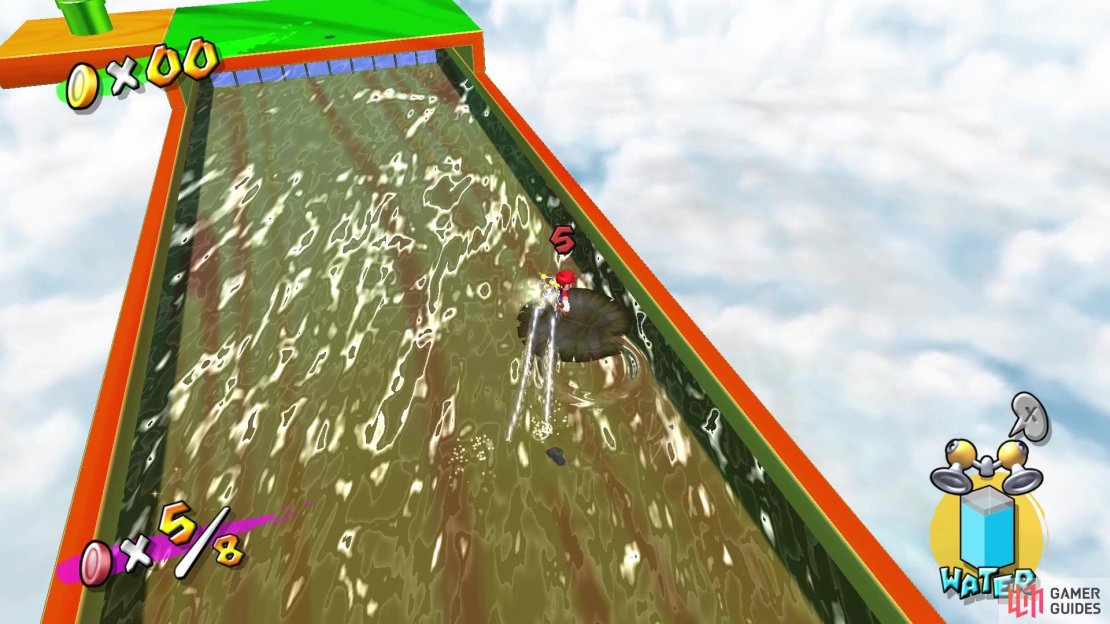
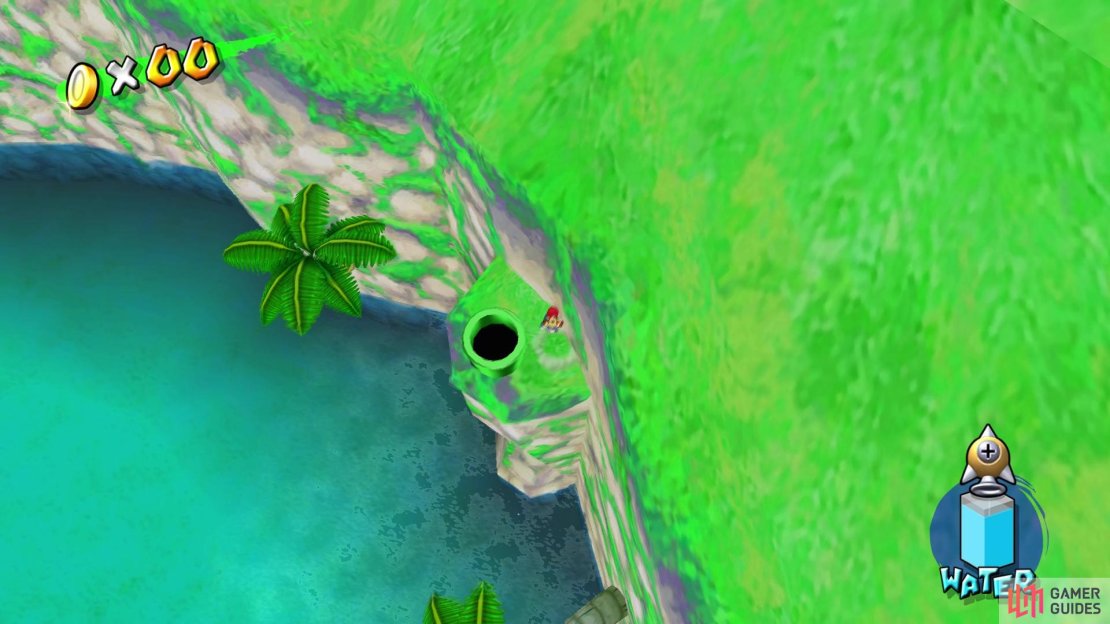
| Upon unlocking Gelato Beach | Underneath bridge in canal |
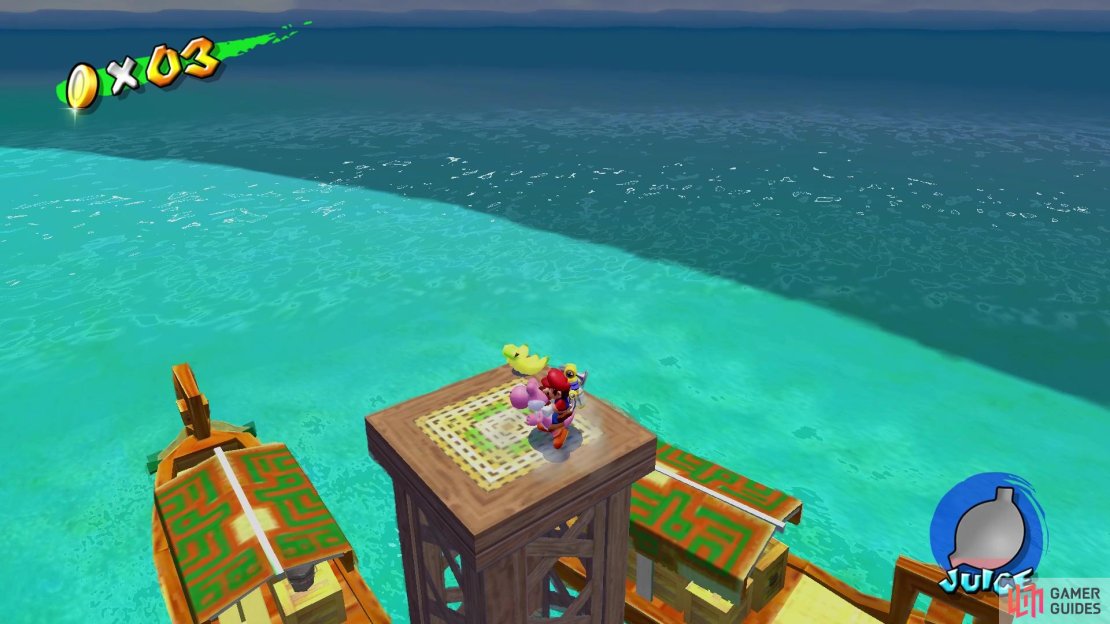
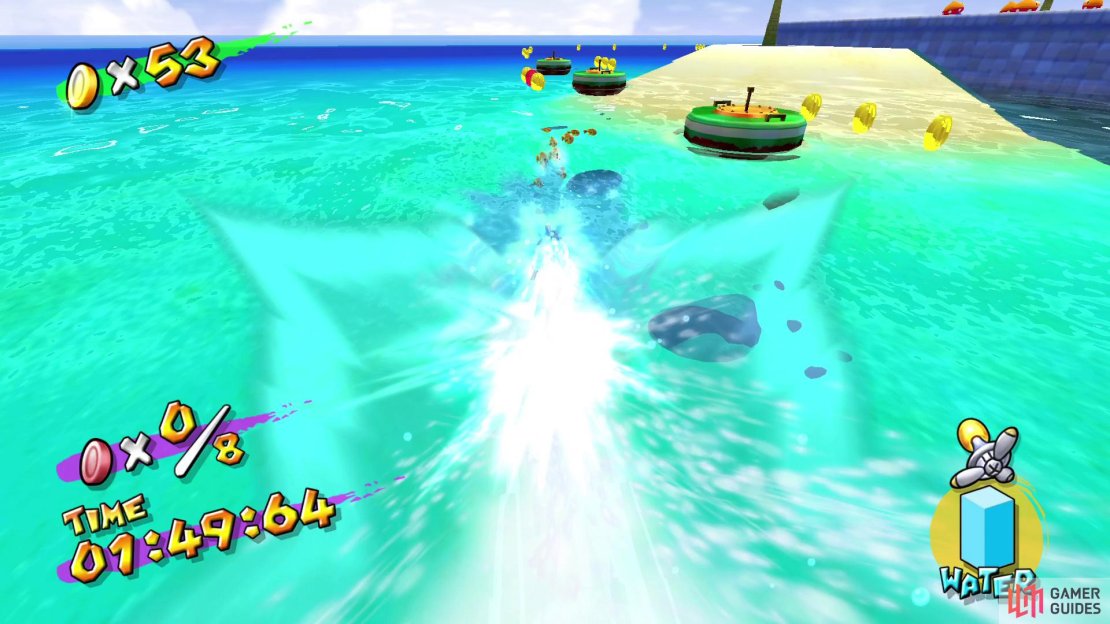
Before doing anything, locate the boat that takes a little tour of the canal in Delfino Plaza, then exits to the one island by the cannon that takes you to Pinna Park. When the boat enters/exits the canal, you will pass under a bridge and there will be a single coin right under that bridge. That coin is marking the entrance to a hidden area, so when you pass by it, you will want to perform a quick Side Somersault to hopefully trigger the entry to this hidden area.
You will now be in a giant pachinko machine, where Mario will be the ball and your goal is to collect eight Red Coins. When you first use the launcher in the bottom left by simply jumping on it, you will automatically collect the first three Red Coins, but the remaining five are in little cups inside the machine. One coin will be in the top center, with two more off to the sides below that one. In the very center of the board is a large house-shaped area, which is where the Shine will spawn after collecting all of the coins. The last two coins will be below that, on either side.

(1 of 2) Jump on the launcher to get sent to the main pachinko board

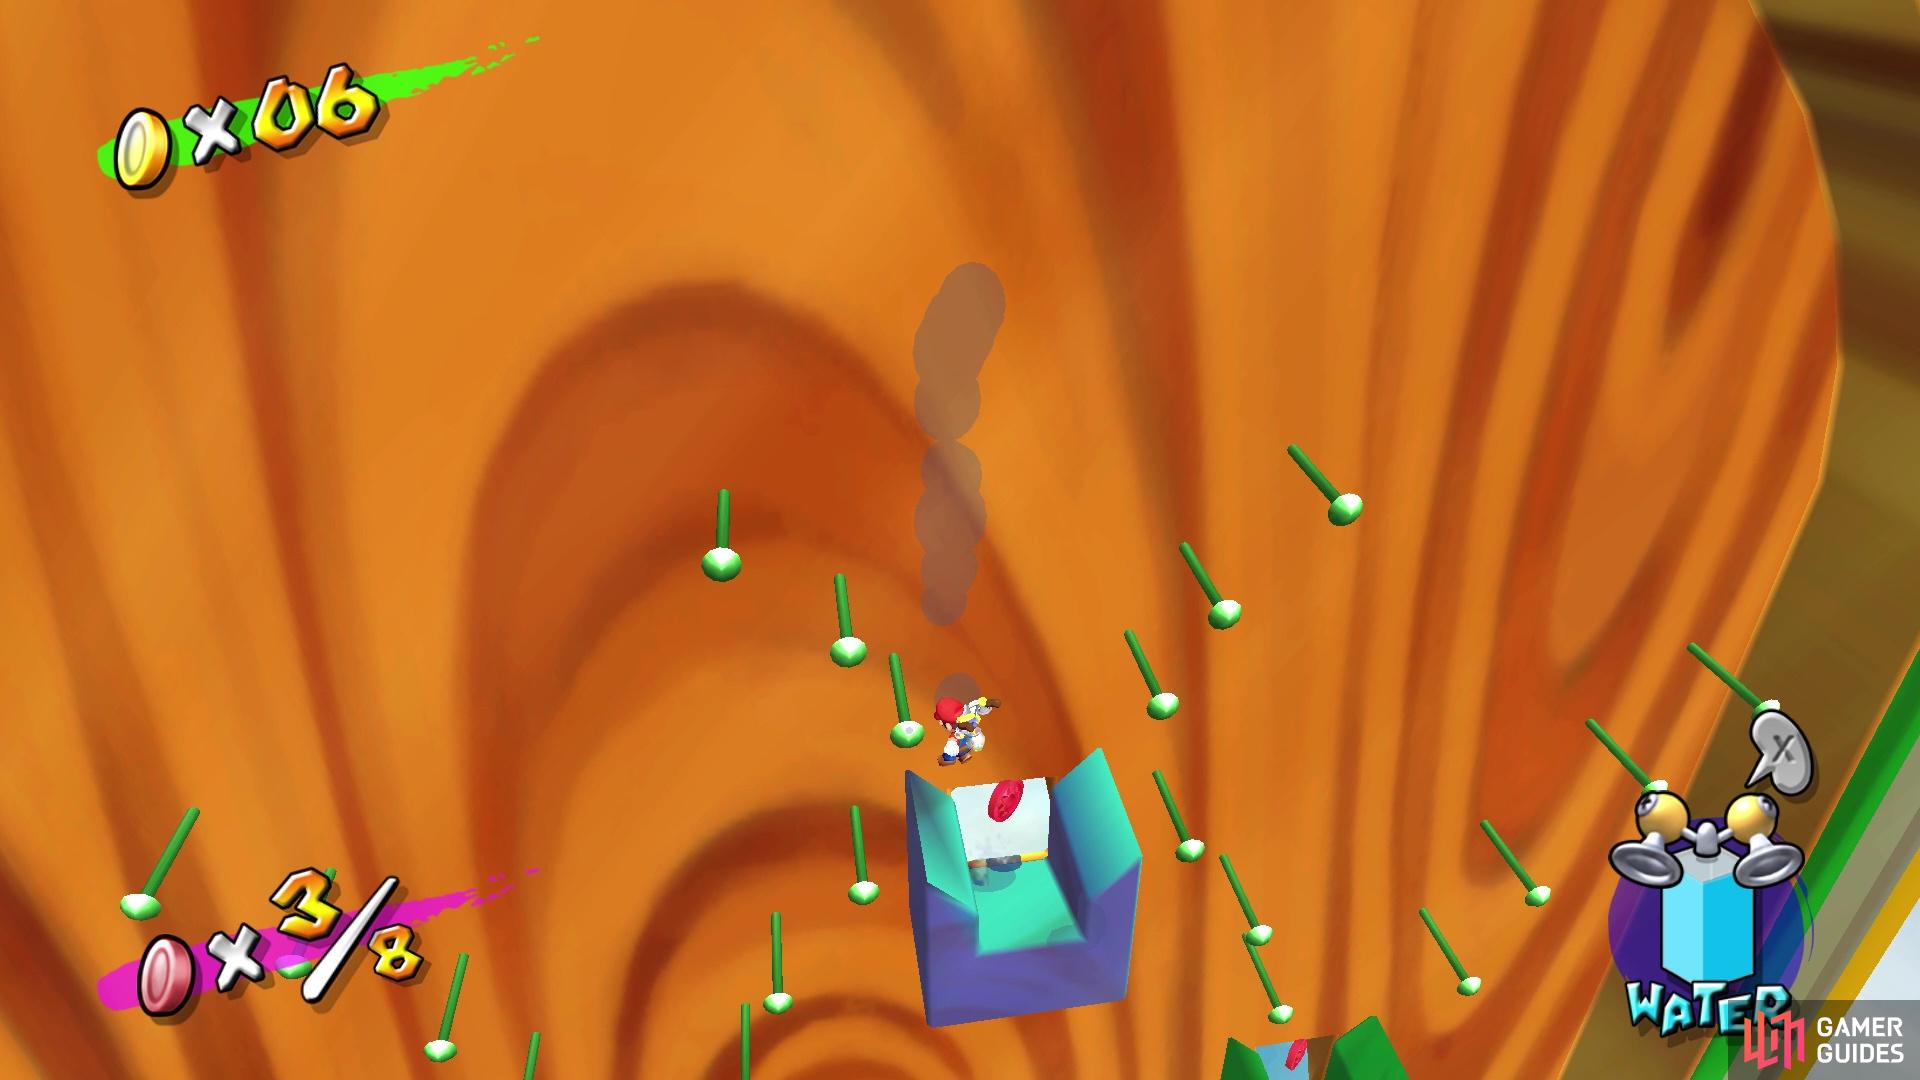
Jump on the launcher to get sent to the main pachinko board (left), Each of the five remaining coins are in little slots (right)
At the very bottom is a hole that leads to nothing, so if you fall down there, you will lose a life. Whenever you get in one of the cups that has a Red Coin, you will slide into the back of the machine and eventually be deposited back by the launcher. The most annoying thing about this Shine is getting to the desired cups, but there are some things you can do to help land in them more consistently.
- Holding right will get top middle
- Holding right and hovering will get top right
- Holding left from the launcher should land you in the top left
- Holding nothing at all will get you to the middle, where the Shine spawns
If you can manage to land on one of the pegs near the middle structure, then you hover to the bottom left or right cups with those Red Coins. It’s a little tricky to get all the movement right, but it’s important to remember that you cannot refill your water in here, so keep an eye out on your water level.
Shine #7
| Availability | Location |
|---|---|
| Upon unlocking Pinna Park | On one of the neighboring islands |
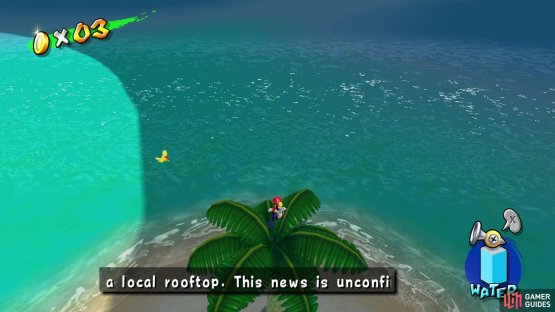
In Delfino Plaza, there are two islands that are off the main area. One of a Pianta and a basket, while the other has a pipe that is blocked by some goop. You will want to go to the island with the blocked pipe, as there will be a golden bird there flying around it. All you have to do to get this Shine is spray the bird with water until it releases the Shine. Note that it is a little easier to hit the bird when standing on top of the tree.
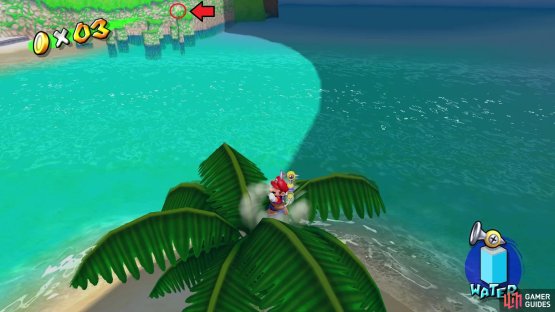
(1 of 2) Spray the gold bird on this island until it relinquishes the Shine


Spray the gold bird on this island until it relinquishes the Shine (left), which will fly all the way into the distance (right)
Shine #8
| Availability | Location |
|---|---|
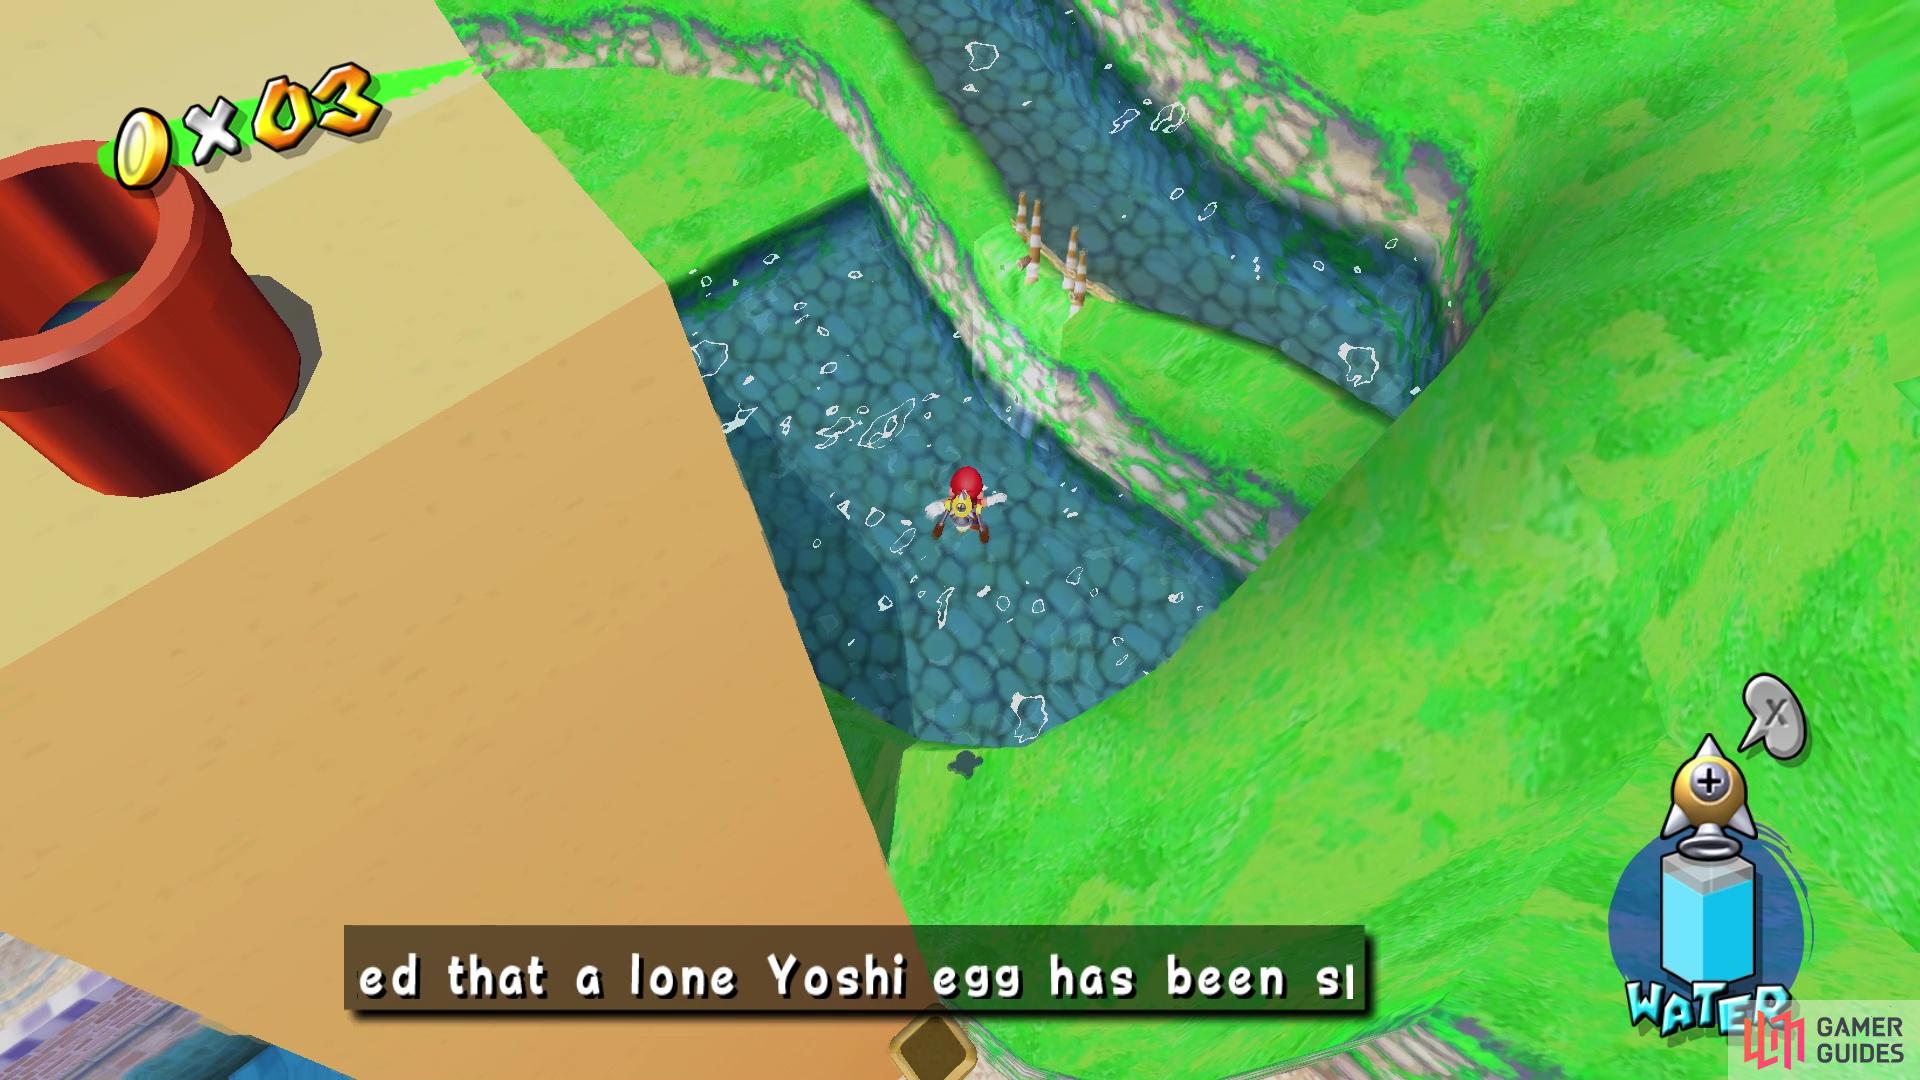
| After unlocking Yoshi in Delfino Plaza | On same island as Shine #7 |
Get ready, as this is probably the worst Shine in Delfino Plaza. If you’ve gotten Shine #7 above, then you know that same island has a pipe on it with some goop covering it. Yoshi’s spit can dissolve the goop, but the island is a little too far for him to jump to, plus if he hits the water, then he will disappear. So, the only way to reach that island with Yoshi intact is via the boats. To start, go to the one manhole cover that’s on a little balcony near the Pinna Park cannon, which can lead out to the other island in the sea. From there, you will need to wait for the one boat that goes to the one lone platform where Shine #1 spawned.
An unknown problem arises, though, as the Juice meter in the bottom right will slowly deplete if Yoshi doesn’t eat fruit; if it depletes all the way, Yoshi will disappear and you’ll have to start this sequence over again. There is some fruit in the tree on the island with the Pianta and the manhole cover. When the boat comes, you’ll have to jump off onto the one lone platform, which will have some bananas that keep spawning to keep the Juice full. The third boat will get close to the lone platform, so jump on it and you’ll eventually reach the destined island. Spray some juice on the blockage preventing you from entering the pipe, then hop in.


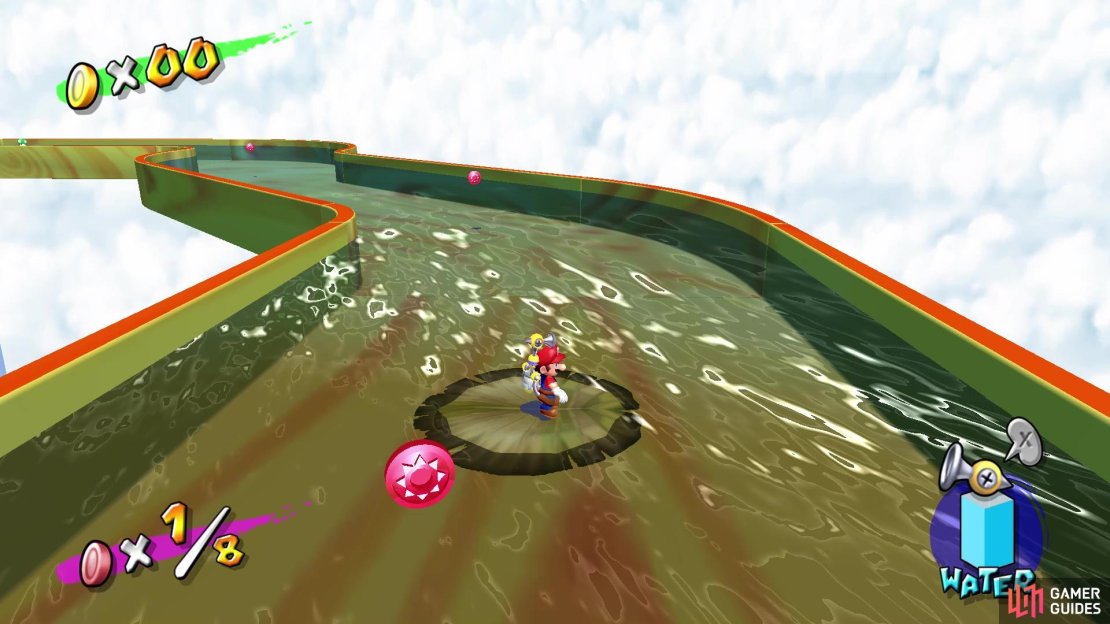
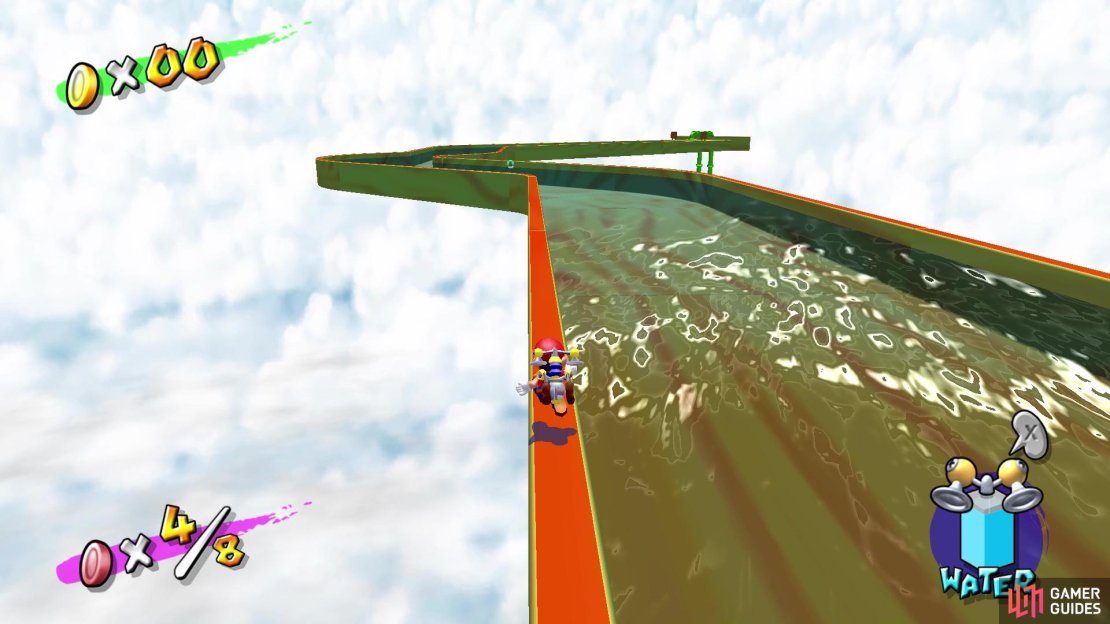
This little mini-game might have you tearing your hair out (or banging your head), as it’s quite annoying. You are in the presence of a stream of moving water, with a lily pad near the start. Your goal is to navigate the stream of water and collect eight Red Coins, but there are some restrictions in place. First and foremost, the water is “poison,” so you cannot touch it at all, plus the lily pad will slowly deteriorate. The second thing is that once you begin moving forward, you will not be able to head backwards, so you really only have a single chance to collect the coins. If you miss one, then you will either have to jump off and lose a life, or walk along the thing sides to the beginning and try again.
Should you make it to the end without collecting the Shine Sprite, DO NOT GO INTO THE PIPE. It’ll bring you back to Delfino Plaza, meaning you will have to do the whole Yoshi thing again (the pipe gets covered again on the island). So, the trick with Shine is to use short little bursts with FLUDD, so you aren’t moving all over the place. All of the coins are on level with the lily pad, except for the seventh coin. For this one, you will have to jump and likely hover to reach it, but the lily pad will continue moving forward, so you might need to hover to the thin outer ledge. The last coin will be above solid ground, not too far from the pipe, with the Shine appearing near it, too.
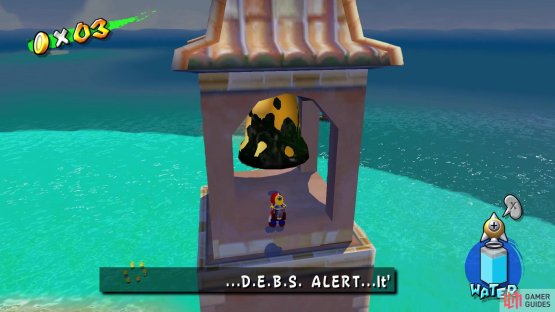
Shine #9
| Availability | Location |
|---|---|
| After unlocking Turbo Nozzle | Inside one of the bell towers |
(1 of 2) You can see some wooden doors at the base of the one bell tower


You can see some wooden doors at the base of the one bell tower (left), Blast through it with the Turbo Nozzle to find the Shine (right)
You will need to unlock the Turbo Nozzle before you can get this Shine, which happens after unlocking Yoshi and collecting 25 Shine Sprites. Once you do this, you can find the box with the Turbo Nozzle right by the statue with Bianco Hills. Upon equipping the Turbo Nozzle, look at the base of the one bell tower to see some doors on it. Initiate the Turbo Nozzle and blast through the doors, where you will find the Shine.
Shine #10
| Availability | Location |
|---|---|
| After unlocking Turbo Nozzle | By the Pianta Police |

(1 of 2) Use the Turbo Nozzle to break through this door and reach the mini-game area
Use the Turbo Nozzle to break through this door and reach the mini-game area (left), You might just barely make the final jump, but it’s all good (right)
Once you have the Turbo Nozzle unlocked, head on over to where the police are located to find the same set of doors from Shine #9. Bust through those doors with the Turbo Nozzle and you will enter another mini-game. This is pretty much a straight course, where you will be using the Turbo Nozzle to jump over some gaps. For the most part, you want to jump from the edge of the current platform to the next one. That’s the entirety of this little mini-game and there’s really not a lot of variation, although you might have to pull off one of the jumps a little sooner. At the end, you will find the Shine sitting on the final platform.
Shine #11
| Availability | Location |
|---|---|
| From the beginning | One of the dirty bells |
You can technically get this Shine from the beginning of the game, but it becomes a tiny bit easier once you’ve unlocked the Rocket Nozzle (which is why it’s put here). While looking at the entrance to Bianco Hills, there will be a bell tower to your left. You will need to get to the actual bell, which is covered in sludge, meaning you will have to clean it. If you know how to wall jump and gain that extra bit of height with the Hover Nozzle, then the tall part of the building with the weathervan on top makes getting this Shine accessible from the beginning of the game.
Otherwise, wait until you have access to the Rocket Nozzle, as it makes it a lot easier. Once you get to the bell, spray it with water until it is finally clean, with the Shine appearing in the tower underneath the bell. North of the building with the bell tower is another building that has a manhole cover on top of the roof. Hop inside it and follow the path south to another cover you can jump out of, leading to the Shine.

(1 of 2) so spray them until they’re clean to get two more Shines
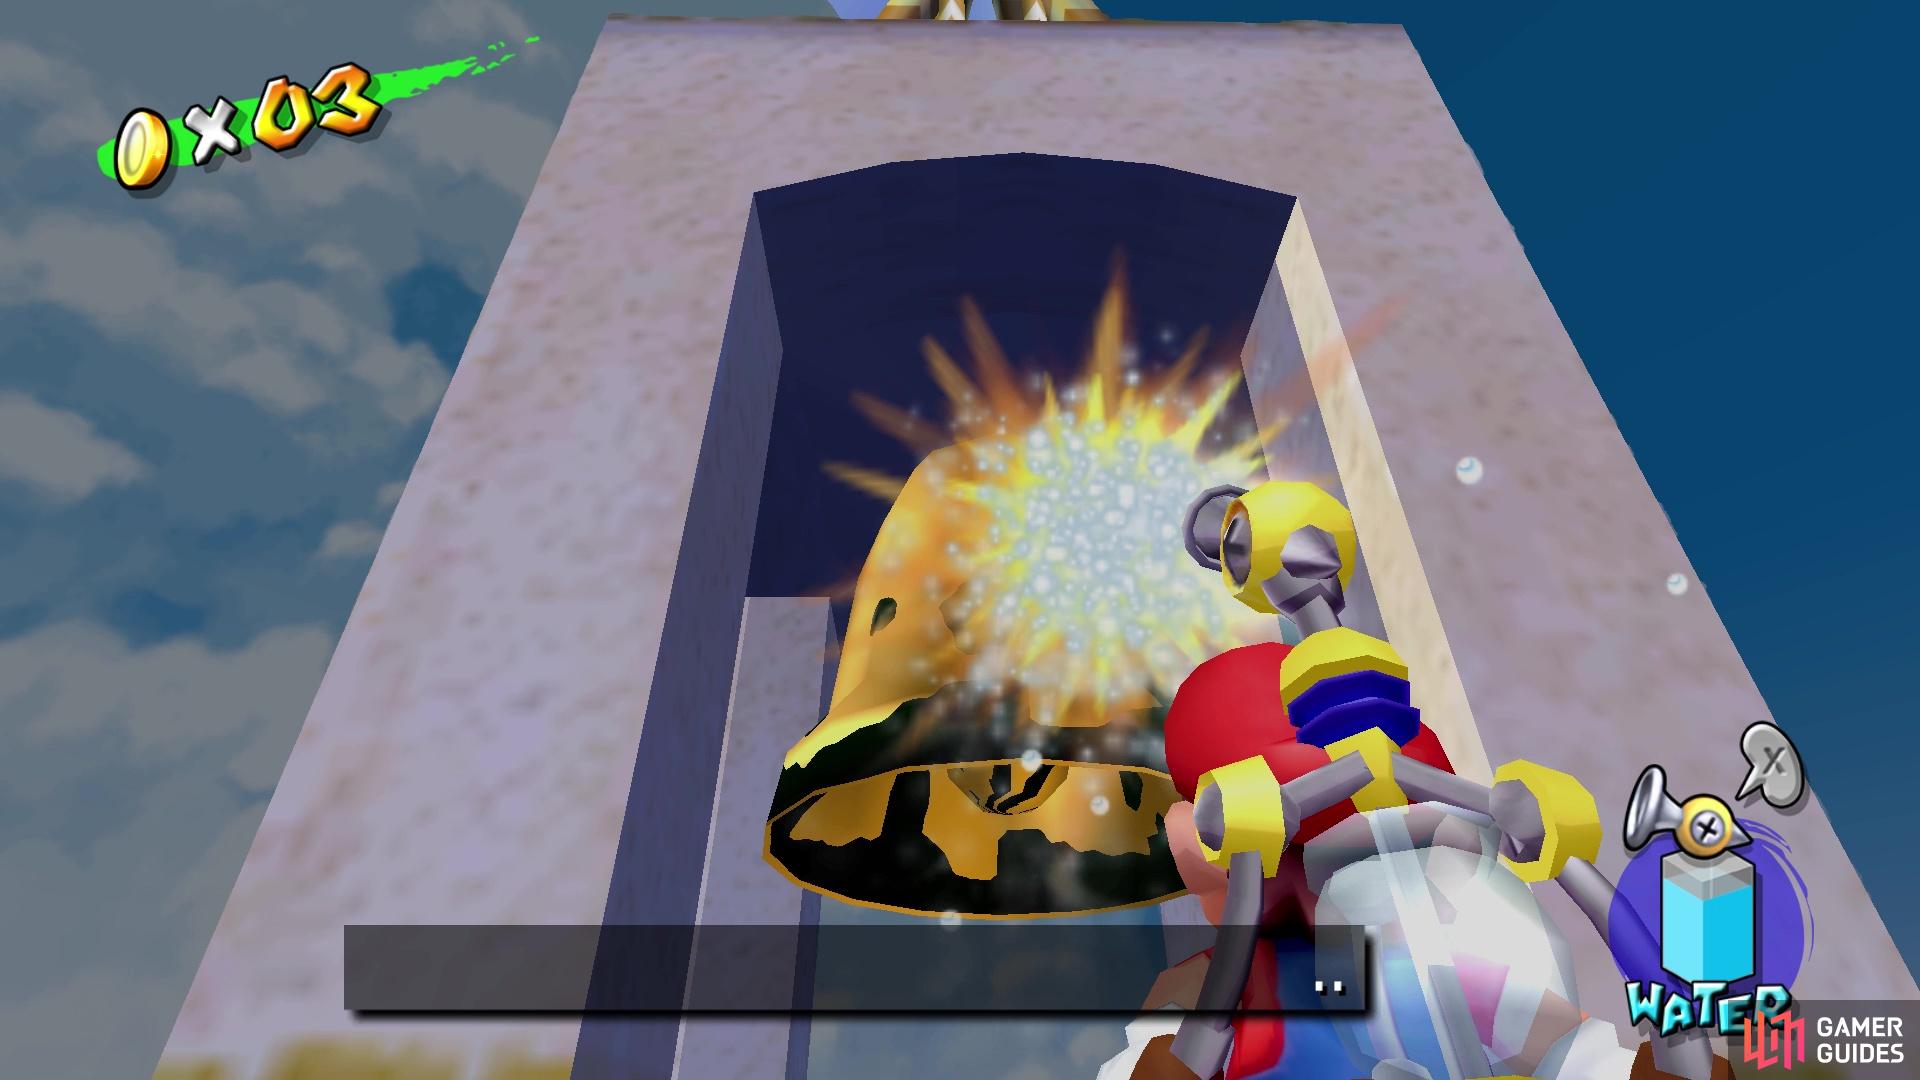

so spray them until they’re clean to get two more Shines (left), The two bells in Delfino Plaza are dirty (right)
Shine #12
| Availability | Location |
|---|---|
| Upon unlocking the Rocket Nozzle | One of the dirty bells |
Shine Sprite #11 was cleaning the one bell, with this one being the other dirty bell. This bell is located to the right of the entrance to Bianco Hills, when you’re facing it. While it’s possible to reach the bell and clean it from the beginning, it is not possible to get the Shine when it spawns, so you will need to wait for the Rocket Nozzle. Blast up to the bell and clean it with FLUDD, causing the Shine to spawn high in the air above the bell. So, you will need to shoot yourself up to the ledge above the bell, then do that once more to grab the Shine.
Shine #13
| Availability | Location |
|---|---|
| Upon unlocking the Rocket Nozzle | The main Shine Gate |
If you’ve explored Delfino Plaza enough, you should notice that the main Shine Gate is in the shape of a giant Shine Sprite. You will also see that the Shine Gate is covered in filth, so it will need to be cleaned, similar to the two bells. Note that it is possible to reach the Shine Gate without the Rocket Nozzle, but much like Shine #12, the actual Shine Sprite will spawn out of range of your normal Hover Nozzle. To get to the ledge with the Shine Gate, you will have to use the Rocket Nozzle to get to the area behind it, then blast off from that section.


(1 of 2) Launch yourself to the area behind the Shine to make it easier to get the giant Shine
Launch yourself to the area behind the Shine to make it easier to get the giant Shine (left), Spray the Shine Gate to get another easy Shine (right)
Once you manage to get next to the giant Shine Sprite, use your FLUDD to clean it of all the goop. The Shine will spawn high in the air on top of the Shine Gate, so you will have to shoot yourself up there, then do it one more time to grab the Shine Sprite.
Shine #14
| Availability | Location |
|---|---|
| Upon unlocking the Rocket Nozzle | Lighthouse |
(1 of 2) There is a button on top of the lighthouse
There is a button on top of the lighthouse (left), A Ground Pound from super high up will break it and free the Shine (right)
The entrance to Gelato Beach, which is a lighthouse. Make sure you have the Rocket Nozzle, as you will be blasting up to the top of the lighthouse. There, you will see a button, but a normal Ground Pound doesn’t seem to work. You will need to rocket up once more, then perform a Ground Pound from high up, which will break the button and freeing the Shine.
Shine #15
| Availability | Location |
|---|---|
| Upon unlocking the Rocket Nozzle | Pipe by entrance to Pinna Park |
Head to the cannon that shoots you to Pinna Park and follow the cliffside out a little bit. You should see some trees sticking out from the wall, which can function as platforms, and a little further out will be a ledge. On this ledge is a pipe that will take you to another little area. Your goal here is to collect eight Red Coins, which will spawn the Shine Sprite. First and foremost, there is no way to replenish your water here, so use it sparingly or go after the Red Coins that require you to use water first. This is a field of tall grass and hidden throughout are little holes you can fall through, so you will want to be extra careful.
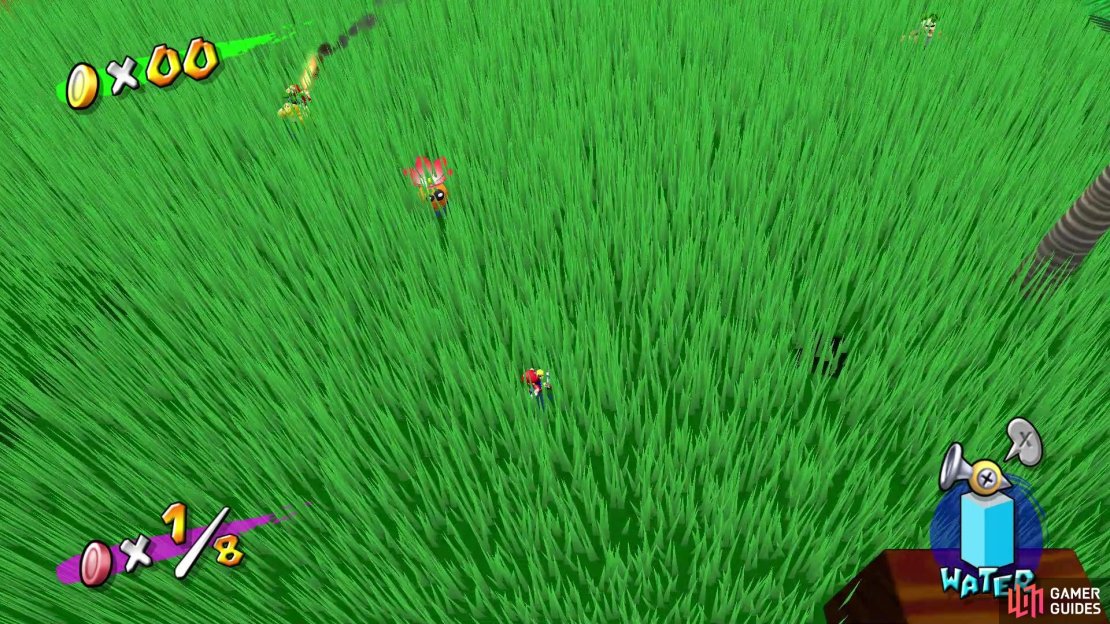
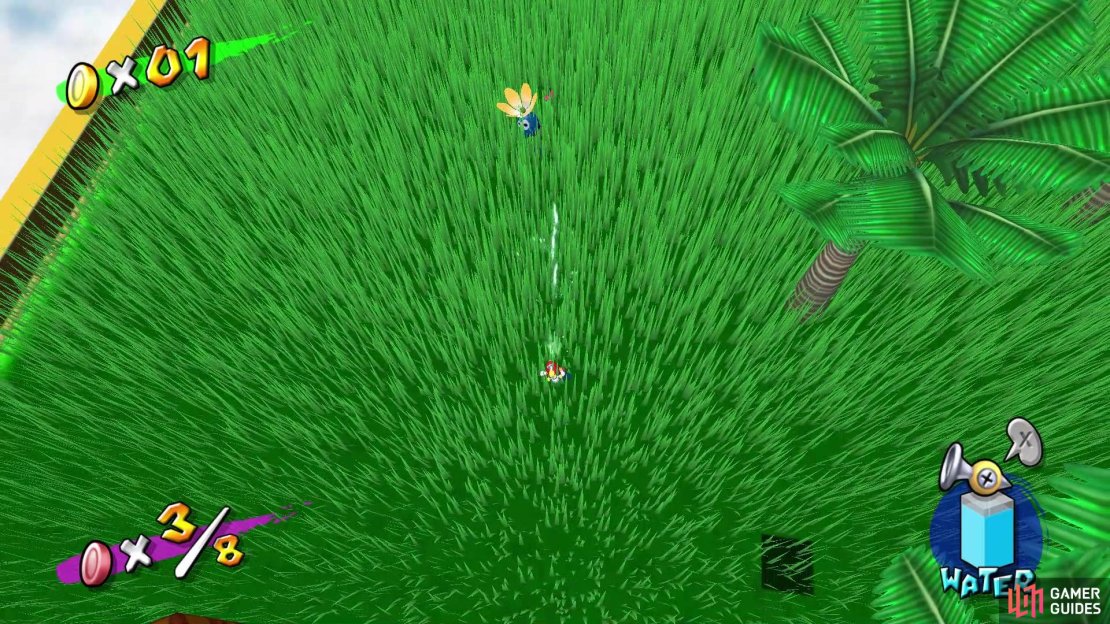
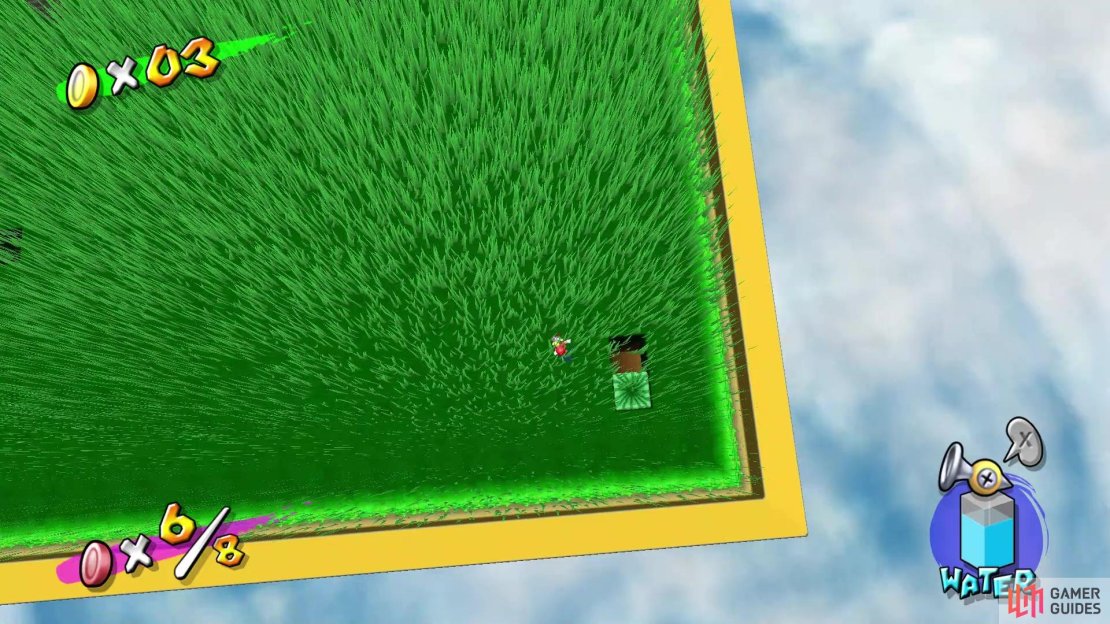
One coin can be found on one of the wooden blocks, while another can be found in the hole with a watermelon block next to it. Four coins can be gotten from enemies in this little area, two from Sanbo Heads (just jump on them) and two from Seedy Pods. For the latter enemy, you will have to spray them with water from a distance to stun them, then quickly jump on them before they recover. On top of the highest wooden block, there will be a red bird, so spray it with water as it flies around to make it drop a Red Coin. The final coin can be gotten by dousing the Pianta that’s running around on fire. The Shine will spawn on top of the tallest wooden platform.
Shine #16
| Availability | Location |
|---|---|
| Upon completing the game | Return to the Airstrip |
Once you’ve finally completed the events at Corona Mountain, return to Delfino Plaza and head towards the entrance to Ricco Harbor, the Boathouse, and look to the left to spot a boat docked here. Speak to the Pianta and pay 10 Gold Coins to return to the Airstrip from the Prologue.
Once there, you’ll spot an abundance of Gold Coins, making the 100 Gold Coin challenge here a lot simpler but more importantly, if you Ground Pound the red button, 8 Red Coins will spawn, use the Turbo Nozzle and collect them to score another Shine.
(1 of 3) Speak to the Pianta here and pay 10 Gold Coins to return to the Airstrip
No Comments