


Description
This level is available once you have access to the Planet of Trials, which is unlocked by collecting the three Green Stars in levels Luigi under the Saucer, The Secret of Buoy Base and Treasure of the Pyramid. This level is found within Bubble Blast Galaxy.
Collecting the Star Chips
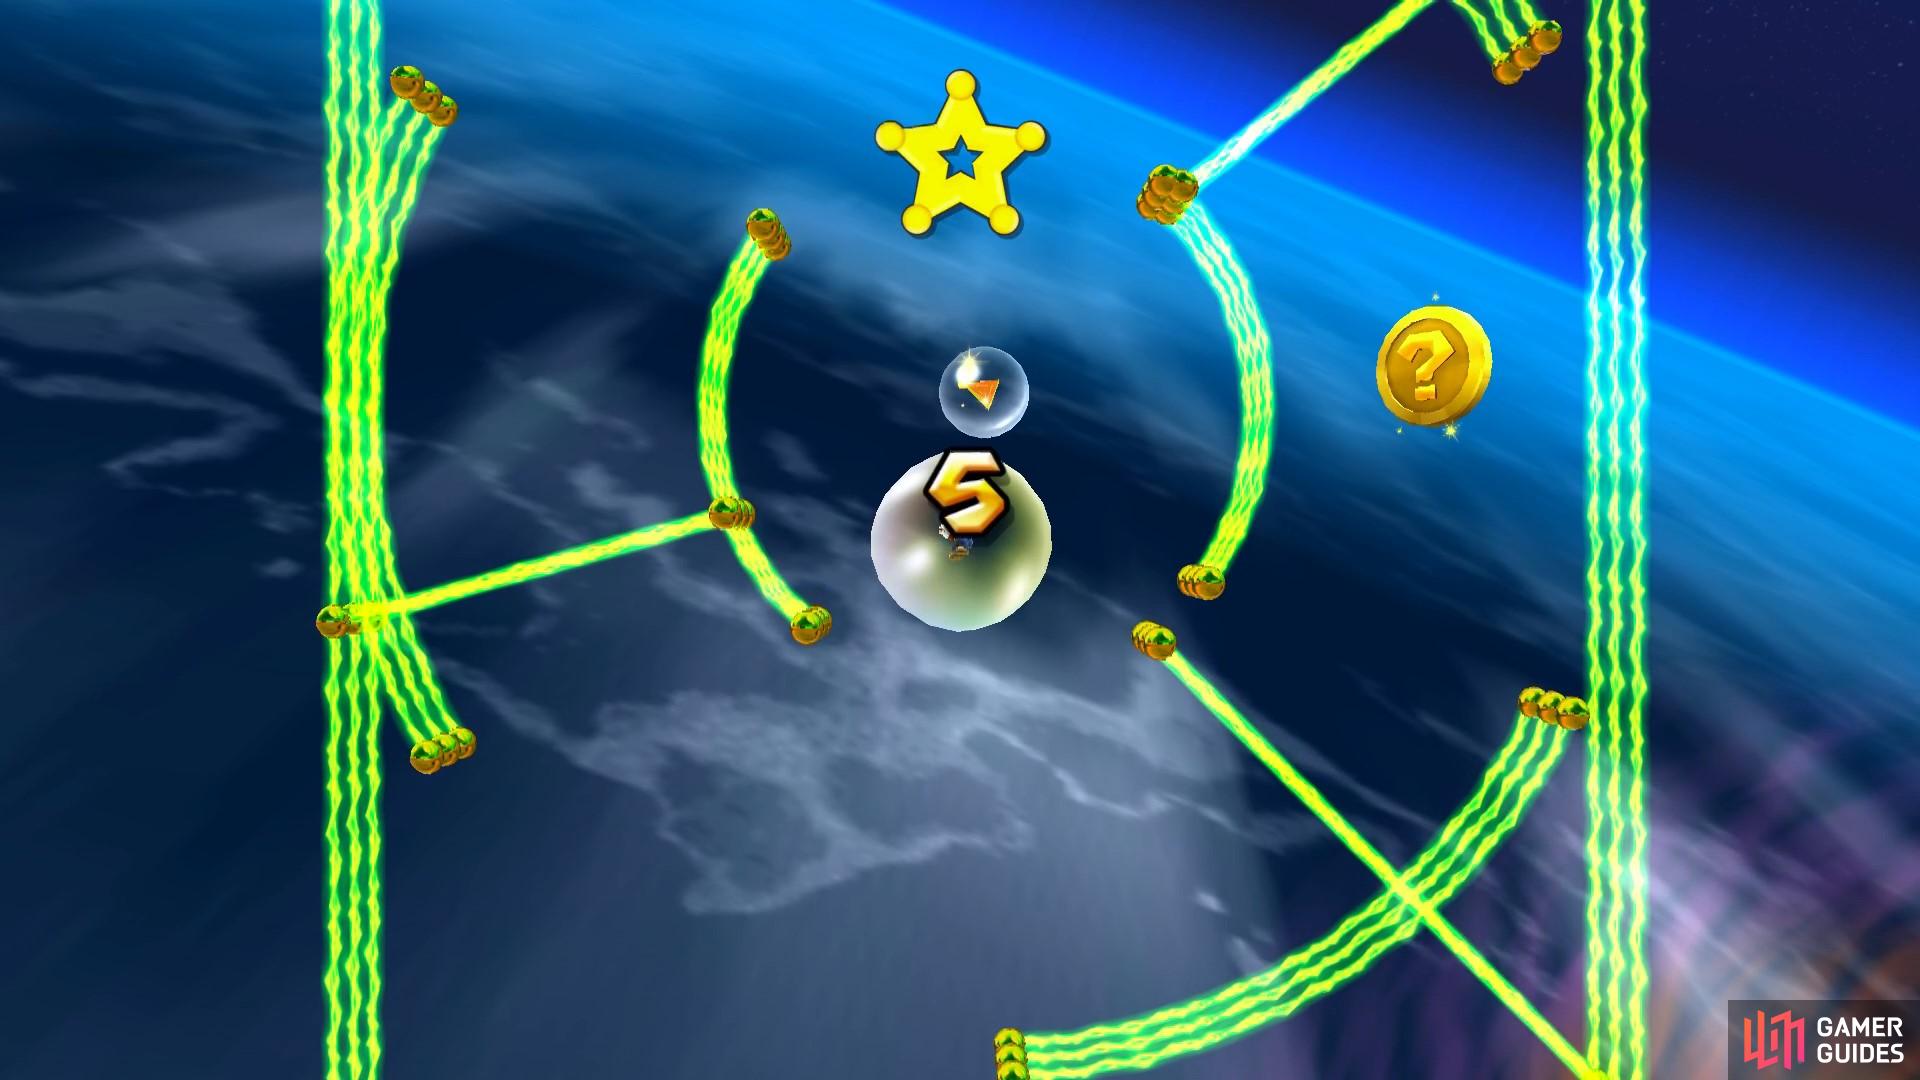
In the first section of this level you’ll need to collect five Launch Star chips. When you land in the starting area, you’ll notice that there’s a warp pipe on each of the five points of the star. Each warp takes you to a different area, and each of the five areas have one Star Chip.
When you’re in a bubble, you’ll need to use your star cursor (which looks like a little horn when you’re a bubble) to blow air and guide the bubble along. If you hold down A you’ll blow lots of air and the bubble will go faster, but if you want more precision and accuracy, tap A to move the bubble in a more controlled manner.
All of the areas in this level are fenced off by electrical rails so if you bump into them, you’ll burst your bubble and get sucked into the blackhole beneath.
Top Warp Pipe
In the area that the top warp pipe will take you to, you’ll need to head upwards to get to the Star Chip. You’ll need to time your movements as you’ll need to make your way past rotating obstacles that could push you into electrical rails and pop your bubble. Once you’ve grabbed the Star Chip, head slightly upwards and then left to get to a Sling Star that takes you over to the starting section again.
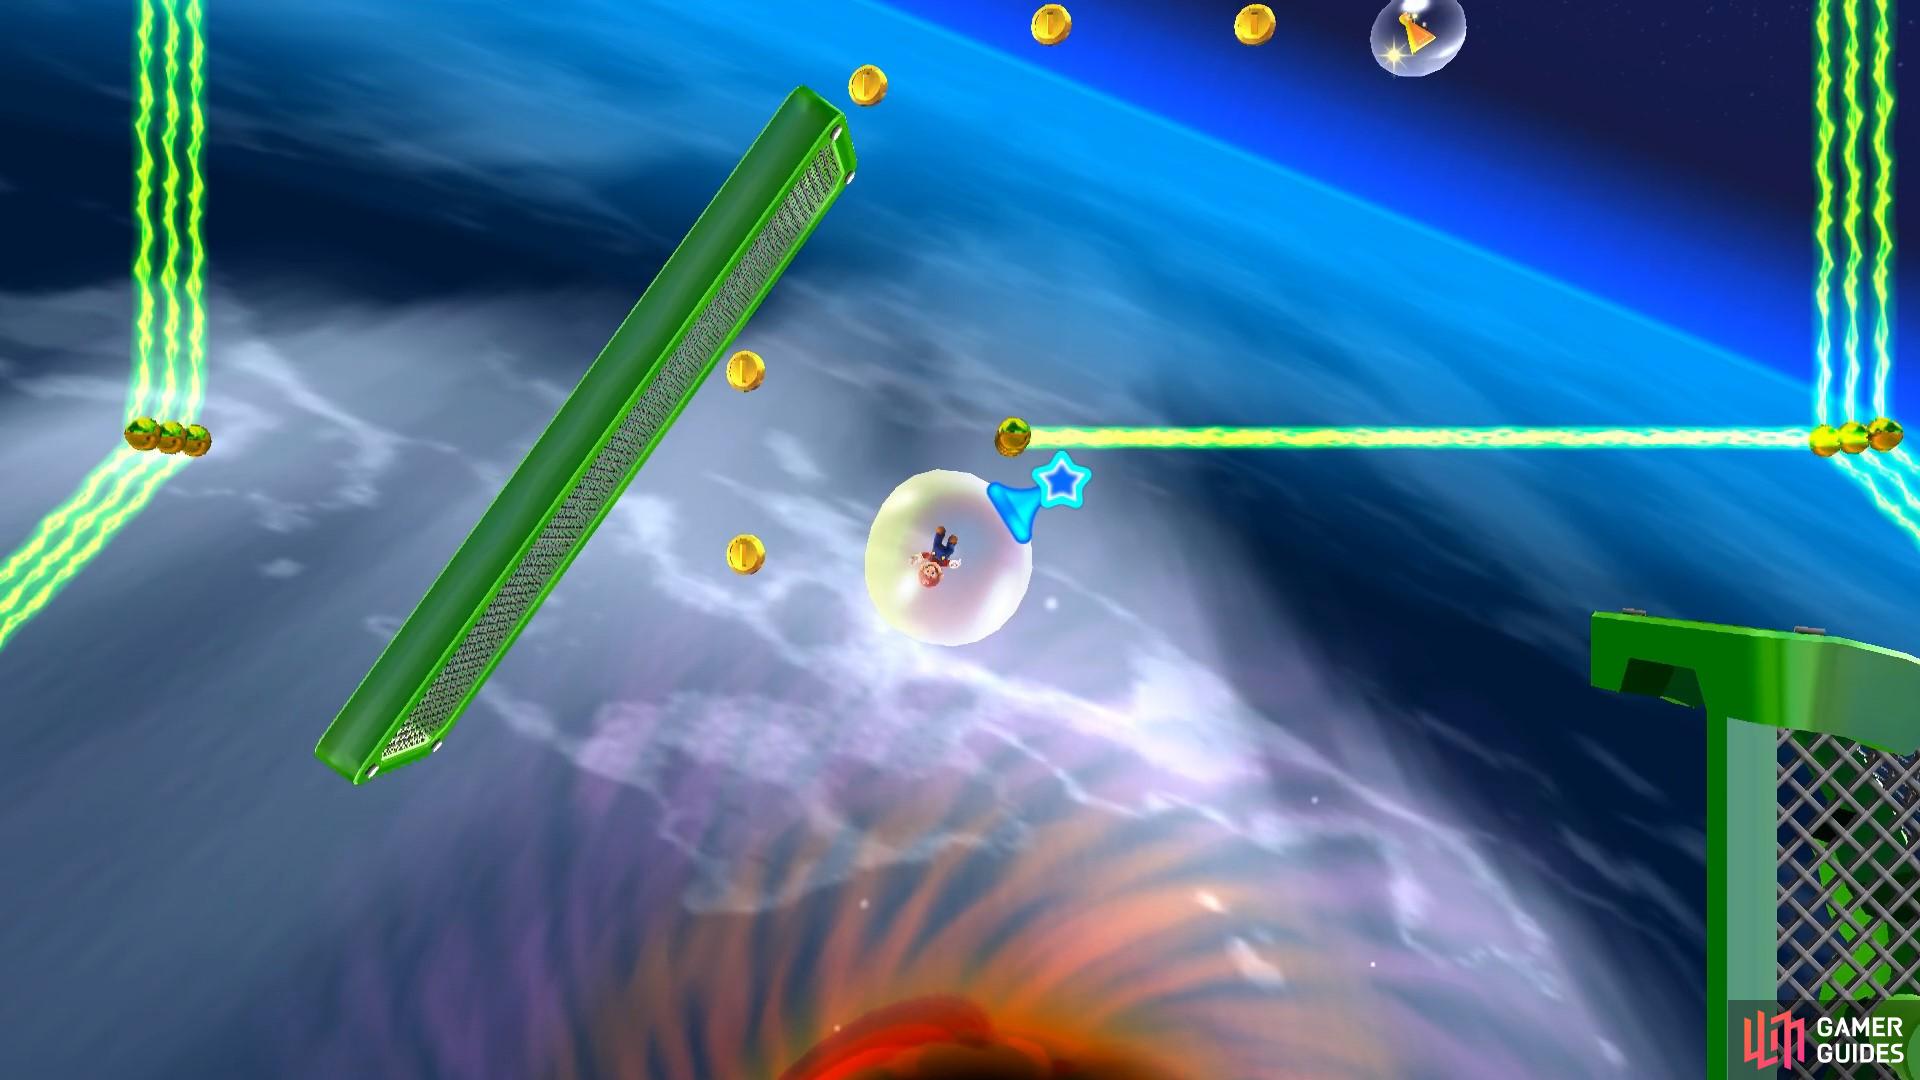
In this section, you’ll need to navigate past a series of rotating obstacles.
Top Right Warp Pipe
The top right warp pipe will take you to an area with several floating space mines. You’ll need to make your way down, navigating between the floating mines. Around two-thirds of the way down, you’ll be able to easily spot the second Star Chip. Grab it and then continue downwards until you float into a Sling Star that’ll take you back to the starting area.
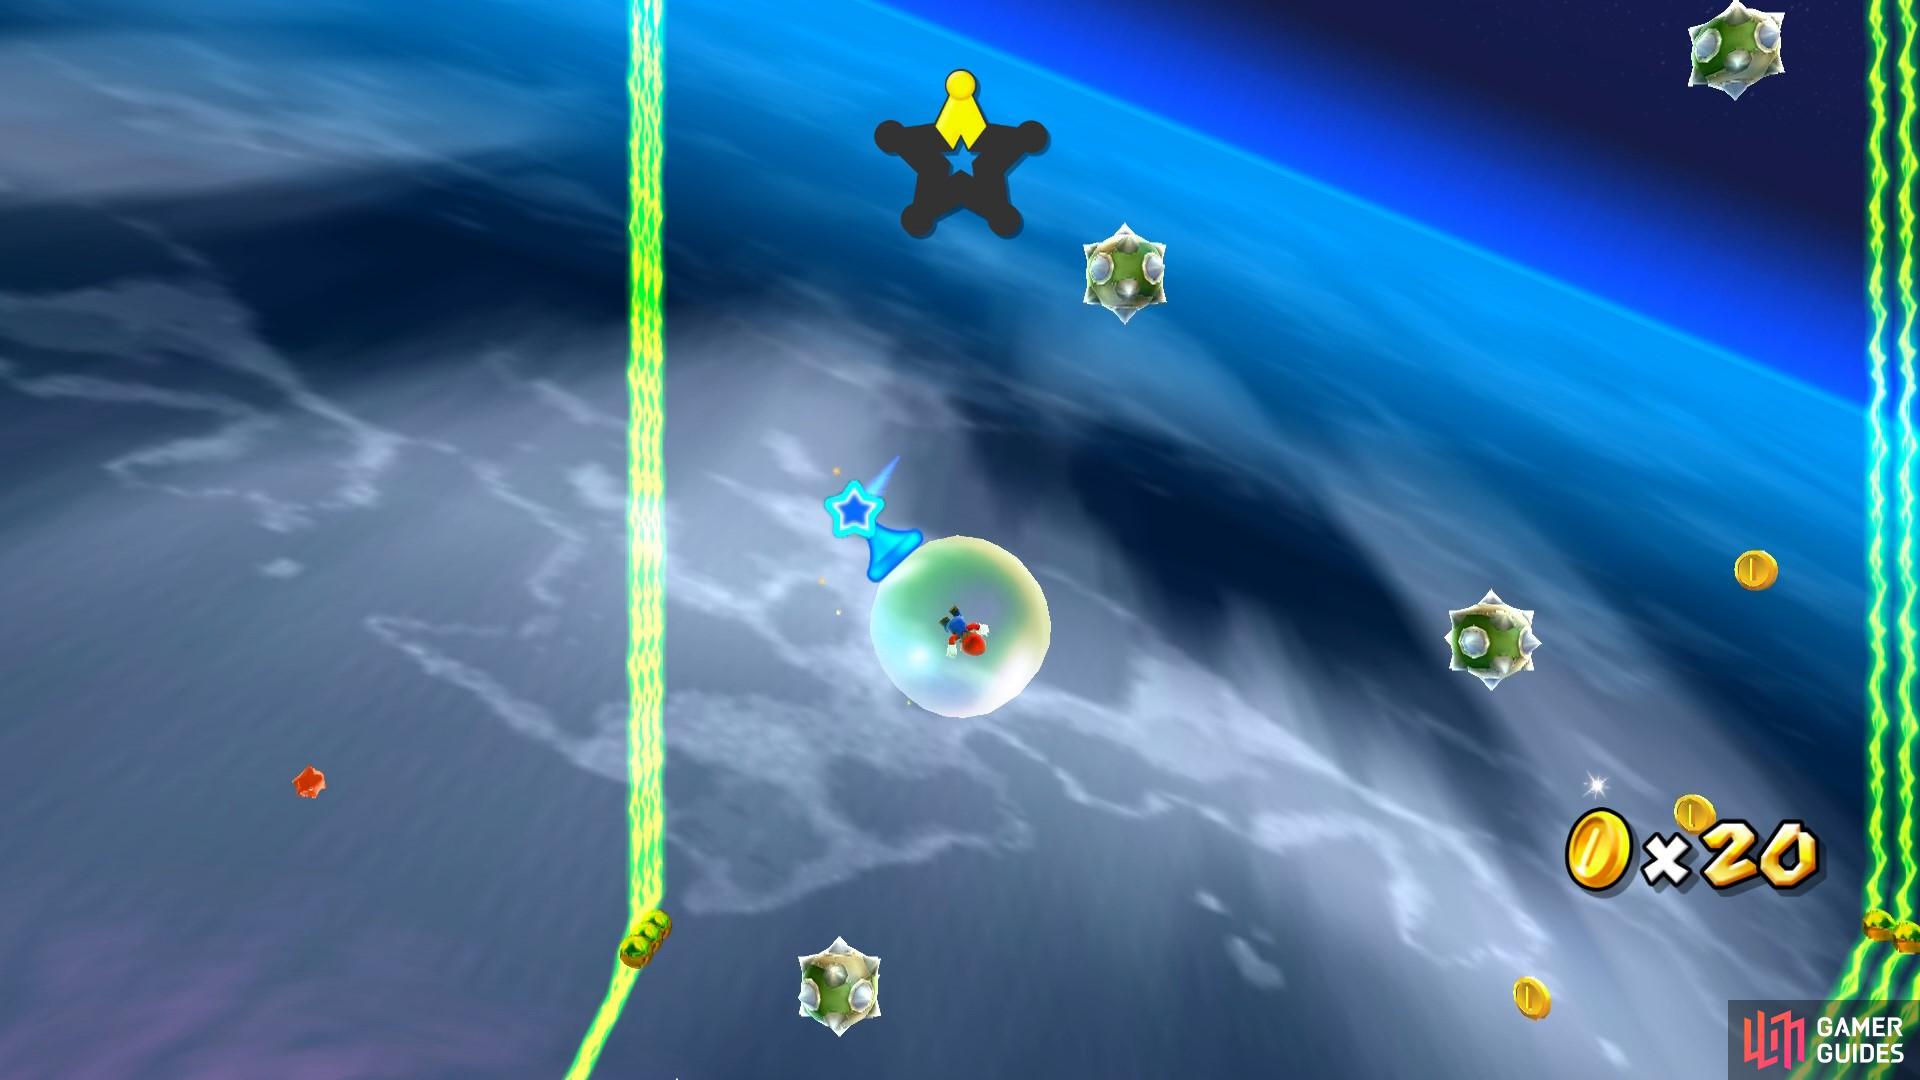
In this area, you’ll need to watch out for floating mines!
Bottom Right Warp Pipe
During this section, you’ll need to make your way to the right, past a fast moving amp. Shortly after moving past the first amp, you’ll be able to grab the Star Chip. Then, you’ll need to head to the right a bit more, and then go upwards. To move past this barrier of amps, you should move up near the edge of the electrical rails and then start moving to the left as the closest amp to you begins to descend. As you move to the left slowly, the other amps will also move downwards, leaving you with a clear path to the Sling Star.
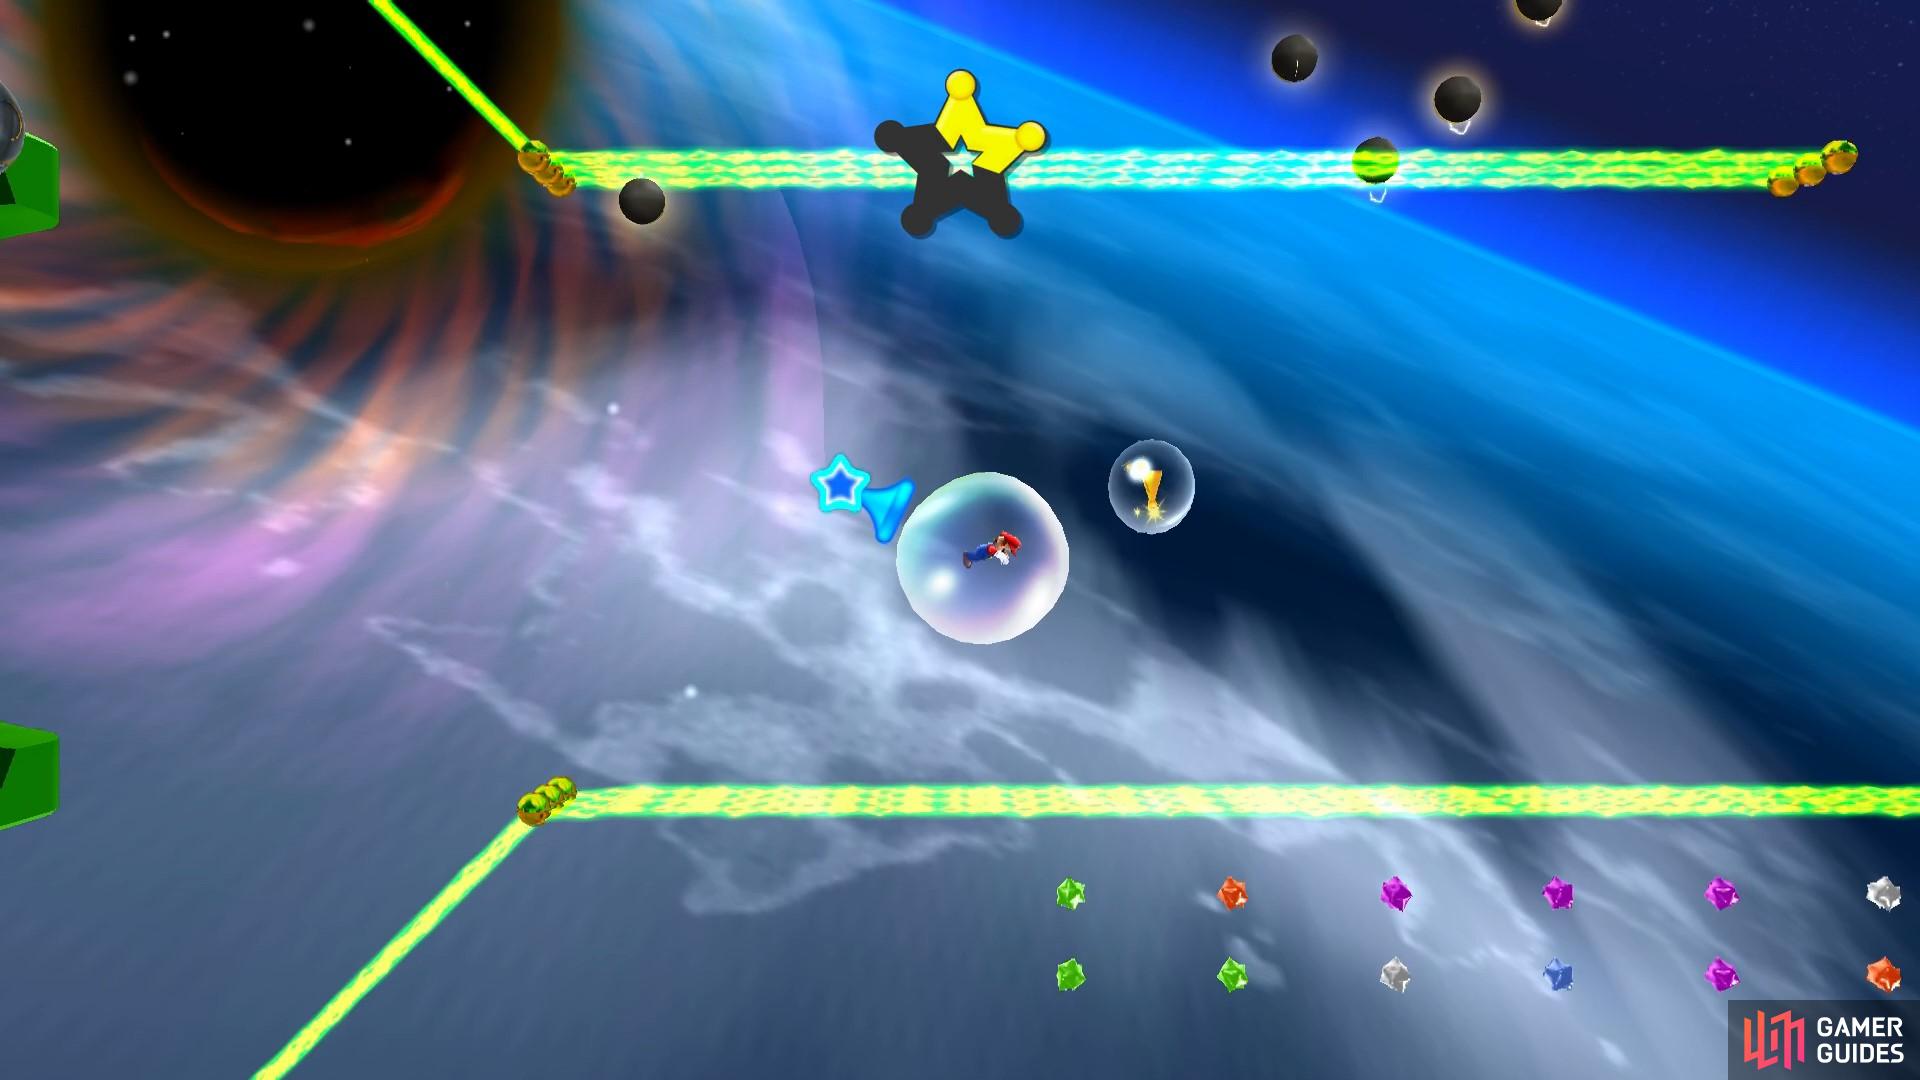
Watch out for the amps in the third warp pipe!
Bottom Left Warp Pipe
In this area, you’ll need to head left. Then, wait until the row of fire pressures turn off and quickly move through them to grab the Star Chip. If you went fast enough, you could head straight back through them again before they even turn on. But if you want to be safe, then wait for them to turn on then turn off again. When you’re back near where you started in this area, you’ll need to hug the platform as you move up, right and then downwards to get to the Sling Star.
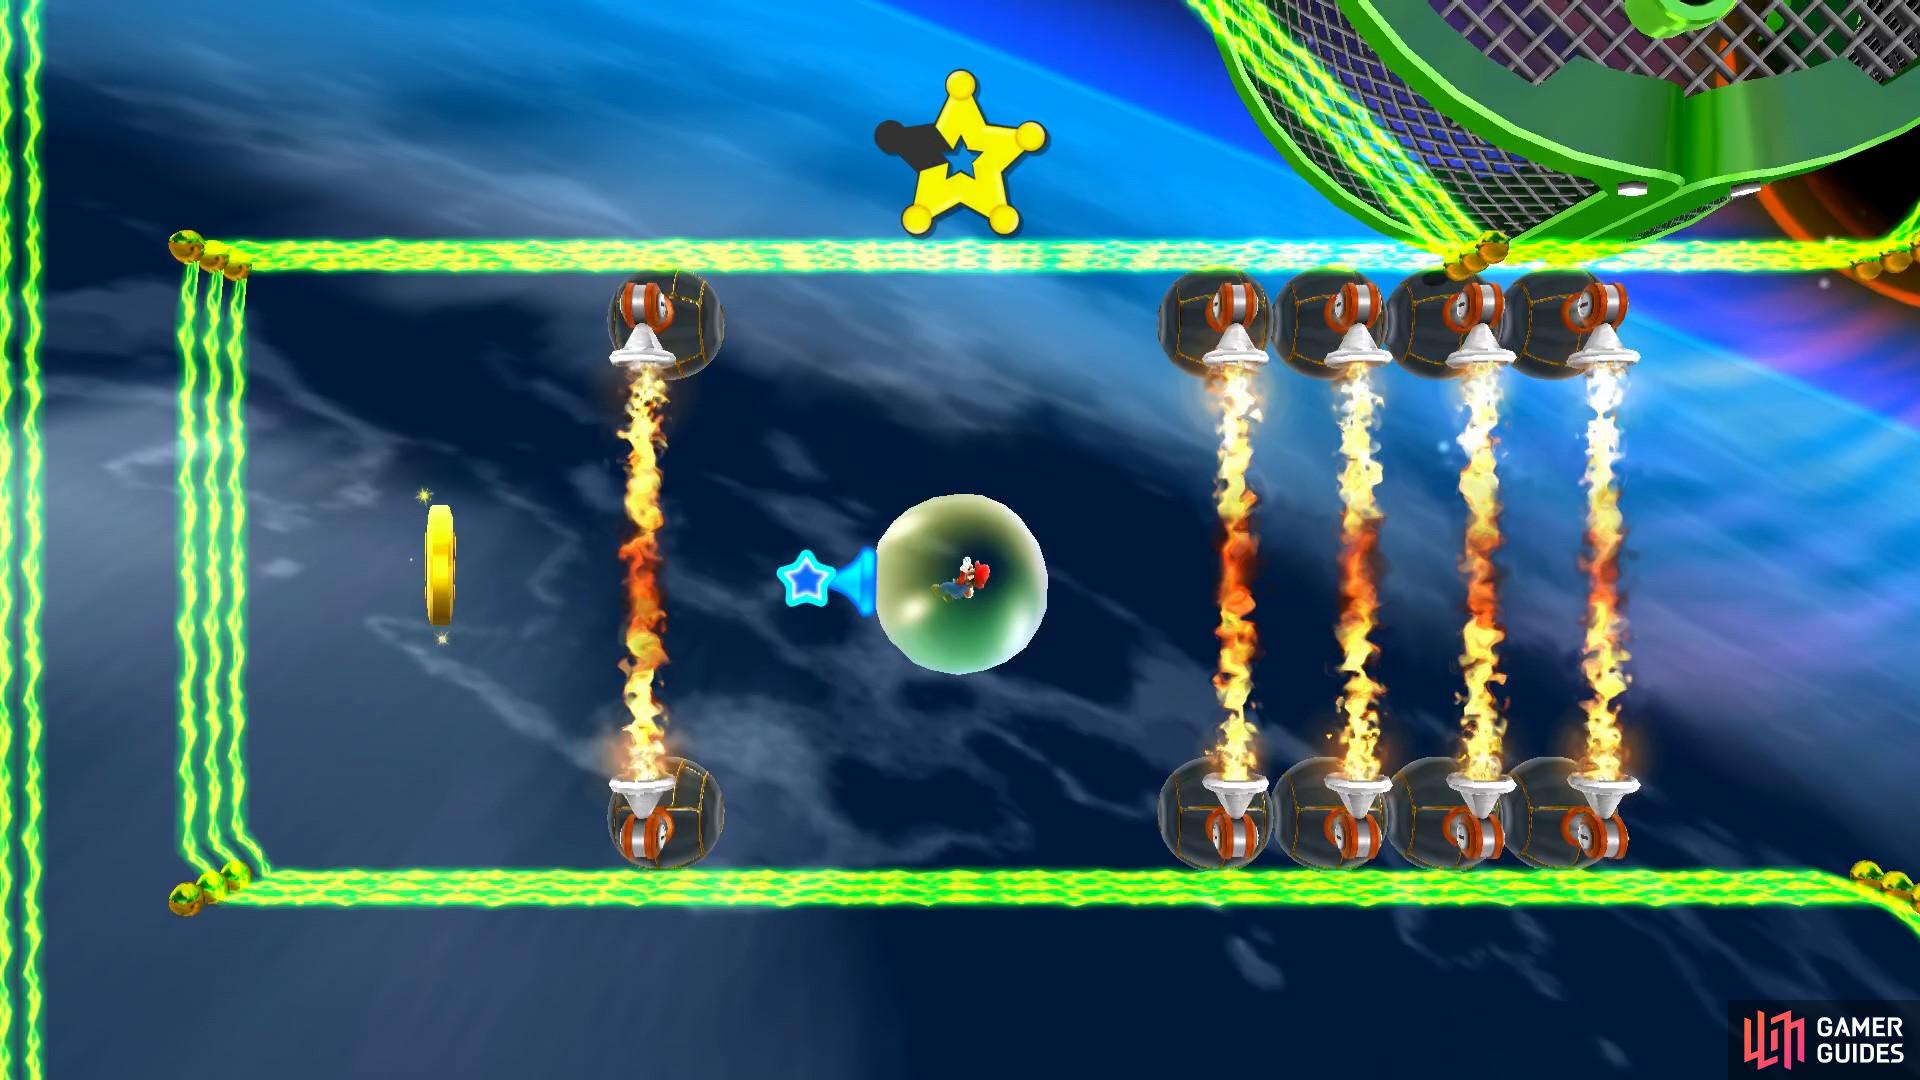
During this section, you’ll need to watch out for the fire pressures.
Top Left Warp Pipe
In the final warp pipe, you’ll need to make your way past a series of moving electrical rail barriers. This is straightforward enough, but make sure you leave enough of a gap between you and the electrical barriers as you could be inclined to race through. Even the slightest scrape against the ends of the barriers will result in your bubble being popped and having to begin again! Once you’ve gotten the Star Chip at the centre of a series of rotating electrical barriers, head north to take the Sling Star back to the starting area, where you’ll now find a Launch Star waiting for you!
In the final warp pipe, you’ll need to make your way past a series of rotating electrical rails.
Bullet Bill Run
In this next section, you’ll need to make your way through the course, all whilst being pursued by a Bullet Bill. Throughout the course are several Bullet Bill blasters. The Bullet Bills are easy to lead into obstacles so they explode, but you might also just want to speed up a bit as you’re going past a Bullet Bill blaster. This gives you a bit of a chance to either get a bit of a head start or even get rid of them all together as they won’t have a chance to lock onto you.
The course is a little tricky, as you’ll need to navigate a series of obstacles including metal balls, rotating platforms and floating mines. These can all be easy to avoid, so long as you’re not also floating away from a Bullet Bill. Things get a little tricky when you’re trying to navigate mines whilst you also have a Bullet Bill hot on your tail. The best way to deal with this is to get rid of the Bullet Bill as soon as you can by either zooming past them or guiding them into obstacles.
Near the end of the course, you’ll need to make a mad dash past a whole row of Bullet Bill blasters. You’ll need to hold A to blow lots of air and speed up your bubble. When you’ve gone past all of the blasters, you’ll need to quickly navigate around a final ball obstacle to get to the Power Star!
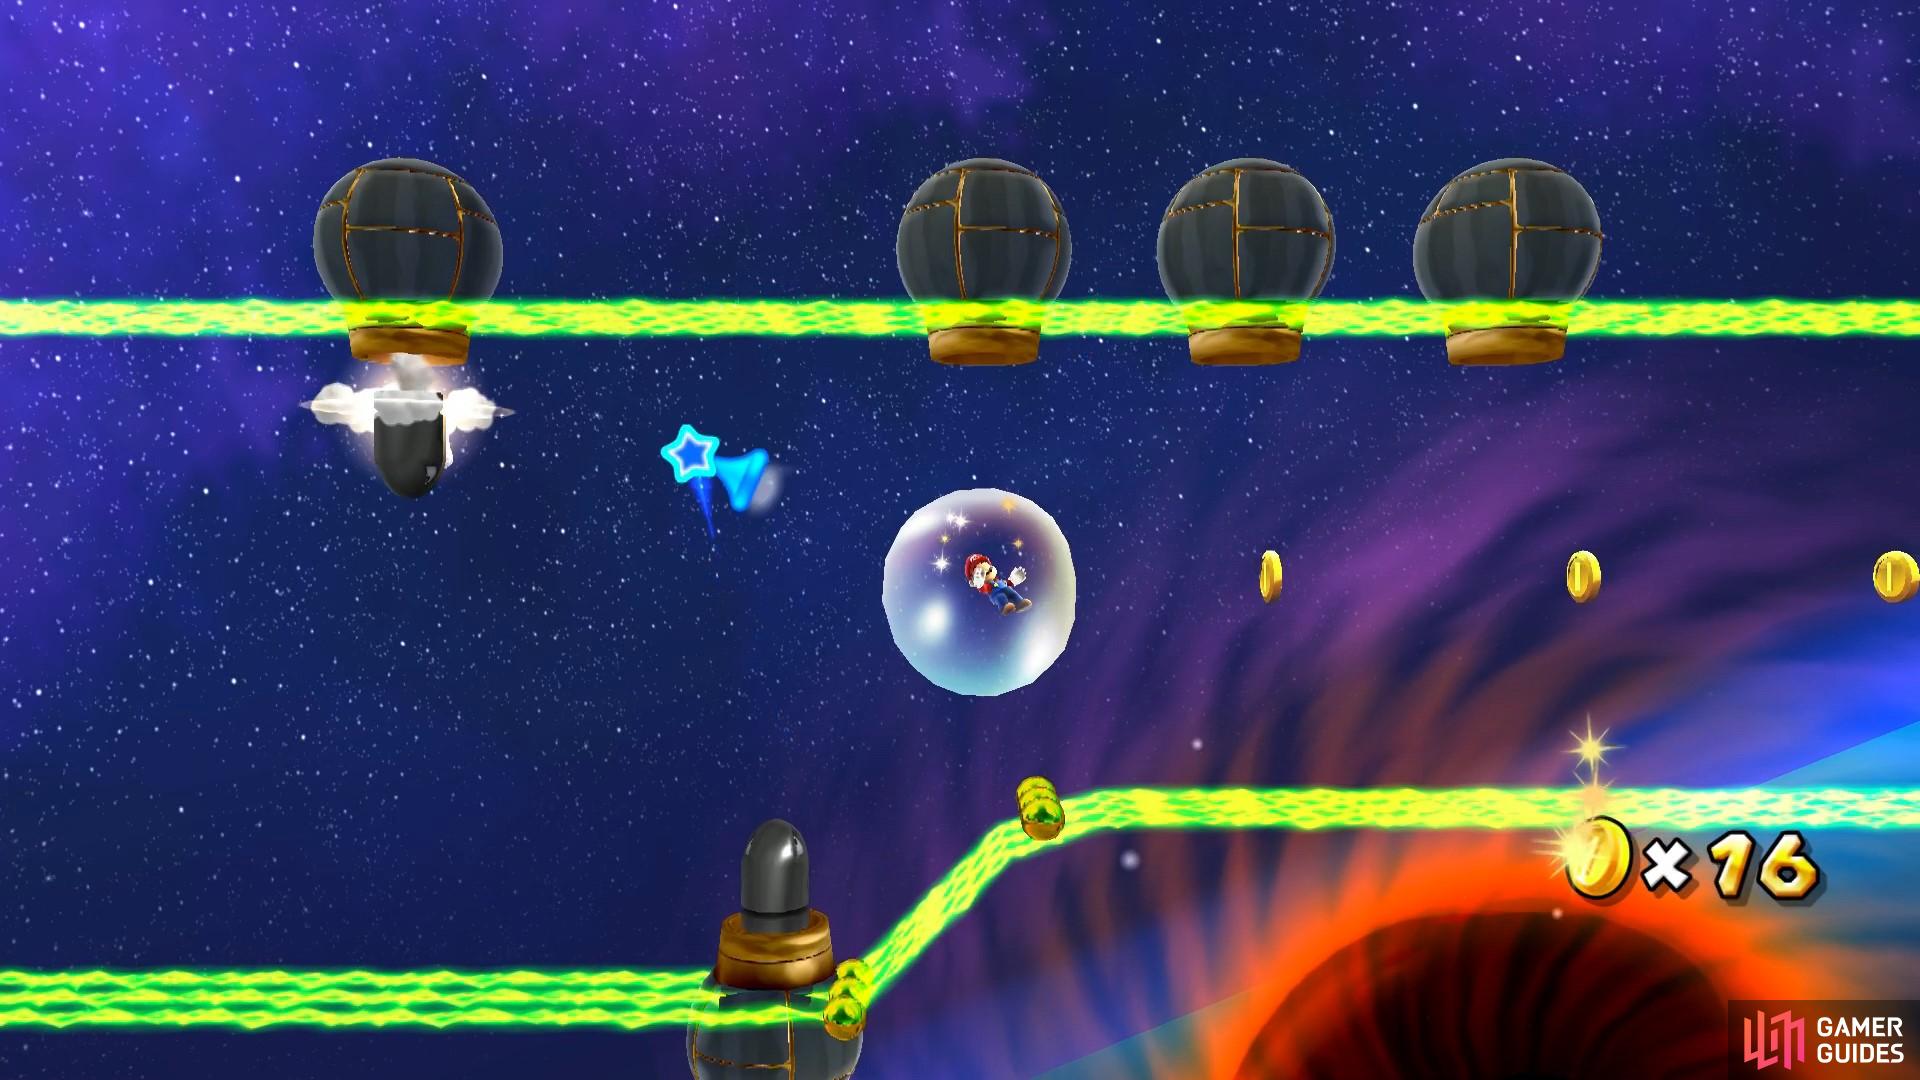
That’s a lot of Bullet Bill blasters!
No Comments