


Description
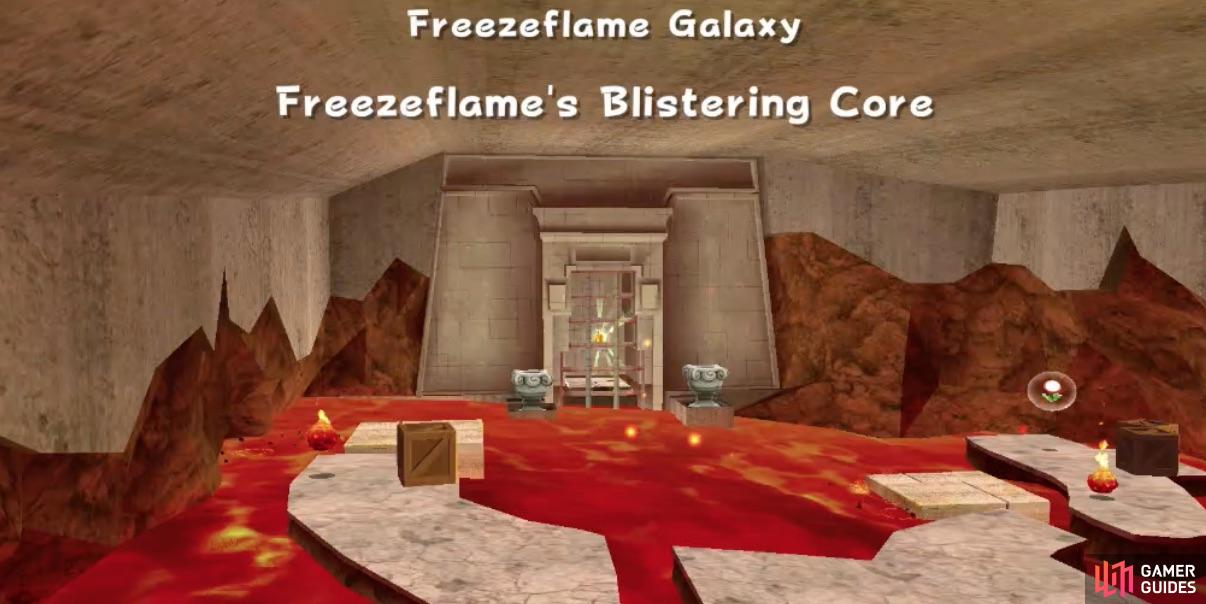
This page offers a walkthrough for Freezeflames Blistering Core Power Star found in the Freezeflame Galaxy. This galaxy is found in the Bedroom dome.
Collecting Star Chips
Starting off you will find yourself on the familiar ice ring planet, similar to the other levels in this galaxy. However, to get off this planet this time round, you need to find all the Star Chips to make the Launch Star appear. The Star Chips will be scattered around the ring.
A new hazard added to the starting ring planet two boulders circling the inside. Once you collect all Star Chips a Launch Star appears in the middle of the planet along with several Pull Stars. Use the Pull Stars to get you to the center of the ring, where you can then launch yourself to the next area.
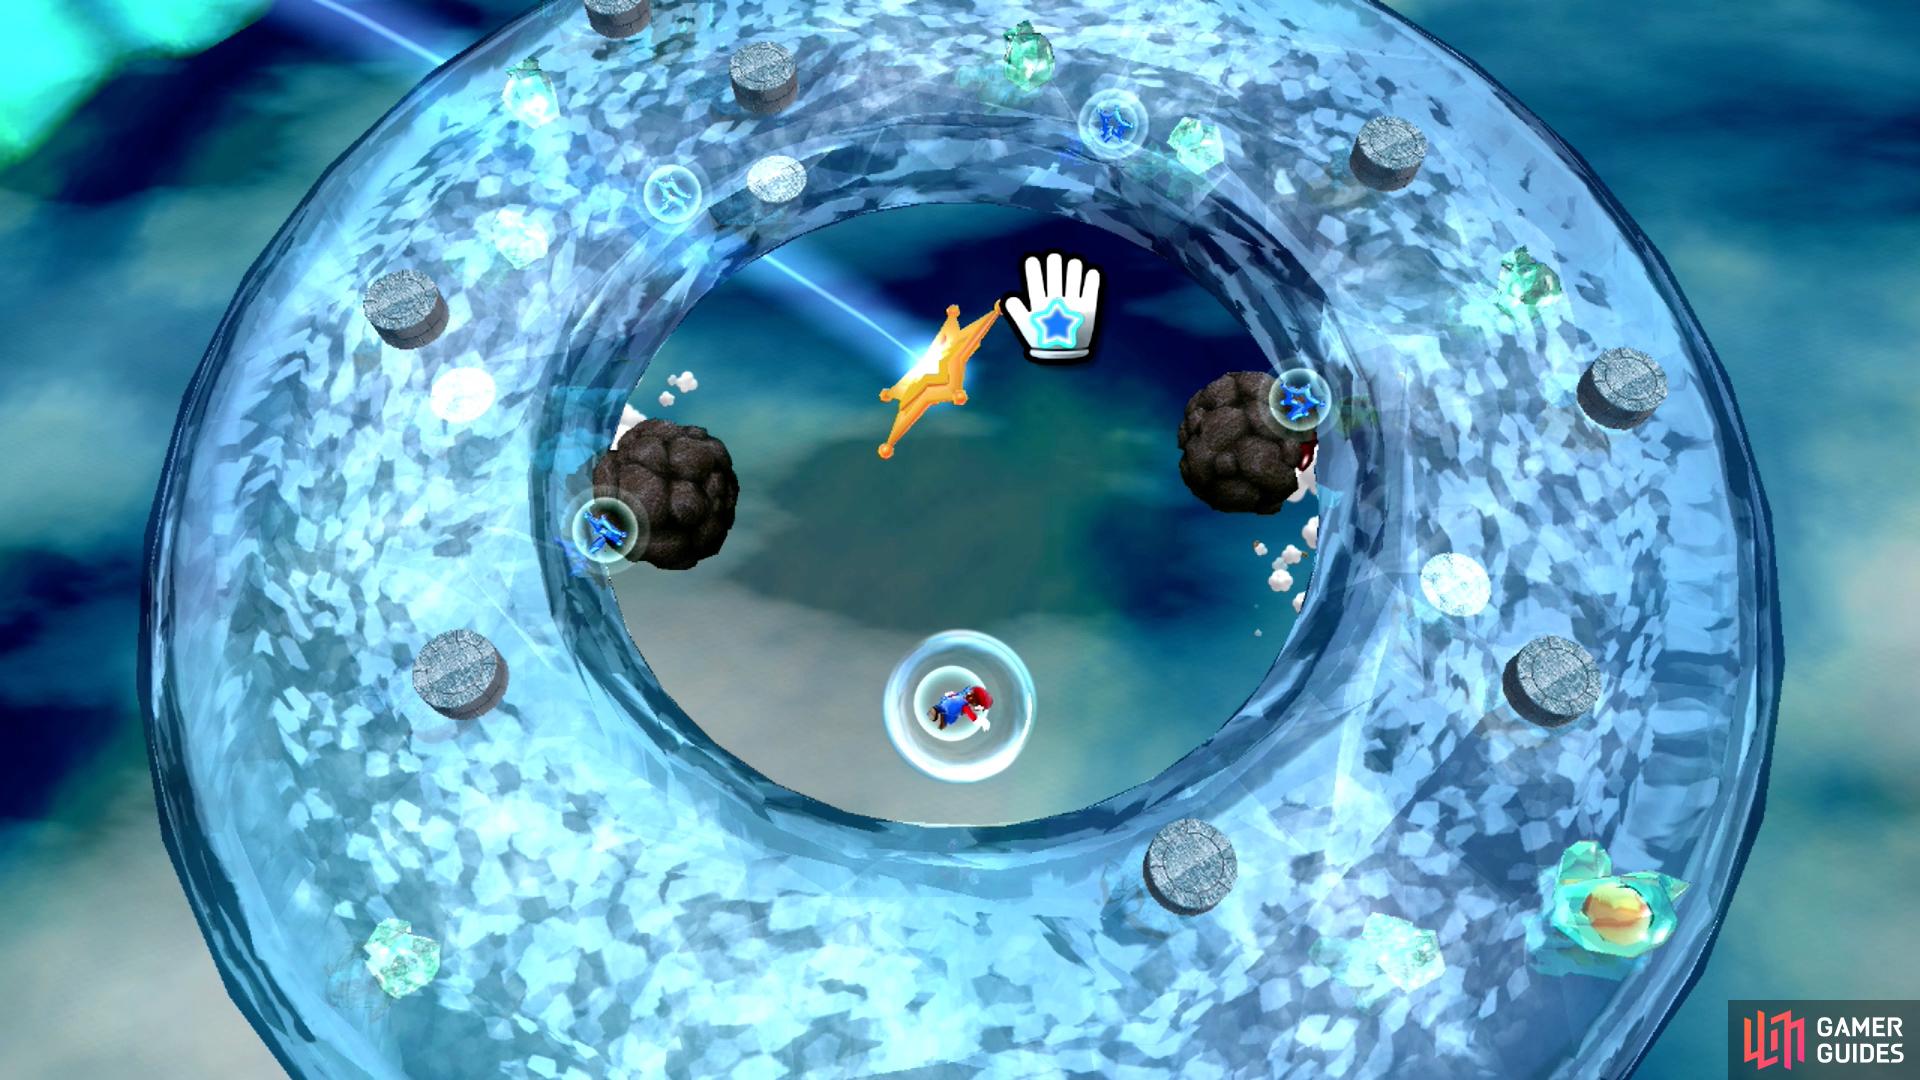
You need to use different Pull Stars to get you in the right position to access the Launch Star.
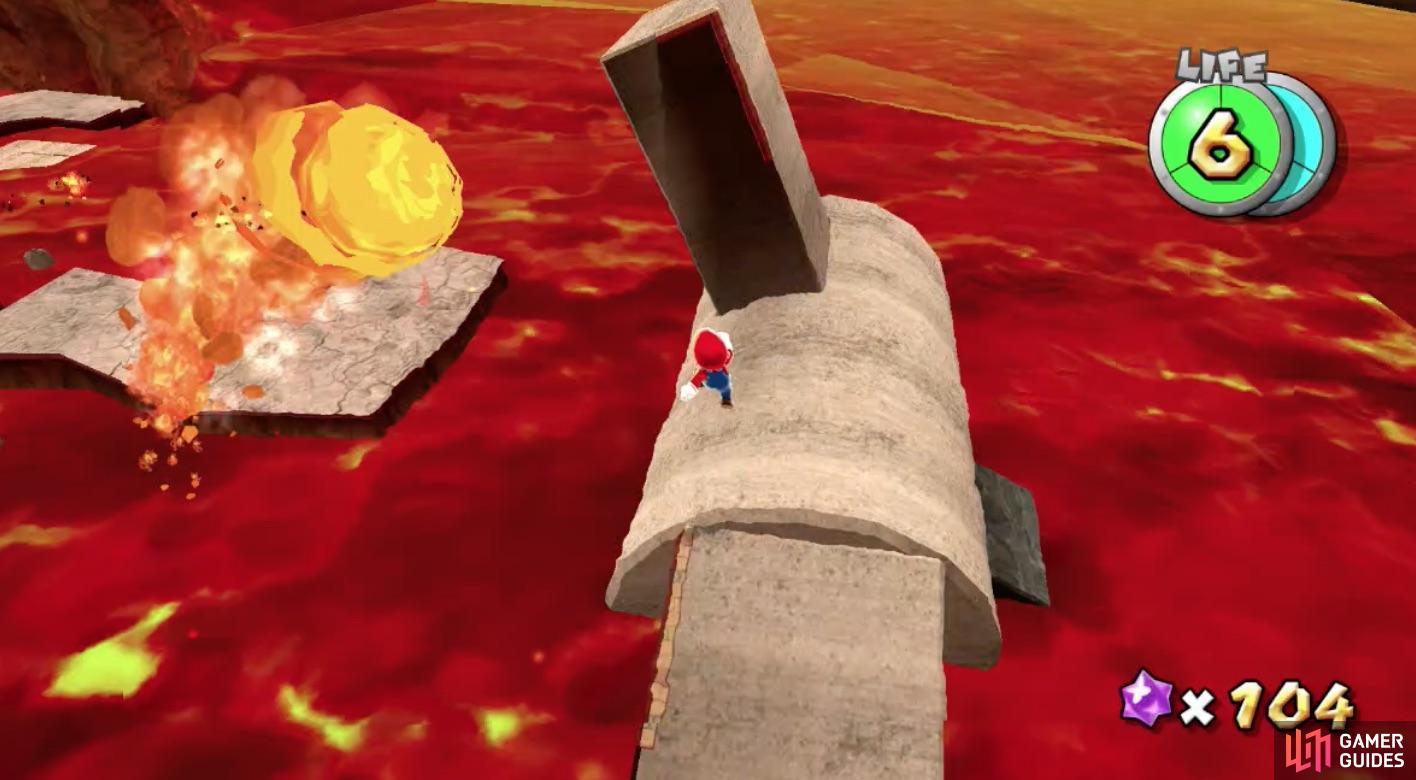
The Molten Core
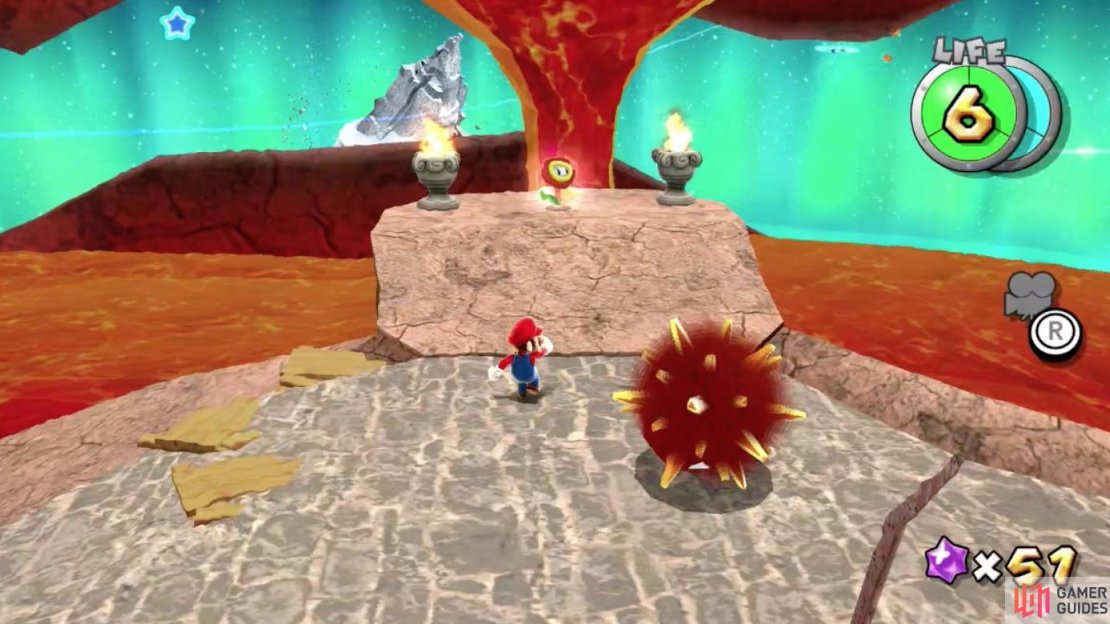
The next planet you land on will have a large concentration of lava in the surrounding area with stone structures you’ll use to traverse the level. Follow the path heading towards the next platform and you’ll encounter Red Urchins, who will roll towards you when they see you. They can only be defeated by fireballs or falling into the lava.
Red Urchins may be tough but they are quite slow and they can be led into the lava to be defeated.
Follow the path up the stairs and you’ll see a lot of crates. If you spin attack them to break them open you will mainly find Star Bits and Coins. You will see two stone structures and on each of them will have a torch and an arrow pointing upwards. You wont be able to access where they lead just yet but you will return their shortly. Before heading up the pole and off to the next area, within the second structure there will be a Life Mushroom for you.
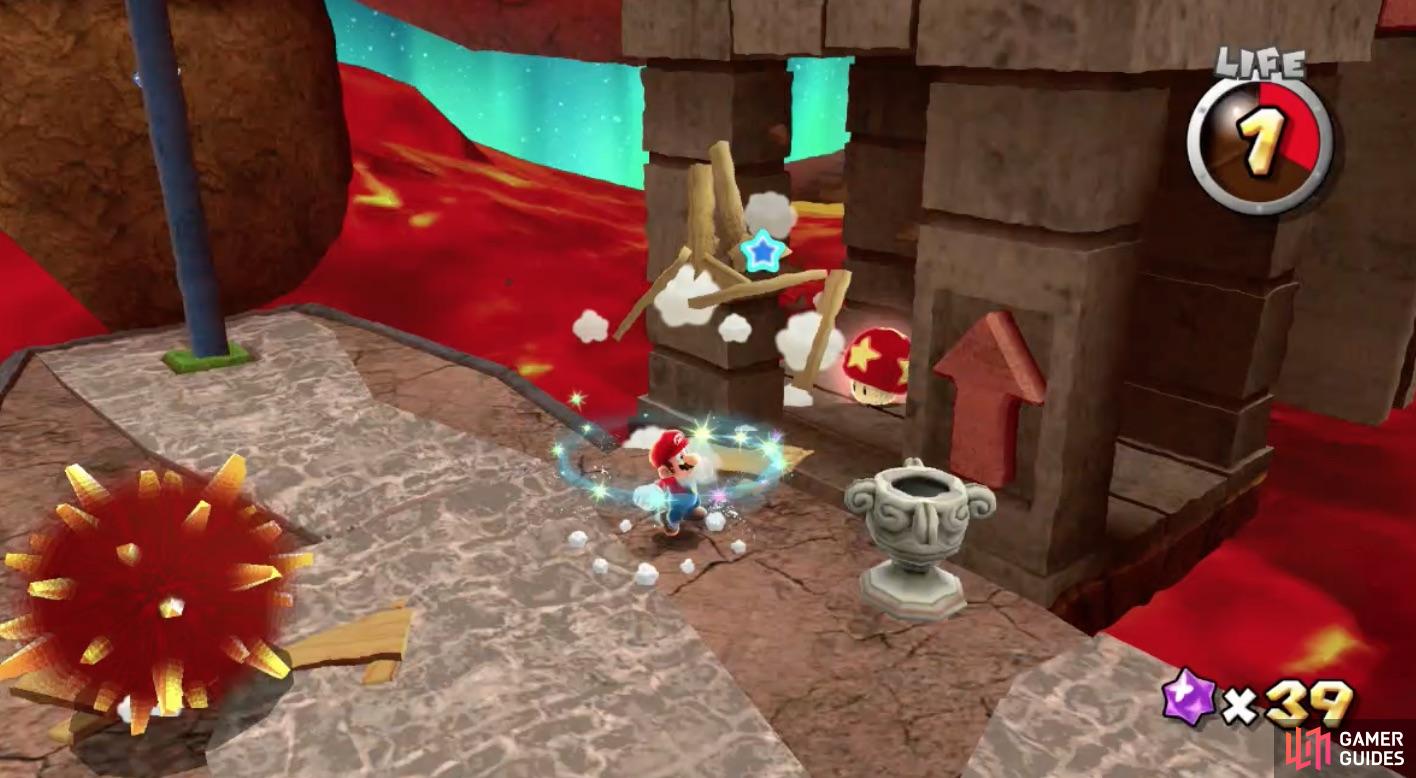
Before heading up the pole, grab the Life Mushroom. Always better to have more life!
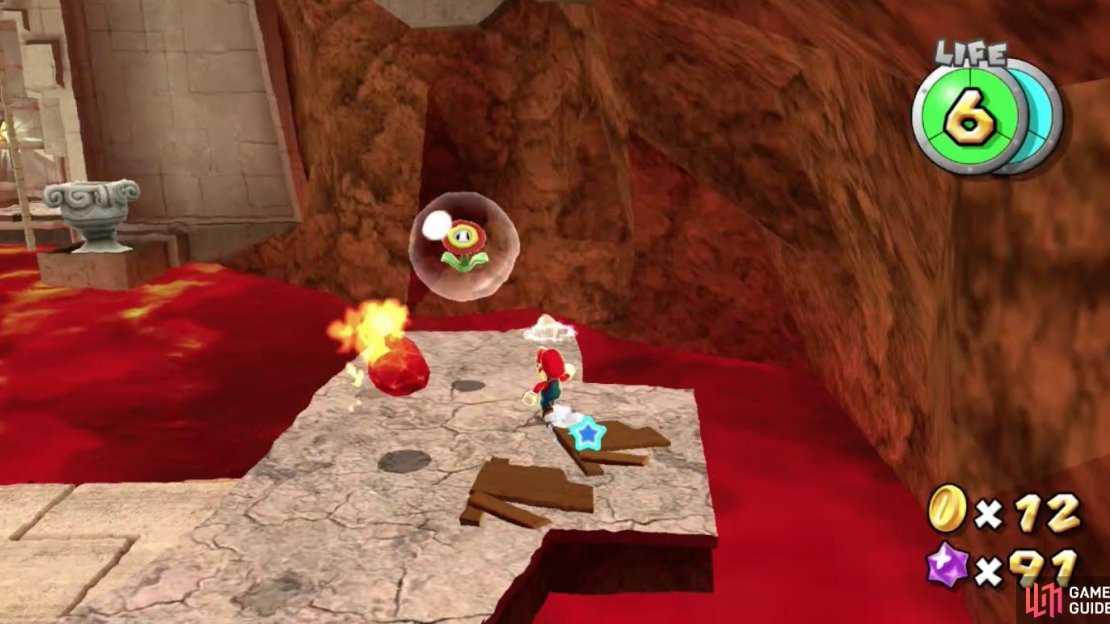
Fire Mario’s Ignights the Torch
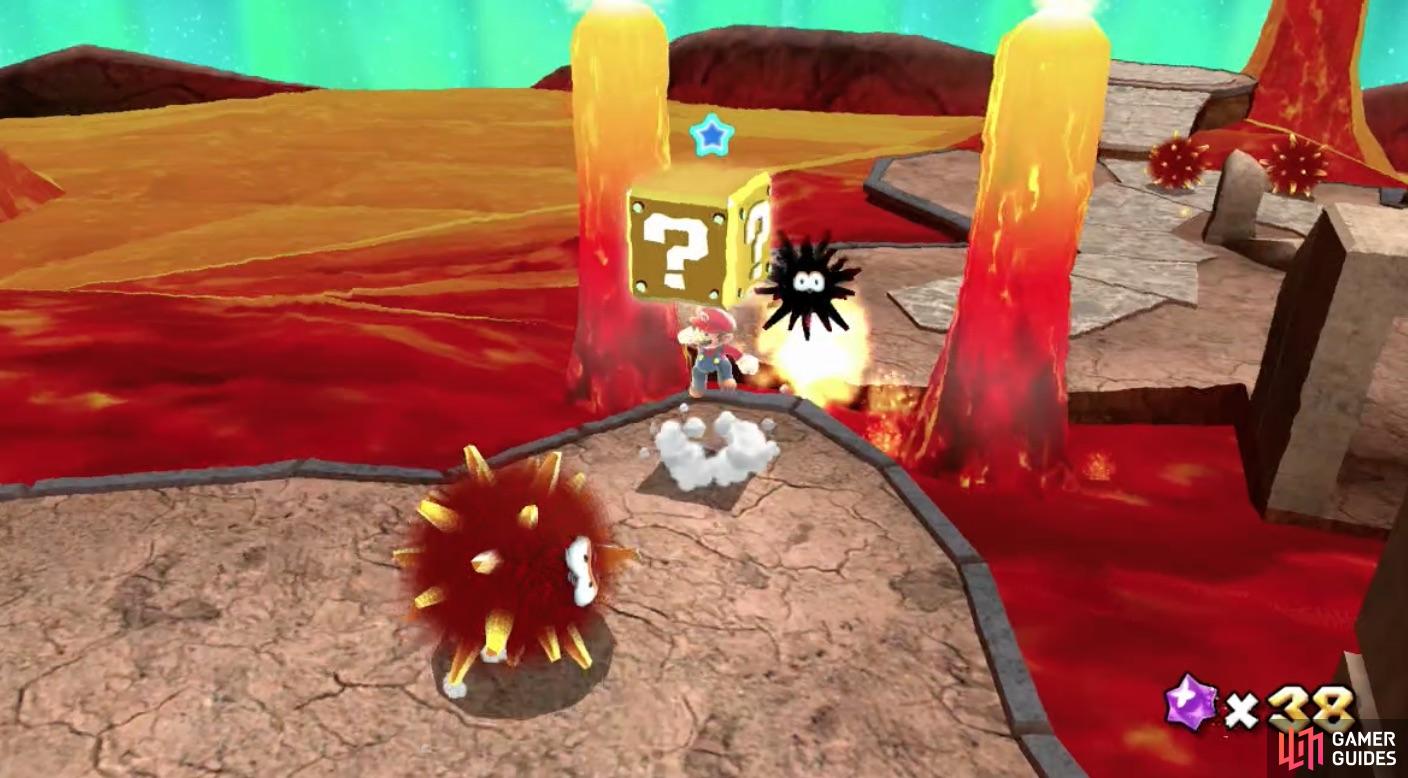
Head up the pole and follow the stone platforms and you will find a ? Coin at the end of Red Urchin filled path. At the end of this path there will be a closed gate which can only be opened when certain torches are lit. Touching the ? Coin will cause the Fire Flower to appear at an earlier point in the path.
Once you get it, you’ll now be able to defeat Red Urchins with ease with your fireballs by pressing Y. To open the gate to the path in front of you, you need to ignite the torch that’s next to the gate. Ignite the torch by shooting fireballs at it and when it’s lit, the gate will open.
When the gate opens you’ll find it opens up to the area where you were previously with the two stone structures with the arrows. To get access to the next area you have to ignite the torches with your fireballs. If the Fire Flower has worn off you can simply head back to claim it again, as it will respawn in the same place. As those torches become lit, a set of stairs will appear to lead you to the next area.


(1 of 3) Getting the ? Coin will make the Fire Flower appear on this platform you passed earlier
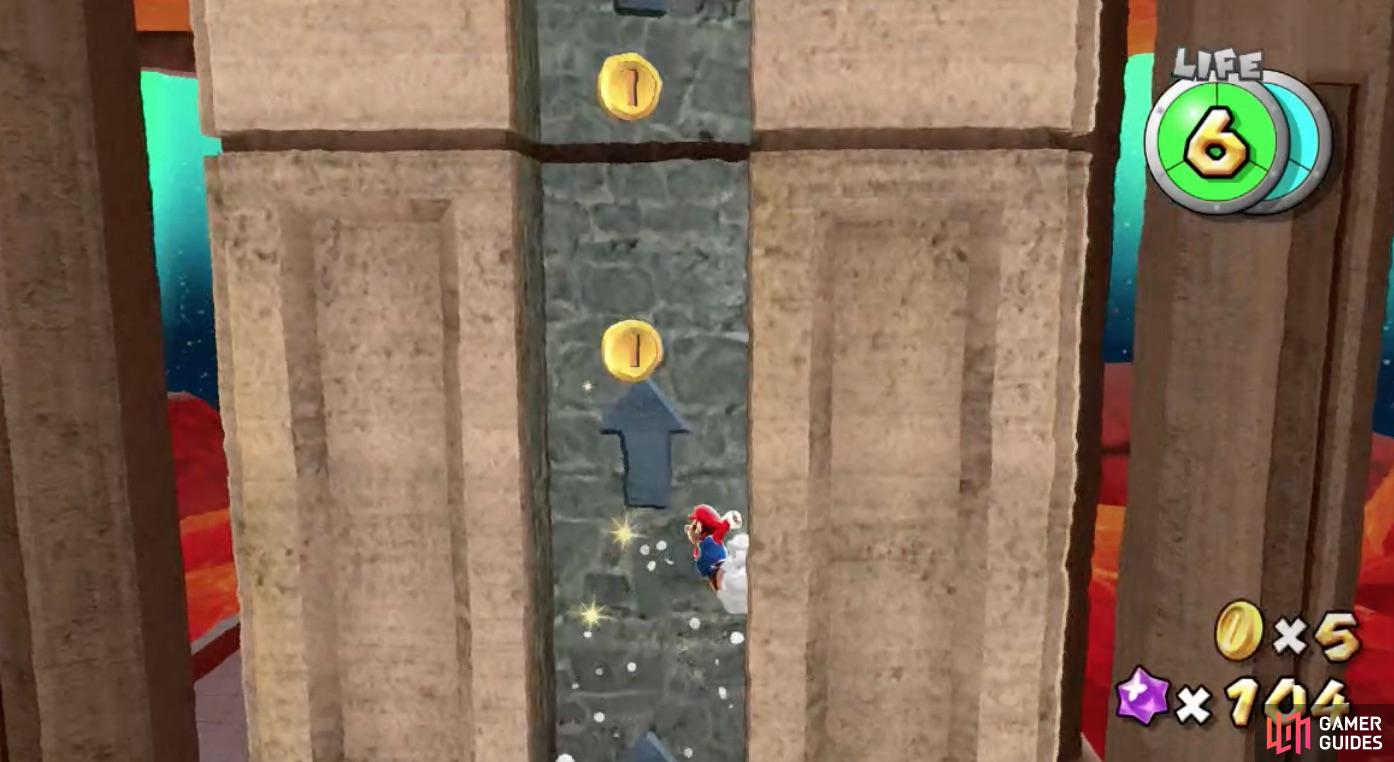
A Shift in Gravity
Making your way up the stairs you will find yourself at a dead end. You need to jump to the platform above you, which will cause the gravity to shift and flip your perspective. Continue forward taking care where you step, as the cylindrical platforms can rotate and cause you to slip and fall into the lava.
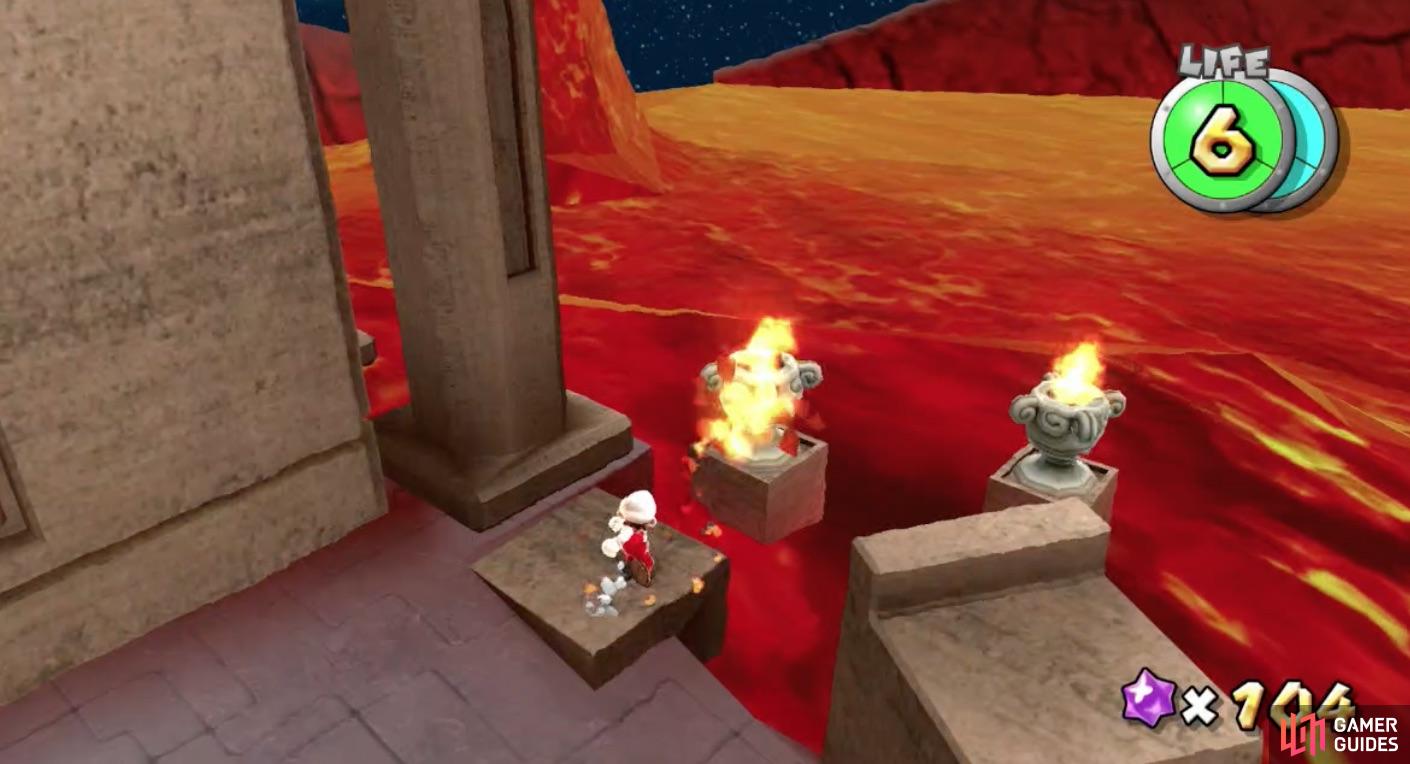
You will be faced with an uphill path with Red Urchins spawning and rolling down towards you. You can use the wooden crates as cover as the Red Urchins wont be able to break through. There’s a Fire Flower power up available that you need to use to light the torches on the left and right at the end of the path.
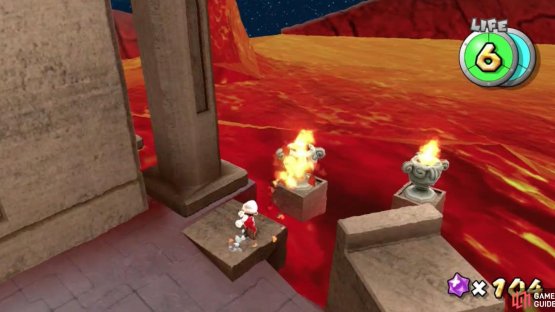
(1 of 2) Lighting all the torches in an area will grant you access to the next area
Lighting all the torches in an area will grant you access to the next area (left), making the wall rise and allowing you to wall jump to the next area. (right)
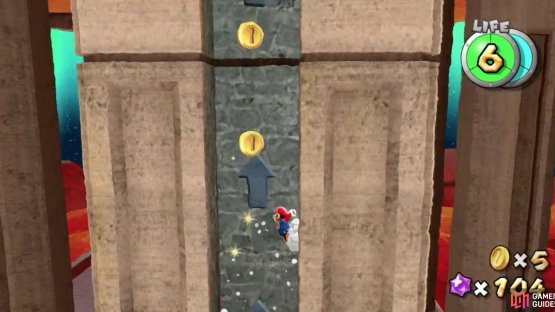
Having the torches lit will make the wall rise and create an opening for you to wall jump to get to the high ground. When you wall jump to the highest point you can reach the gravity will flip again, taking you to a new area.
Platforms in Motion
There will be rotating platforms as you make your way further into the level. Due to their shape you have to stand in a certain spot to make the rotating platforms to move into a position so you can cross to the next platform.
You have to rotate these platforms to make it to the next one!
When you make it past the rotating platforms, you’ll find yourself in an area that has Li’l Cinders and Steam Jets. The Steam Jets will act as hazards but the Li’l Cinders will go for you similair to that of Li’l Brr’s. They will attempt to tackle you to try to inflict damage. They can be defeated by spinning or shooting a Star Bit to put them out, which will make them vulnerable for you to run at them to kick them. However, if you kick them back into the lava they will reignite.
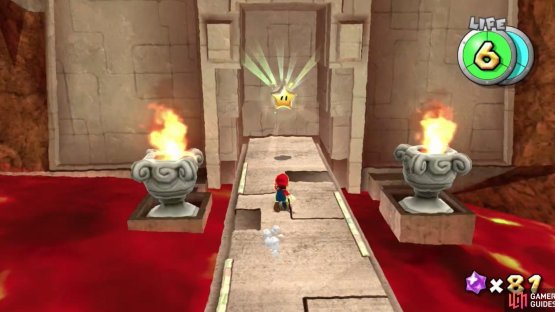
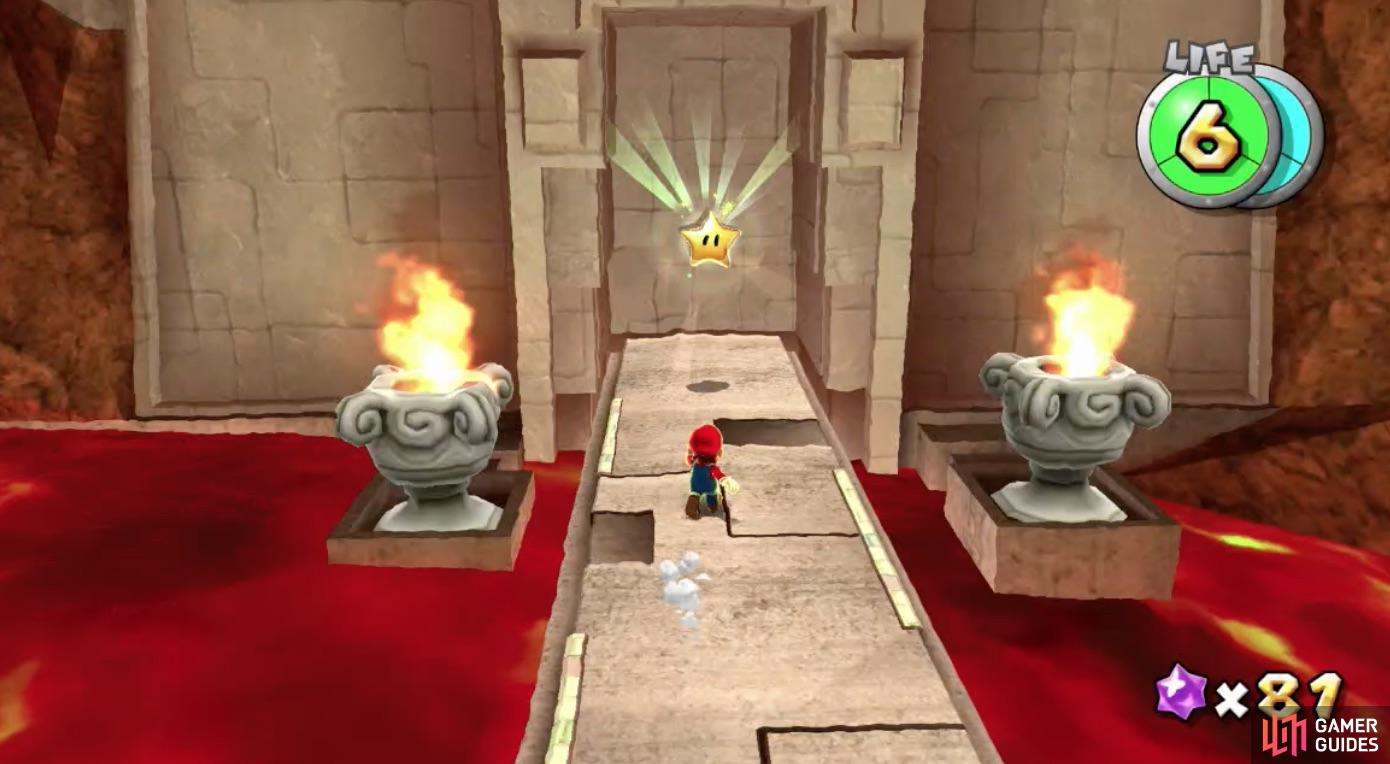
There’ll be a row of moving platforms heading right, which you’ll need to ride to get to the next path. At this point you’ll be able to see the Power Star behind a gate in front of a row of continuously moving platforms. To gain access you’ll need to light the torches positioned out the gate. There’ll be a Fire Flower for you to use in the corner of this area. Once you’re Fire Mario you need to ignite the torches as you’re on the moving platform.


(1 of 3) The final area will have a Fire Flower waiting for you
When the torches are lit the gate will open and the platform under the Power Star will extend, giving you access to the star.

(1 of 2) Ride the moving platform and jump onto the extended path

Ride the moving platform and jump onto the extended path (left), to claim your well deserved Power Star. (right)
No Comments