


(1 of 2) The clock’s face is the entrance to this course
The clock’s face is the entrance to this course (left), The minute hand determines whether time is moving or stands still (right)
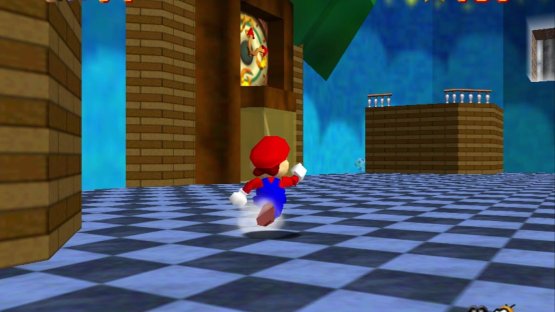
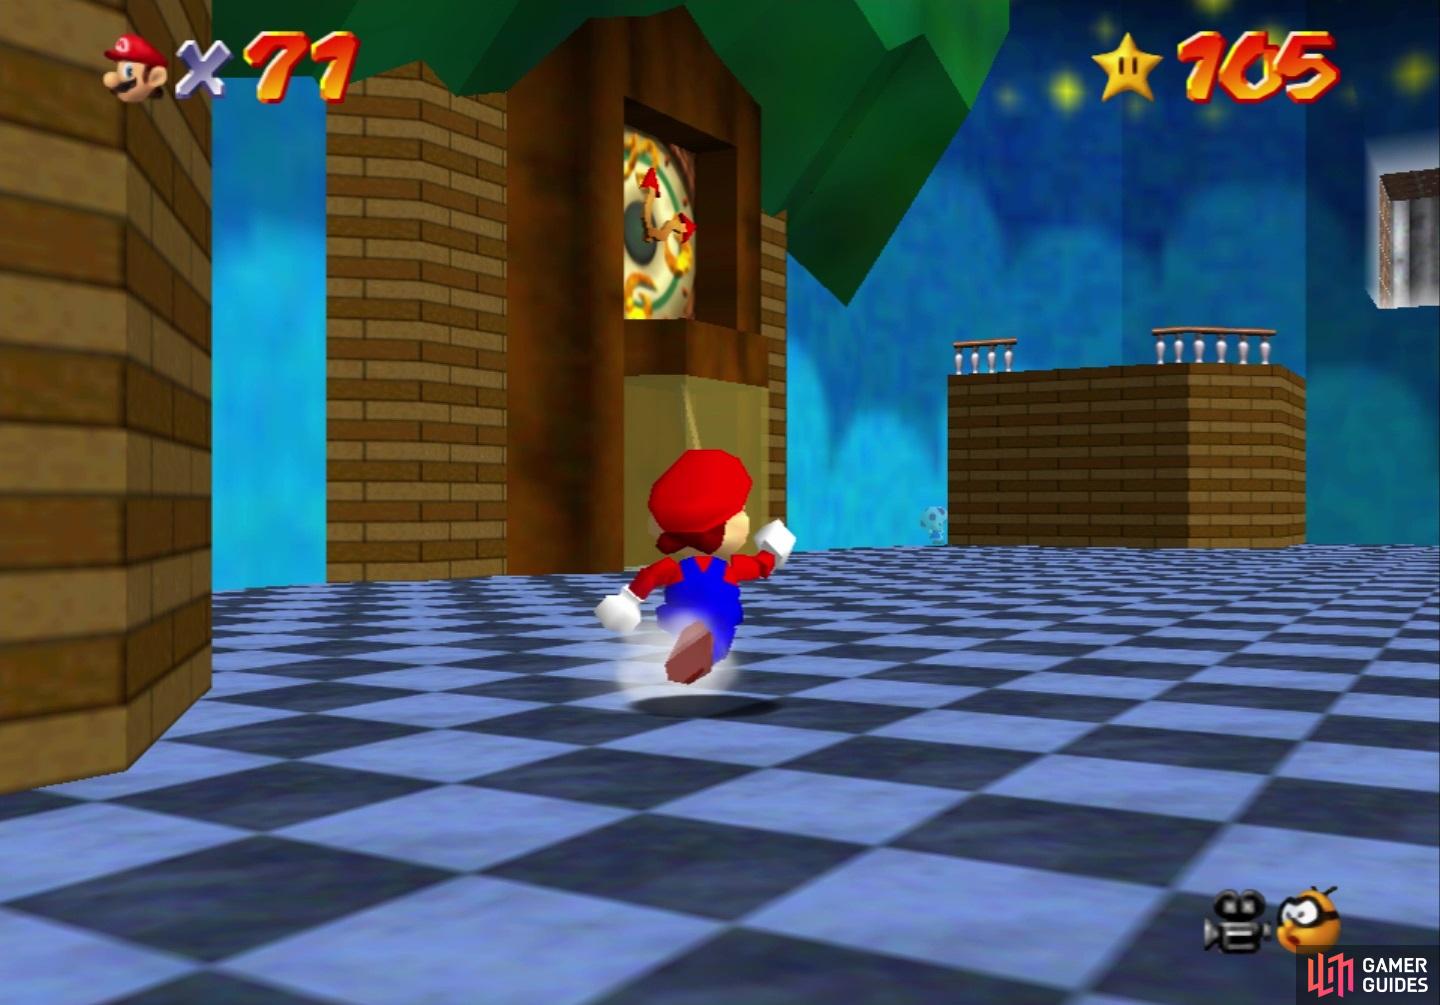
To get to this course, you will need to clear Bowser in the Fire Sea in the basement of the castle to get a key that opens the door in the main lobby. Go up the stairs to the next floor, then look for the next set of stairs to find a large door with a star on it. This requires 50 stars in order to open it, which leads to the final area of the game. There will be a large grandfather clock straight ahead and the entrance to this course will be the face of the clock. However, there is a bit of a catch with this course, as depending on the time upon which you enter the course, the parts inside will be moving or not.
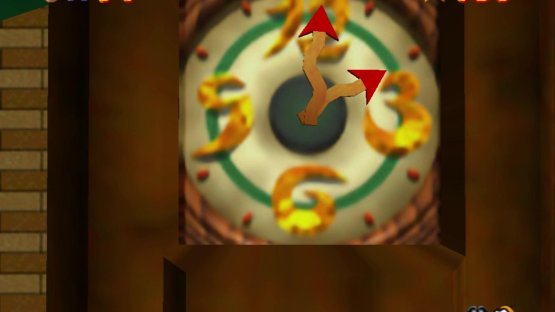
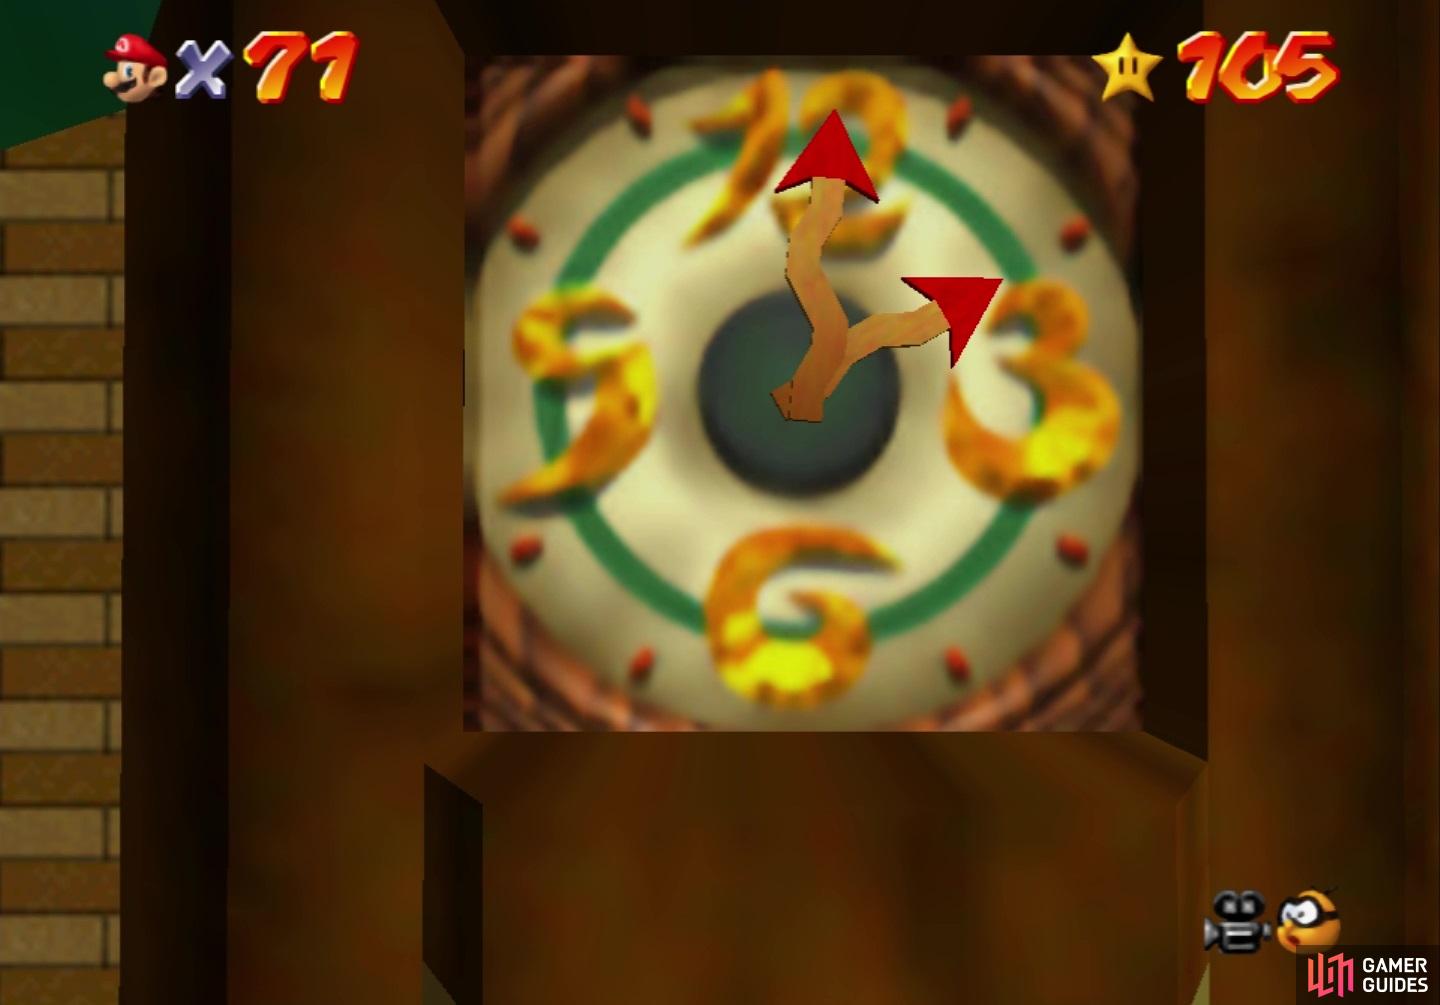
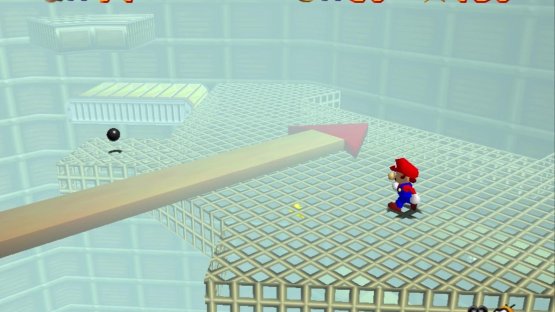
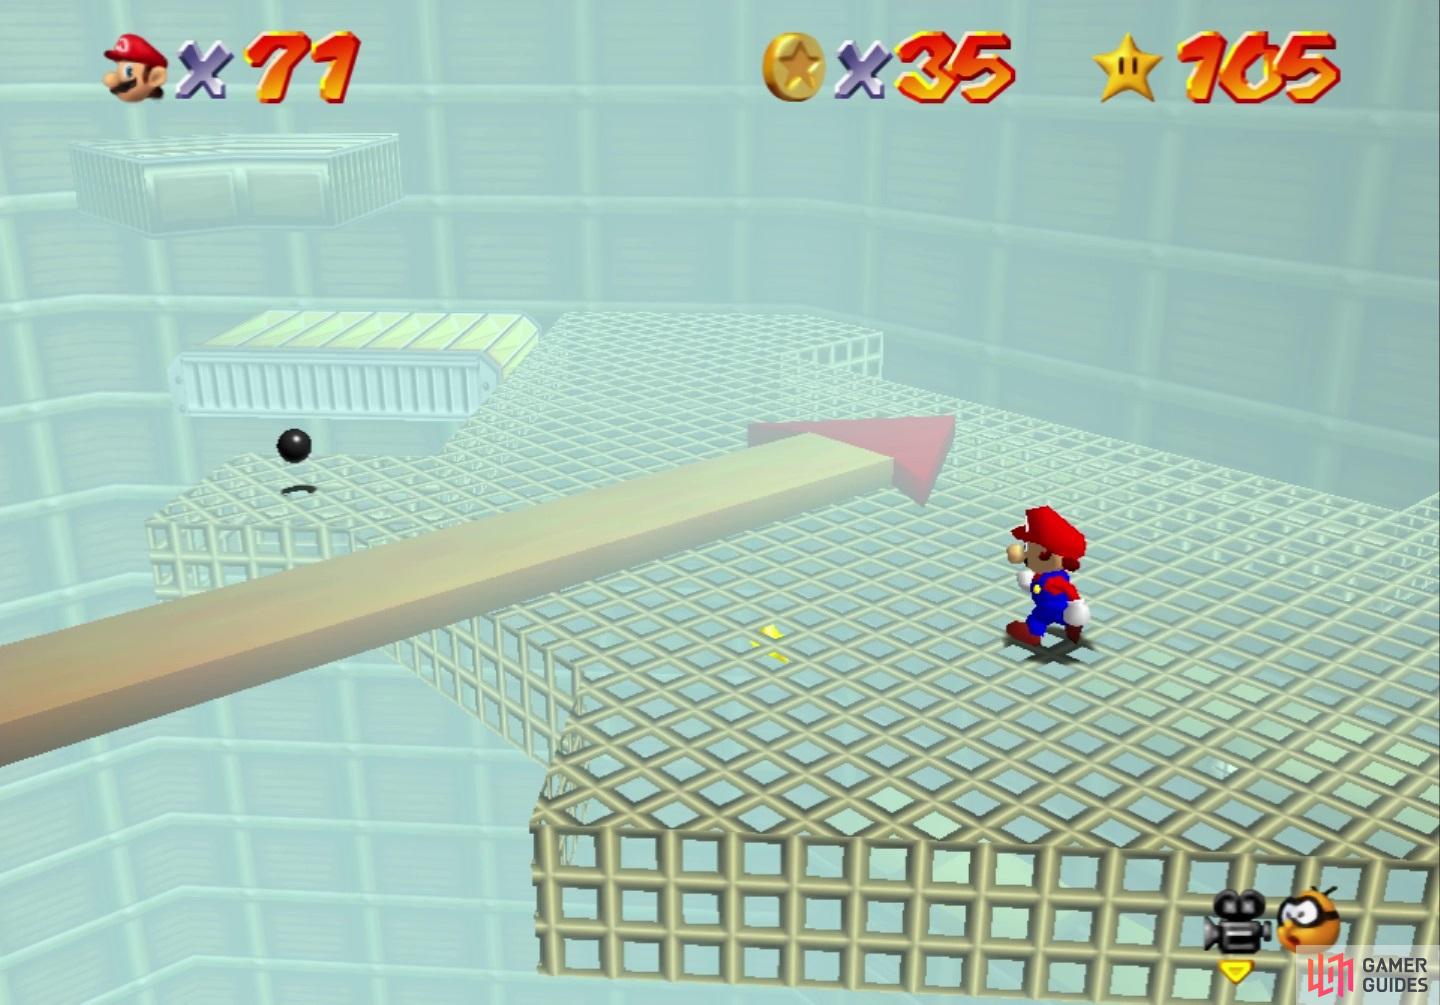
This little gimmick only applies to the minute hand of the clock, so you will want to keep an eye on that only when you enter the course. If you enter while the minute hand is at “12” or near it, then every obstacle inside the course will not be moving at all. As the hand moves closer to the three main numbers (3, 6, and 9), then the parts will start moving and the later numbers cause them to move much more quickly. The biggest difficulties with this course will involve the platforming itself, as well as the camera being a bit janky, since you’re in an inside area.
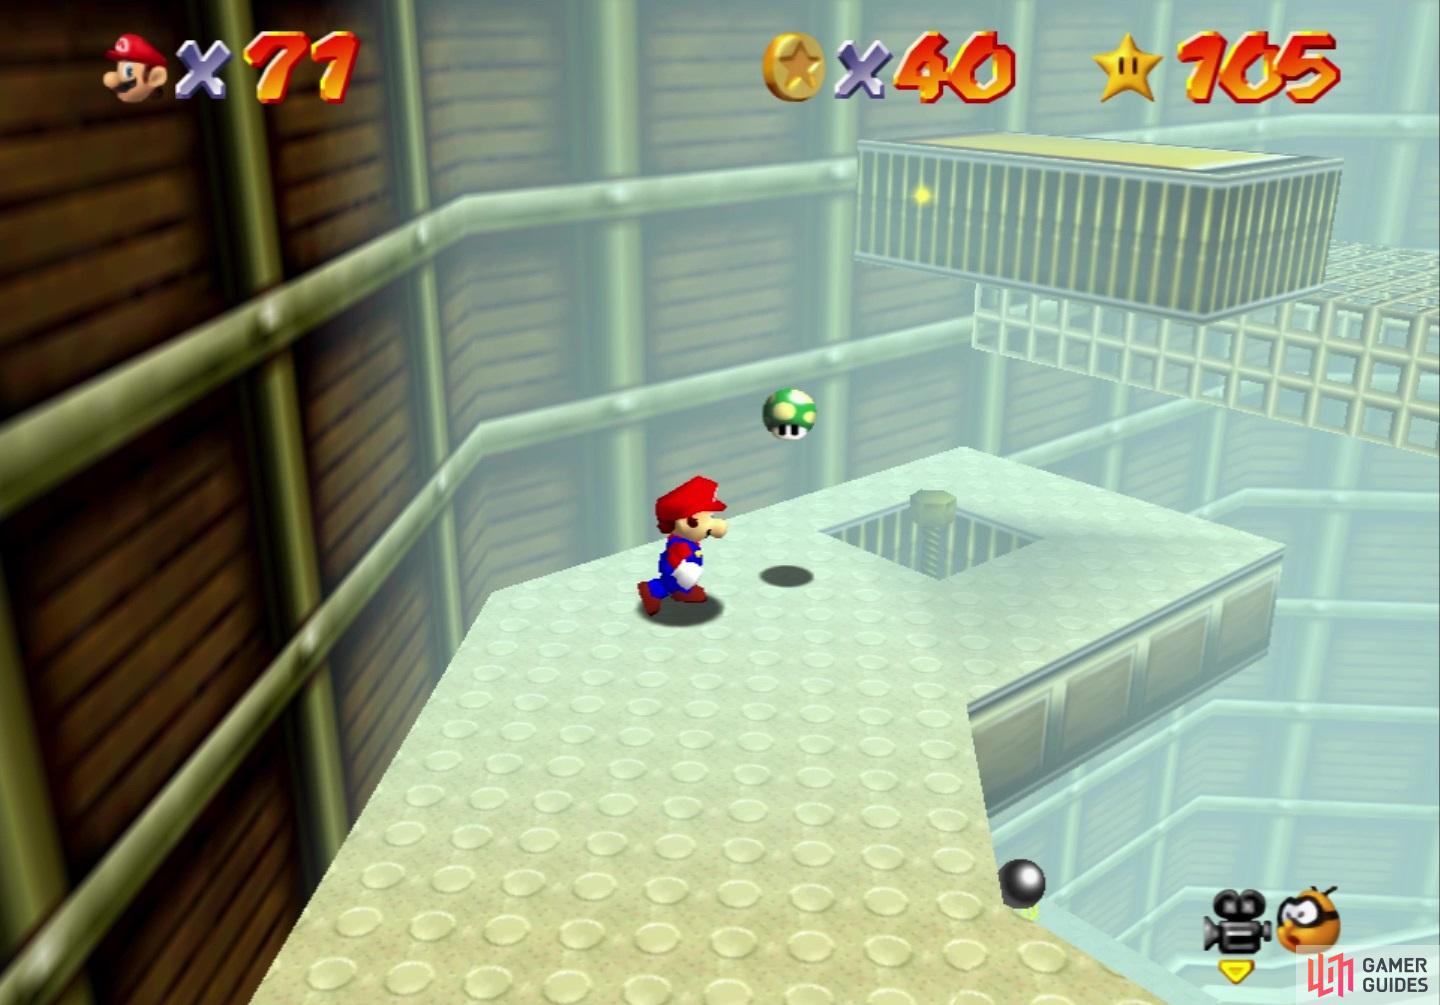
You will begin the course on a platform with two Bob-Ombs, as well as the shadow of the Red Coin star. Behind you, there will be a lower ledge with a spinning heart, as well as some platforms that will normally rotate if time isn’t standing still. These platforms will contain the course’s Red Coins and if you go all the way to the top of these platforms, you will end up in a later section. Back at the beginning, if you head in the other direction, you will find a pendulum swinging, as well as some platforms leading to conveyors, and a block that will rotate every few seconds.

(1 of 2) These blocks rotate if time is moving
These blocks rotate if time is moving (left), The clock hand will help you reach a star if it’s moving (right)
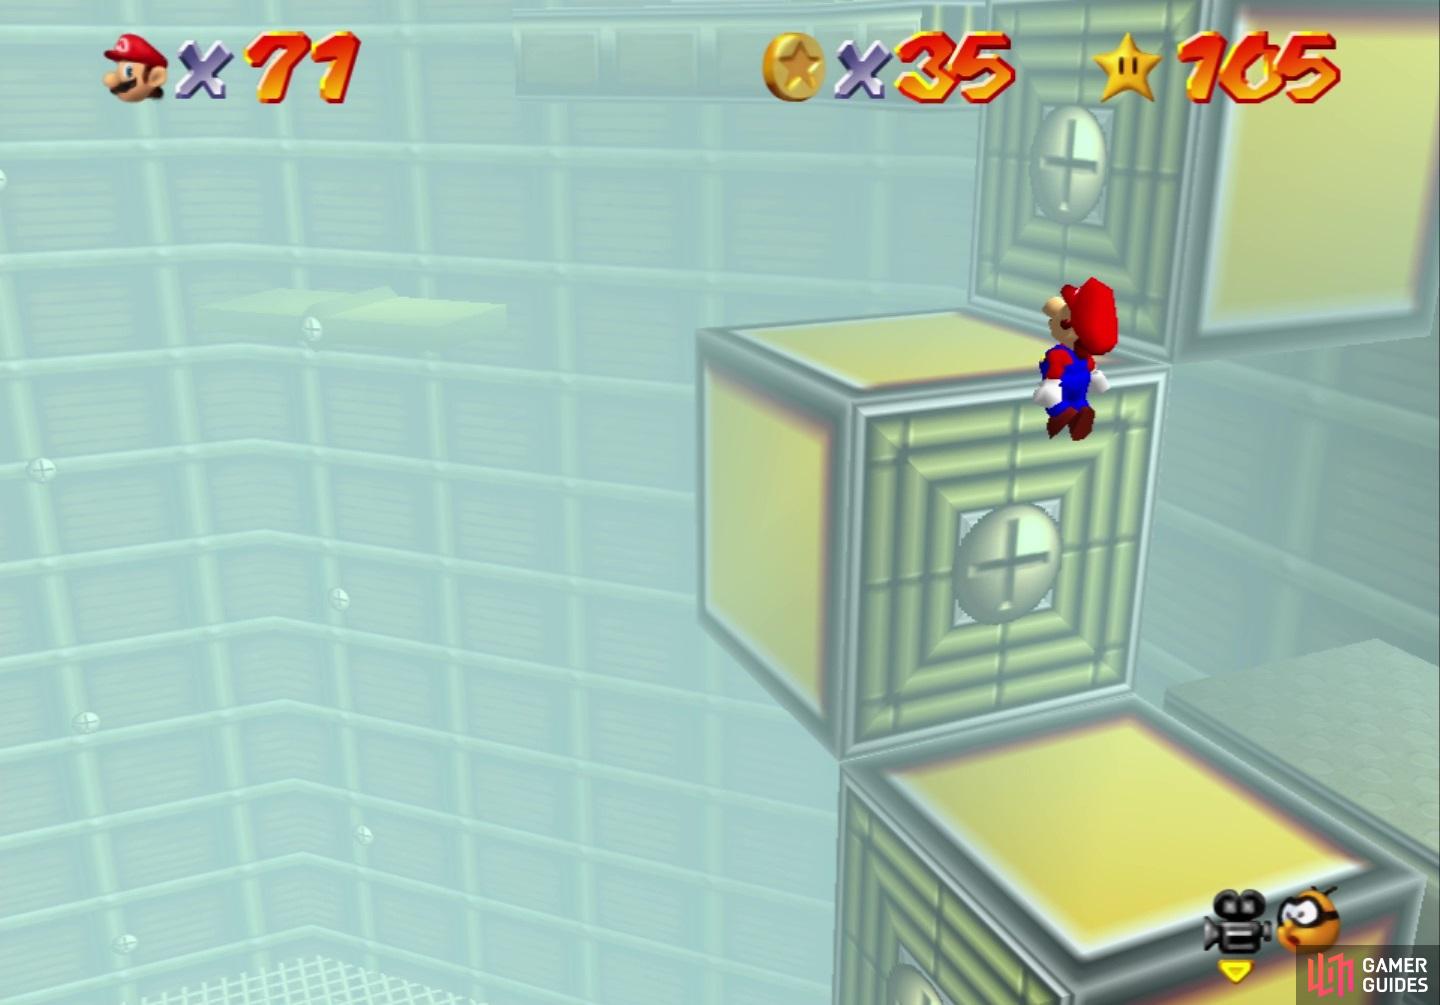
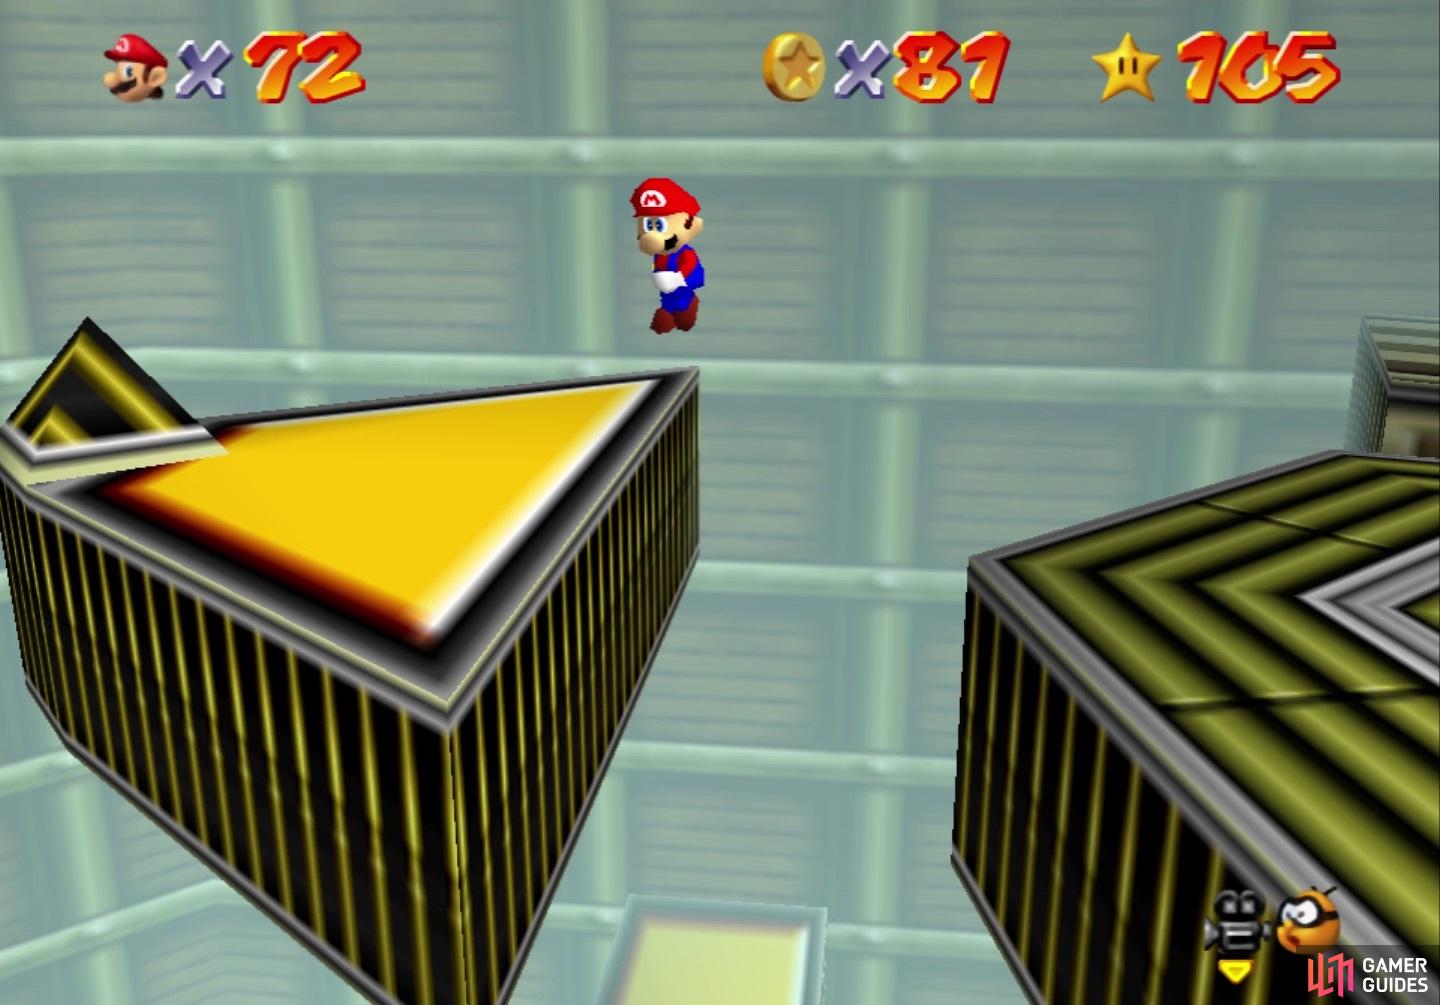
Follow the trail along the wall to some more rotating blocks, along with a block that will extend from the wall to try and push you off. The next main platform will have a clock hand that goes around the entire course, which can lead you to a star, as well as a Keronpa Ball. Note that the Red Coin platforms from earlier will lead you to this spot if you took that shortcut. Continue along to a series of hexgonal-shaped platforms that spin around, then a cage of sorts that houses another star. Jump on top of the cage and carry on to a vertically moving platform, and a pole.
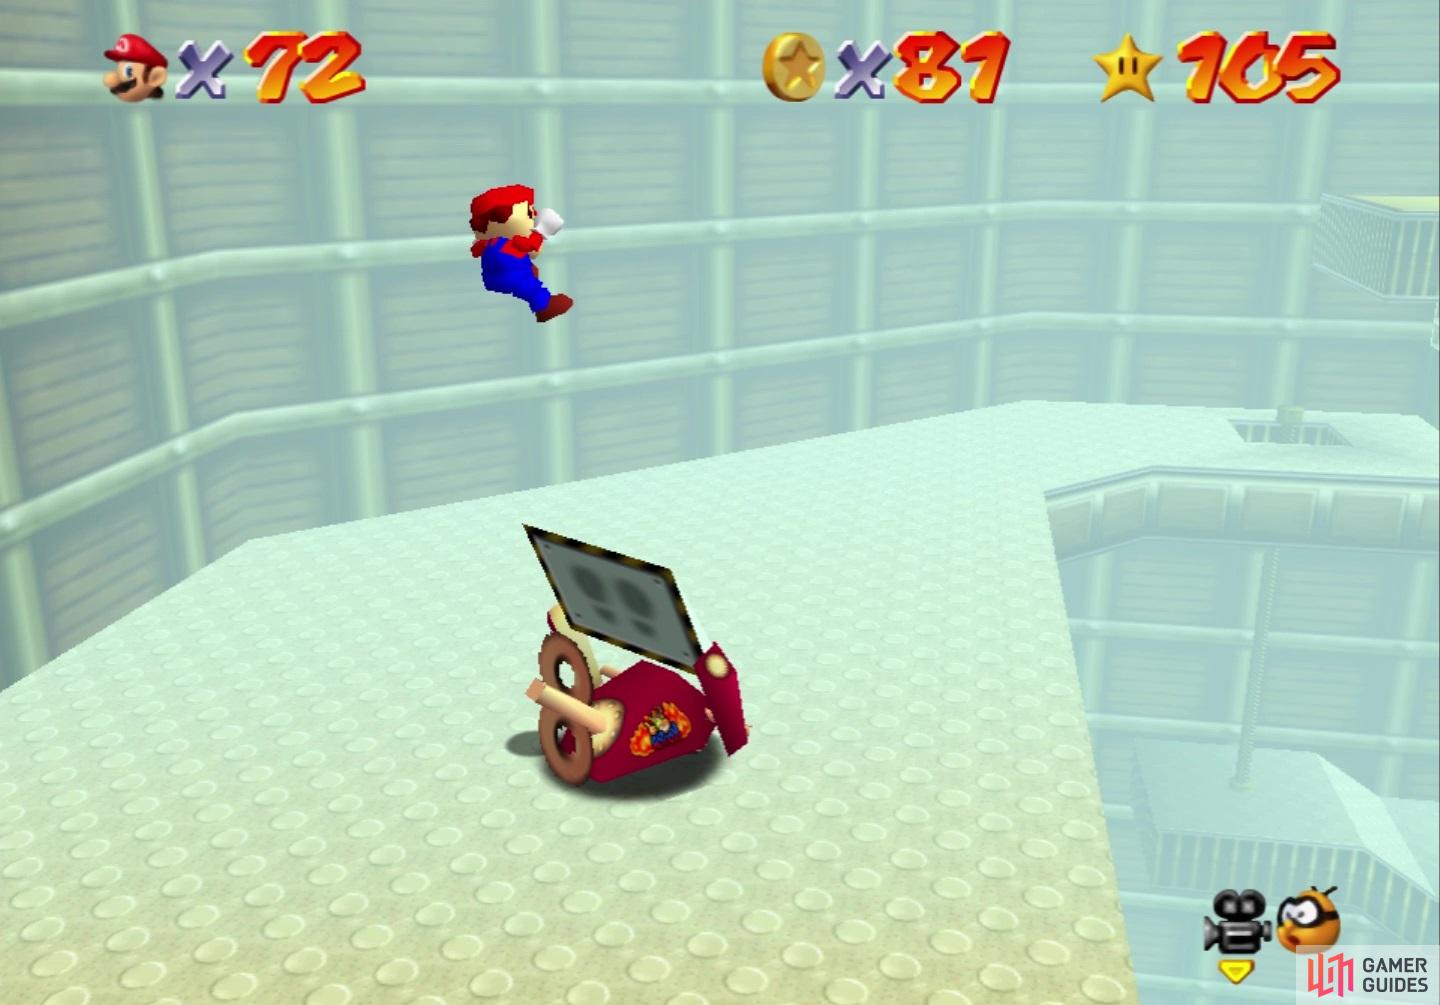
At the top of the pole, you will have two different ways to go, but for now, head along the main platform, where you will see a Heave-Ho. Beyond that, you will see another platform rotating, then a section with thin paths and two more pendulums. Note that this is where the Blue Coin Block is located, with the Blue Coins spawning on the actual platform and not the thin ledges. Returning to the pole, there will be a vertically-moving platform nearby, along with a small platform with a spinning heart. Note that if time is stopped, you will need to do something like a Side Somersault and Wall Jump to reach the next platform above the vertical one.
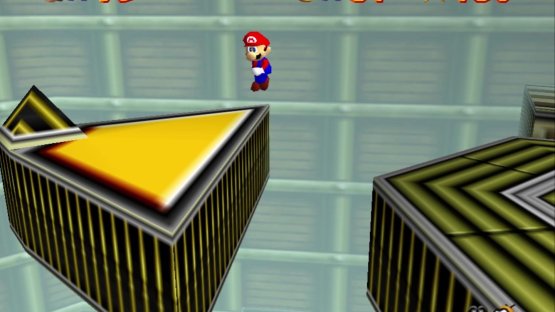
Ride the vertically moving platform up and jump off to the next bit. There will be three things that move out of the wall, leading to a lone platform that will spawn a 1-Up when you get close enough. In the other direction, you have more of those platforms that jut out of the wall, leading to a star. The rotating blocks will lead you higher in the course. While you’re moving along, be careful about the blocks that come out of the wall by the large cage, which you can enter on the other side. After a set of conveyors, continue along (the block by the turning platforms is a 1-Up) until you reach almost the top of the course.

(1 of 2) You will always get the 1-Up from the top of the pole
You will always get the 1-Up from the top of the pole (left), You’ll have to do some extra stuff to get up here with time standing still (right)
The triangular-shaped rotating blocks lead to a ledge with a Keronpa Ball, as well as another clock hand. If it’s moving, then you can ride it over to the conveyor on the other side, where you will see a Thwomp. Get on this Thwomp and you will see another platform above it, containing a star. If time is still, getting to the conveyor by the Thwomp requires you to go in the little area underneath it, then Triple Jump and Wall Jump up to it.
Enemies
-
Bob-Ombs: There are two Bob-Ombs on the initial platform you spawn on.
-
Amps: There are a few Amps located throughout the course, one of which is at the base of the one pole you can climb. Another is in the middle of the course, but can be avoided if time is still, as it will only hit you if you’re riding on the clock hand.
-
Keronpa Balls: A number of these can be found in the course, usually at inconvenient locations by yellow boxes or along thin paths.
-
Heave-Ho: There’s a single one of these found in the area beyond the top of the one pole you climb. You will want to avoid this at all costs, as you don’t want it to toss you off the edge.
The Heave-Ho can certainly launch you all the way down the clock
- Thwomp: You can find this one at the very top of the course, where you need to jump on top of it to reach a star.
1-Up Locations
-
Will spawn after jumping from the top of the pole, right before the second spinning heart
-
On a lone platform by three moving bars; you will need to stand on the bars to make it spawn
-
In one of two yellow boxes near the top, on a path by a clock hand and Keronpa Ball
No Comments