


You will need to complete Bowser in the Dark World in order to gain access to this course, which is located in the basement of the castle. Go through either of the wooden doors in the main lobby, then down the stairs and through the locked door with a keyhole. Go down the hallway and through the next door, which is an area with some water. When facing the painting with the fire on it, head to the right and you should find a door with a blank star on it. Hazy Maze Cave will be located through this door, via the hole in the ground.
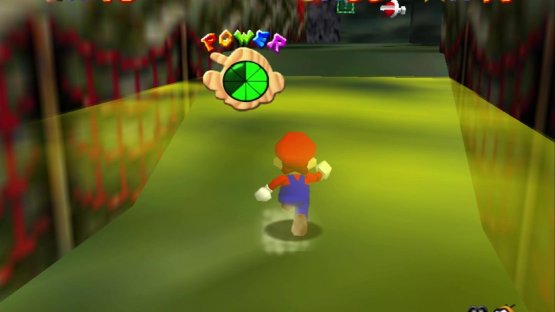
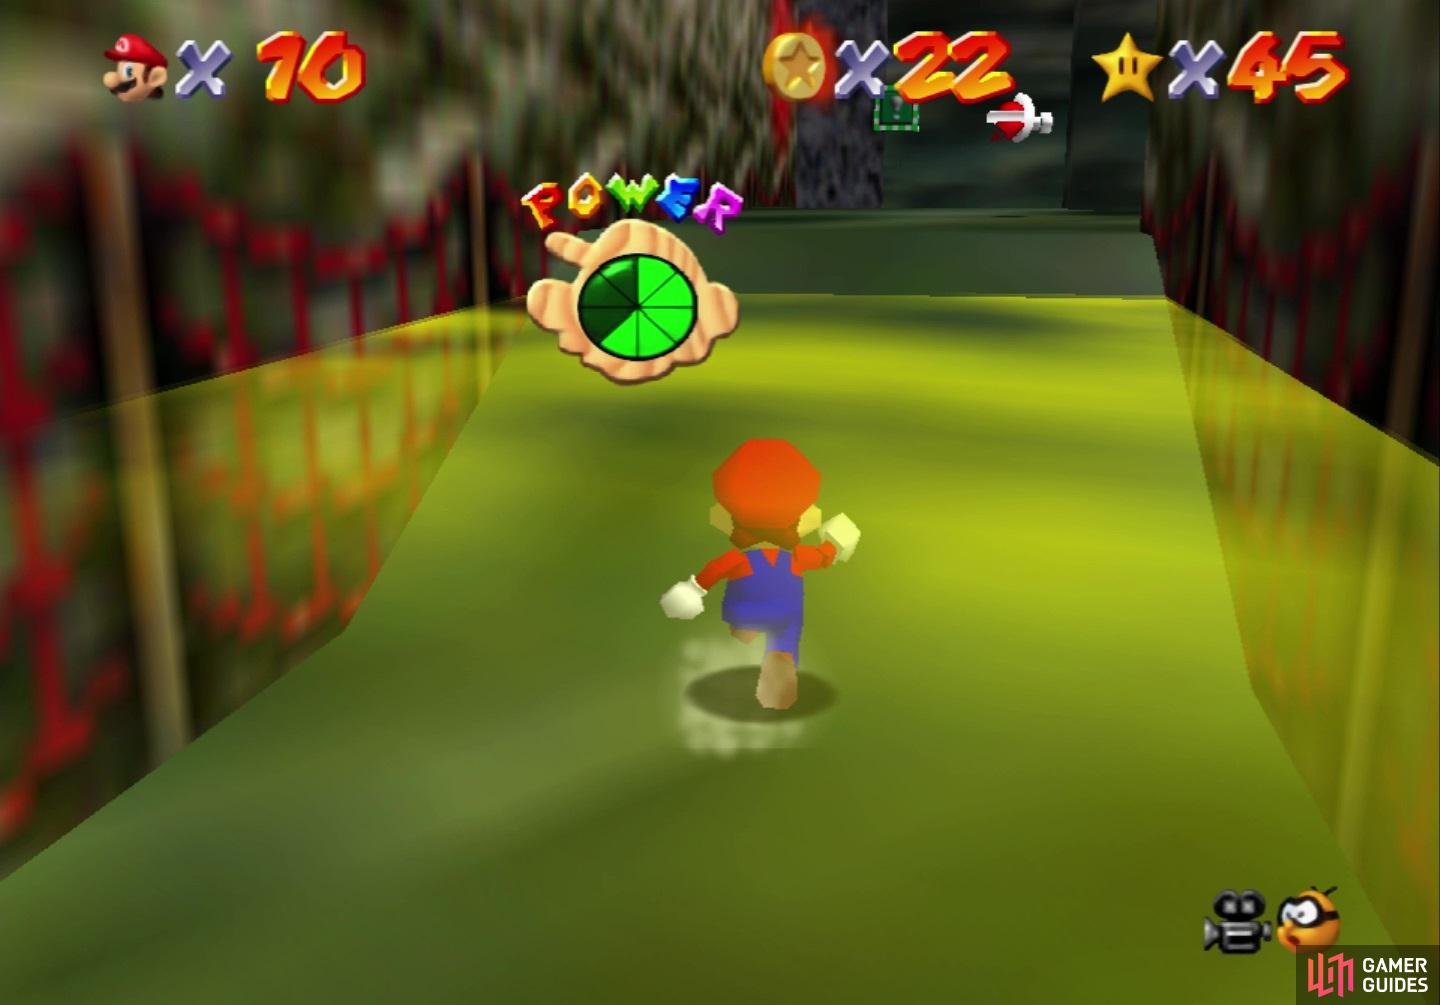
As the name of the course is Hazy Maze Cave, you might expect to get lost in it, but it’s not too bad of a place. When you start the course, you will see two paths in front of you, as well as a map on the wall with a signpost in front of it. The left path leads to the Black Hole and beyond that, it will be the Underground Lake. The Black Hole is an area that has a death pit in the middle of the place, with some slippery slopes all around it, so one misstep can mean you falling down into the void. Straight ahead, upon entering the Black Hole, you will see boulders rolling down a slope.
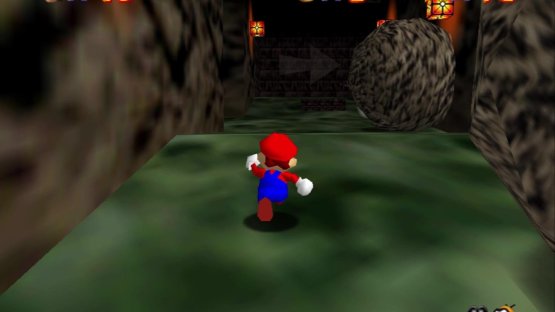
(1 of 2) Stick to the left side to avoid most of the boulders
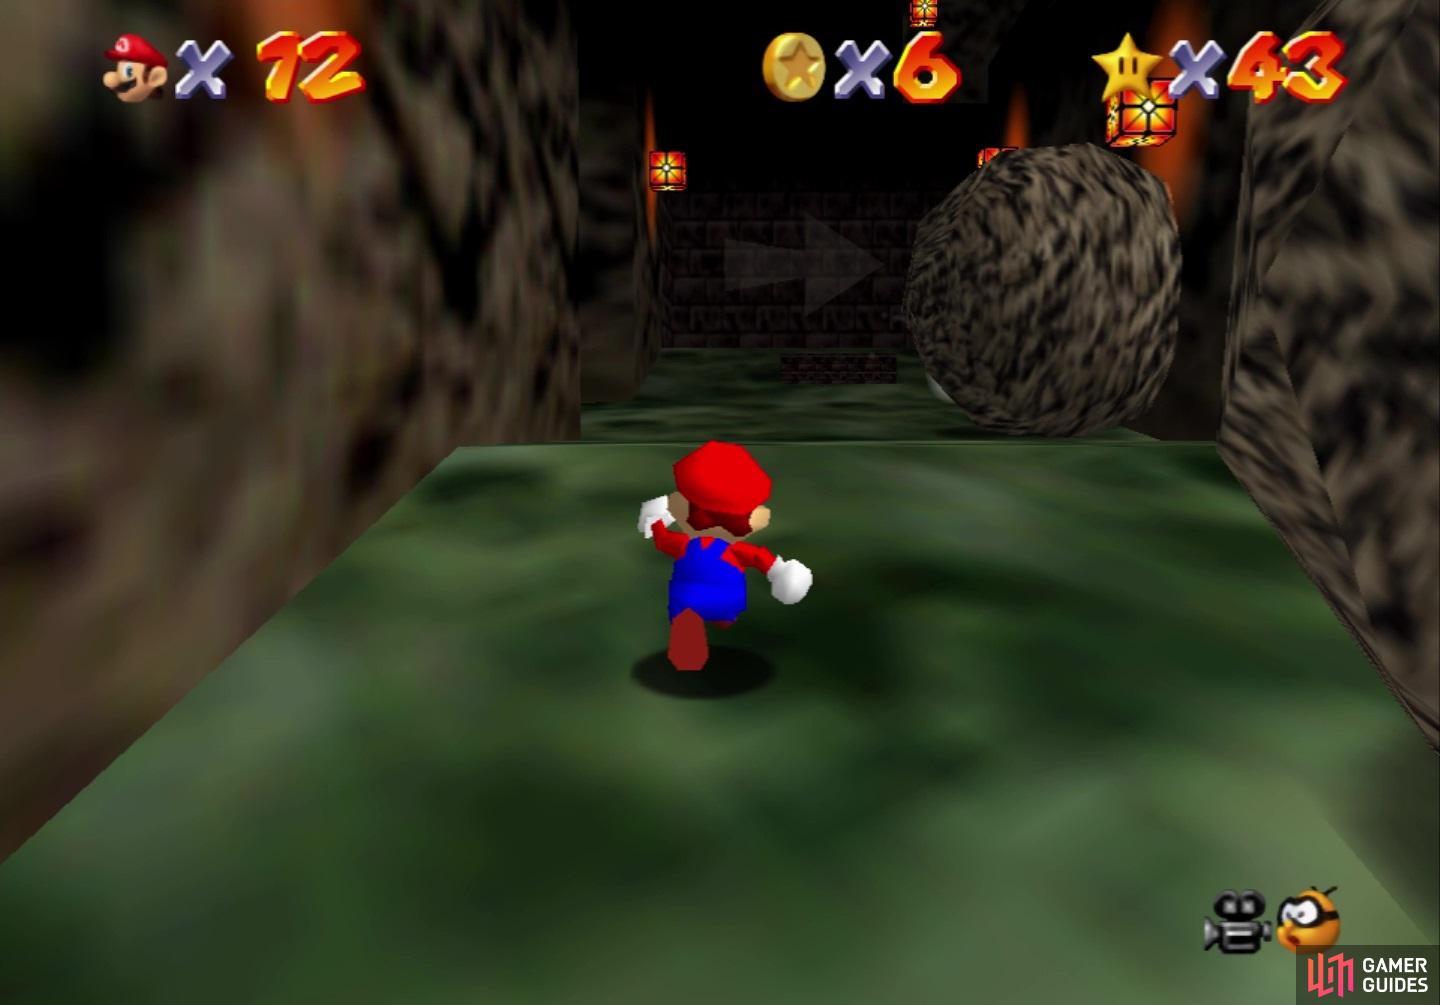
Stick to the left side to avoid most of the boulders (left), The underground lake is home to Dorrie, who will be extremely useful (right)
These boulders will slightly alter their path, so you will need to be aware of their trajectory. Your walkway is not too big here, and there is a lone platform with a spinning heart, although it’s probably just easier to collect coins for your missing health. If you look to the “ceiling” in the Black Hole area, you should see some floating platforms, one with a star and another with a yellow box. The grating along the “ceiling” is used for climbing over to those previously mentioned platforms. There is a wooden door along the way, which holds an elevator to get to the Work Elevator area.
Underground Lake
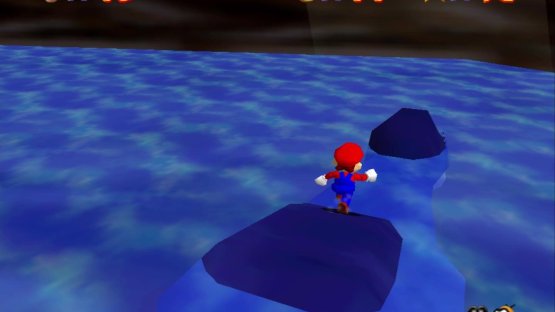
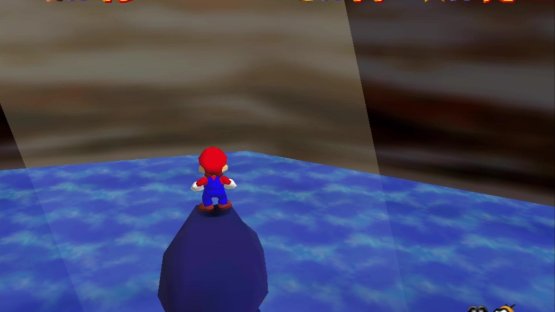
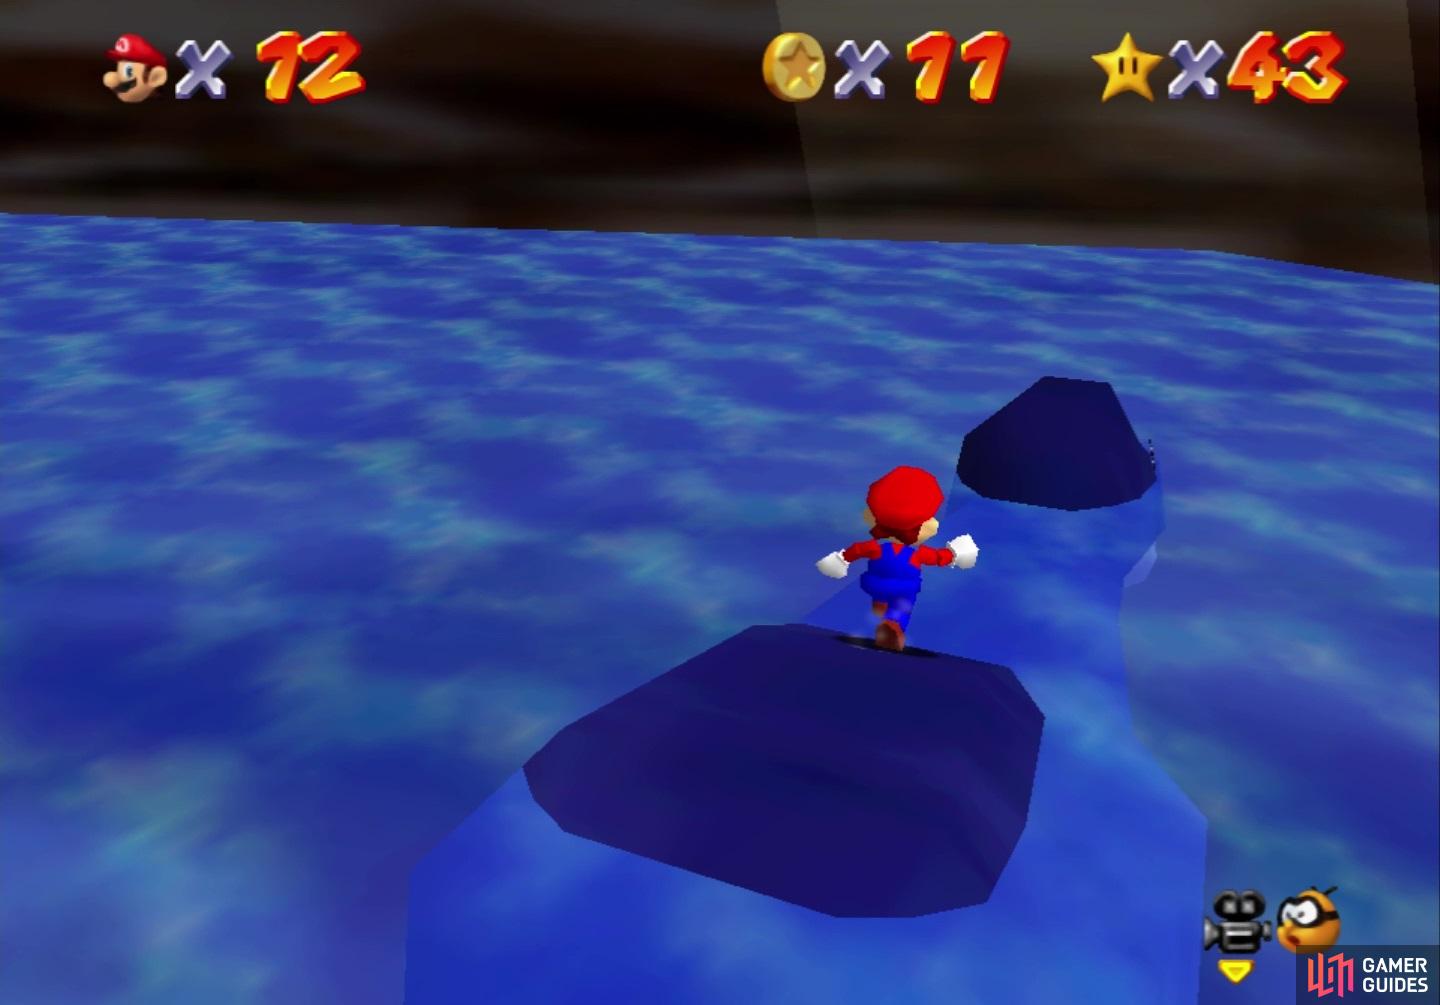
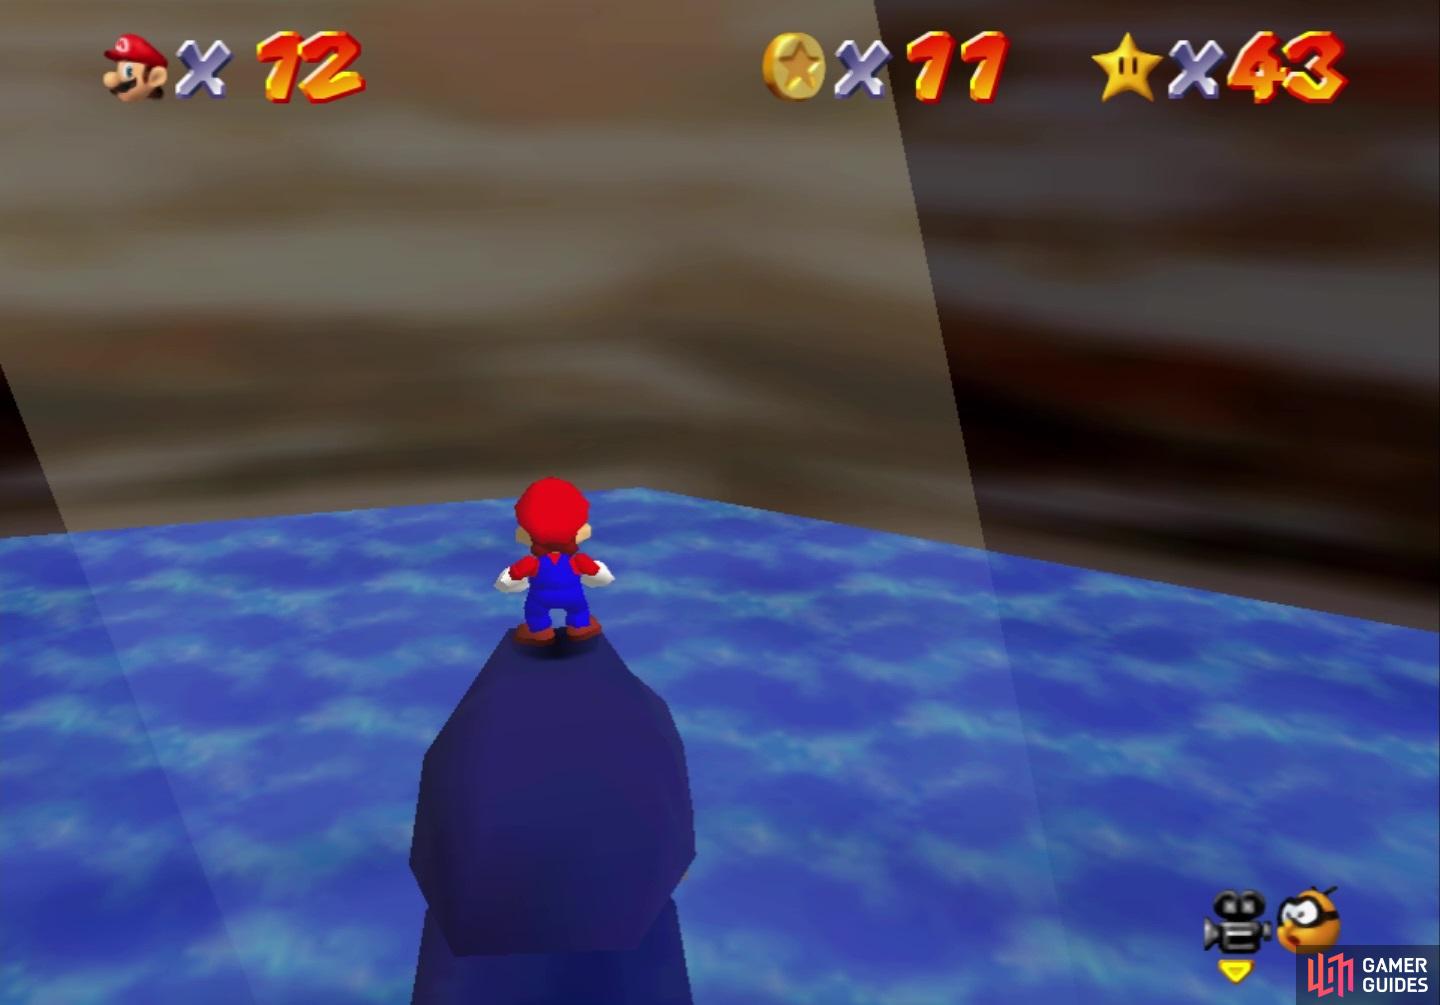
To get to this area, you have to go up the slope that the boulders are rolling down and go through the door. The elevator past the door will bring you to the Underground Lake. There is an island in the middle of the lake, which has a star on it. There are two areas off to the one side, one of which is blocked by some red grating; this is the Abandoned Mine and the switch to unlock it is in front of the grating, but a little underwater. The higher platform leads to the Metal Cave, where you can find a hidden portal to unlock the Metal Cap.
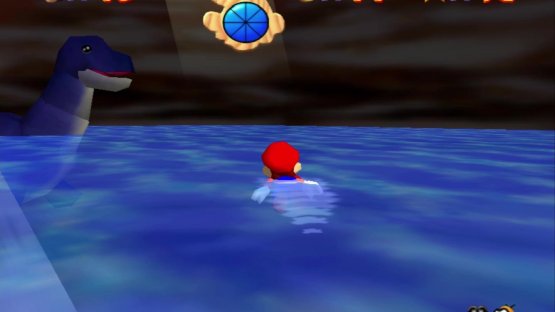
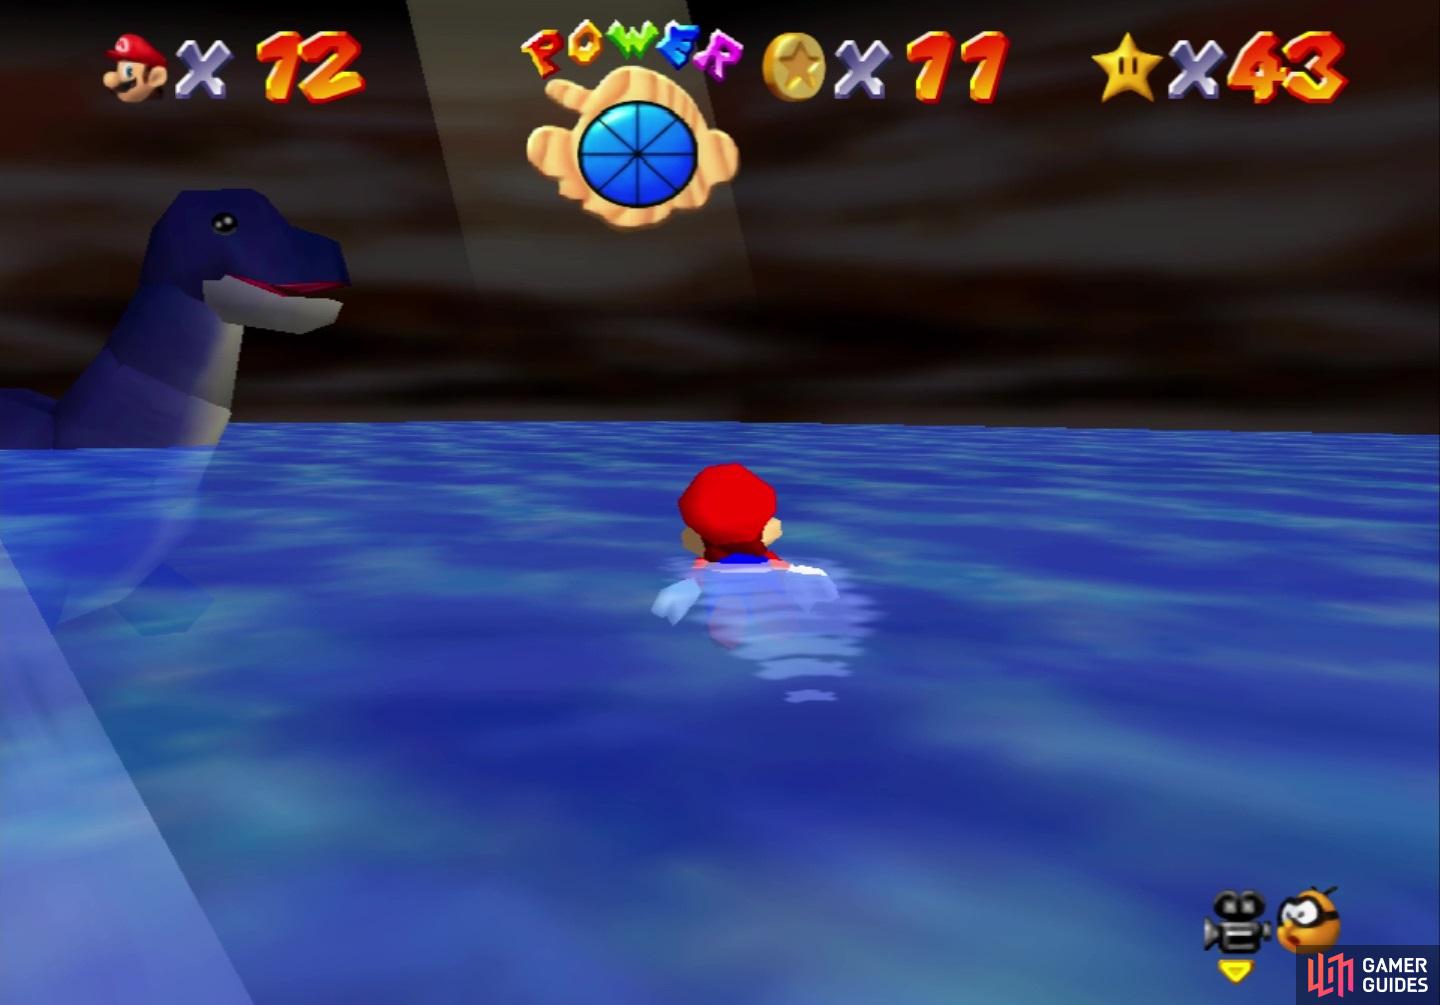
So, the main way of getting to the Metal Cave and central island is via the dinosaur you see swimming in the lake. Dorrie, as the creature will be called from now on, will just swim around the central island. You can jump on his back and perform a Ground Pound will cause Dorrie to lower his head. While his head is lowered, quickly run up to stand on his head, causing Dorrie to instantly raise his head back up. Whenever you are on his head, you will be able to control the direction Dorrie swims by facing in that direction (face right and Dorrie will turn right, as an example).
(1 of 2) Ground Pound Dorrie’s back to make it lower its head
Ground Pound Dorrie’s back to make it lower its head (left), While standing on its head, you can steer the direction it moves (right)
Work Elevator
Returning to the beginning of the stage, take the right path this time, where you will encounter some flames shooting out of the ground, as well as a pit that shoots out Scuttle Bugs. Through the door, you will enter the Work Elevator area. There are three key points here, the bottom layer that has a few enemies, the directional platform, and an elevator that moves on its own once you’re on it. Slide down the pole to reach the floor, then look for some stairs in the one corner to find a peculiar platform with directional buttons on it. Stand on any of these buttons to have it move in that direction. Should the platform come into contact with something, it will shake for a few seconds, then stop.
Near where the directional moving platform starts, you can Long Jump to another nearby platform and climb a pole to reach the other elevator in this area. This elevator follows a track, although you will need to hop over some platforms to continue riding it. The main premise of both elevators is to collect the eight Red Coins in the area, as neither one really leads anywhere new. Note that both elevators will return to their original position if you’re off of them for like five or so seconds.
Hazy Maze
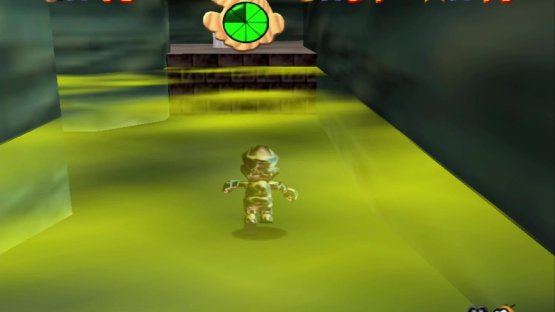
There is one door on the ground level that leads to the Black Hole area, but it’s the other door you want, bringing you to the Hazy Maze area. Drop through the hole in that door to be put right in the toxic gas. As long as your head is in the gas, then you will take damage every few seconds. The only way to become immune to it is by donning the Metal Cap. You will find the Blue Coin Block for this course down here, as well as a few doors. One door will lead you to the top portion of the Black Hole area, where you can climb on the grating to reach a star. Another door leads to a star on the other side of the grating by the elevator that takes you to the Underground Lake. One final door will lead you back to the Work Elevator area.
(1 of 2) You will slowly lose health in the toxic gas
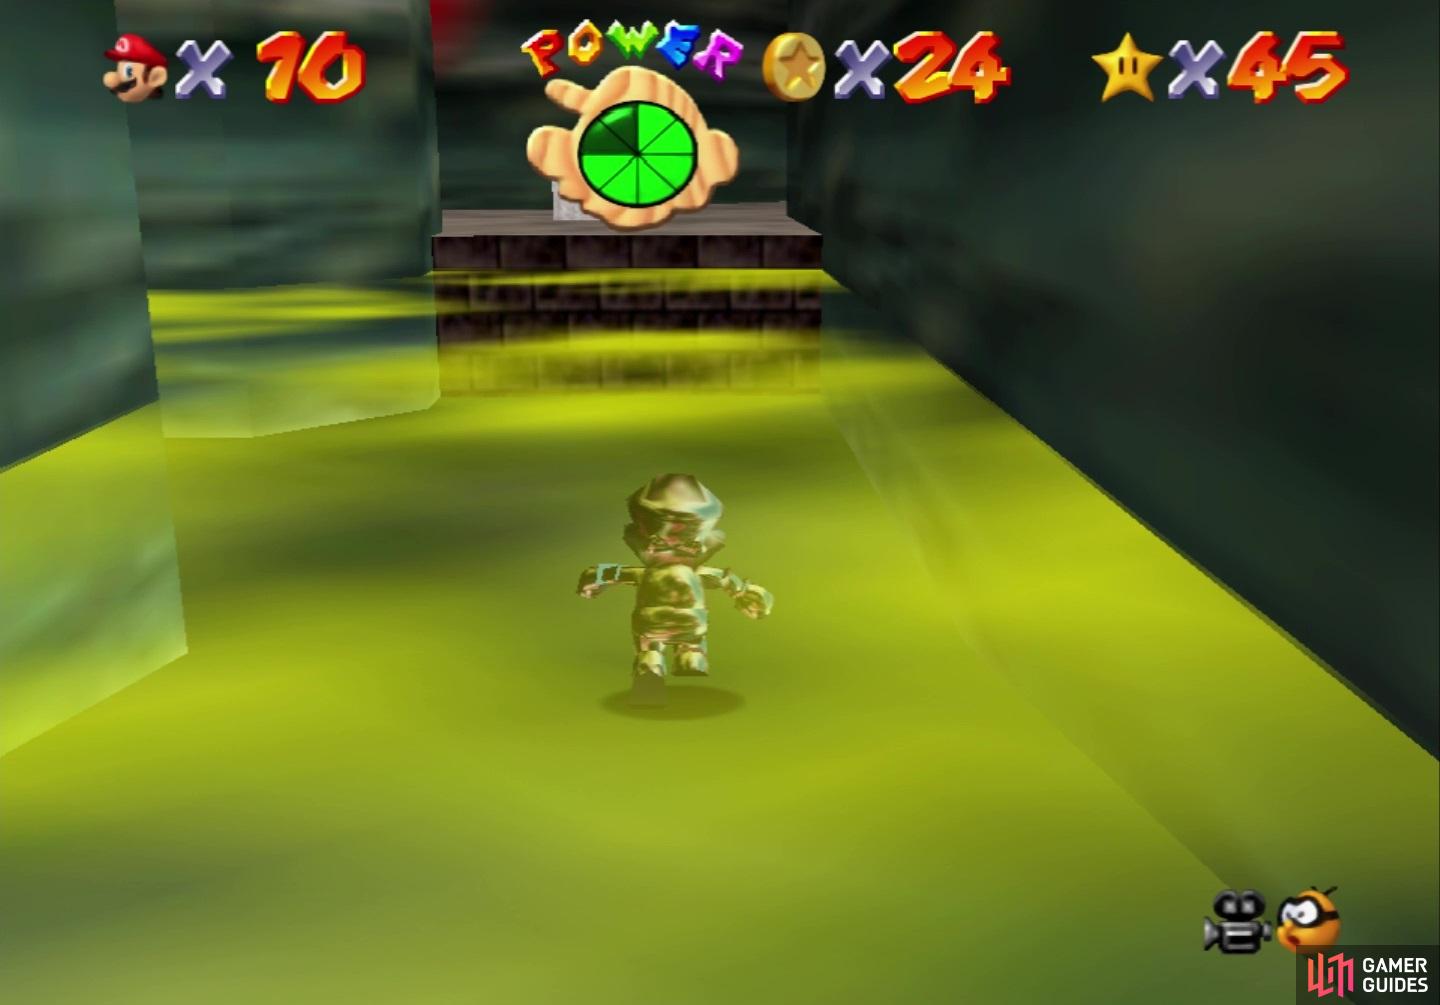
You will slowly lose health in the toxic gas (left), but Metal Mario allows you go in it without losing health (right)
Enemies
-
Scuttle Bugs: These spider-like creatures can be found at the beginning of the course, as well as in the Work Elevator area. A simple jump on their head is enough to defeat them.
-
Keronpa Balls: These things are little black orbs that shoot fire. You will only encounter two during Navigating the Toxic Maze.
-
Swoops: Bats that will swoop down to try and hit Mario. Found throughout the course, all it takes is a single attack to defeat them.
-
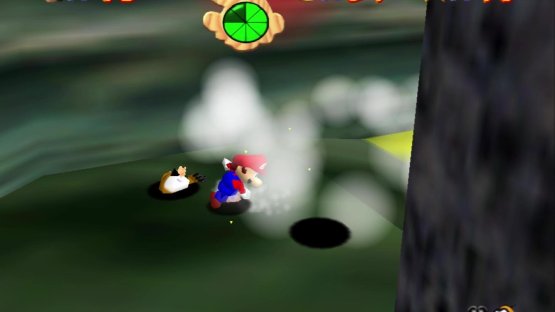
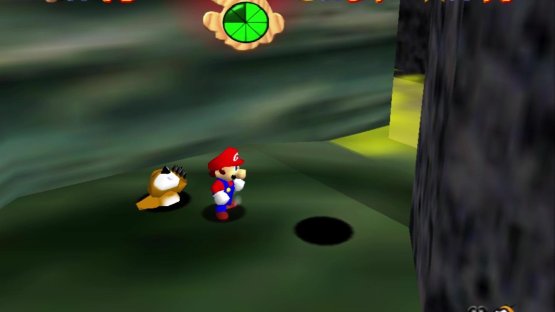
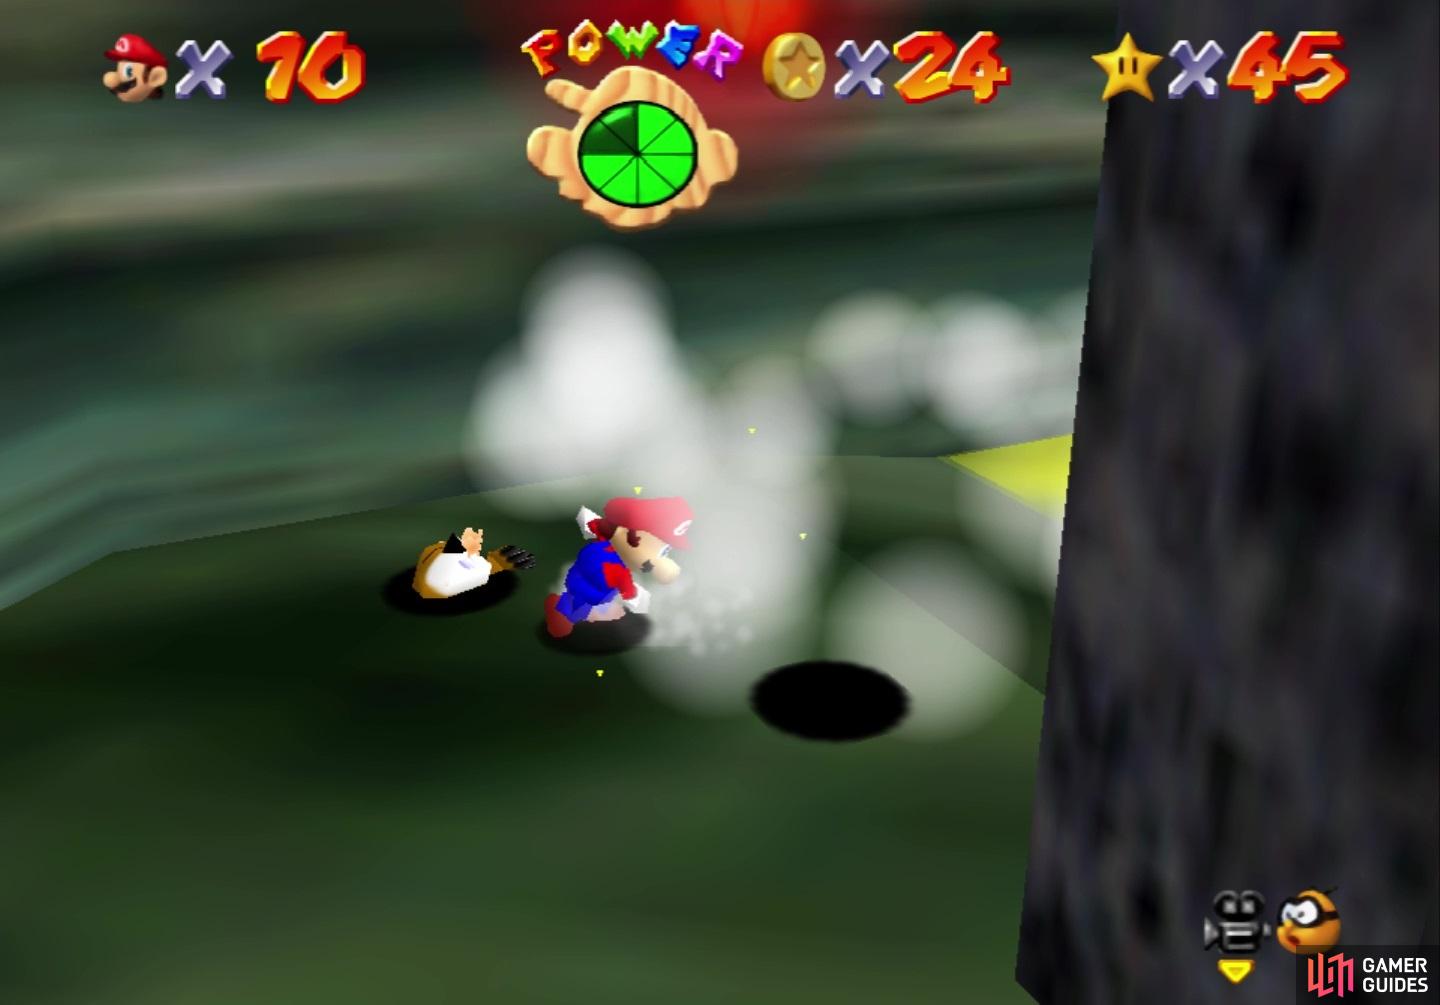
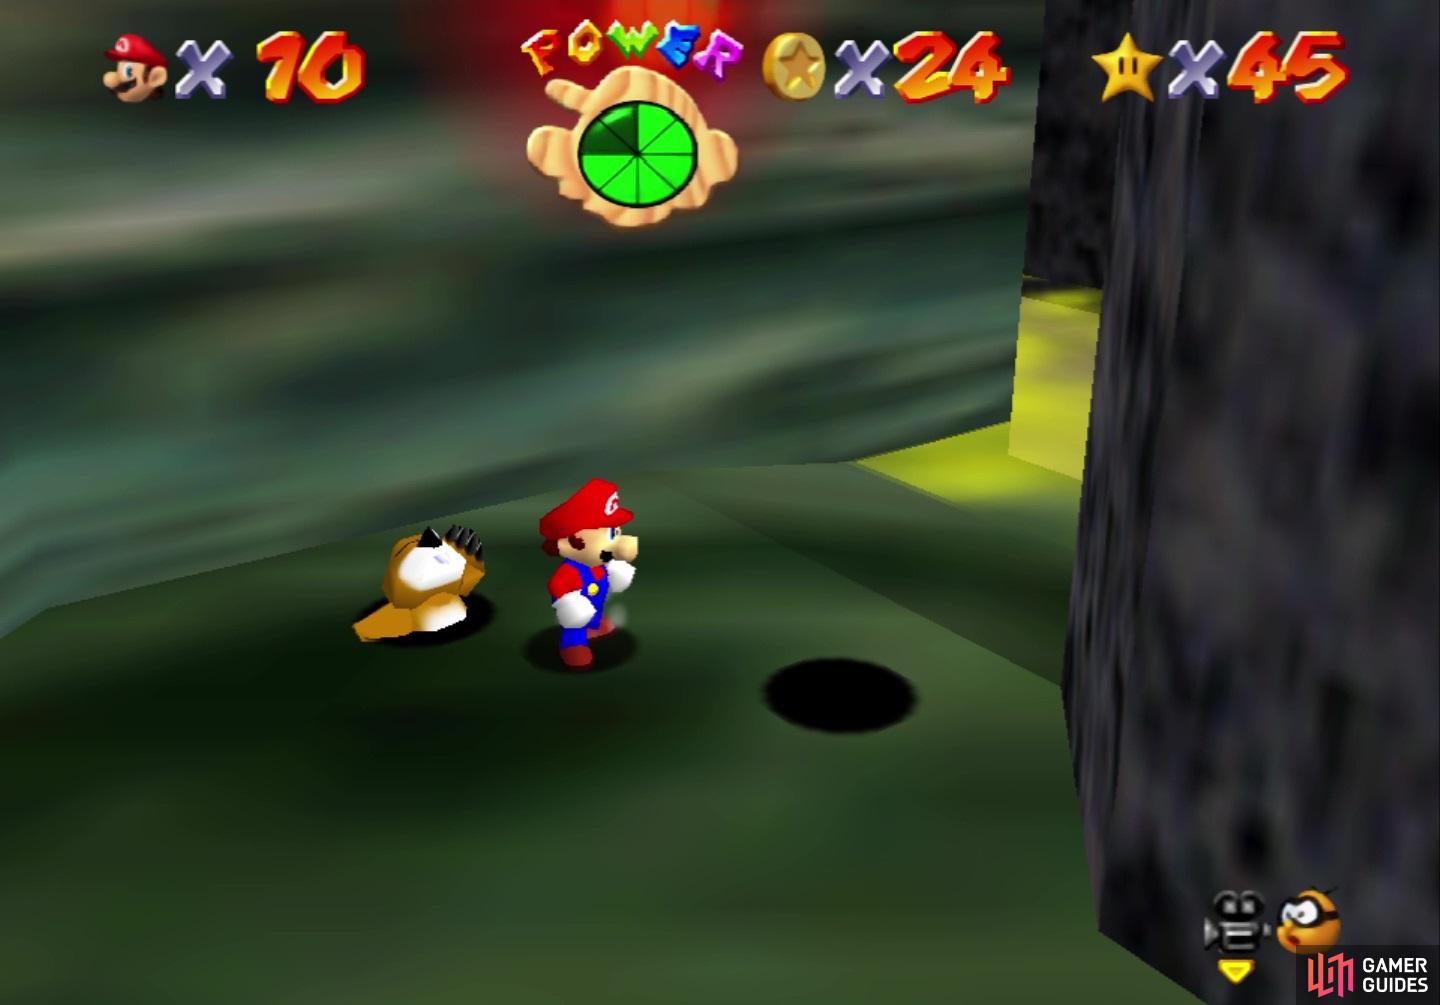
Monty Moles: Only found in the Hazy Maze, the moles will pop out of the ground and throw rocks at you. Jumping on them will defeat them, but another will pop out of the hole right away to replace the previous one. Defeat enough and you will receive a 1-Up.
(1 of 2) Defeat one Monty Mole
Defeat one Monty Mole (left), and another will pop out of its hole (right)
-
Snufits: Found throughout the course, these things will puff up before shooting little pellets at Mario. Simply jumping on them will take them out.
-
Mr. I: You can find two of these in the Work Elevator area, but it’s quite difficult to run around them because of the small platforms.
1-Up Locations
-
In a yellow box on a small platform above the Black Hole
-
In a yellow box next to the elevator leading to the Underground Lake
-
Defeat enough Monty Moles (the two next to each other) to make one appear
-
Defeat enough Monty Moles (the lone one) to make one appear
No Comments