


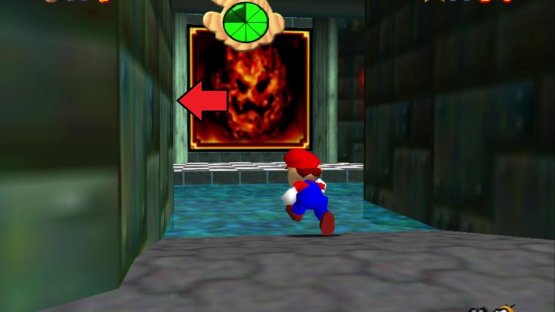
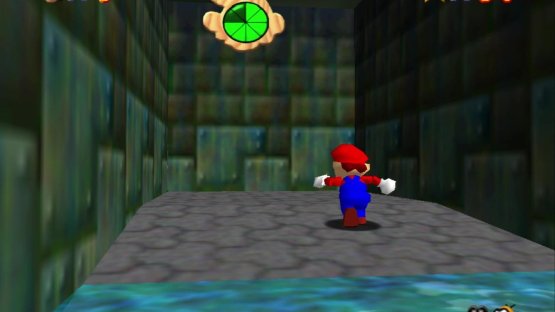
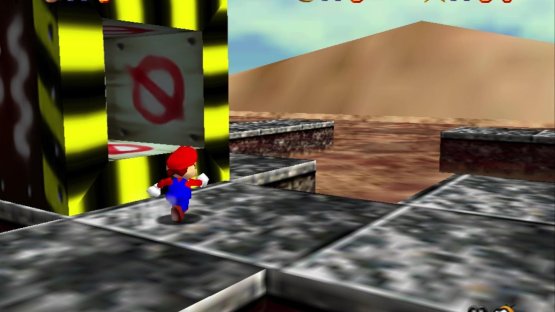
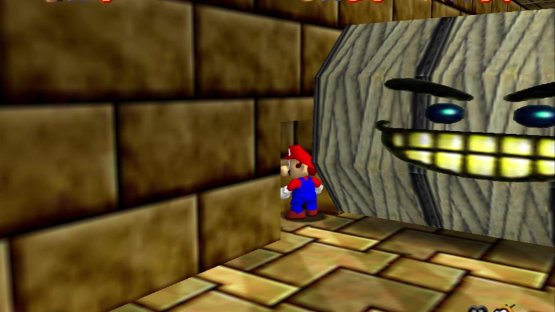
(1 of 2) Take a left turn from the Lethal Lava Land painting
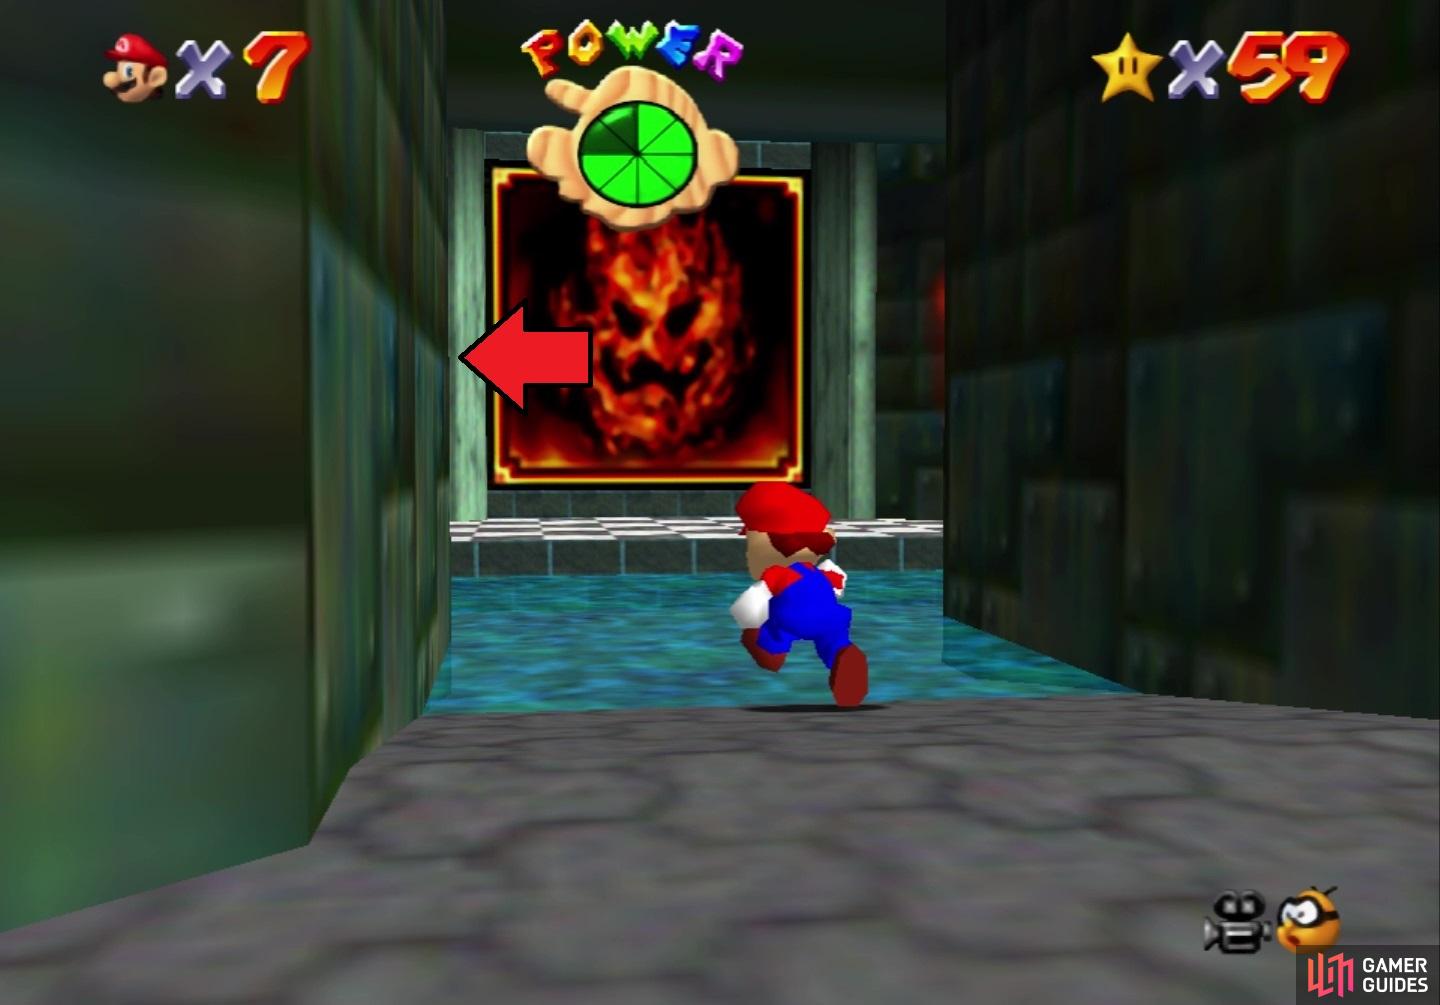
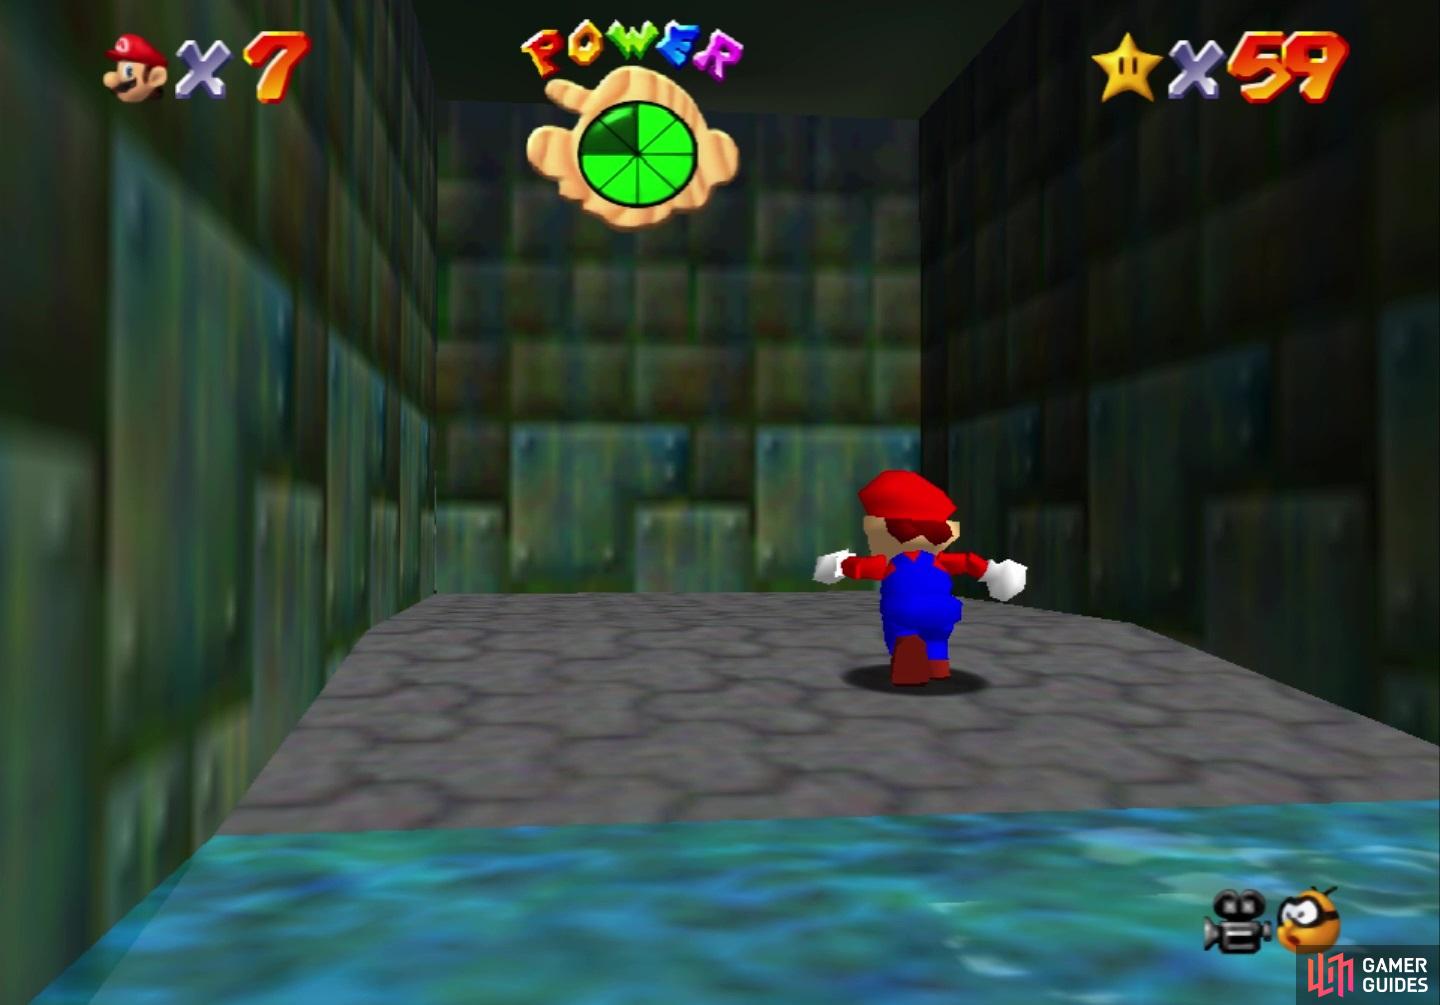
Take a left turn from the Lethal Lava Land painting (left), and jump through the wall at the dead end to find this course (right)
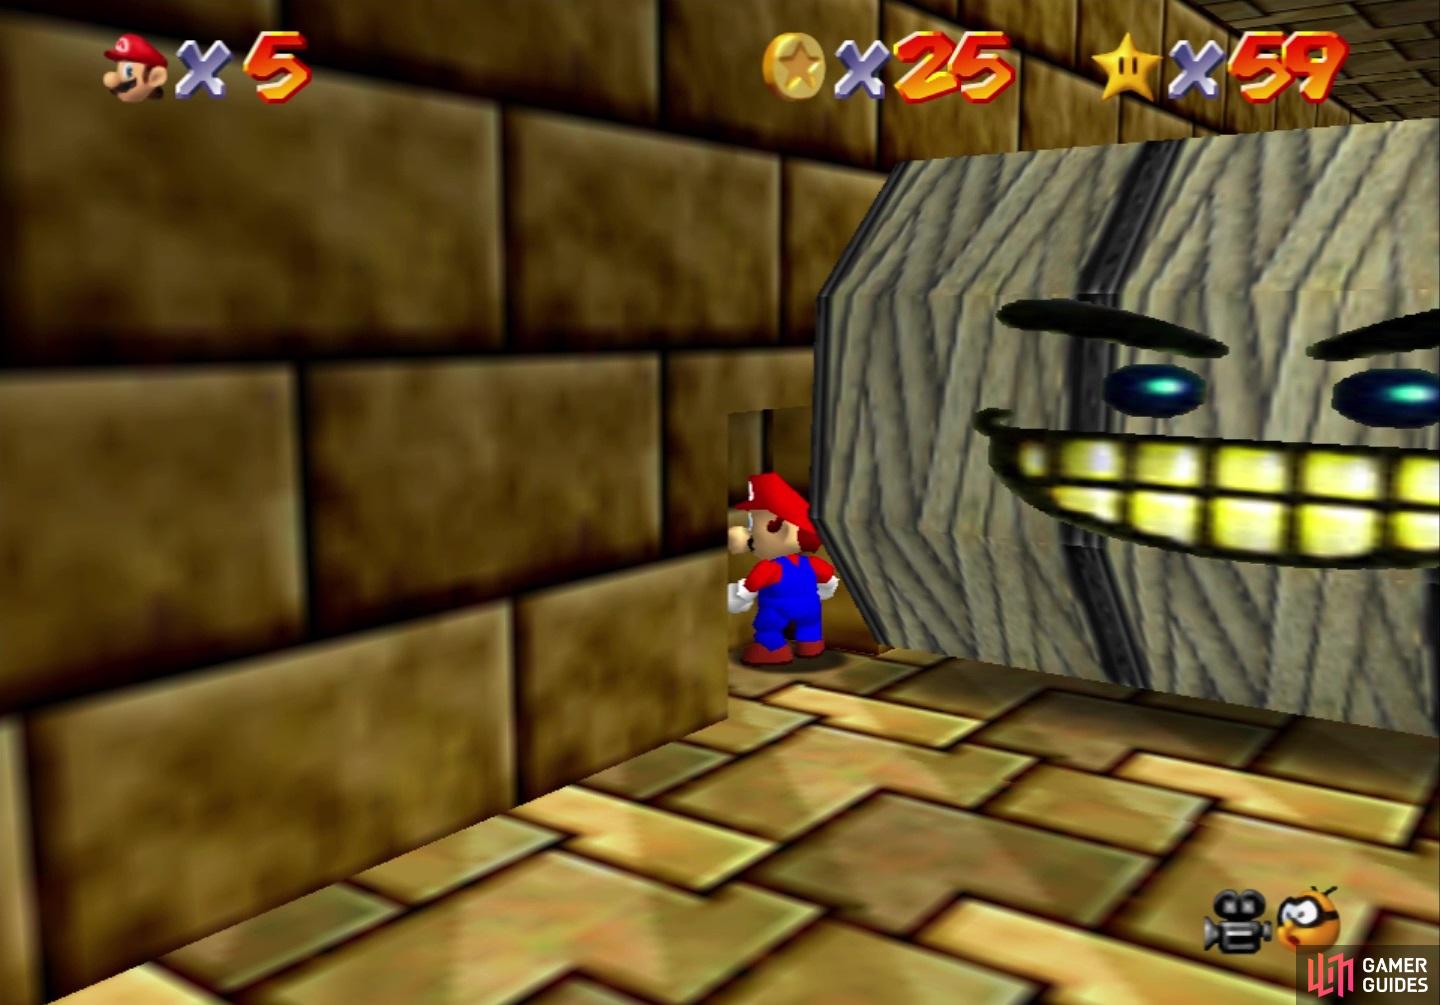
You will need to complete Bowser in the Dark World in order to gain access to this course, which is located in the basement of the castle. Go through either of the wooden doors in the main lobby, then down the stairs and through the locked door with a keyhole. Go down the hallway and through the next door, which is an area with some water. When facing the painting leading to Lethal Lava Land, turn left and follow the way to a dead end. The wall at the dead end is actually the entrance to the course.
Shifting Sand Land shares some similarities to Lethal Lava Land, as it consists of an outside area and an inside area. The outside area is mostly divided into three sections, with the starting area including a stone structure. The second section includes a series of walkways that is surrounded by quicksand, as well as inhabited by Tox Boxes. These large boxes make it impossible to get by them normally, so you will sometimes have to wait on their movements. The third section is the area surrounding the pyramid. There are four pillars surrounding the pyramid and if you touch the tops of each one, the top of the pyramid will come off, revealing a hole.
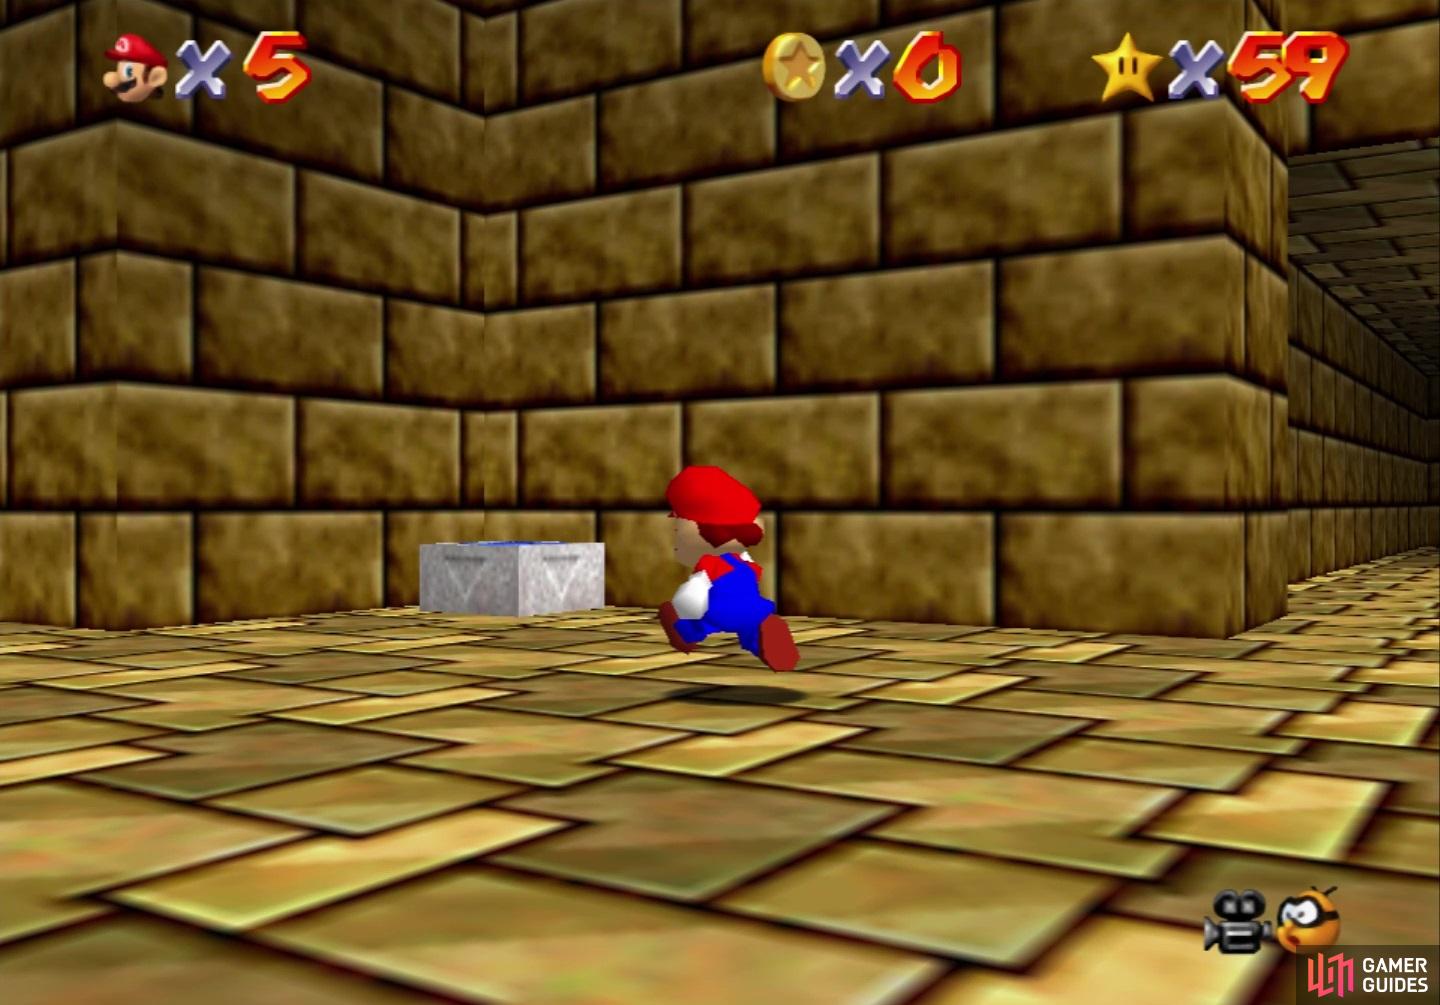
Upon starting this course, you will be put on a stone slab, which has one of those bouncing boxes on it. It’s better to clear the area of the Bob-Ombs and Fly Guy first before using the box. Around the corner will be a Pokey, as well as the stone structure. There are some boxes on the bottom of the structure, one of which is hiding a Red Coin, while there’s a yellow block containing a Koopa shell, as well as a Wing Cap block. Beyond the stone structure is the series of walkways with the Tox Boxes. These things will move along the path in a predetermined course, so getting by them either involves some skillful jumping or watching their pattern.

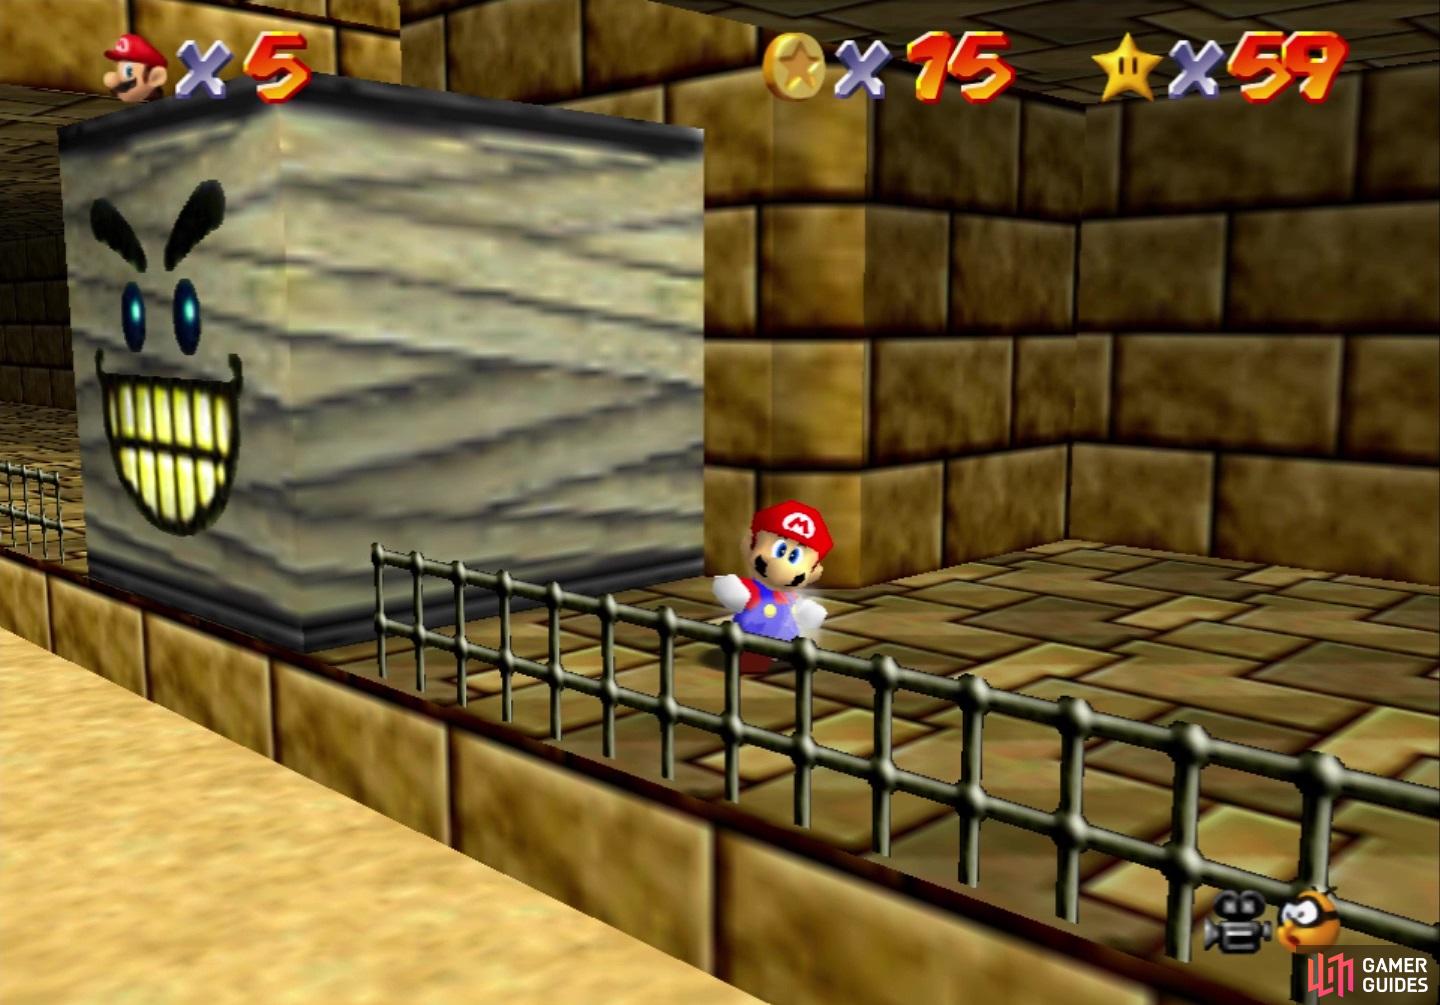
(1 of 2) The Tox Boxes have a hole on the one side
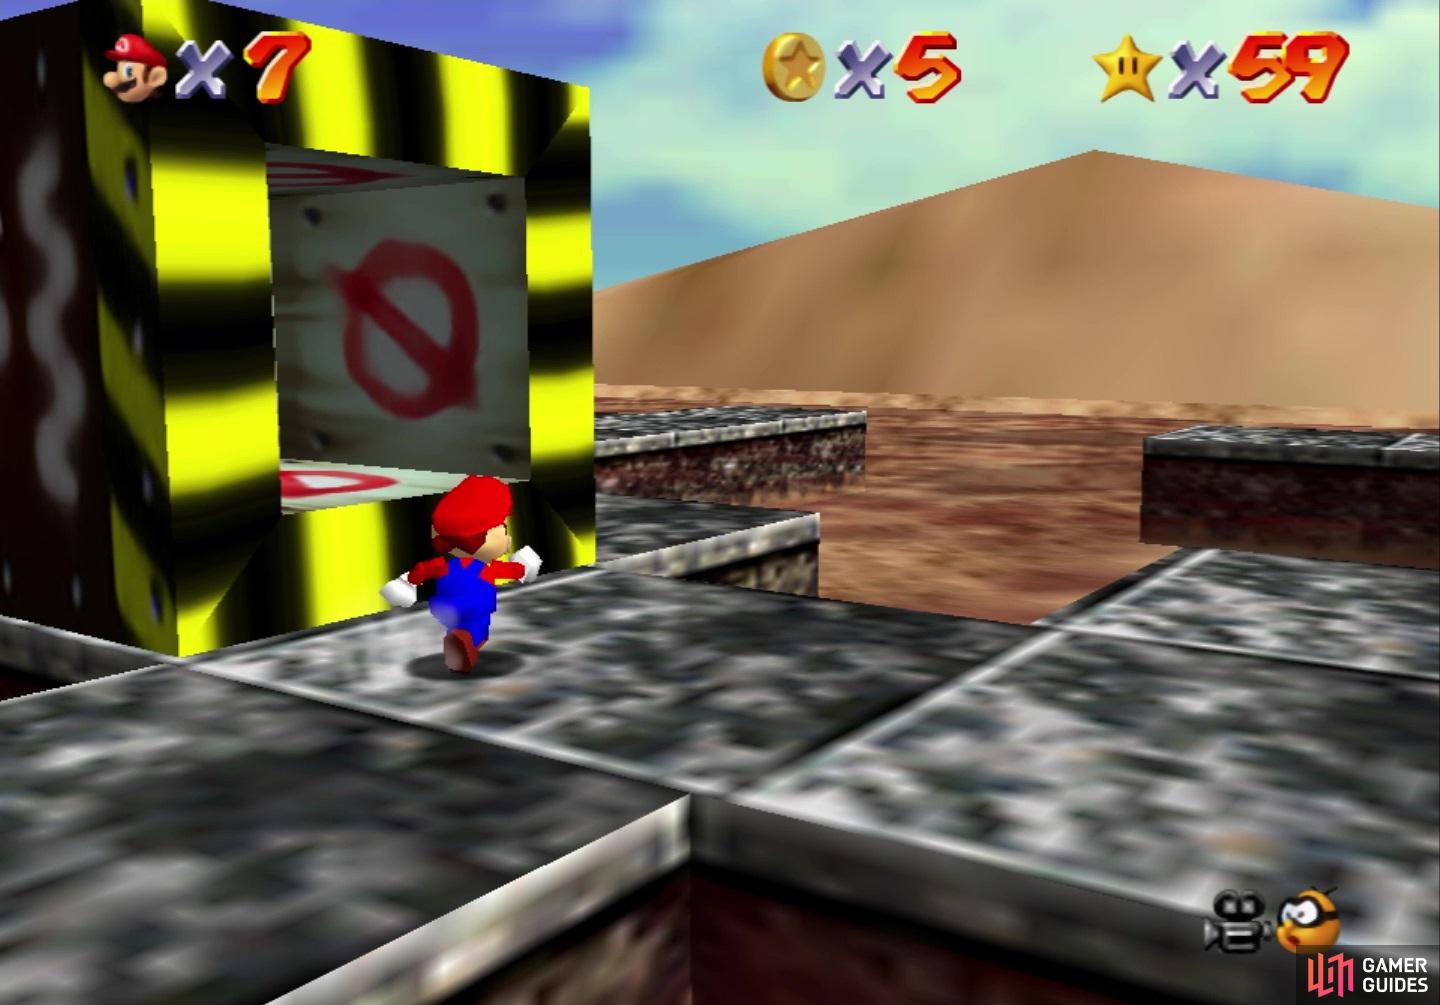
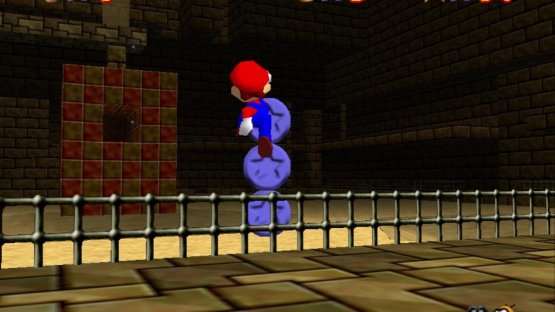
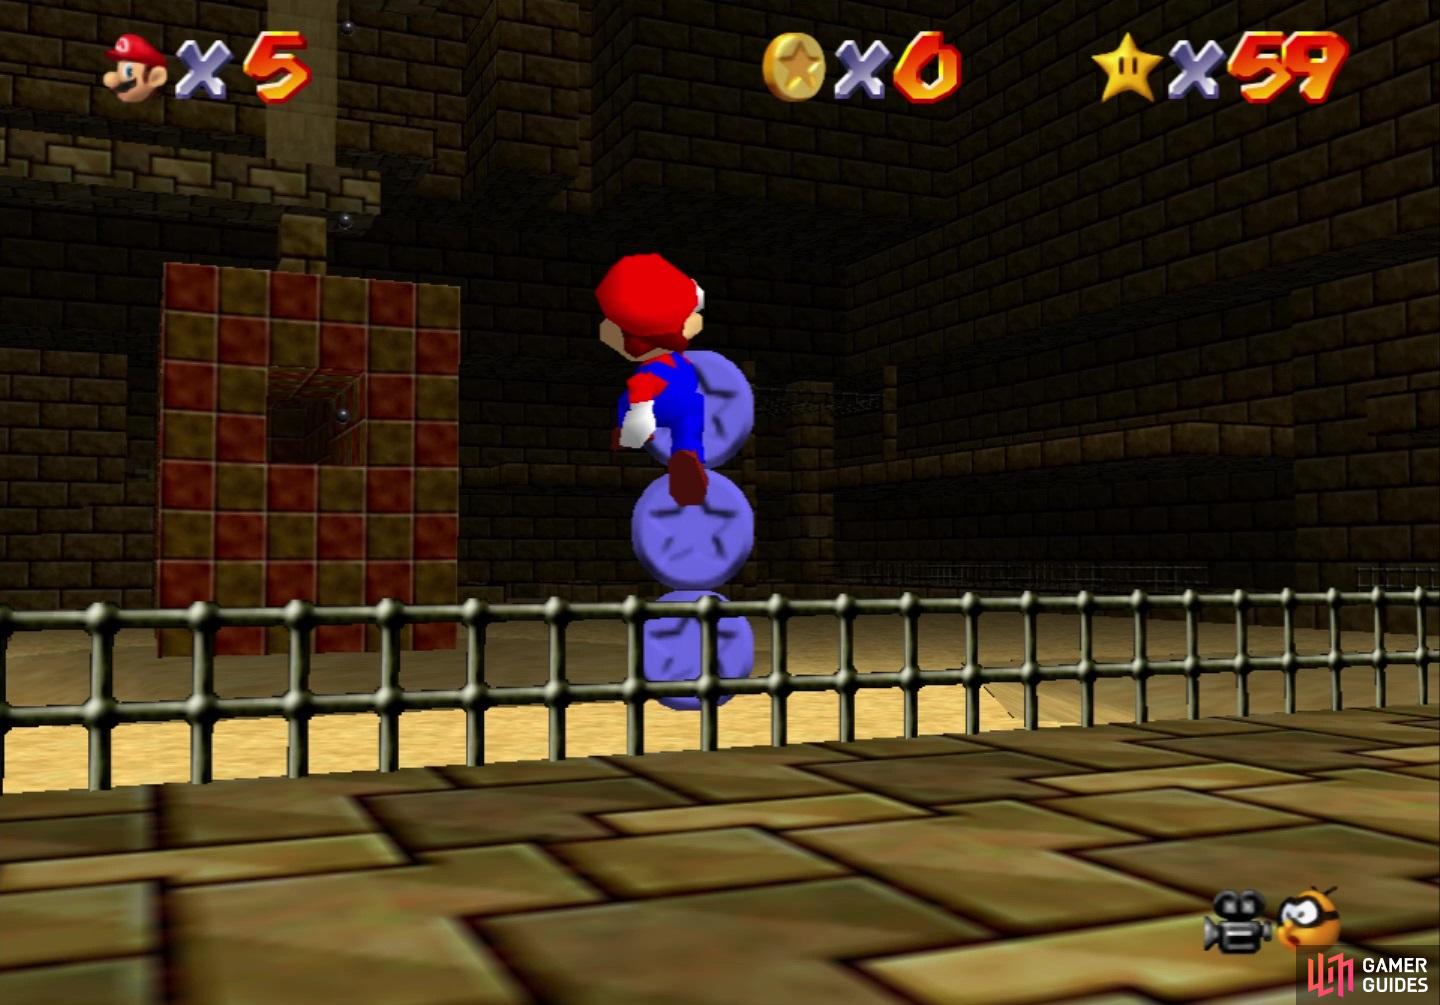
The Tox Boxes have a hole on the one side (left), so it can land on Mario without hurting him (right)
The Tox Boxes have a hole on the one side, so you can stand on the spot where that hole hits to avoid getting crushed. There is a little section that’s not connected to the main bit, where you can find a Wing Cap block, as well as a cannon. There is a warp at the end, by the Wing Cap block, which will take you to the oasis just past the Tox Boxes area; the Bob-Omb Buddy to open the cannon is by the oasis. There is quicksand surrounding the pyramid, as well as a whirlpool in front of the ramp that conjures a whirlwind whenever you get close.
The outside of the pyramid is pretty straightforward, with thin ledges leading up to the top, with some of those guarded by enemies. Note that the ledges will get smaller the further you go up, so it’s very treacherous and a slip-up can cause you to slide down and into quicksand. At the top of the pyramid will be a star, should you go this route. The one ramp leading up to the pyramid itself will have the entrance to the base of the pyramid right there.
Inside the Pyramid
Upon entering the pyramid, you will see that it’s kind of separated into floors, with the center of the first floor being a sand trap. If you end up in this portion, you will slowly sink until you happen to get out. There are little stone slabs around that can help you in jumping out of the sand, though. Right by the entrance, just around the corner, will be a Blue Coin Block. You will have two paths to go at the beginning of the pyramid, with the left bringing you to a dead end and a signpost. This signpost offers a hint on one of the stars. The right path will eventually bring you to a ramp leading to the second floor.
(1 of 2) The Blue Coin Block is right inside the pyramid’s entrance
The Blue Coin Block is right inside the pyramid’s entrance (left), The Blue Coins it spawns is straight ahead from the entrance (right)
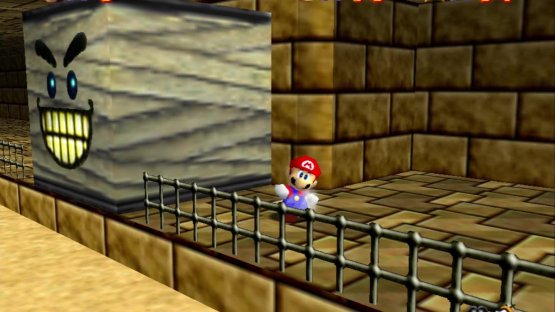
On the main path, you will come across a grating you can cling to, with an Amp enemy circling the pillar. You will need to jump past a Grindel that raises and lowers, sometimes blocking your path. Beyond that will be a pole to reach the third floor. There will be another grating you can use here, letting you go over a slope that can push you into a sand “river.” This river will become important for a star, as the coins on it are special. Climb the stairs to the next floor, where you will be greeted by a Spindel. This thing rolls back and forth, meaning you will have to either use the little notch in the wall or jump over it.
You will find a spinning heart past the Spindel, which you can use to recover any health lost. The moving platforms will bring you to the next floor, where as you move forward, some Amps will appear and track your position. As long as you keep moving, you should be fine. At the end will be another pole and pretty much the final floor of the pyramid. There will be a single walkway here, with a Grindel jumping back and forth. You can simply jump over it, if you want, where you can head up the ramp and do a final jump to reach a star. Note that there is a sandfall here and some small platforms with coins. These coins are part of the Pyramid Puzzle star.
One final bit about the pyramid involves touching the tops of the four pillars outside, which will expose a secret entrance at the top of the pyramid (outside, of course). Going through here will lead to an elevator that brings you down to an entrance that takes you to the mini-boss. Note that there is a one-way warp after the Amp moving around the pillar, right next to pole leading to the next floor. It will place you on top of the hanging grating next to the aforementioned Amp.
(1 of 2) Grindels are like Thwomps, but move on their own cycle
Grindels are like Thwomps, but move on their own cycle (left), You can hide in the alcove in the wall to avoid the Spindel (right)
Enemies
-
Amp: You will find these familiar enemies inside of the pyramid, with one doing the familiar circling of an object. The other ones appear higher up, where they appear out of nowhere and try to track Mario’s position.
-
Bob-Omb: You will only find two of these near the beginning of the level. They function like all other Bob-Ombs in the game, where they chase you while their lit is fused, then explode a few seconds later. Picking one up will also light their fuse.
-
Fly Guys: Only found in the outside area, these enemies will float around you and either try a divebomb attack, or spit a fireball. If you jump on them, then you will float in the air, similar to the Spindrifts in Cool, Cool Mountain.
-
Goombas: Your standard Mario enemy is also present in this course, with some by the stone structure outside, as well as inside the pyramid.
-
Grindels: You can think of these enemies are similar to Thwomps, but they are a bit more versatile. They are only found inside of the pyramid and can either move up or down, or by jumping horizontally. You cannot defeat them at all.
-
Keronpa Balls: The black orbs that shoot fire can be found very sparsely in this level. There’s one on the pyramid, as well as one other area.
-
Klepto: You will find this vulture circling around the outside of the pyramid, where it is initially holding a Power Star. Once you collect it, Klepto will attempt to divebomb at Mario and steal his hat on subsequent stars. Mario will take double damage from all sources without his hat and you have to retrieve it by doing the similar thing with star and Klepto.
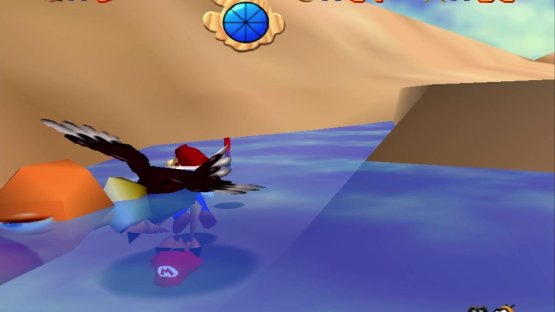
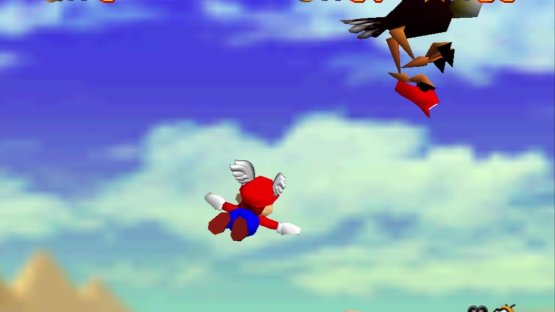
(1 of 2) Klepto, the vulture, can actually steal your hat
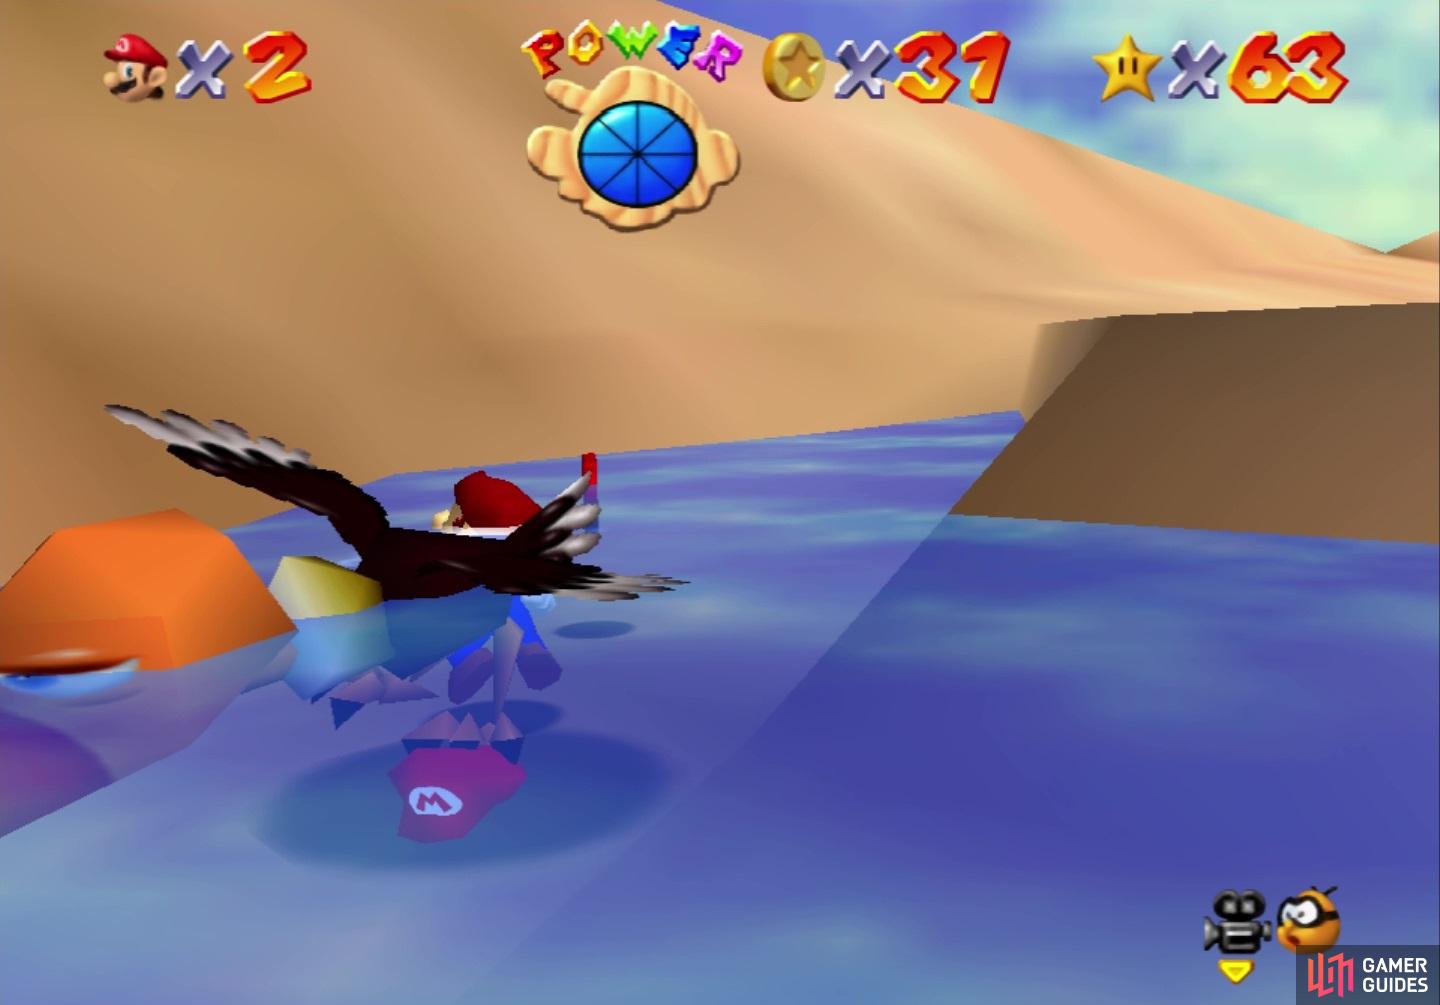
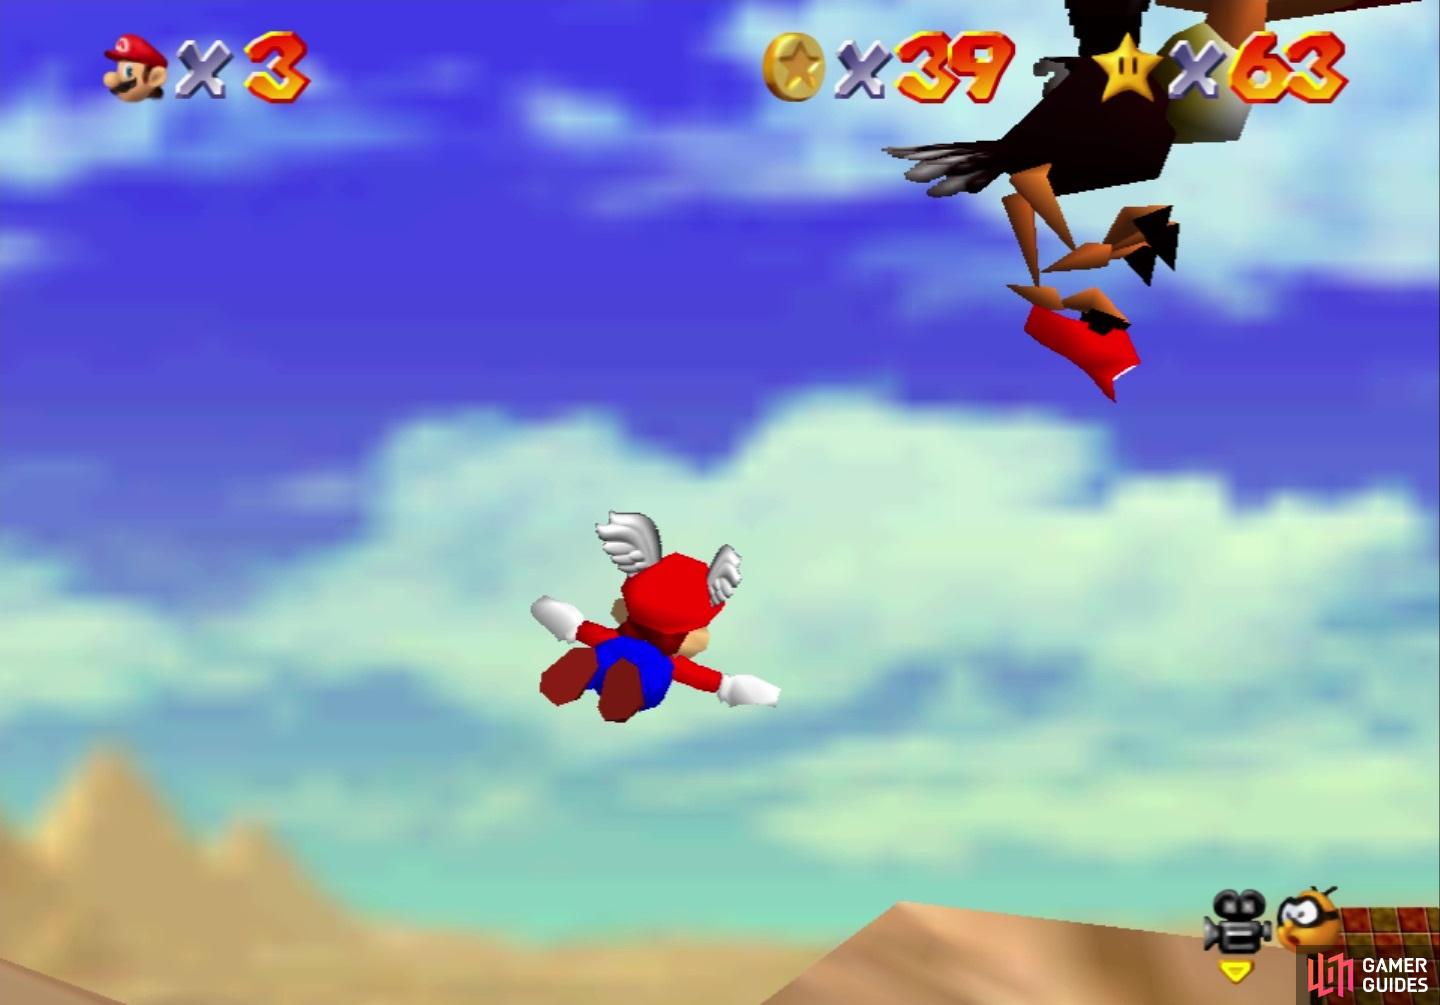
Klepto, the vulture, can actually steal your hat (left), so you will have to try and get it back from him (right)
-
Pokeys: These familiar Mario enemies are essentially living cacti. They are made up of individual parts that you can knock off with attacks. If left alone, then they will regrow all of the parts. To fully defeat them, you will have to get rid of the head.
-
Spindel: A variant of the Grindel, there is only one Spindel and it can be found inside the pyramid. It will roll back and forth in a set area, and you either need to jump over it to avoid getting crush or hide in the little alcove near it.
-
Tox Boxes: Found on the maze-like walkways outside of the pyramid, the Tox Boxes will move along a predetermined path. All sides are solid, except for one side that has a hole, allowing Mario to not be smushed on that side.
1-Up Locations
-
Above a whirlpool of quicksand by the stone structure outside
-
On the other side of the hill near the beginning, on the right side of the metal fence
-
Do a handstand at the top of the tree by the oasis
-
In a yellow block by the entrance to the pyramid
-
Inside the pyramid; At the end of the left path at beginning
-
Inside the pyramid; Above the jumping Grindel on the left path at beginning
-
Inside the pyramid; Step on each of the five small platforms in the sandy area towards the rear
-
Inside the pyramid; In a yellow block around the corner from the ramp leading to second floor
-
Inside the pyramid; On top of the grating where the Amp is circling around a pillar
No Comments