


Description
This page offers a guide on the Gusty Garden’s Gravity Scramble level in Gusty Garden Galaxy. There is also a hidden star in this level called The Golden Chomp.
Floaty Fluffs
You’ll begin on a planet with some Floaty Fluffs on it. On the underside of the planet is a Petapeta! They are only visible when Mario isn’t moving and if he moves, the Petapeta will be invisible. The Petapeta can be located if it’s invisible by looking out for footprints in the sand. If you spin attack where the freshest footprints are, you’ll be able to hit the Petapeta, making him visible and incapacitated. Jump on the incapacitated Petapeta for a bunch of Star Bits. This is entirely optional but it does yield lots of star bits.
When you’re ready, use the Floaty Fluffs to head over to the next planet.
Piranha Plants and Sproutle Vines
On the next couple of planets, you’ll need to defeat a couple of Piranha Plants to spawn some Sproutle Vines. At the end of the last vine, you’ll find a Launch Star, make sure to press Y as you head through it to avoid falling into space!
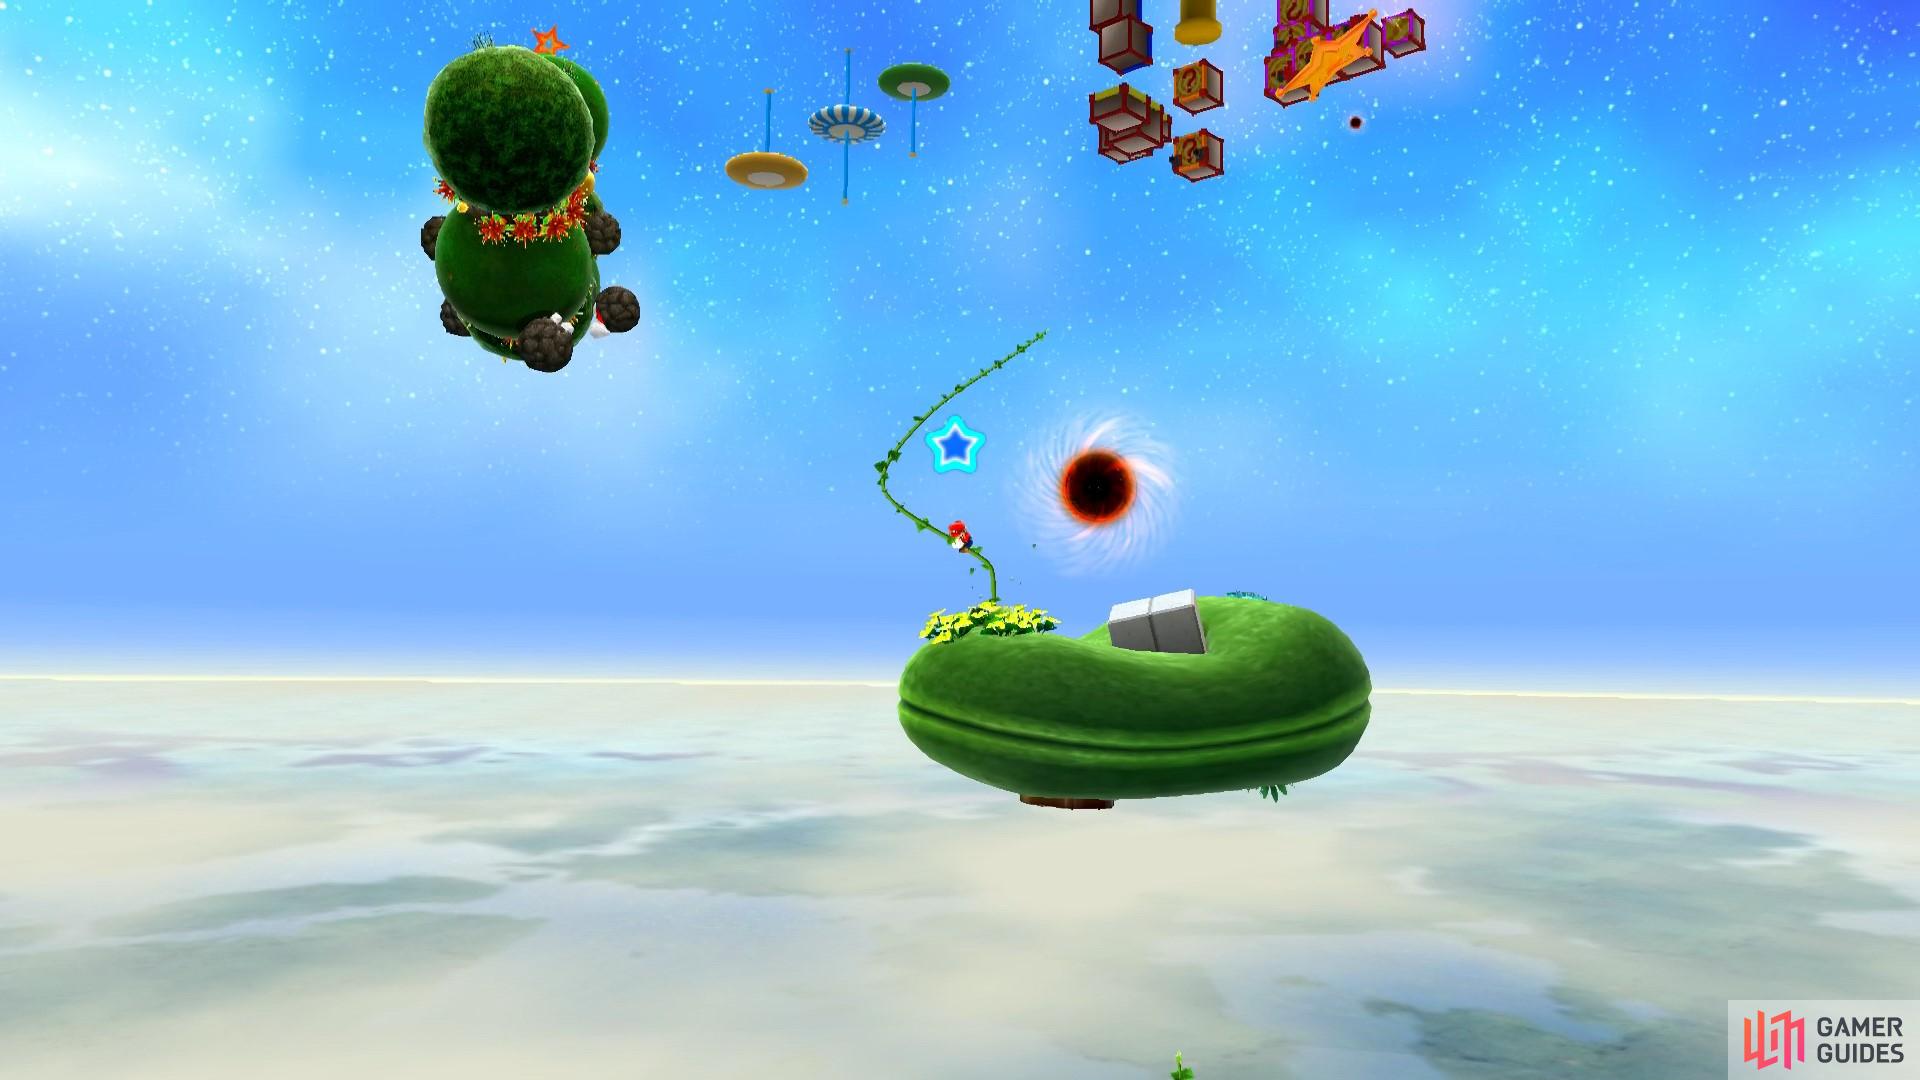
Defeat the Piranha Plants to spawn Sproutle Vines.
Boulders and Thorny Flowers
Make your way from one end of this planet to the other. You’ll need to avoid the Boulders and the Thorny Flowers. There are gaps in the Thorny Flowers that you can make your way through, but you’ll need to travel around the planet to get to them. This makes it a bit trickier to not get hit by the boulders. In the last shallow portion of the planet, you’ll find a Golden Chomp! This Golden Chomp is actually harboring a hidden star! Head over to Hidden Star: The Golden Chomp for information on how to get the star. When you reach the end of the planet you’ll find a Launch Star to take you to the next section.
Collect the Launch Star Chips
On the saucer-like structures, you’ll need to make your way up and down the poles to grab the Star Chips. When you’re at the top/end of a pole, you’ll be able to jump to a new saucer - the saucer’s gravity will catch you! When you have collected all of the Star Chips, you’ll have to go to the top of the third saucer to get to the Launch Star.
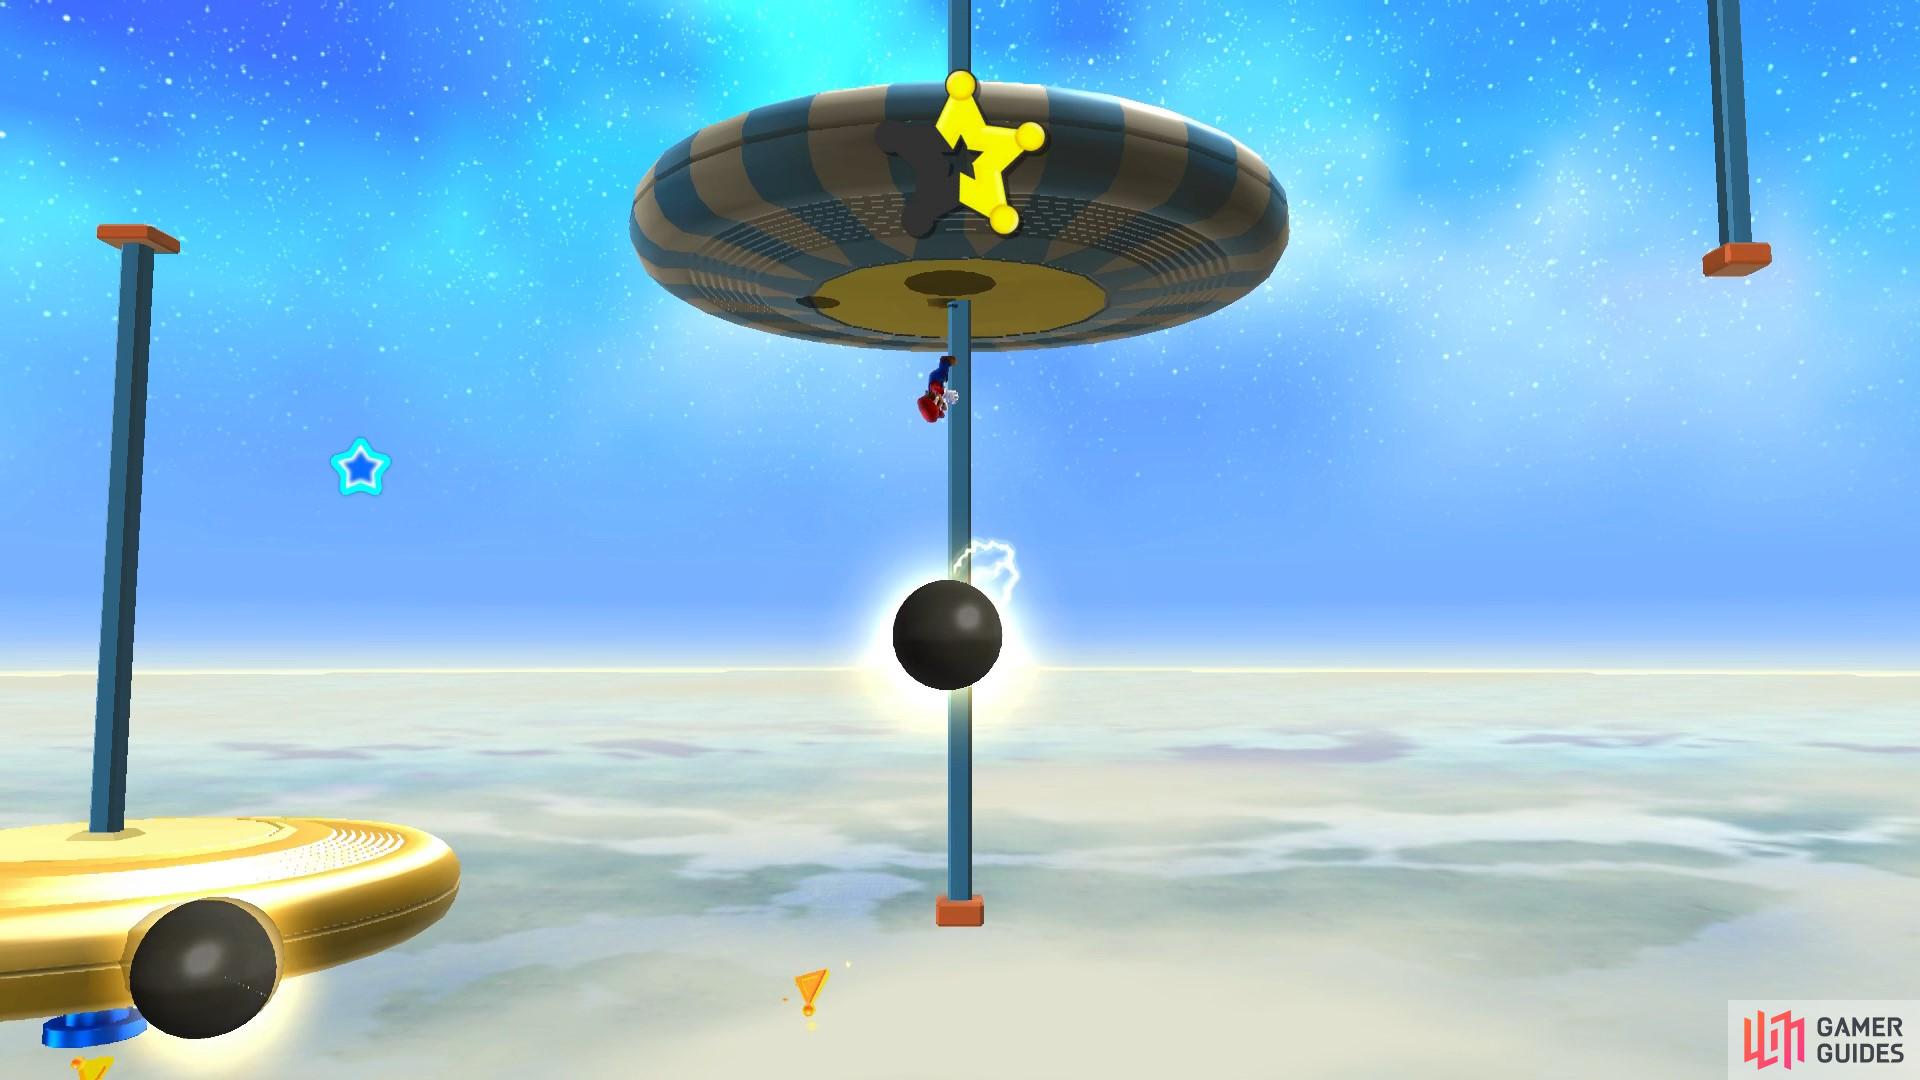
Climb up and down the poles to grab the Star Chips on the different saucers.
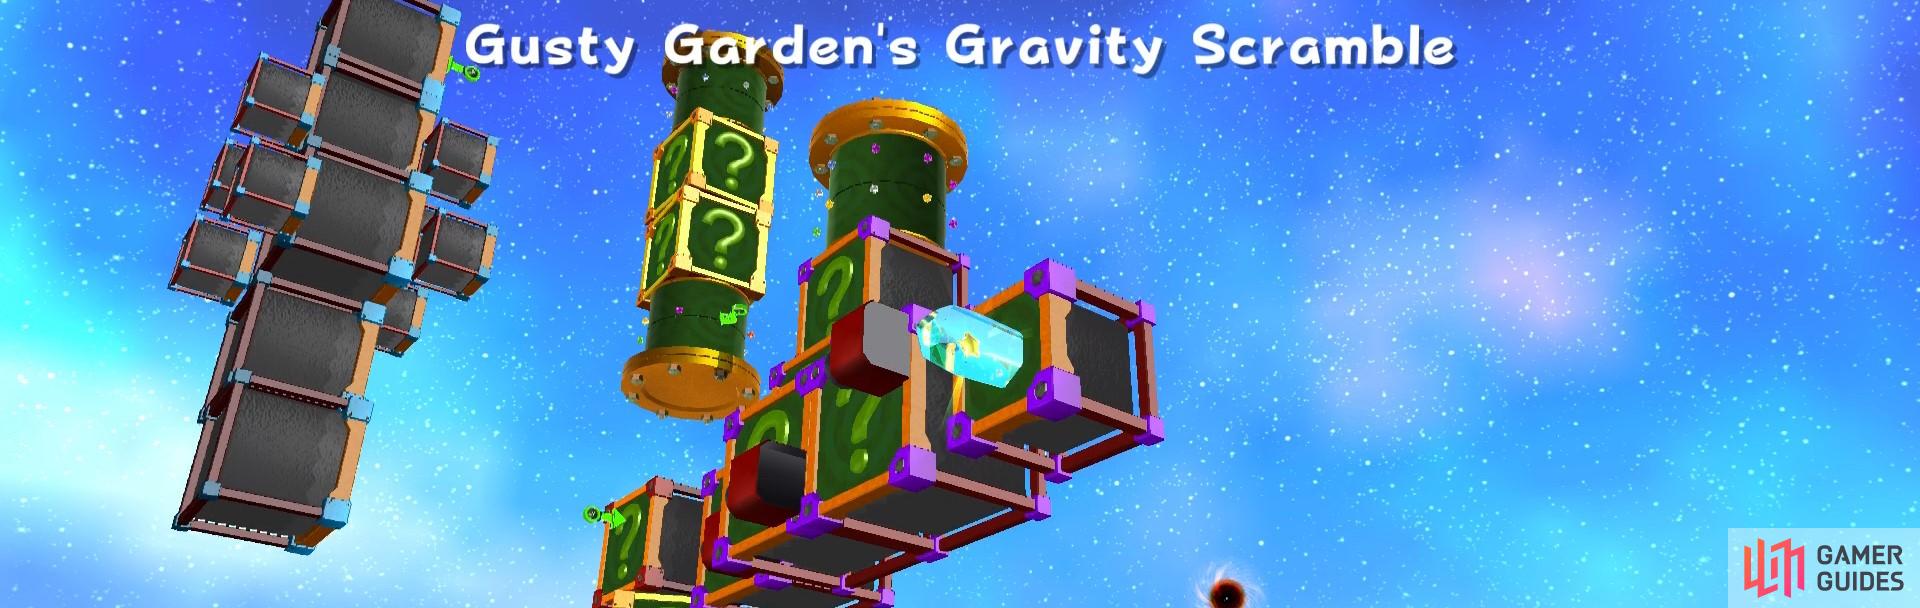
Gravity ! Blocks
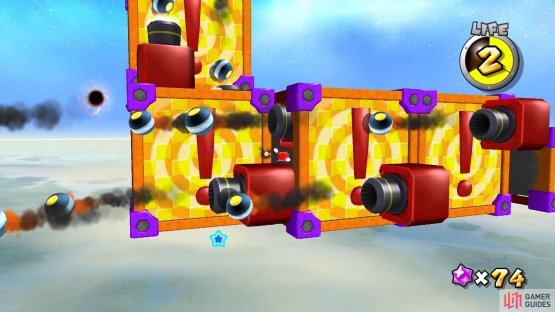
The Launch Star will take you over to a new area with lots of moving ! blocks. In this area, you’ll need to be careful where you stand! You can only stand on the sides of the blocks with ! on them - if you go to the grey sides of the blocks you’ll fall off and lose a life. You need to make your way along the blocks, switching the gravity using the switches as you go. You’ll need to watch out for goombas, cannon blasts and Slurples. This area is straightforward as long as you remember you can only travel on the sides of the blocks with ! on them.
In the first section, you want to wait for the four blocks to line up so that you can jump up them and utilise them to get to the higher platform. On this platform you’ll have to watch out for the goombas and cannon balls and flip the gravity switch. When you do so, you’ll be sucked onto a new block. Walk straight up the series of blocks and you’ll get to another gravity switch. Spin that one too and you’ll go to a new set of blocks.
Gravity Blocks only have gravity on the sides with an exclamation mark.
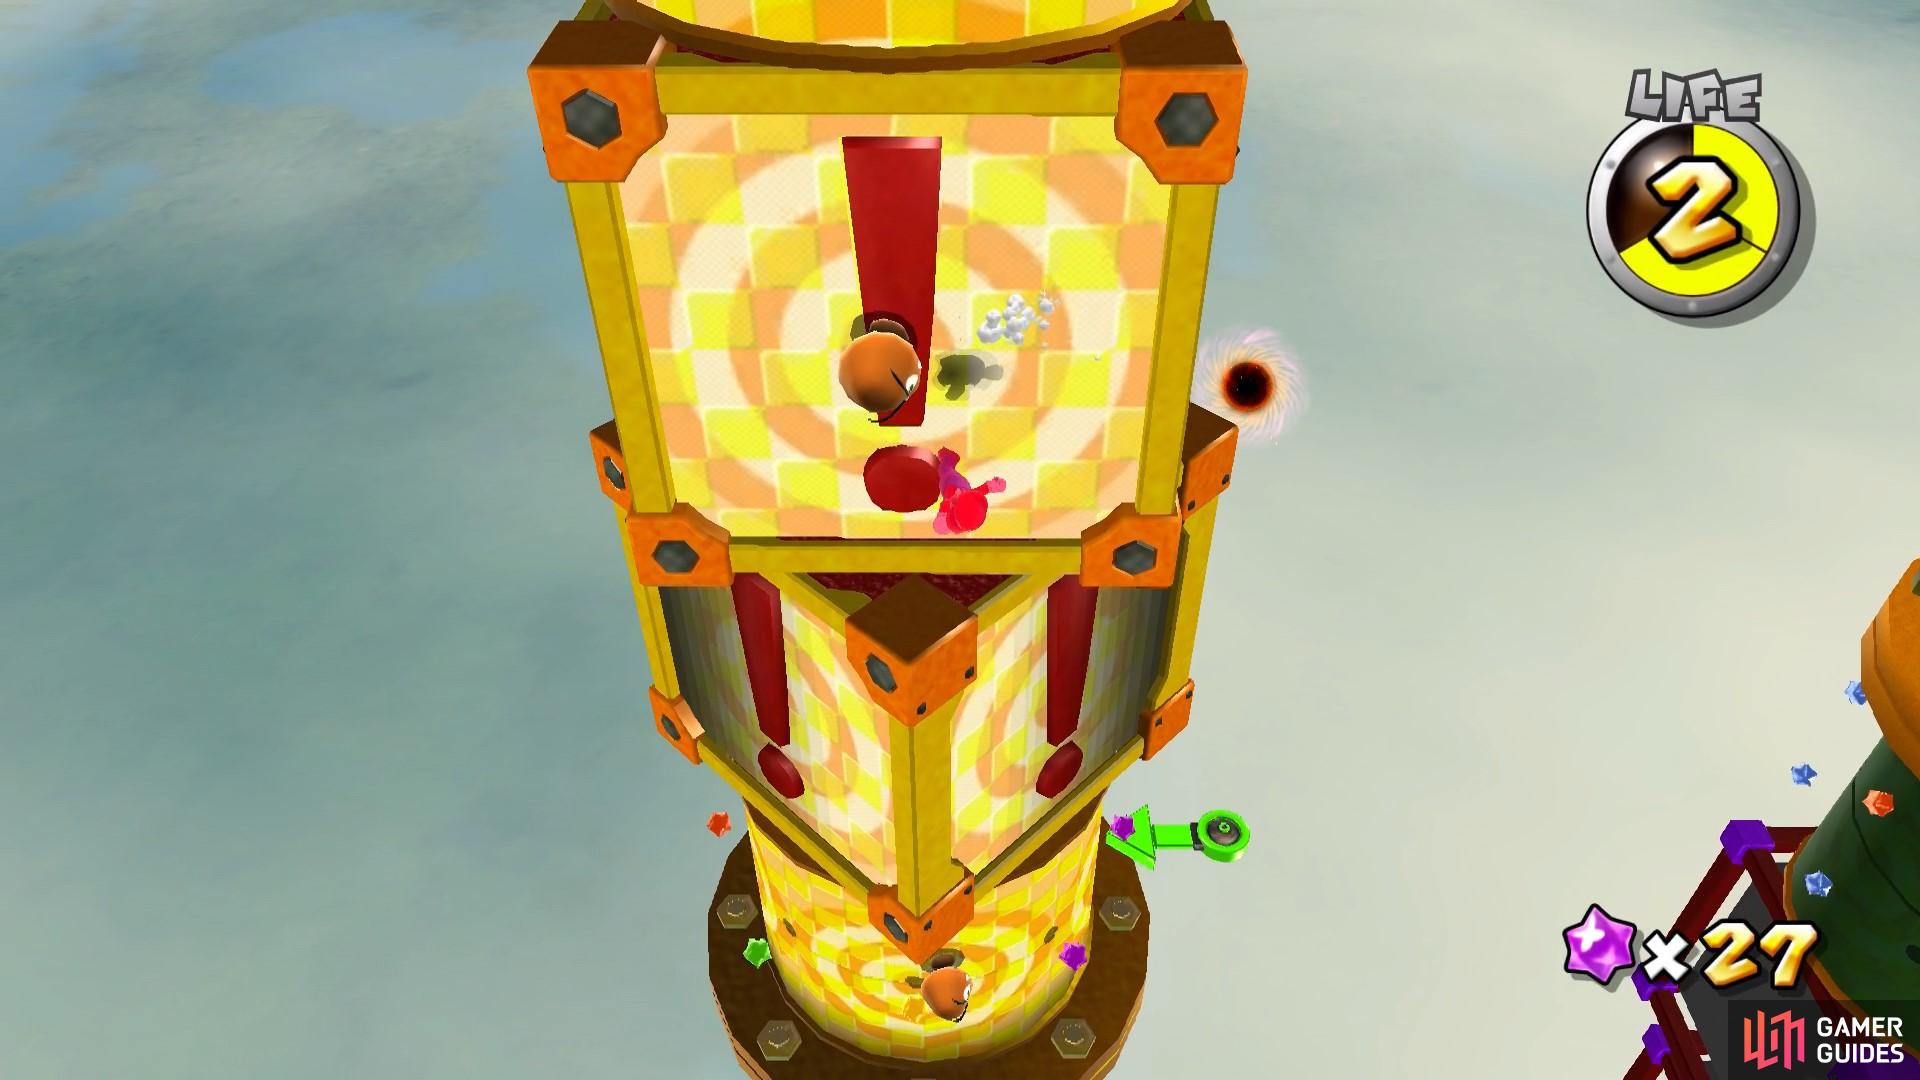
The next set of blocks is a bit trickier. You can’t let the smaller blocks push you to the sides as you’ll fall off and lose a life since there’s no gravity. Make your way to the top of the series of blocks and you’ll find another gravity switch. This time, you’ll need to move down the block structure, rather than up, to get to the next gravity switch. Watch out for goombas!
On this next structure, you’ll be bombarded with cannon balls! Watch your step and make your way down the structure. Don’t go to the side as you’ll fall off - no gravity! Make your way down past the cannon and then walk right towards the crystal.
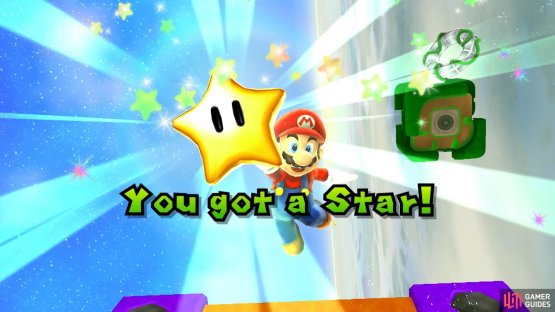
When you reach the end, you’ll need to break the crystal to get to the Power Star.
(1 of 2) Avoid the cannon blasts


Avoid the cannon blasts (left), and grab the Power Star! (right)
No Comments