


Description
This page offers a walkthrough of the level Topmaniac and the Topman Tribe in Battlerock Galaxy. This is the boss level of the galaxy.
Monty Moles
On the starting saucers, you’ll find two Monty Moles who will throw spanners at Mario and retreat quickly underground when you approach. You won’t be able to jump on their heads, instead, you’ll want to either shoot them with some Star Bits or groundpound close to them to make them dizzy. You don’t actually have to attack them, but they will throw spanners at you, so it’s up to you. Use the Pull Stars at the end of the saucers to take you to the next section.
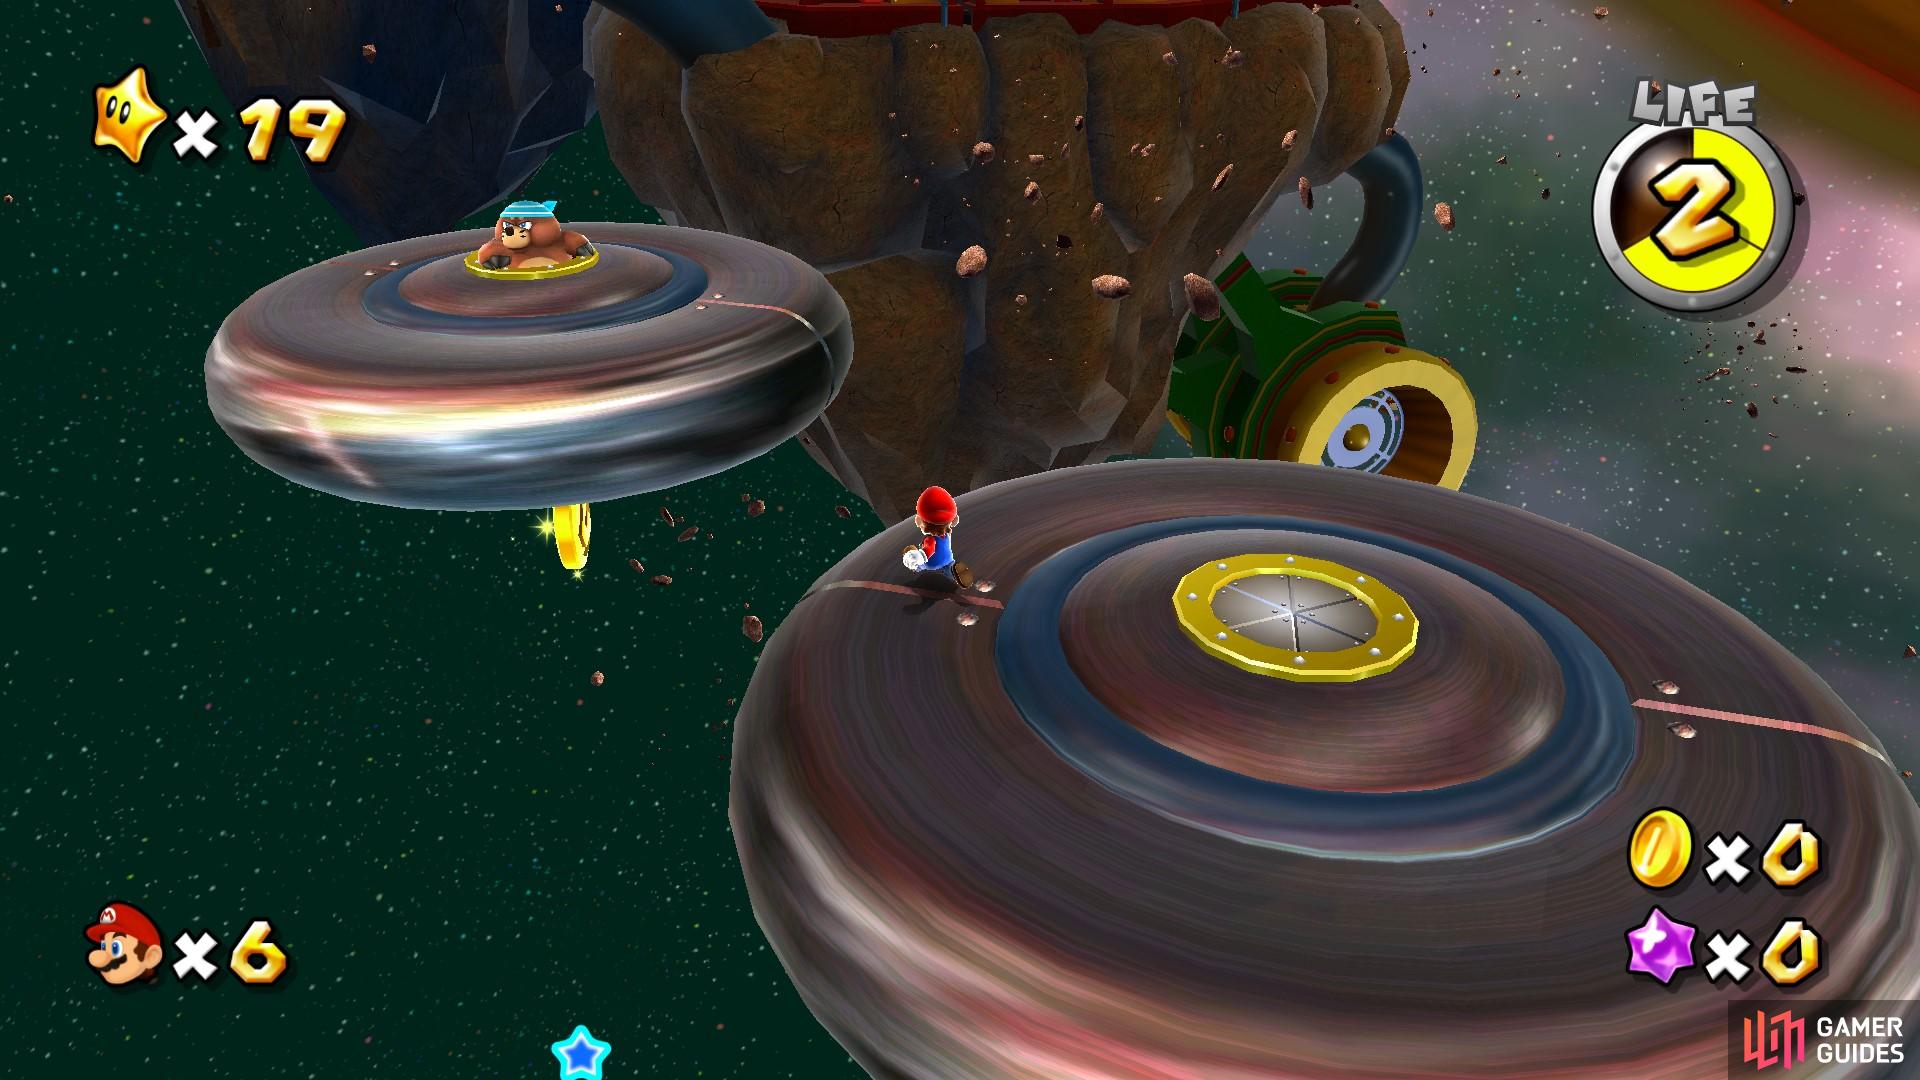
Monty Moles will hide from you if you’re too close but still try to throw spanners from afar!
Flying Saucers
After using the Pull Stars, you’ll need to use a Sling Star to launch yourself onto a new flying saucer. The flying saucer will begin to move through a few spikey mines. When you get to the end of the small minefield, you’ll reach another Launch Star.
Trapped Luma
This Launch Star takes you a trapped Luma who needs your help. You’ll need to spin attack the Spiky Topman into the electric wires to defeat him and deactivate the electric cage with the trapped Luma. When you do this, the Luma will transform into a Launch Star that will take you to the next area.
You’ll land on some yellow blocks with wooden crates and a Monty Mole on them. Destroy the wooden crate behind the Monty Mole to reveal a Warp Pipe that will take you to the next area.

Avoid the mines to make it safely to the Launch Star.
Gravity Chamber
In this next area, you’ll find gravity walls that change the direction of gravity depending on which way the arrows are pointing. You will also need to spin into the arrows that will consequently change the direction of gravity. Make your way through the room avoiding the Electrogoombas and Goombas. When you reach the end, you’ll need to spin another arrow to change the gravity so that you’re now walking on the ceiling. Carefully make your way along the ceiling, avoiding jumping where possible so you don’t fall into the other gravity area.
When you’ve made it to the opposite end of the room again (above where you begun), you’ll drop up to a new area. You’ll need to make your way along the room, whilst avoiding getting crushed. When you’ve reached the end of the room, you’ll drop down into a normal gravity area and then you can head down the Warp Pipe.
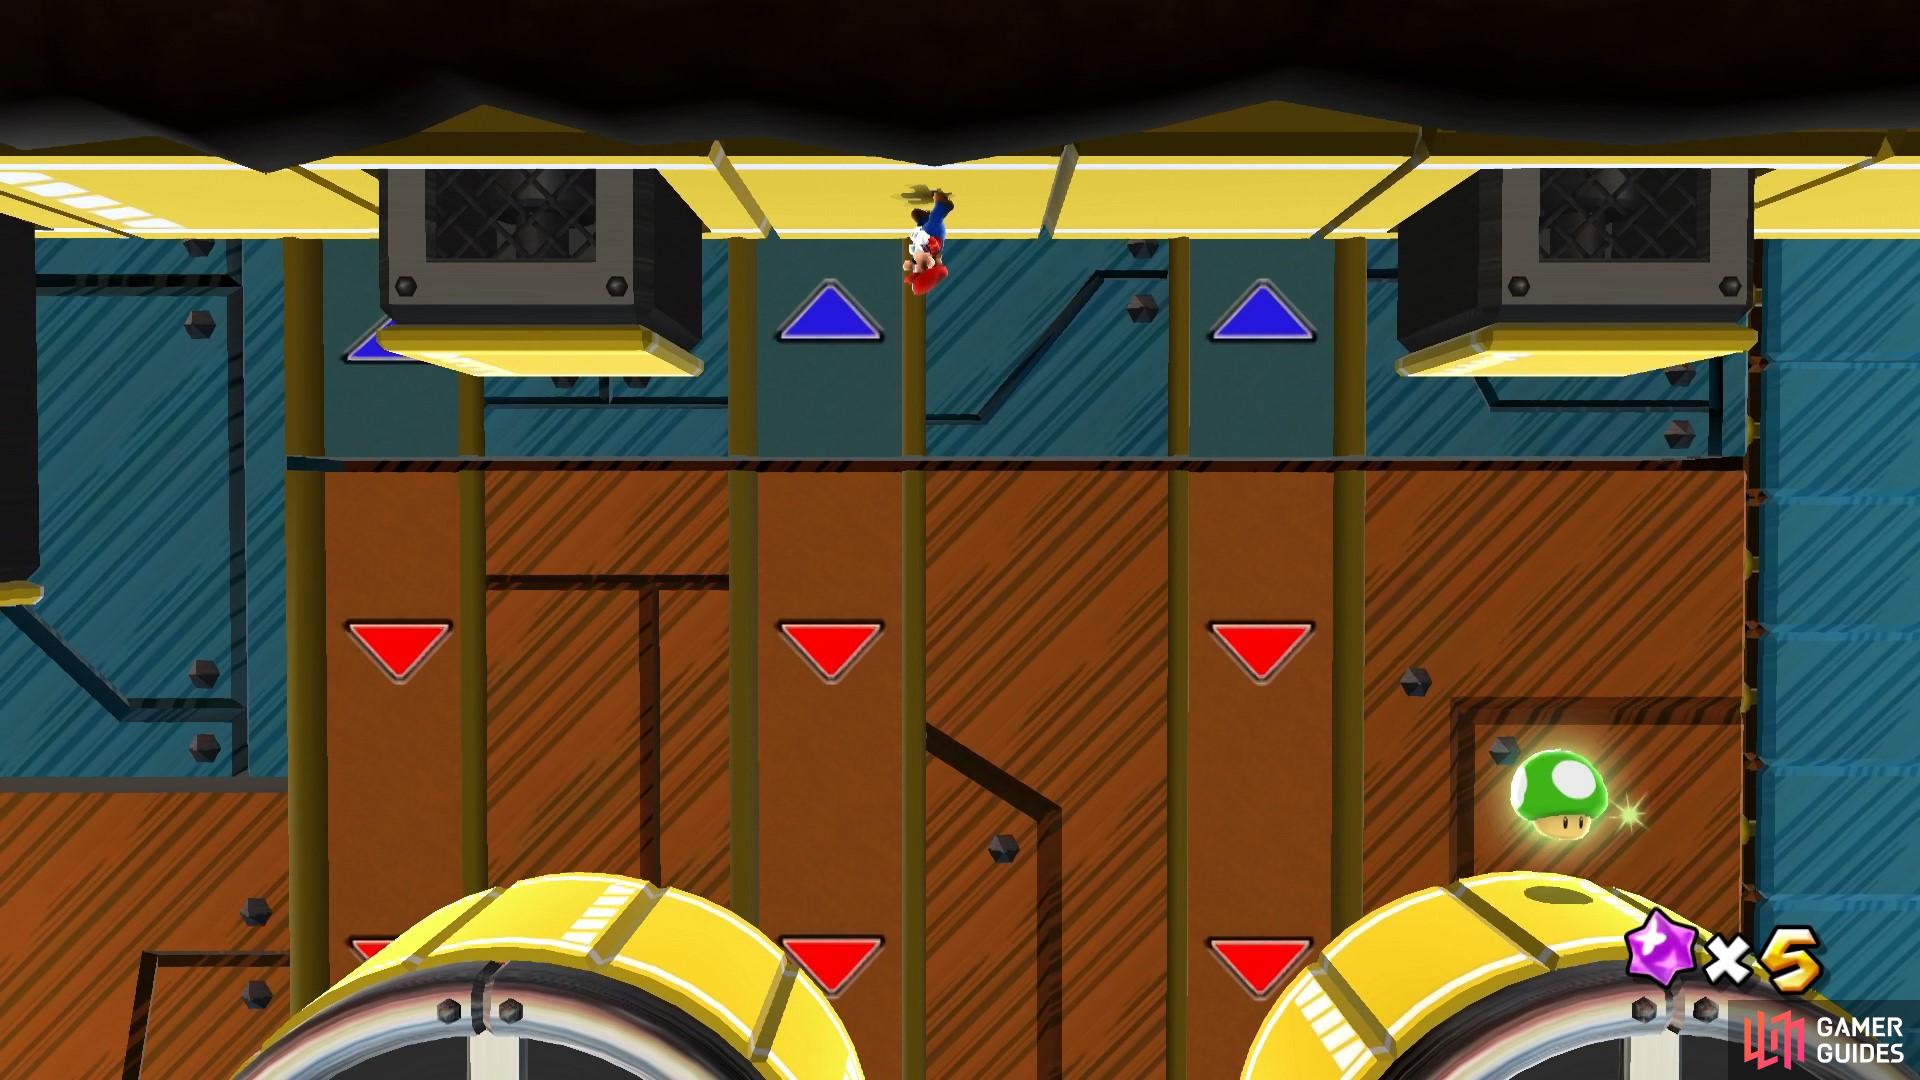
Make your way through the gravity chamber.
Jump Beamer
When you take the Warp Pipe, you’ll end up in a new room with a Jump Beamer which sends out harmful laser rings. Jump over them and then jump on the Jump Beamer to jump into a Sling Star that will take you to a platform on the ceiling.
In this area you’ll need to hit the two Spikey Topmen into the electrical gate to disable it from both sides. When you do so you can take the Launch Star at the end of the hall to the final area.
Topmaniac Boss
You’ll land on the underside of the final Boss planet. Make your way topside and then head up the steps to the arena where you’ll face Topmaniac. Like most of the boss fights, the Topmaniac will have three phases. During the first one, there will only be the Topmaniac and a few Topminis. You’ll first need to jump on top of the Topmaniac to incapacitate it briefly. You can’t spin into it first as it has spike defences. When it’s temporarily down, you’ll need to spin it into the electrical barriers to the sides.
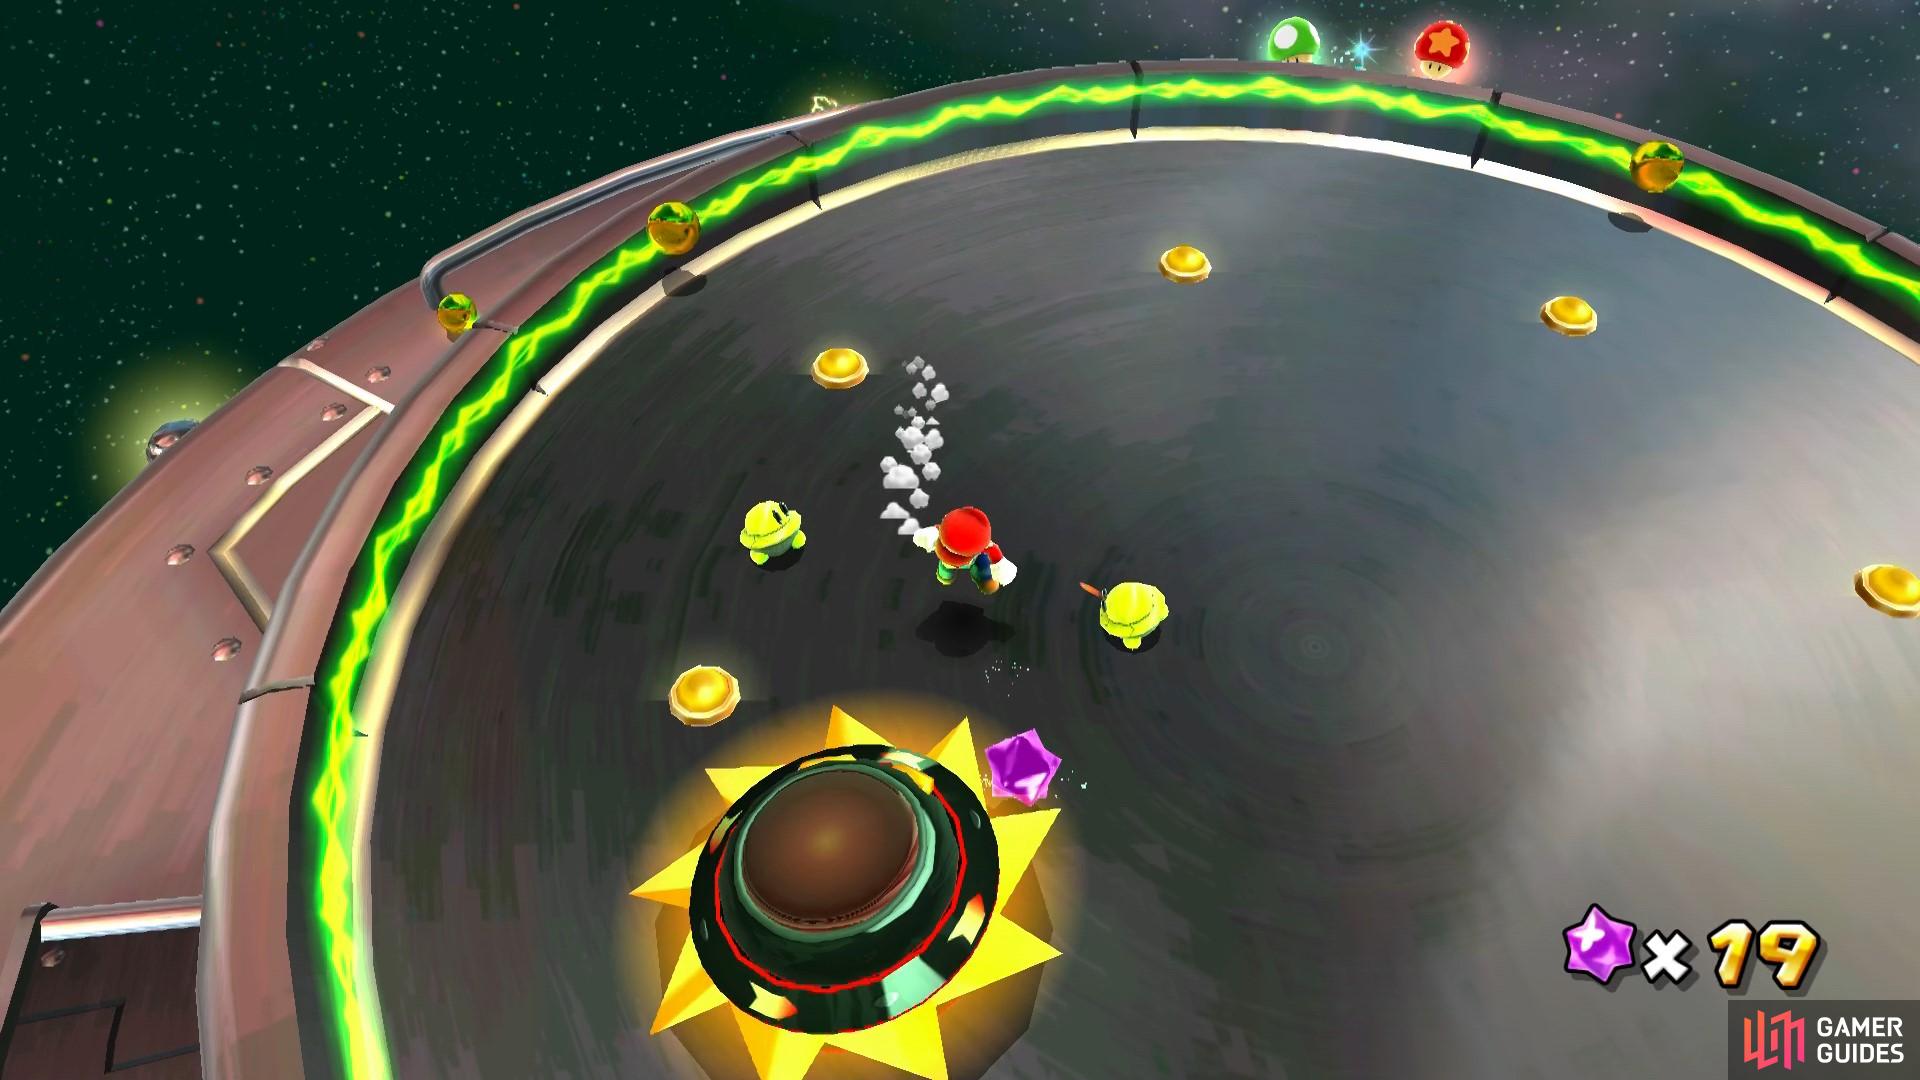
Jump on the Topmaniac, but watch out for its spikes!
The second phase is very similar, except there are a lot more Topminis about. Repeat the process again to damage him some more. During the final phase, a couple of Spikey Topmen will spawn to make the fight a little tougher. If you can, just ignore them and focus on the Topmaniac to defeat him. When he’s defeated, a Power Star will spawn.

When the Topmaniac is defeated, a Power Star will spawn.
No Comments