


Bowser in the Fire Sea is the second Bowser course in the game and is found behind the big star door in the basement of the castle. However, it is not visible straight away, as you need to complete [Board Bowser’s Sub] in [Dire, Dire Docks] in order to make the water wall retreat and reveal the hole for this level. The setup is similar to the first Bowser stage, where you have a fairly linear level ahead of you, with there being eight Red Coins to collect that will net you another star at the end.
When you begin, you’ll want to move forward and step on the grating, which will begin moving. There will be a few obstacles on this little riding journey, mainly with the moving platform dipping below the lava, so you will have to use various platforms along the way to save yourself from being burnt. At the end, jump off and the next little platforming bit will have the platforms that submerge in lava, before becoming usable again. As soon as you get past this, you’ll have to contend with a Bully, so be prepared to fight back. Here, there will be two ways to go, with a fence-like path and the other path containing some Goombas.
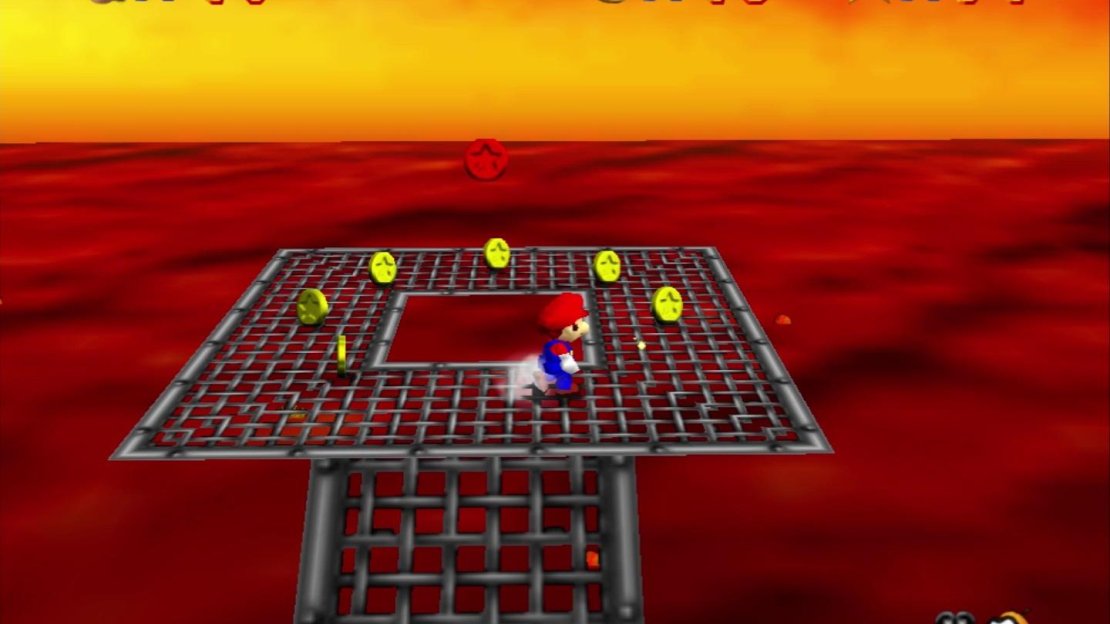

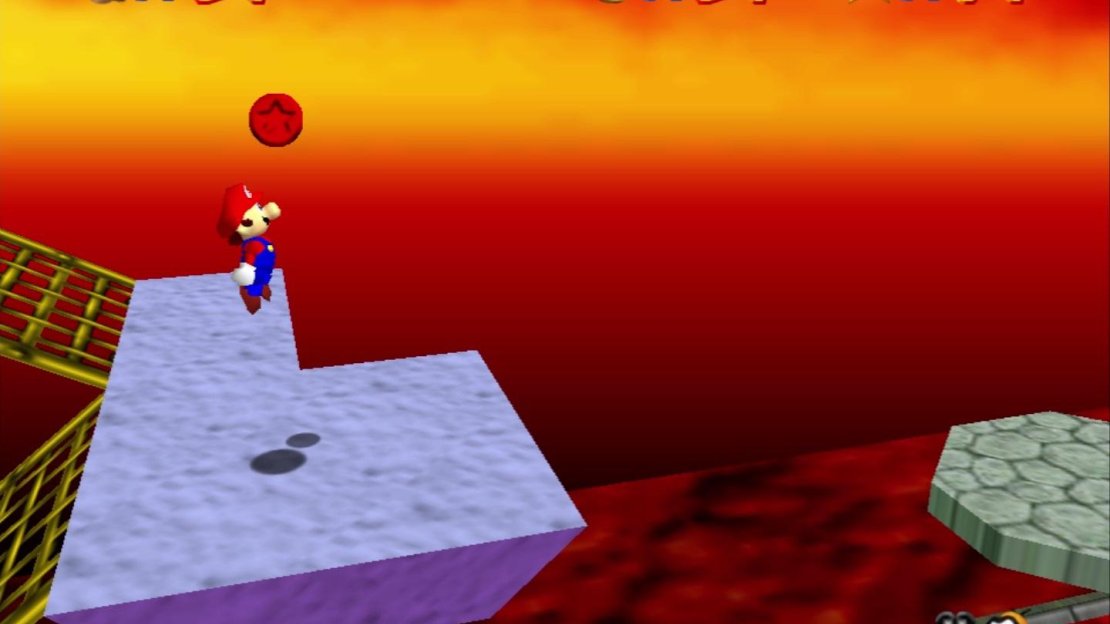
(1 of 4) The first coin is at the end of this fence-like path
The fence-like path will lead to a dead end, where you can find Red Coin #1 hovering over a hole. Return to the split and head down the path with the Goombas, utilizing the spinning heart if you need to refill your health. Not far from it, you will encounter a platform that rises in and out of the lava, with a pole attached and an Amp spinning around it. Attach yourself to the pole and wait for it to go all the way up, before jumping off to the left and on a seesaw platform. Red Coin #2 will be on this first seesaw, so grab it and continue until another pole.
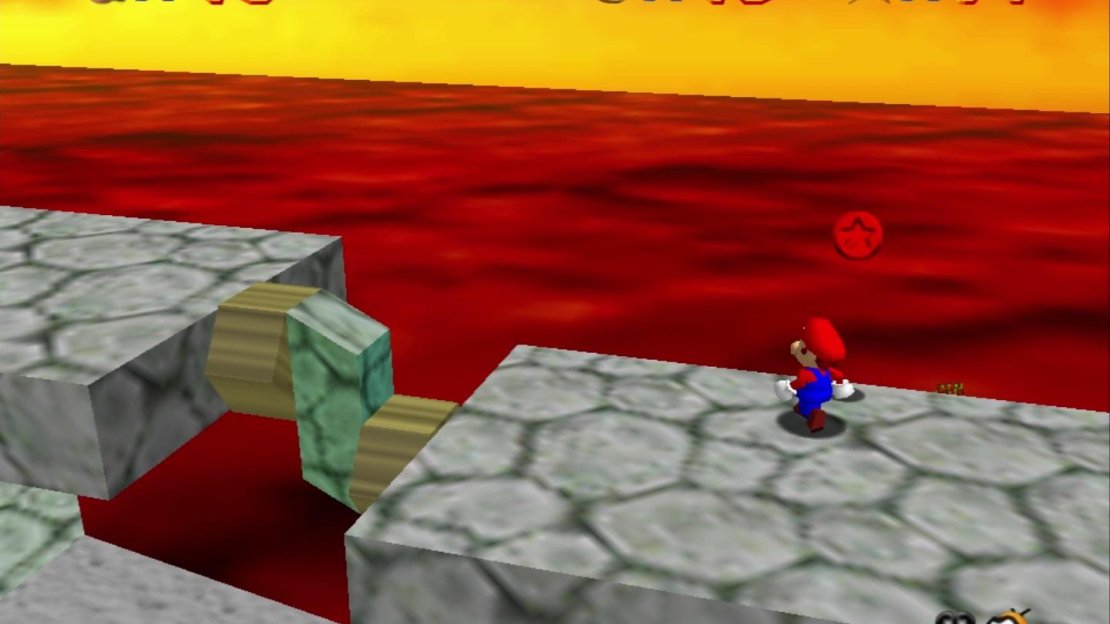
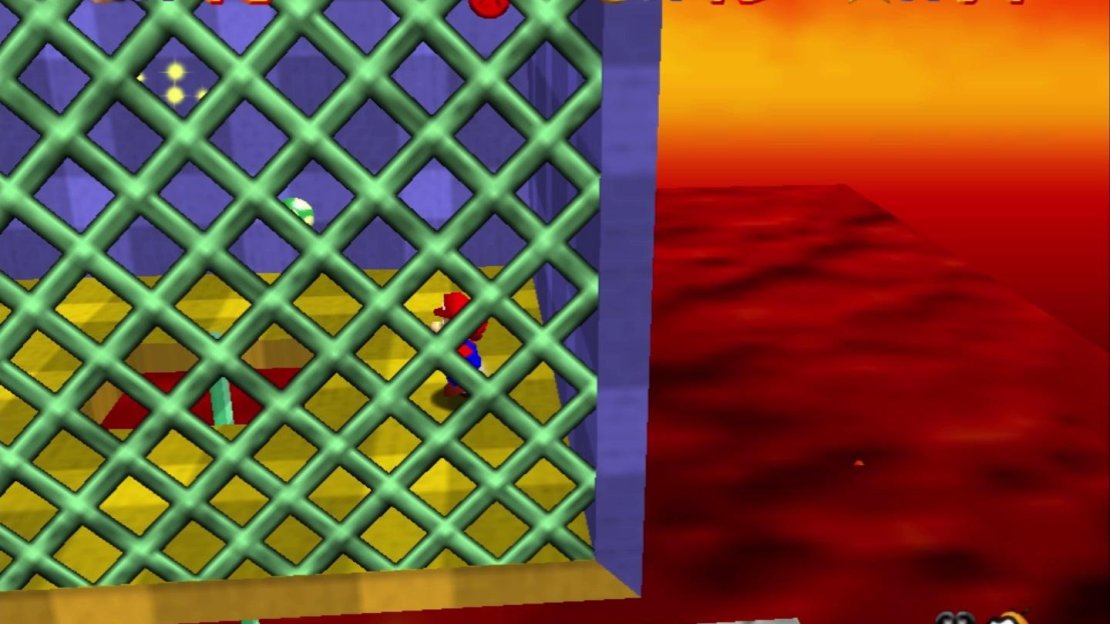
This one will bring you to a cage and while it can be hard to see, Red Coin #3 will be in the corner of the cage. The stone platform on the one side is an elevator that takes you up, but you will want to step on it to make it move, then quickly get off. The reason for this is because Red Coin #4 will be underneath the elevator, so you will have to drop down to grab it. Once you’ve gotten the Red Coin, head back to take the elevator up to the next section. There will be a gap at the top, which has a small moving platform going from one side to the other, but a Long Jump is more than enough to clear it.
A hill will follow the gap, with a path branching out from the top of the hill. You will want to go along this path, as it leads to a circular platform with a Bully and Red Coin #5. Back down to the hill, there will be a grating you can cling to on the other side, but there’s really no need to do this, as you can jump on top of it. Carefully run/jump over the two moving platforms, to a little area with two Bullies. You will want to be extremely cautious here, as falling over the front portion might plummet you back down to the beginning of the stage. In fact, it’s a good idea to just ignore Bullies.
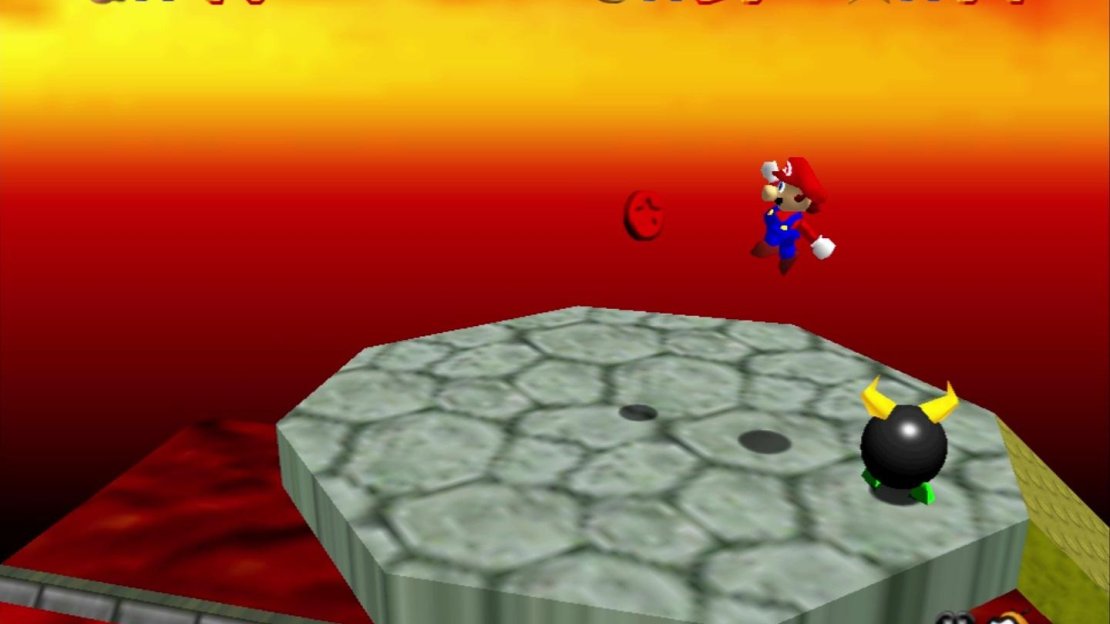

(1 of 4) The fifth coin is on this platform with the Bully
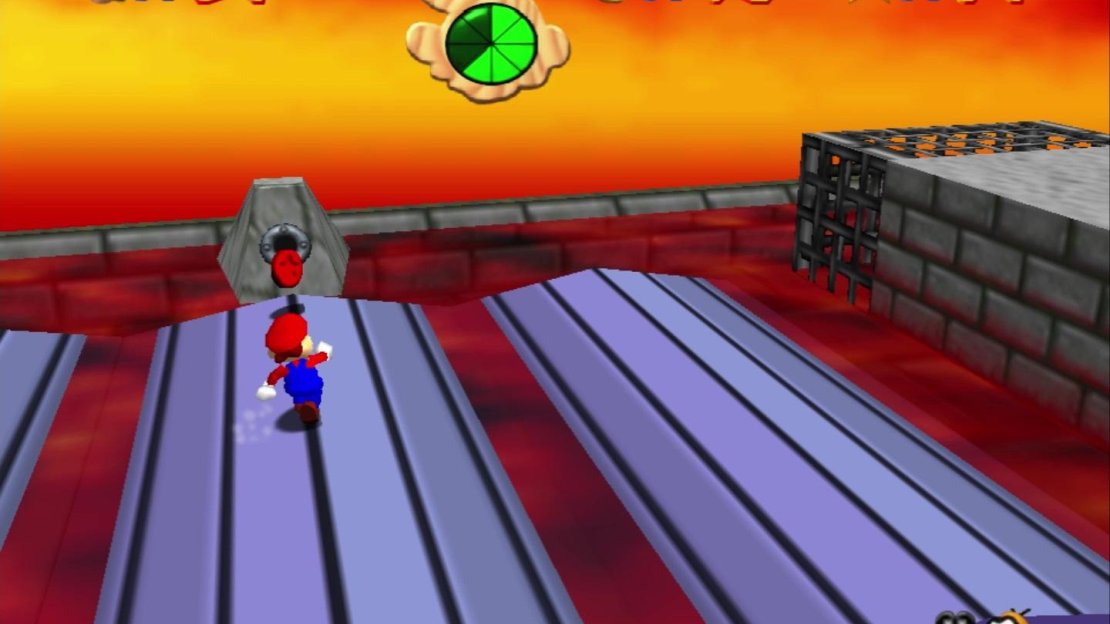
The next set of ramps and platforms are moving up and down, which is only important to note because of two reasons. The platform after the one with the hole in it will have Red Coin #6 floating above it, so you will need to wait until you can reach the coin. At the very end, you might also have to wait until the next section moves into view. Once you’re on the stone path again, climb to the top and there will be a long stretch of platforms that sink in and out of the lava, complete with some flamethrowers on the one side and an Amp in the middle. Red Coin #7 will be right in front of the second flamethrower.
Thankfully, there is another spinning heart right after the previous section, so if you need health, you can use that to refill it. The final section of the level will be more elevators with poles, with some walls thrown in the way to annoy you. The first two elevators aren’t important, but the third one will have Red Coin #8 above it. Grab the coin and you will see the star will spawn on the highest ledge. If you head to right before the final bridge, you can actually perform a Side Somersault to the thin ledge, then make your way over to the star. Whenever you’ve gotten the star, head to the final bridge (it will fall from under you as you step on it) and down the thing at the end to encounter the second Bowser fight.
BOSS - Bowser #2
Bowser has gotten a few new moves in this second encounter and he will start the battle by jumping, causing the entire platform to tilt. As long as you keep moving in a direction, you should be fine. Bowser will almost always do this tilting move if you’re far from him. Another new move that Bowser can do is actually a teleport from one spot to another. He only seems to do this if you’re closer to him and unless you accidentally get in the way, you won’t get hit by Bowser as he’s moving. You will also find that Bowser will run straight after you, which also has a bit of tracking to it.
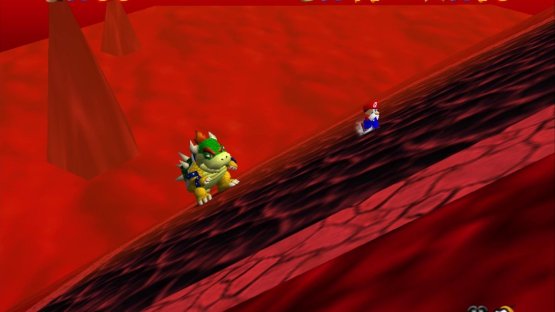
(1 of 2) Bowser will tilt the entire platform throughout this fight
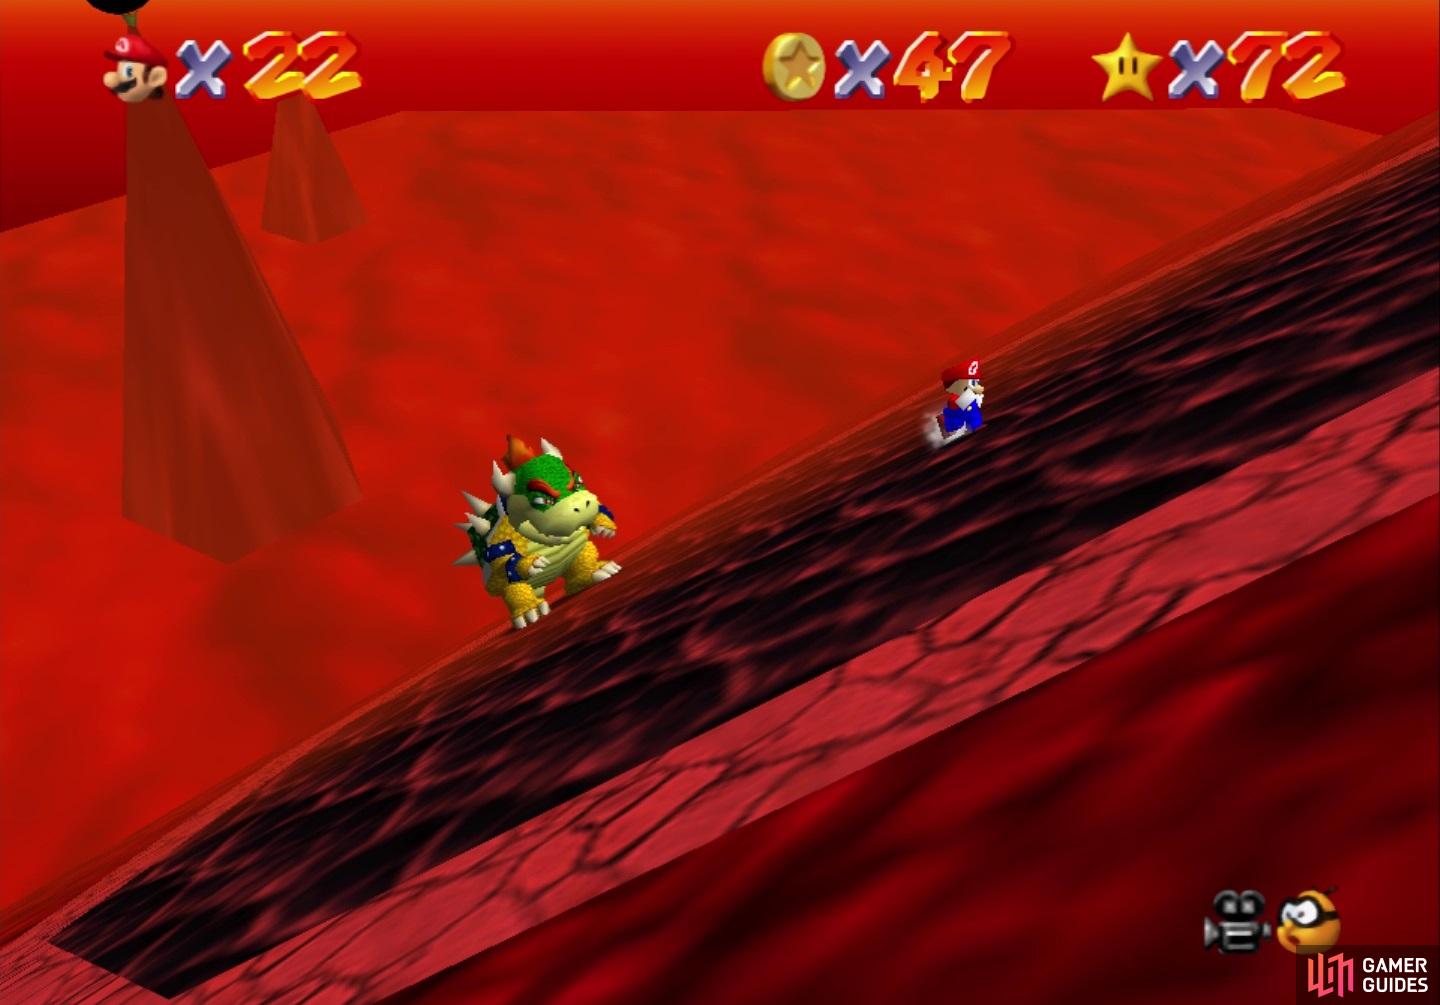
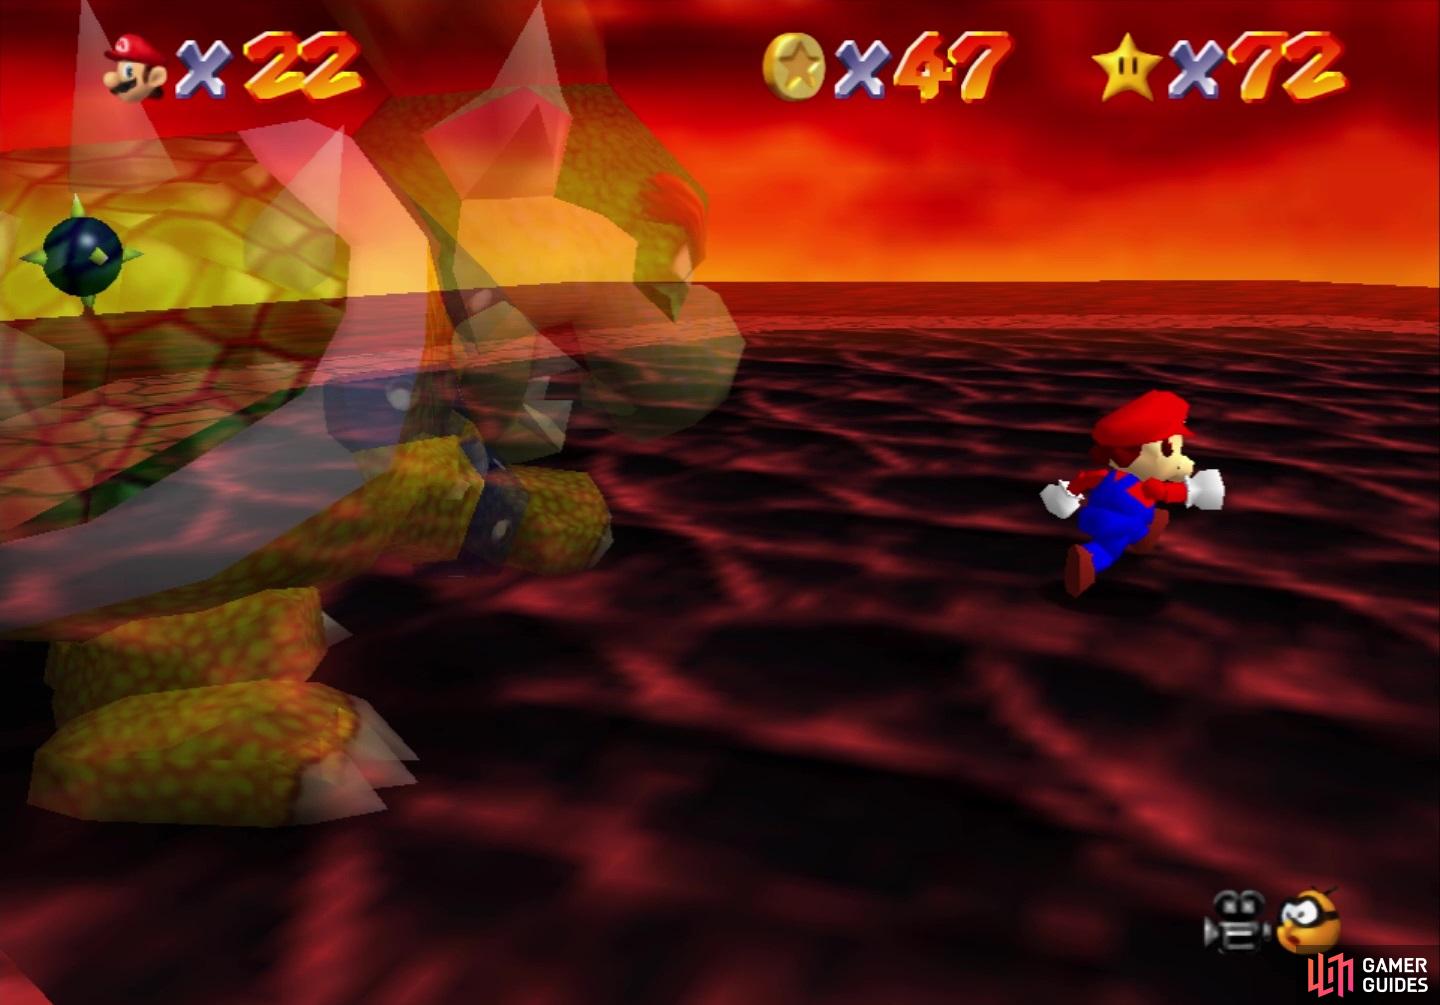
Bowser will tilt the entire platform throughout this fight (left), He can also teleport short distances (right)
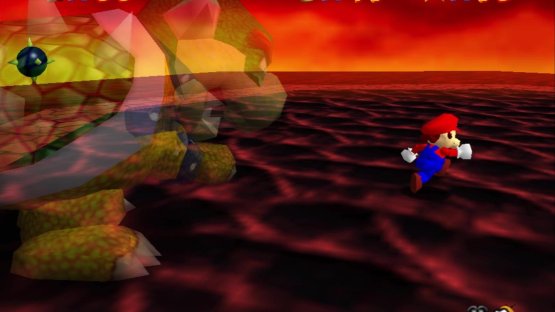
Lastly, Bowser can shoot fireballs from his mouth that will track you a little bit. Overall, Bowser isn’t really much harder than during the first fight, with your main goal of grabbing his tail and tossing him onto one of the mines being the same. His turn radius from running around him is a lot better, so you might have to wait for an opportunity to grab his tail after one of his attacks instead. The platform tilt and running attack are the best for this, as there is some slight delay before Bowser will begin moving again. All it takes is a single hit on one of the mines to finish him, netting you a key that leads to the upper floors of the castle.
No Comments