


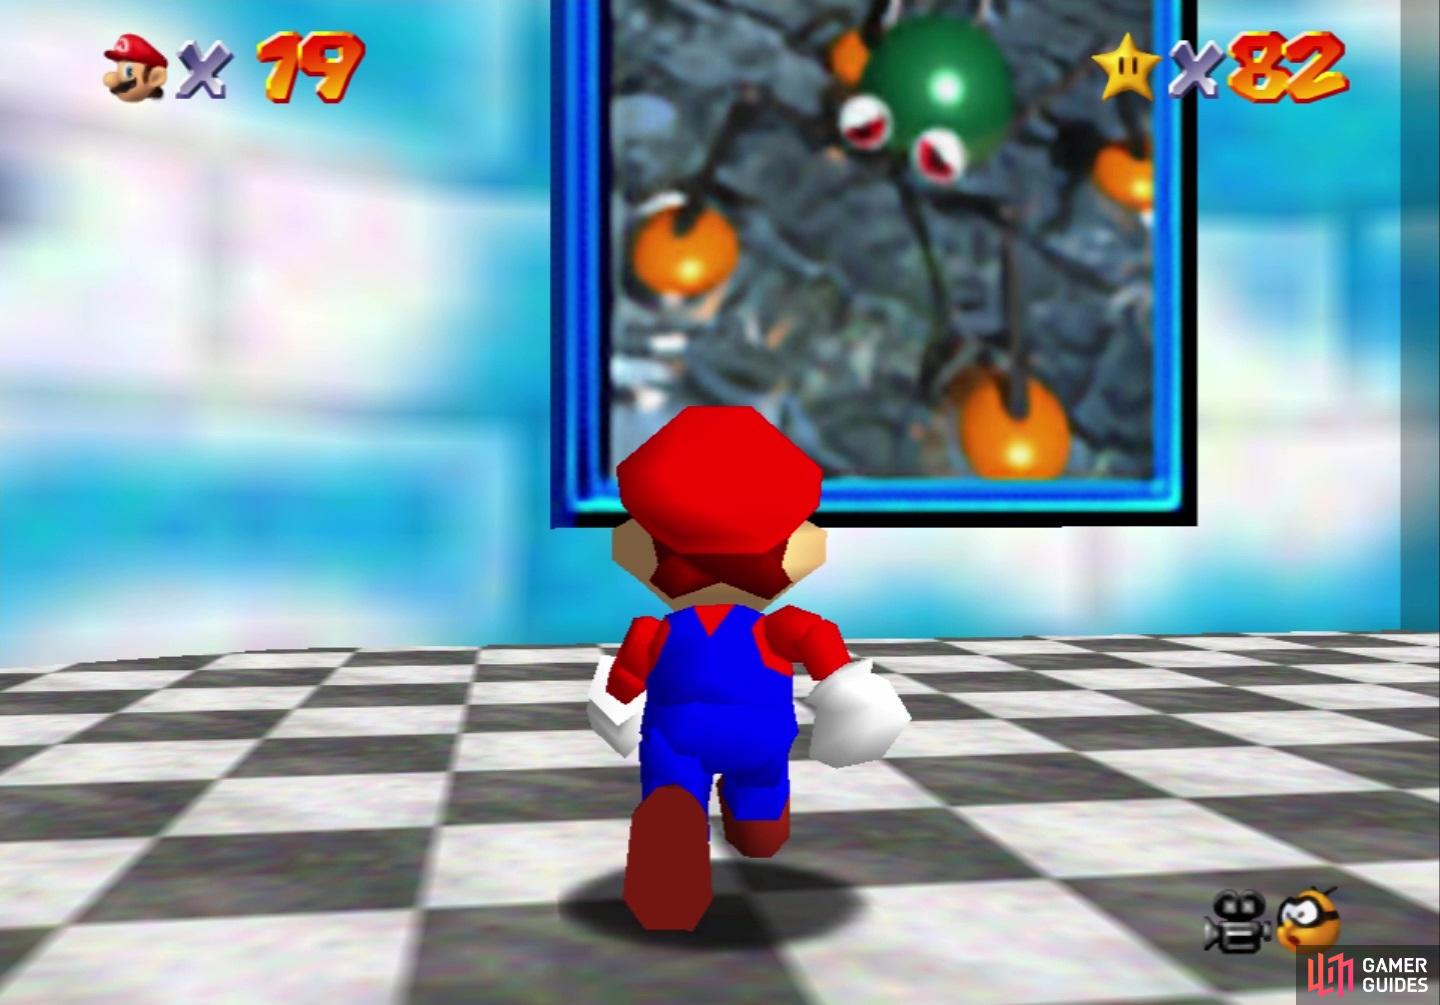
The painting used to enter Wet-Dry World
To get to this course, you will need to clear Bowser in the Fire Sea in the basement of the castle to get a key that opens the door in the main lobby. Go up the stairs to the next floor and you should see a painting with a spider-like creature straight ahead, which will be Wet-Dry World. This can be a complicated course, from a design perspective, as the water levels can be manipulated via Crystal Taps (crystal-like switches). Touch one of these and the water level will rise/lower to the level of the Tap.
It’s also important to note that you can set the water level depending on where you jump in the painting. For example, if you jump in at the lowest possible spot, then the water level will be at its lowest. Should you jump in at the top of the painting, then the water level will be at its highest. Knowing this makes it a lot quicker to get some of the stars in the course. Controlling the water level is important, as there are wooden platforms throughout the first area, which will float and allow you to access higher ledges/platforms.
Uptown (First Area)
If you enter the painting at the very bottom, the water level will be at its lowest point (this will be known as Level Zero, to make things easier to explain). Upon entering the level, you will land on one of those wooden platforms that rises with the water. In the one corner is a cage that extends all the way to the top of the course, while there looks to be another cage that goes up pretty high, with a breakable block at its base. Breaking the block will reveal a hole, with this being used for a star. Looking up from the starting point, there will be a ramp that extends to an upper section.
In the corner between the two cages will be Crystal Tap that will set the water level to its lowest. Turning around at the start, you will see some wooden poles holding another platform up, as well as another Crystal Tap underneath the whole thing, raising the water to what will be known as Level One. Staying on the ground, follow the course around to find some tall platforms, one of which will have an Amp circling it. At the top of this one, which is stepped, there will be a Crystal Tap that sets the water to Level Two. If you go beyond that Crystal Tap, to the far end of the course, there is a box you can push.
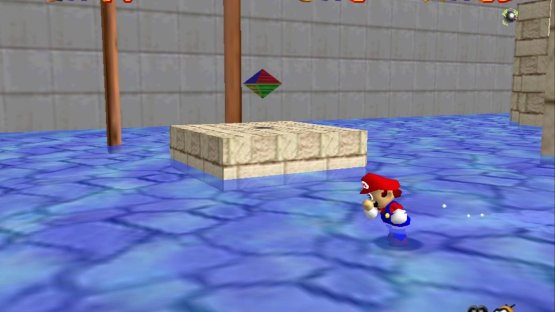

(1 of 2) Keep an eye out for these Crystal Taps
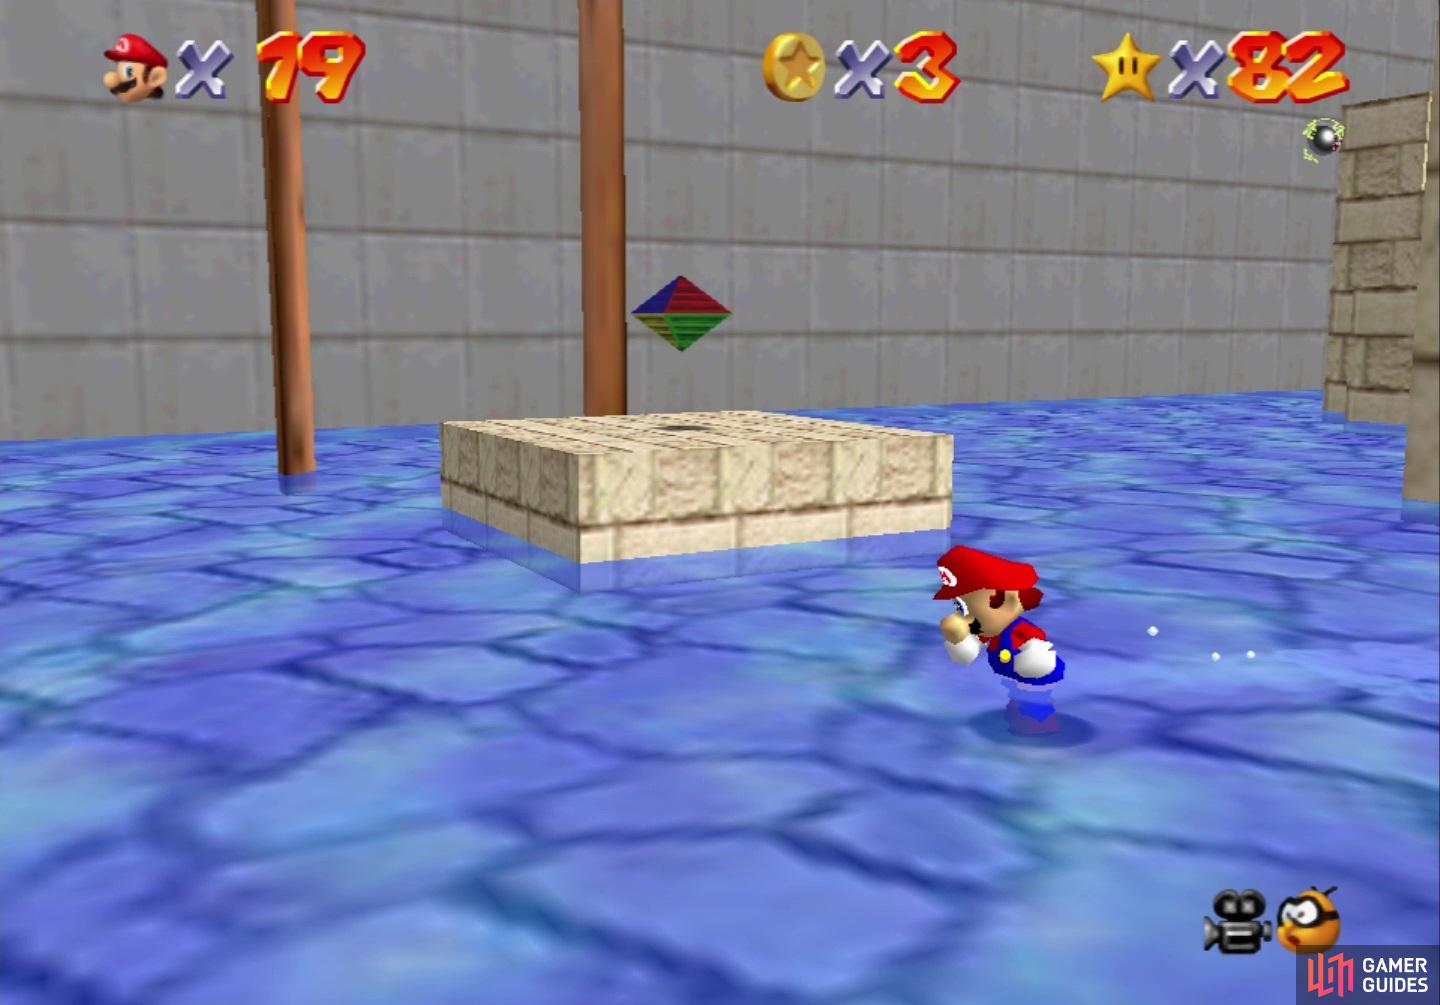
Keep an eye out for these Crystal Taps (left), as they can be used to control the water level (right)
On the tiered platform, where you see a Skeeter, there is a Blue Coin Block, as well as two Keronpa Balls. On the further side, there is another one of those blocks you can push, but this one is inside the wall. On the level above that one is nothing but a wooden platform, a Keronpa Ball and a Heave-Ho. To get to the next Crystal Tap, head back towards the beginning of the level and you should notice the large wooden platform on pillars is pretty close. There is a spot where you can jump out of the water (if at Level Two), letting you onto the long wooden platform. Here will be a purple switch, which creates a path that lets you reach a nearby tall platform that has the Crystal Tap (Level Three).
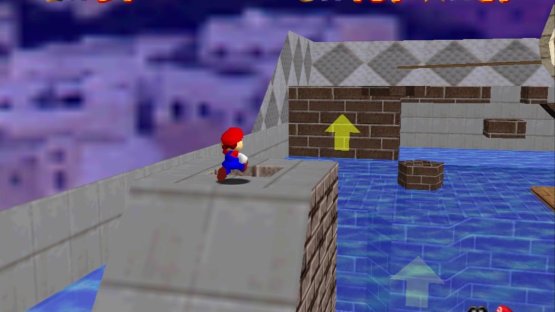
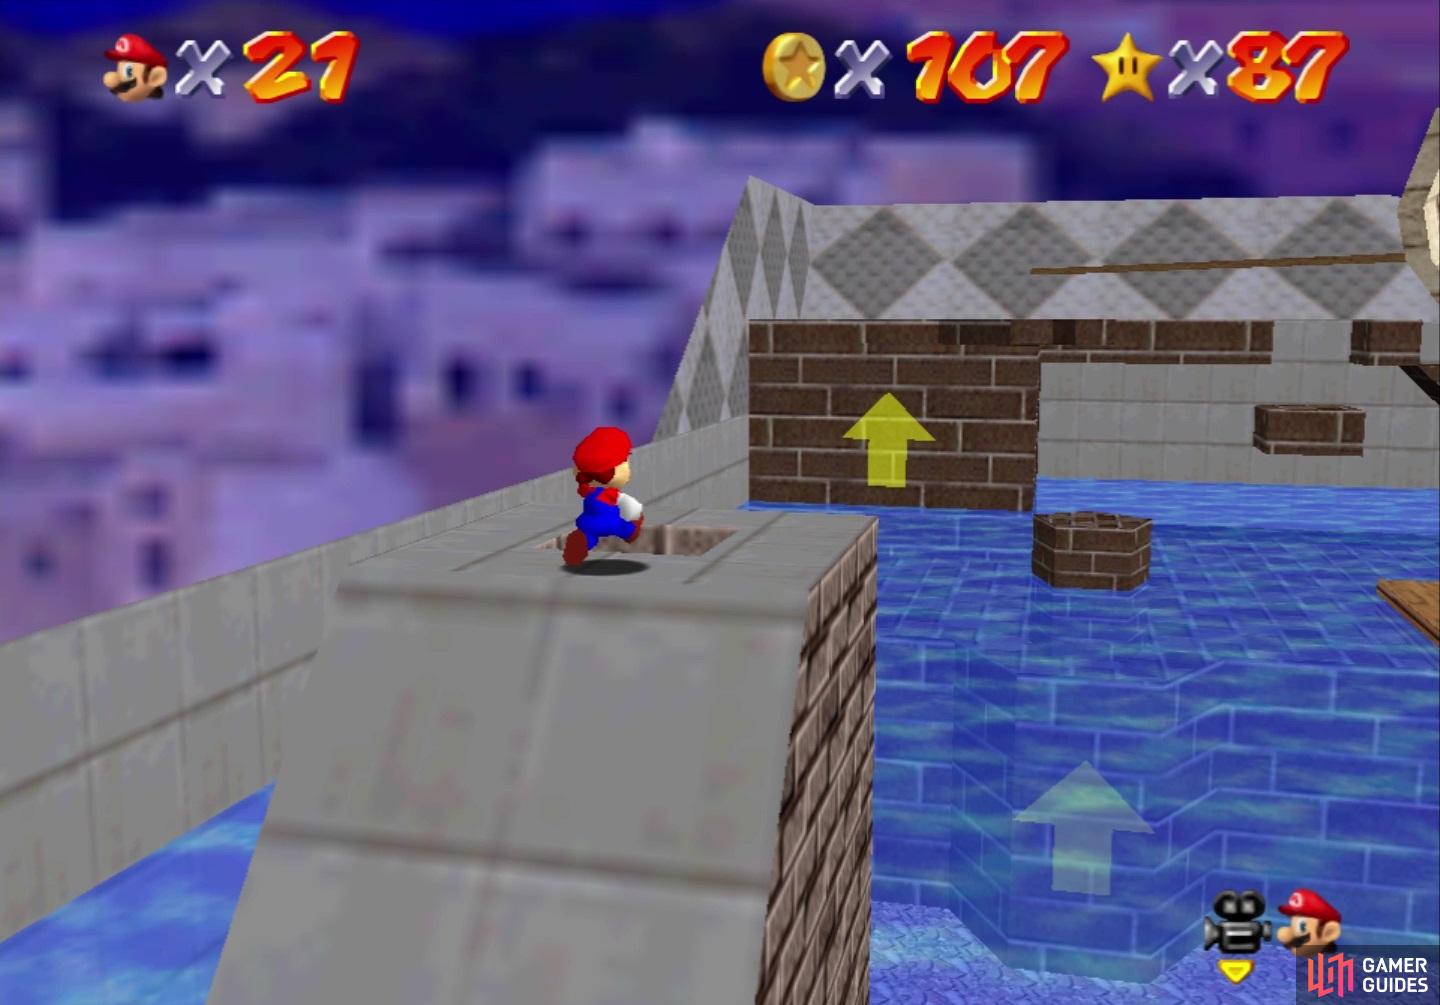
With the water level this high, you can do explore a lot more of this area. The floating platforms with the orange color allow you to use the little lifts with arrows on them. You can also use the wooden platforms to reach the third tier of the large landmass here, which has a few points of interest. In the back corners, you can see another pushable block, letting you reach the yellow box. There’s a raised platform here, with an Amp circling it. Near the tall cage is a switch, creating some boxes that allow you to reach the top of the cage.
Off the side of the cage are two wooden platform, which are connected to the wooden platforms inside of the cage, one of which has a star on it. Stepping on the non-star one will cause it to go all the way near the ground, right above the breakable box you saw there. From the top of the cage, you can Long Jump over to the main portion of the stage, where you should see another Crystal Tap down the slope there (Level Four). This will set the water to the highest you can get it via the Crystal Taps, but it can go higher via jumping into the painting.
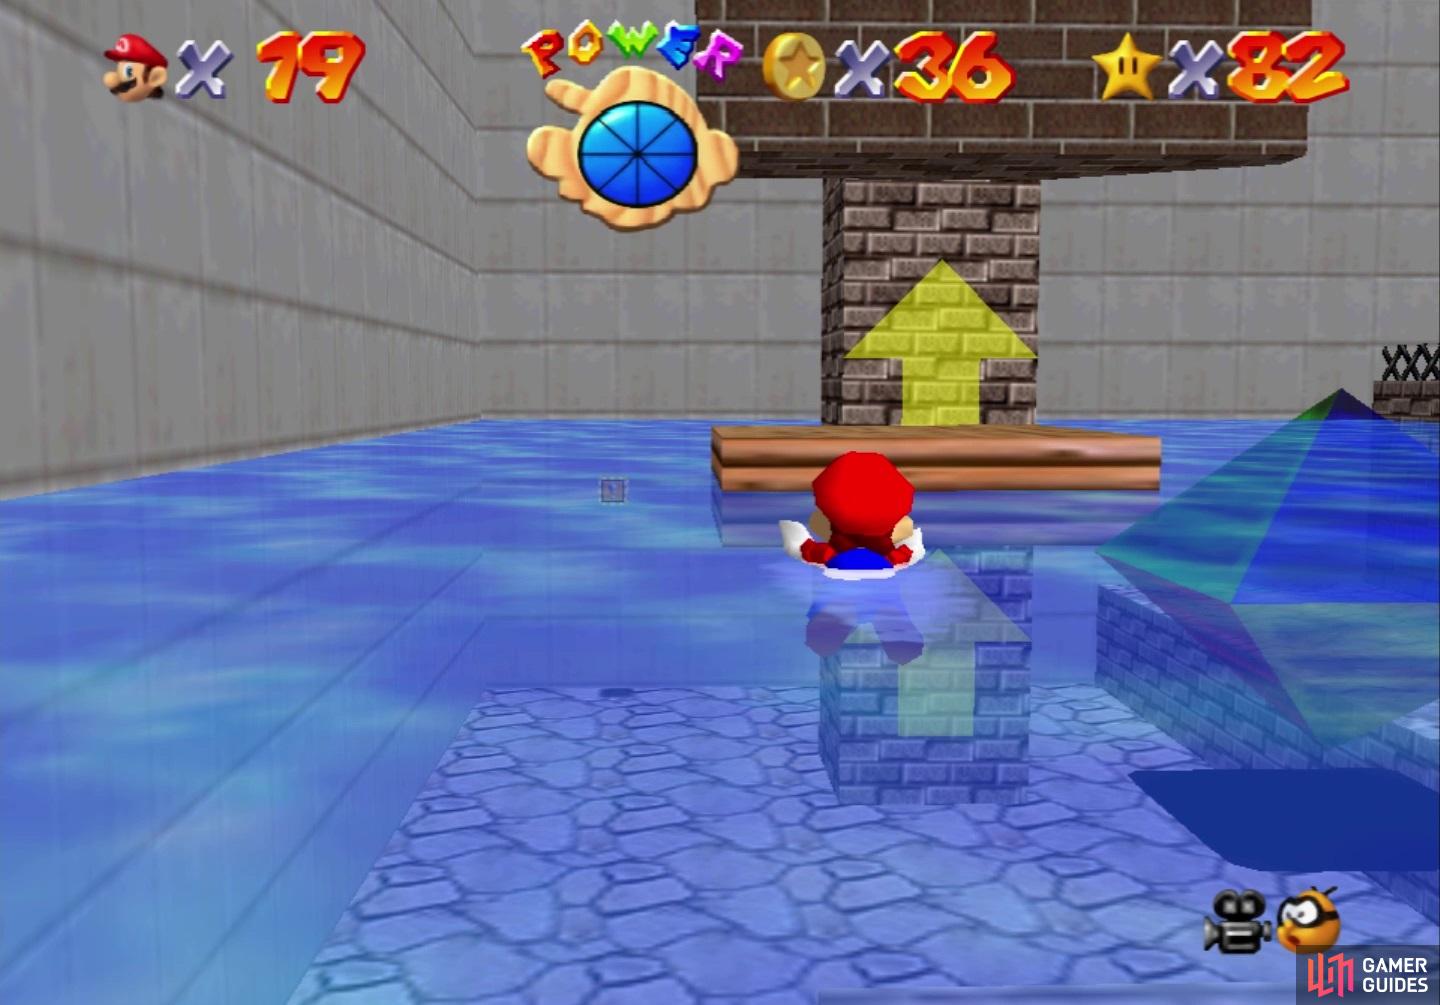
(1 of 2) The Heave-Hos will launch you into the air if they catch you
The Heave-Hos will launch you into the air if they catch you (left), but they will stop to rewind themselves periodically (right)
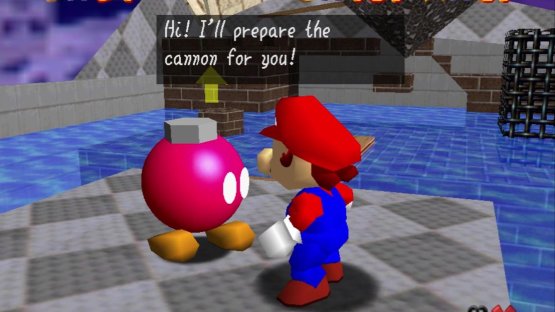
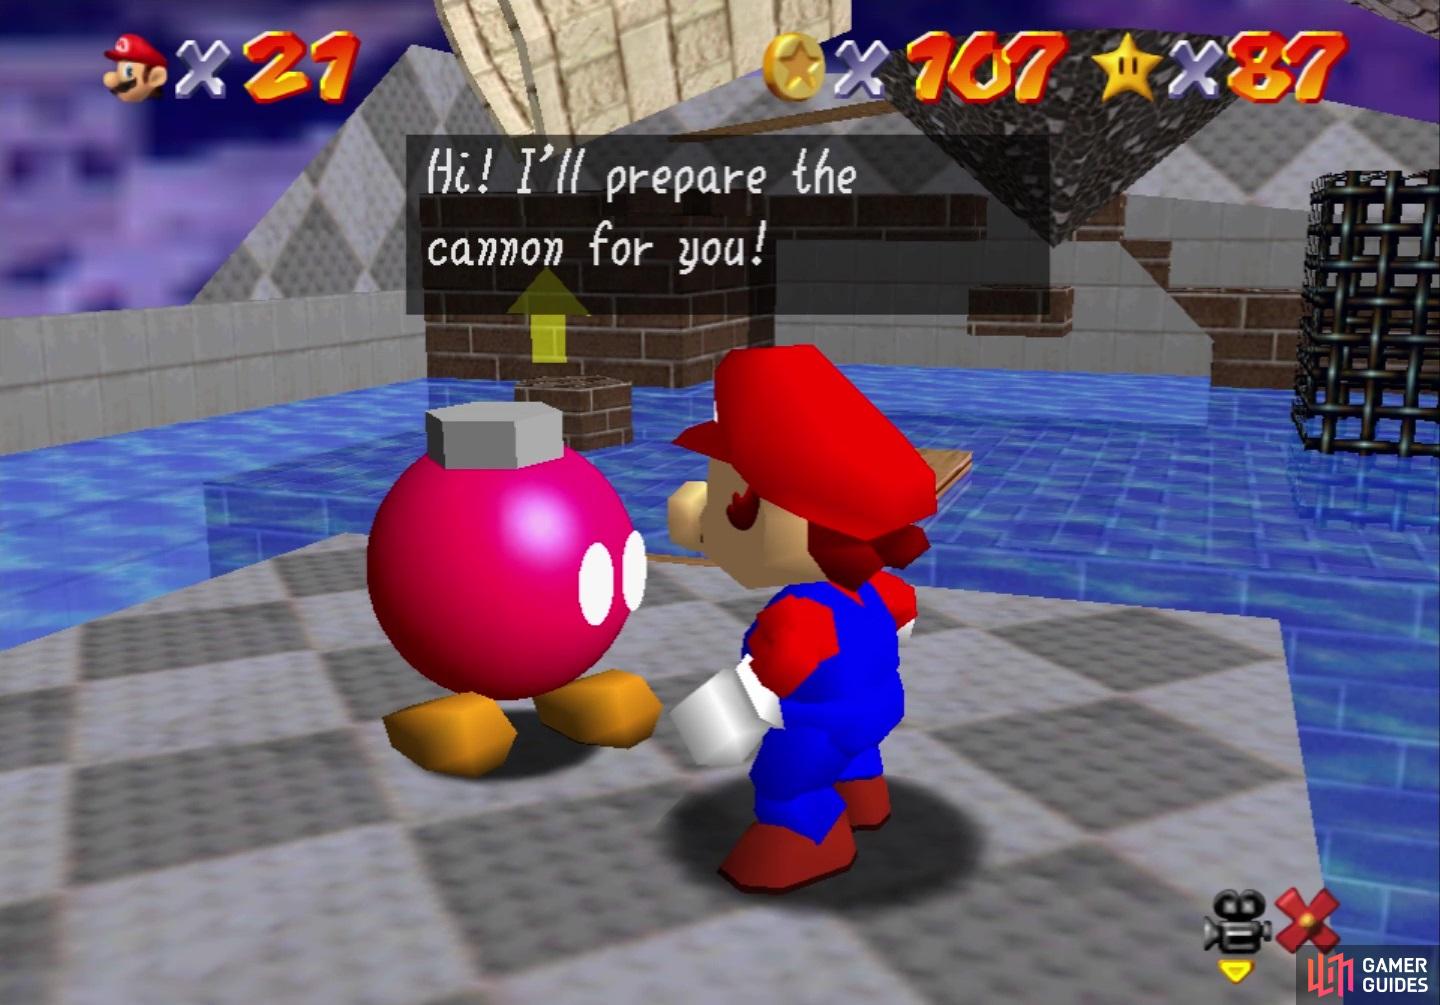
While up near the top, jump over to the other side, where a Chuckya is waiting for you. There will be a wooden plank here, leading to some platforms in the middle of the course, but some Amps will be circling the area as you progress on this plank. The first platform at the end of the plank has a Keronpa Ball on it, so you will need to be careful of its fire. The platform next to this one is spinning, then the one after that has a yellow box that contains a star. Looking around, you should notice a lone platform off in the distance, with a wooden platform just underneath it (when water is at max). Triple Jumping from the wooden platform should allow you to reach the lone platform, where you will encounter a Bob-Omb Buddy. Speak to it to open up the cannon in the level, which is located at the top of the slope by the arrow lifts.
Downtown (Second Area)
There is a second area to this course, which is access by the very tall cage in the one corner. One way to get into the cage is via the cannon, but you will need to unlock it first via the Bob-Omb Buddy. The other way to get to the second area is done by jumping into the painting at the highest point, which lets the water level be higher than with the last Crystal Tap. Whichever way you get into the cage, swim down and into the Downtown area. Once you arrive, you can either surface for air or swim underneath where you entered to find a Crystal Tap that lowers the water.
There are quite a few buildings in the downtown area, despite it not being very spacious. Behind the building right next to you is a purple switch, which does something that will be pointed out in a bit. On top of most of the buildings are nothing special, besides breakable boxes that contain Red Coins, as well as Keronpa Balls. On the other end of the area, on the same side as you entered, will be a Vanish Cap block. With the Vanish Cap equipped, Mario can pass through the walls of the central area.
(1 of 2) You need a high water level to reach the Bob-Omb Buddy
You need a high water level to reach the Bob-Omb Buddy (left), The cannon will be by the arrow lifts (right)
The central area is more like a square in a town, with a little monument, leading up to a small building. The little hole in the build is where the star spawns upon collecting all Red Coins and on top of the building is a pole you can climb. At the top of the pole, you can find a platform, as well as a wooden plank leading to another platform with a Crystal Tap that raises the water level. There are also some blocks and a Metal Cap, although this isn’t needed for a single thing. In the corner on the other side of the central area is a cage and if you hit that purple switch near where you entered this area, a small block appears that makes it a little easier to reach the top of the cage area.
Enemies
-
Amps: You will find a few of these circling objects and platforms.
-
Chuckya: One of these is found at the top of the Uptown area. It is similar in nature to the King Bob-Omb in Bob-Omb Battlefield, as it will attempt to grab you and toss you in a random direction. The only difference with the Chuckya is that is moves a lot faster. Pick it up from behind and toss the Chuckya to defeat it.
-
Heave-Hos: Located in the first area, these enemies will move around and if Mario steps on their platform, they will toss him behind them. You cannot harm/defeat these enemies.
-
Keronpa Balls: There are a few of these located throughout the course and they function the same as in any other course. However, if they are underwater, they will not do anything.
-
Skeeters: These creatures will be on the surface of the water and basically just glide across it. A simple attack of any means is more than enough to vanquish this enemy.
1-Up Locations
-
There are two 1-Ups in the floating cylinder at the top of the first area
-
In a box in between two trees in the downtown area
-
Appears after running around the little monument in the center of the downtown area
No Comments