


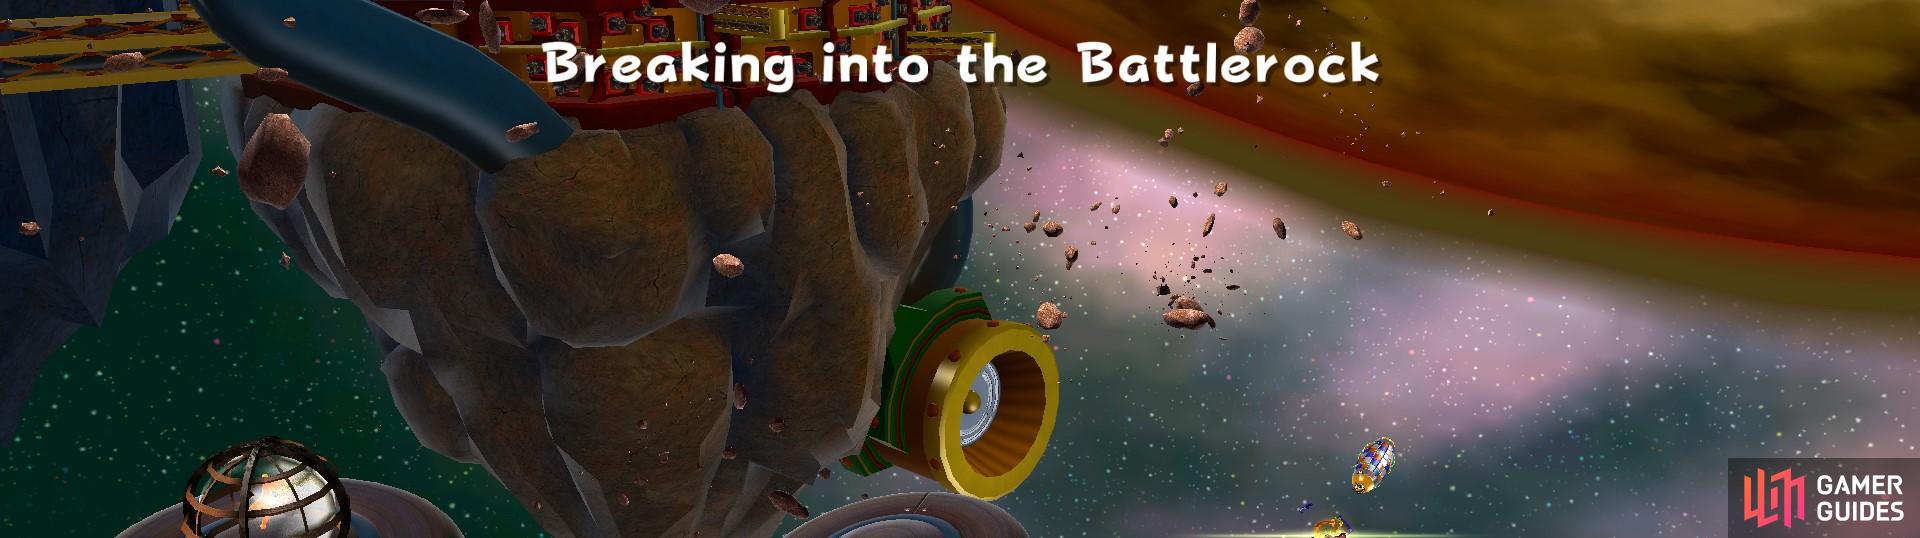
Description
This page offers information on how to complete Breaking into the Battlerock level in Battlerock Galaxy. This is the second available star, but in this level there is another hidden star to obtain. For more information on the hidden star in this level, head over to Battlerock’s Garbage Dump.
Destroy the Cages
You’ll firstly need to use the Bob-ombs to explode the cages. You’ll want to collect the Star Bits in the other two cages as well, especially if you want to unlock the Hidden Star. To pick up a Bob-omb press Y, then to throw it press Y again. It will take a few seconds to explode and it needs to be in pretty close proximity to the cages to blow them up. After you’ve collected all of the Star Bits, use a Bob-omb to blow up the cage on the farthest saucer, to reveal a Launch Star. Use that Launch Star to take you over to the next area.
Free the Luma
On this planet, you’ll find lots of Chain Chomps roaming around. You’ll need to head over to the green ball section of this planet and grab a Bob-omb. Then, you need to run over to the red ball section and throw the bob-omb at the caged Luma. When you do so, the Luma will turn into a Sling Star which you can then use to get to a Launch Star, which will take you to the next area.
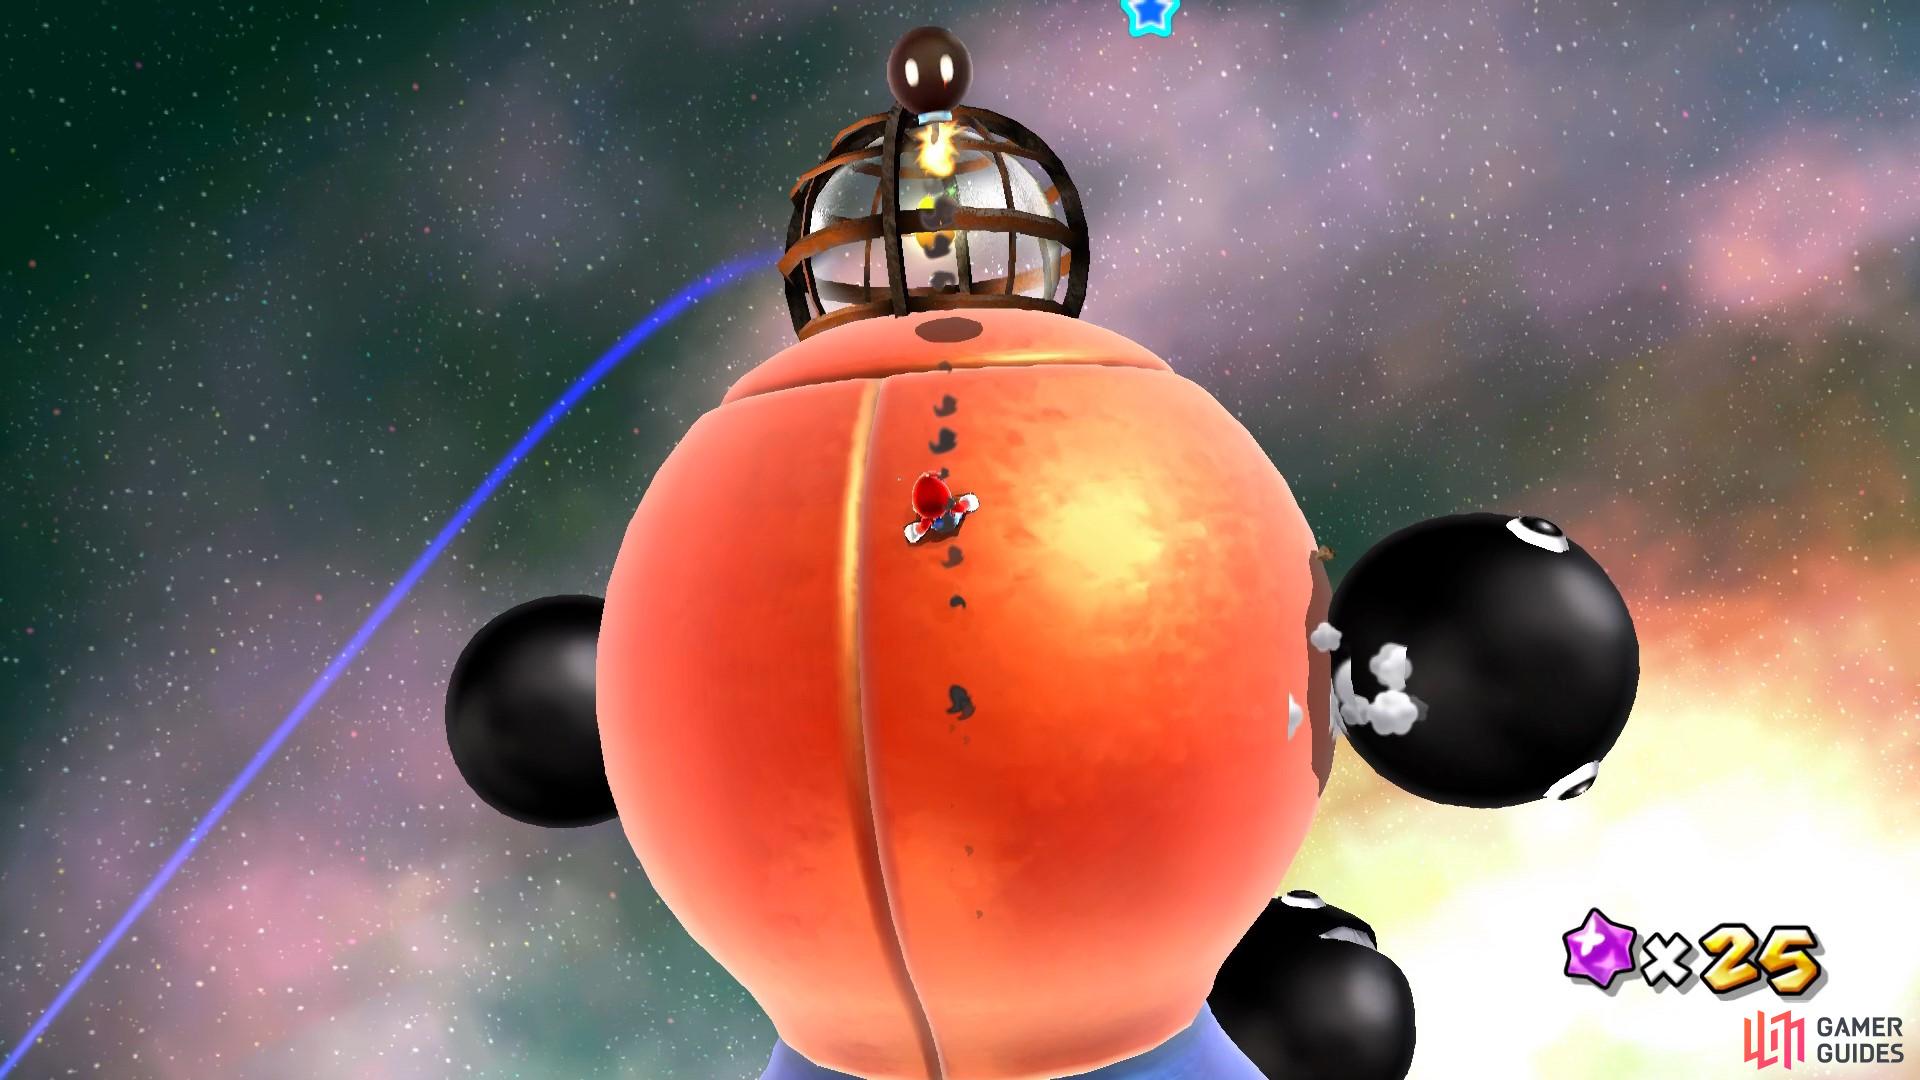
Use the Bob-omb to free the caged Luma.
Navigate the Minefield
When you land on the next planet, you’ll find yourself in front of a large minefield full of explosive spikey balls. Between them, you’ll see a few Pull Stars, as well as Star Bits, a 1-up Mushroom and an Extra Life Mushroom. You’ll need to use the Pull Stars to navigate your way between the spikey mines and if you touch one you’ll have to start at the beginning of the minefield. When you reach the end, you’ll find a Launch Star that will take you to the next area.
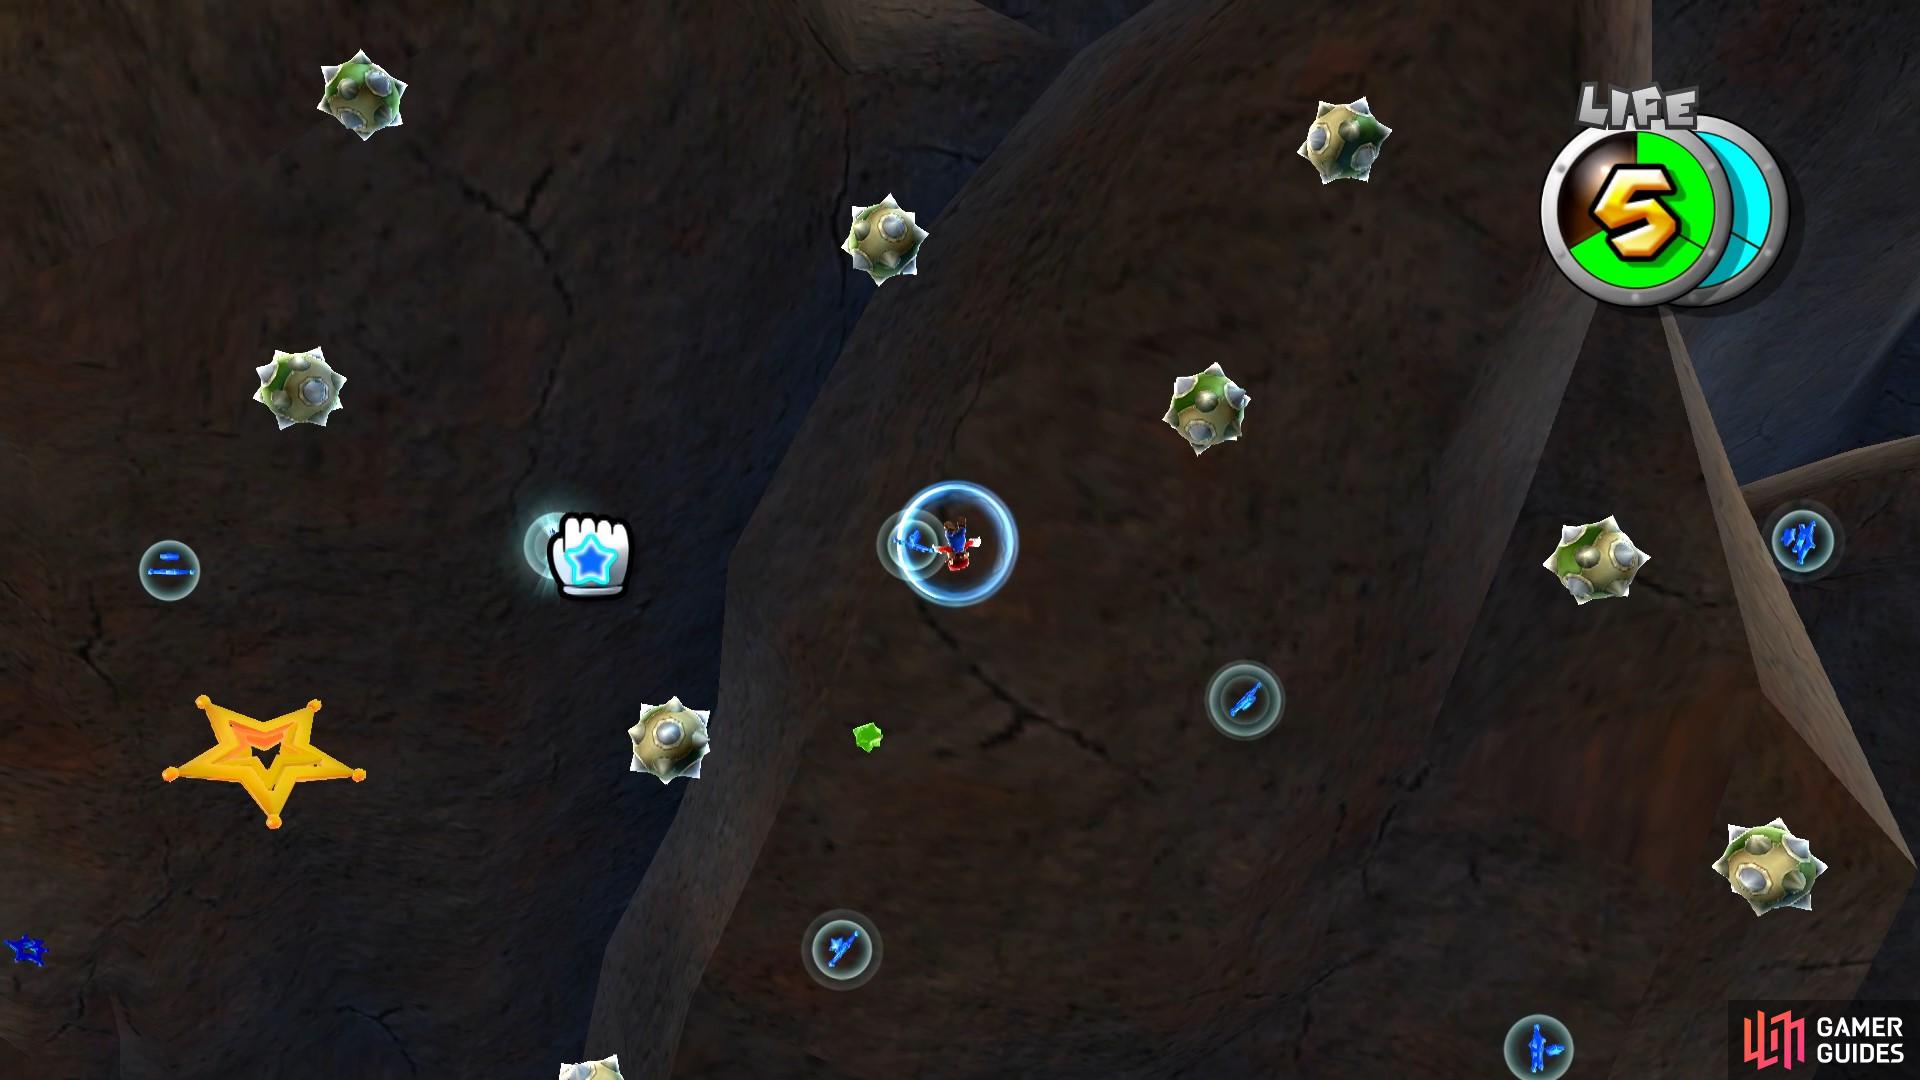
Use the Pull Stars to take you through the minefield to the Launch Star.
Cannons
When you use the Launch Star at the end of the minefield, you’ll reach an entrance room with two large electrical balls circling a big red button, and a warp pipe on the outskirt of the room. Surprisingly, the big red button is not mandatory, when pressed it will release lots of Star Bits. To get to the button, you’ll need to perform a triple jump as you can’t climb up the sides of the slope.
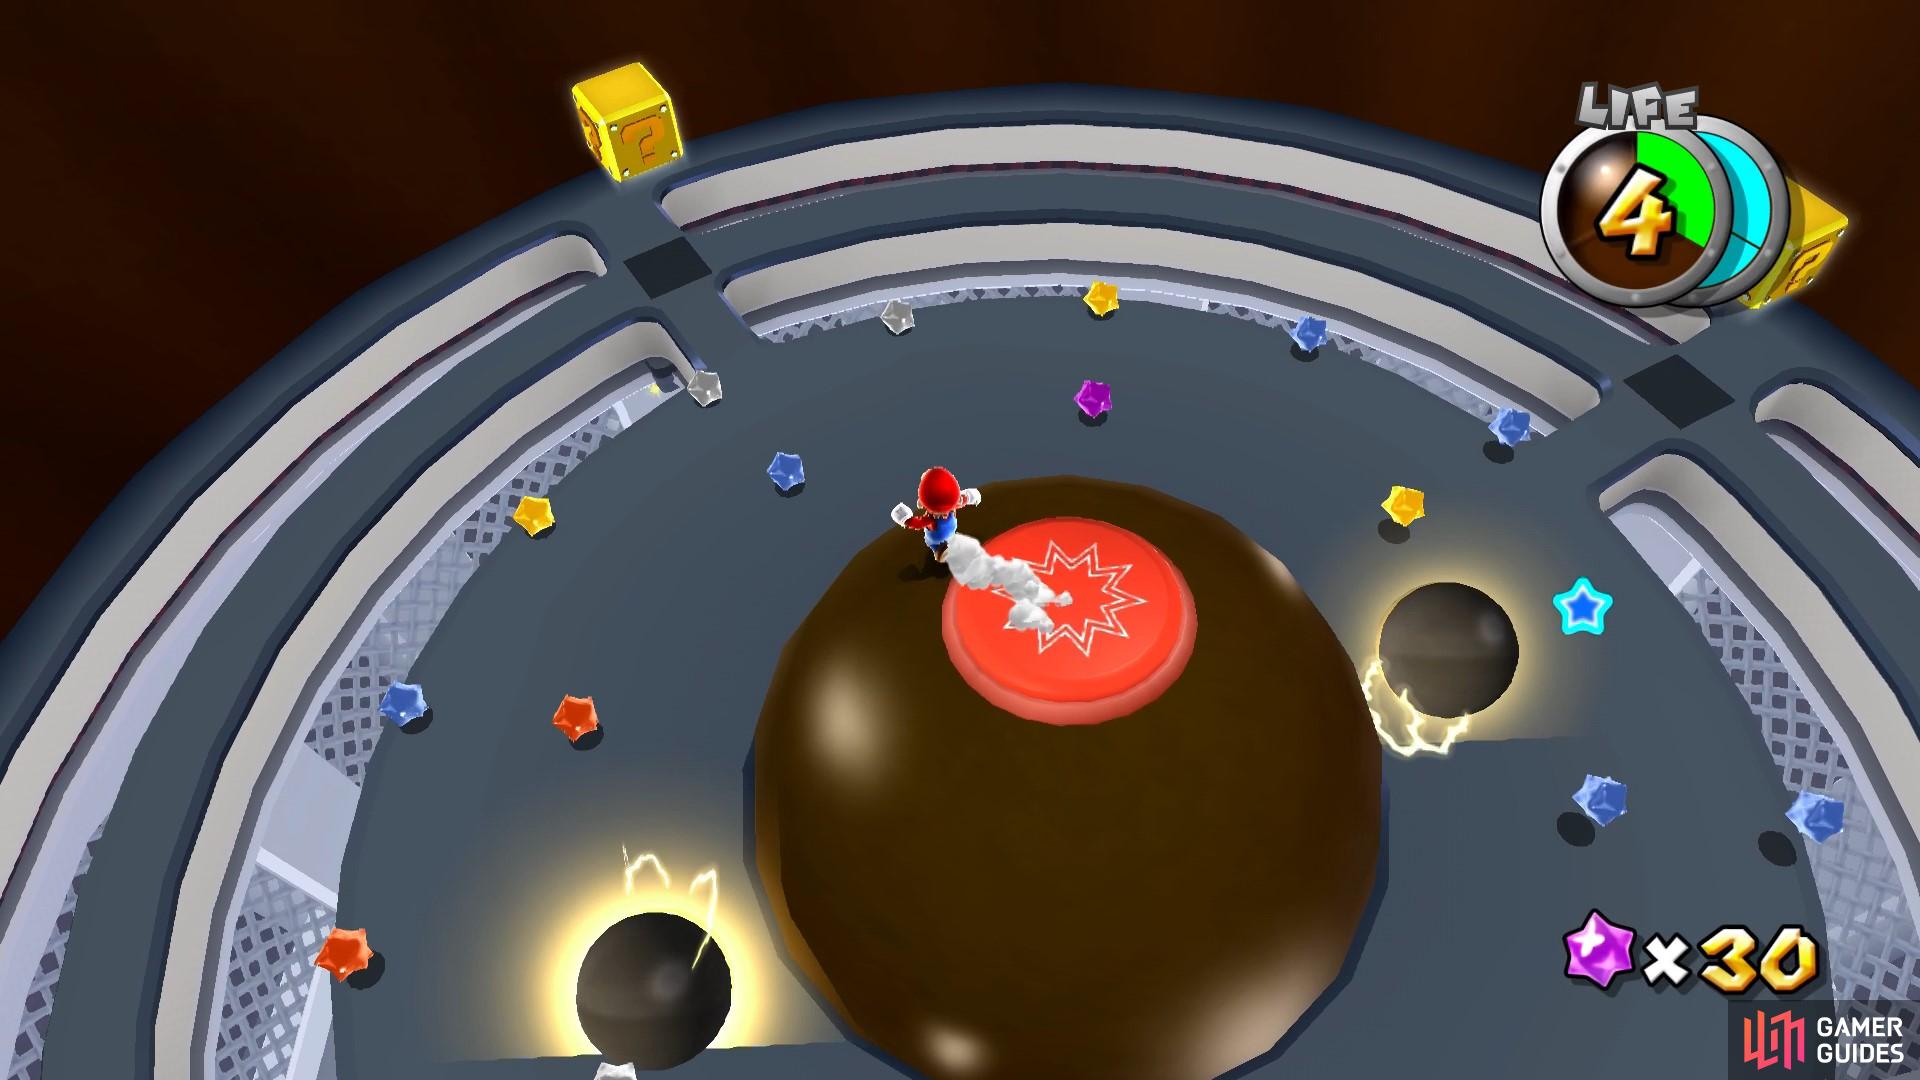
The big red button demands to be pressed!
To progress through the level, head down the warp pipe and it will take you into a room with two Bob-omb spawners and a caged cannon. Pick up the bob-omb and throw it at the cage. Be careful, these Bob-ombs move and will become hostile when they see Mario.
When the cage has been destroyed, head into the cannon. From here, you’ll need to shoot at the large blue crystal with the Luma trapped inside. You need to aim ahead of its course so predict where it’ll be then shoot Mario towards it. You will then land on another identical platform where you’ll need to repeat the process of destroying the cage to reveal the cannon. Use the cannon to once more shoot at the trapped Luma - this time the crystal is a lot smaller so it might take one or two goes to hit it.
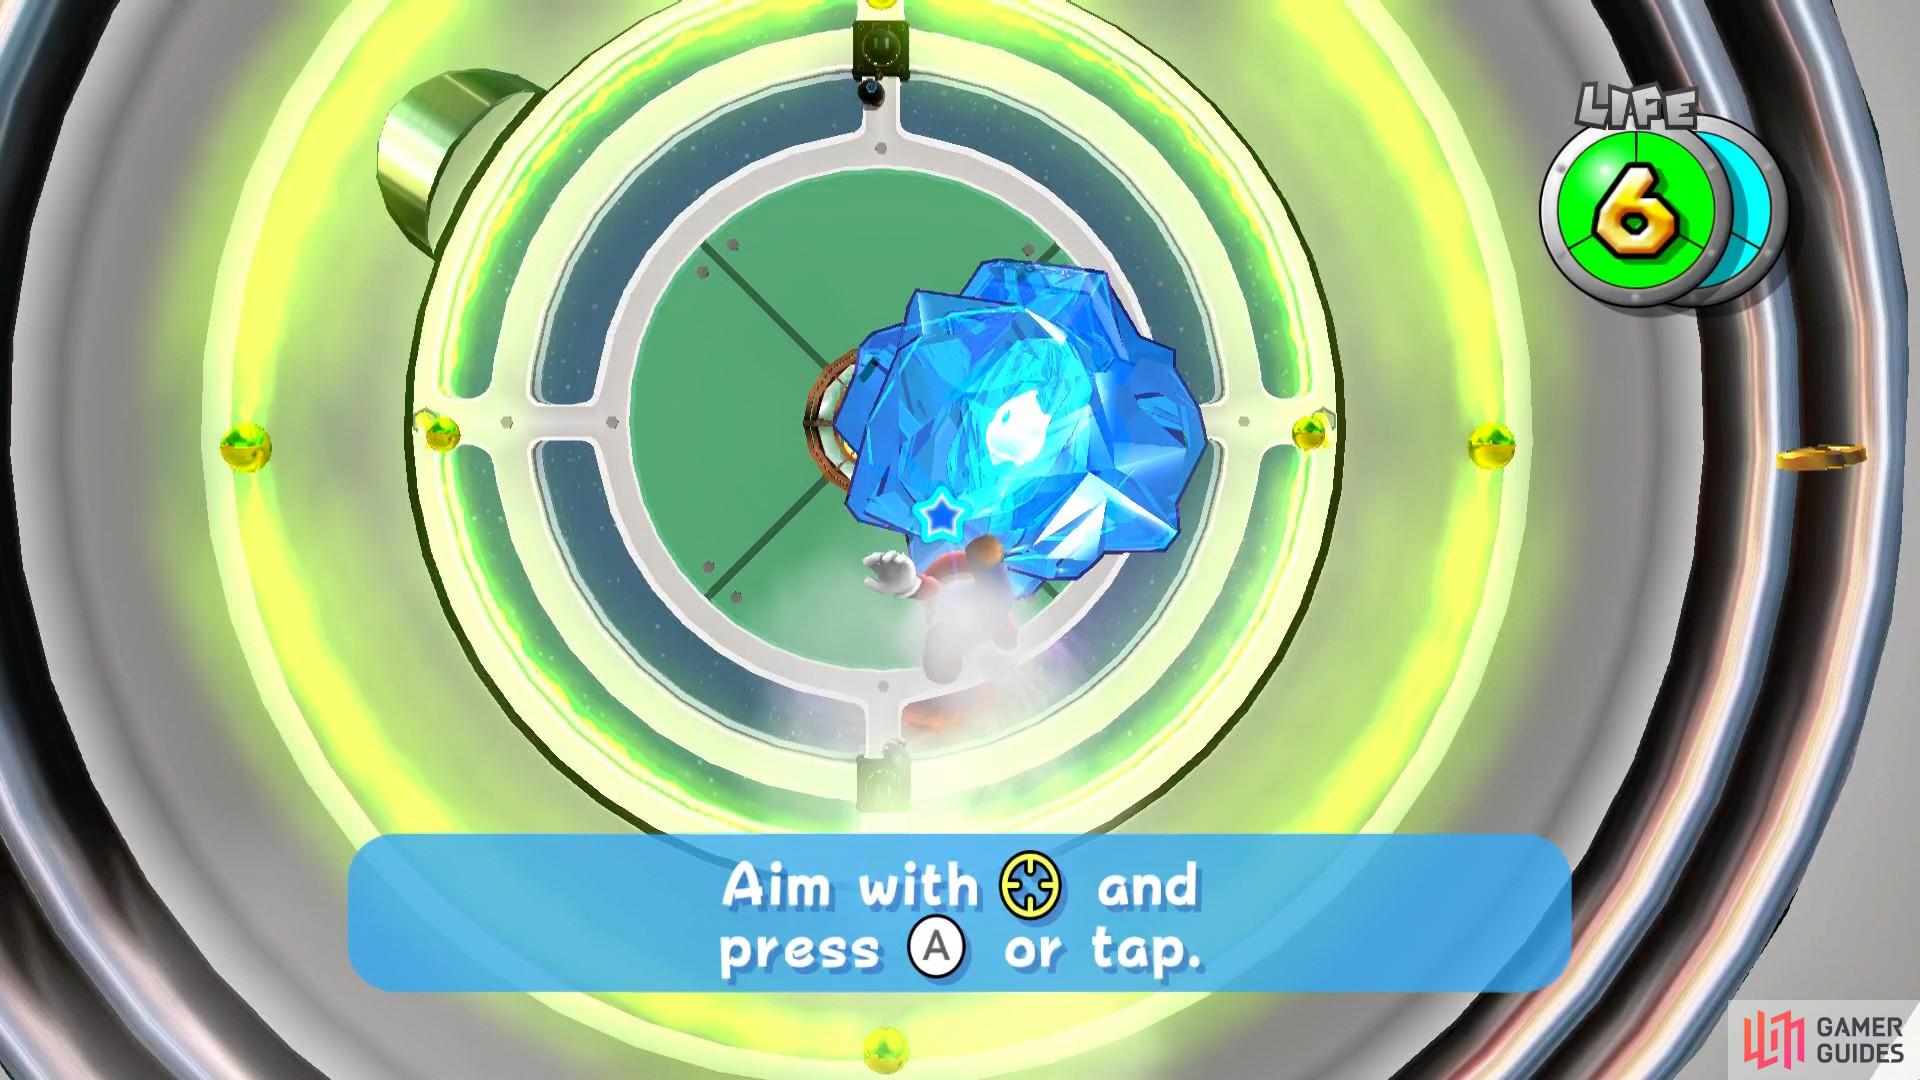
You’ll need to use the cannons at least twice to completely break the crystal and free the Luma.
When you’ve destroyed all of the crystal, the Luma will transform into a Launch Star that you can instantly use mid-cannon shot to launch you to the final planet.
Reach the Power Star
You will land on the final planet, where you’ll need to take a Bob-omb from one end all the way to the other to explode a cage and reveal a cannon. This is easier said than done as there are electrical laser beams rotating around the planet. You’ll need to walk through the small gaps between the beams to reach the end in time.
Once you’ve revealed the cannon, you’ll need to shoot Mario at the Power Star to grab it. You’ll want to wait for a clear path towards the Star before shooting, as you’ll get stopped by the floating debris otherwise.
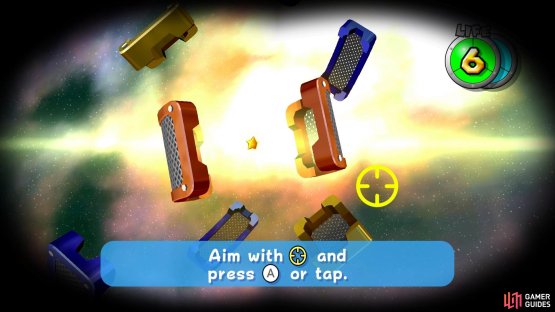

(1 of 2) You’ll need to wait for the perfect moment


You’ll need to wait for the perfect moment (left), make sure there’s a clear path to the star (right)
No Comments