
In Elden Ring, you’ll find yourself up against many challenging Bosses, many of which are optional. This page will detail where you can find every Boss in the Caelid region.
All Boss Locations in Caelid and Dragonbarrow
Magma Wyrm - Gael Tunnel
The Magma Wyrm can be found at the Gael Tunnel dungeon in northwestern Caelid, near the border to Limgrave. As an enemy which primarily uses fire damage, you’ll want to bolster your fire protection wherever viable in your build. The boss will sometimes create a pool of magma around it which you’ll need to avoid and not worry about inflicting damage too much during this time. The pool will eventually disappear, giving you a chance to roll in for some attacks. The boss also uses claw and tail swipes, slams, and charges. The attacks can come in relentless waves, but so long as you’re patient and avoid being cornered, you should be able to learn them quickly enough to bring the boss down. You’ll get the Moonveil katana as a reward for defeating the boss.
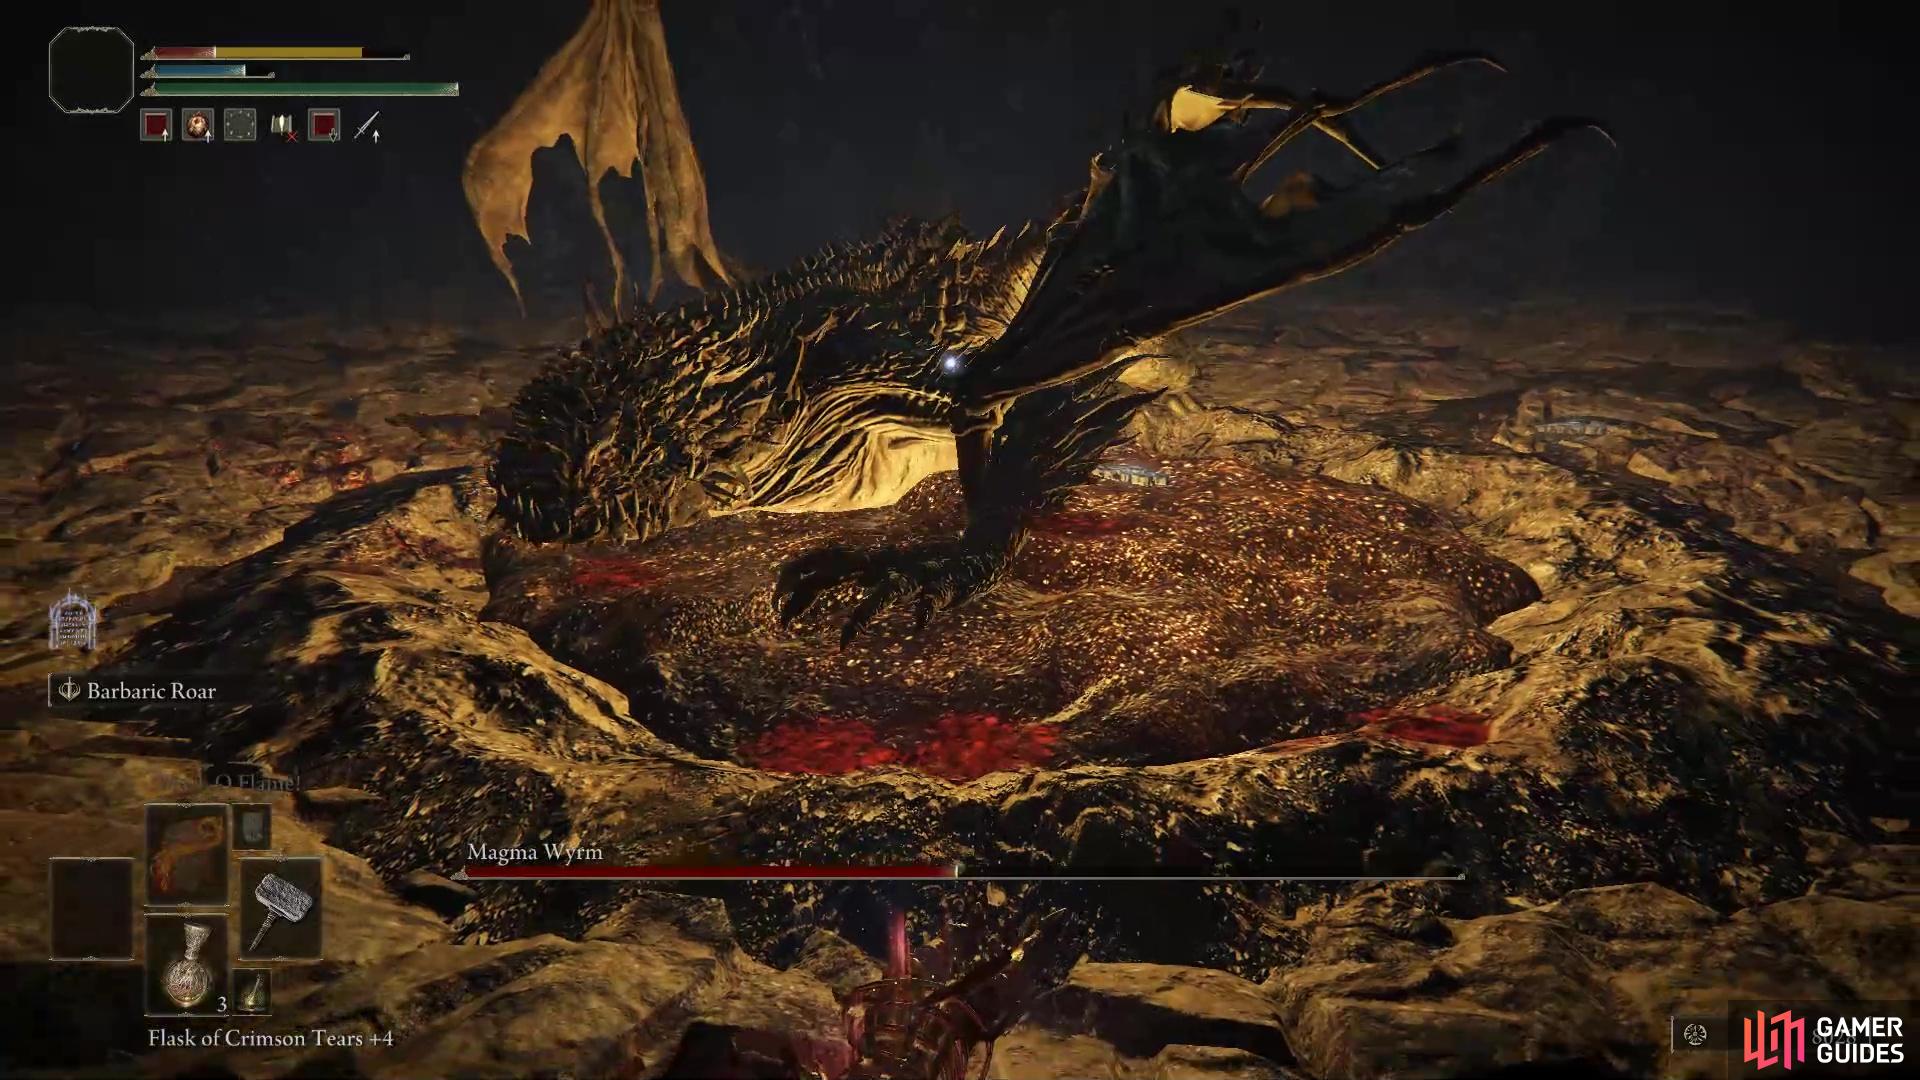
Magma Wurm in Gaol Cave.
Frenzied Duelist - Gaol Cave
The Frenzied Duelist can be found at Gaol Cave in western Caelid. This boss wields a large two-headed axe, but this doesn’t slow his attack patterns down much. The majority of its attacks will be executed in swift combos, so you’ll need to learn these and look out for them, discerning appropriate timing for dodges. There are spinning attacks, swipes, uppercuts, and slams, most of which will be chained one after the other. This can make dodging difficult, but so long as you keep your distance as you become familiar with the animations, you shouldn’t have too much trouble once you’ve got the timing down. You’ll receive the Putrid Corpse Ashes upon defeating the boss.
Erdtree Avatar - At Minor Erdtree in Northwestern Caelid
This Erdtree Avatar is located beneath a Minor Erdtree in the northwestern part of Caelid. This is one of the toughest enemies in the region, which is easily capable of killing you in one hit at earlier levels. It has broad sweeping attacks, slam combos, and a jump attack which spews deadly Scarlet Rot (also capable of killing you in one hit) in one direction. The basic attacks are easy enough to learn, but you’ll need to make sure that you always keep your distance from the jumps, since you can’t always predict where the Scarlet Rot will come from. If you rely on blocking attacks with your shield, most of not all of your stamina will be depleted. The boss drops the Greenburst Crystal Tear and Flame-Shrouding Cracked Tear upon defeat.
Erdtree Burial Watchdog (Minor Erdtree Catacombs) - Minor Erdtree Catacombs
The Erdtree Burial Watchdog Duo is located at the Minor Erdtree Catacombs in the northwestern part of Caelid. These are similar to the Erdtree Burial Watchdog in Stormfoot Catacombs, but here one of the bosses wields a scepter, while the other wields a sword. They have similar leaping attacks which are fairly easy to avoid, but they’re also capable of breathing fire from each of their three heads at the same time. You should be ready to avoid this as soon as you see the faces light up with fire. In addition, you’ll need to contend with the magical attacks from the Watchdog with the scepter. Try to kill this one first to make the latter half of the fight easier. You’ll obtain the Mad Pumpkin Head Ashes upon defeating these bosses.
Mad Pumpkin Head Duo - Caelem Ruins
You’ll find these two Mad Pumpkin Head bosses at the Caelem Ruins in northwestern Caelid. These are similar to the Mad Pumpkin Head in Waypoint Ruins, with essentially the same attack patterns, only this time their weapons have an affinity with fire. You can actually use your Torrent mount in the boss room, allowing you to encircle both bosses and sweep in with attacks that damage both at the same time. This will help you to avoid being cornered by both Mad Pumpkin Heads, though your attacks will be more limited. You’ll receive the Visage Shield upon defeating the bosses.
Decaying Ekzykes - Near Caelid Highway South
You’ll find the Decaying Ekzykes dragon boss near Caelid Highway South, in southwestern Caelid. This is a unique type of dragon which is capable of breathing Scarlet Rot. If you get hit by this you’ll take massive initial damage, and then smaller amounts of damage over time for the duration of the effect. It’s therefore essential that you avoid these attacks, although one of them (where the dragon spews the rot onto the ground) is very difficult to avoid, so be ready to use health flasks when this happens. Aside from the breath attacks, the dragon uses attacks that other dragons use including stomps, swipes, and slams. You’ll receive a Dragon Heart upon defeating the boss.
Night’s Cavalry (Caelid) - South of Aeonia Swamp
This Night’s Cavalry can be found roaming south of Aeonia Swamp, in the southwest of Caelid. The fight will be the same as any other Night’s Cavalry boss, although this one wields a large flail. The boss can execute attacks much faster than the size of the flail would imply, so you’ll need to be swift in executing your own attacks on its left side as you face it while charging. If you can land a hit before it does, you shouldn’t take any damage. You’ll still need to watch out for the leap attacks, however. You’ll obtain the Ash of War: Poison Moth Flight upon defeating the boss.
Battlemage Hugues - Sellia Evergaol
This boss can be found at Sellia Evergaol, north of Aeonia Swamp, near the centre of Caelid. The boss wields a staff and a club, but it is also capable of forming magical weapons with its staff which can inflict both physical and magical damage. This is generally a more predictable and low-moving boss than most, though it has some quicker attacks which can catch you off guard if you’re not careful, including a swift headbutt. The melee attacks are fairly easy to get to grips with, but you’ll need to dodge some incoming magical projectiles occasionally too. Ultimately, this is probably one of the easiest fights in the game, especially for an Evergaol boss. You’ll earn the Battlemage Hugues Ashes upon defeating the boss.
Cleanrot Knights - Abandoned Cave
The Cleanrot Knights can be found at the Abandoned Cave, north of Aeonia Swamp, near the centre of Caelid. These are two powerful knights, one wielding a large spear and a small sword, and the other a large sickle and a small sword. They’re also capable of inflicting magical damage with ranged projectiles, and a direct melee hit can inflict Scarlet Rot. You’ll want to avoid being hit at all to avoid this, since it will apply damage over time aside from the initial impact damage. Thankfully, the area where you fight the knights is large enough for you to kite them around, and you can use spirit ashes to distract them as you focus on landing hits. They’re both agile opponents which can block incoming projects, but so long as you keep them distracted with spirit summons you shouldn’t have to worry too much about your attacks being blocked. You’ll receive a Gold Scarab upon defeating them.
Commander O’Neil - Heart of Aeonia Swamp
You’ll find Commander O’Neil in the heart of Aeonia Swamp, near the centre of Caelid. The fight begins with Commander O’Neil summoning six humanoid enemies wielding crossbows and shortswords, so you’ll want to take these out first to avoid complications later on. The boss himself wields a massive halberd-like weapon, which he’ll use with sweeping and sometimes piercing attacks. He’s also capable of using a powered spinning attack which inflicts massive area of effect damage, so you’ll need to look out for this animation to avoid it. The boss will summon other spirit allies at various points in the fight, so you’ll need to be ready to take these out as soon as possible. You can actually parry most of Commander O’Neil’s attacks, which will interrupt most of them and allow you to execute a critical hit, making this fight fairly easy once you’ve got the timing down. you’ll obtain the Commander’s Standard and Unalloyed Gold Needle upon defeating the boss.
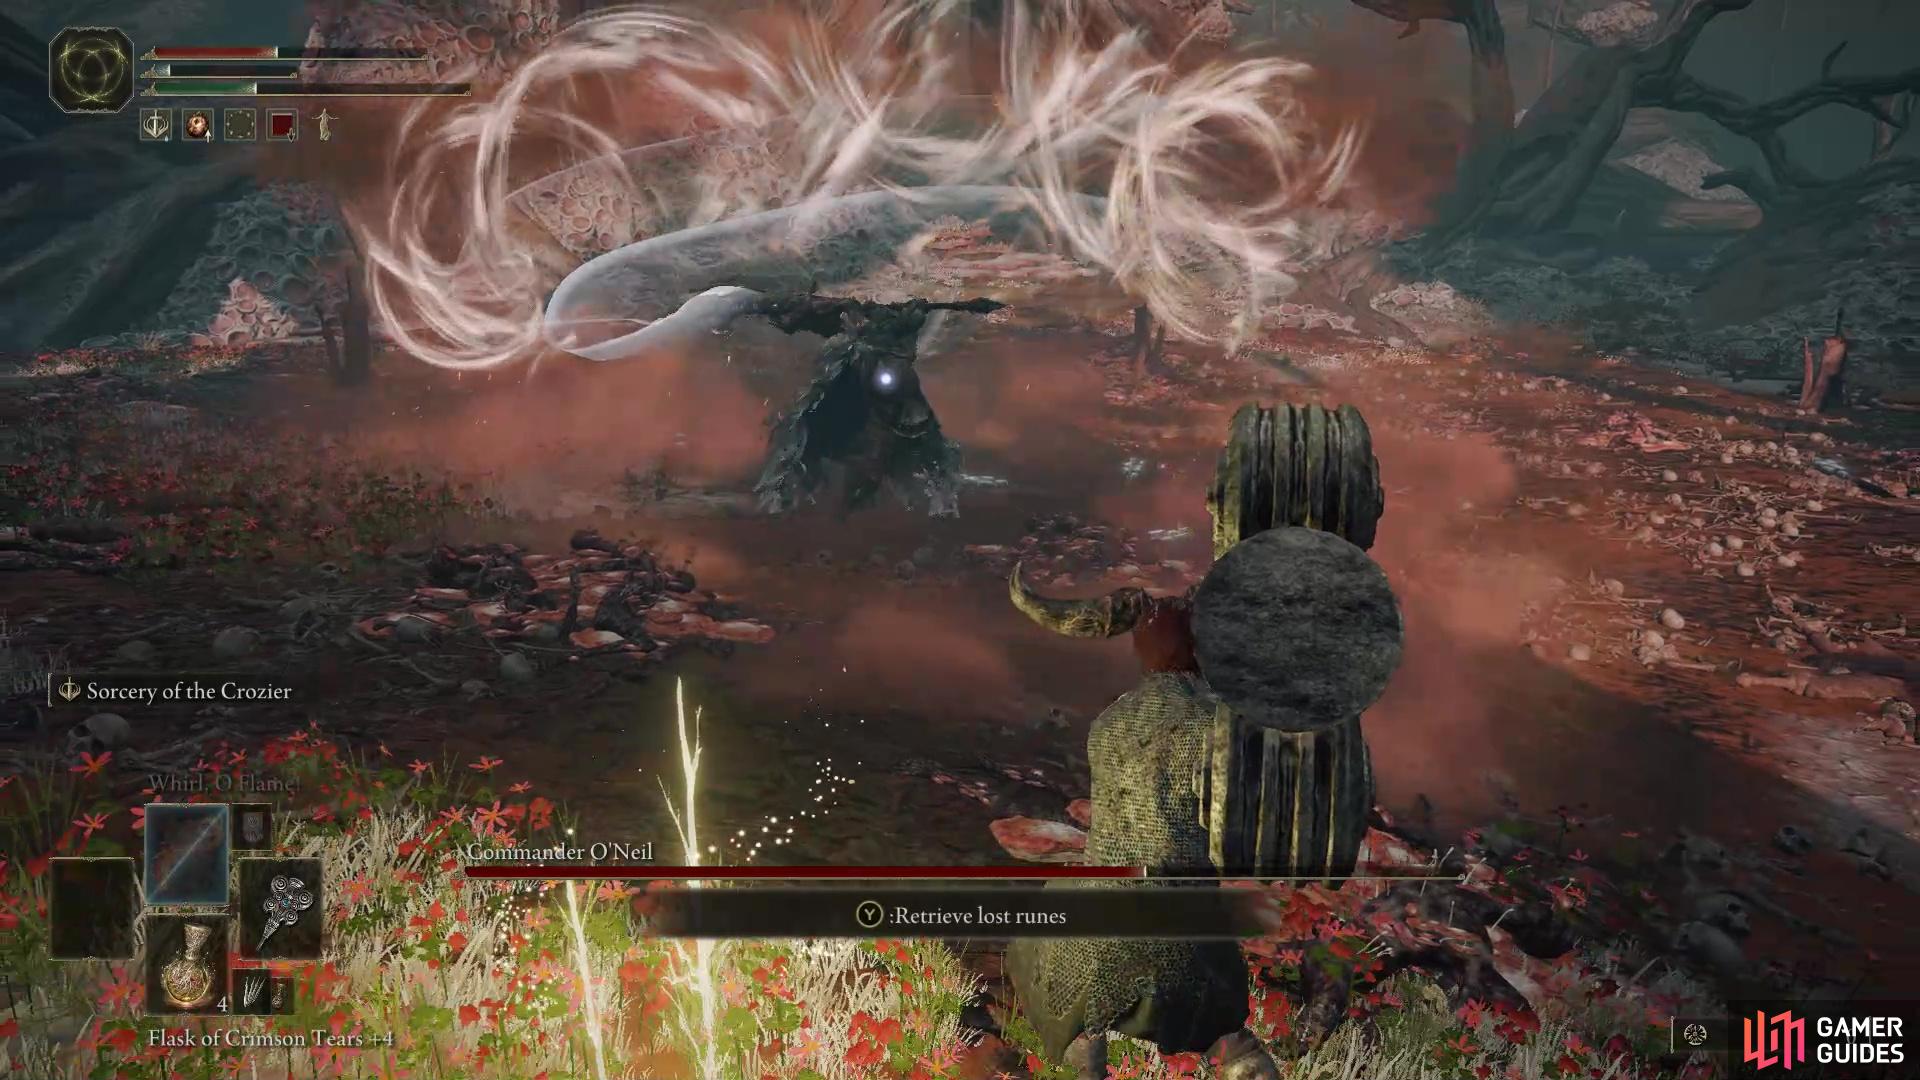
Commander O’Neil.
Fallingstar Beast - Sellia Crystal Tunnel
The Fallingstar Beast boss can be found at Sellia Crystal Tunnel, in the northern part of Caelid, just north of Aeonia Swamp. This is one of the toughest bosses in the region, partly due to the size of the arena in which you fight it. The boss uses a lot of gravity magic attacks which have a wide area of effect, giving you very little space to work with when attempting to avoid the attacks. It also uses a number of melee attacks including a ram, back leg kick, stomp, pincer grab, tail swipe, and jump roll. There’s a lot to take in here, with each attack requiring you to anticipate the animations. The boss also has a magical attack which causes spikes to raise from the ground, which can be anticipated by looking out for the pincers as they begin to light with purple light. The boss can also use its pincers to throw rocks at you by digging into the ground. The grab attack can be anticipated by looking out for when the pincers begin to click. At this point you should be ready to dodge to avoid it at all costs. Finally, in the second half of the fight the boss will begin to use an attack which lifts you in the air and slams you into the ground. This will inflict massive damage, so it’s important to run away from this when you see the purple light emanate from the body of the beast. You’ll receive the Somberstone Miner’s Bell Bearing [1] upon defeating the boss.
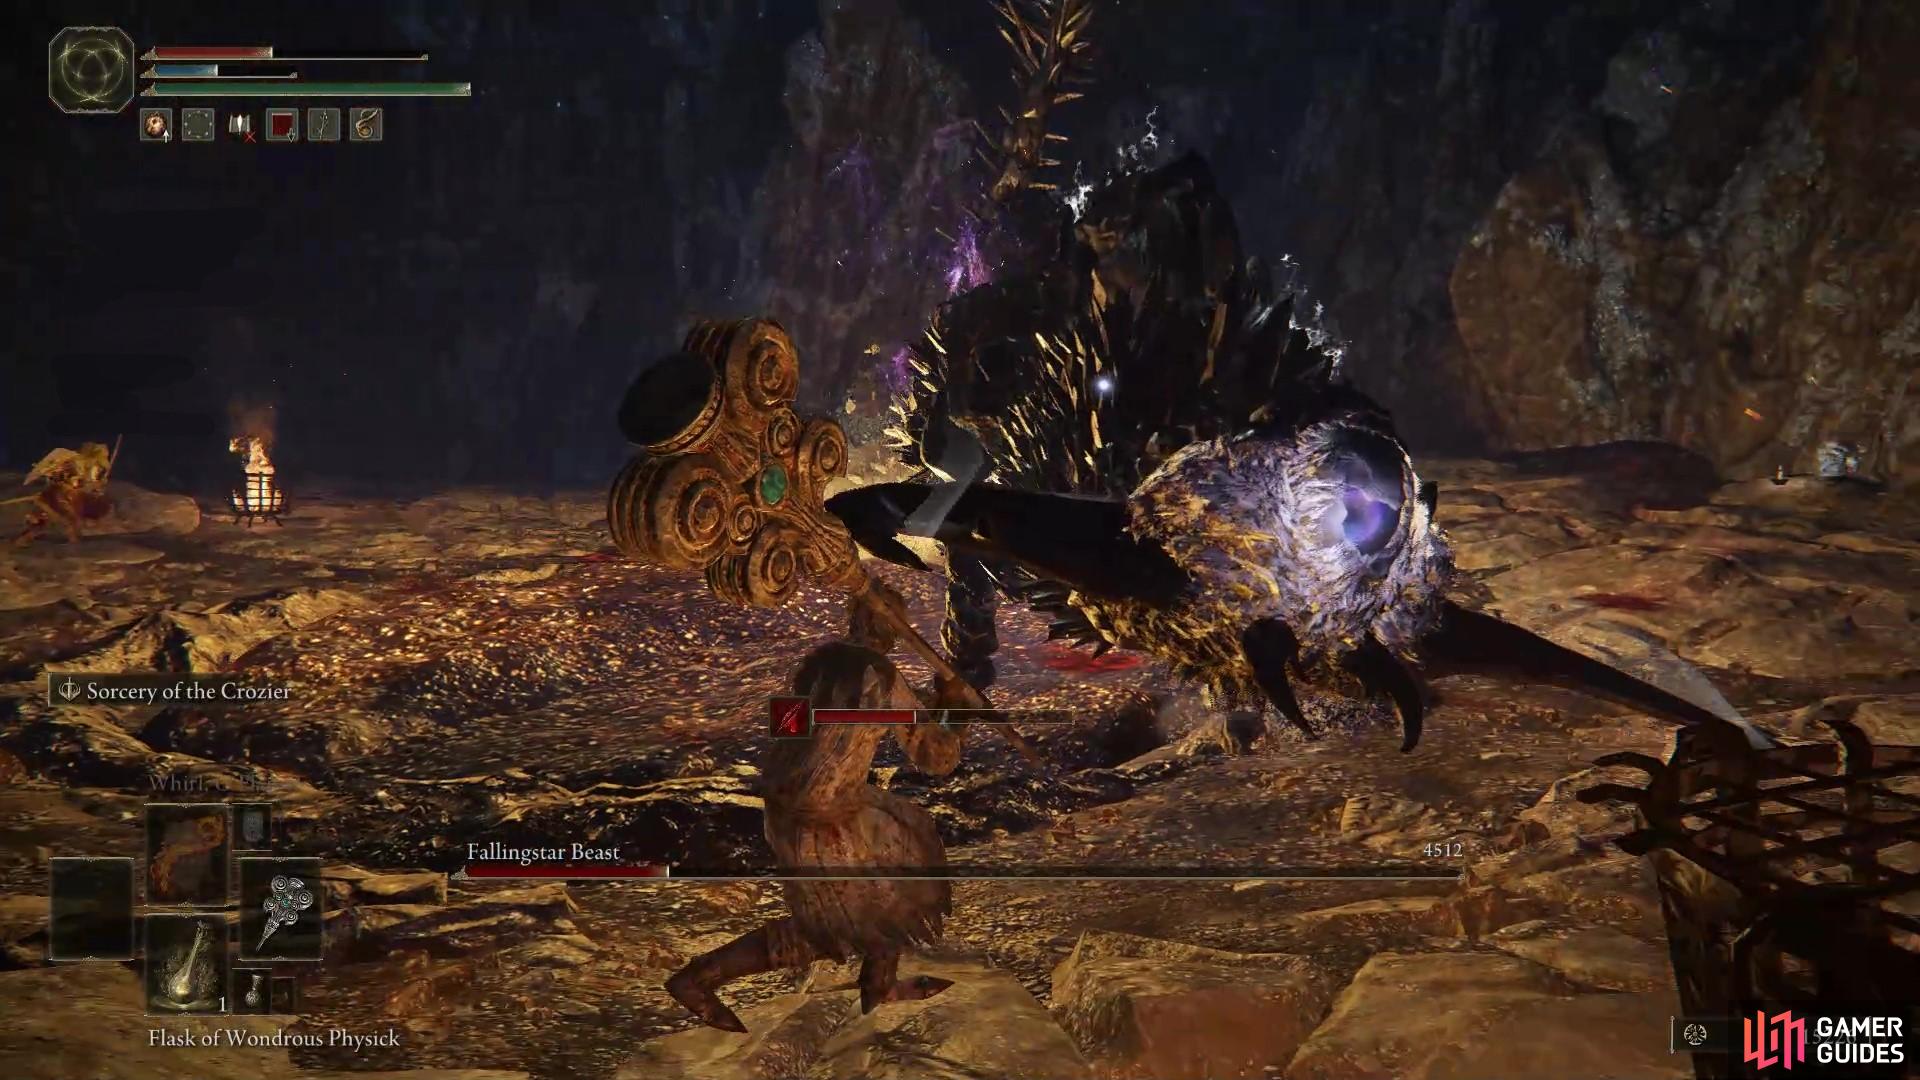
Fallingstar Beast.
Death Rite Bird - Southeast of Southern Aeonia Swamp Bank
The Death Rite Bird can be found in the south of Caelid, southeast of the Southern Aeonia Swamp Bank Site of Grace. This is a fairly tough boss which can only be found at night. It primarily uses a series of swift melee attacks but it is also capable of inflicting magic damage from its weapon. It will combine swipe attacks with slam and pierce attacks, but these are relatively easy to anticipate. If you’re hit by one of the magical projectiles you will receive the Frostbite debuff. This inflicts massive damage and reduces damage absorption by 20% while also lowering stamina recovery for the duration of the effect. A high Robustness stat will increase the chances of you resisting Frostbite, but if enough projectiles hit you continuously it will be difficult to avoid. You’ll obtain the Death’s Poker weapon upon defeating the boss.
Nox Swordstress & Nox Priest - Sellia, Town of Sorcery
The Nox Swordstress & Nox Priest are located at Sellia, Town of Sorcery, in the centre of Caelid. These are two swift enemies which can inflict a lot of damage in a short amount of time, but they’re also relatively weak compared with most bosses. They don’t have very much health, so they’re more like glass cannons. If you can summon some Spirit Ashes to distract both of them, you can focus on inflicting ranged damage from afar or positioning yourself behind them to inflict melee damage. If you give them enough space to execute their combos, these can be deadly. However, so long as you have enough pressure on them at all times, with Spirit Ashes interrupting their attacks, this should be a relatively easy fight. You’ll receive the Nox Flowing Sword upon defeating them.
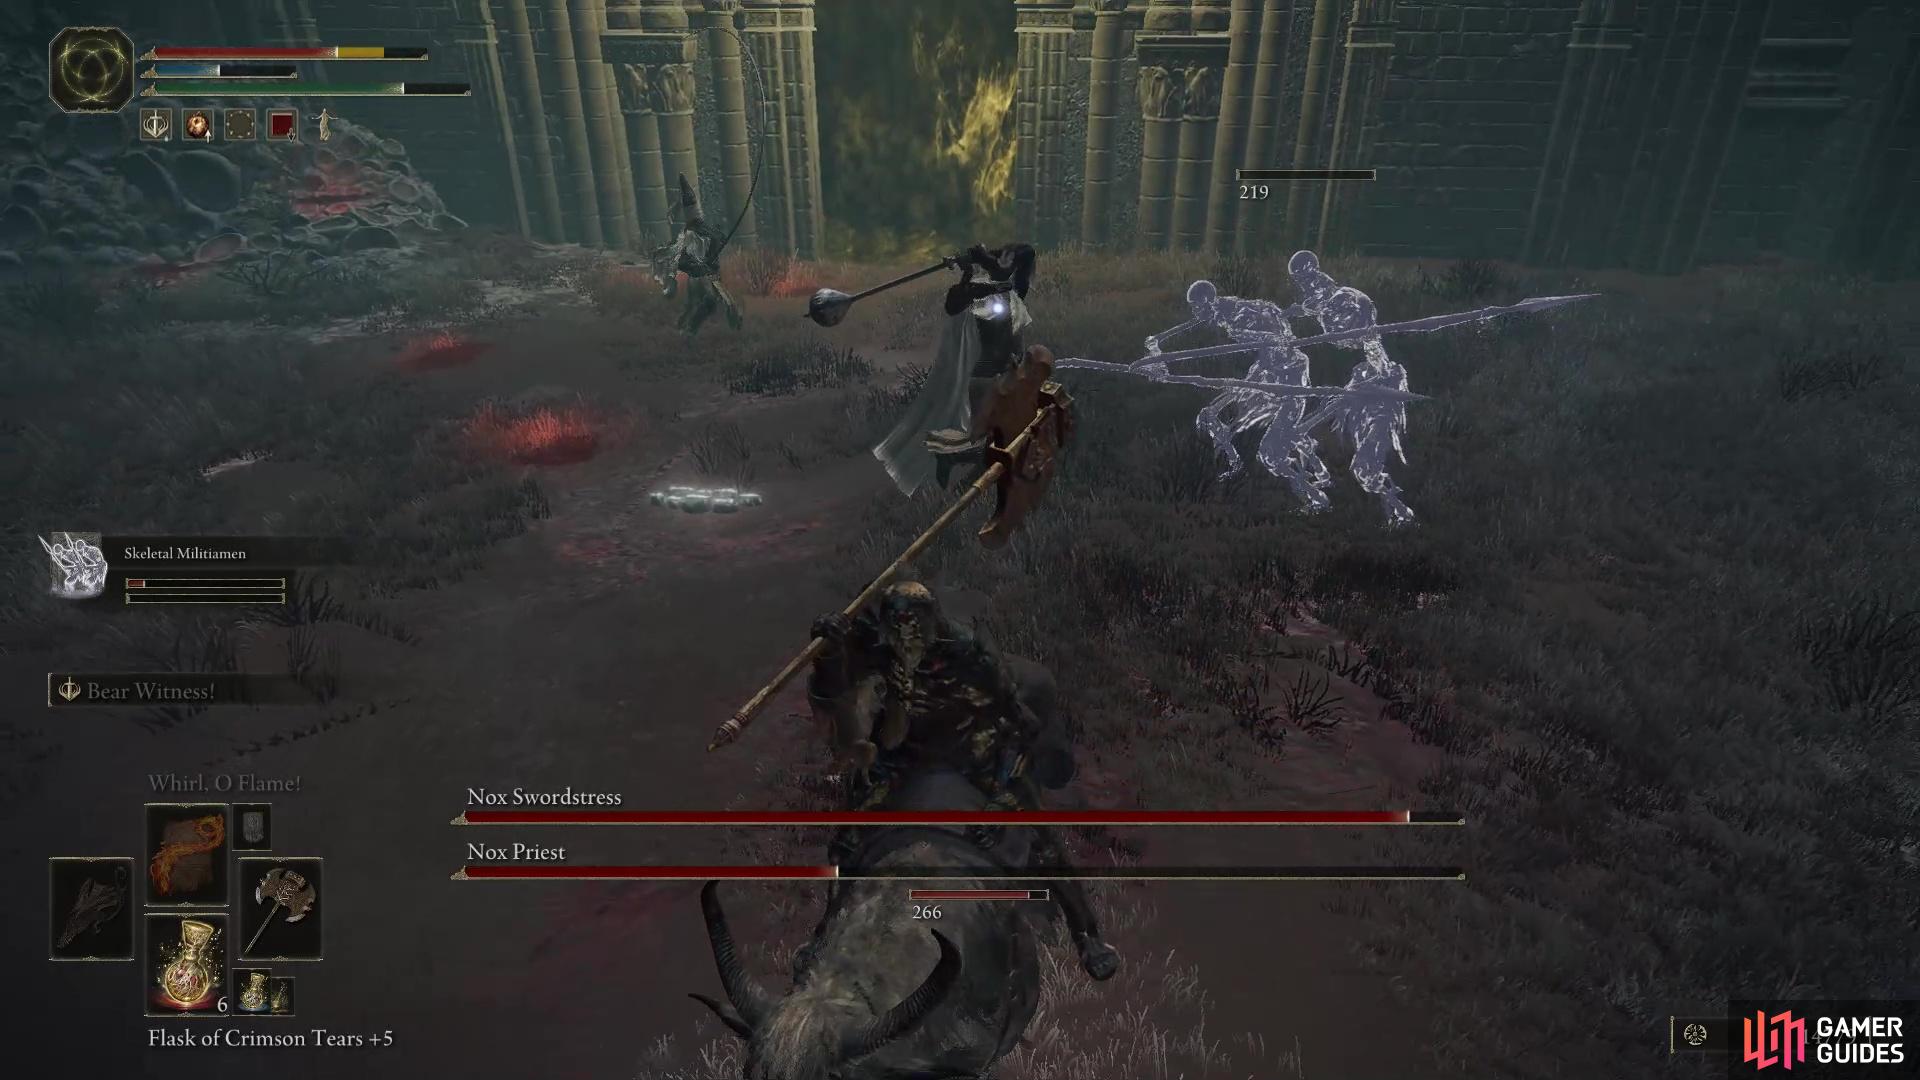
Nox Swordstress & Nox Priest.
Godskin Apostle - Divine Tower of Caelid
The Godskin Apostle boss can be found at the Divine Tower of Caelid, in the north of the region. This is a powerful humanoid boss which wields a double-edged weapon and black flame magic. It has a number of special attacks including a massive area of effect whirlwind, which you’ll need to run away from to avoid heavy damage. The boss can also extend its body outwards to reach you with spinning melee attacks, while also firing magic projectiles. The projectiles are easy enough to avoid, and you can dodge roll towards the boss to avoid most of its melee attacks. This is one of the slower bosses with fairly predictable attacks. You’ll receive the Godskin Apostle Hood, Godskin Apostle Robe, Godskin Apostle Bracers, and Godskin Apostle Trousers upon defeating it.
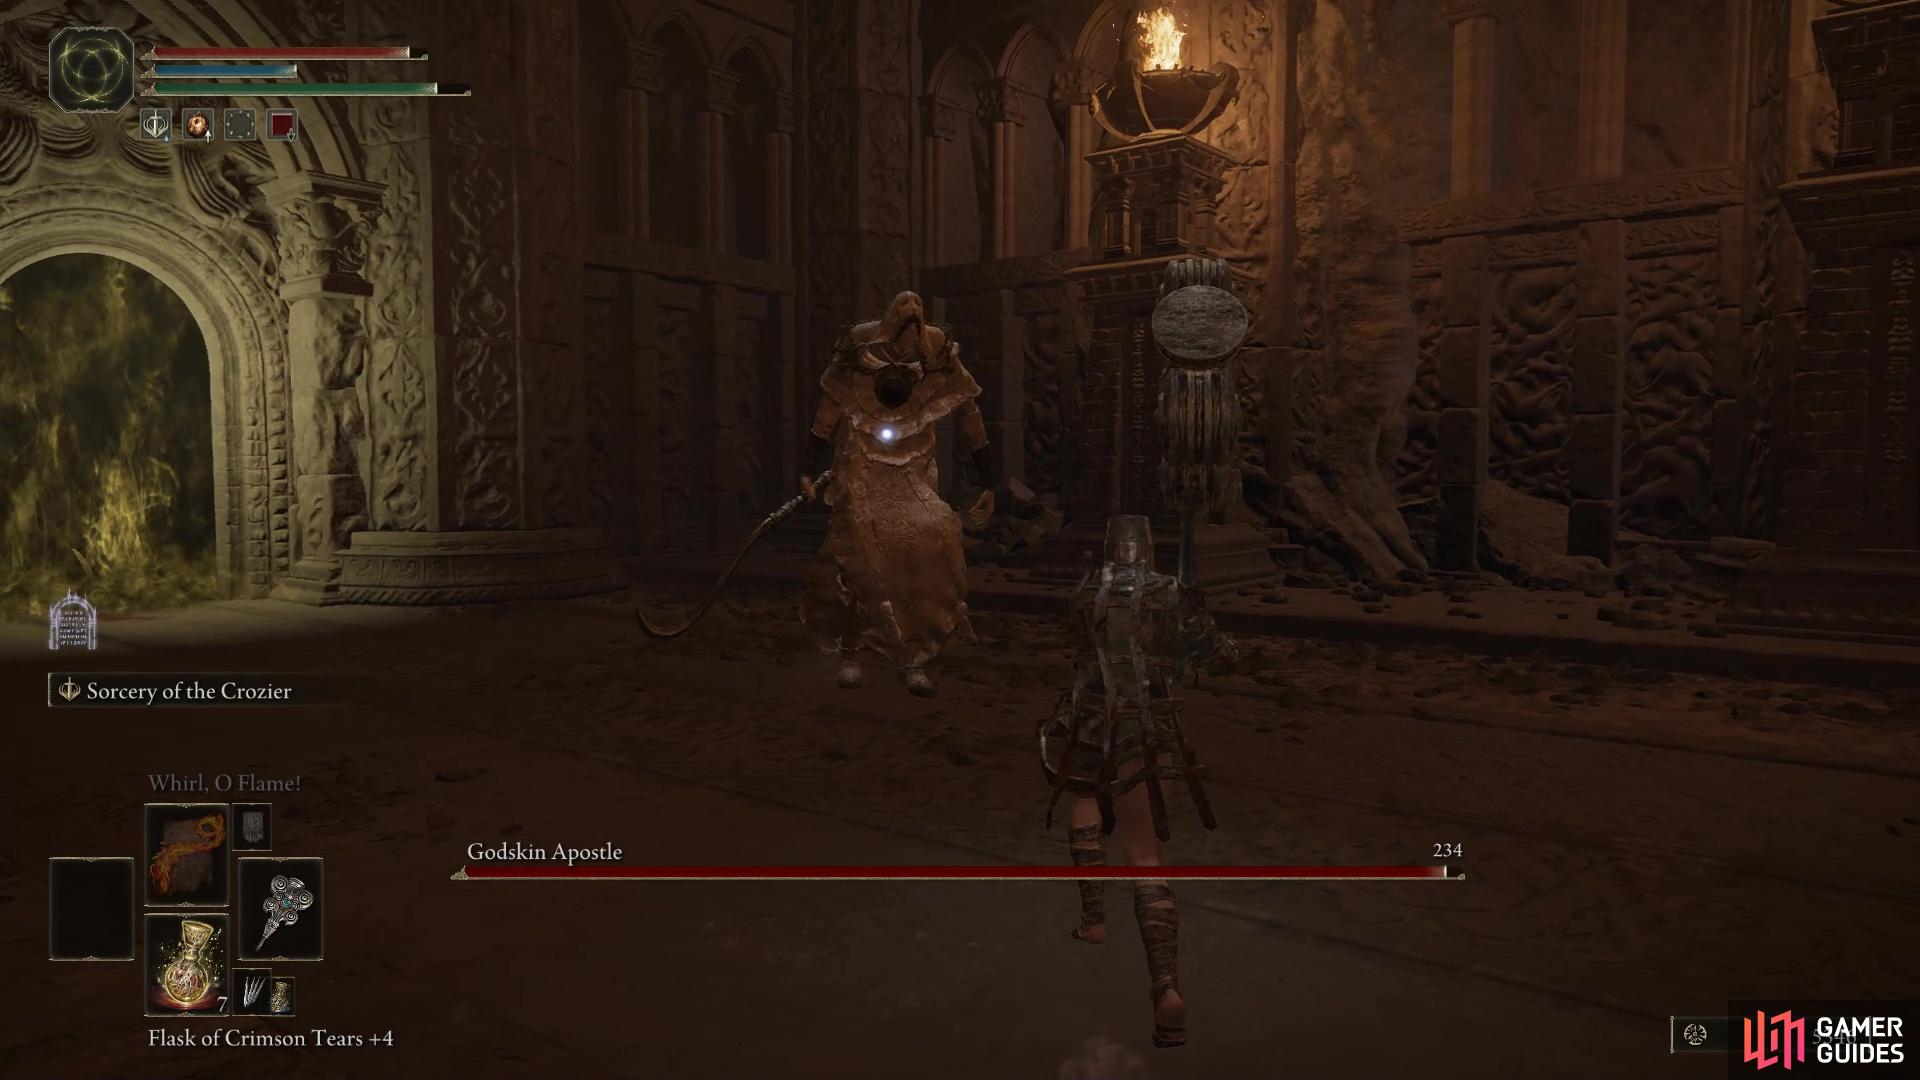
Godskin Apostle.
Elder Dragon Greyoll - Near Fort Faroth Site of Grace
The Elder Dragon Greyoll is located near the Fort Faroth Site of Grace, in the northern part of Caelid. The boss itself is actually near death, and so won’t be doing much in terms of fighting you. However, there are a number of lesser dragons surrounding Greyoll that you’ll need to deal with. These are fairly slow and predictable, and can be easily dispatched from your horse or dismounted. They are limited to melee attacks, but each of these can kill you in one hit if you’re not careful. Once you’ve killed one dragon you can begin hitting Greyoll, who has a massive amount of health. Any weapons with bleeds or other damage over time effects will be useful here, since you’ll be spending a lot of time slashing at Greyoll. When the boss roars your stats will be negatively affected temporarily. You can actually kill this boss without fighting any lesser dragons if you focus on hitting the tail. You’ll receive x5 Dragon Heart upon defeating the boss.
Putrid Crystalian Trio (Sellia Hideaway) - Sellia Hideaway
The three Putrid Crystalians can be found at Sellia Hideaway, in central Caelid south of where Elder Dragon Greyoll is located. The bosses wield different weapons including a staff, ringblade, and spear. The staff and ringblade Crystalians are capable of inflicting ranged damage, and the staff bearer will often spam magic attacks. The Crystalian with the spear is much slower than the others, but it will attempt to guard them unless you kite it away to the edge of the room. Once you’ve goaded the spear Crystalian to one side of the room, you can move in on the staff bearer and try to bring them down first. This will need to be done multiple times to ensure that you’re not caught off guard by the spear Crystalian. If you’re hit by any of their attacks, you’ll be debuffed with Scarlet Rot, which will inflict damage over time. Keep in mind that you won’t be able to inflict damage on any one of the Crystalians until you’ve broken their crystal guard first, which will take a number of hits. You’ll obtain the Crystal Torrent spell upon defeating these three.
Crucible Knight & Misbegotten Warrior - Castle Plaza, Redmane Castle
The Crucible Knight & Misbegotten Warrior can be found in the southern part of Caelid at the Castle Plaza, Redmane Castle. This is one of the toughest encounters in the region, with boss enemies being capable of killing you in just a few hits. The Misbegotten Warrior will be the first boss that you encounter here, and you’ll have some time to face it alone before the Crucible Knight joins the fight. You should aim to make the most of this by inflicting as much damage as possible to the Misbegotten Warrior before their ally joins the fight. Be sure to summon your Spirit Ashes at the start, then use your most highly damaging attacks on the warrior. The Crucible Knight is much like others of the same name, with the relentless precision of its attack patterns being designed to catch you off guard. You’ll need to anticipate these combos and learn how to counter them to bring this boss down. You’ll earn the Ruins Greatsword upon defeating the bosses.
Putrid Avatar - At Minor Erdtree in Northeastern Caelid
The Putrid Avatar is located beneath a Minor Erdtree in Northeastern Caelid. This boss fight is very similar to the Erdtree Avatar, with essentially the same attack moves. It also has the ability to inflict Scarlet Rot with some of its attacks, especially when it spews the substance from a jump attack. Whenever you see the boss jump in the air, you should begin to run away immediately to avoid this. The boss also has an attack which begins as it plunges its weapon into the ground. After this a number of projectiles will fly in your direction, but these can be easily avoided if you just sprint around the boss while keeping it targeted. The boss has a massive amount of health and it can often kill you in one hit, so you’ll need to be extremely careful here. You’ll obtain the Opaline Hardtear and Stonebarb Cracked Tear upon defeating it.
Putrid Avatar.
Beastmen of Farum Azula - Dragonbarrow Cave
The Beastmen of Farum Azula bosses can be found at Dragonbarrow Cave, in the northeastern part of Caelid. This fight consists of two bosses, one of which wields a greatsword and the other throwing knives. The greatsword user is pretty much exactly the same as the Beastman of Farum Azula in Groveside Cave, only more powerful. The throwing knife variant can be tricky to hit, since it will often dodge out of the way as you attempt to execute an attack. However, if you can get it cornered with the greatsword user out of the way, you can inflict a lot of damage in a short amount of time. You can easily dodge or block most of the throwing knives, but the difficulty is doing this while avoiding the greatsword user. These are ultimately two of the easiest bosses in the game, with fairly predictable melee attacks. You’ll receive the Flamedrake Talisman +2 upon defeating them.
Black Blade Kindred (Bestial Sanctum) - Outside the Bestial Sanctum
The Black Blade Kindred boss can be found outside the Bestial Sanctum, in northeastern Caelid. This boss combines swift attacks and slower attacks, with the former occurring mostly when it wields a sword, and the latter when it brings out a greataxe. The sword attacks can be incredibly swift, so you’ll need to be ready to dodge each one successively. The axe attacks can easily throw you off guard, since many of the attacks are delayed, especially one where it jumps in the air. There are two main magical attacks which the boss incorporates into its attack patterns, including a line of magical damage which emits from the sword, and a spinning whirlwind attack with the axe. You can block most of the regular attacks from both weapons, but you’ll need to be careful not to run out of stamina. You’ll obtain the Gargoyle’s Blackblade and Gargoyle’s Black Halberd upon defeating the boss.
Flying Dragon Greyll - On bridge south of Bestial Sanctum
The Flying Dragon Greyll is located on a bridge south of the Bestial Sanctum, northeastern Caelid. This is one of the easier boss fights in the region, with all the regular dragon attacks being used including bites, stomps, slams, tail swipes, and fire breath. You’ve probably encountered enough of dragon combat by this point to know how to avoid these. The main difference here is that you’re more restricted with a smaller surface area on which to fight the boss, since you’ll need to stay on the bridge to avoid it despawning. However, even with this restriction the fight shouldn’t cause you many problems. You’ll receive a Dragon Heart upon defeating it.
Night’s Cavalry - On small bridge southeast of Bestial Sanctum
This Night’s Cavalry boss can be found patrolling a small bridge southeast of the Bestial Sanctum, in northeastern Caelid. This is much like any other Night’s Cavalry fight, although this one wields a large halberd. These are some of the easiest fights in the game once you know their attack patterns and how to counter them with your own jousting. You’ll obtain the Bloodhound’s Step skill upon defeating this one.
Putrid Tree Spirit - War-Dead Catacombs
This Putrid Tree Spirit is located in the War-Dead Catacombs, in northeastern Caelid. This is a similar boss to the Ulcerated Tree Spirit in Limgrave, with the main difference being that this one spews Scarlet Rot. This boss essentially has the same attack patterns as the one in Limgrave, making it one of the most difficult fights in the region. You’ll receive the Redmane Knight Ogha Spirit Ashes and a Golden Seed upon defeating the boss.
Starscourge Radahn - Through portal outside Plaza at Redmane Castle
The Starscourge Radahn is a mandatory boss located through a portal at Redmane Castle, southeastern Caelid. This is a unique fight in a large open area, where you can summon your Torrent mount if you’d prefer to use it. However, you’ll also be aided by a number of NPCs, who will prove very useful in drawing attention away from yourself. You can then focus on inflicting damage from a reasonable distance, but Radahn will still sometimes target you at random. His ranged attacks can be particularly deadly, capable of killing you in one hit, but so long as you maintain enough distance from him you should be able to avoid them fairly easily with a quick dodge or sprint. A good tactic to maintain throughout the fight is to allow the NPCs to maintain threat from Radahn, allowing you to hit him from behind consistently. If you gain threat at any point, just kite the boss until he turns back to one of the NPCs. When Radahn is reduced to 50% of his health, a new phase of the fight begins and he’ll begin to use much more deadly area of effect attacks from here. Whenever you see him begin to use gravity magic, run away from him to avoid being pulled in by it. You’ll obtain a Remembrance of the Starscourge and Radahn’s Great Rune upon defeating the boss.
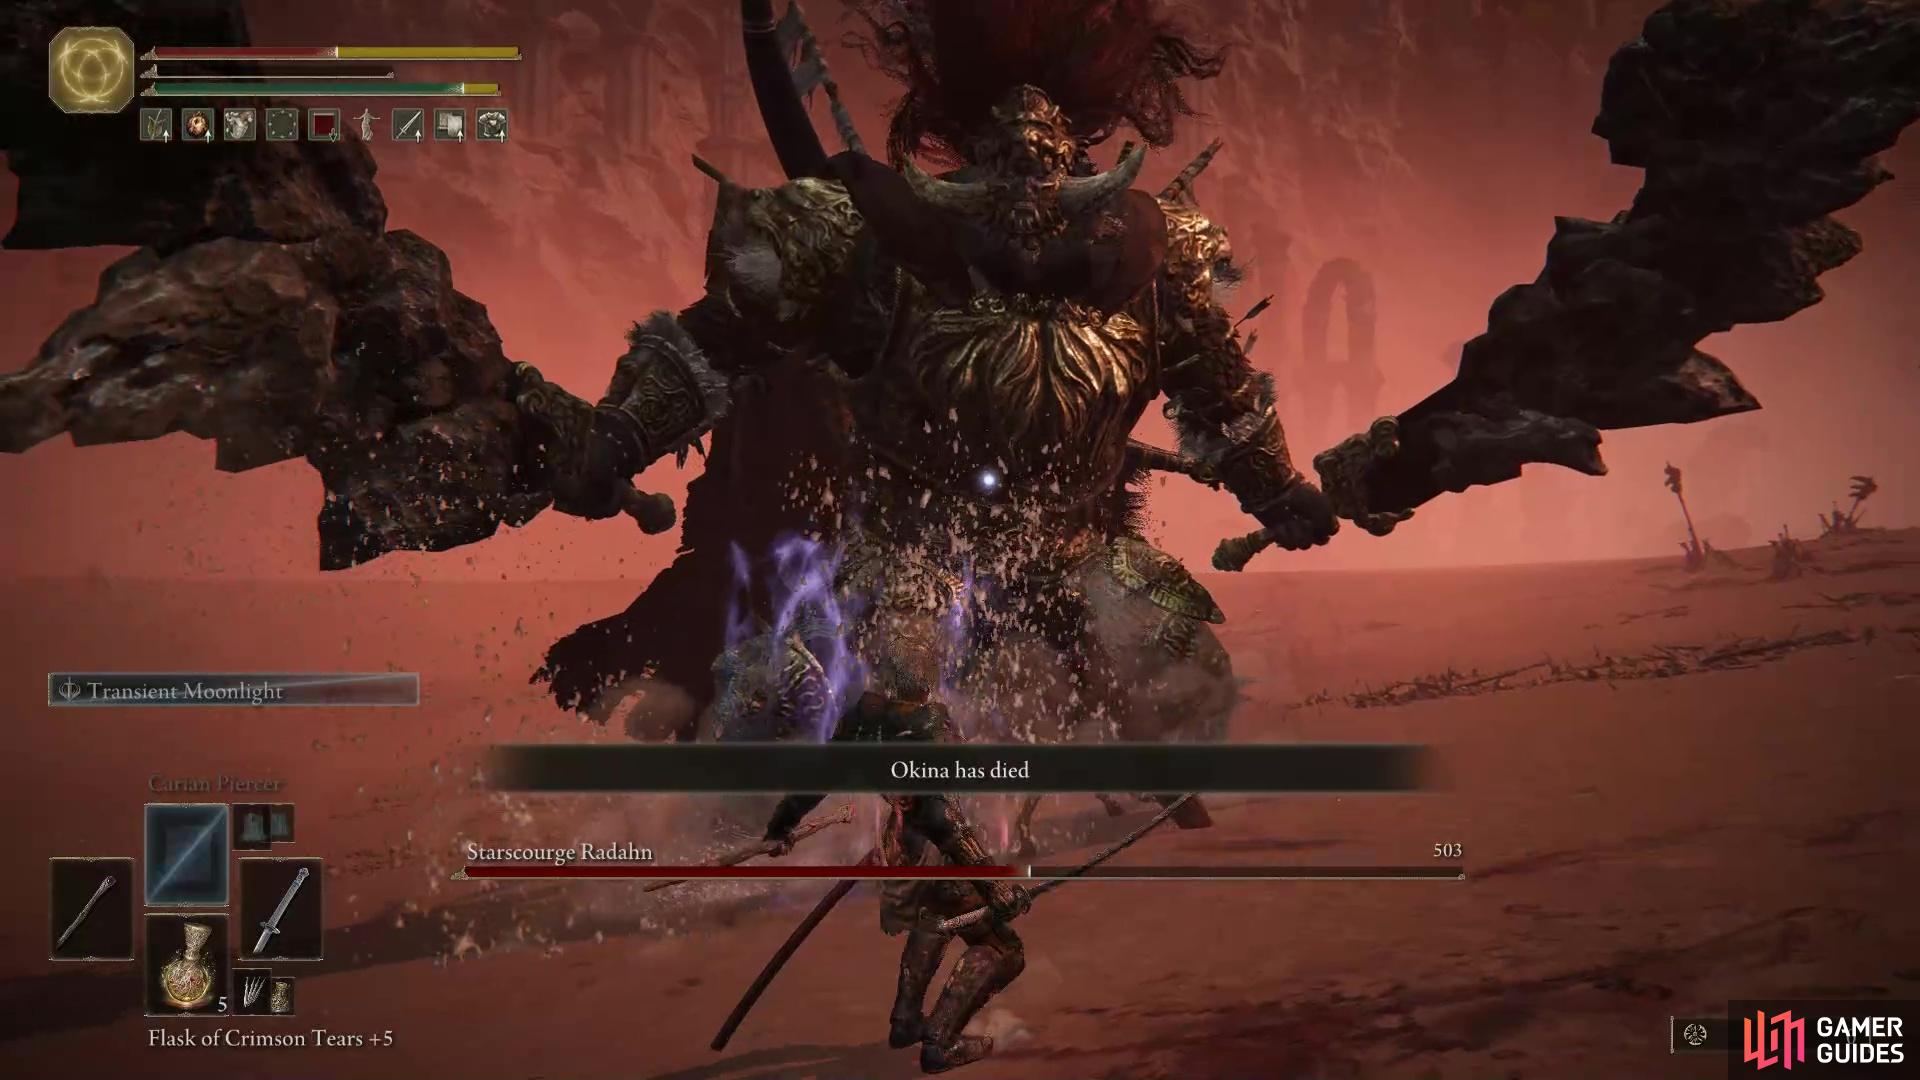
Starscourge Radahn.
No Comments