
This page details where to find and how to defeat the Ulcerated Tree Spirit boss in Limgrave. Includes an overview of attacks and strategy to defeat the boss.
| Runes | Drops |
|---|---|
 15000 15000 |
Golden Seed; Spirit Ashes: Banished Knight Oleg |
Where is Ulcerated Tree Spirit in Limgrave?
You’ll find the Ulcerated Tree Spirit at the Stranded Graveyard, in the southwest of Limgrave. This is actually one of the first bosses that you can encounter if you chose the Stonesword Key as your keepsake at the beginning of the game. However, at this early stage the boss will be too powerful for most players, so we’d recommend tackling it once you’re at least level 20. In this case, you’ll still need a Stonesword Key to access the boss. You’ll find at least two of these that you can loot in Limgrave, at the Dragon Burnt Ruins on the southern shores of Agheel Lake, and on the Bridge of Sacrifices, which leads to the Weeping Peninsula region from East Limgrave. However, if you’d rather just buy a Stonesword Key, you can purchase one for 4000 Runes from the Twin Maiden Husks at the Roundtable Hold.

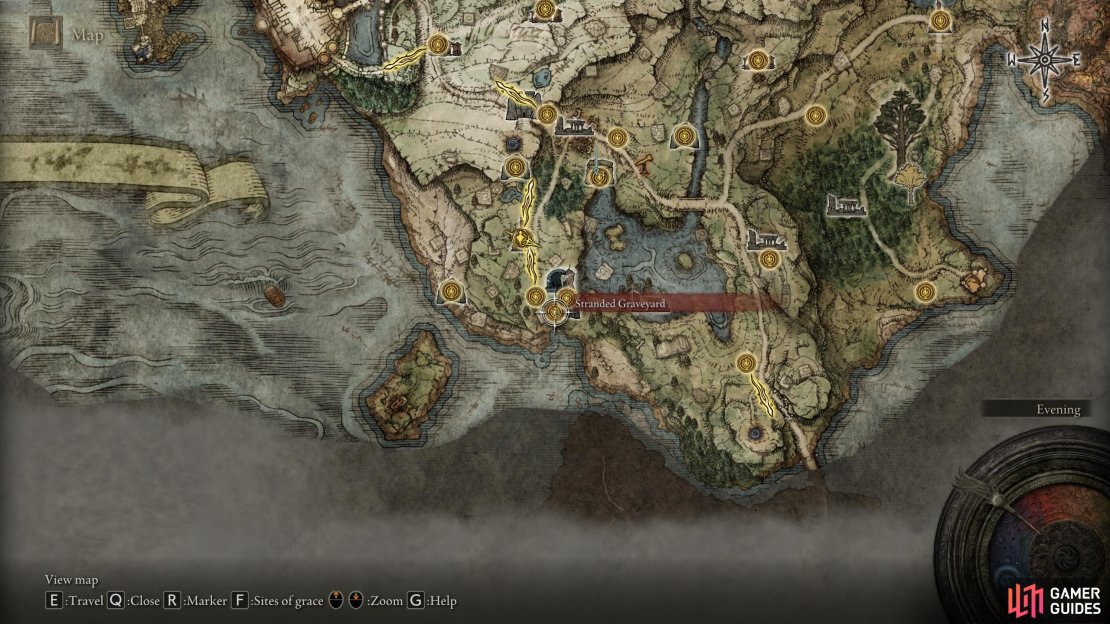

(1 of 3) The location of the Ulcerated Tree Spirit, at the Stranded Graveyard.
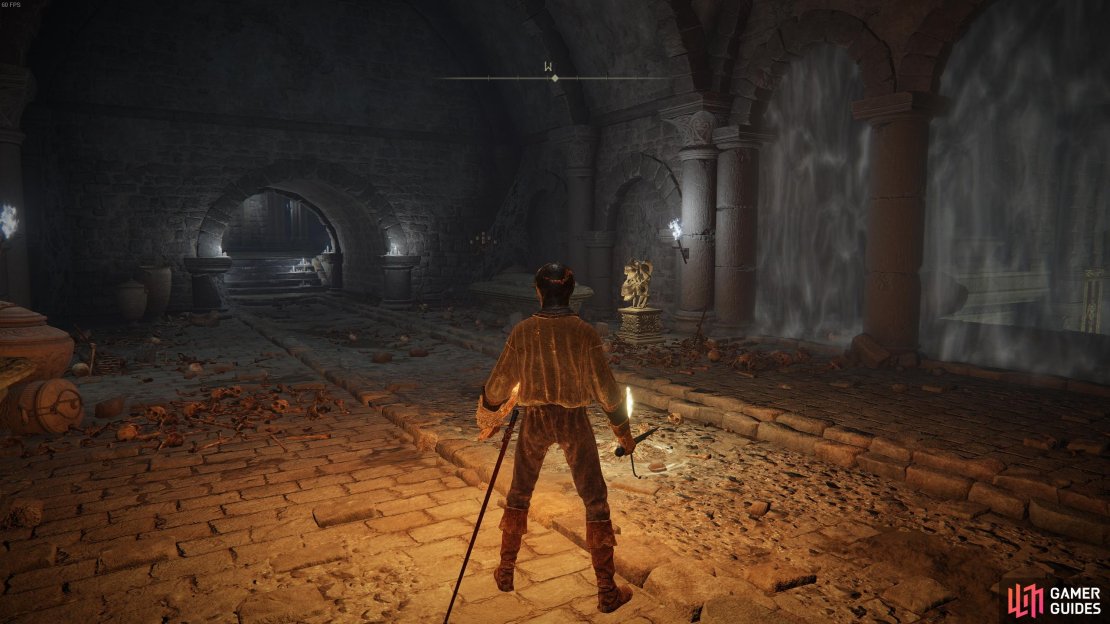
How to Reach the Ulcerated Tree Spirit Boss Room
Once you’ve acquired a Stonesword Key, you can fast travel to the Site of Grace at the Stranded Graveyard and insert it in the statue there to dispel the mist and gain access to the room. You’ll need to run northward and then turn east to avoid being poisoned, but don’t go ahead too quickly once you’re out of the poison. There’s a moving stone chariot which will kill you instantly if it hits you. You’ll need to wait for it to go back down the ramp before you move forwards and take refuge in one of the openings to the side, then continue down the second ramp while ignoring the first set of enemies, as shown in the gif below. You’ll need to jump into a side area near the bottom and kill one enemy here before you can continue.
From this point you can make your way down the third ramp after the chariot has gone back up, until you reach another side area where you’ll need to kill two enemies, as shown in the gif below.
With the enemies here dead, make your way down this ramp until you reach a side area to your right. You’ll be cutting it close here as the chariot roars behind you, but you should make it just in time, and the enemies which appear here should be taken out by the chariot before they can harm you.
The worst of the path is over from here. All you need to do is wait for the chariot to pass up again before running down and turning right, where you’ll find the entrance to the boss room and a Stake of Marika.
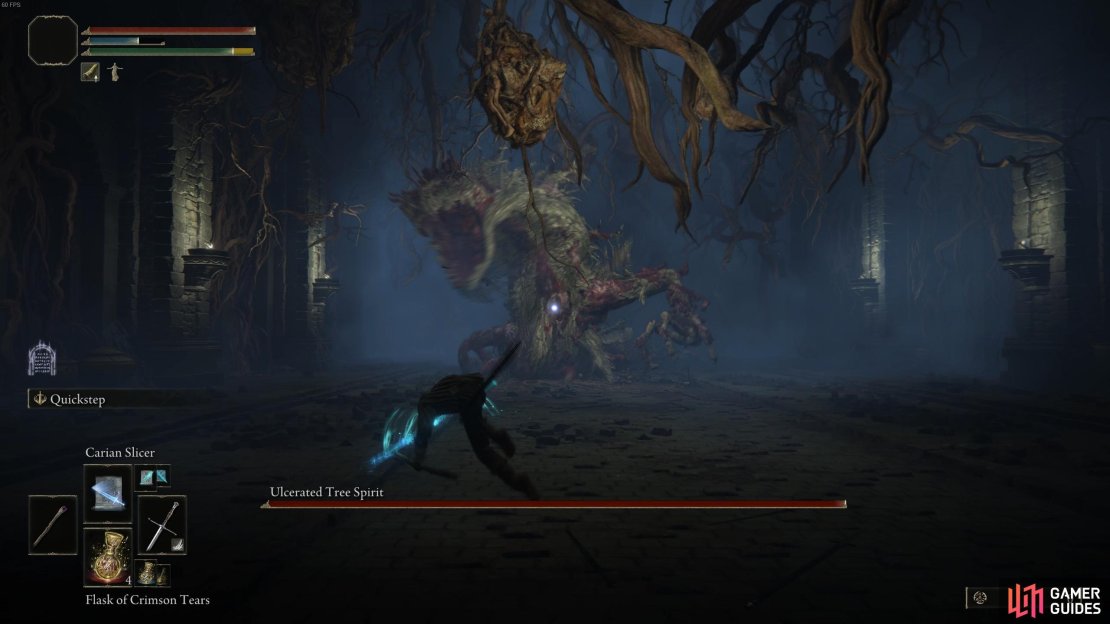
Attacks
The Ulcerated Spirit Tree has eight main attacks, each of which you’ll need to learn the animation prompts for if you want to beat him. There isn’t much room for error here, especially since some of these attacks can kill you in one or two hits. The Explosion and Head Slam are arguably the most difficult to avoid, but the others can be just as deadly if you’re not prepared for them.
Claw Swipe
This is a fairly basic melee attack, but a deadly one nonetheless. It will kill you in two hits if you haven’t upgraded your Vigor stat much, and the boss likes to use it twice in a row if you’re within range. If you’re not within range, he’ll often use Tail Swipe as a follow-up attack, so be ready to dodge or block both of these. You should expect this attack to occur whenever you’re standing in front of the boss within melee range.
Tail Swipe
This attack is often used as a follow-up to the claw swipe, but it can also be used in isolation to catch you off guard. This is one of the easier attacks to anticipate since you’ll see the boss move its body in an effort to “wind up” the attack.
The below gif shows the claw and tail swipe.
Stomp
This is another basic melee attack, though slightly less deadly than the claw swipe. The boss will use it most often when you’re within melee range, especially if you’re standing in front of it, as with the claw swipe.
Head Slam
This is one of the most difficult attacks to avoid, since it occurs so quickly. The boss will suddenly slam its head and neck down on the ground, which has a long range but not within a wide arc. You can block or dodge roll away from this attack if you’re quick enough.
Head Swipe
This one is similar to the tail swipe, only the boss uses its whole upper body to swipe at you. One of the easier attacks to spot from the animation.
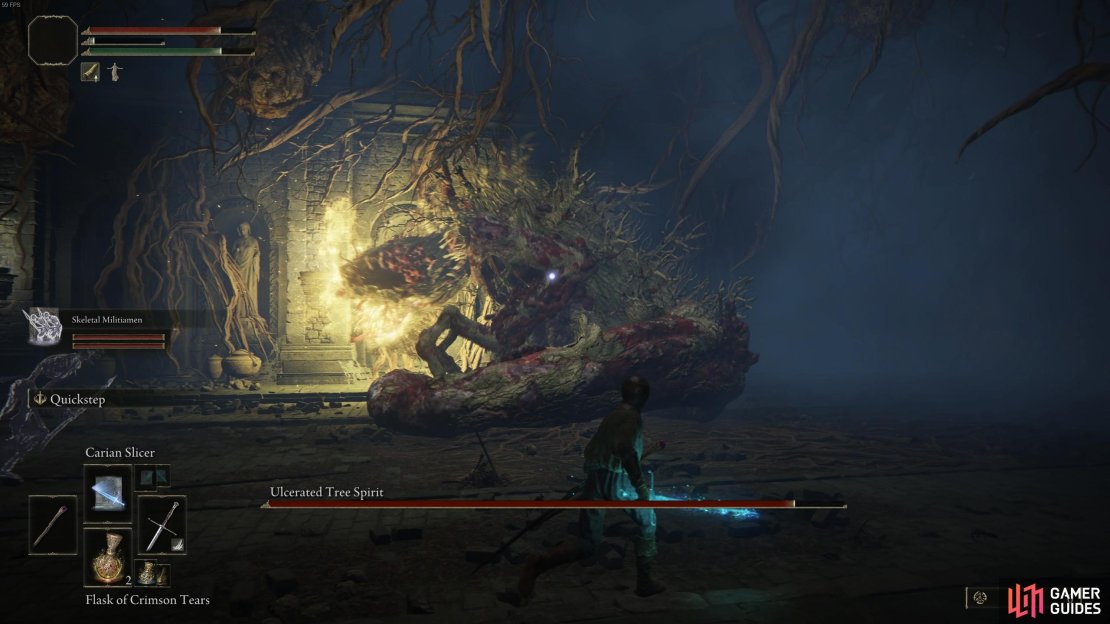
Roar & Bite
This attack is often used as the very beginning of the fight when you enter the boss room. The boss will often roar first, though not always, so the other animation to look out for in anticipation of this attack is when the boss seems to hover in mid-air. It will then lunge down at you in an attempt to bite. If the boss is able to bite you, it’ll often hold you in its mouth while breathing fire, which will inflict damage over time. It’ll then spit you out which will inflict yet more damage. If you’re able to survive this attack, be ready to use a health flask as soon as possible.
Explosion
This attack occurs 2-3 times throughout the fight. It will first happen once you’ve brought the boss to 60-80% of its health, and then again when it’s around 40%. I can be used a third time if you’re unlucky, usually around the 20% health mark. If you’re within melee range of the boss when this attack is used, you’ll almost certainly be hit. The best way to mitigate damage in this scenario is to raise your shield. While this won’t negate all damage, it will reduce it somewhat. The alternative is to try to dodge / roll away as quickly as possible, and hope you create enough distance from yourself and the boss. However, matters are further complicated due to the fissures which erupt beneath the ground at random points in the room, so you’ll need to hope that you can avoid one of these too.
Fire Breath
This is one of the easiest attacks to avoid once you become familiar with the animation. You’ll see the boss raise its head and fire will begin to rage in its throat. At this point you can run into melee range of the boss, getting as close to it as possible, while turning to one side in an attempt to flank it. You should be able to avoid the fire and get a few hits in while it’s locked in the fire breathing animation.
Strategy
This is likely to be one of the most difficult bosses that you’ll face in the game, at least in Limgrave. There are a few things you can do to prepare for it and make your life easier. The most obvious is to wait until you’re at least level 20 (and preferably 10 or 20 levels higher if you’re not too confident in your abilities) before you tackle the boss. Although seasoned veterans of Dark Souls will relish in such a challenge, if you’re new to the series and don’t fancy bashing your head against a brick wall for (potentially) hours, you’re better off waiting until you’ve improved your character a bit.
If you feel you’re ready to tackle the boss at an early stage, one of the easiest things you can do to improve your chances of success is to utilize fire-based skills and weapons. This means focusing on using fire-based Incantations where possible, but if you’re primarily a melee class you can also coat your weapon with fire damage by crafting a Fire Grease, which requires 1x Smoldering Butterfly and 1x Root Resin per Fire Grease. This will significantly increase your damage against the boss, since it’s vulnerable to fire. If you don’t have access to any Fire Grease, Scholar’s Armament is a decent alternative if you have access to the spell, which will significantly increase damage inflicted by the affected blade. Be sure to cast this just before you enter the boss room to avoid being rooted in place.
Now that we’ve noted the vulnerability to fire, you can focus on learning the attack patterns of the boss. This will be essential for a successful outcome, due to most of its attacks being capable of killing you in 1-2 hits. The boss will almost always begin the fight with a roar & bite attack, which can kill you instantly if you’re low level. The best way to avoid this is by dodging to the side of where the head is about to strike, but it may take a few dodges before the boss is done, since it’ll try to bite more than once.
After this initial assault, you can focus on repositioning yourself to get closer to the boss. Ideally, you want to be as close to it as possible to inflict constant damage, and preferably near to its tail so you can get a good view of when it’s moving, indicating an incoming tail swipe. You’ll also want to position yourself near the centre of the room, and avoid all corners of the room where possible. This is because the boss can easily pin you down into a corner and make it nearly impossible to see its body, thereby blinding you to its attack animations. If you find yourself at the edge of the room, take your time and move towards the centre again. You can always dodge or block incoming attacks when you’re moving.
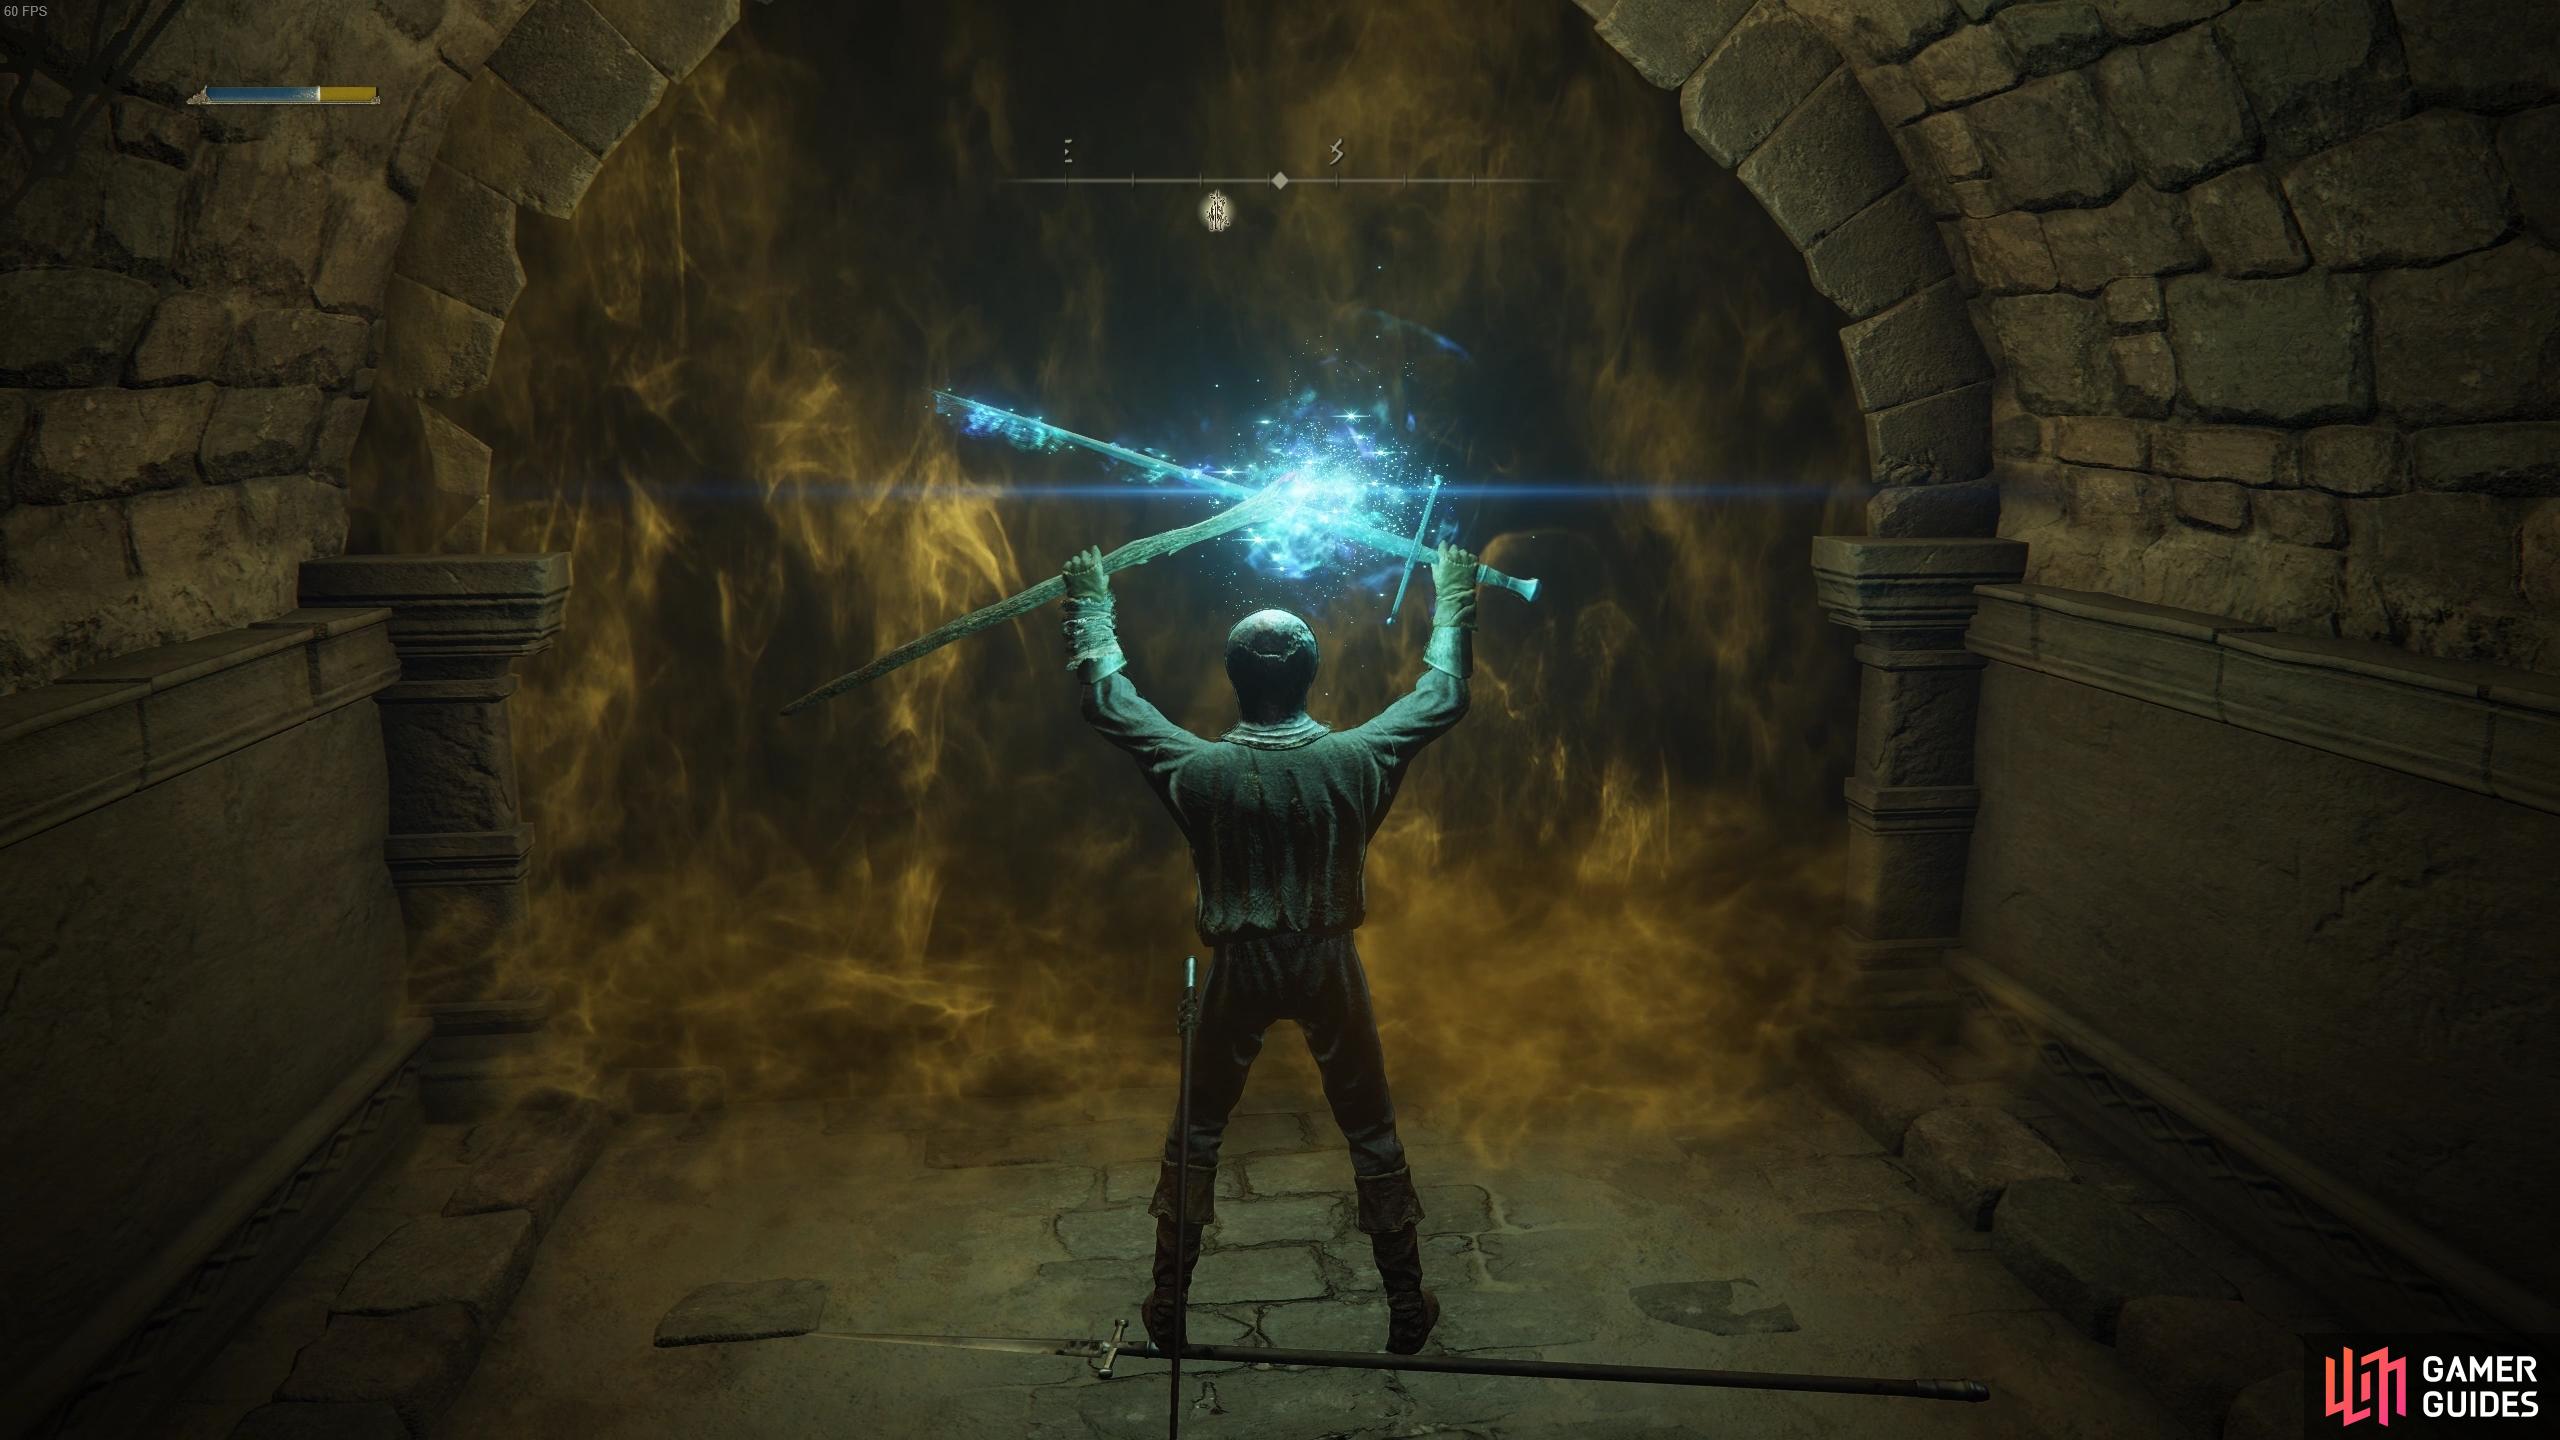

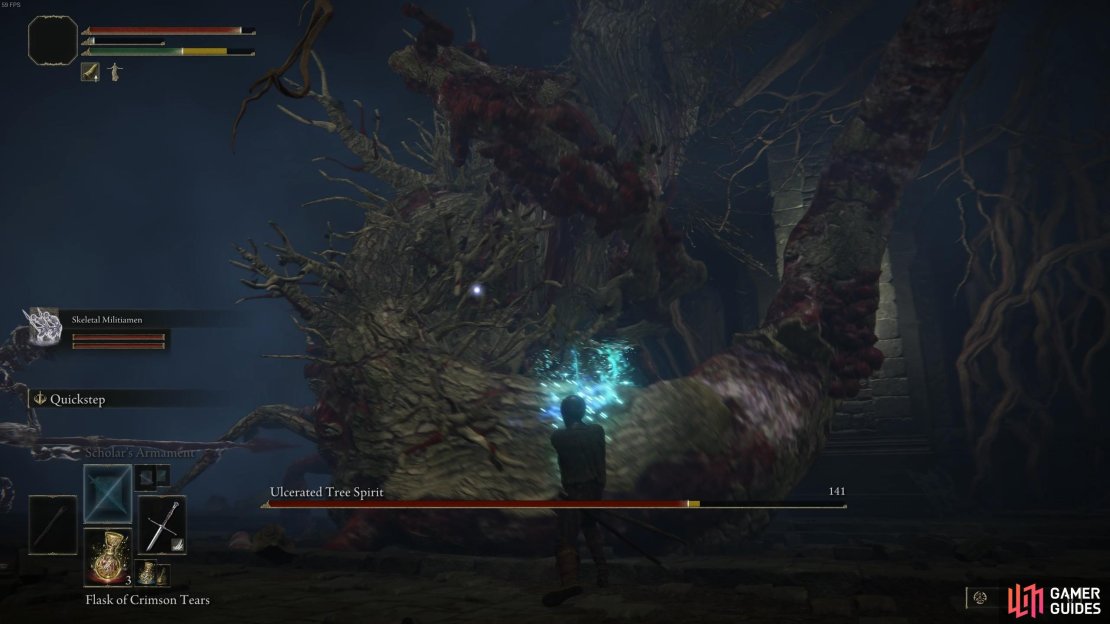
(1 of 5) If you’re using Fire Grease or Scholar’s Armament, apply it before you enter the room.
If you’re a shield user, using block instead of dodge is generally a more reliable way to avoid being hit, since it requires less precise timing. The shield can be raised more or less instantly, whereas the dodge has a slight delay by comparison. However, the trade off is that most attacks blocked here will deplete nearly all of your stamina.
Once you’ve brought the boss down to between 60-80% of its health, you should begin to think about trying to avoid the inevitable explosion. You’ll notice the animation as the body begins to light up with a golden aura, but you won’t have much time to run once it does before the explosion is executed. If you have a shield you can raise it to negate some of the damage, but if you think you can run / dodge away in time, try this to avoid taking any damage at all. If you’ve got most of the other attacks memorised and you’re able to consistently avoid them, this is the last one which might cause you problems, since the window to escape it is so small. Be ready to use health flasks immediately after the explosion.
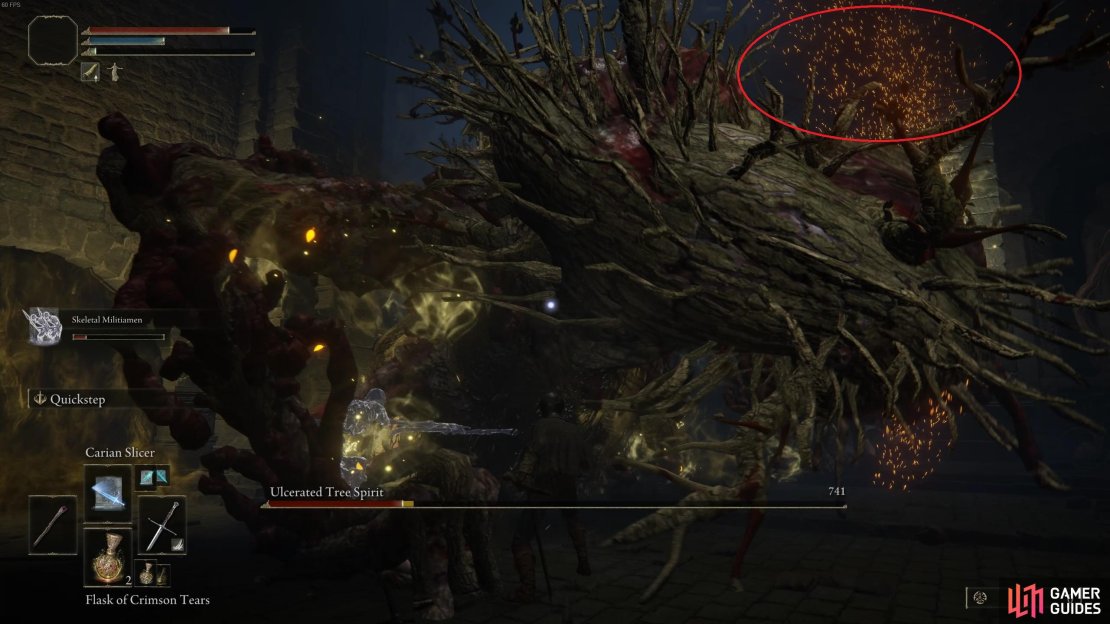
A final feature of this boss fight to consider is the ability to inflict massive damage after breaking its poise (aka stagger it to the point where it falls for a brief period). The easiest way to do this is by executing multiple heavy attacks at the same time, though you may not always get a window of opportunity with enough time to break its poise. However, if you do you’ll notice the boss fall to the ground and an area of its head will shine with a copper-like glow. You should head to this as soon as possible and hit it to inflict massive damage before the boss recovers.
No Comments