In Elden Ring, you’ll find a wide range of characters that will share their plight with you, most of these will have Quests that span multiple locations. This page will detail where you can find Millicent and complete her Questline.
Millicent can be found in Caelid.
Table of Contents
If you want to jump straight to our specific meeting with Millicent, or perhaps see what rewards you get from finishing the Questline, check out the following table:
First Meeting - Church of Plague
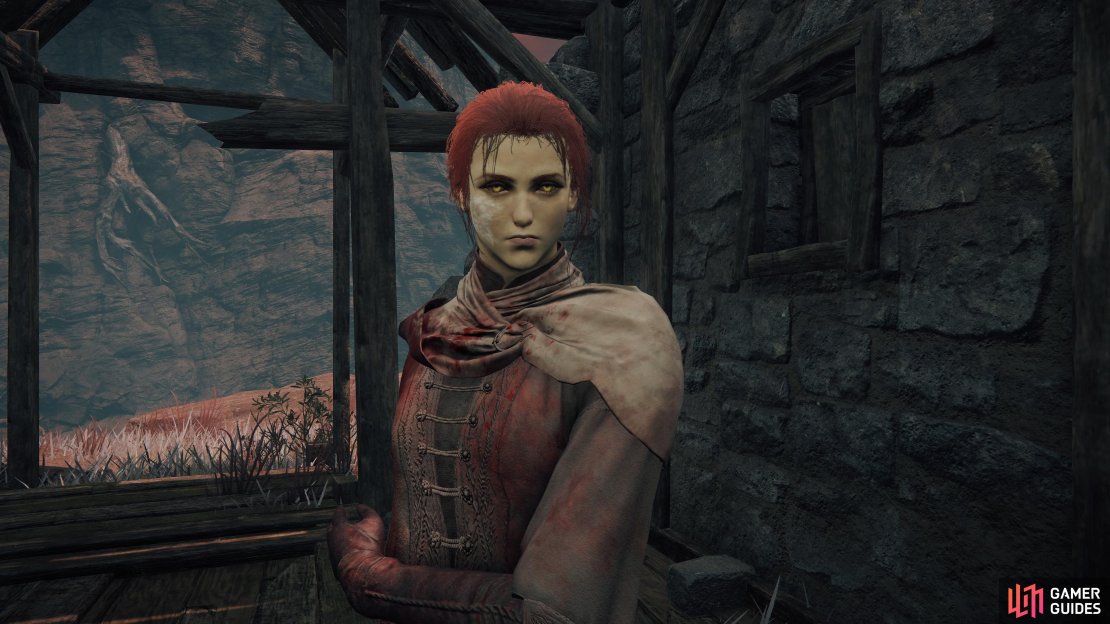
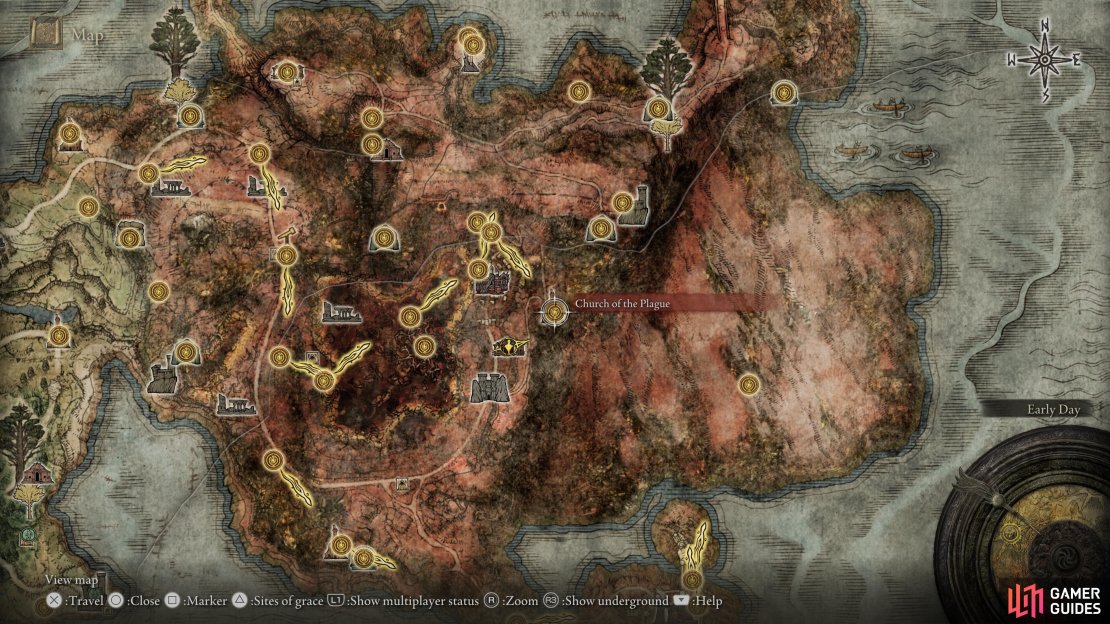
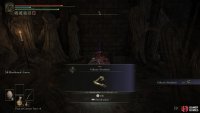
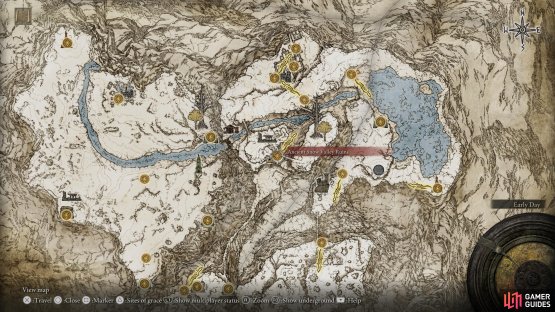
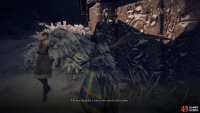
Before you can even meet Millicent for the first time, you’ll first need to progress Gowry’s Quest until you obtain the fixed Unalloyed Gold Needle and learn the secret of Sellia. Once you’ve lit the first two braziers in the town (using the northern stairs to reach the rooftops to access them) and leave via the northern gate where you’ll reach the Sellia Backstreets Site of Grace. From here, you can follow the winding path all the way to the Church of Plague where a stricken Millicent is slumped against the wall.
(1 of 4) You will need to head out the back of Sellia to reach the Church of Plague
Once you’ve obtained the Unalloyed Gold Needle from Gowry, you’ll be prompted to hand it over to her. Do so and then rest at the nearby Site of Grace to refresh the area to find her now standing, speak with her and exhaust her dialogue to obtain the Prosthesis-Wearer Heirloom and she’ll mention that she’s to leave on a journey soon and once you refresh the area, you’ll notice that she’s moved.
Second Meeting - Gowry’s Shack
Your next encounter with Millicent is a quick one, return to Gowry’s Shack to find the Sage is nowhere to be seen but instead, Millicent is here. Speak with her to learn that she was here to say farewell to someone, but she can’t place who, regardless, she thanks you once more for aiding her and is ready to set off on her journey.
Millicent will next head to Gowry’s Shack.
Third Meeting - Erdtree-Gazing Hill
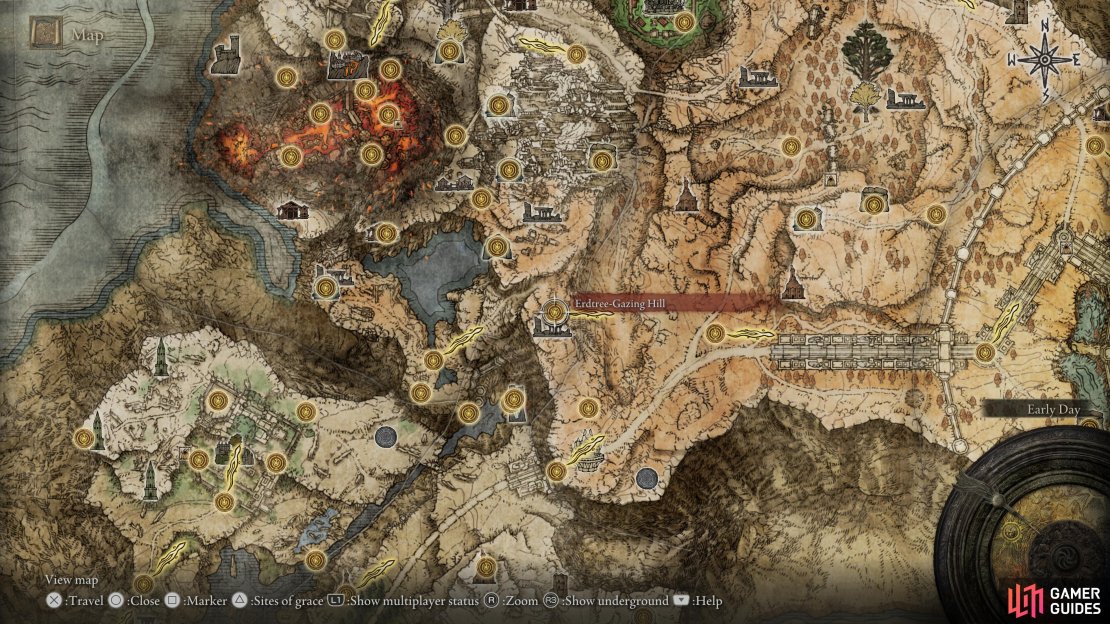
You won’t meet Millicent again until you reach the Altus Plateau, after which you can find her standing on the hill to the northeast of the Erdtree-Gazing Hill Site of Grace. She will mention that were she to have use of her sword arm, she’d be better equipped to help you in times of need. To achieve this goal, you’ll need to make your way to The Shaded Castle located to the north of the Altus Plateau, the only green area on the map.
Once you reach the area, head around the outer wall until you reach the northwest corner and you’ll be able to hop over the broken wall (using Torrent) to enter the castle proper. Follow the path south here and leap over the broken wall to your left (onto the roof) and then continue southeast until you find a ladder on the northern wall. Take the northwest path at the first intersection here and follow the path to the end where you’ll reach the western tower with a Cleanrot Knight guarding. Defeat it and head inside to find a chest containing the Valkyrie’s Prosthesis. With this in hand, return to Millicent and hand it over to complete this step of the Quest.
(1 of 4) You will next find Millicent at the Erdtree-Gazing Hill in the Altus Plateau
Fourth Meeting - Dominula, Windmill Village
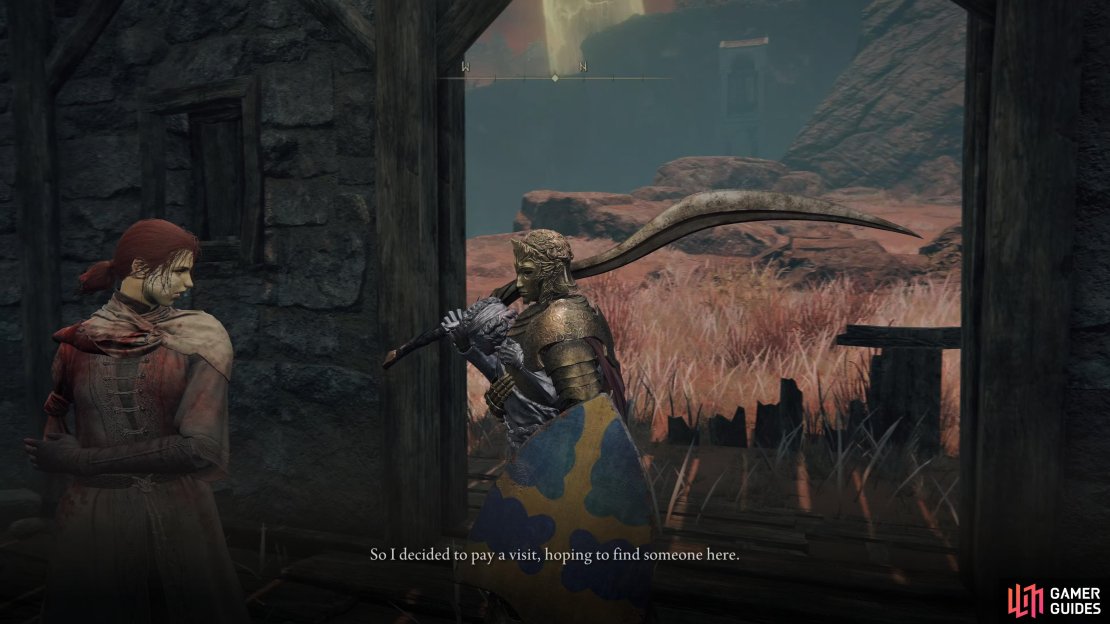
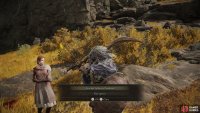
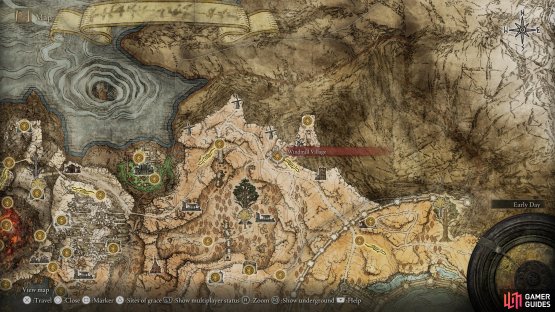
Once you refresh the area, you’ll find that Millicent has moved elsewhere in Altus Plateau. To the northeast of the region, you’ll find Dominula, Windmill Village, an optional area full of crazed dancers that will attack if you show any form of aggression. Proceed through the area to the end however and you’ll need to defeat the Godskin Apostle (Dominula, Windmill Village). Once defeated, use the Windmill Heights Site of Grace, and then look nearby to find Millicent once more who praises her new prosthesis and vows to come to your aid should you ever need it. You’ll often find Millicent is available to summon for many battles from this point.
(1 of 2) She will next move to the Windmill Village to the northeast once you defeat the boss there
She will next move to the Windmill Village to the northeast once you defeat the boss there (left), use the Site of Grace after defeating it to find her nearby. (right)
Fifth Meeting - Ancient Snow Valley Ruins
Once you finish up the events at Leyndell, Royal Capital, you’ll push on to the Mounataintop of the Giants. Progress through the area and you’ll reach the Ancient Snow Valley Ruins Site of Grace, rest at it and you’ll find Millicent standing nearby. This time around, she’ll drop a heavy hint about where you can find the Haligtree Secret Medallion (Left), the second half needed to reach the Haligtree, an optional legacy dungeon (and required for Millicent’s Quest).
(1 of 2) Millicent will then move on to the Ancient Snow Valley Ruins in the Mountain Top of the Giants
Millicent will then move on to the Ancient Snow Valley Ruins in the Mountain Top of the Giants (left), she will drop a hint about half of the secret Haligtree Medallion. (right)
Sixth Meeting - Prayer Room
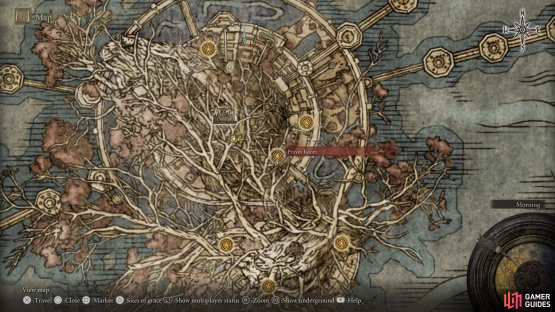
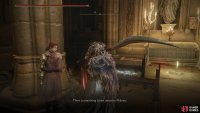
Your next meeting is in Miquella’s Haligtree itself, which you can access by using the completed Haligtree Secret Medallion and access the consecrated Snowfields (using the Grand Lift of Rold). From there, you’ll find Ordina, Liturgical Town which will lead you to the Haligtree area. Proceed through the roots part of the area at the start and you’ll eventually reach the Prayer Room Site of Grace, where you’ll find once again find Millicent. She will mention that there’s something she must return to Melania.
(1 of 2) You’ll run into Millicent next at the Prayer Room Site of Grace in Miquella’s Haligtree
You’ll run into Millicent next at the Prayer Room Site of Grace in Miquella’s Haligtree (left), she will mention that there is something she must give to Melania. (right)
Final Meeting - Before the Drainage Channel
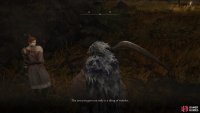
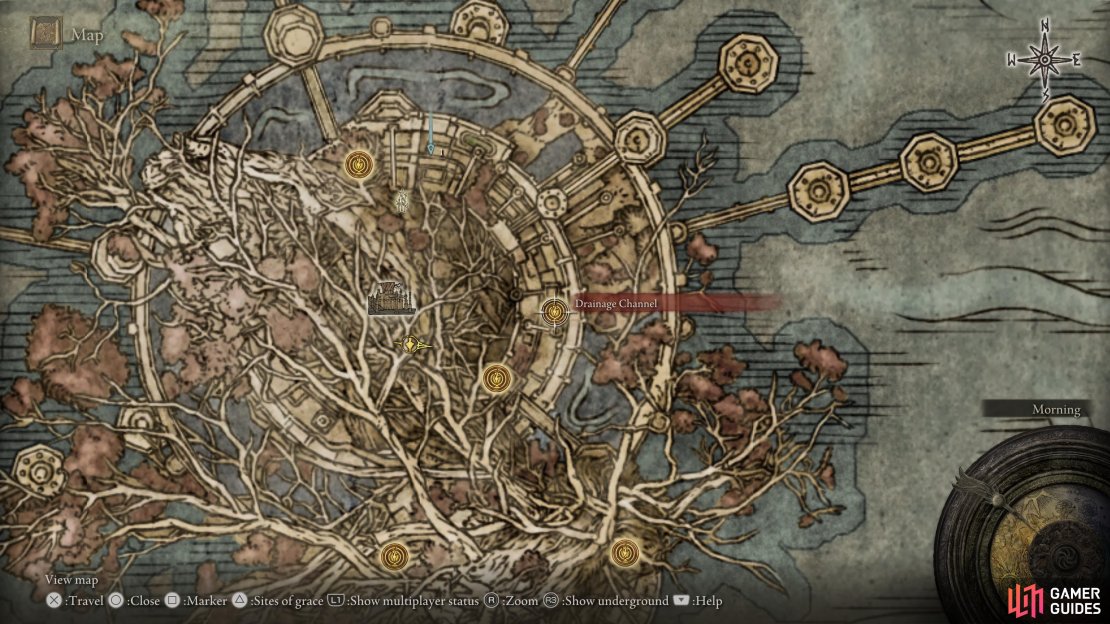
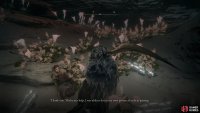
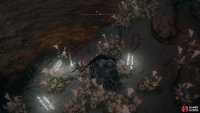
Your final meeting with Millicent requires an additional step first, you must head down to the scarlet rot ridden lake at the bottom of the Haligtree and you’ll eventually reach the Drainage Channel Site of Grace. After using it, return up the ladder and take the slope on your right, following it left to a branch that should take you over to a small lake of Scarlet Rot. Prepare yourself, as once you attempt to loot the item, you’ll be attacked by a Putrid Tree Spirit (Haligtree) that you’ll have to fight in the lake if you’re melee.
Once the beast is slain, return to the Site of Grace to refresh the area and then return here once more, this time you’ll find two summon signs to the west, overlooking the lake where you’ll have two choices:
-
If you choose to aid Millicent in the battle against her sisters, you’ll have to take on four of them, although not at once. They’re not much different to your typical invader battles, and you won’t have to take them on all at once, just be wary not to fall off the edge or let Millicent die (as she’s the host here). Once the battle is over, you’ll obtain the Rotten Winged Sword Insignia, and you’ll need to head back to the Drainage Channel Site of Grace to refresh the area. Head back to where you fought her sisters, and you’ll find Millicent on the ground to the southwest by the lake. Speak with her and exhaust her dialogue to learn that she’s removed the needle herself and doesn’t have long. Refresh the area one more time and you’ll find the Unalloyed Gold Needle on her body.
-
If, on the other hand, you decide to go up against Millicent and use the red sign, you’ll have to defeat and kill her. Your reward for this is the Millicent’s Prosthesis Talisman.
(1 of 7) Once you’ve defeated the Tree Spirit just before the Drainage Channel Site of Grace
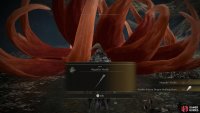
Should you decide to go for the good ending and aid her, you can use the Unalloyed Gold Needle after you defeat Malenia, Blade of Miquella. Refresh the area at her Site of Grace and you’ll see a gargantuan flower, head over to it and use the needle to obtain a Somber Ancient Dragon Smithing Stone and Miquella’s Needle. If you’ve put yourself on the Lord of Frenzied Flame’s Ending route (which locks out all other endings), you can use this needle once to reverse the decision (locking you out of that ending in this playthrough). Additionally, with Millicent’s Quest now concluded, you can head back to Gowry for his final meeting.









No Comments