
This page offers a guide on how to beat Margit, the Fell Omen, who is the first big story boss in Elden Ring. To have access to the rest of Stormveil Castle, you’ll need to defeat Margit.
Margit, the Fell Omen.
| Runes | Drops |
|---|---|
| 9,000 | Talisman Pouch |
Margit, the Fell Omen Location in Limgrave / Stormveil Castle
Margit is the first big boss of the main story. You’ll find him at Stormhill, blocking the entrance to the Legacy Dungeon: Stormveil Castle. He is not an optional boss, since you’ll need to defeat him to progress through the main story by going through Stormveil Castle. Right before you head through into the open space where you fight him, you’ll find a Site of Grace just down the tunnel heading towards the castle (Castleward Tunnel).
When you approach the area for the first time you’ll be subjected to a cut scene before the big fight!
Margit Attacks
Margit primarily wields a large staff, but he’ll also have other special moves to help him in the fight!
During this fight, Margit will primarily wield a large staff that he can swing about with relative speed and a lot of force. Occasionally he’ll do a slow charge up of his staff attack and bring it down with enough force to incapacitate you - so make sure to time your dodges well!
Below you’ll find a list of special attacks and how best to manage them.
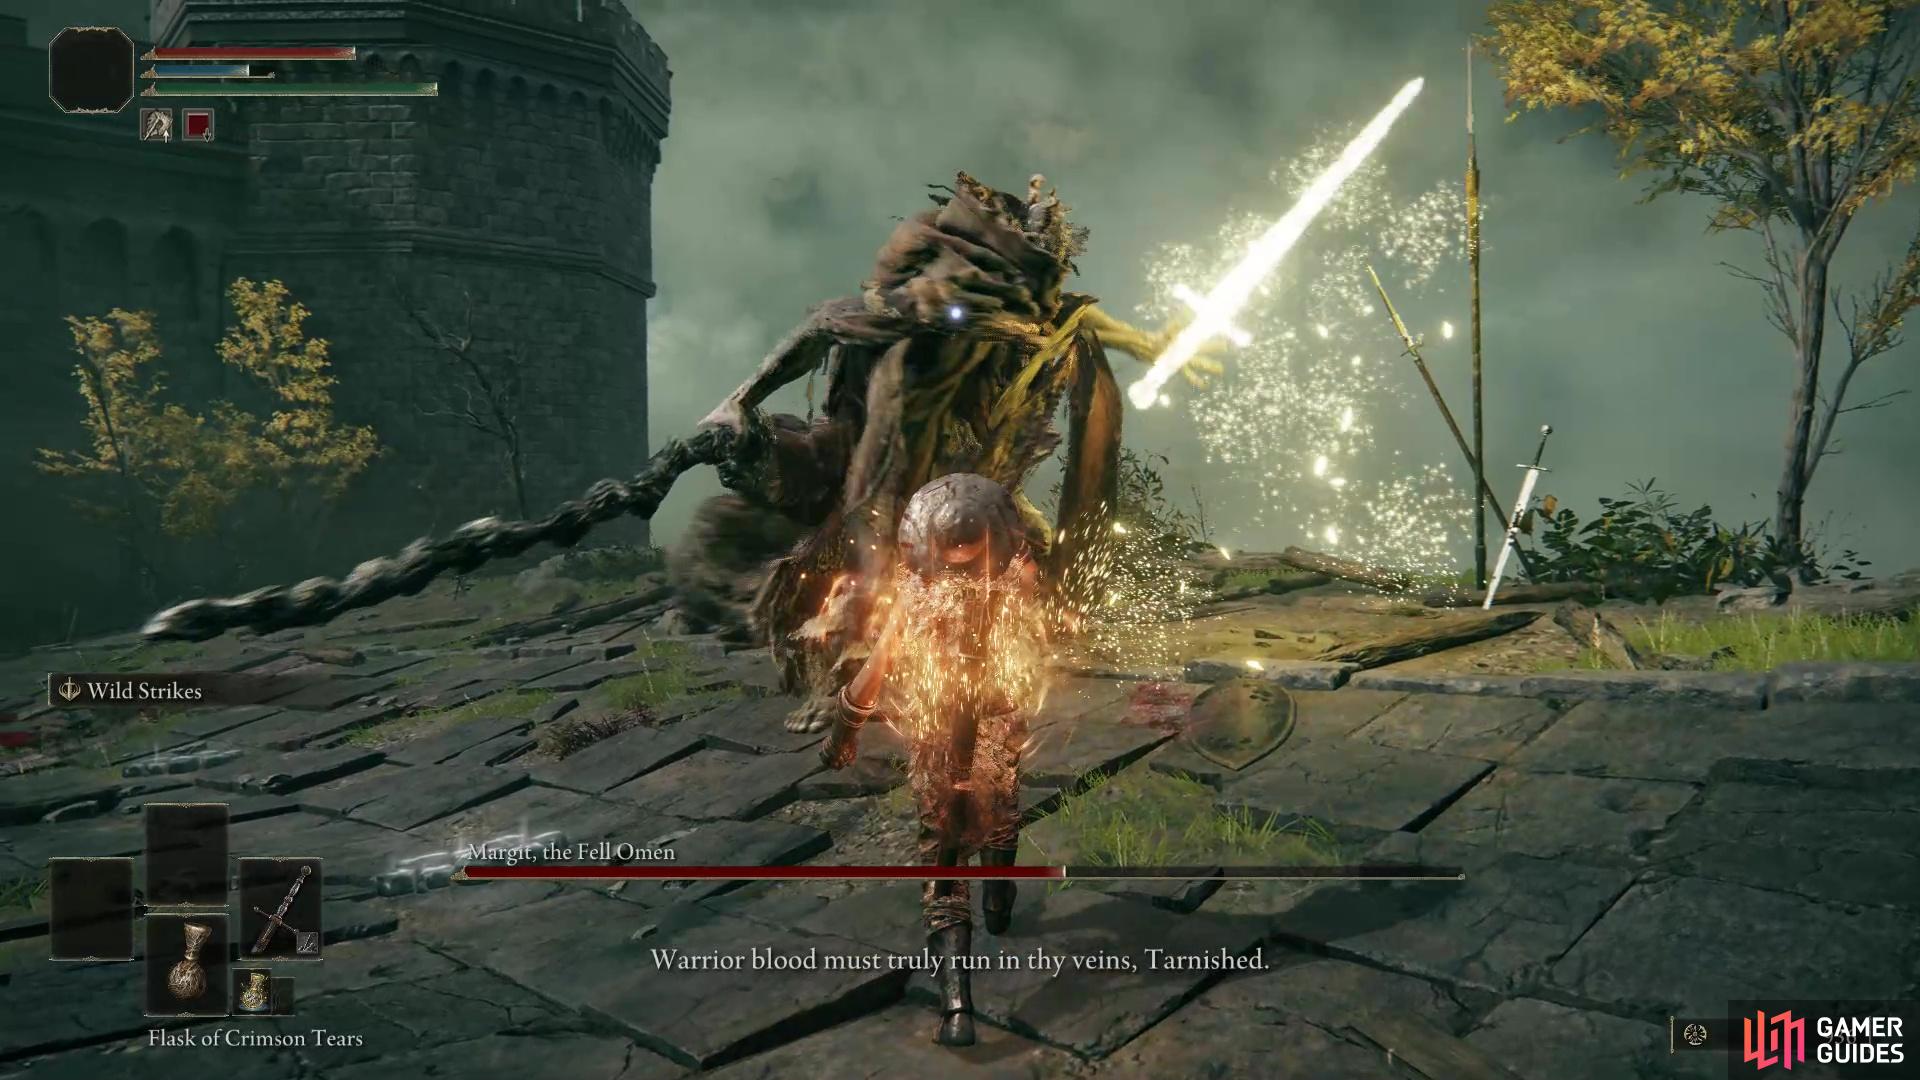
Conjured Blade Attack
During this special attack, Margit will conjure up a yellow glowing blade and swipe quickly at you a couple of times with it. This attack is likely meant to disorientate the player as you’ll be used to dodging out of the way of his big staff attacks and then the conjured blade will swing quite fast at you in the opposite direction. The typical pattern for this move is 2 blade swipes then Margit bringing down his staff - likely as a way to catch you as you dodge out of the way of his conjured blade. Once you’ve witnessed a few of these conjured blade moves, though, you’ll quickly become more aware of it and learn to dodge roll out of its way.
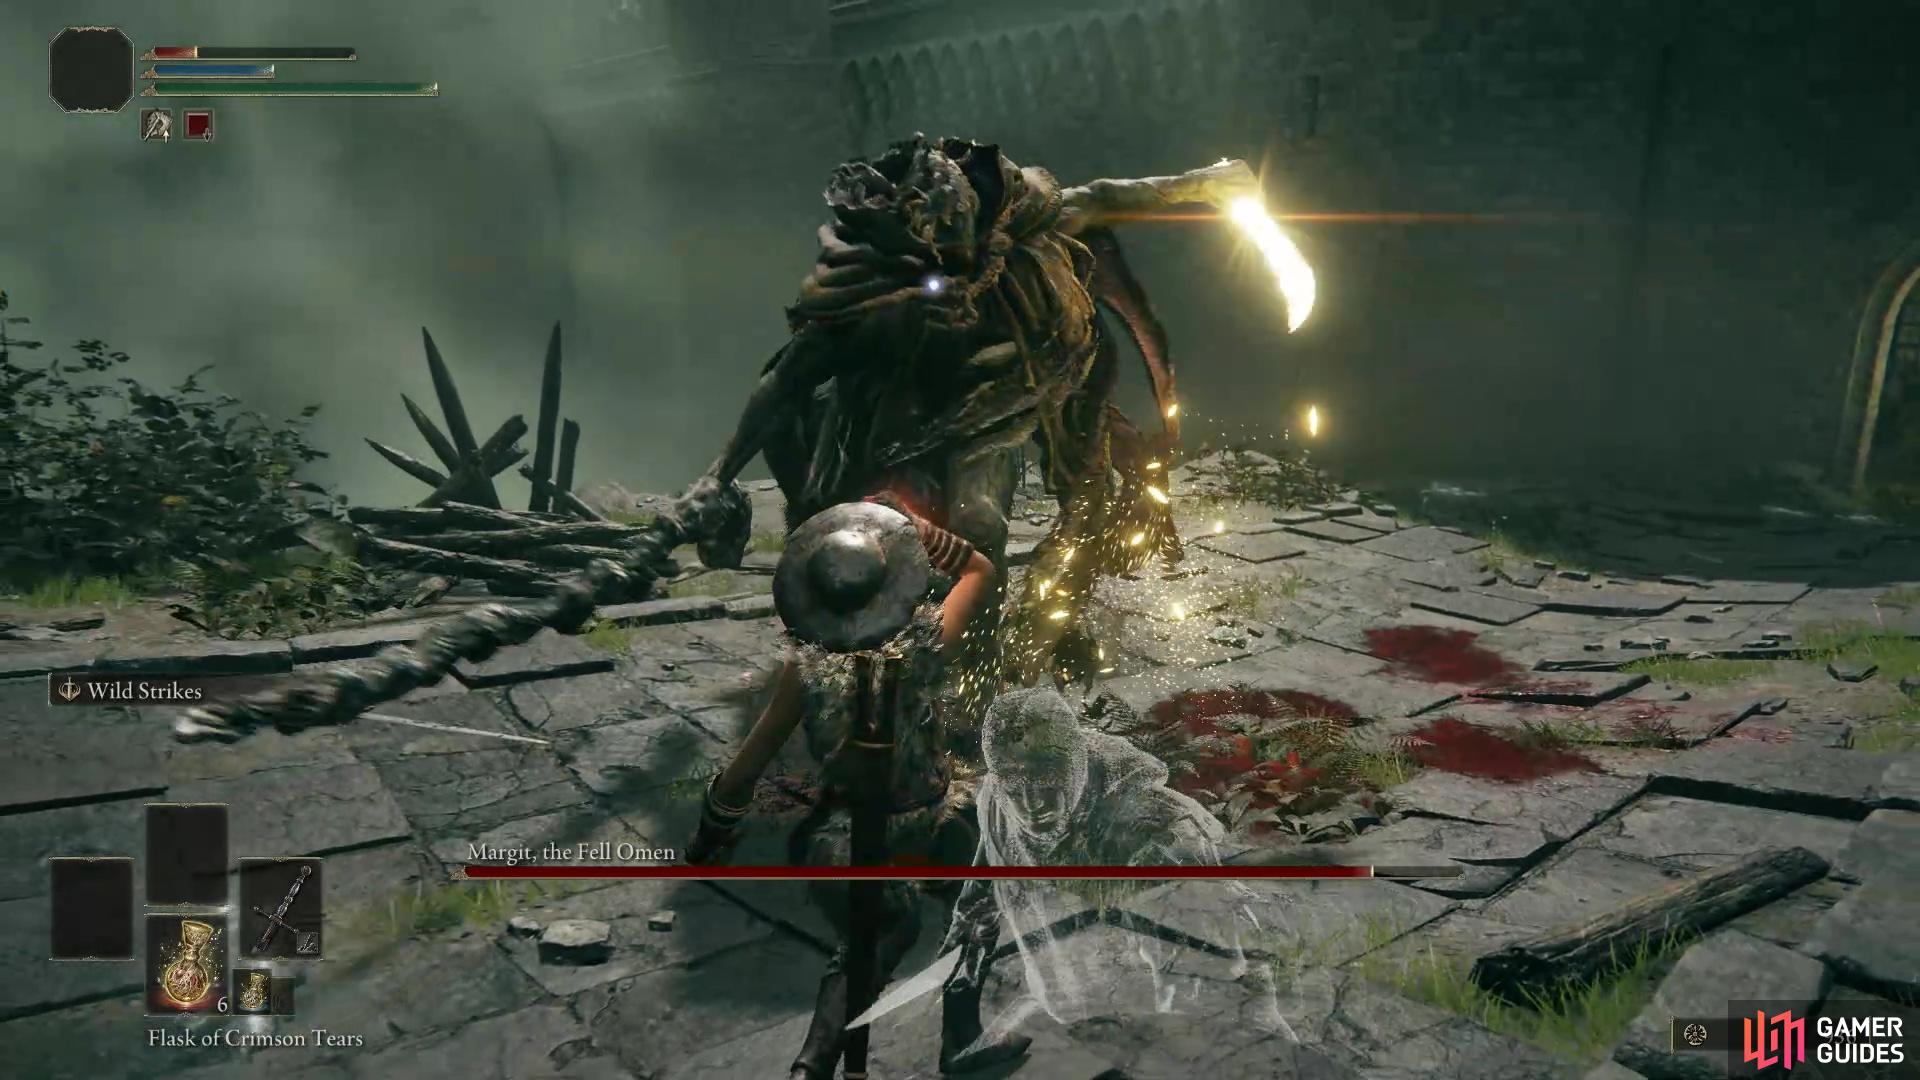
The conjured blade is a speedy move so make sure to be prepared to dodge quickly.
Throwing Blade Attack
Likely one of the first attacks you’ll encounter during this fight is his ranged throwing blade attack. If Margit is further away, he will conjure up and throw two glowing yellow blades at you. The best way to deal with this attack is to just dodge out of the way, or if you’re a melee character, you can run closer towards him to hit him and try to cancel the second blade throw. This attack is mostly reserved for when he’s at a longer range, so for those of you who play ranged characters, you’ll have to watch out for this move a lot more than melee players.
Margit will also occasionally summon the yellow blade, try to swing it at you once then jump back and distance himself from you to then throw it, so when he does that, be prepared to dodge out of the way of incoming blade throws.
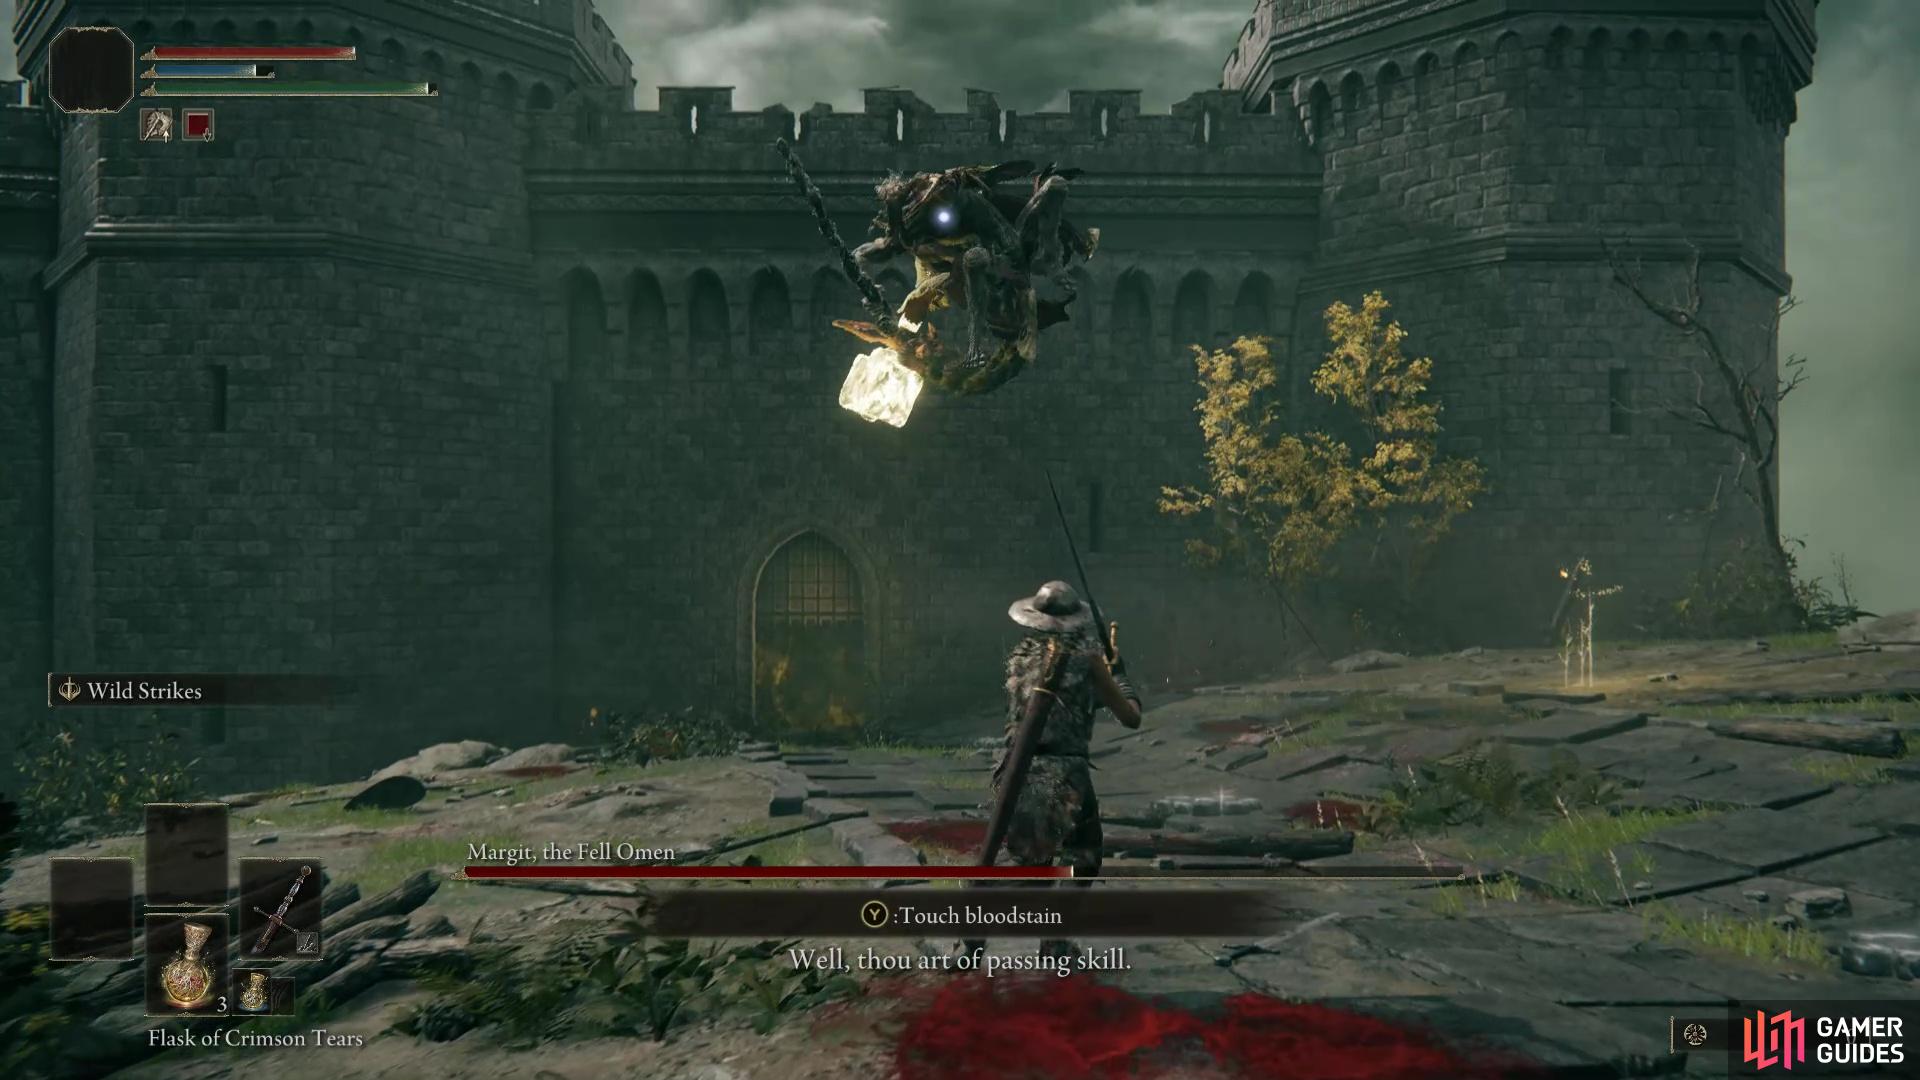
Jumping Staff Plunge
One of the most likely follow ups to his throwing blade attack (especially if you’re still at a distance from him) is to run, jump and plunge his staff down into the ground. This is a pretty devastating blow and will knock you down if you’re in the direct line of the plunge. It also has a small area of effect around it meaning you’ll want to stay well away from Margit as he plunges down. The good thing about this attack is that he’s momentarily slowed by the force of his own attack so you’ll be able to get a few good, uncontested hits whilst he’s recovering. Be careful if you’re attacking him from behind whilst he’s stunned though, as he’ll quickly swing around and smack you with his powerful tail as he repositions himself.
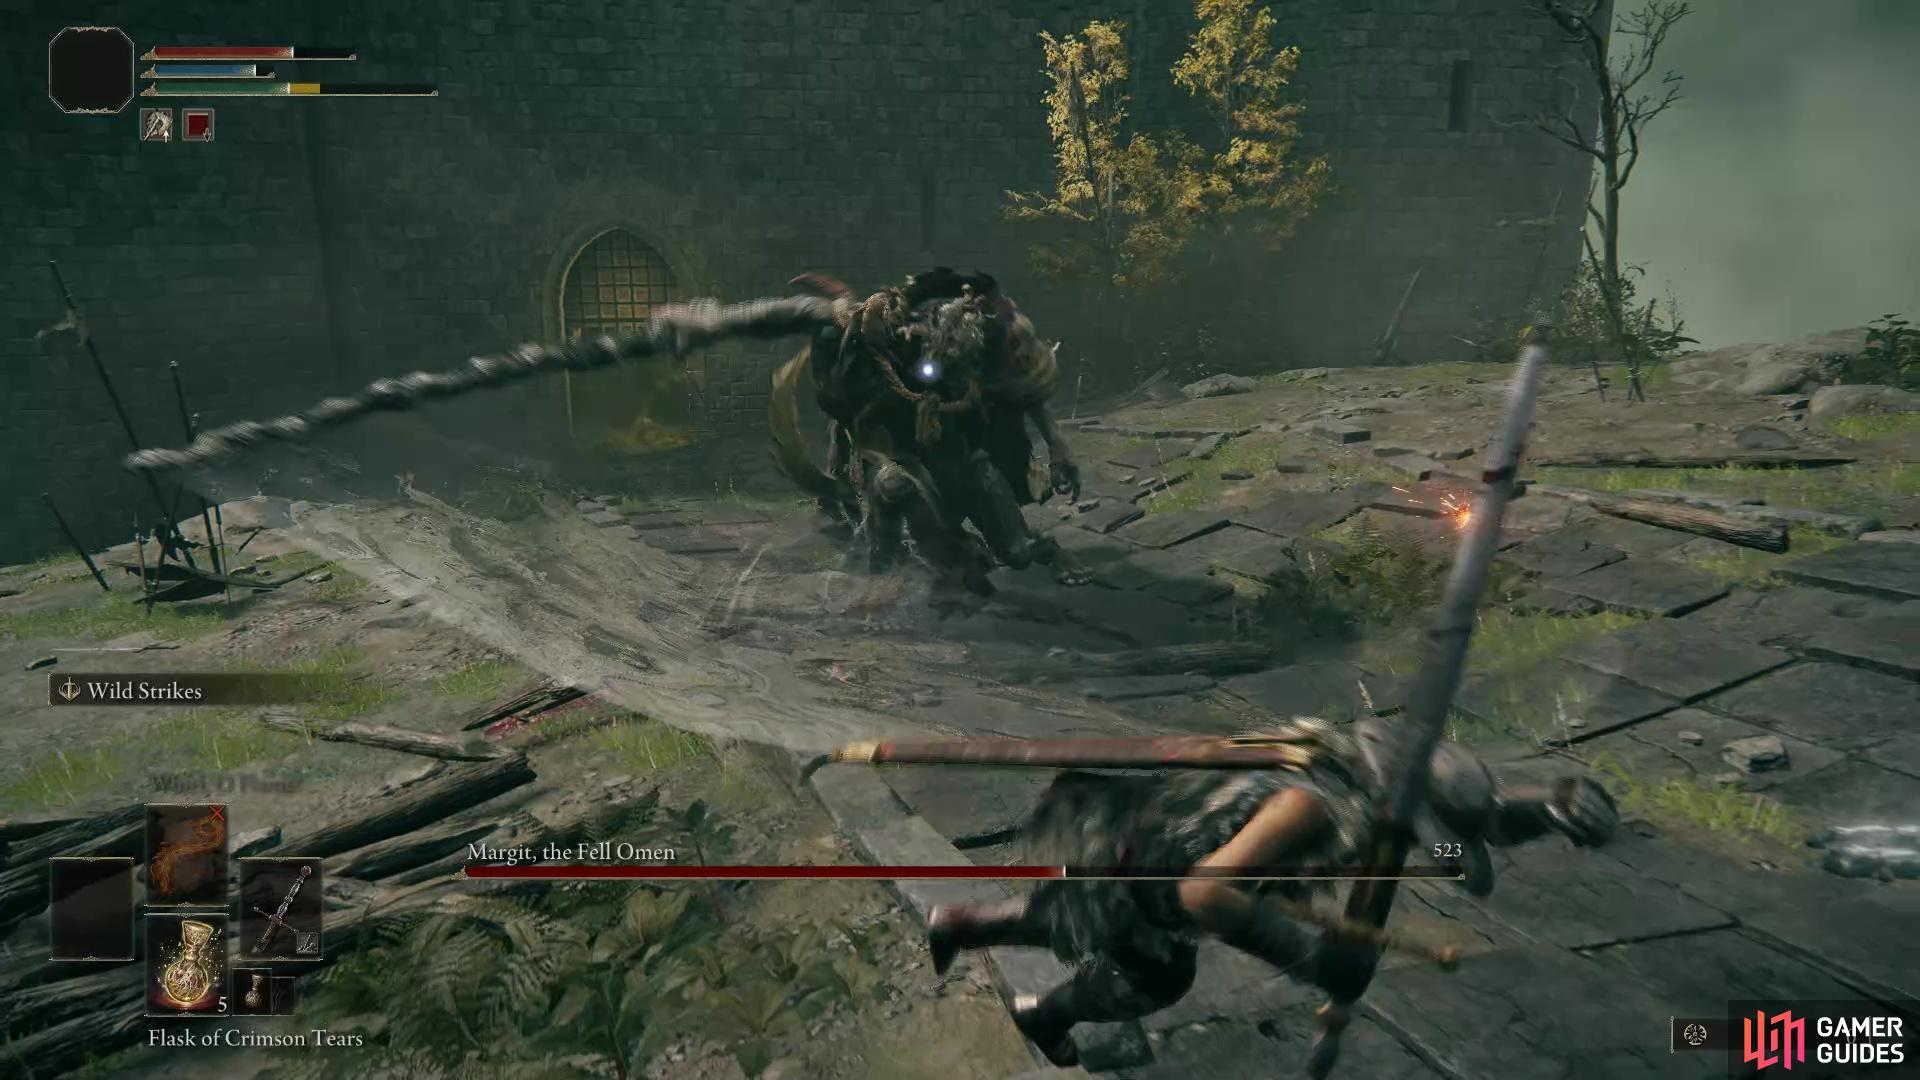
Tail Swing
This move is designed to counter the player who thinks that hitting an enemy from behind is a safe option! Margit has a big, spikey (and gross) tail that he’ll utilise to defend himself should you spend too long attacking him from behind. He’ll swing around quickly and use his tail to smack you in the process! The best way to avoid this attack is to be constantly moving and not be greedy for attacks from behind.
Hitting the tail feels very tempting but don’t stay too long or he’ll smack you with it!
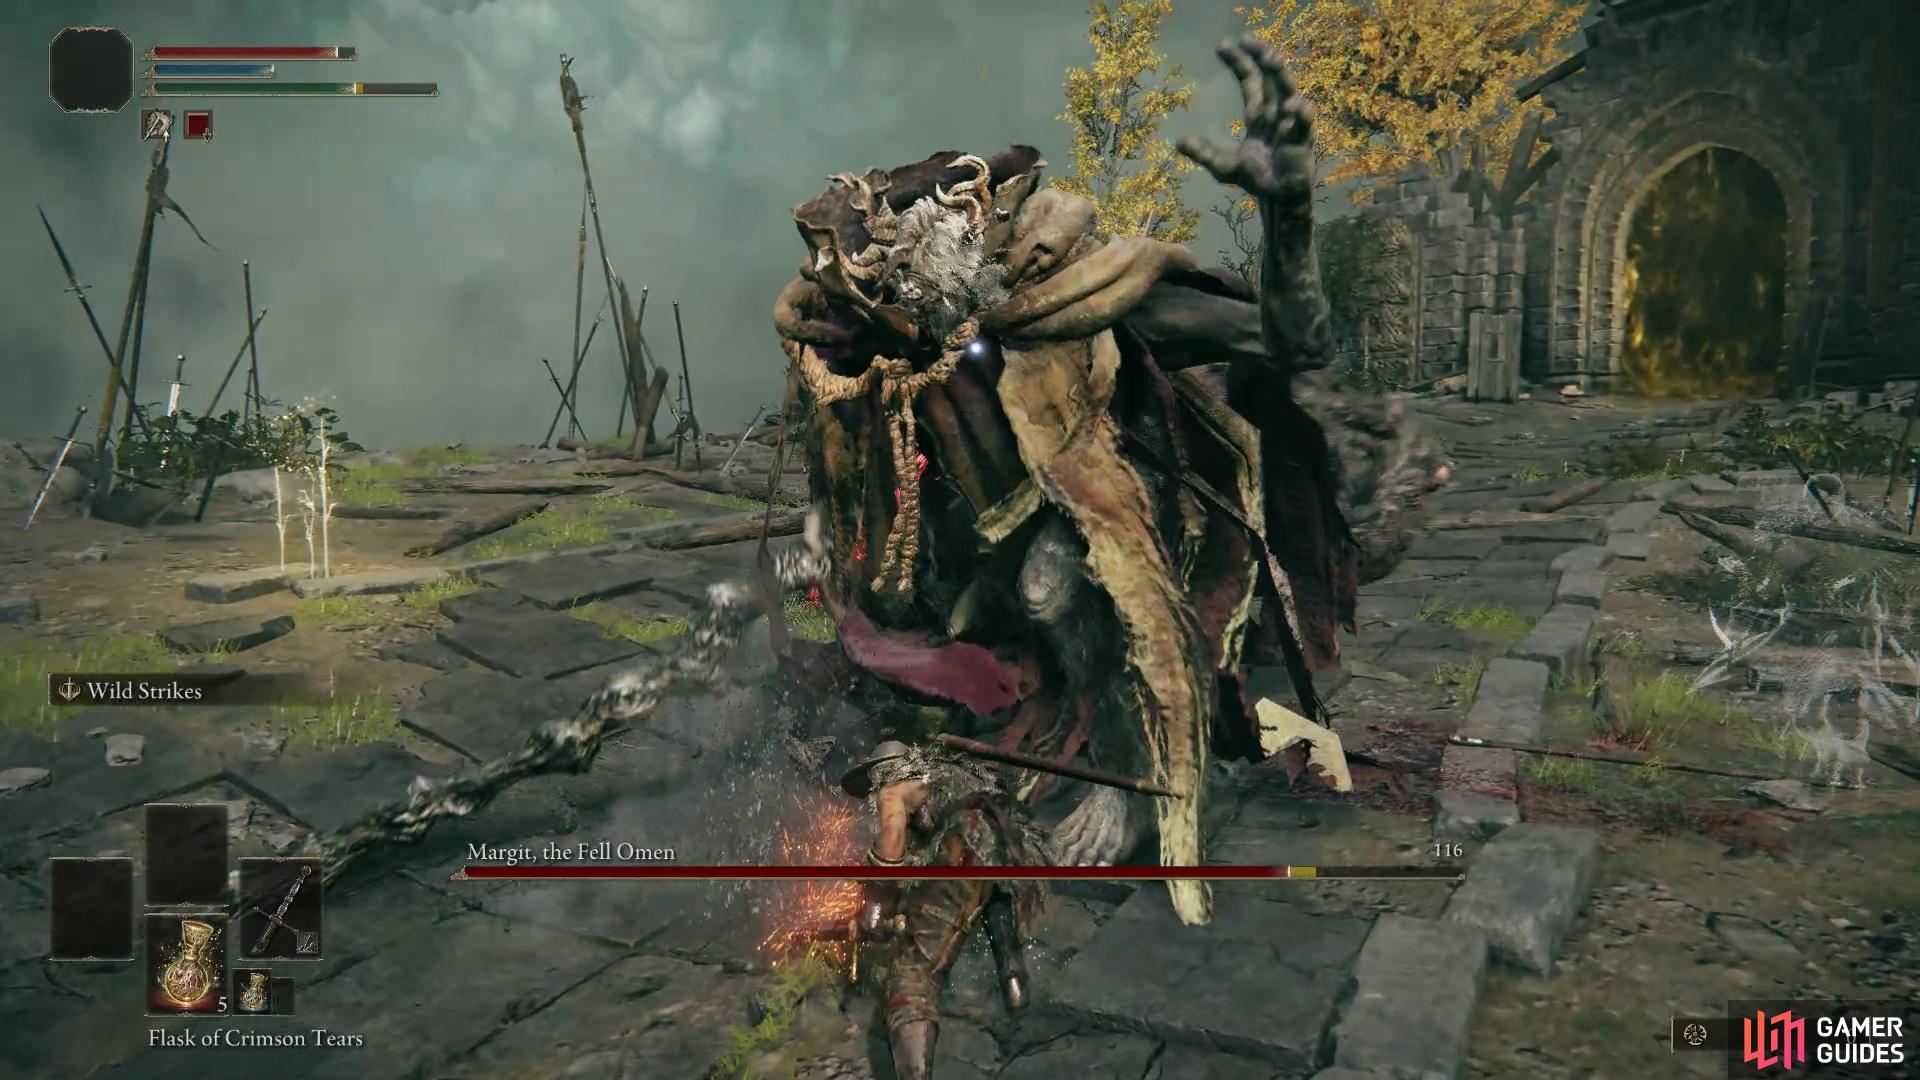
Conjured Hammer
After you’ve damaged him for around 60-70% of his health, he’ll begin conjuring a large yellow hammer. This thing is pretty brutal and along with it comes some more jumping plunge attacks and big swipes. Like the jumping staff move, you’ll want to steer well clear of the area of impact so as not to get stunned by the hammer’s blow. When he gets to the stage of conjuring the hammer, expect to have to dodge out of the way of a lot more jumping attacks.
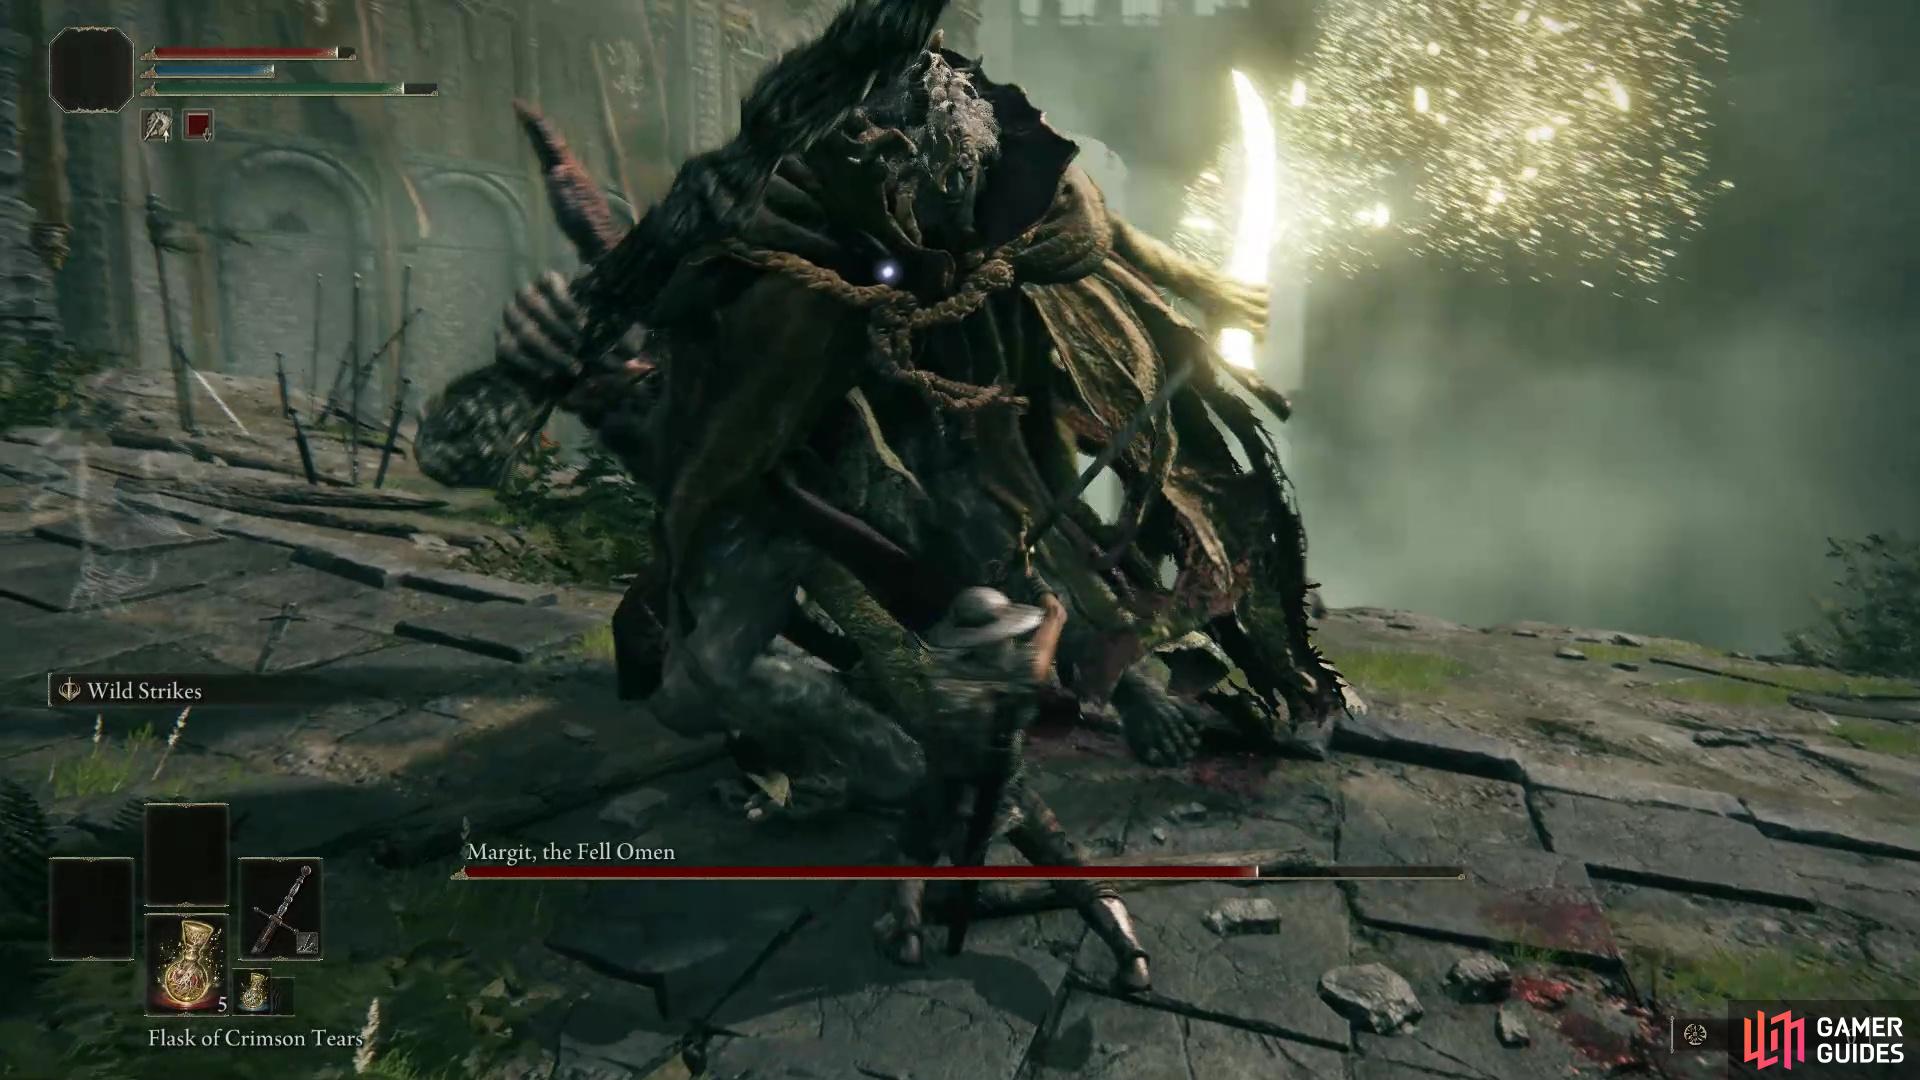
Conjured Sword
At the same time that he starts swinging around his conjured hammer, he’ll also occasionally (but not as frequently as the hammer) start conjuring a longsword. It’s reach is greater than the other blade he was conjuring meaning you’ll have to perform wider dodges and rolls to avoid being hit by it. It is essentially the same move as the conjured blade but harder to get out of the way of.
The conjured sword is a lot harder to dodge out of the way of!
Strategy to Defeat Margit
There are two phases to this battle, with the second phase being triggered at around 60-70% damage. This section of the guide will offer some tips on how to deal with each phase.
First Phase
During this first phase, he’ll perform big blows with his staff and use a conjured blade to either swipe at you when you’re in melee combat or throw them if you’re at a distance from him. The speed of his staff can range from being a relatively quick attack to a slow but incredibly powerful and incapacitating hit. The tell tale sign is how long he holds up or “charges” up the attack - the longer he takes to hit the more powerful it’ll be. In any case, you’ll want to be dodging all the attacks regardless, but knowing when it’ll land is crucial so you can perfectly time the roll.
During slower but heavier and more forceful attacks, he’ll give you a brief window where he’s recovering from his own move. This also happens during his plunging attacks. Providing you’ve dodged these powerful attacks, you’ll be able to get in a bunch of uncontested attacks whilst he recovers.
Whilst he’s recovering from slower and heavier attacks, get in some free hits!
The conjured weapon attacks are the most tricky part of this fight. Knowing when he’s going to conjure a melee blade or jump back and throw them at you is important since you’ll need to dodge them. The conjured weapon attacks are usually followed up by a staff smack, so if you’re hit by the blade you’re more likely to fail to dodge the staff too - leading to your likely demise! Just remember, if you’re a ranged character, be prepared to dodge incoming blade throws, and if you’re in close combat he’ll conjure the blade and swipe at you (he may also jump back to throw the blades at you).
Conjured blades can be thrown or used to smack you.
Taking healing or magic flasks during this fight can definitely be tricky, since he has a lot of moves that can quickly reduce distance between your character and him (this is especially true in the second phase). If you’re not fast enough in taking a flask, you’ll find yourself being swiped or jumped on, leading to a pointless heal. Your best bet is to heal in between heavier attacks or run as far as you can away to heal before he retaliates.
This also goes without saying, but don’t fight near the edge of the bridge! We were occasionally knocked off the edge by a tail swipe or incapacitating attack. It might seem like common sense, but if you’re not actively thinking about the edge of the bridge you might forget!
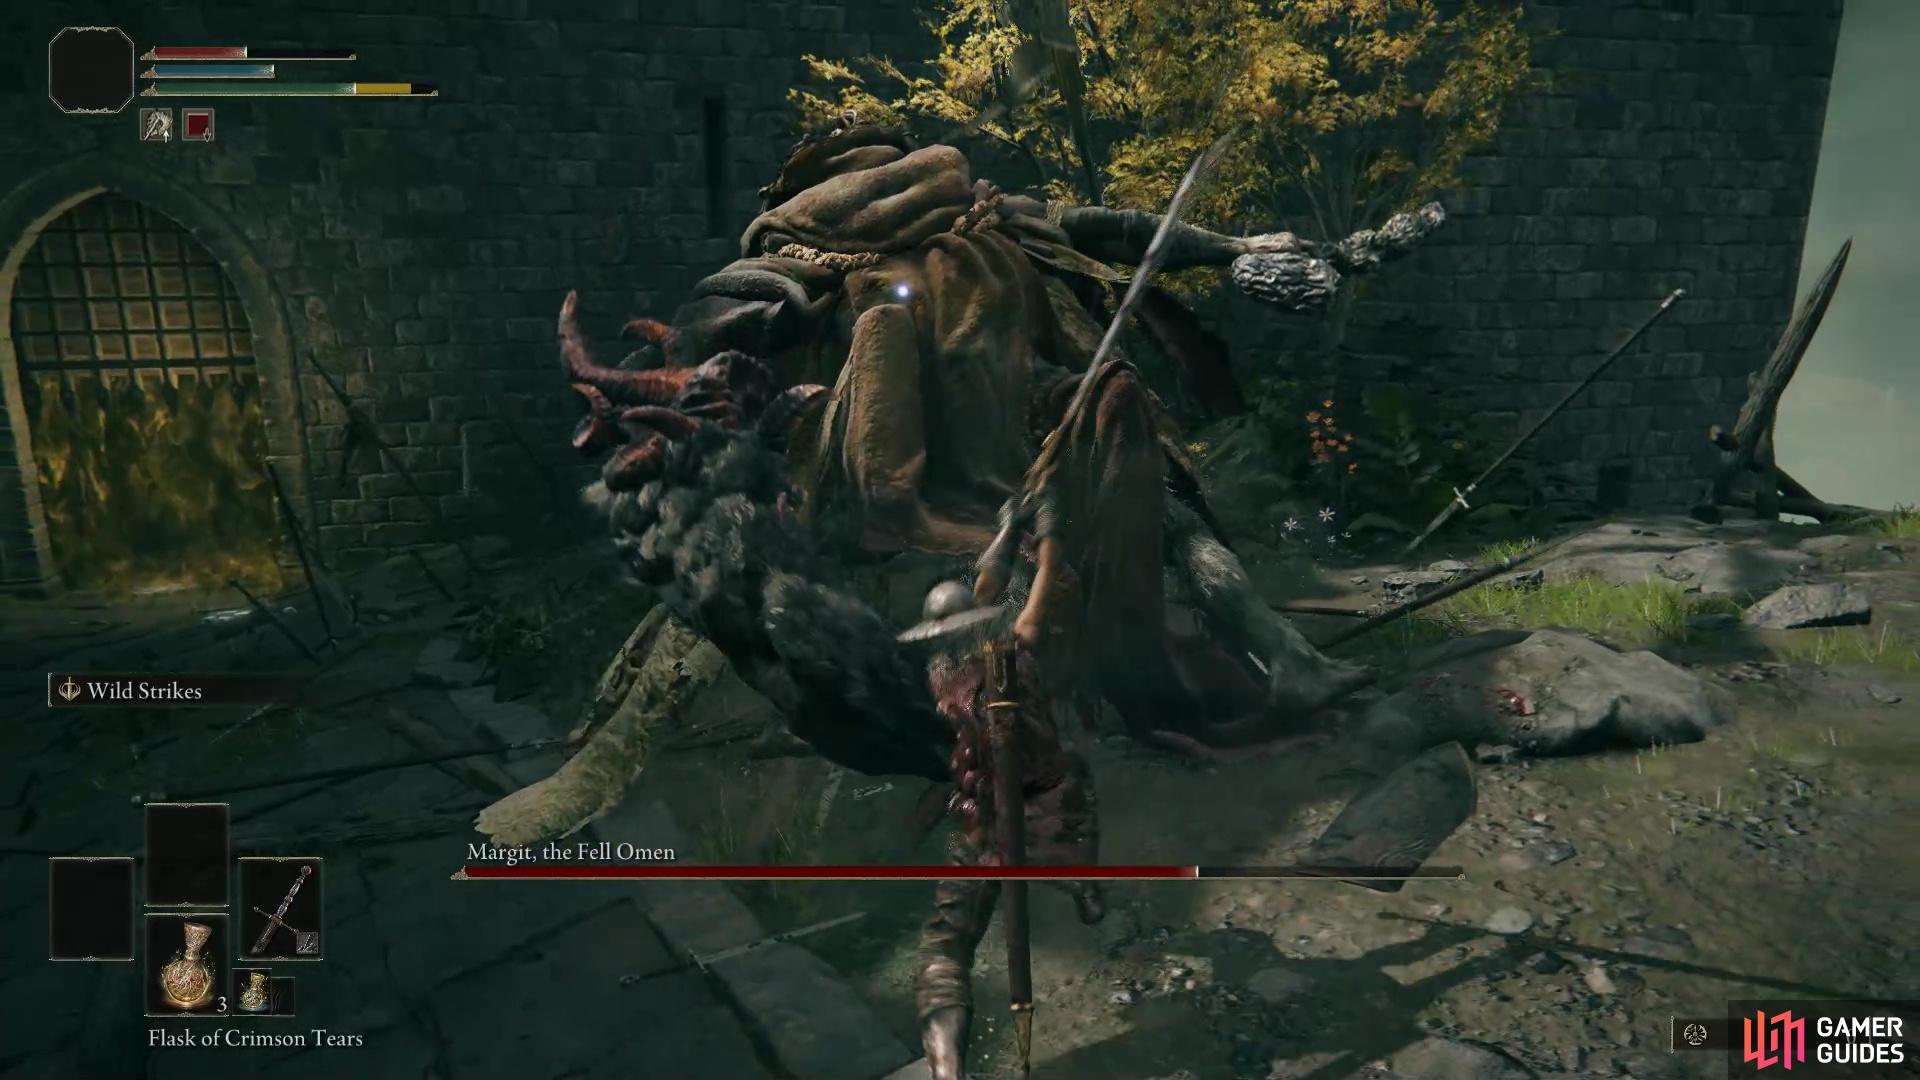
Second Phase
The second phase is where it gets extra tricky. During this phase, he’ll be able to conjure up a large hammer and a longsword. The large hammer and longsword increase his reach making dodging the conjured weapons a lot harder to dodge. If you’re a melee character, this means you’ll want to increase the distance between yourself and Margit somewhat so you’re able to dodge his attacks more effectively.
During the second phase you’ll also encounter more plunging attacks, especially with the hammer. Margit’s recovery time on the hammer plunge is shorter than the staff plunge but it still allows you to get in some free attacks. Essentially, during the first phase Margit’s health can be dwindled pretty quickly, but during the second, you’ll want to take it a lot slower - with the majority of your damage coming from hitting him during his brief recovery periods.
Margit will frequently jump and smash with the hammer

and the longsword will increase his reach.
You’ll still want to watch out for the occasional blade throw, but for the most part he’ll be continuously wanting to jump at you to reduce the space between the both of you. This phase will be pretty tricky for ranged characters as you’ll be finding yourself far too close for comfort a lot of the time!
Margit Reward
Once you’ve defeated Margit, you’ll unlock access to the rest of Stormveil Castle and also unlock a new Talisman Pouch - as well as earn yourself 9,000 runes.
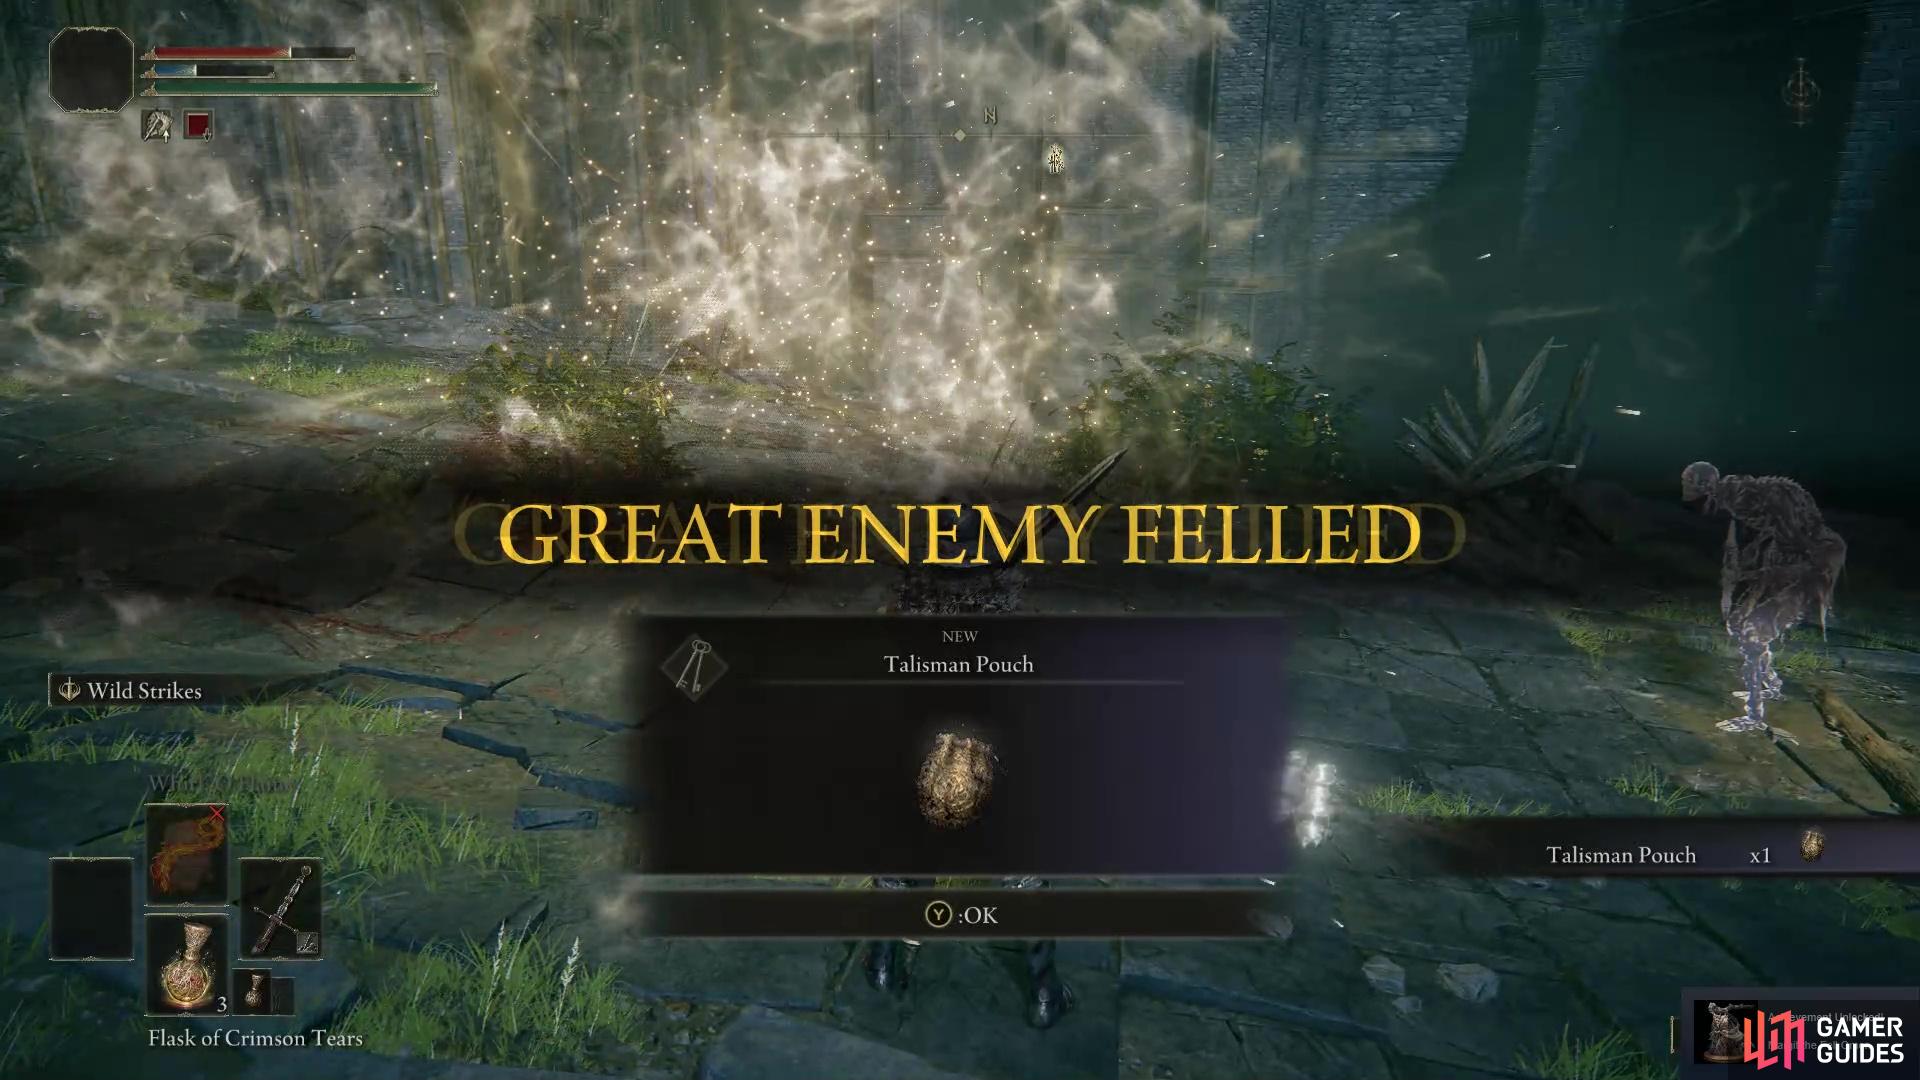
Margit drops a Talisman Pouch.
No Comments