
This page details where to find and how to defeat the Beastman of Farum Azula in Limgrave. Includes an overview of attacks and strategy to defeat the boss.
| Runes | Drops |
|---|---|
 1000 1000 |
Flamedrake Talisman |
Beastman of Farum Azula Location in Limgrave?
You’ll find the Beastman of Farum Azula at the Groveside Cave, north of the Church of Elleh in Western Limgrave. There are a number of wolves in this cave including a pack leader, so you’ll need to be careful as you move through it, taking your time to kill them individually where possible. The boss is through the right passage at the bottom of the cave, waiting in a cavern which opens up with light.
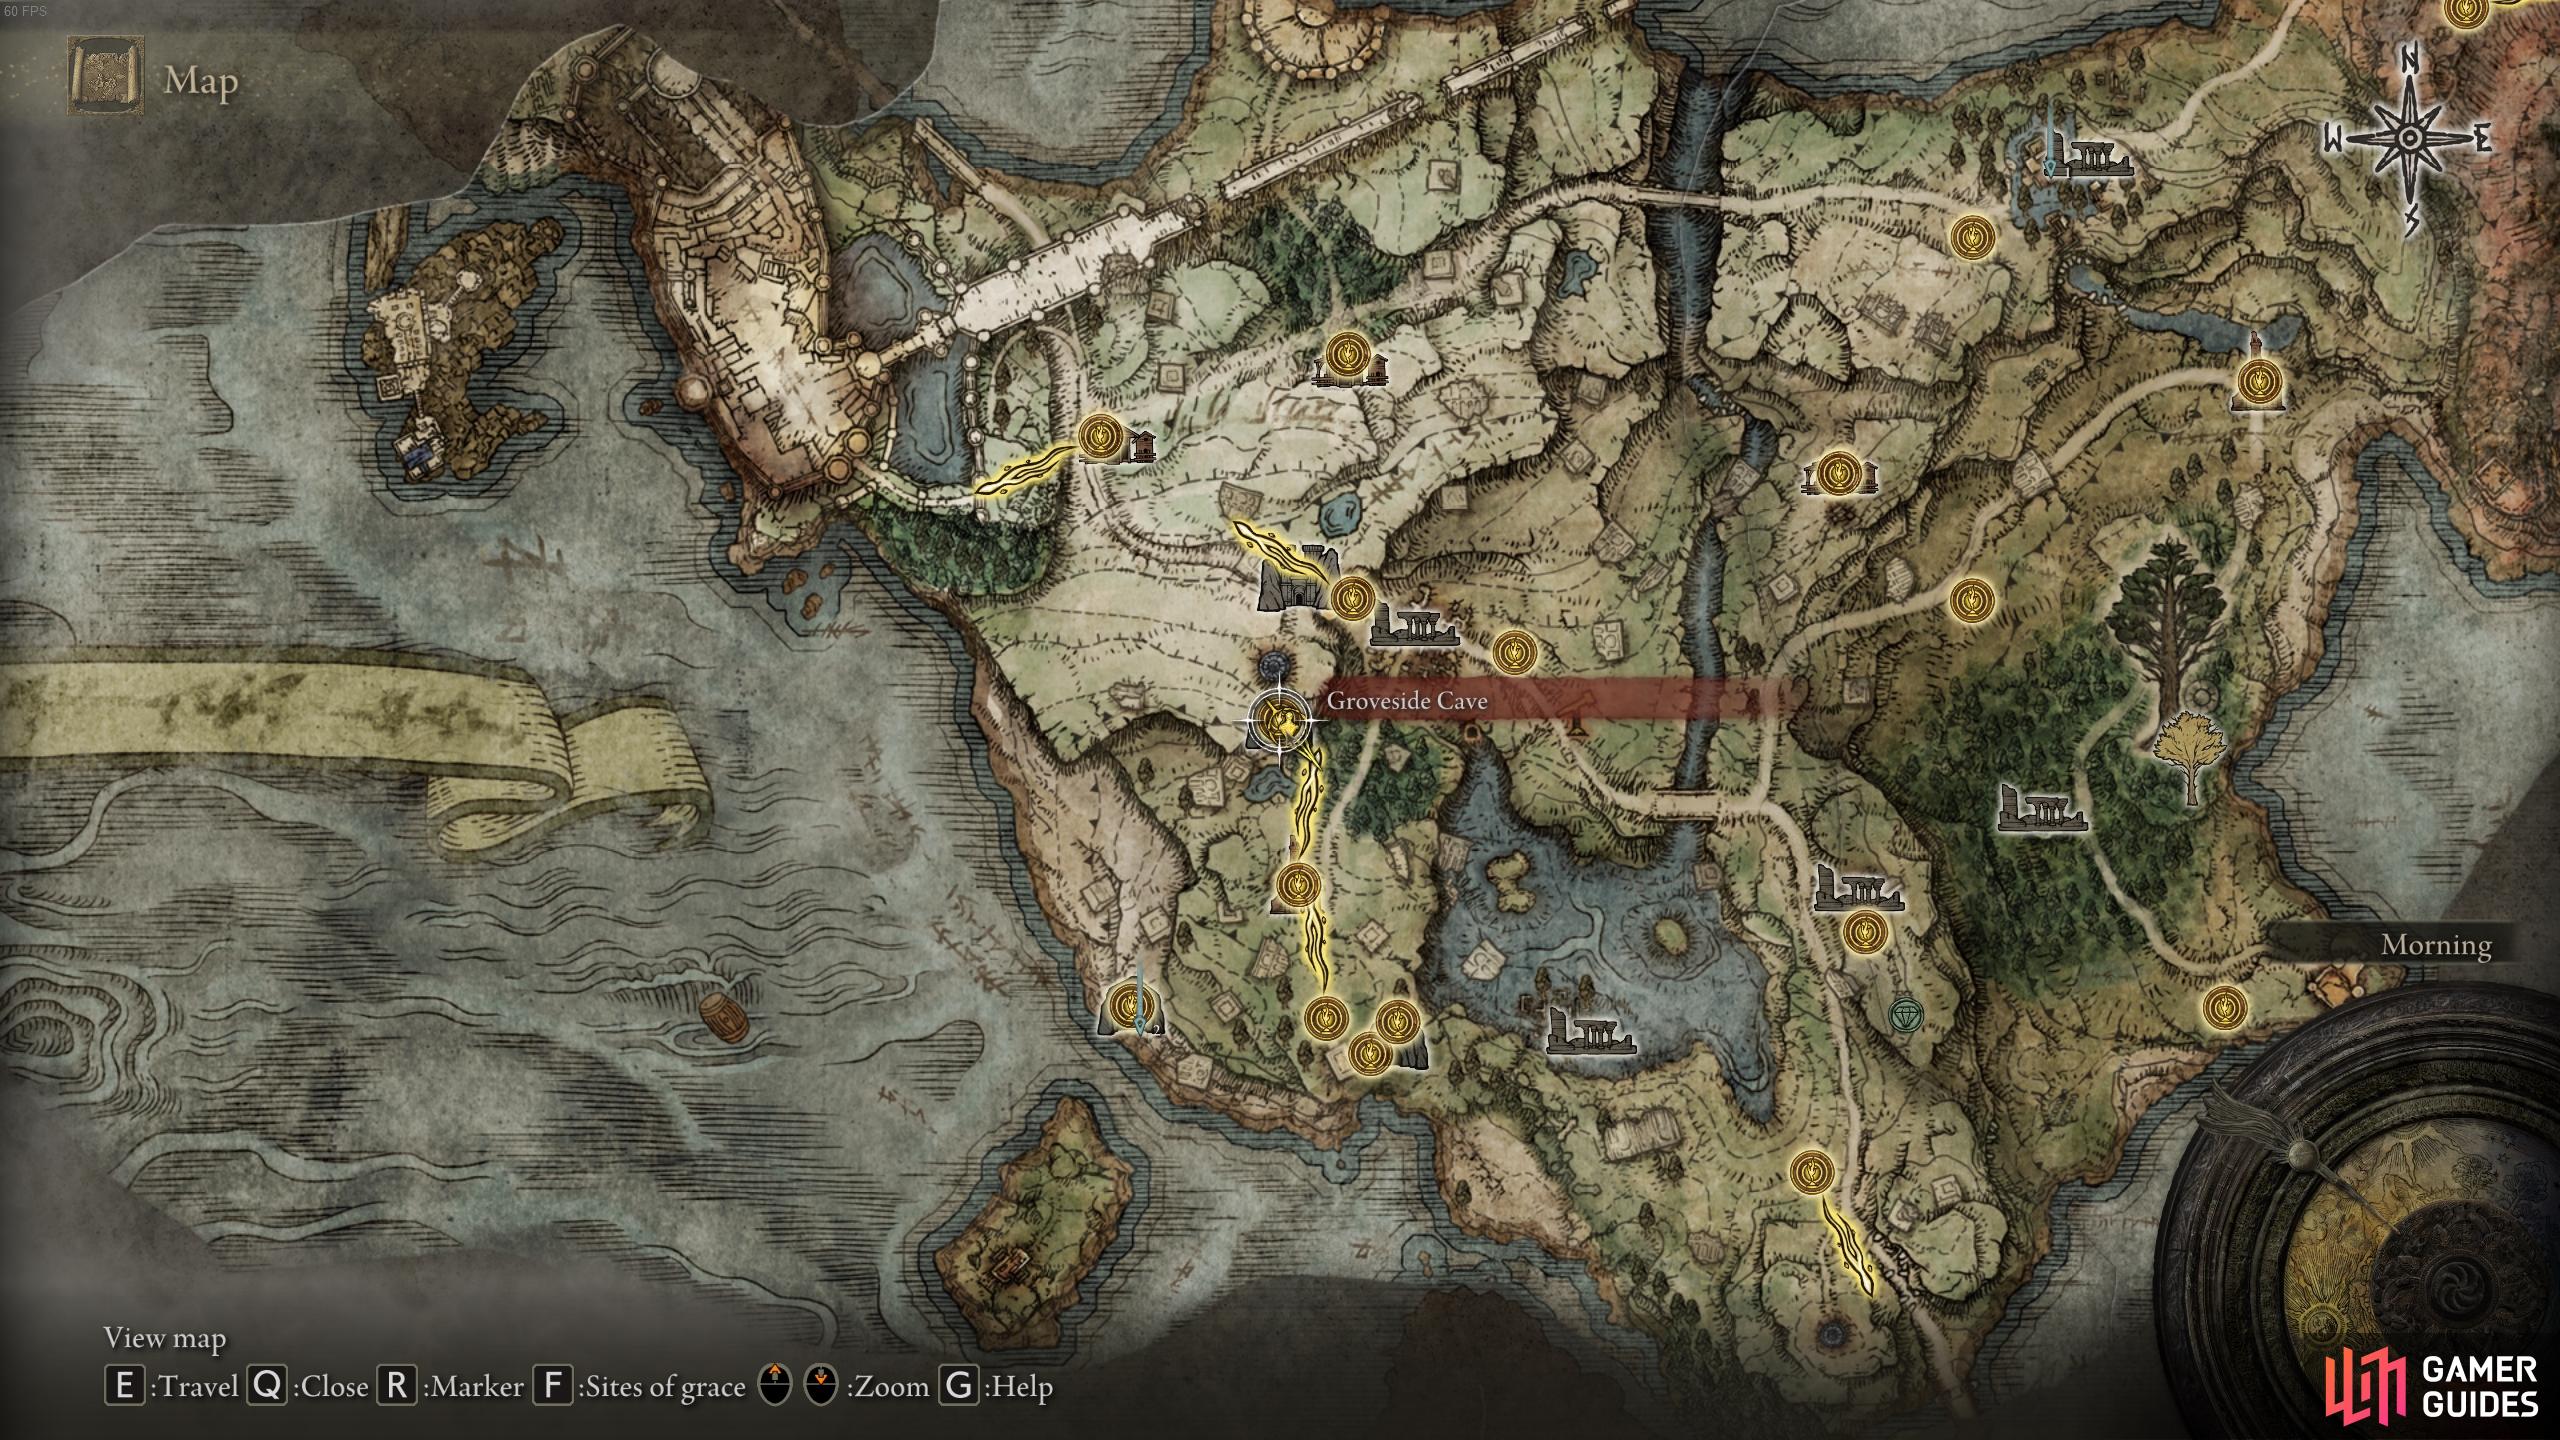
The location of Beastman of Farum Azula at Groveside Cave, north of the Church of Elleh.
Attacks
Thrust & Slash
This is a basic combo that the boss will use fairly frequently. It consists of him first thrusting with his weapon, then following it up with a quick slash, as seen in the gif below. Note that the boss will sometimes execute a thrust attack which isn’t followed by a slash.
Double Slash, Overhead Strike & Finisher Slash
This is a prolonged attack which can easily catch you off guard, since the boss uses four attacks one after the other. He’ll start by slashing to the left and right, followed by an overhead strike, before finishing it off with another slash.
Stab, Swipe, Roar
This is a three-part attack which the boss will use mostly in close combat. It starts with a quick stab, followed by a swipe of his weapon, and it’ll end in a roar which can inflict minor damage and significantly deplete your stamina if you’re in range. It’s important to step back from this roar as a result, even if you’re using a shield.
Leap Attack
This attack is easy to spot as the boss raises his weapon above his head, before leaping towards you to perform a slam attack. You should be able to move out of the way of this easily enough, even without needing to dodge.
Spinning Slash & Slam
This attack consists of the Beastman slashing twice either side of him before performing a spinning slash attack, followed by a slam attack on the ground. This one can be particularly deadly if you’re caught in it, so be ready to dodge / roll away. If you’re using a shield, this attack will likely deplete most of your stamina.
Strategy
This is one of the first bosses that you’re likely to encounter in the game, so it’s a good learning experience for basic mechanics. The Beastman has quite a few varied attack combos, making him sometimes difficult to predict. However, if you’re a melee user with a shield you’re in luck, since almost all of these attacks can be blocked with a shield. This allows you to face them head-on, retaliating with your own attacks between each flurry from the boss. However, you’ll need to keep an eye on your stamina bar to ensure that it isn’t entirely depleted.
Using a shield is one of the easiest ways to defeat this boss, but it can also be done with relative ease if you’re using a two-handed melee weapon. You’ll just need to replace the blocks with dodges and rolls. The key is knowing when to time the dodges so that you don’t waste too much stamina in the process. If you’re familiar with the attack patterns, you’ll begin to learn when you can sneak in a few flurries of attacks before you need to get moving again. Pay attention to the animations and don’t underestimate the amount of attacks that the Beastman can use at once. The last thing you want to do is stop too soon and get caught in the flurry of spinning attacks.

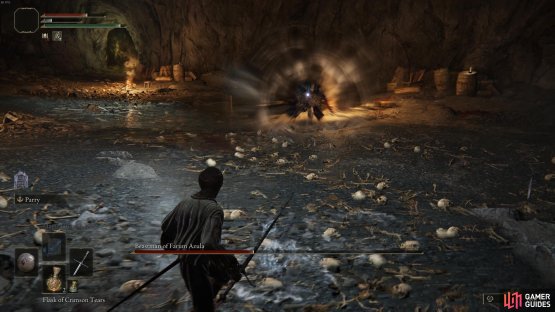

(1 of 2) You’ll need to keep your distance when the boss roars to maintain your stamina.
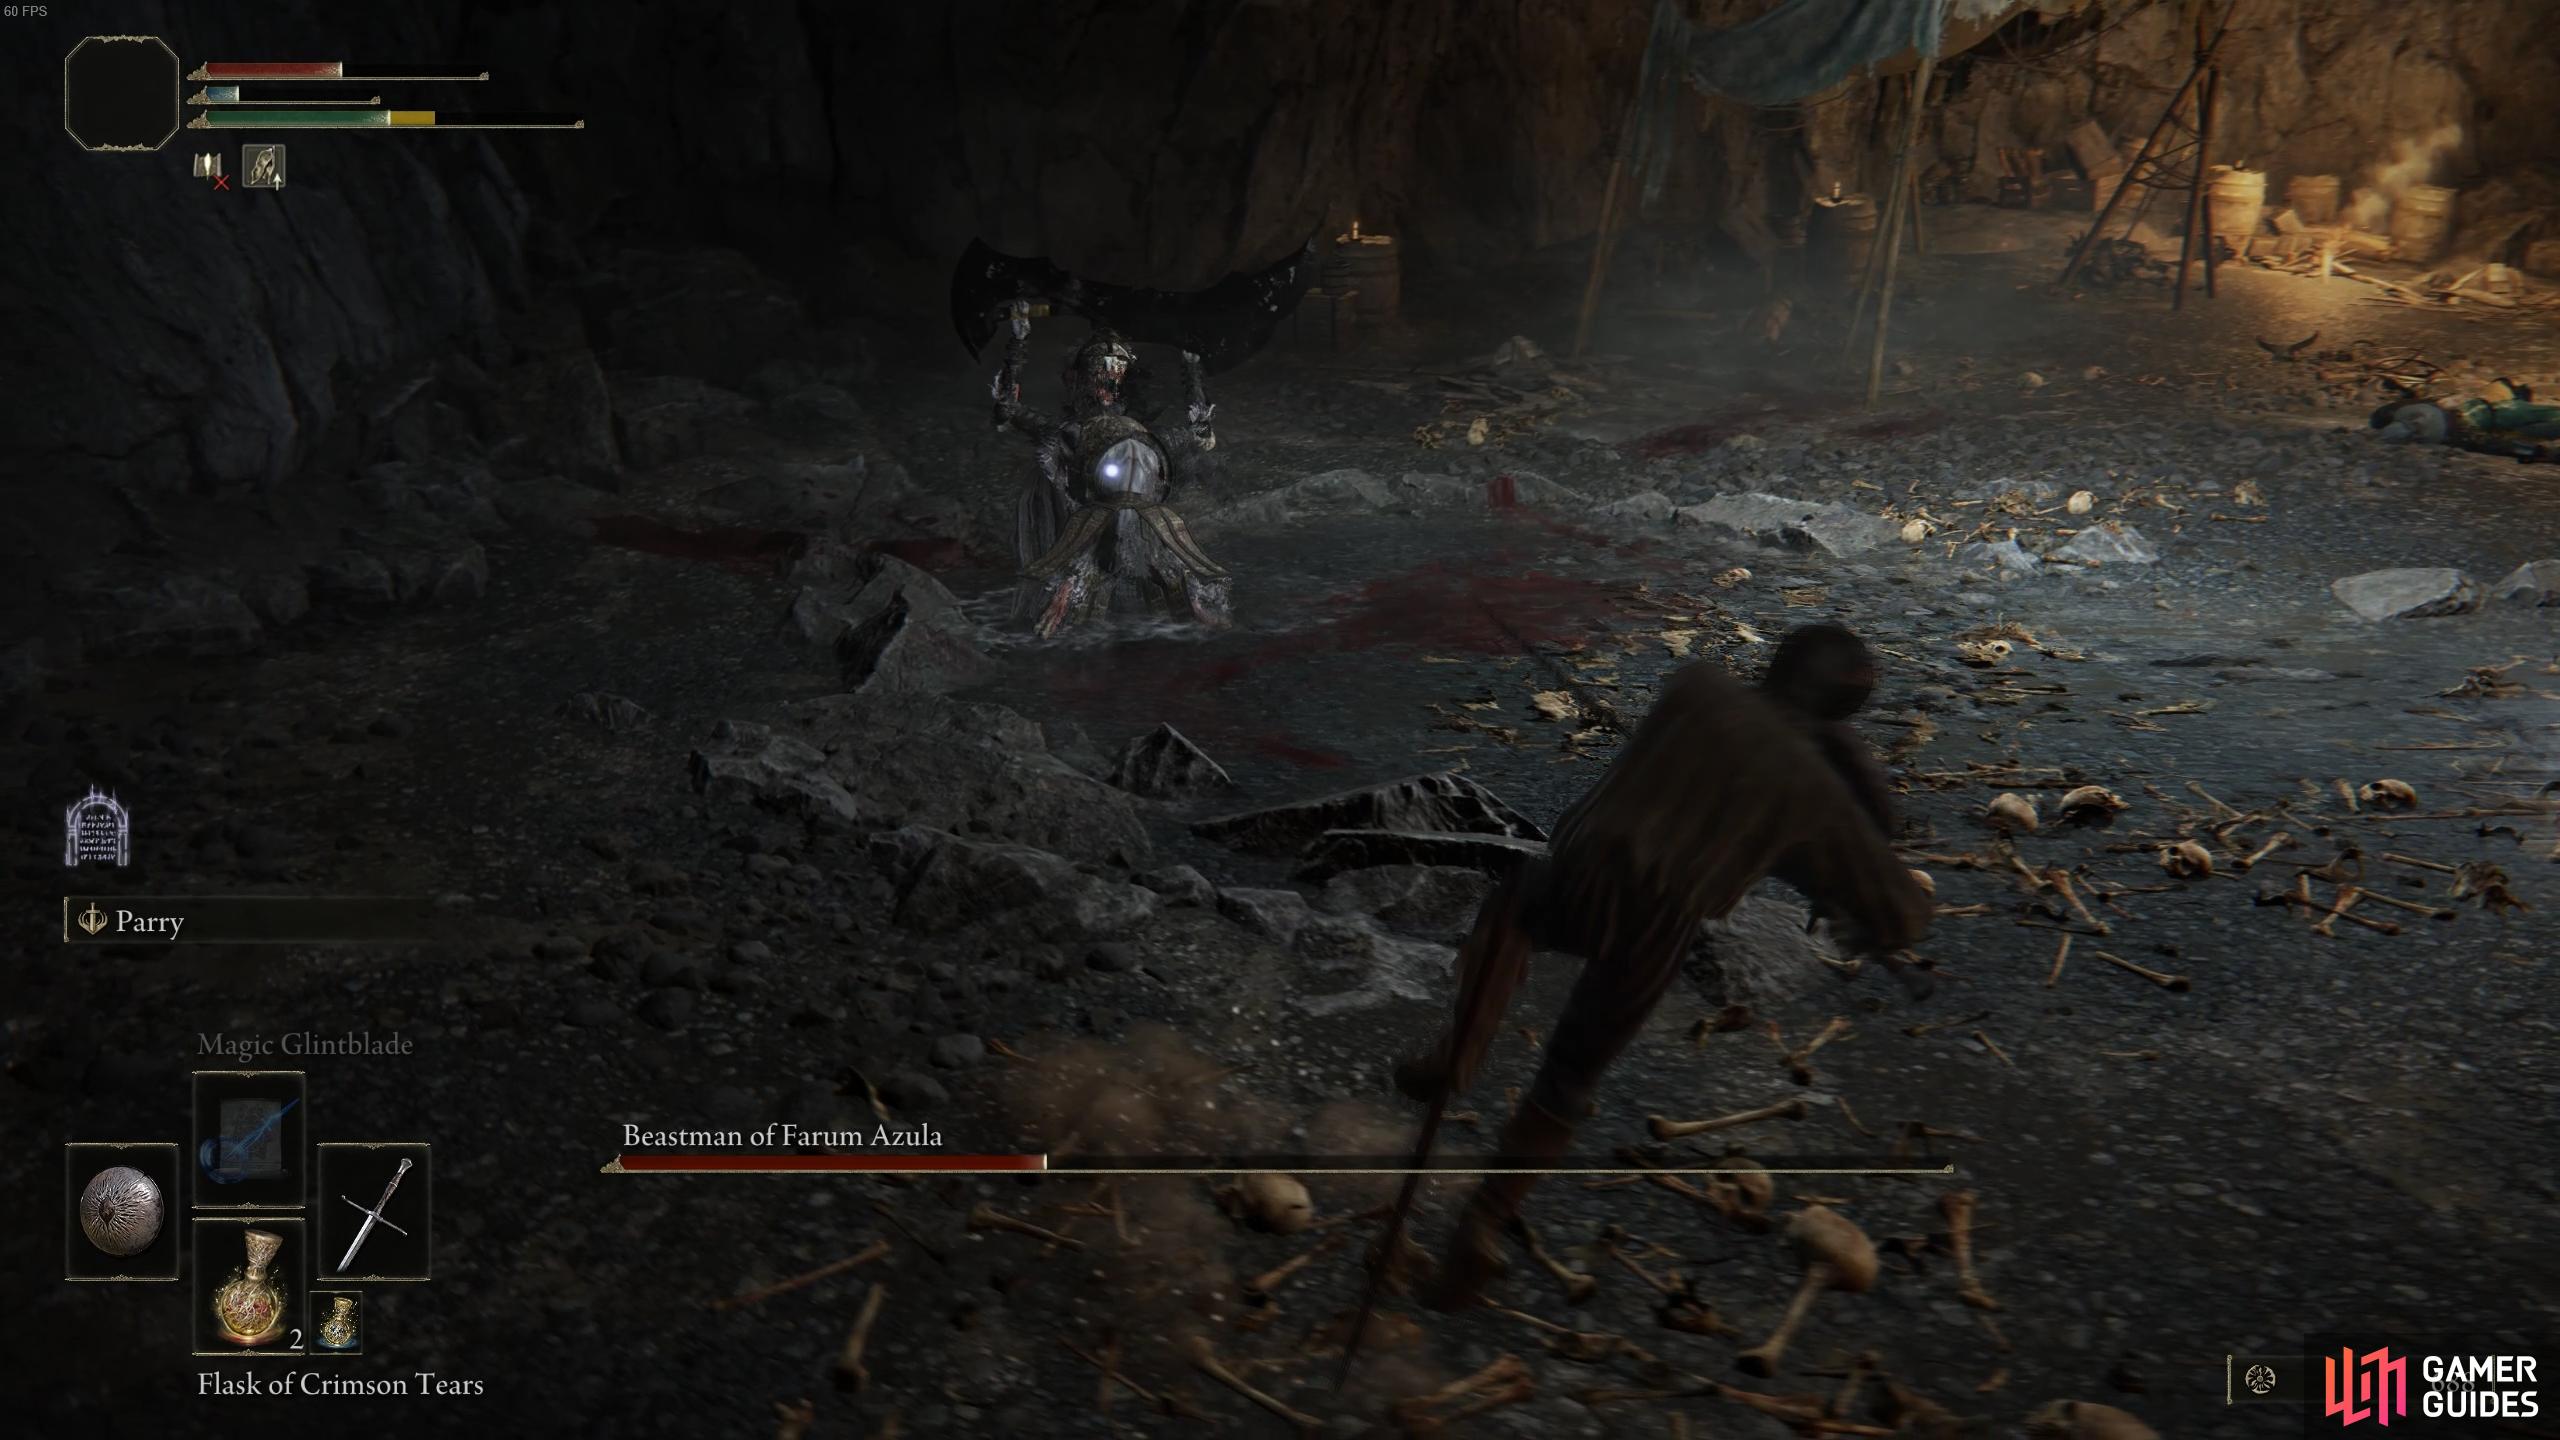
You’ll need to keep your distance when the boss roars to maintain your stamina. (left), Look out for when the Beastman raises his weapon, indicating an incoming leap attack. (right)
If you’re a magic user, or if you’re using a combination of melee and magic, you can approach the fight with the above method in mind, or you can choose to kite the boss around the cavern instead. You should be able to avoid most of his attacks just by running and sprinting as you stop briefly to cast spells, ideally after the Beastman has finished with one of his attack combos. You’ll need to ensure that you have a few flasks of focus points to replenish your FP in this case, however. Any ranged spell which inflicts reasonable damage will do the trick here, but remember to lock on to the target to ensure that the spells hit while you’re kiting the boss. The last thing you want is to waste precious FP (Focus Points) by casting spells that won’t land a hit.
No Comments