
This page will guide you through the optional sub-area Subterranean Shunning-Grounds located inside the Leyndell Legacy Dungeon including on how to find it, and what to do once you’re in there.
First things first, Subterranean Shunning-Grounds is an optional area that doesn’t need to be completed to progress with the game. Saying that, you’ll need to come down here if you have any plans on completing Dung Eaters quest line. On top of that, you can fight the optional boss Mohg, the Omen. Access a hidden dungeon called Leyndell Catacombs, and the chance to gain some useful items like the Erdtree’s Favor +1, and the Omen’s Bairn. Furthermore, you can gain access to a secret area that leads to one of the game’s endings.
How to Get to the Subterranean Shunning-Grounds in Leyndell, Royal Capital
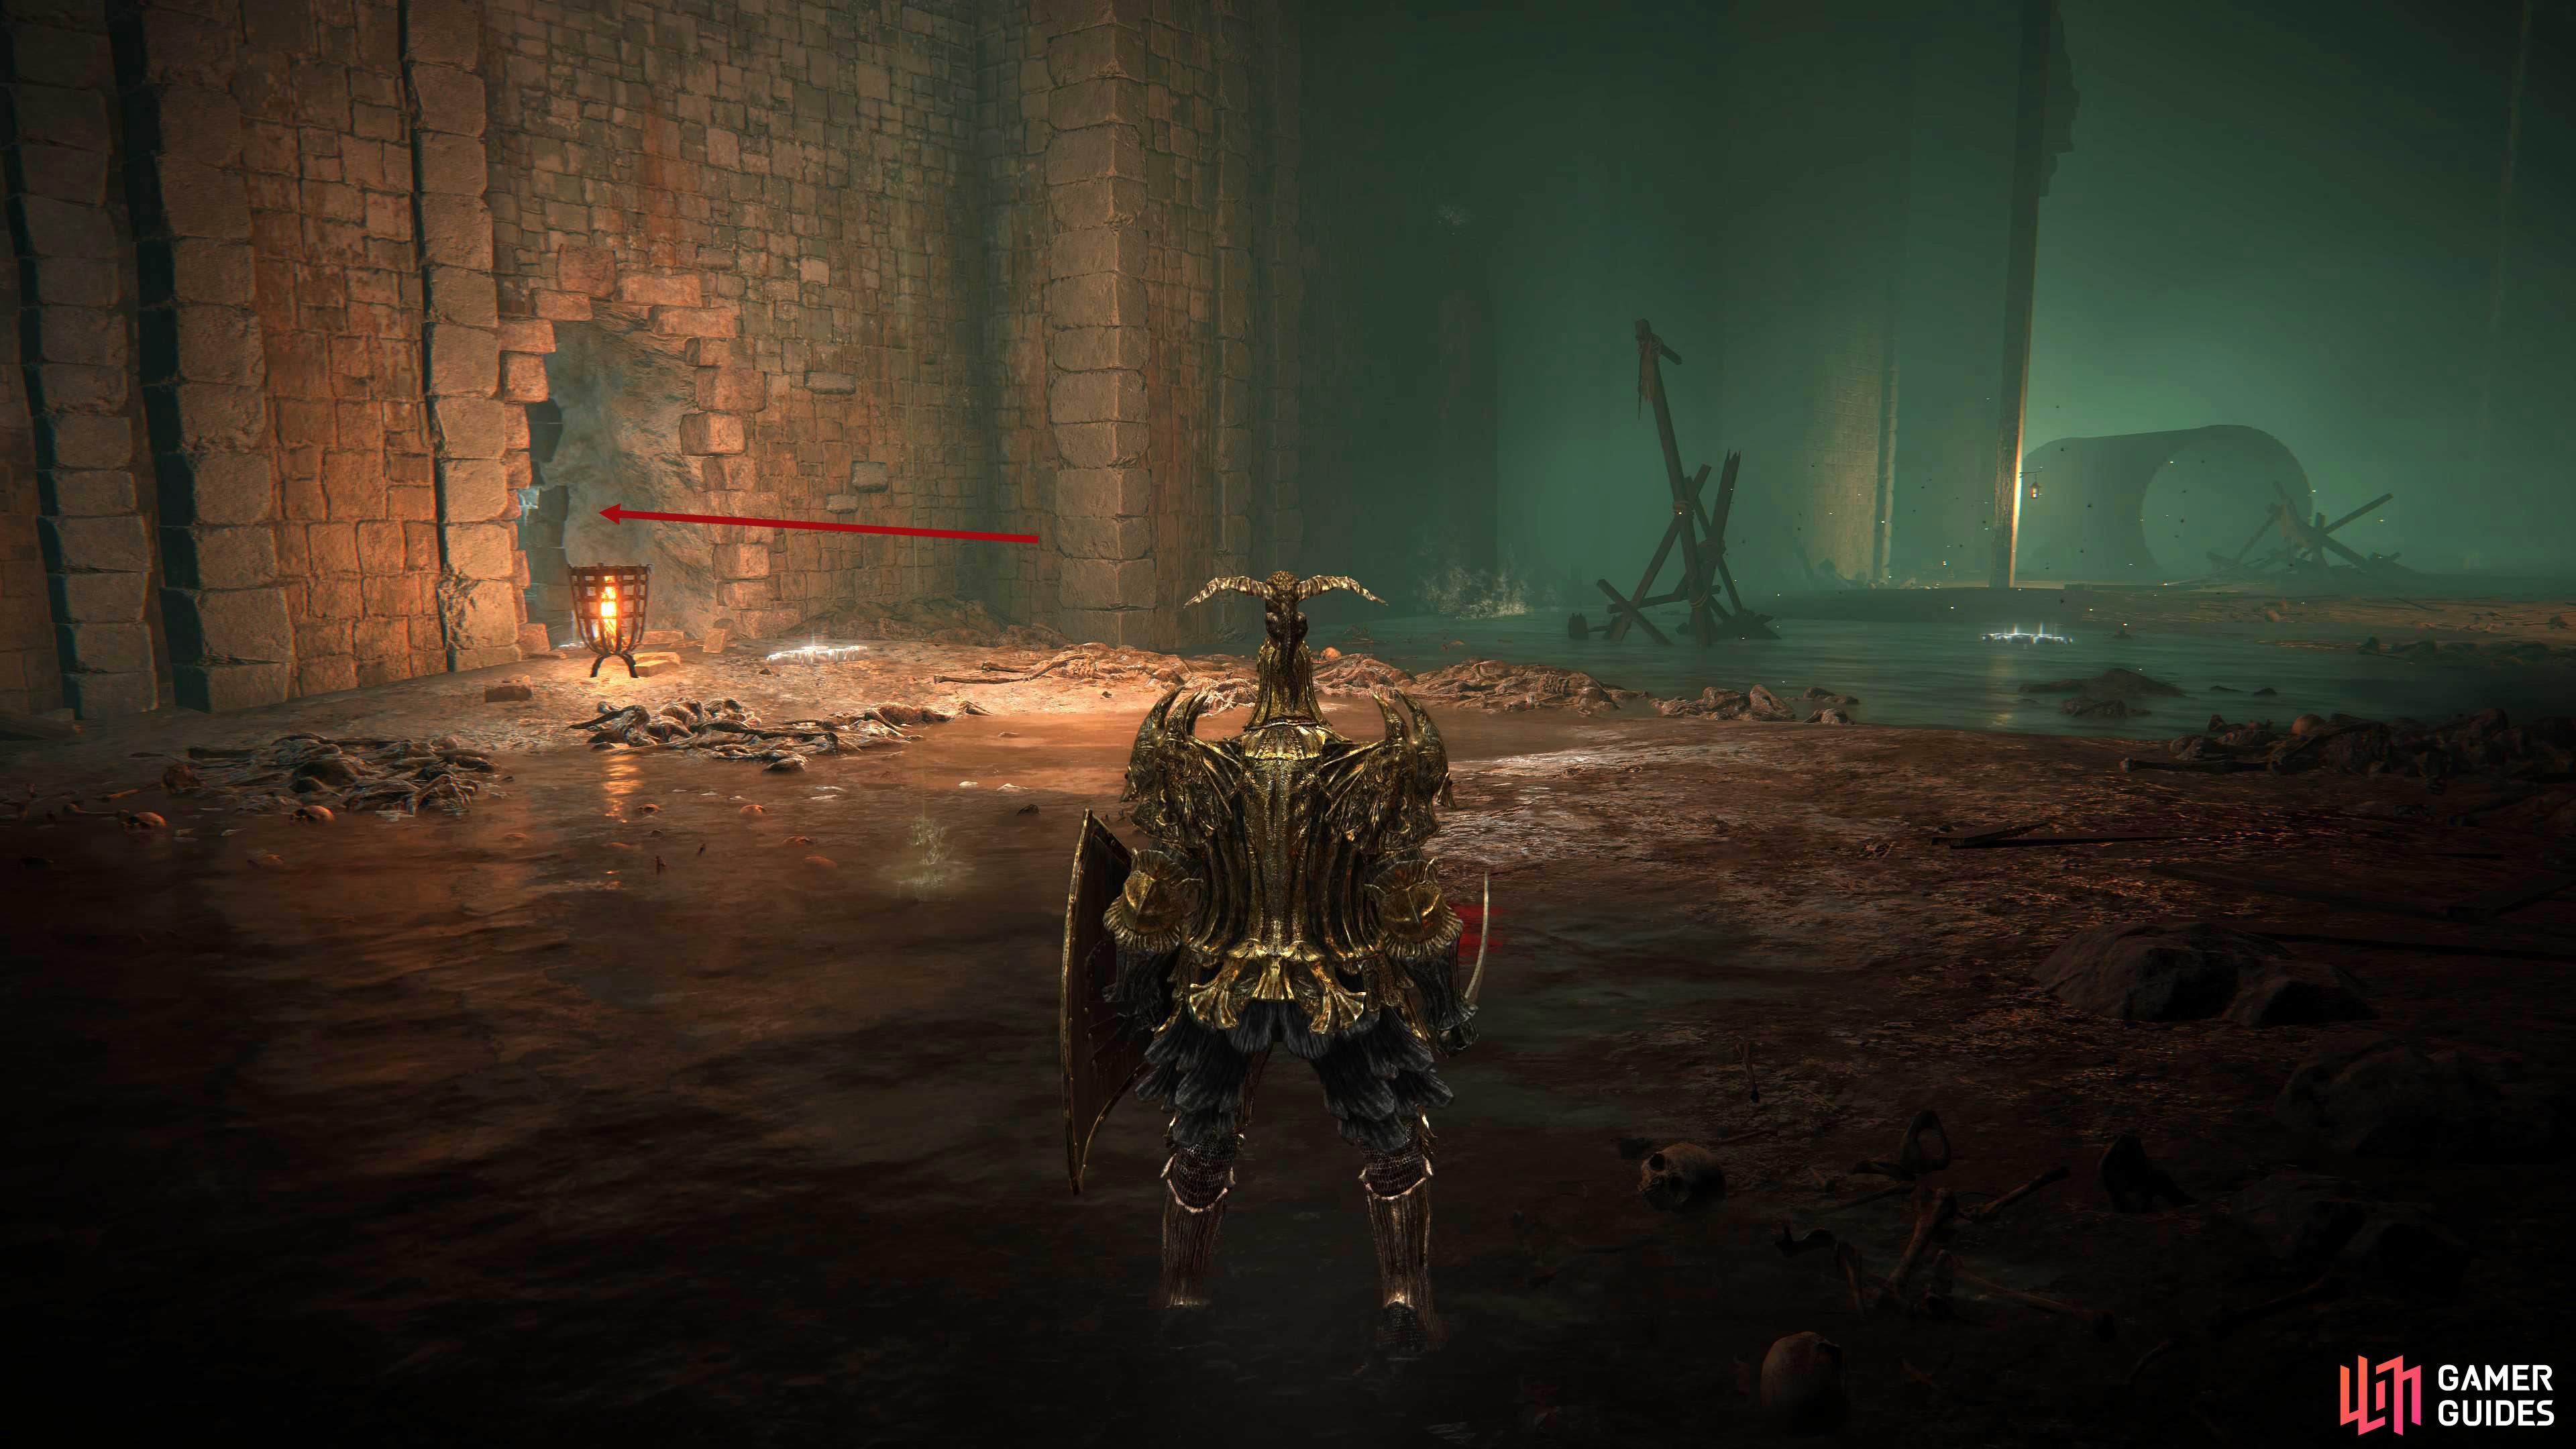
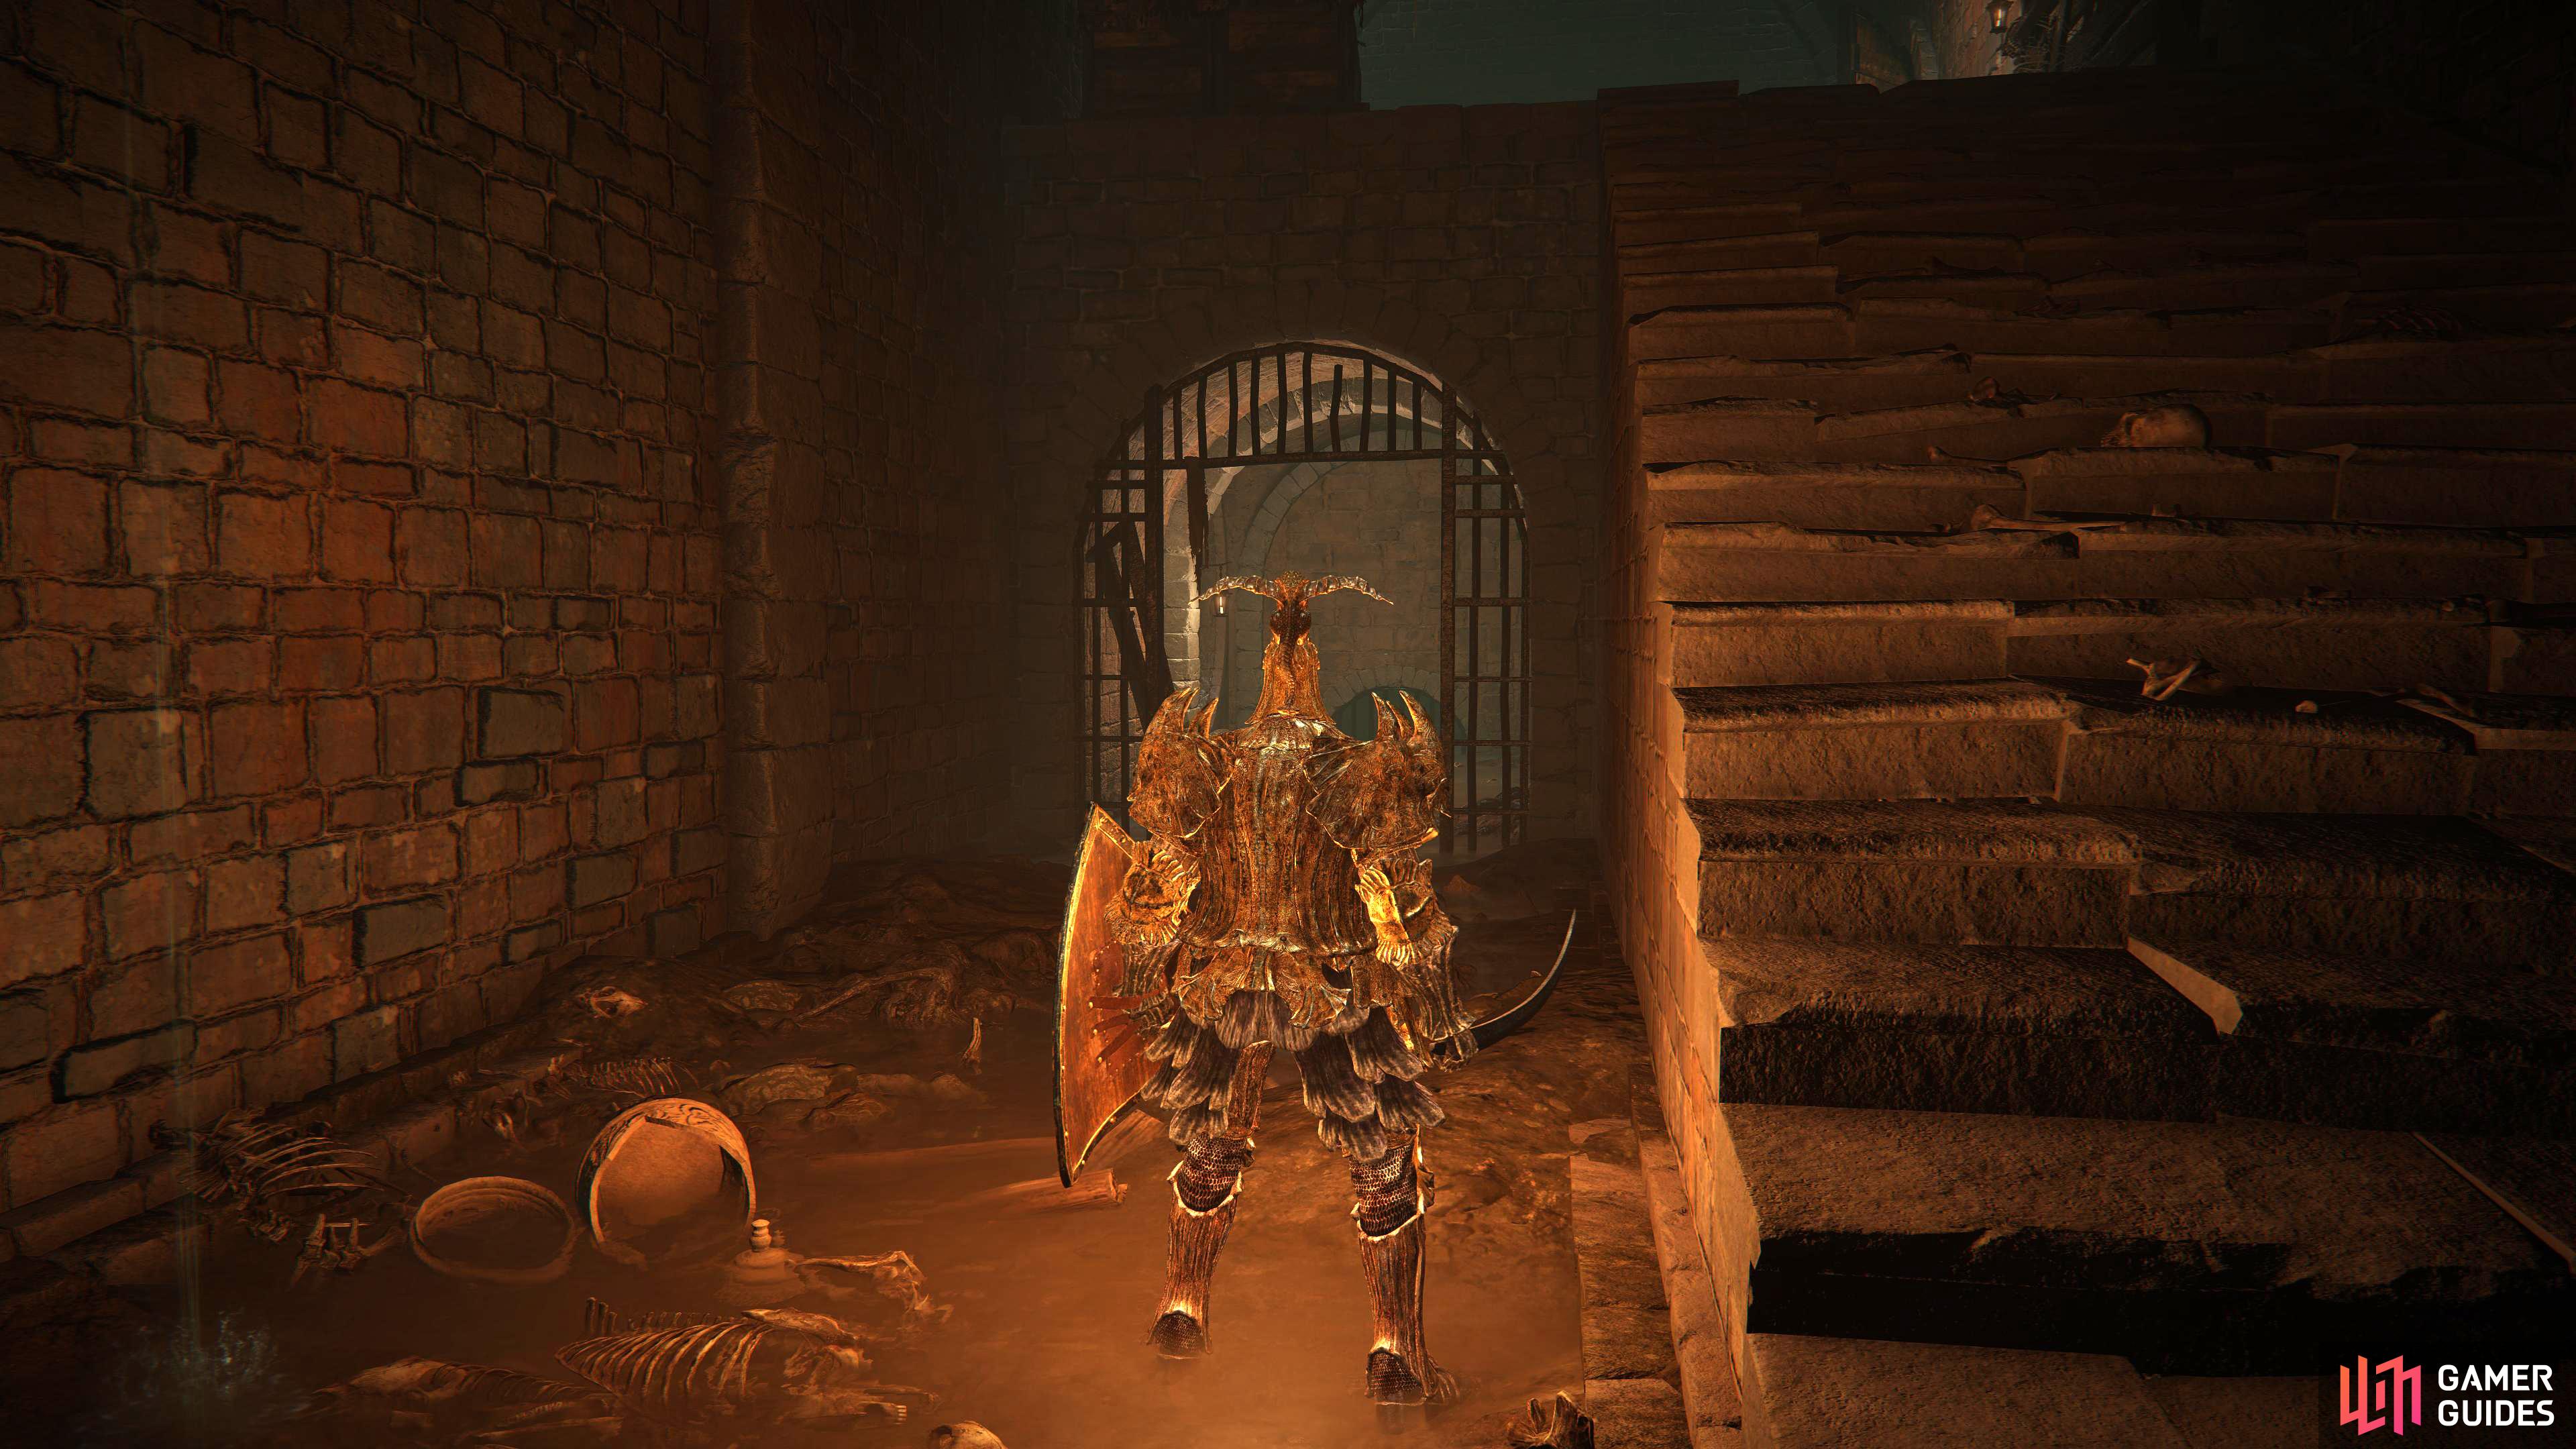
The Subterranean Shunning-Grounds can be accessed from the Avenue Balcony site of grace, and heading down the northwestern stairs in front of it. Go through the door into the open area, and head west to hug the railing until you can see roofs to jump onto on your left.
Jump down to them, and drop off to the right and turn around on yourself and north where you’ll see a well behind a dilapidated wall. Take the ladder down into the well and pickup the Rune Arc from the corpse at the end of the corridor, then head back and open the gate. With the gate open, head into the next area and take the next ladder down and follow the damp corridors northeast until you see the text pop-up for the Subterranean Shunning-Grounds.
Underground Roadside Site of Grace Location
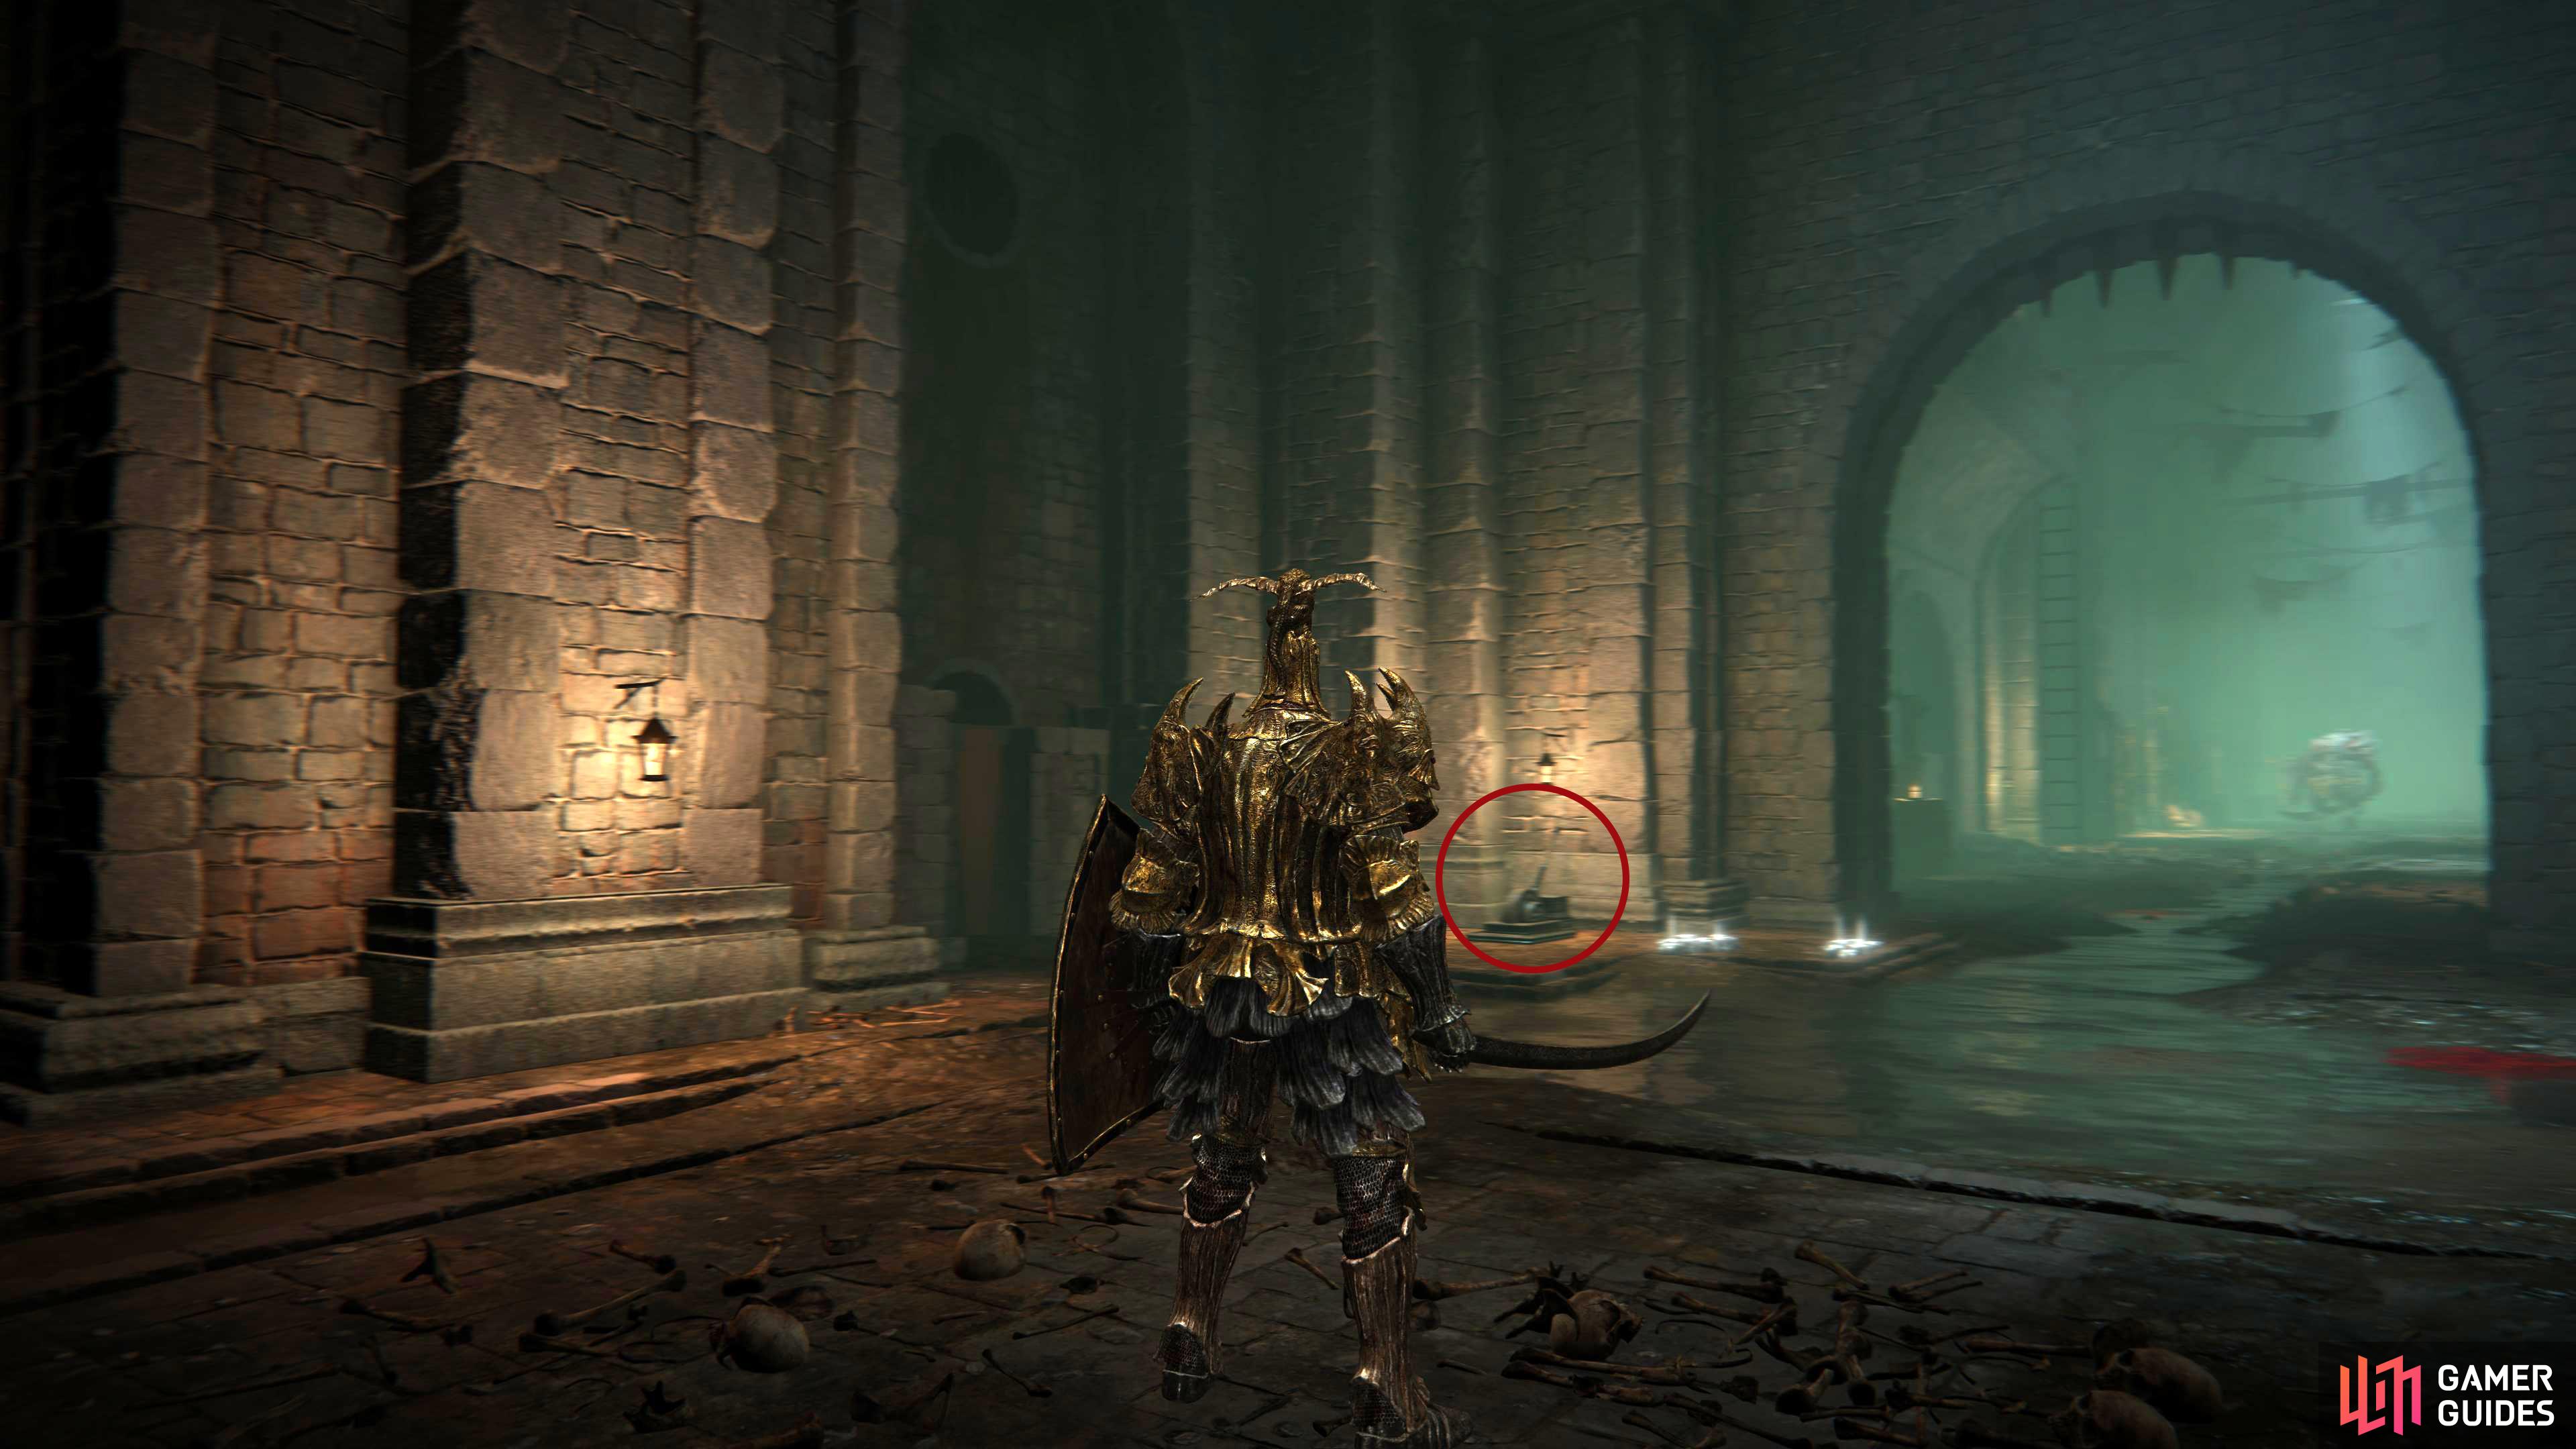
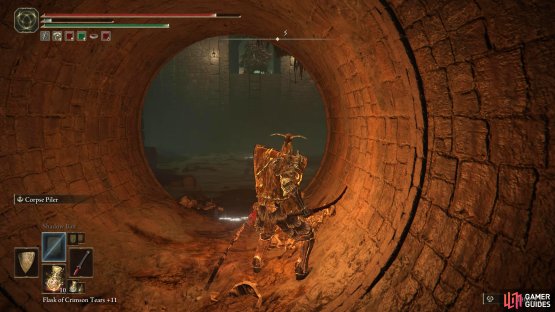
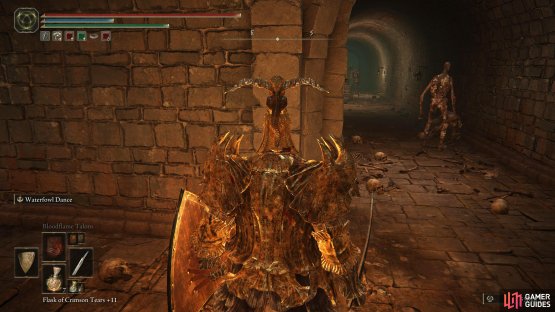
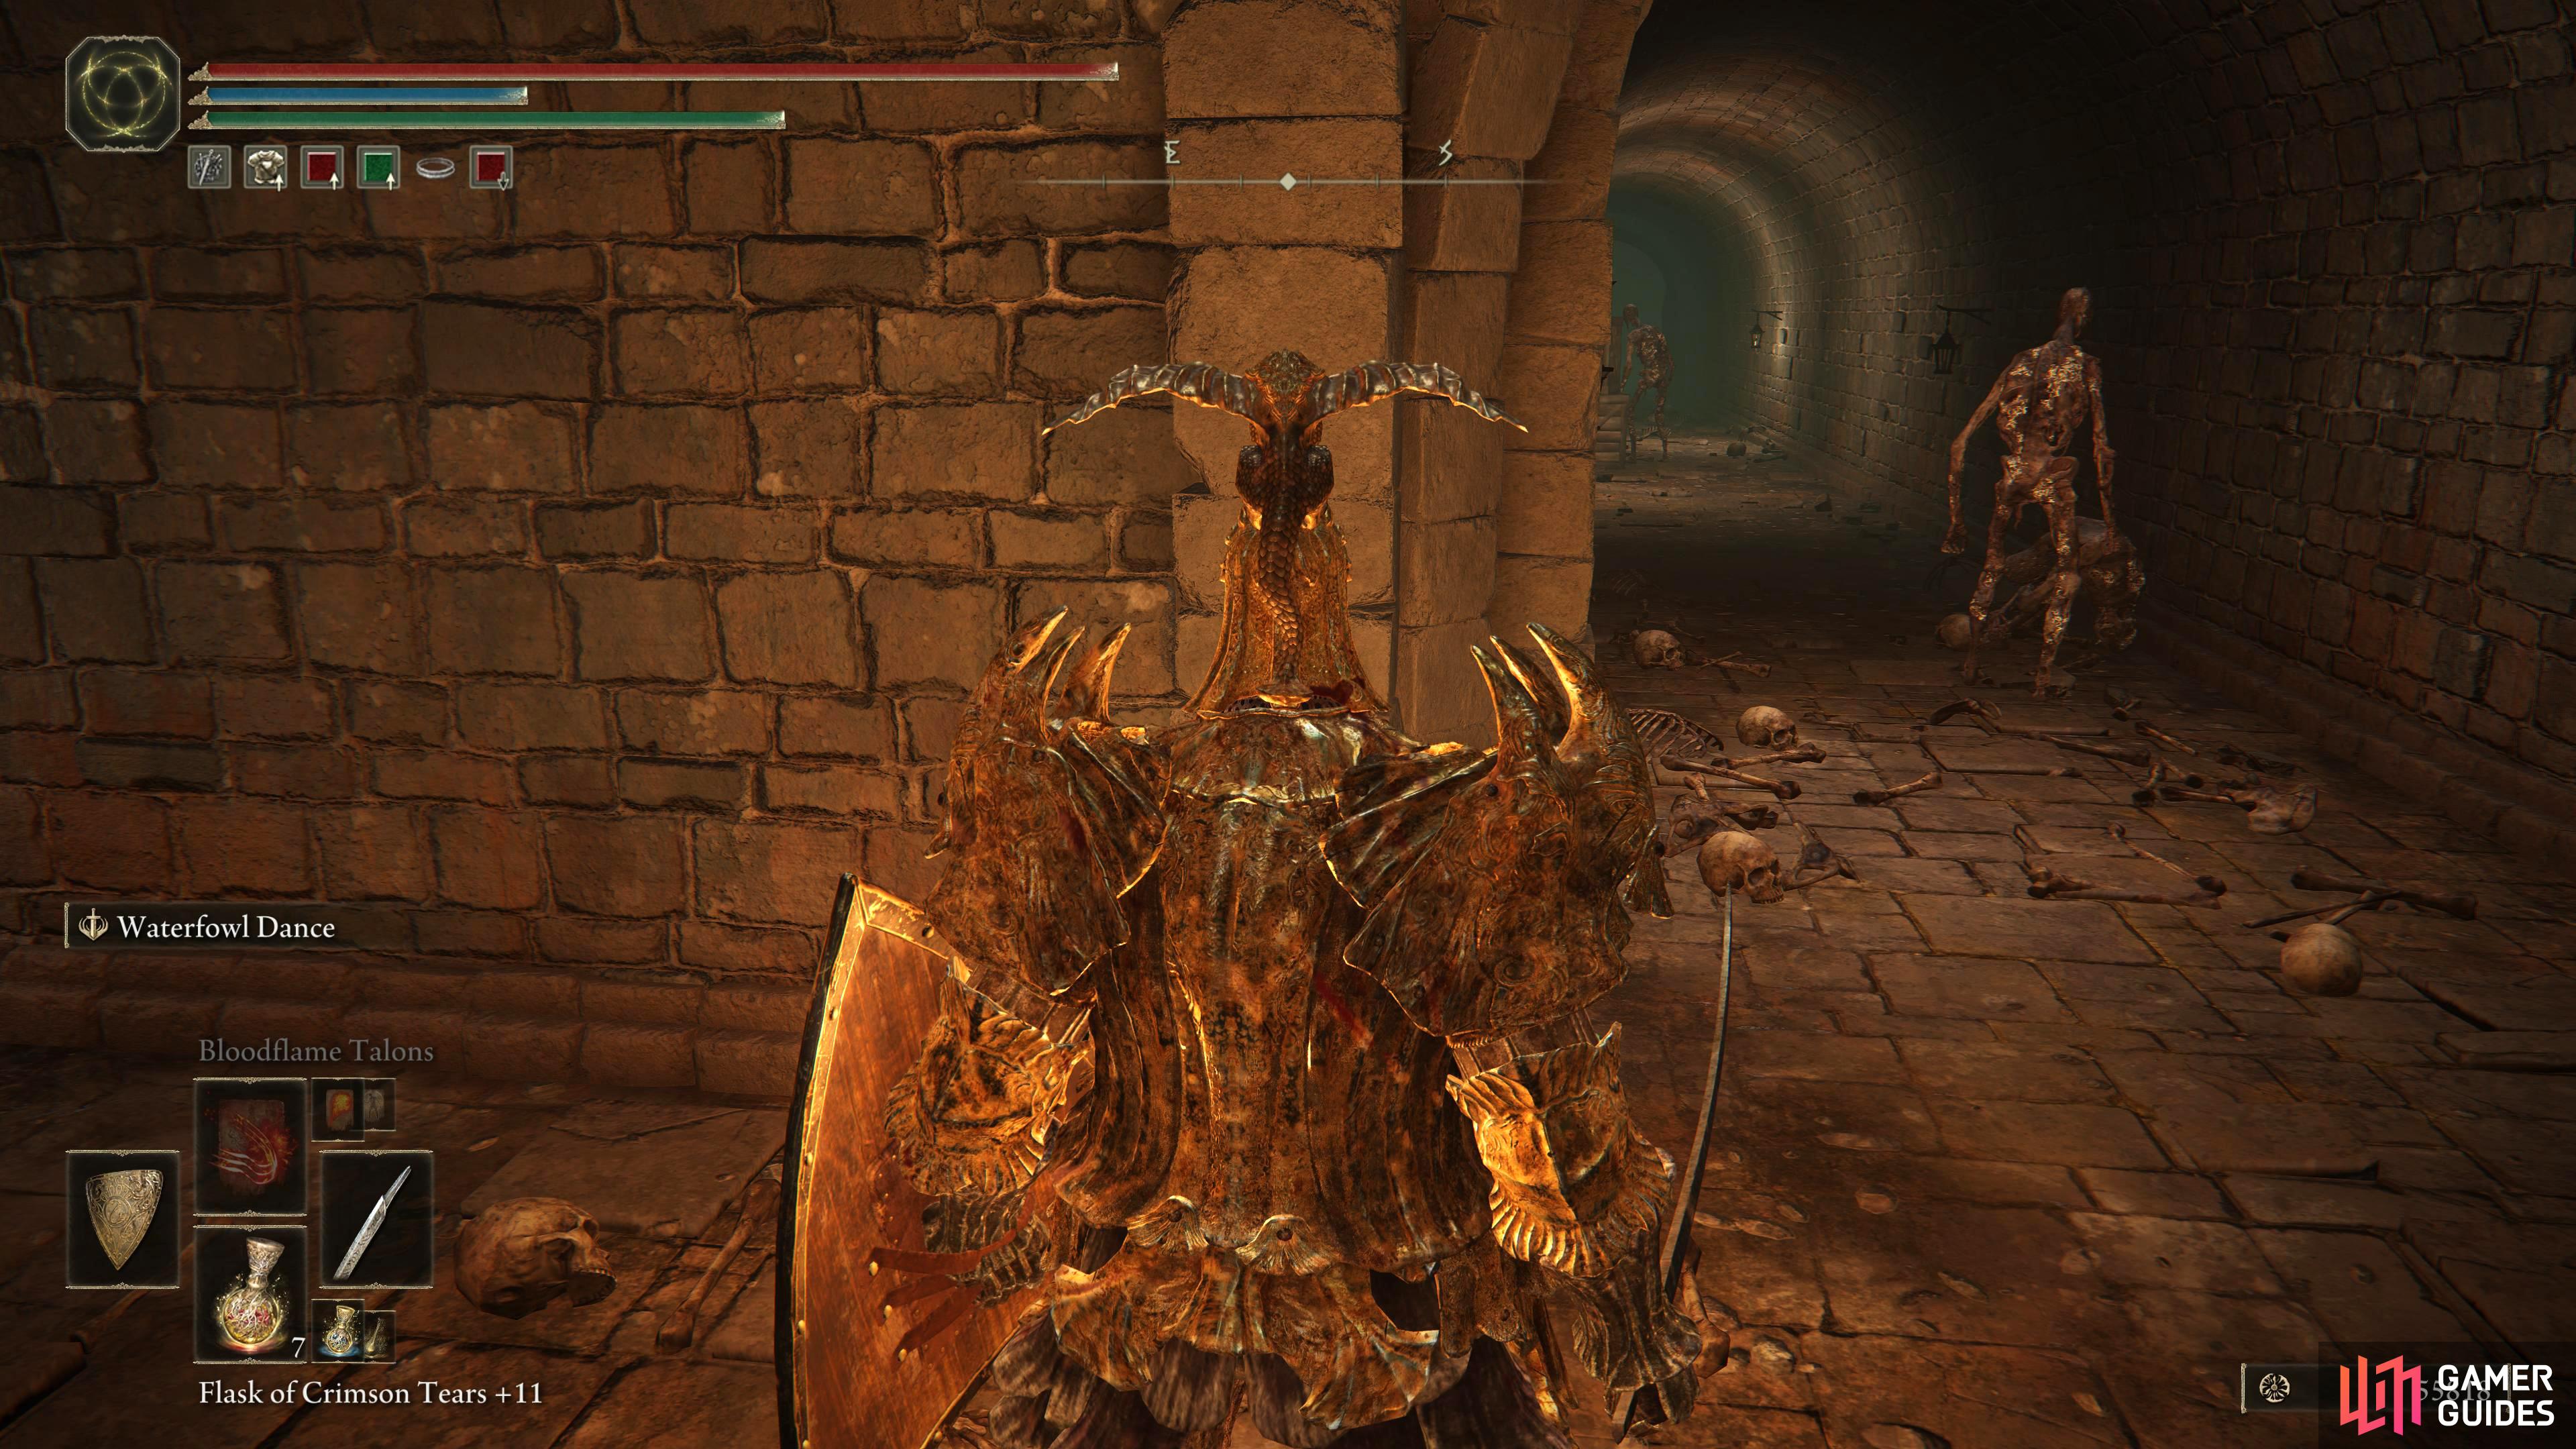
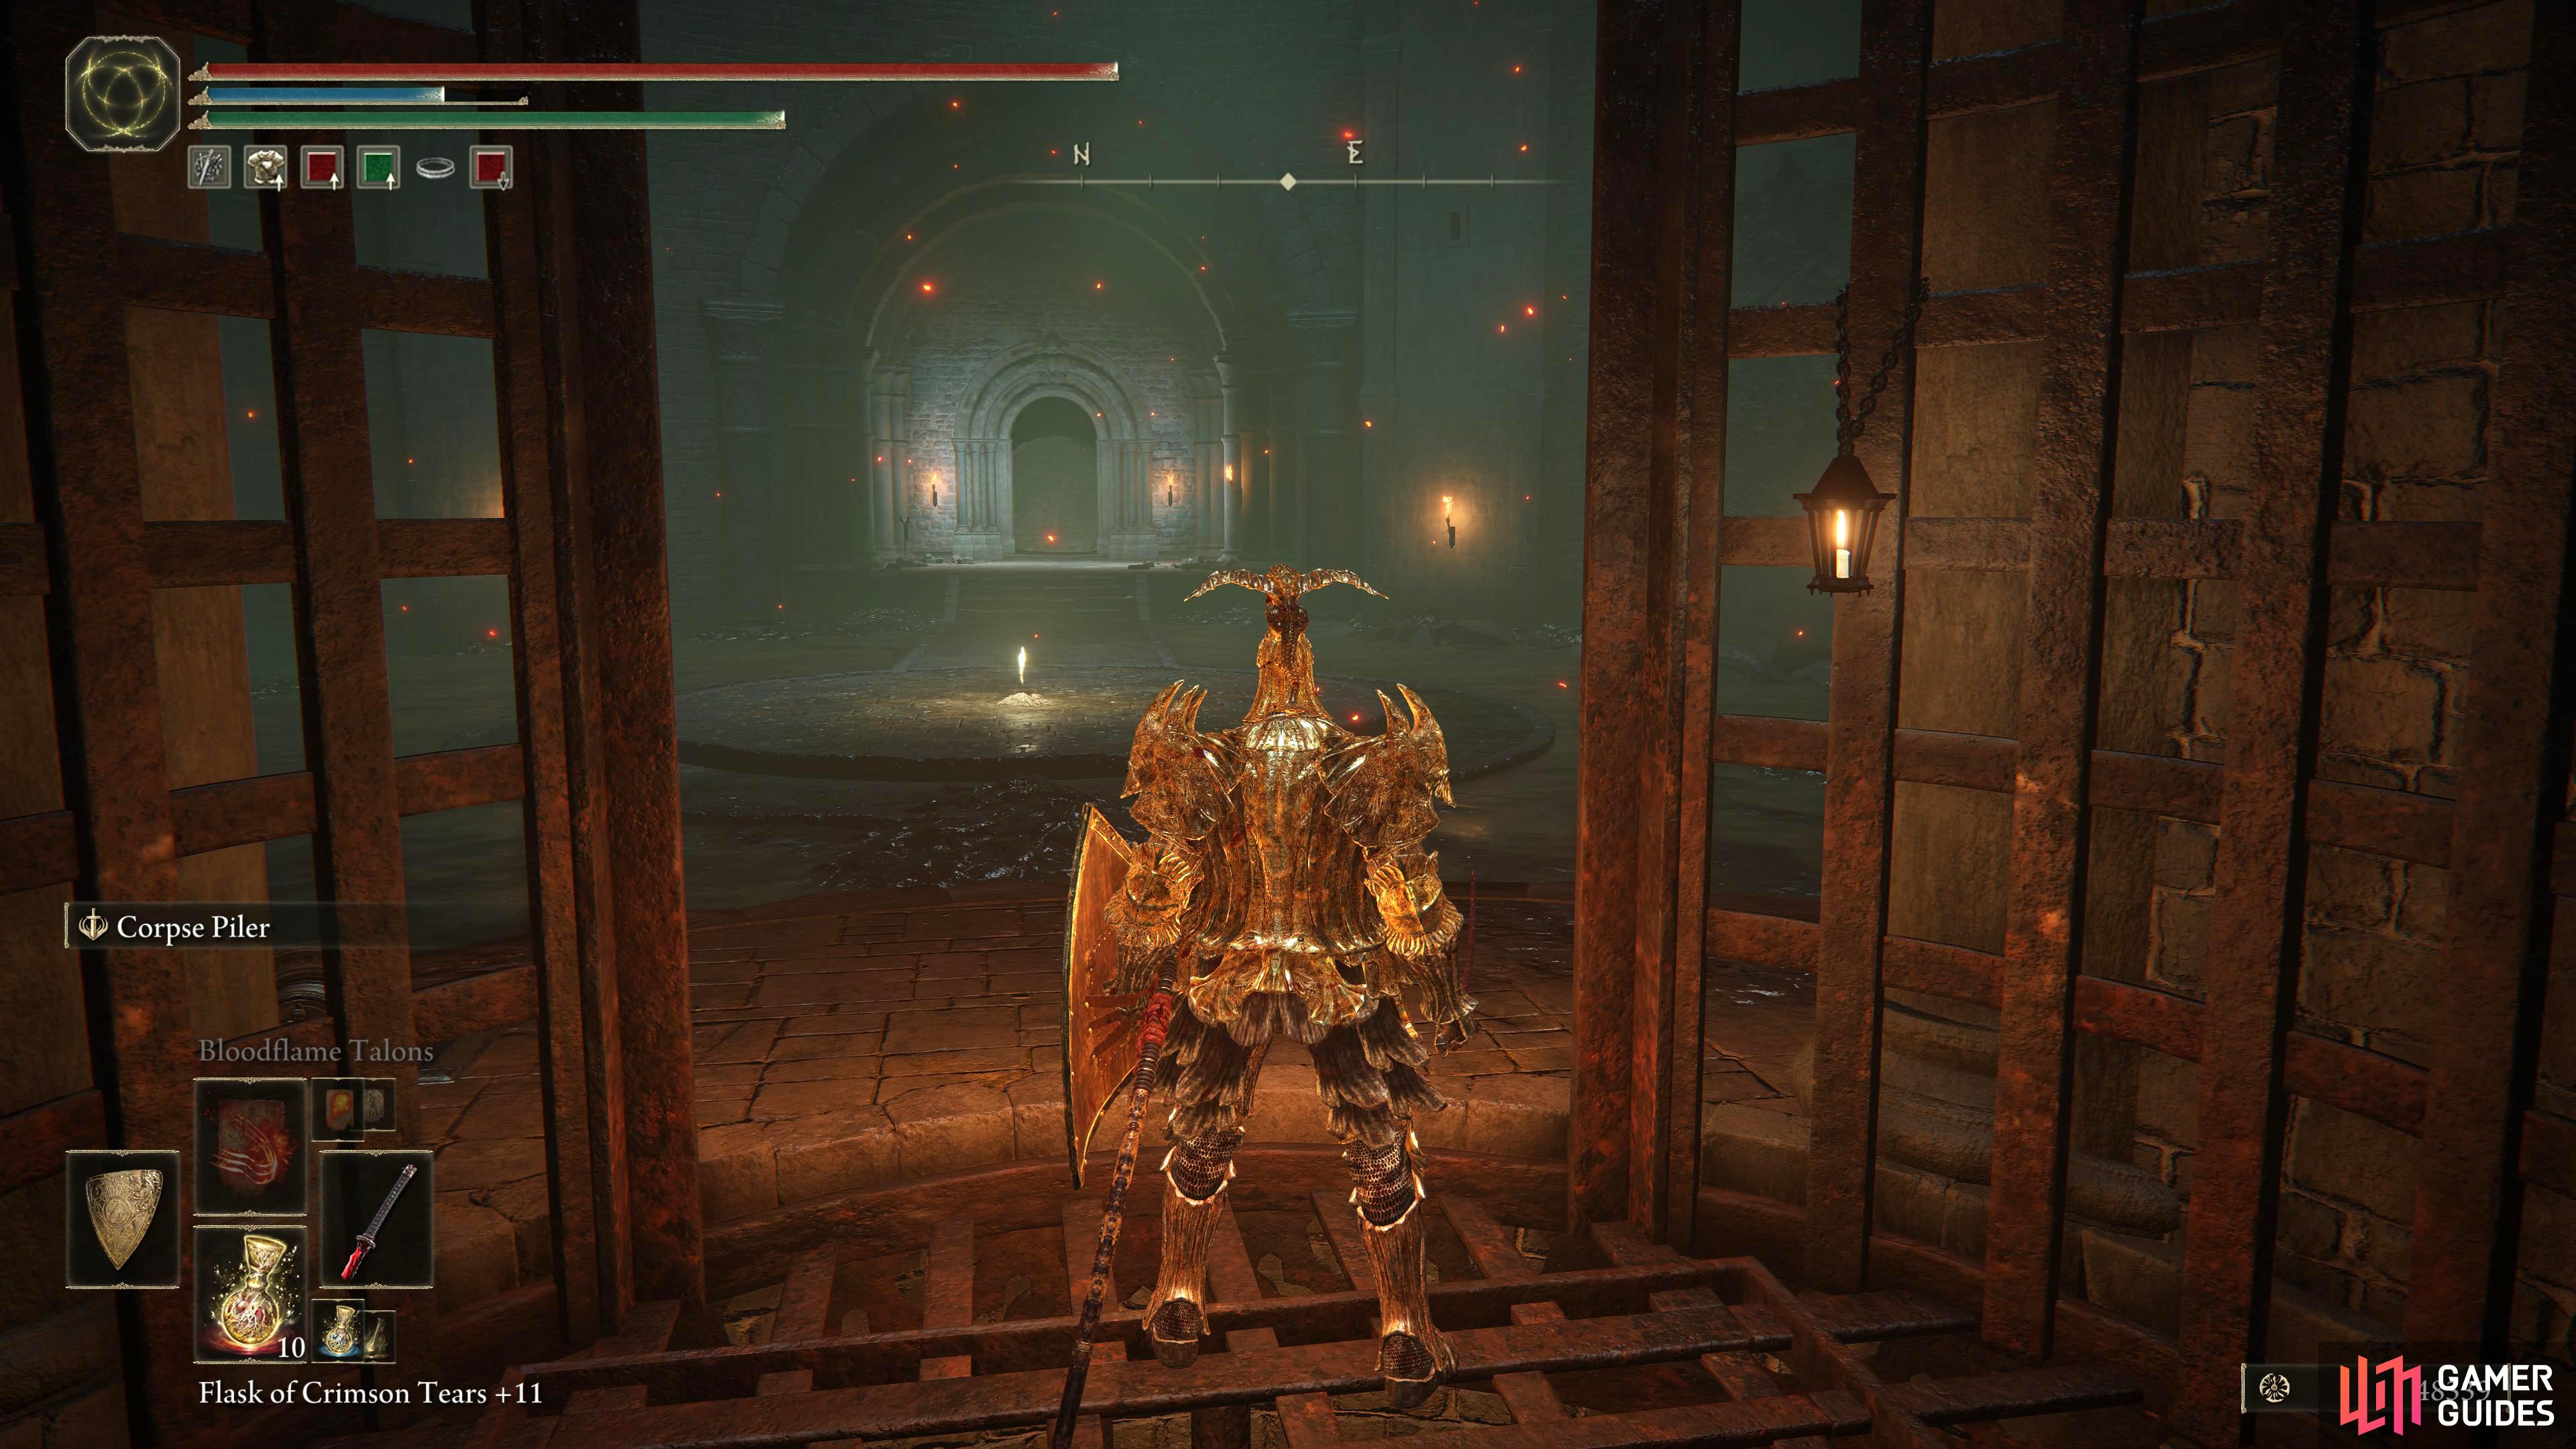
You’ve now reached the sewer, but you still haven’t found a site of grace, and unfortunately for you, you’ll have to get past several rats to get to it. With the rats defeated, head through the southeastern door and look below. The area below is where you need to go, but there are two Omens that patrol down there although only one of them will be in your way for now. These have a lot of health, deal lots of damage, and are surprisingly agile for their size. You can hit them with ranged attacks from the edge of the platform and range them down with bows or magic if you have access to them, but they’ll take a while to die, and they can climb ladders.
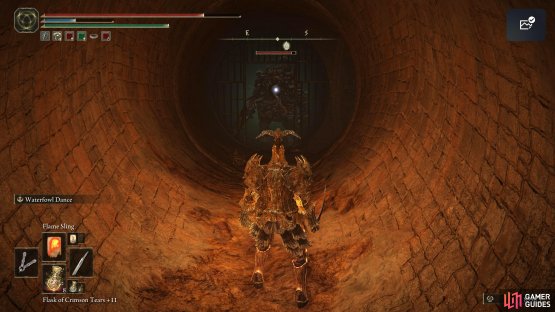
If you aren’t feeling brave enough to fight the Omen, you can run past it to the site of grace. Either way, go down the ladder in front of you and head northeast down the hall and take your first left into the southwestern room which has a summoning statue opposite it. Here, you’ll find a most welcoming sight, a site of grace that’ll be waiting for you. This will be the Underground Roadside site of grace, and you’ll be coming back here a lot as it’s your only safe haven in this hellish sewer.
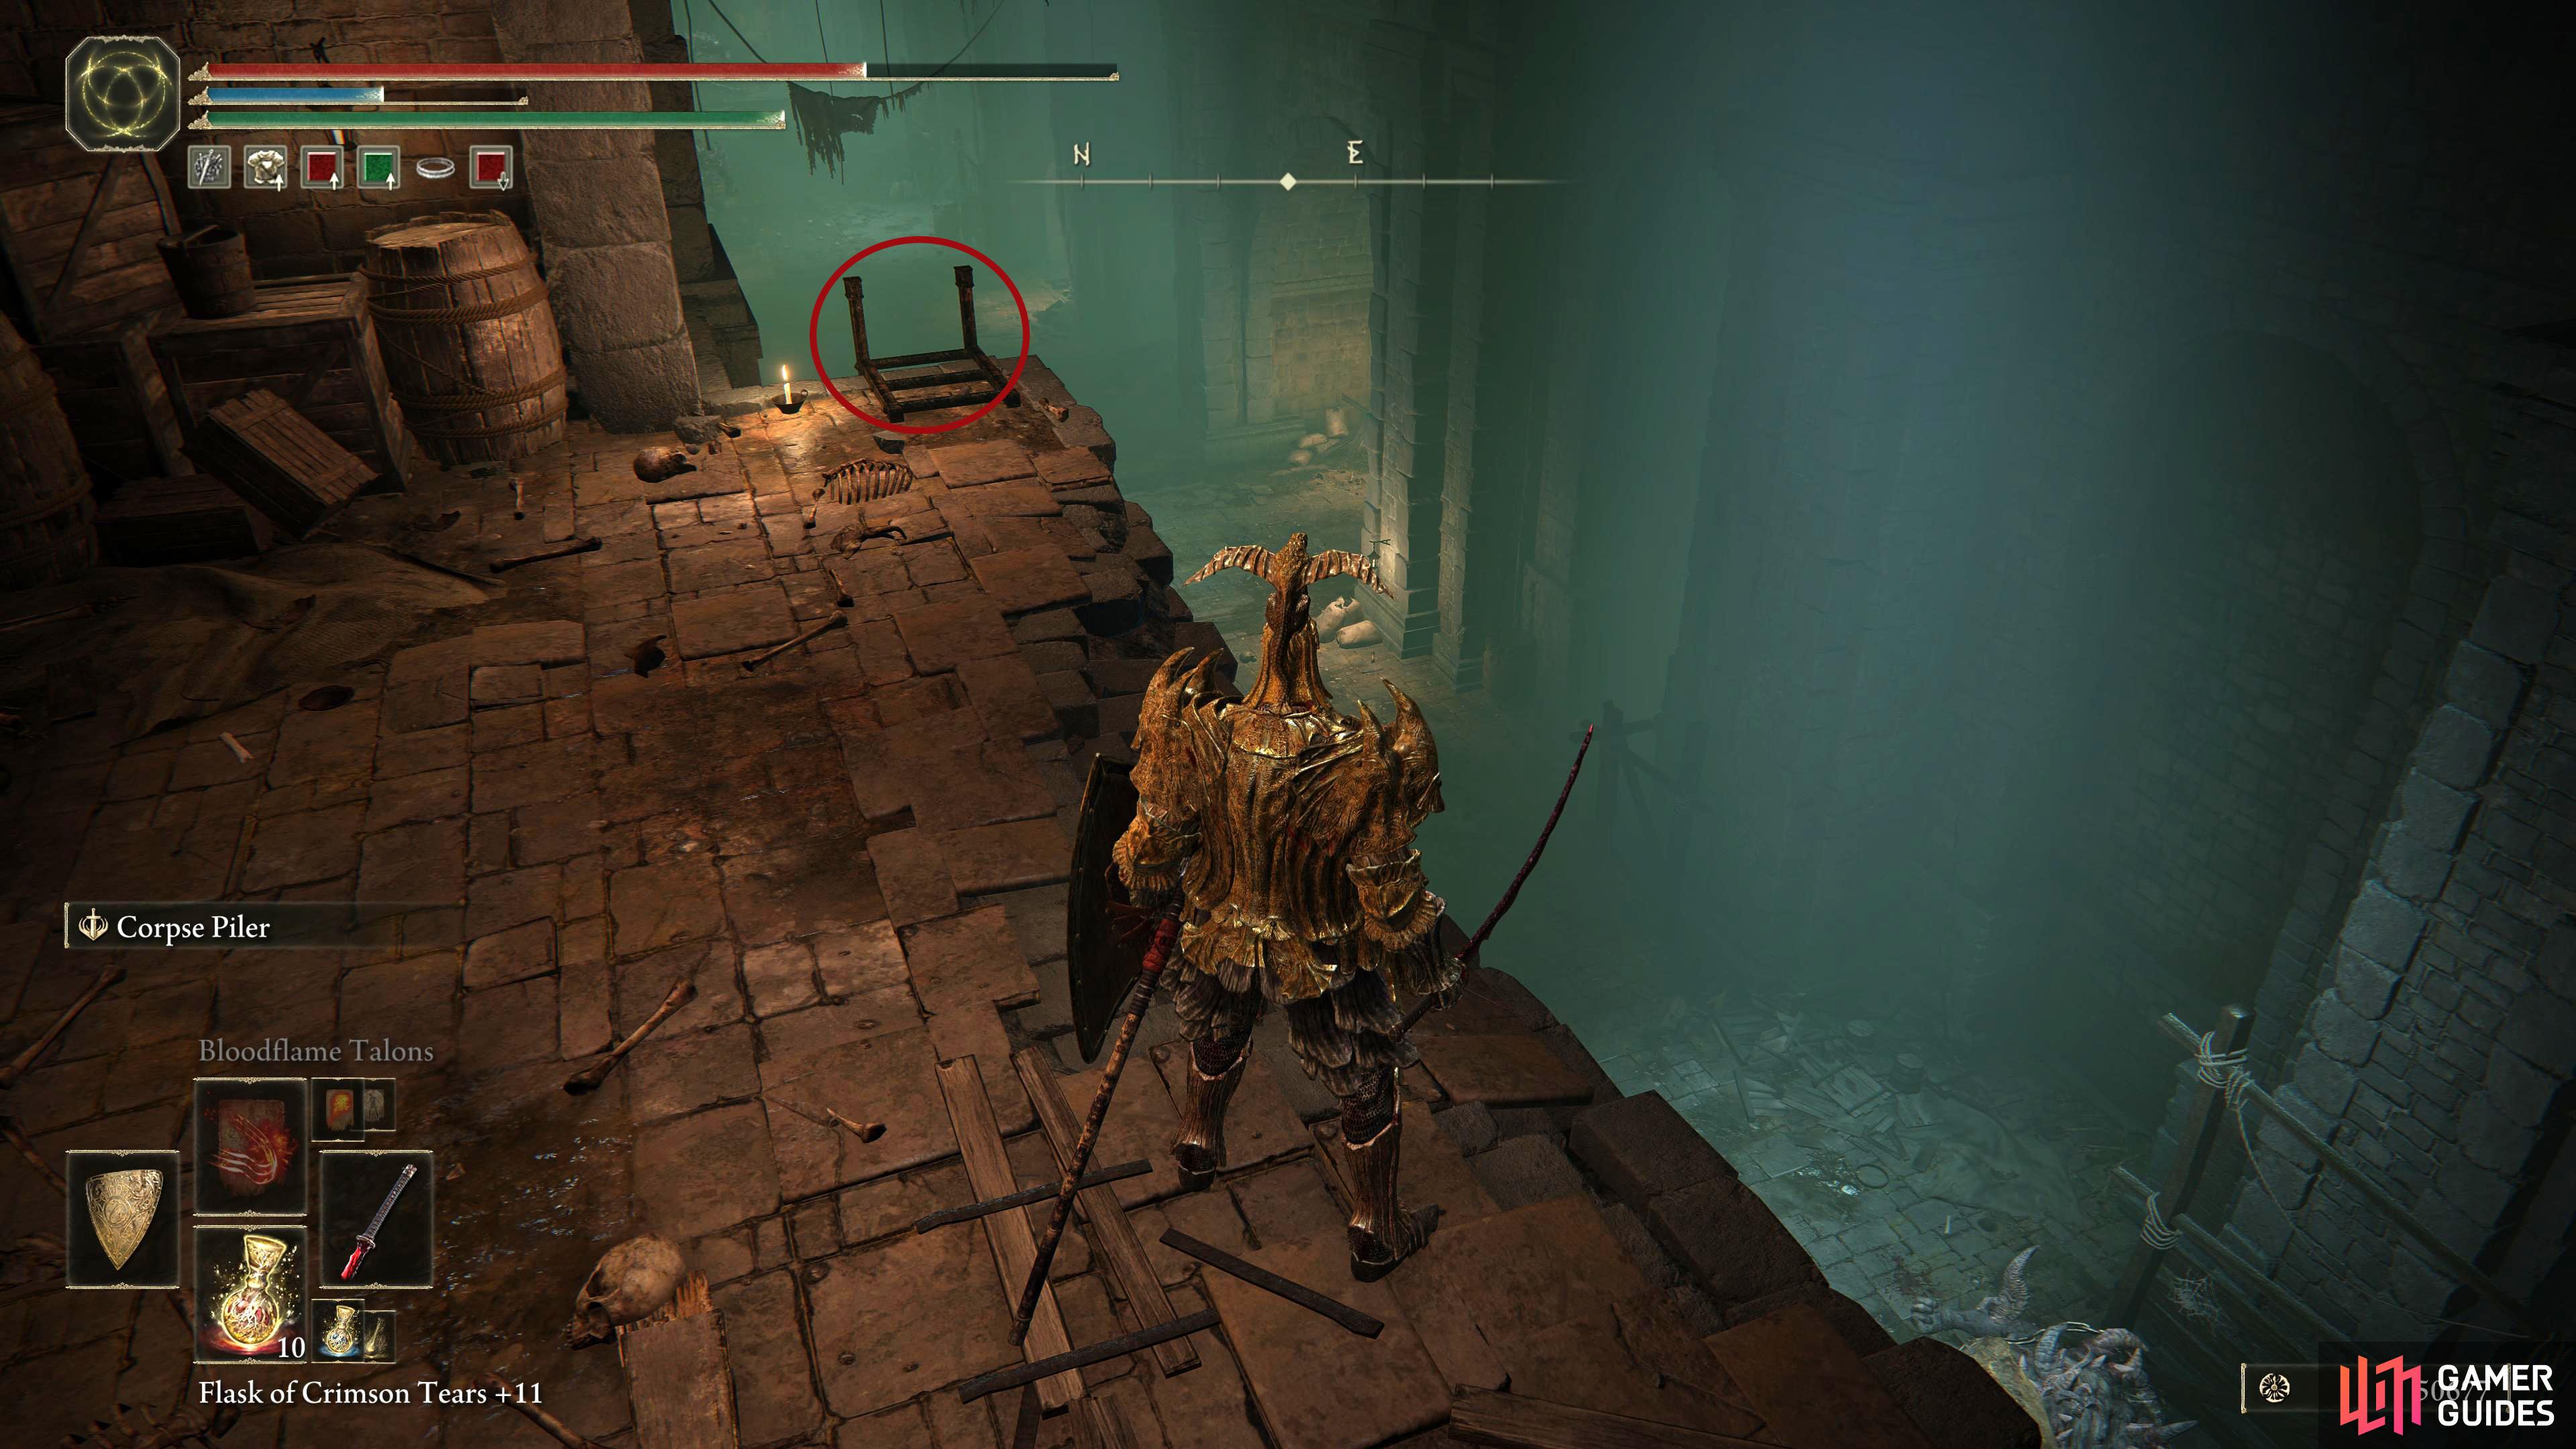
Take the ladder down, and head to the first door on your left for the Underground Roadside site of grace.
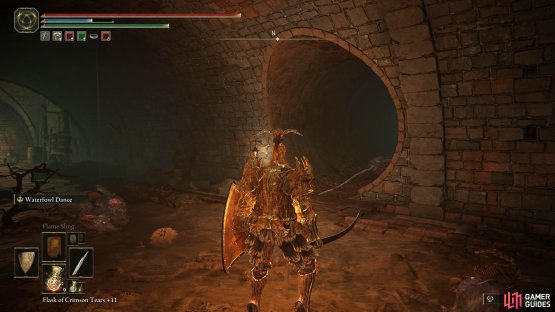
Once you’ve had a brief respite, you’ll have the option of going two ways for now, one will lead to Dung Eater, whilst the other will lead to a room of pipes and imps so pick your poison.
Southeast of Underground Roadside site of grace (Pipe Room)
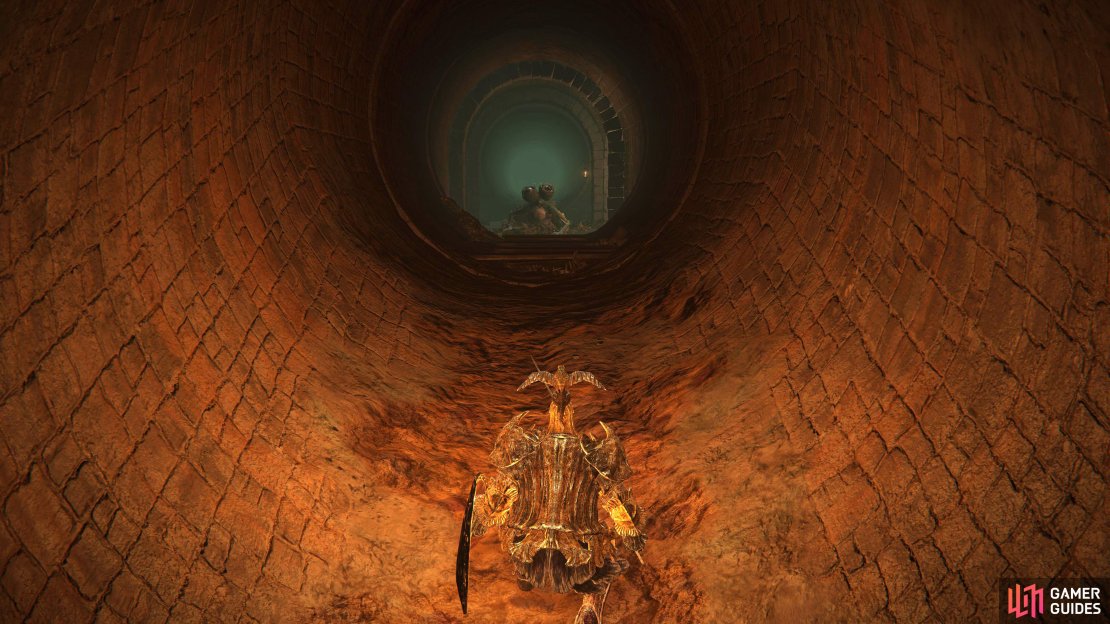
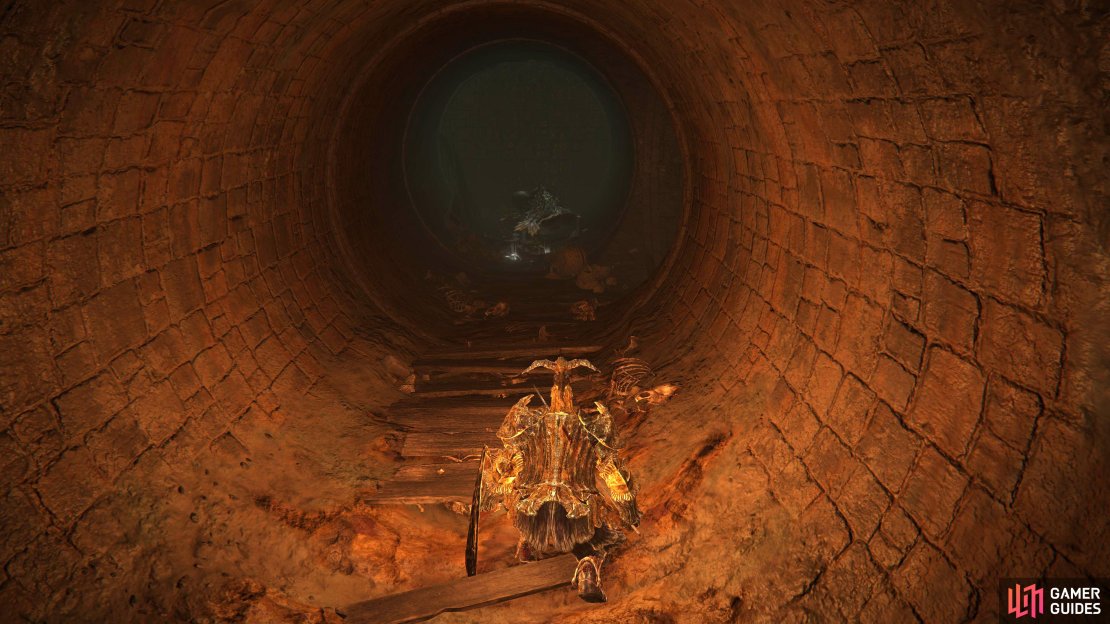
This area is mainly for some loot including Mohg’s Shackle which’ll help with the boss later, shortcuts, and the hidden dungeon, Leyndell Catacombs. Exit the Underground Roadside site of grace room, and head southeast, and you should notice a ladder hidden against the wall to your right which is leading down. Take the ladder down, and you’ll find yourself in a small hall with an archway leading out. Slowly go through the archway and take a look around. There are many ways to go in this area, you can follow the pipes, drop to lower pipes, and even climb some ladders.

Take the ladder to your east after exiting the site of grace.
First off, head across the pipes, and as you exit the archway, walk on to the pipe in front, and take out the first imp to your southwest. After that take care of the second imp that is patrolling the pipe, but be aware of the imp hanging on to the pipe above as it’ll drop behind you as you proceed up the pipe. If you have a ranged attack, shoot it to make it drop, so you can interrupt its sinister plans of ambushing you. If you don’t have any ranged, slowly walk forward until it drops, and defeat it. There will be many more moments like this in the area, so always keep an eye out for the hanging imps if you can, as they will hide anywhere they can.
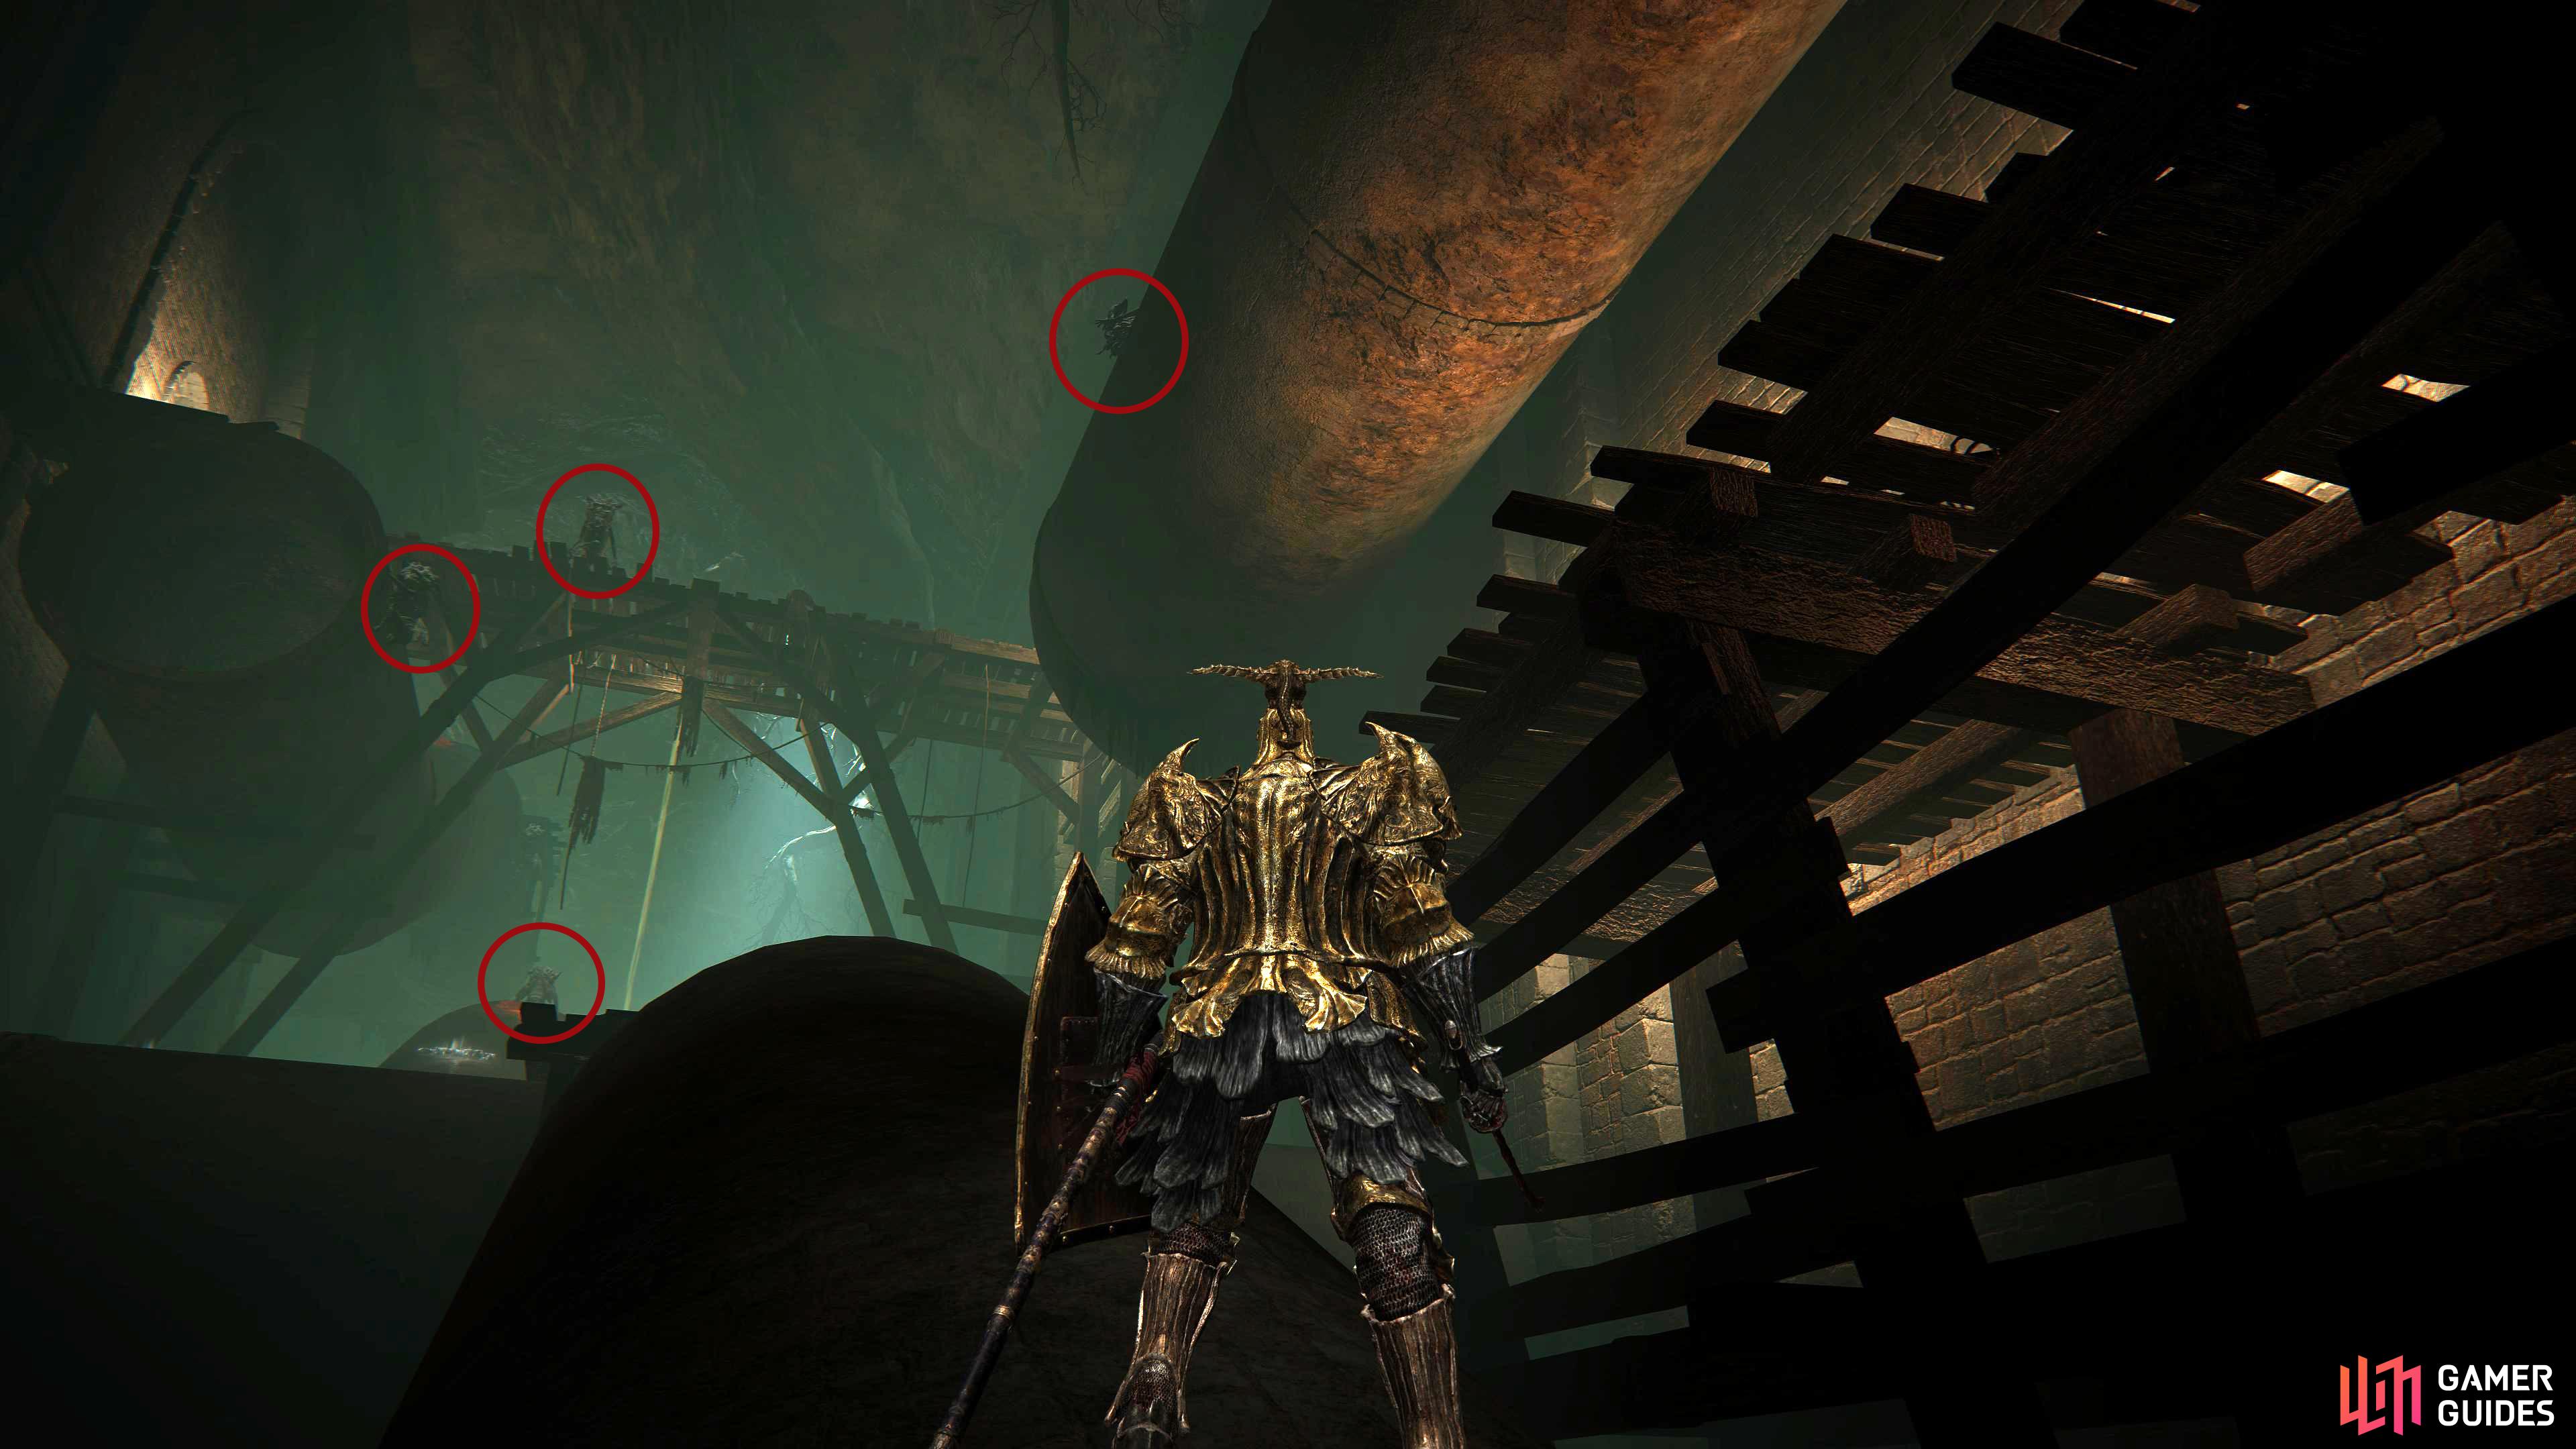
If you ignore the imps hanging on the pipes, you’ll be ambushed by them as they come from behind.
As you head up the pipe towards the wooden platform, one imp will rush you from there. Let it come to you as there is another imp hanging on the pipe to your right, near the wall, and if you rush in, it’ll try to ambush you. Take both of them out one by one. Walk on to the wooden platform, and loot the corpse for 10x Serpent Arrow and turn your camera to the left a bit, can you see what is hanging on the pipe? Yes, another sneaky imp waiting to ambush you. There is also another imp on the other pipe to your southwest.
Turn your camera to the right when you get reach the first wooden platform to spot a sneaky imp hanging on the wall.
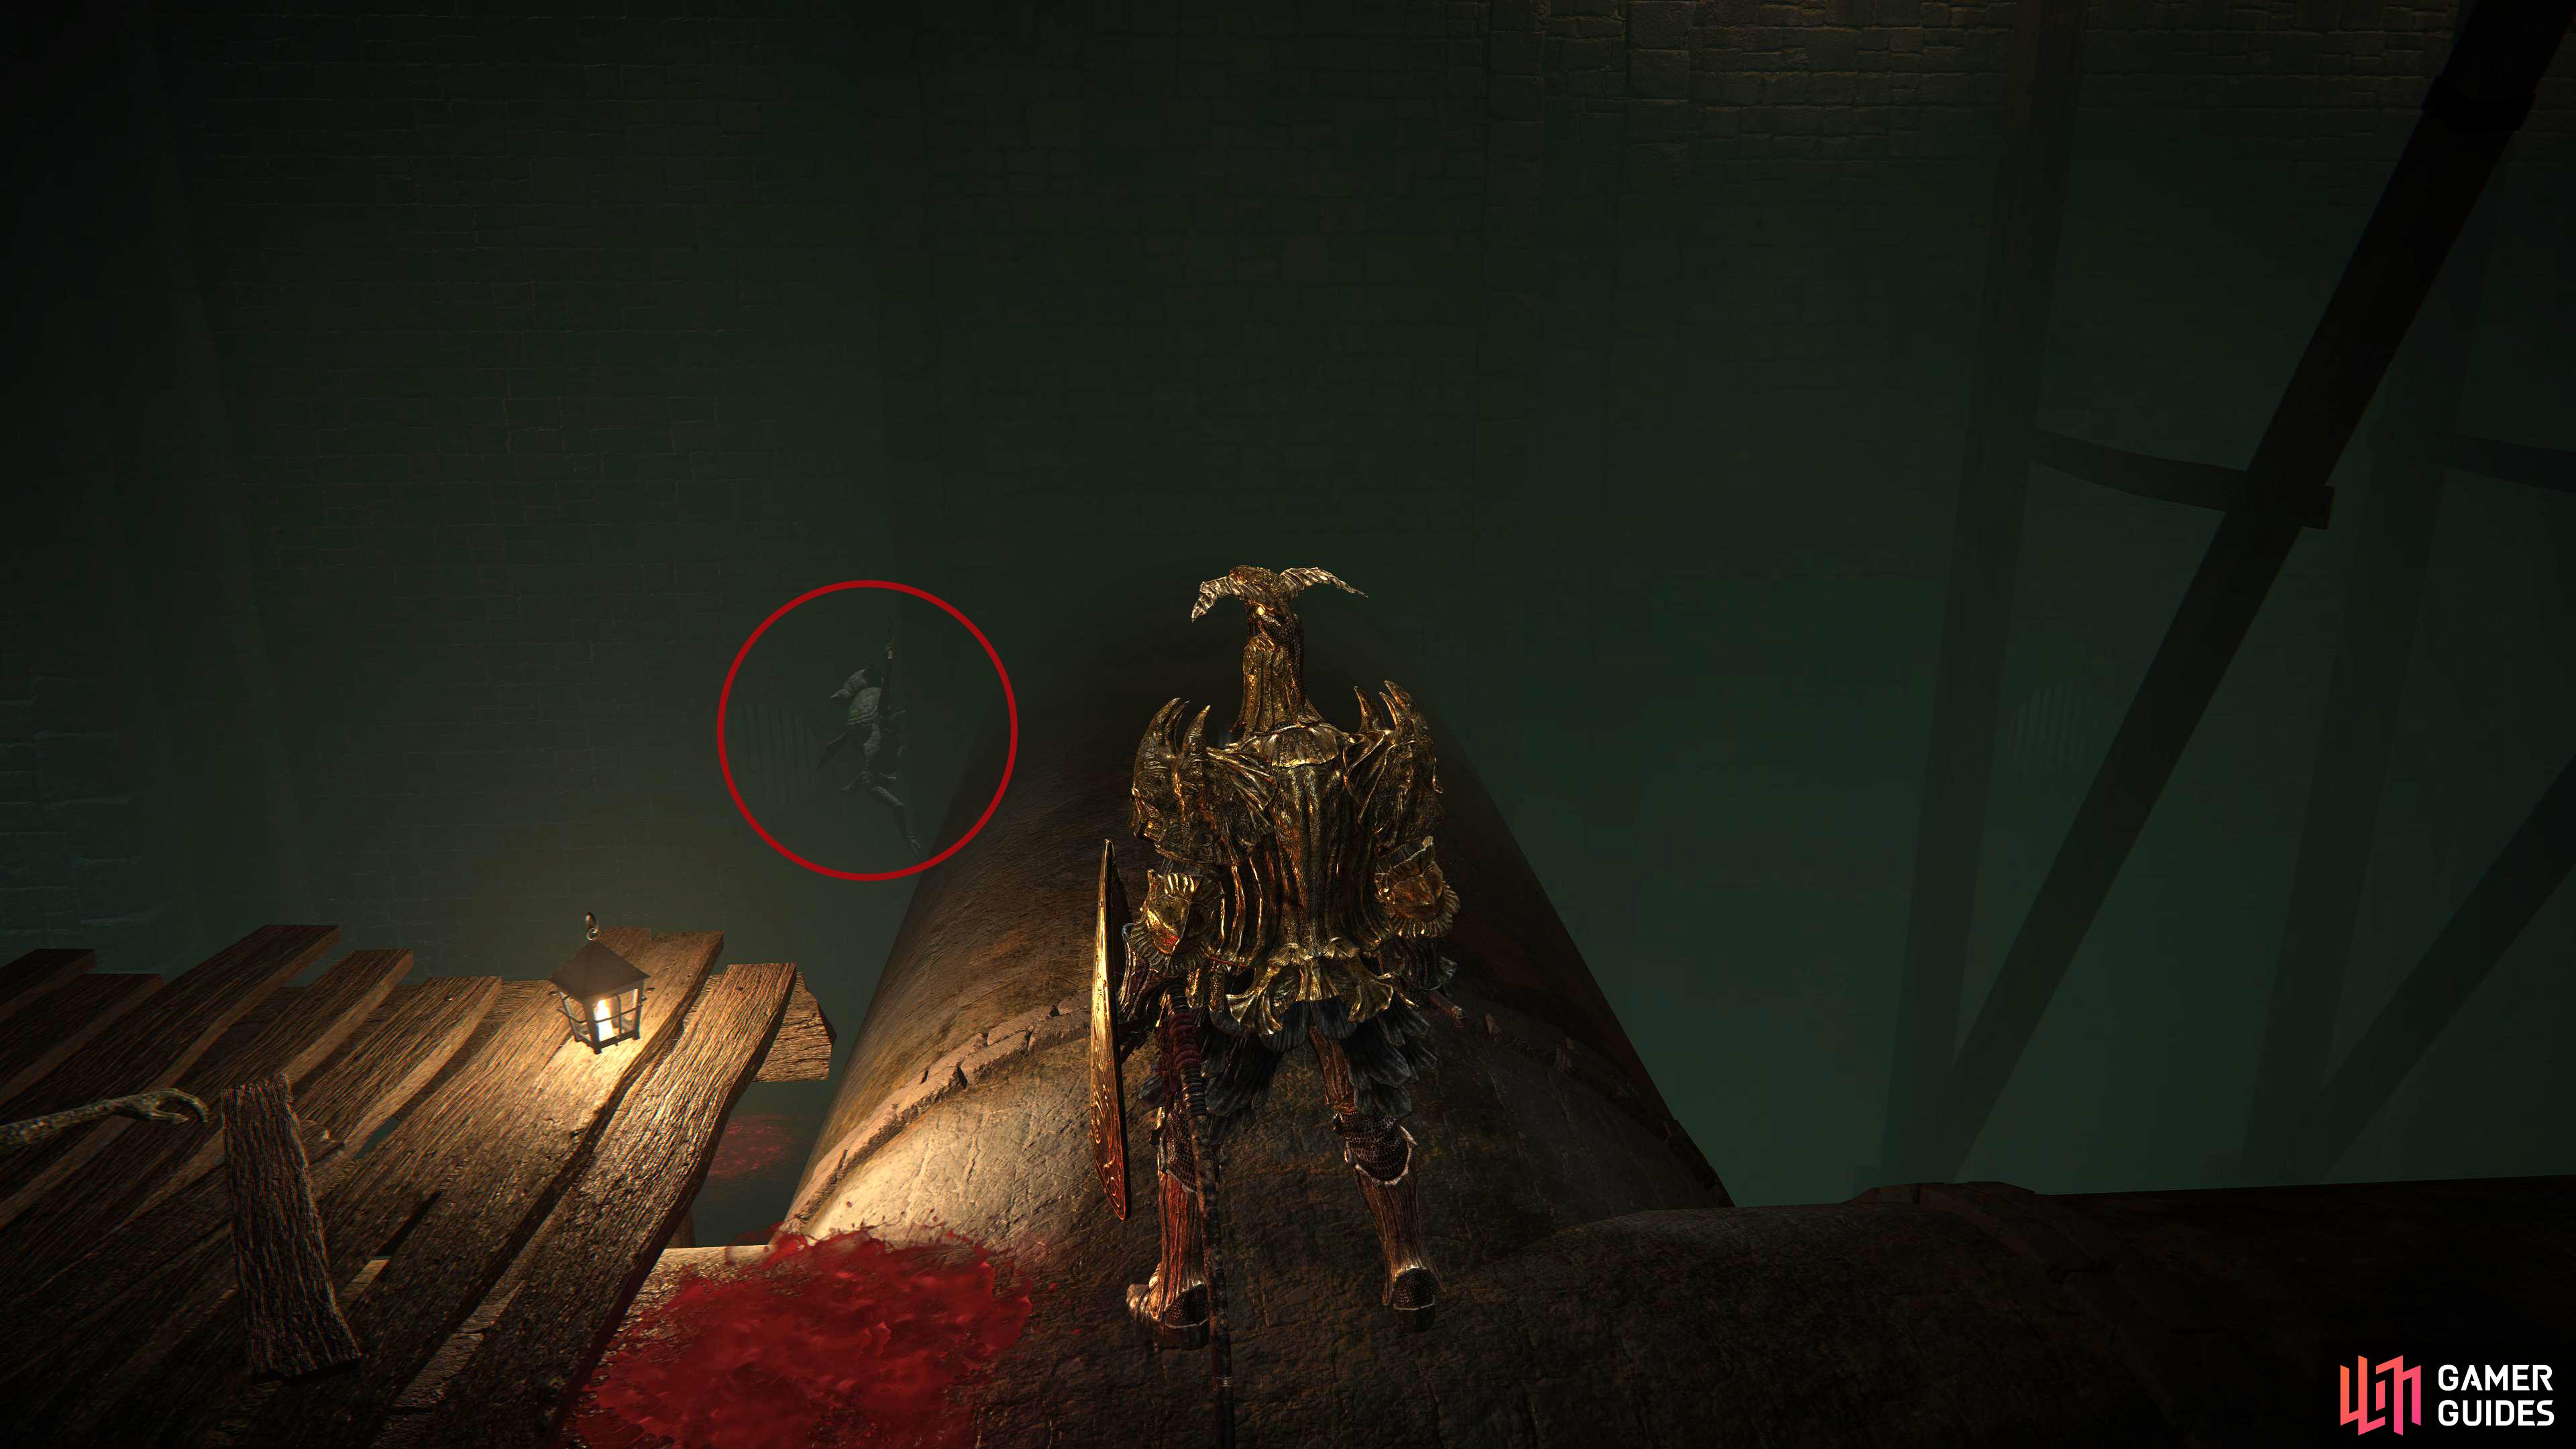
Ideally you would want to attack the southwest imp with a ranged attack as that’s exactly what the imp has in mind for you. If you start moving forward a bit, it’ll throw an unlimited amount of projectiles at you until either it or you die. Head towards the next wooden platform, and you’ll be ambushed by up to four imps depending on how many you killed from range, and all that they’ll be guarding is a corpse with 5x Fire Grease. Now follow the other pipe attached to the platform back northeast towards the pipe where the imp was hanging near the wall to the northwest, and loot the corpse for a Somber Smithing Stone [6]. Follow the pipe to the southwest, and another imp will rush at you, then repeatedly throw projectiles at you.
Close the distance with your shield raised or sprint across the pipe, rolling if you have to.
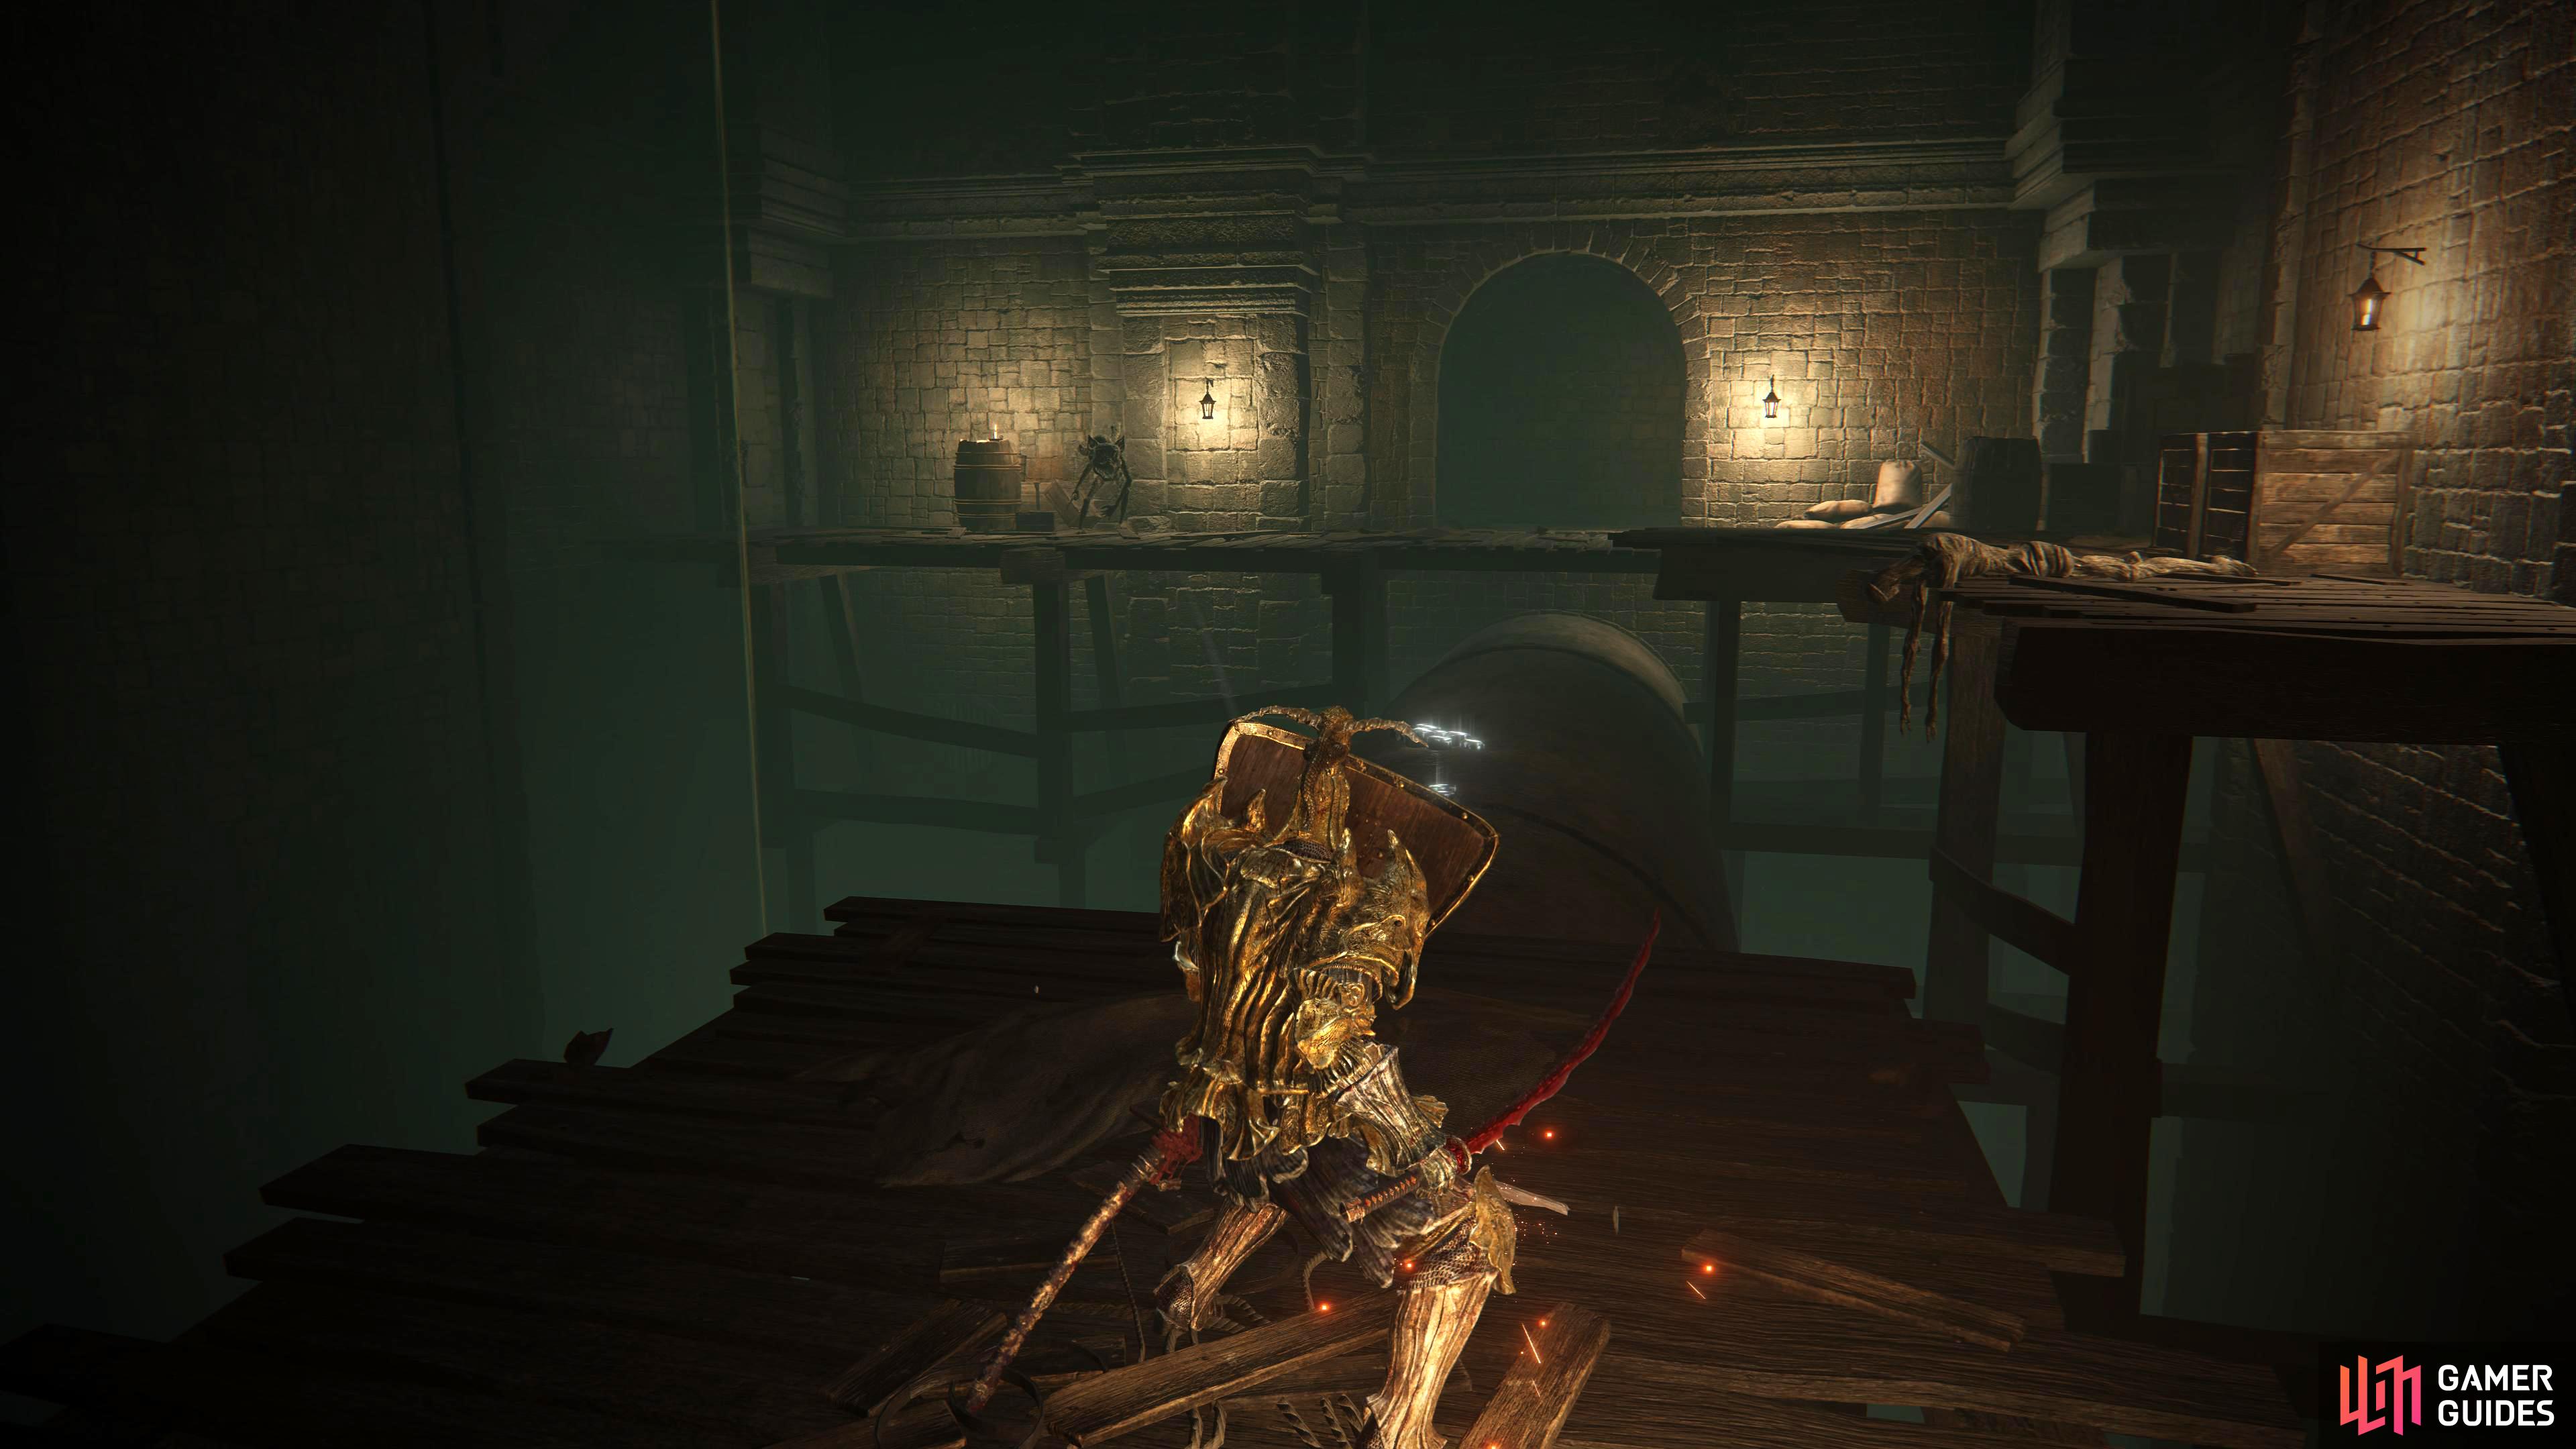
If you have a shield, keep it raised and make your way towards it, if you don’t, you’ll have to deal with it using ranged attacks or failing that, rolling towards it. Take it out, jump onto the raised platform and loot the corpse to your right for a Smithing Stone [7]. Go through the southwestern archway, and head up the stairs. Be careful, as there is an Omen up here to your left near the corpse containing the Shadow Bait incantation, but to your right is a shortcut back to the site of grace. Interact with the lever to the side of the gate to unlock it.
Interact with the lever to open the large gate for a shortcut.
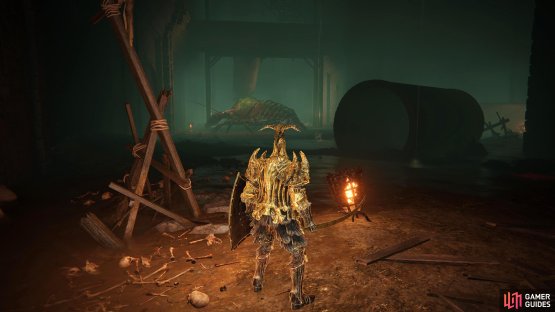
From the site of grace, head back down to the pipes via the northeastern ladder that you used to get to the pipes in the first place and walk on to the wooden platform. Take out any nearby imps then drop of the wooden platform onto the pipe below, and drop again to the floor below. There are two giant Lobster enemies down here, one near where you drop and one to the southwest. They hit hard, especially with the multi-hit claw attack. They also have a grab attack, and a ranged attack, which can make them a tricky opponent. Furthermore, they’re weak to fire, but if you have to fight them melee, try to stay close to them, rolling through their melee attack and whittle down their large health pool.
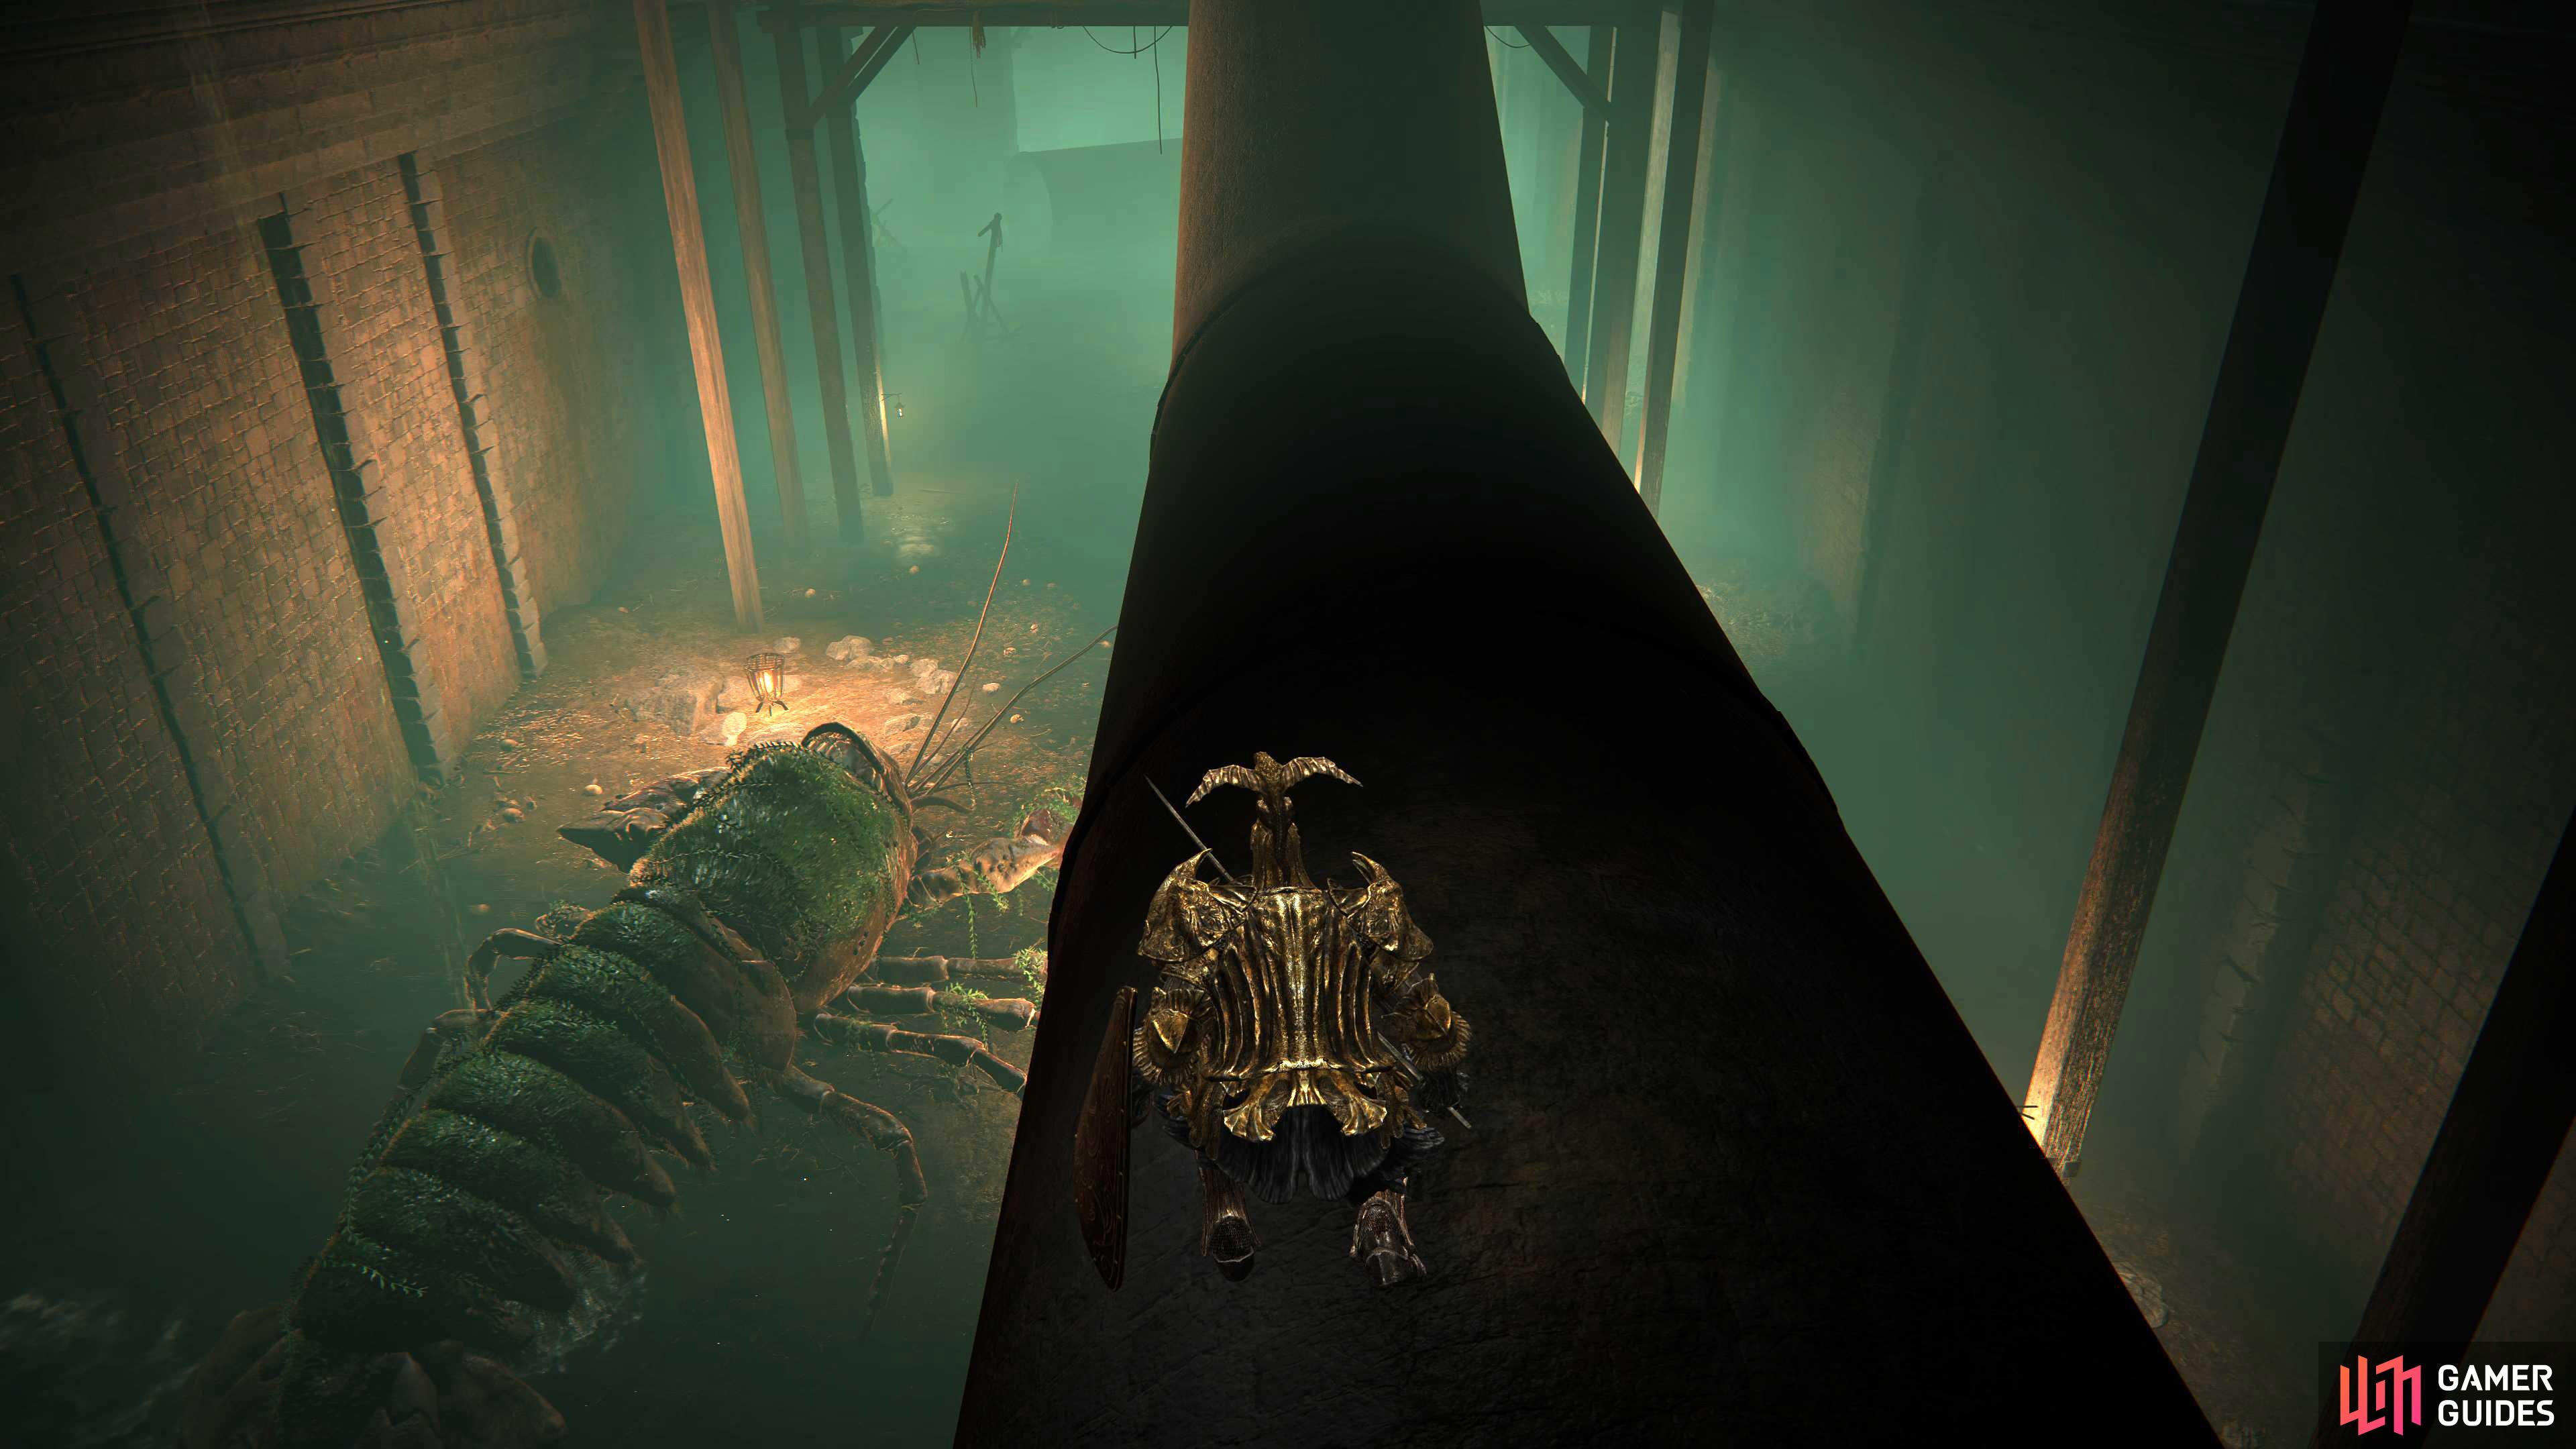

(1 of 2) The first Lobster will be near where you drop

The first Lobster will be near where you drop (left), whilst the second will be around the corner to your left. (right)
With those defeated, you can explore a bit. First off, from where you dropped, loot the corpse with 2x Smithing Stone [7]. Now head southwest, and loot the couple of corpses on your way containing 5x Glass Shard and a Somber Smithing Stone [7]. After that head southwest where you’ll see a concrete pipe, inside it is a Teardrop Scarab, and defeating it will reward you with another Somber Smithing Stone [7]. A bit further to the southeast, you’ll find a corpse with another 2x Smithing Stone [7] and the important Key Item: Mohg’s Shackle, which’ll help you with the Mohg Boss fight. That’ll be all the loot you can find down here, but there is a dungeon located through the doorway in the southwestern wall called Leyndell Catacombs which has a site of grace near its entrance.

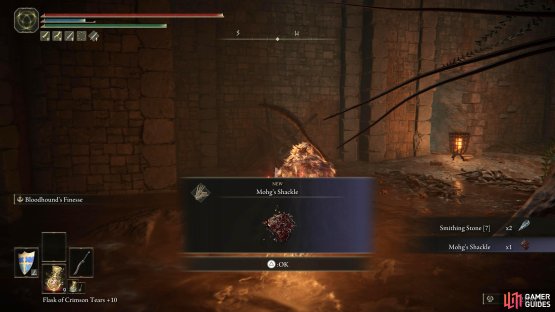

(1 of 2) Mohg’s Shackle can be found against the southeastern wall
Mohg’s Shackle can be found against the southeastern wall (left), Leyndell Catacombs can be found just past the second Lobster, near where you got Mohg’s Shackle. (right)
Northeast from Underground Roadside site of grace (Dung Eater)
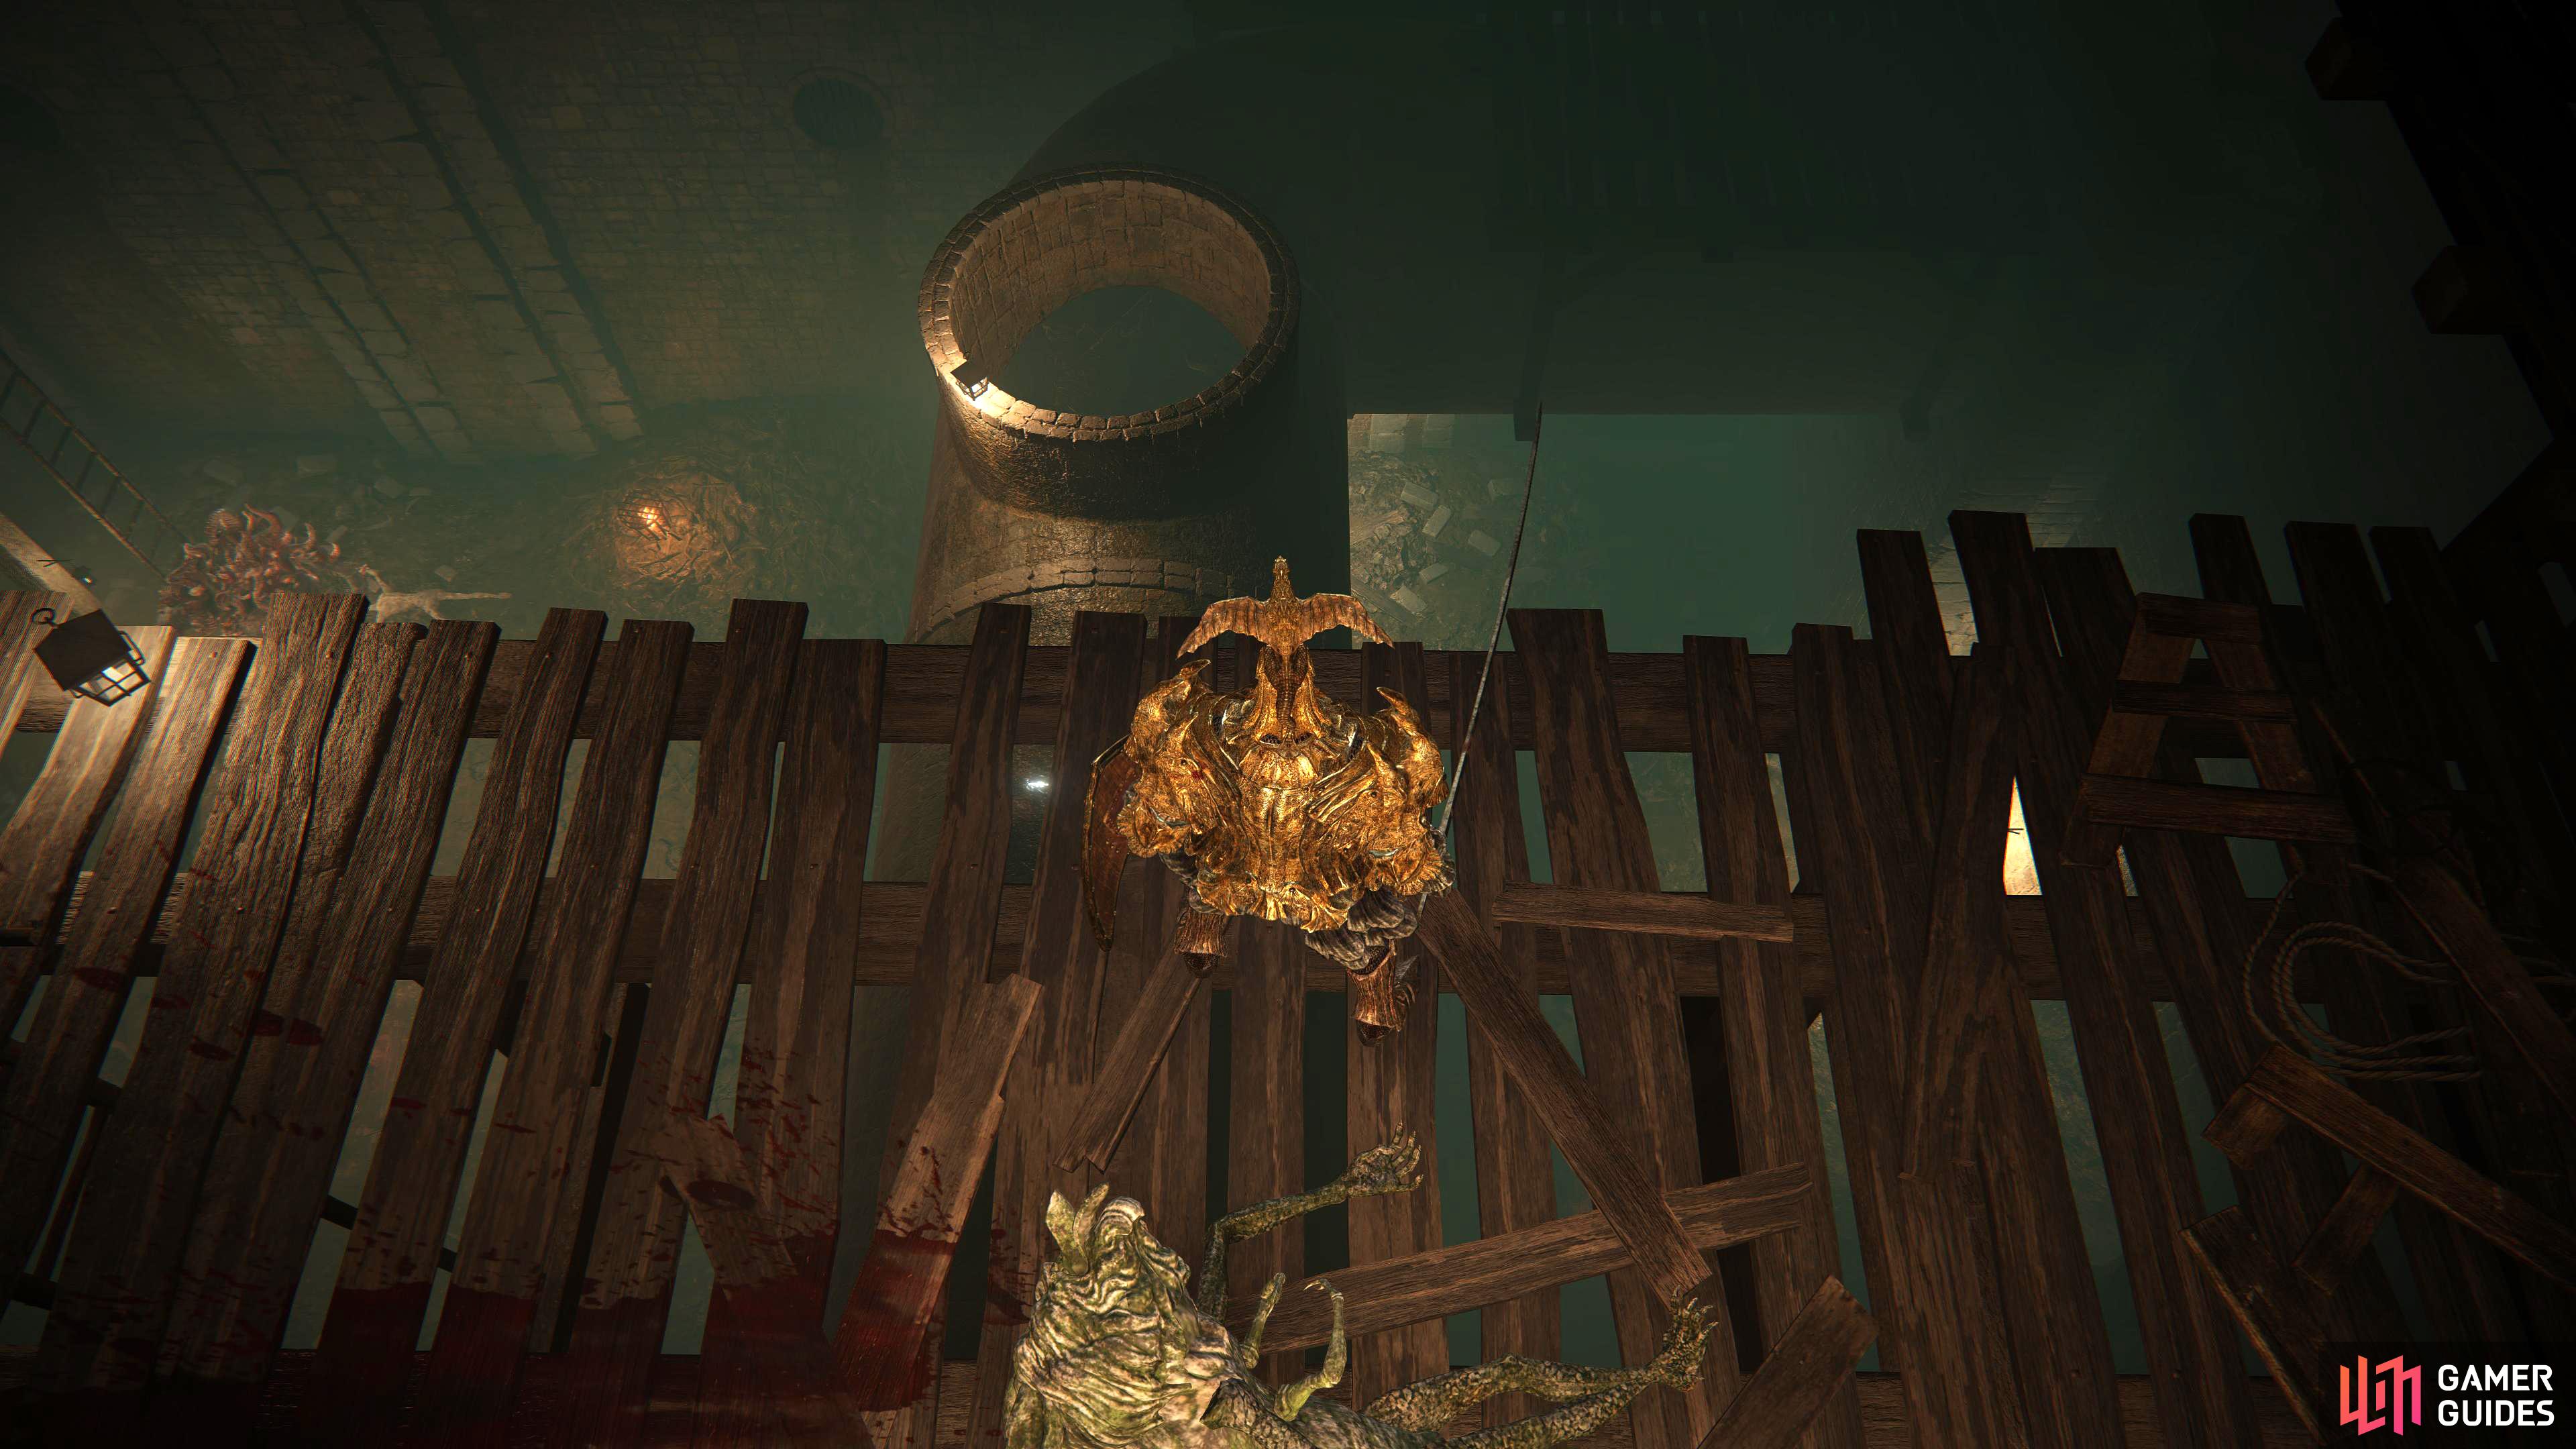
Head out of the room and follow the dim hall northeast whilst running past the first Omen as it’s not worth the hassle to keep fighting them as they’ll just respawn anyway. Loot the corpse to your right which’ll have the Bloodsoaked Manchettes and the Bloodsoaked Mask and continue northeast, and they’ll be a Golden Rune [11] to pick up by the barrels to your right. Keep heading northeast until you reach the second Omen. To your left will be an open grate that you can drop into which is just before the giant gate in front of you (this’ll be a shortcut later).

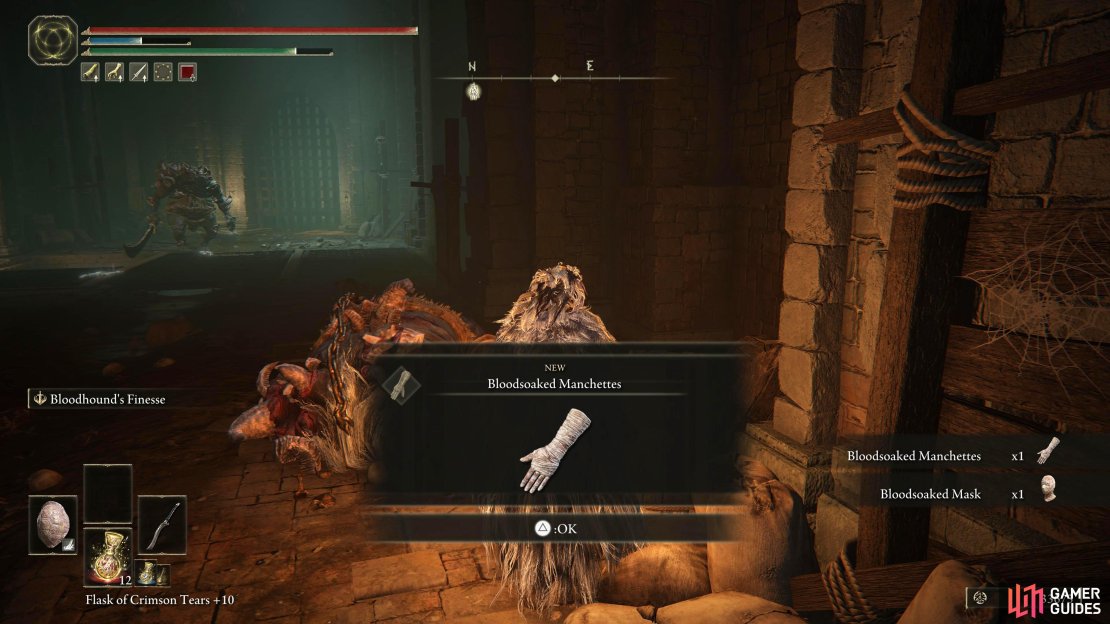
(1 of 3) You can find the Bloodsoaked Manchettes on the northeastern wall after exiting the site of grace and heading left.
Drop into the grate, and you’ll be in a damp rat-infested tunnel. To your southeast will be a corpse to loot, but you’ll have to defeat a couple of rats first to get to it. Although they look harmless, these infuriating creatures can stun lock you if they attack in tandem, so be careful with them. With the rats dispatched off, loot the corpse for 1x Preserving Boluses.
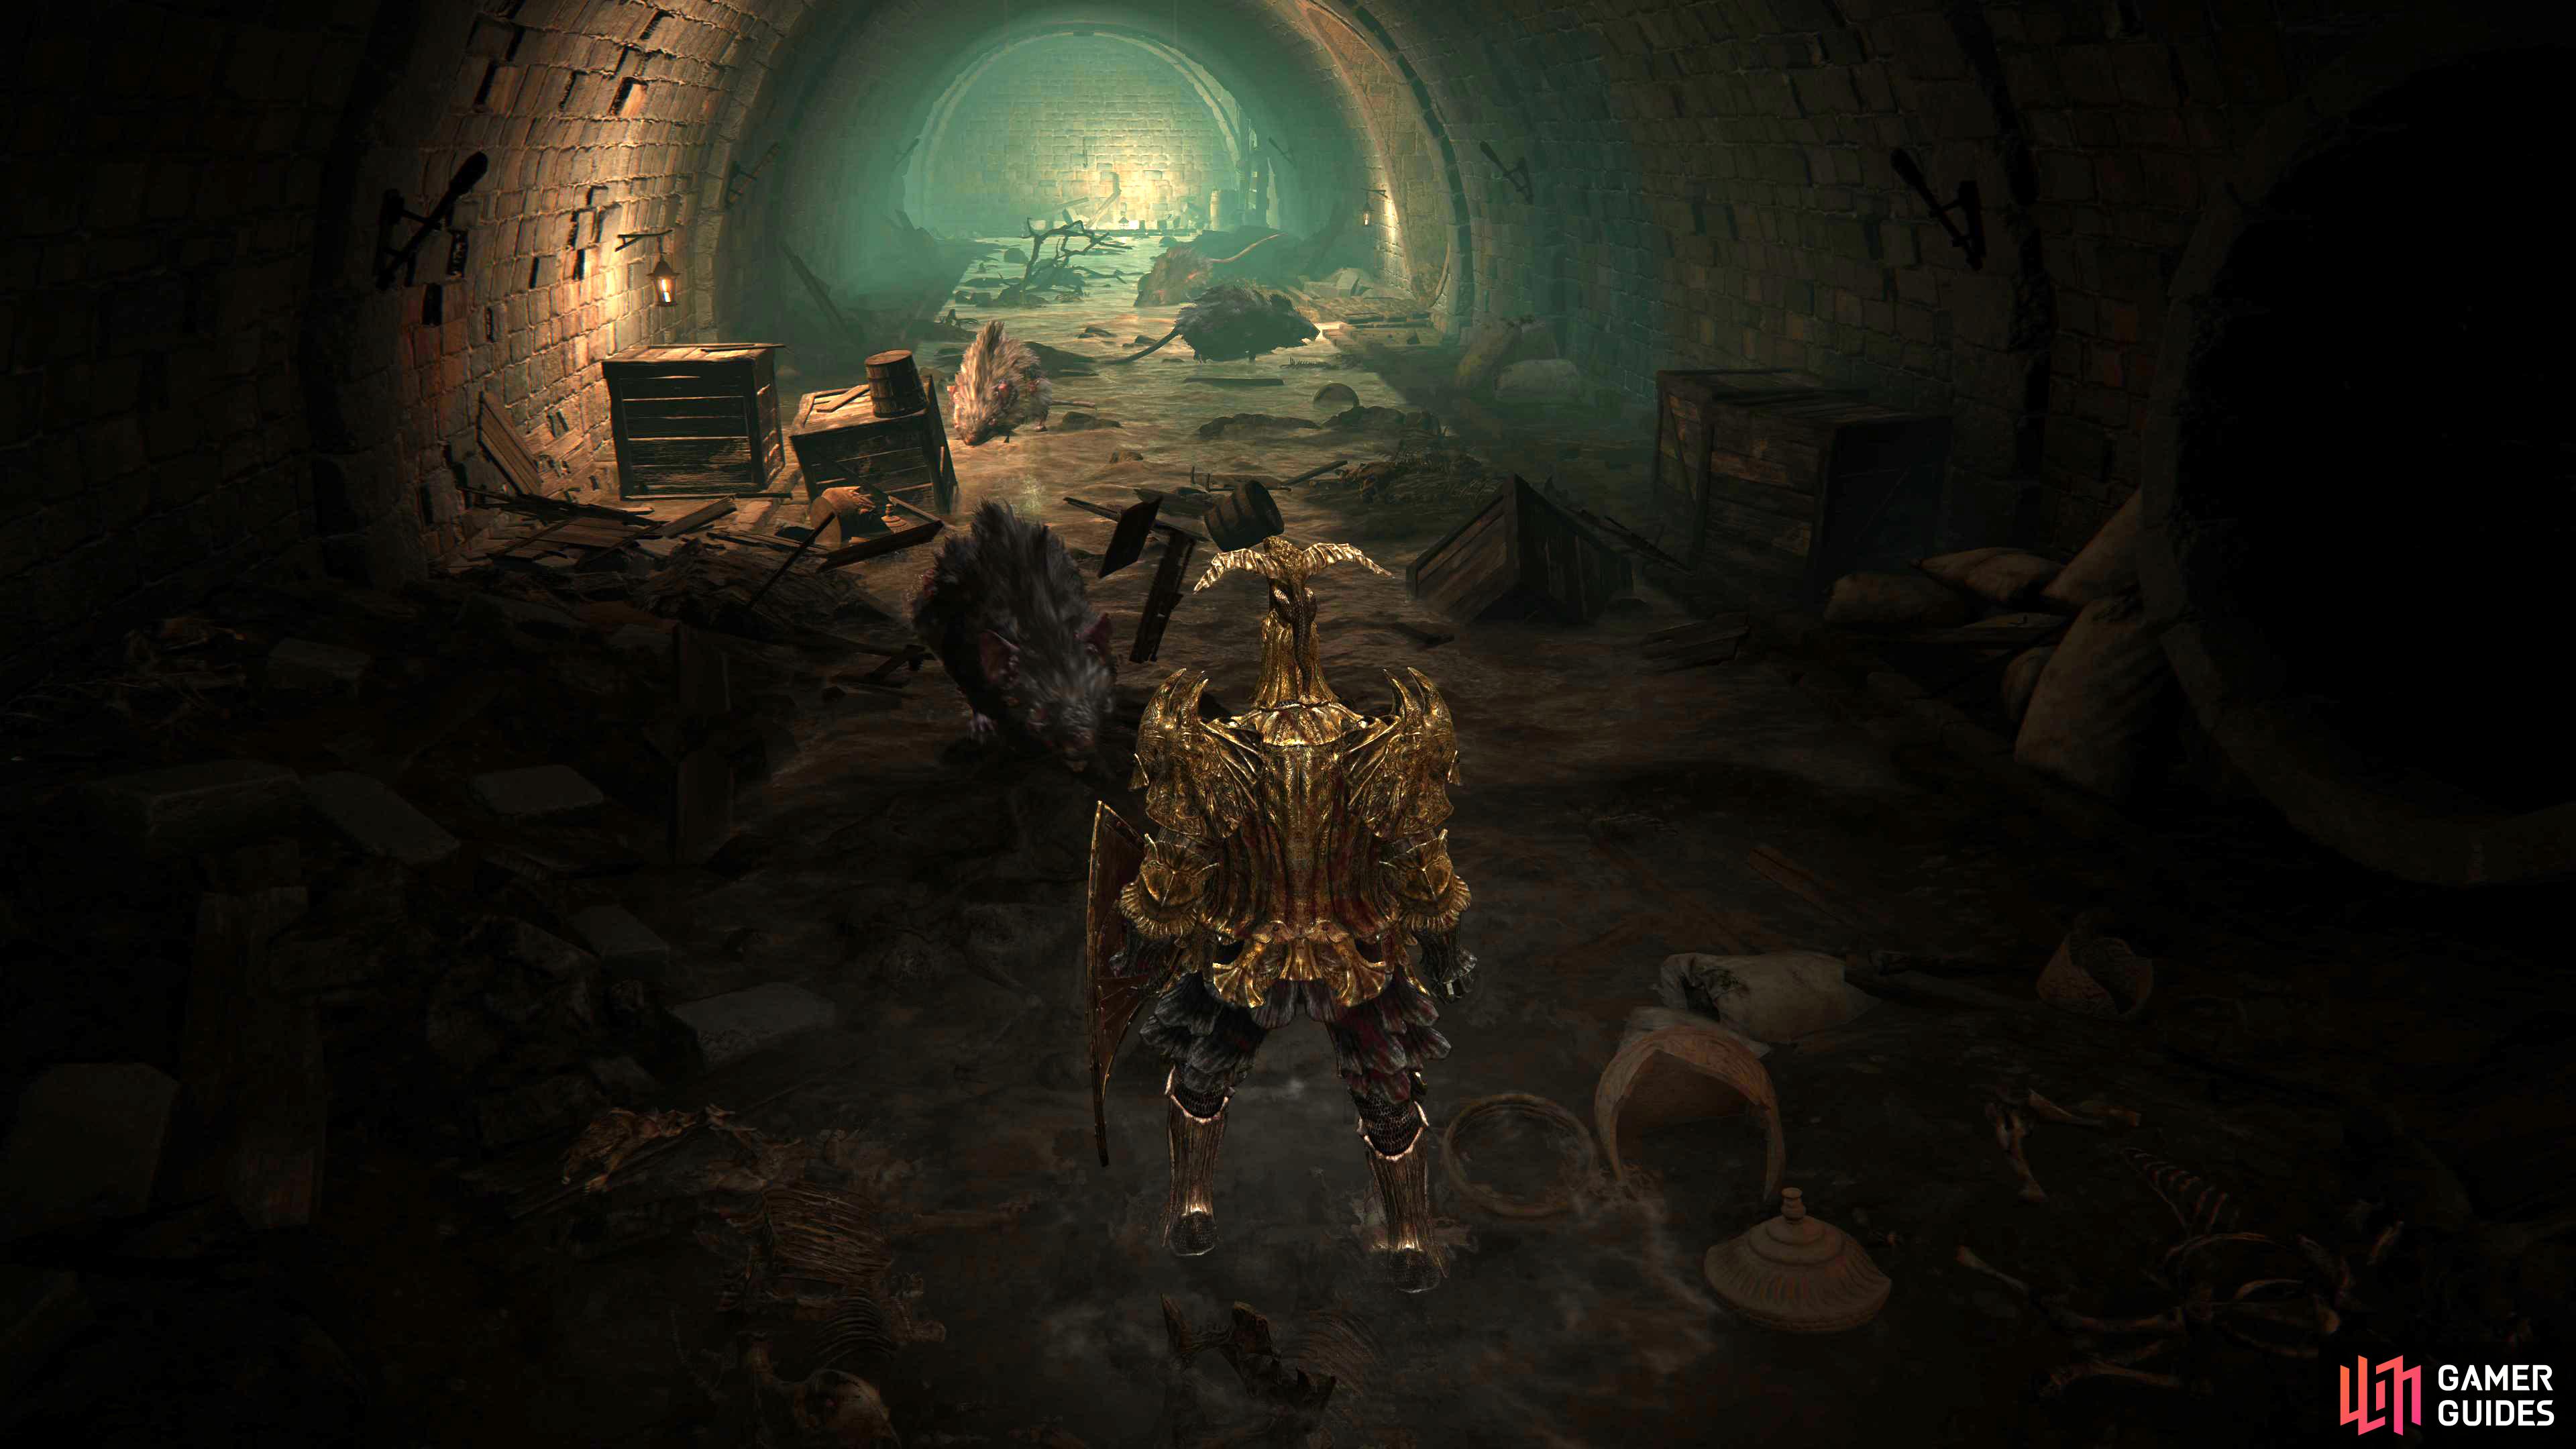

(1 of 2) As soon as you drop the grate, you’ll be in a tunnel full of rats with a tunnel to your right

As soon as you drop the grate, you’ll be in a tunnel full of rats with a tunnel to your right (left), ignore the tunnel for now and continue onwards. (right)
Now take the northwestern path and about halfway up, a rat will be hiding amongst the crates to your left with another three just in front of it. Defeat them and loot the corpse at the end and run past the three large Miranda Flowers to the southwest and climb the ladder at the end. When you reach the top, go around the corner and be wary of the small hand enemies and their larger counterpart just before Dung Eaters cell. Once you defeat these, they won’t respawn, and you’ll be back here a few times if you’re following Dung Eaters quest so take them out now to avoid them hassling you later.
You’ll need the Sewer Gaol Key to enter Dung Eaters cell which you would’ve gotten earlier if you’ve been following his quest line.
With them defeated, unlock the cell to find the corporeal version of Dung Eater who’ll be slamming his bloody head against the wall. Talk and exhaust all of his dialogue before moving on.
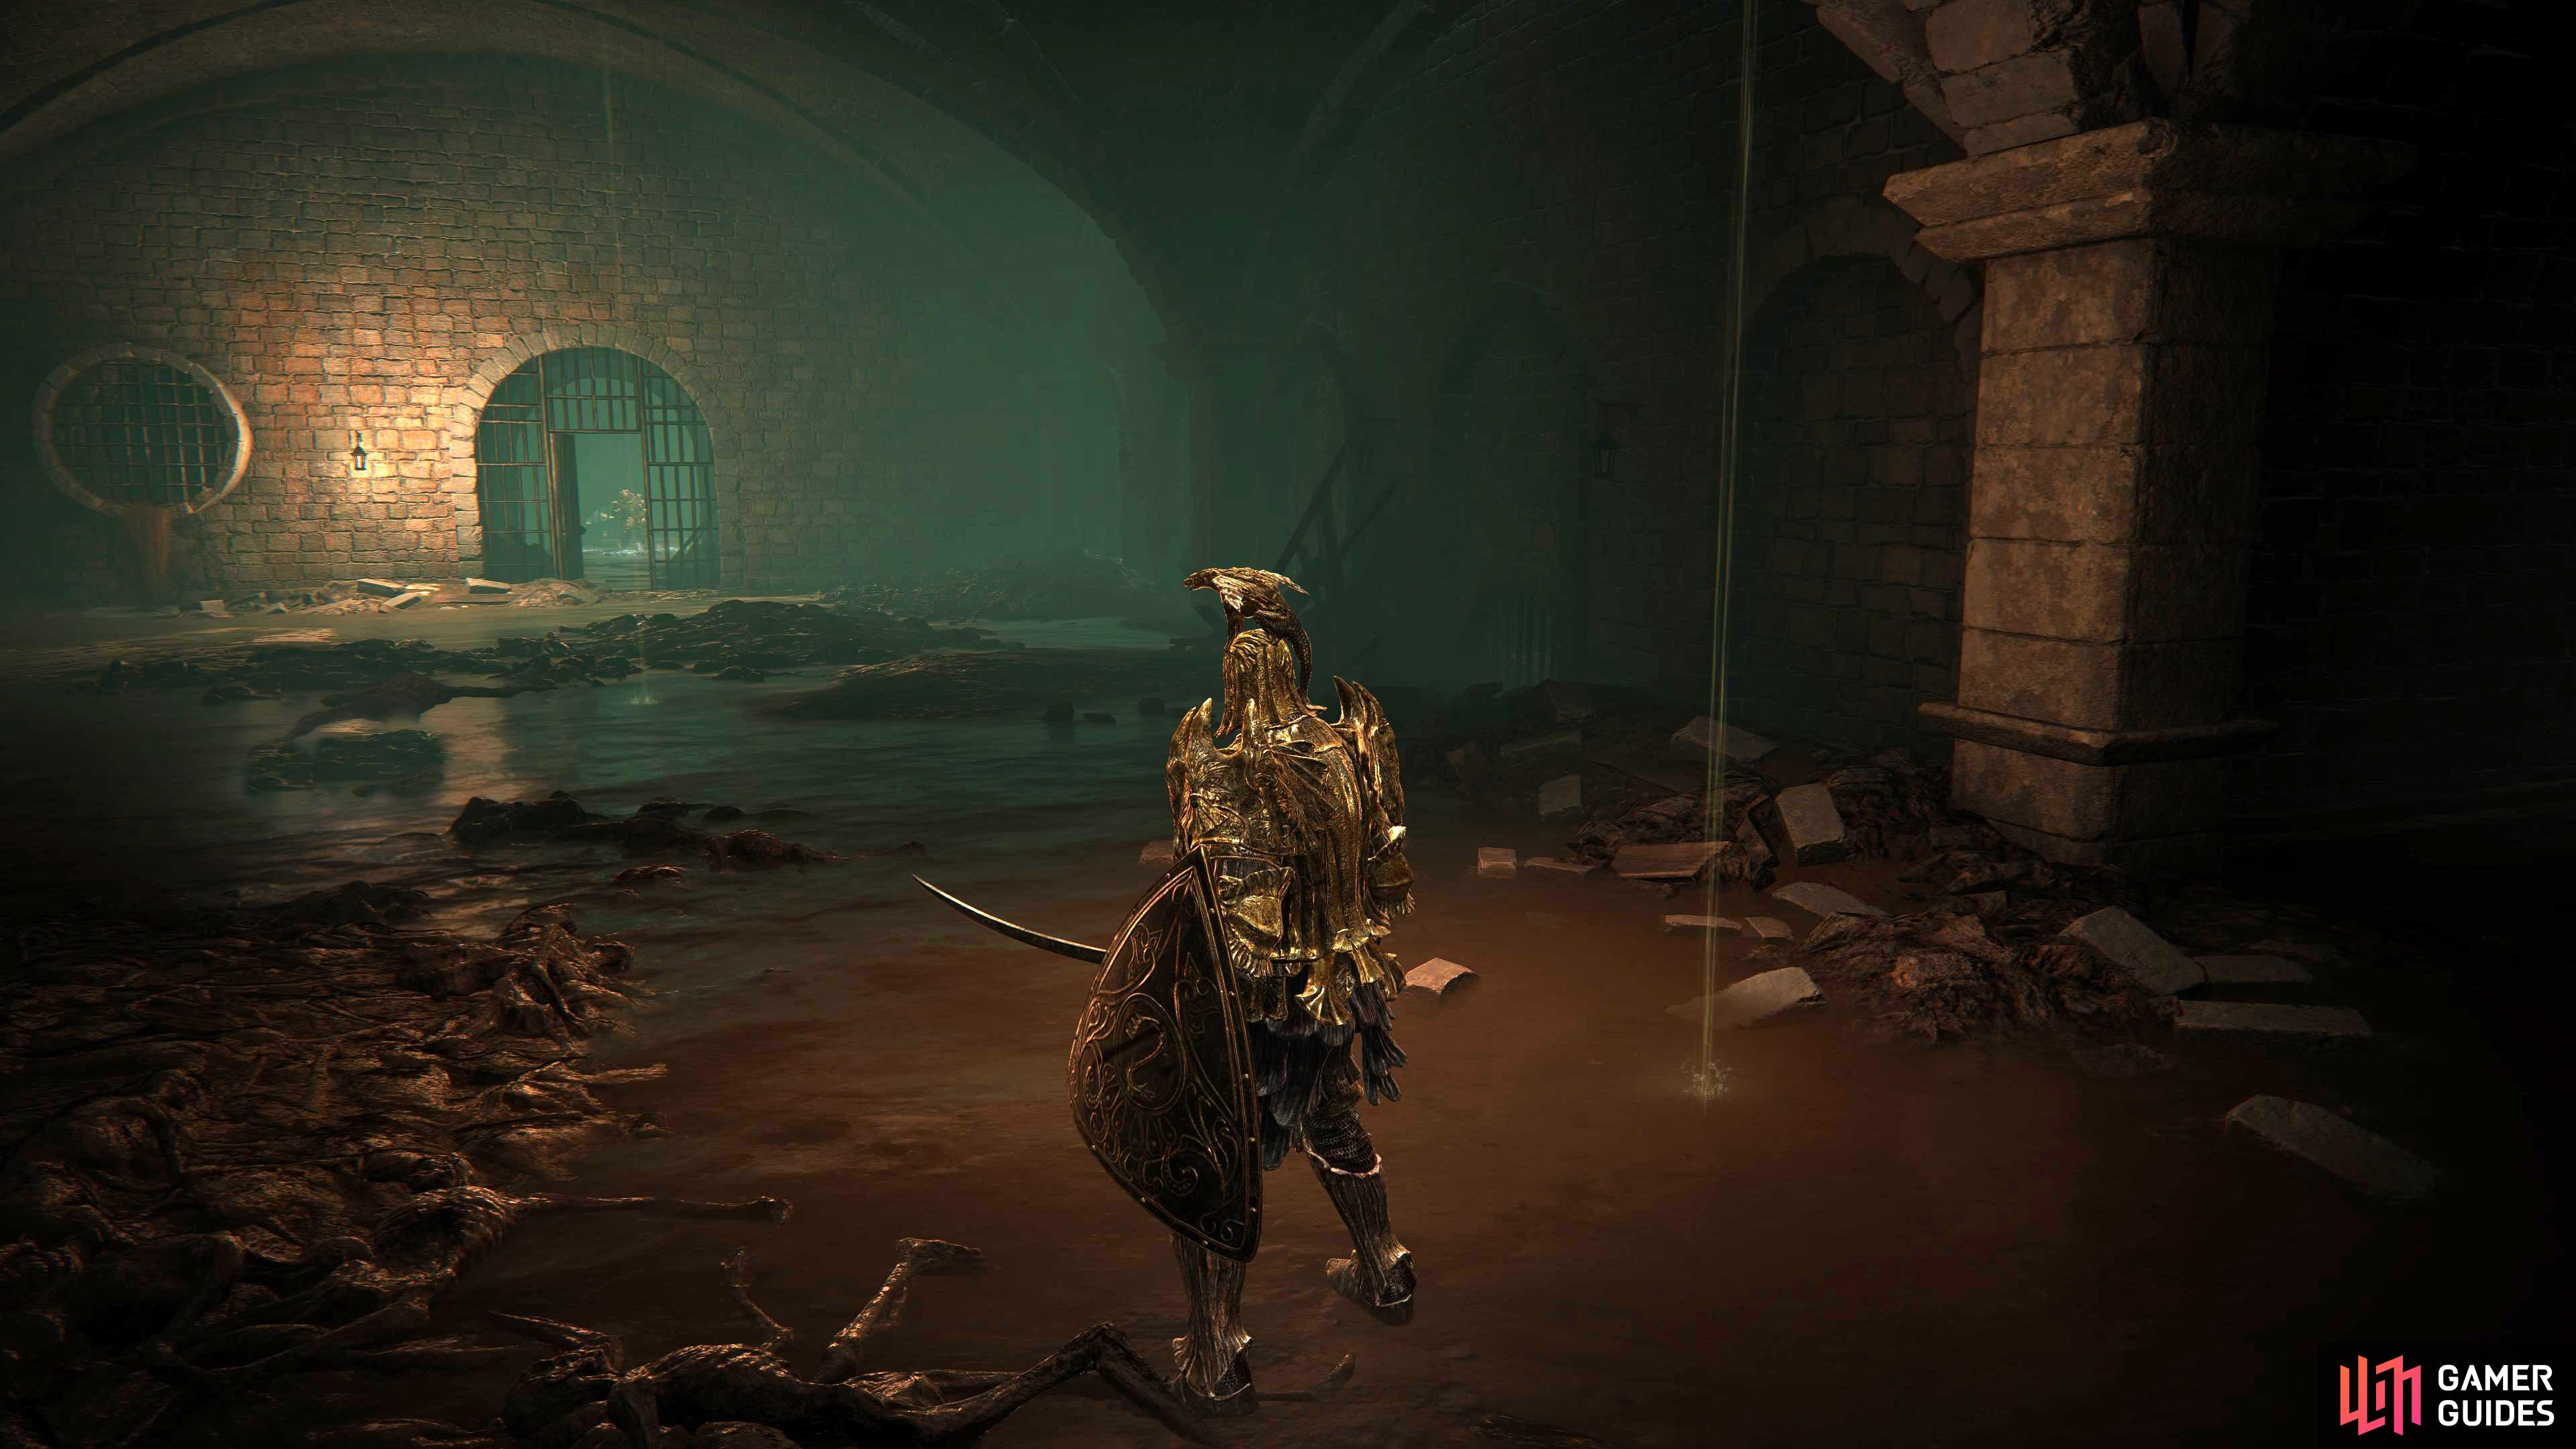
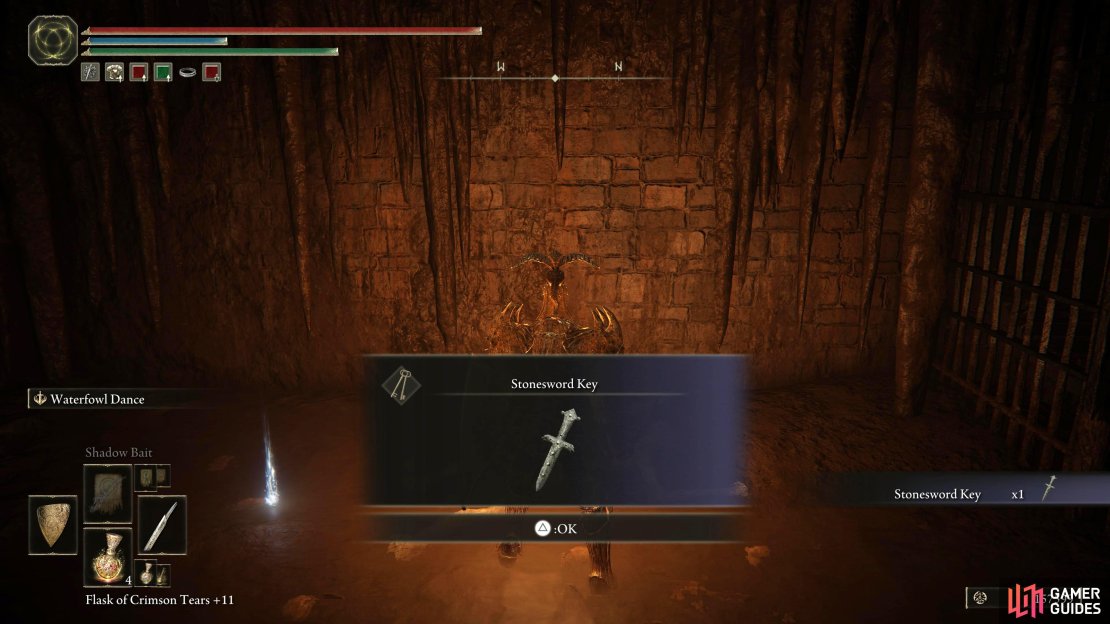
When you’re finished with Dung Eaters quest for now, head back down the ladder you took to get here and past the Miranda flowers until you reach the northeast tunnel to your left. Slowly head through it and when you get around the corner, you’ll find a group of Slugs attached to the walls and ceiling. These are pretty harmless, but they do obscure a hole in the floor. Drop into the hole and follow it around, and open the gate. Continue following the narrow tunnel until you reach an open area with water. There’ll be three Wraith Callers, these are extremely weak to Holy and will mostly attack you with their magic that they conjure from their bells, although they do have a lunge and a melee attack too. Defeat them and collect the Stonesword Key of the corpse at the end and the nearby Grave Violet then open the gate to the southwest.


(1 of 3) As you enter the corridor, there’ll be three Wraiths
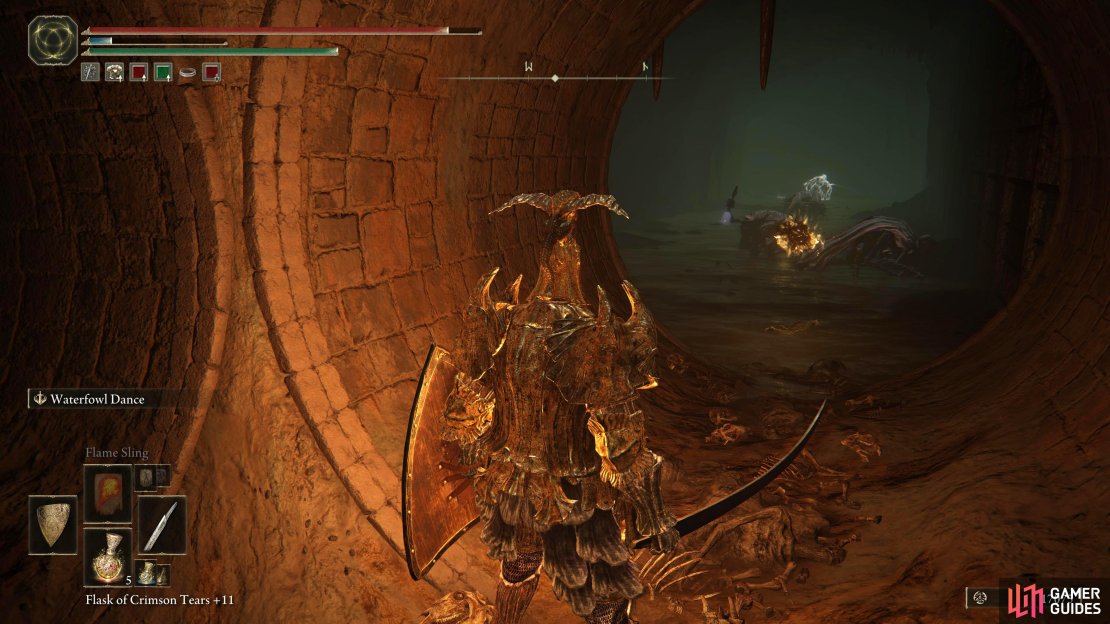
Go through the gate and attack the Wraith Caller hidden to your right then continue up the tunnel until you reach an intersection and take the small tunnel to your northeast. Head left, and follow the tunnel up until you reach another hole. Be warned that by dropping this hole, there is very little reward for a very high risk of death so only drop here if you want to explore every area. When you drop, you’ll be in a large dark area filled with water and corpses. They’ll be two Wraith Callers to your north, a Revenant will spawn behind you.

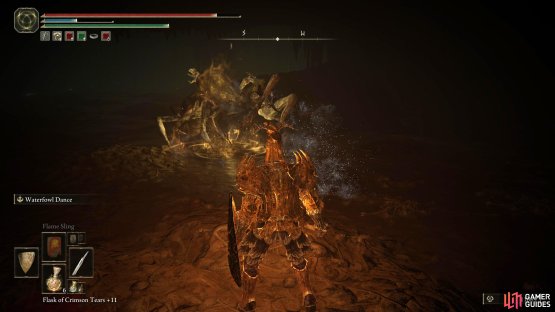
(1 of 2) As you head to the north where the Wraith Callers are, a Revenant will spawn behind you.
As you head to the north where the Wraith Callers are, a Revenant will spawn behind you. (left), If you don’t want to die for some meager trinkets, take the western tunnel to your left as soon as you drop. (right)
These horrific creatures have it all, they can cast poison at you which covers a large area, teleport to another location, breaking your lock-on, they have a lunge to close the distance but worst of all, they have an attack where they’ll attack with their multiple arms stun-locking you to death. The only shining light is that they are weak to Holy and you should exploit this. Dodging is better than guarding for the most part because if you get hit with their combo, it’ll eat all your stamina gauge up, and still have enough attacks to kill you. Your reward for defeating all these will be: a Ghost Glovewort [6] for defeating the Revenant, a Smithing Stone [7] on a corpse and a couple of Grave Violets.
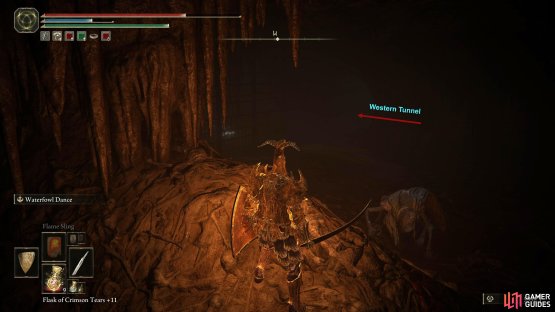
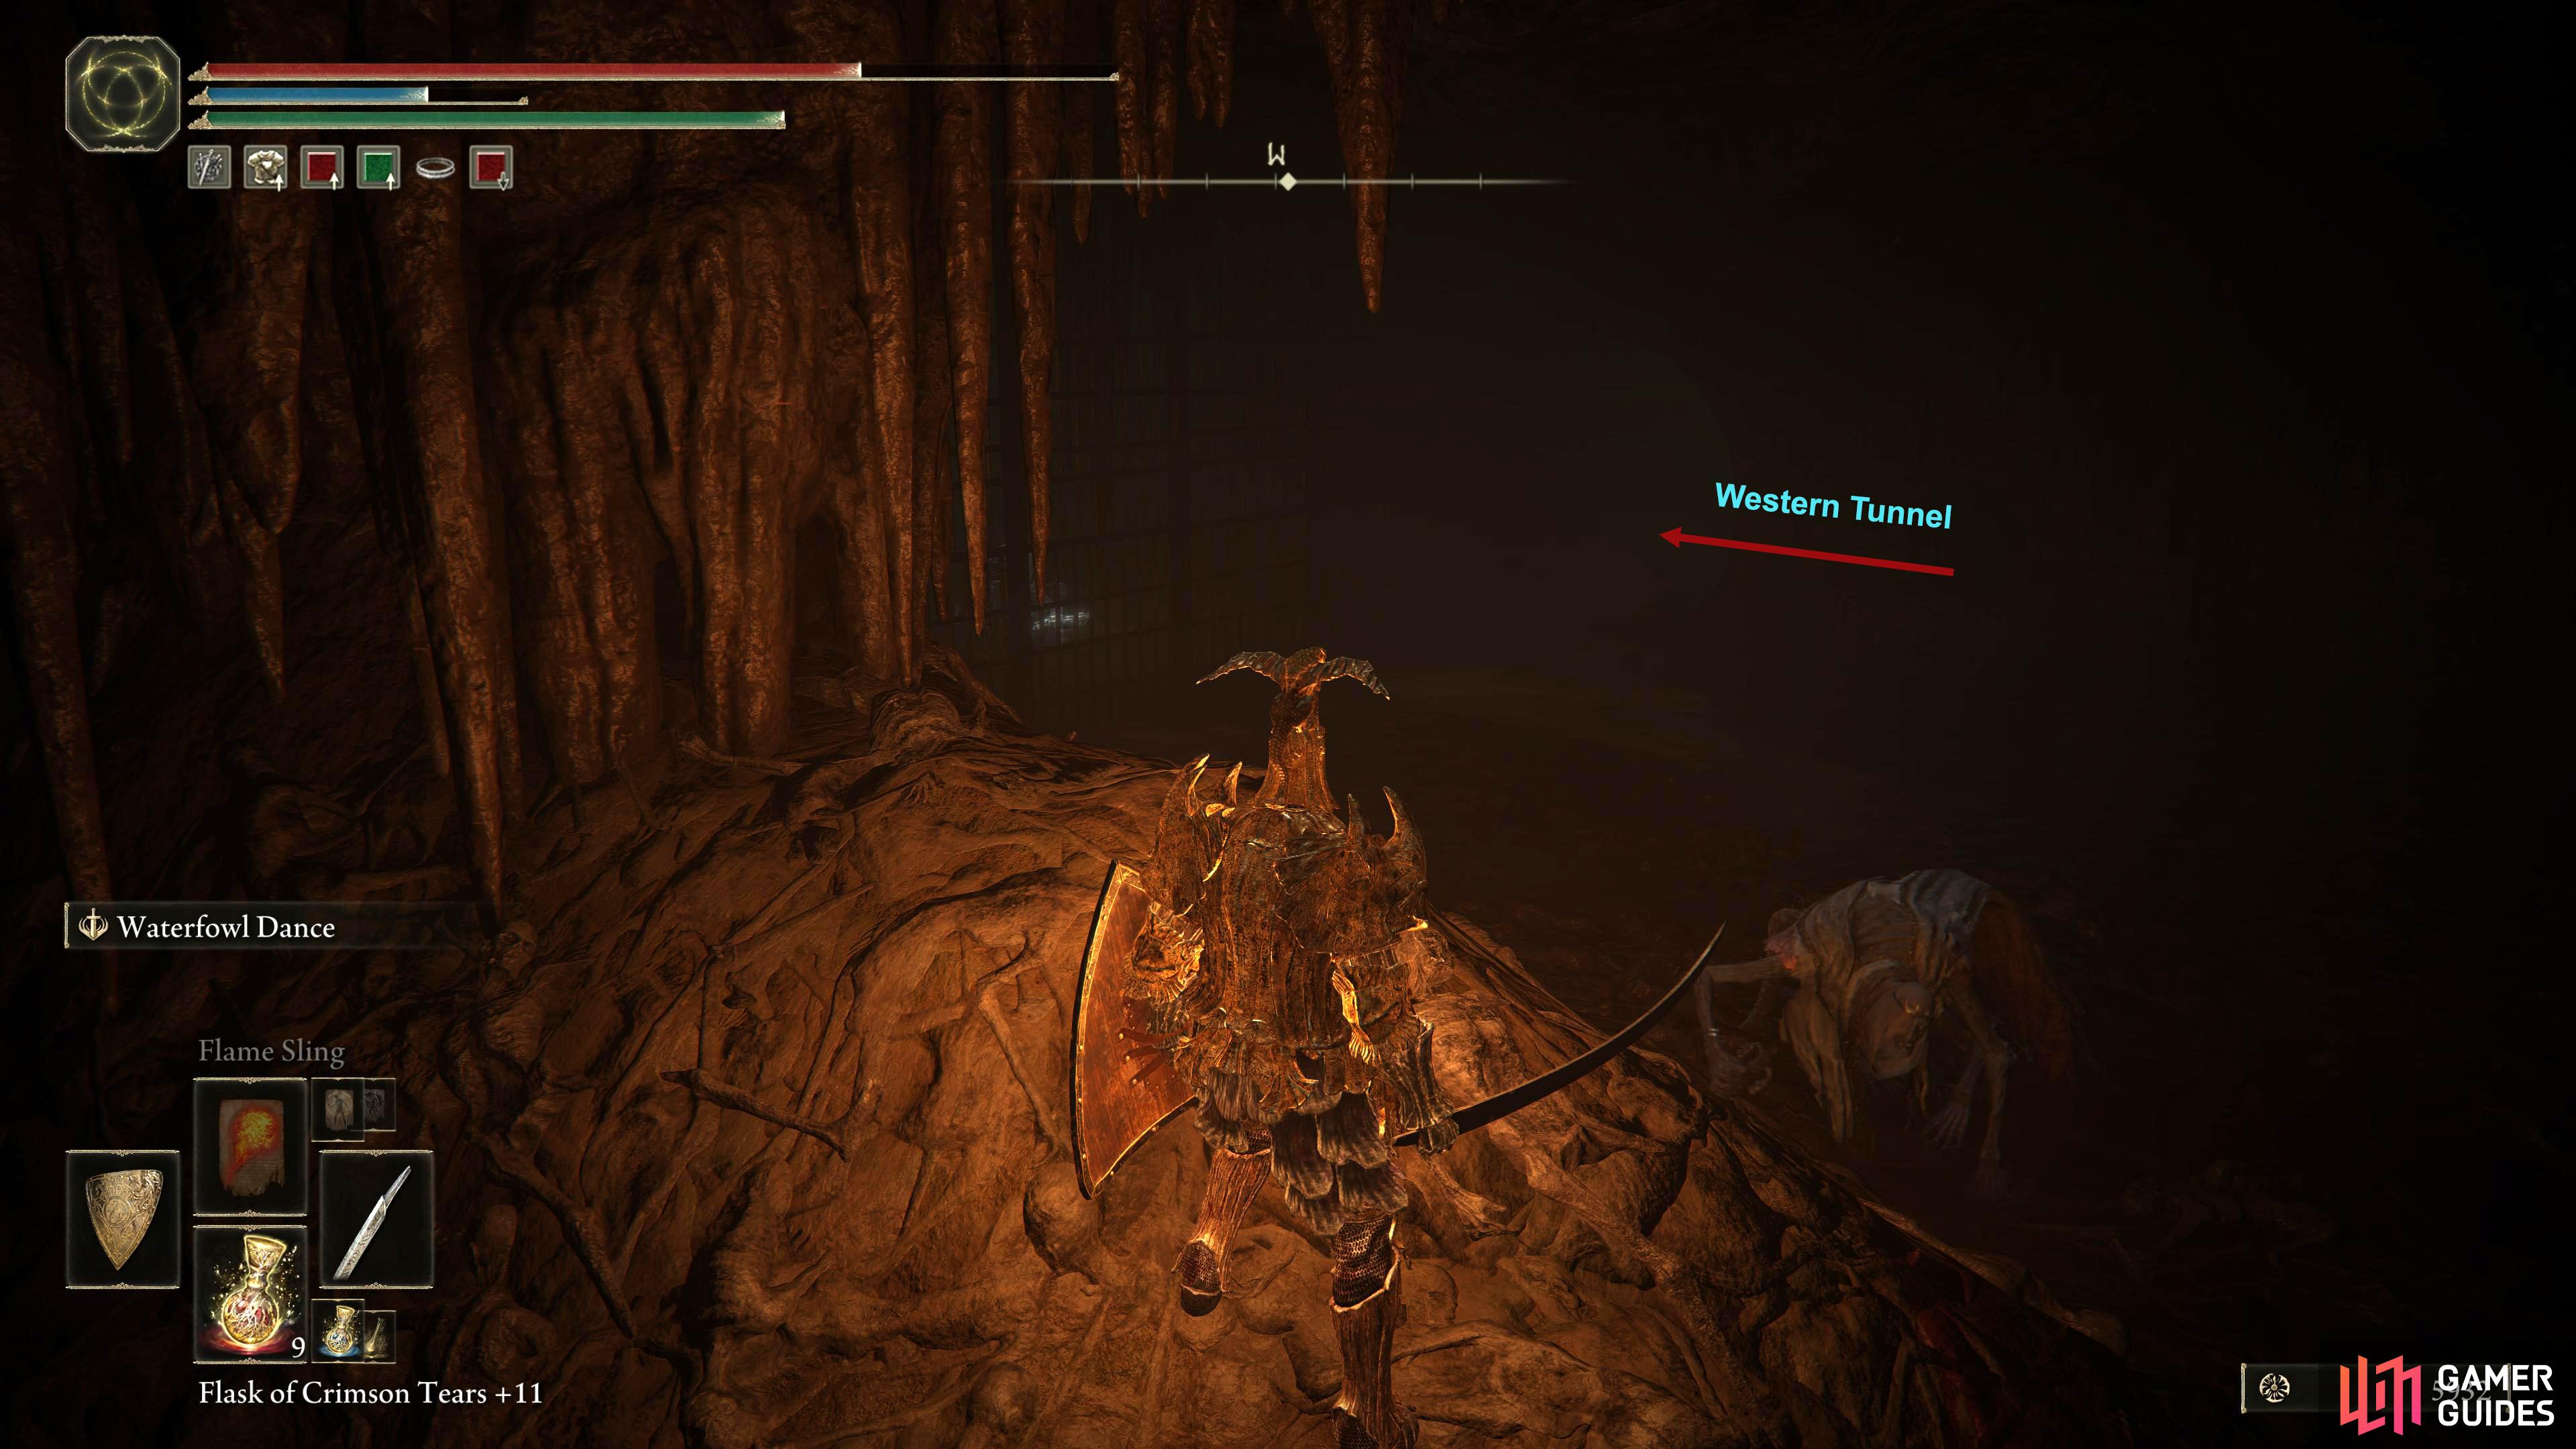
If you don’t want the above items, you can head straight to your west, kill the Wraith Caller, and take the tunnel next to the metal fence which’ll have another Wraith Caller sitting right in front of you. Take it out, and follow the tunnel northeast, then southeast until you reach the gate. Head through the open gateway ignoring/killing the slugs along the way then slowly go down the tunnel heading south.
As you reach the end of it, you’ll find you have a problem, the connecting room will have a ladder in it that you need to go up. The issue is, an Omen is inconveniently waiting above it. The best way to deal with this is to lure the Omen back through the tunnel to where that gateway you just passed is, as it won’t be able to get through. You aren’t entirely safe here either as it can hit you with magic, and its lumbering cleaves can still hit you through the wall. If you have long range weaponry like a Bow, or long range sorceries, you should be ok. Just be wary that you can still die from it here.

(1 of 2) To gain access to the shortcut, you’ll need to get through the Omen first.
To gain access to the shortcut, you’ll need to get through the Omen first. (left), You can lure the Omen all the way back in the tunnel by the open gate, and it won’t be able to get through. (right)
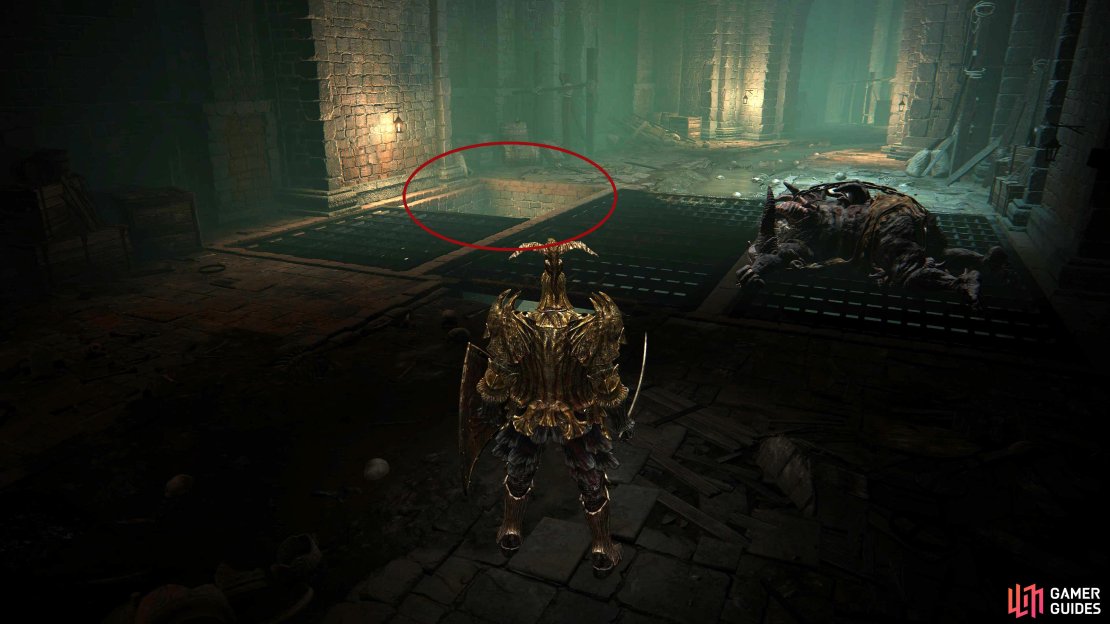
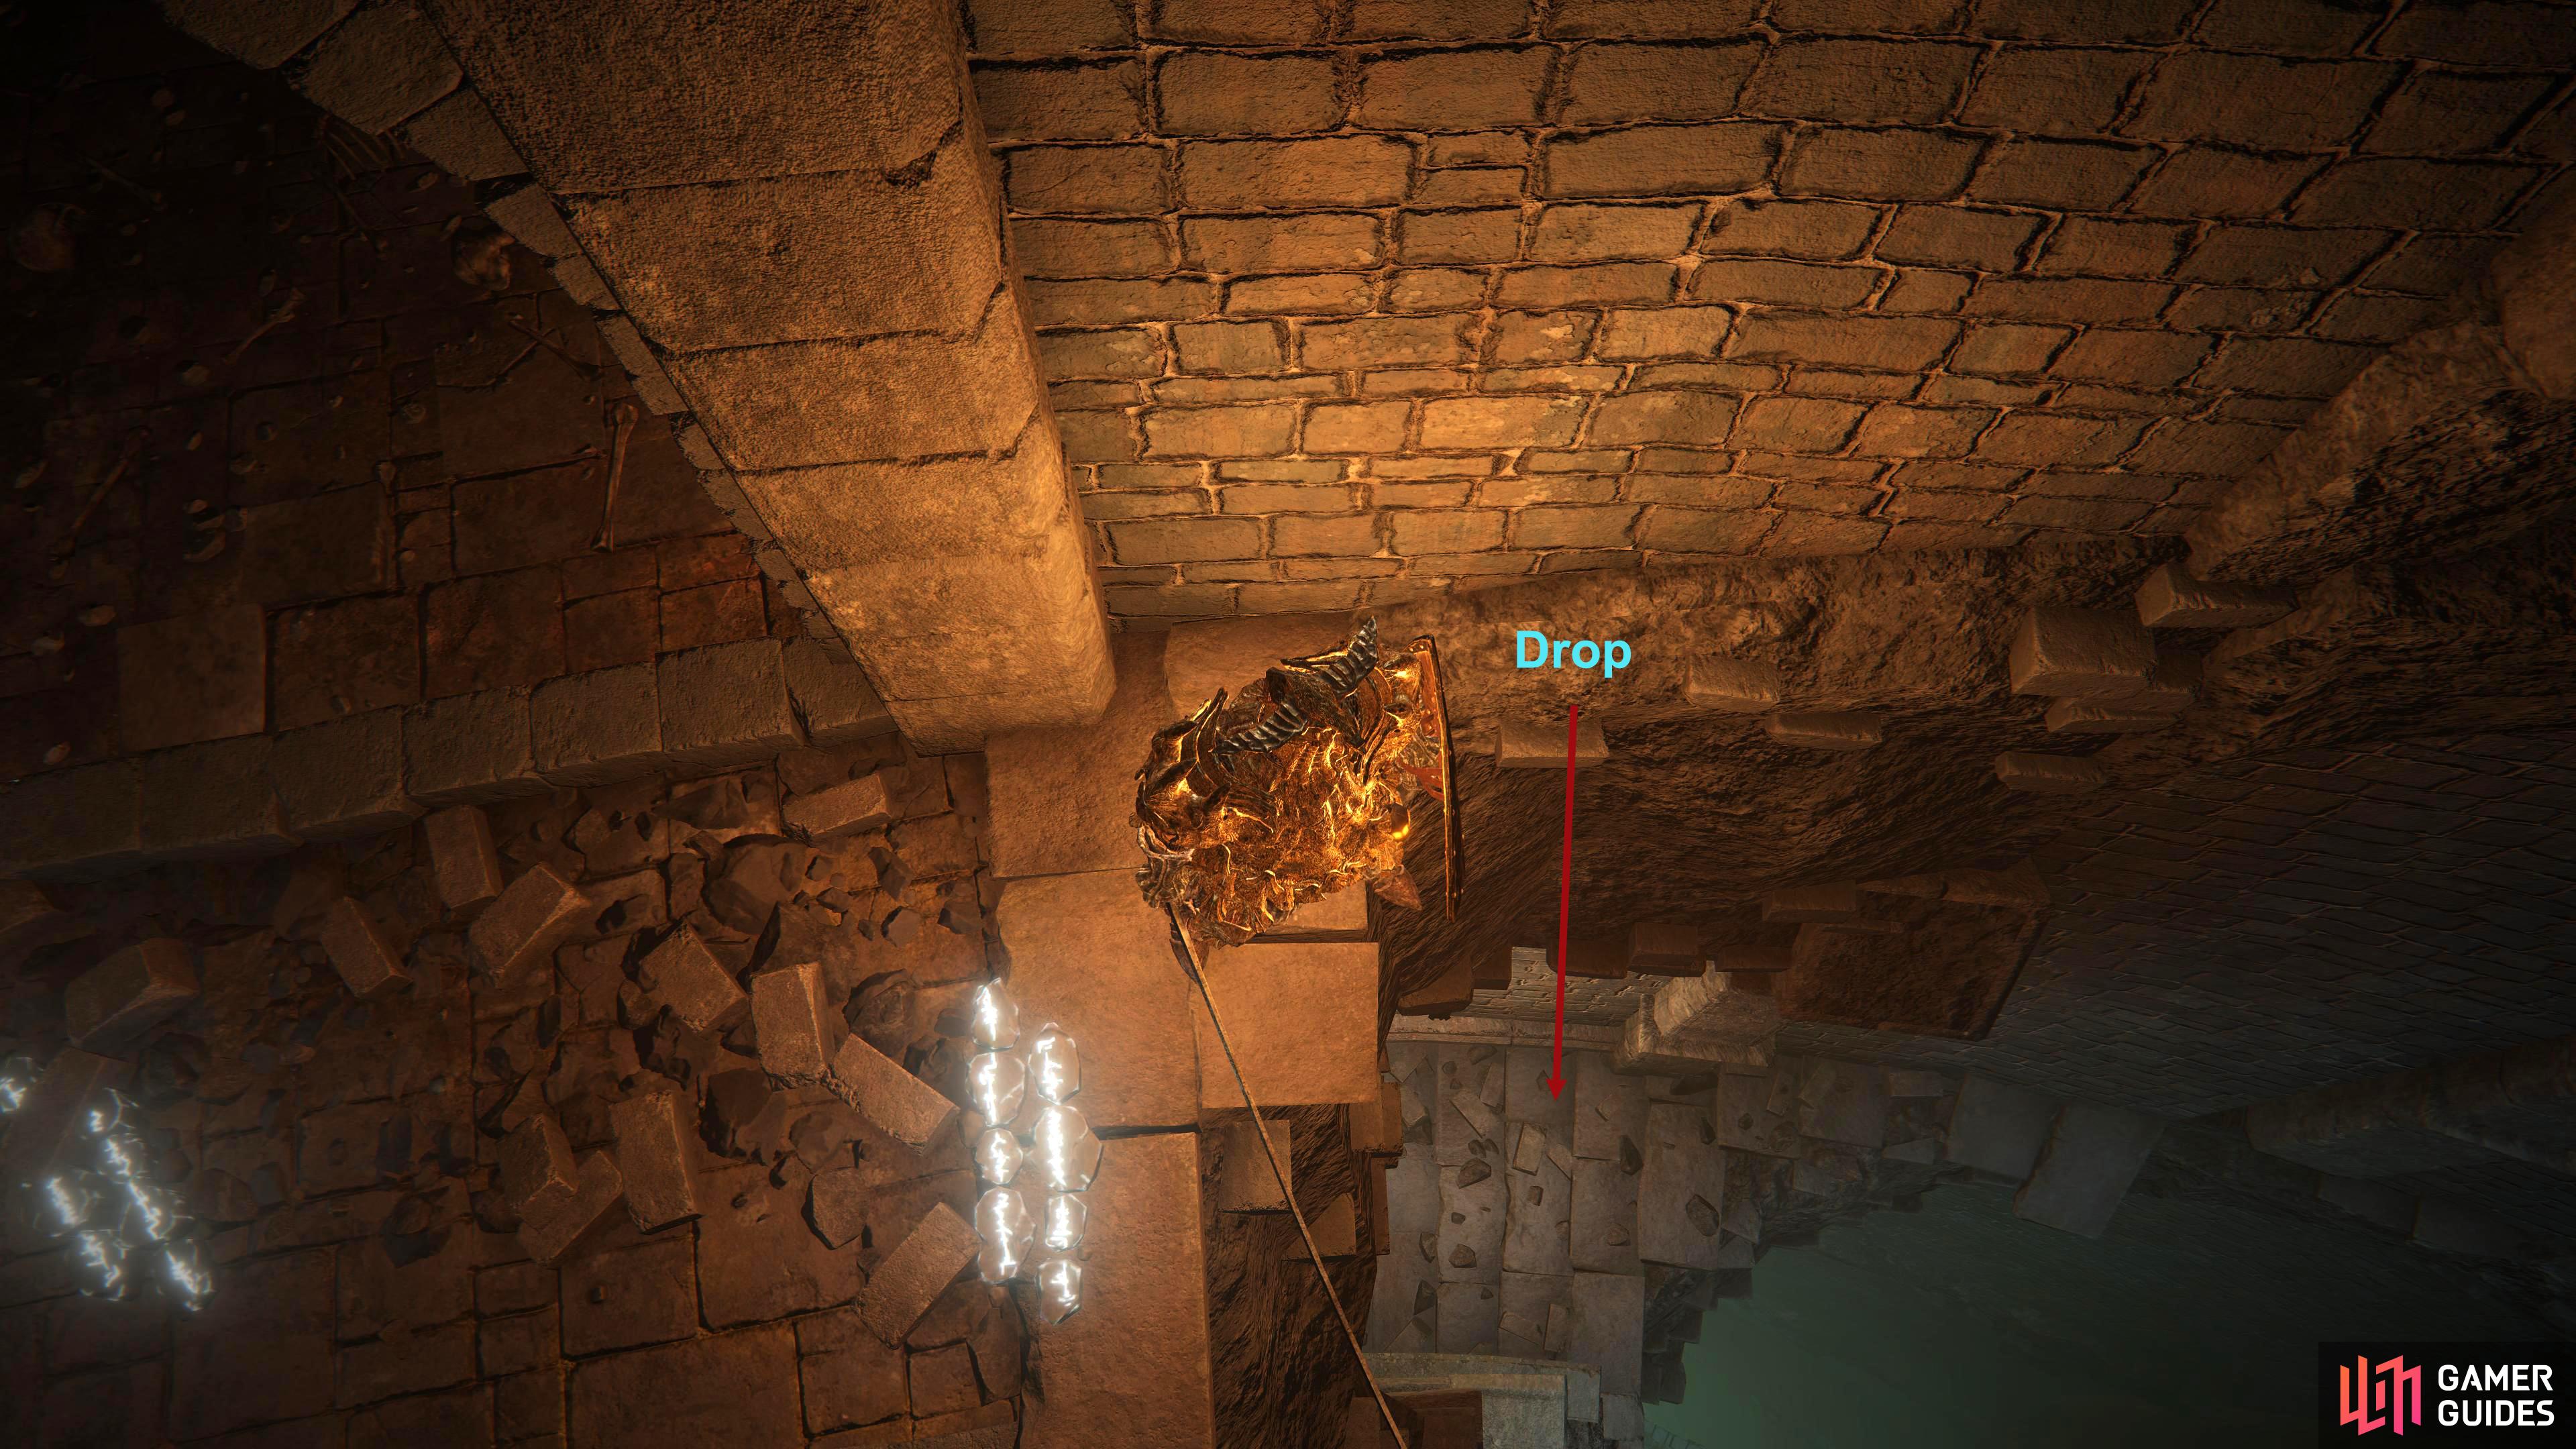
When you’ve defeated the Omen, loot the corpse in the water for a Somber Smithing Stone [8] then climb up the ladder to the top. When you reach the top, be aware of the two Omens through the doorway to your left standing near the statue. The item underneath it is a Smithing Stone [7] so choose if whether it’s worth risking your life for it. Instead, you may want to immediately sneak to the right and unlock the shortcut first by interacting with the lever on the left side of the gate. This’ll allow you to run through the gate from the Underground Roadside site of grace instead of dropping the grate, allowing you to cut out all that sewer section you’ve just done.
How to get to Mohg, the Omen boss
Now that you’ve got the shortcut open, and you’ve healed up. Head back to the gate you opened and open the double doors to the right of the two Omens and head into the next room. Follow the winding stairs to your right down, killing the two enemies on your way and loot the corpse at the end for a Grace Mimic. This is a dead-end, so head back to the top of the stairs and look over the eastern edge and drop to the platform below.

(1 of 2) As soon as you enter the area, you can drop to your left onto the platform below.
As soon as you enter the area, you can drop to your left onto the platform below. (left), This tunnel will be occupied by undead and poisonous flowers. (right)
Turn around and follow the stairs down and defeat the Teardrop Scarab for a Somber Smithing Stone [6] and defeat the undead at the end before going into the archway to your right. Follow the narrow corridor, and loot the corpse for a Warming Stone. Now head to your left whilst defeating any undead and Miranda Flowers on your way until you reach the doorway into another room, as you exit the doorway be wary of the Miranda Flower to your left as you enter the new area.
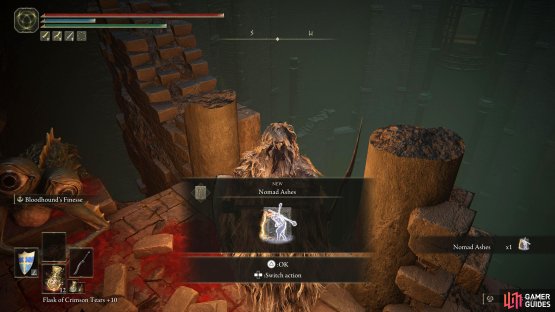
Pick up the 2x Fire Grease before heading down the stairs to the left of the door, and you’ll have a couple of areas to explore. One down the ladder in front of you, the other being behind the stairs, into some more tunnels. The ladder will lead to a Giant Miranda Flower and three Basilisks. The Flower will poison you whilst the Basilisk will throw death blight dust at you, and if that gauge gets fills up, you’ll instantly die so make sure you have some Rejuvenating Boluses on you. Behind the Miranda Flower is a corpse with 8x Poisoning Stones and just past that will lead you to a dead-end in the area with some broken stairs. Before looting the corpse in front of you be wary that there will be another Basilisk here trying to surprise you, loot the corpse for the Nomad Ashes Spirit Ash.

(1 of 2) Take the ladder down into the Basilisk and Miranda Flower infested tunnel and follow it until you reach a what looks like a dead-end.

Take the ladder down into the Basilisk and Miranda Flower infested tunnel and follow it until you reach a what looks like a dead-end. (left), There, you’ll find a corpse, but before grabbing the loot, watch out for the sneak Basilisk hiding to the right. (right)
As this is a dead-end, head back up the ladder, and go through the lit-up alcove next to the stairs and pick up the Preserving Boluses from the corpse. If you hated your battle with the Basilisks earlier, you’ll be glad to know that these tunnels are filled with them. Head through the tunnel, and as you approach the top of it, you’ll be ambushed by a Basilisk, attack it from range if you can or be aggressive and take them out before they can spew any of that vile death blight at you.
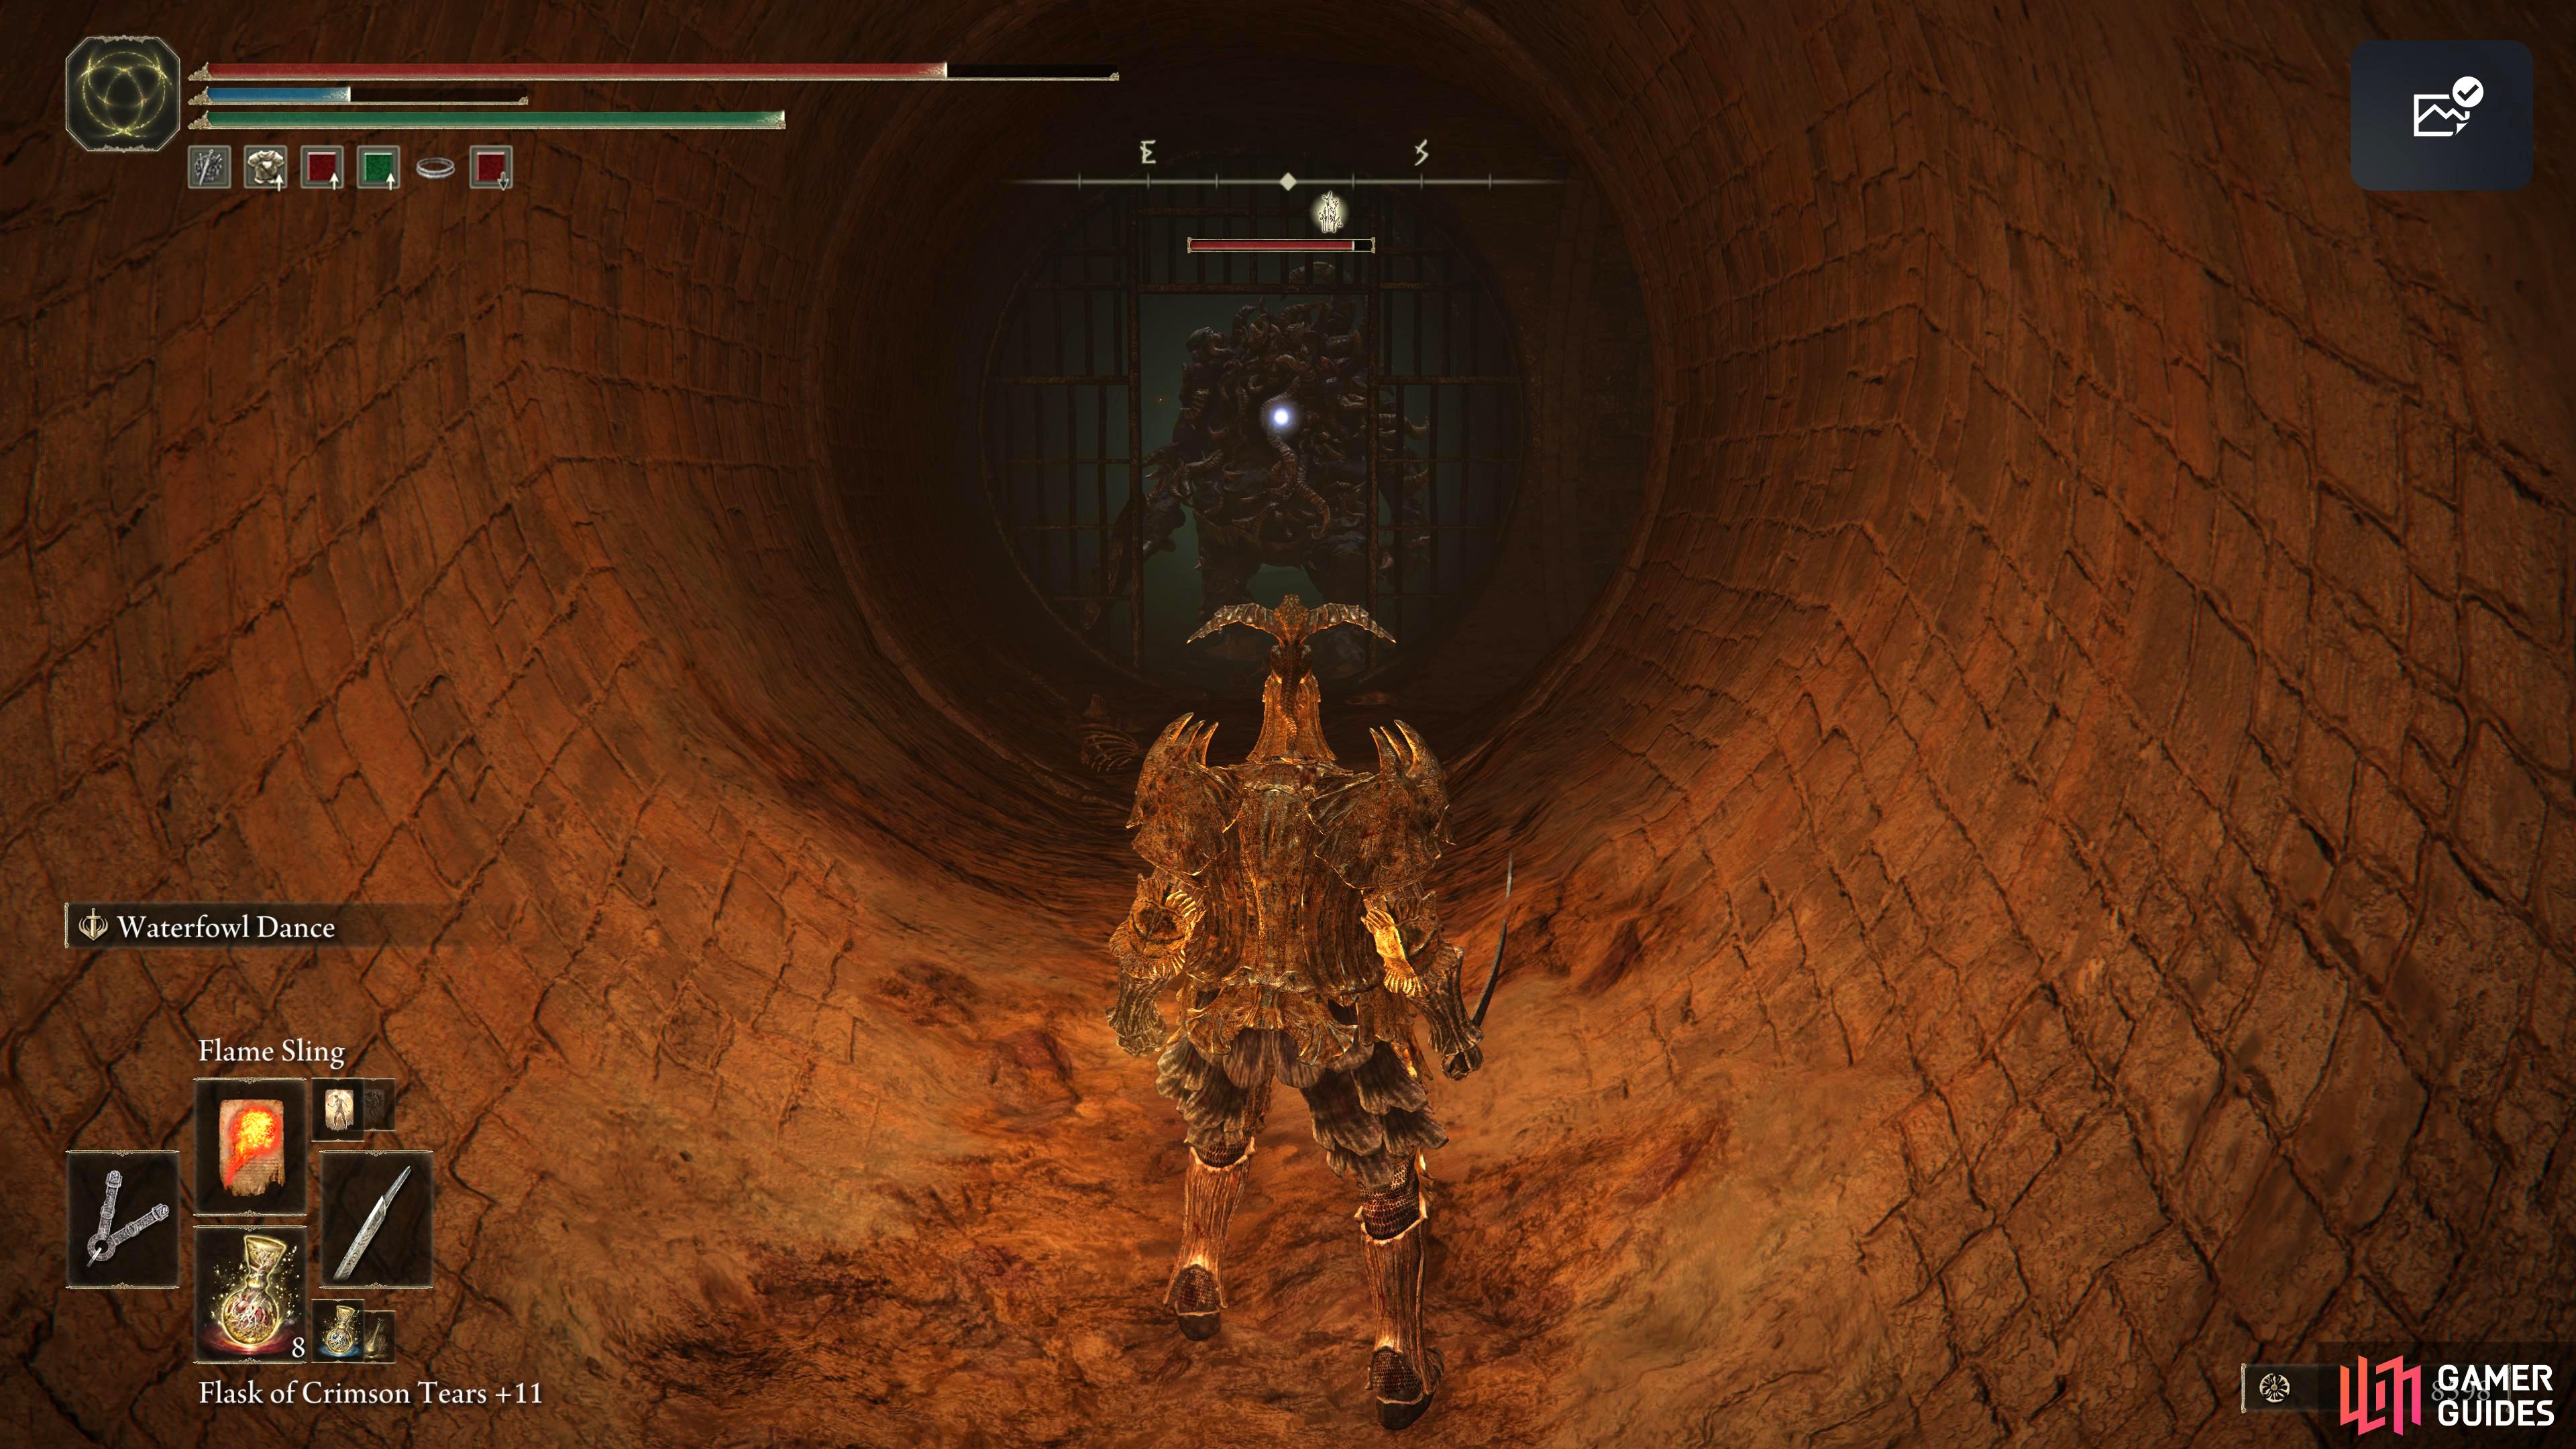
A little further forward, another Basilisk will attack you from the right, as well as a rather uninterested undead standing next to a gate that’ll act as a shortcut later. Continue southwest and another Basilisk will be sitting at the end. Take the only tunnel you can to the northeast, and you’ll be in a large open room with an Omen in the middle of it. Get its attention, and when it casts some magic at you, sprint past it and climb the ladder at the back.

(1 of 4) After heading back up the ladder, go through the gate next to the stairs.
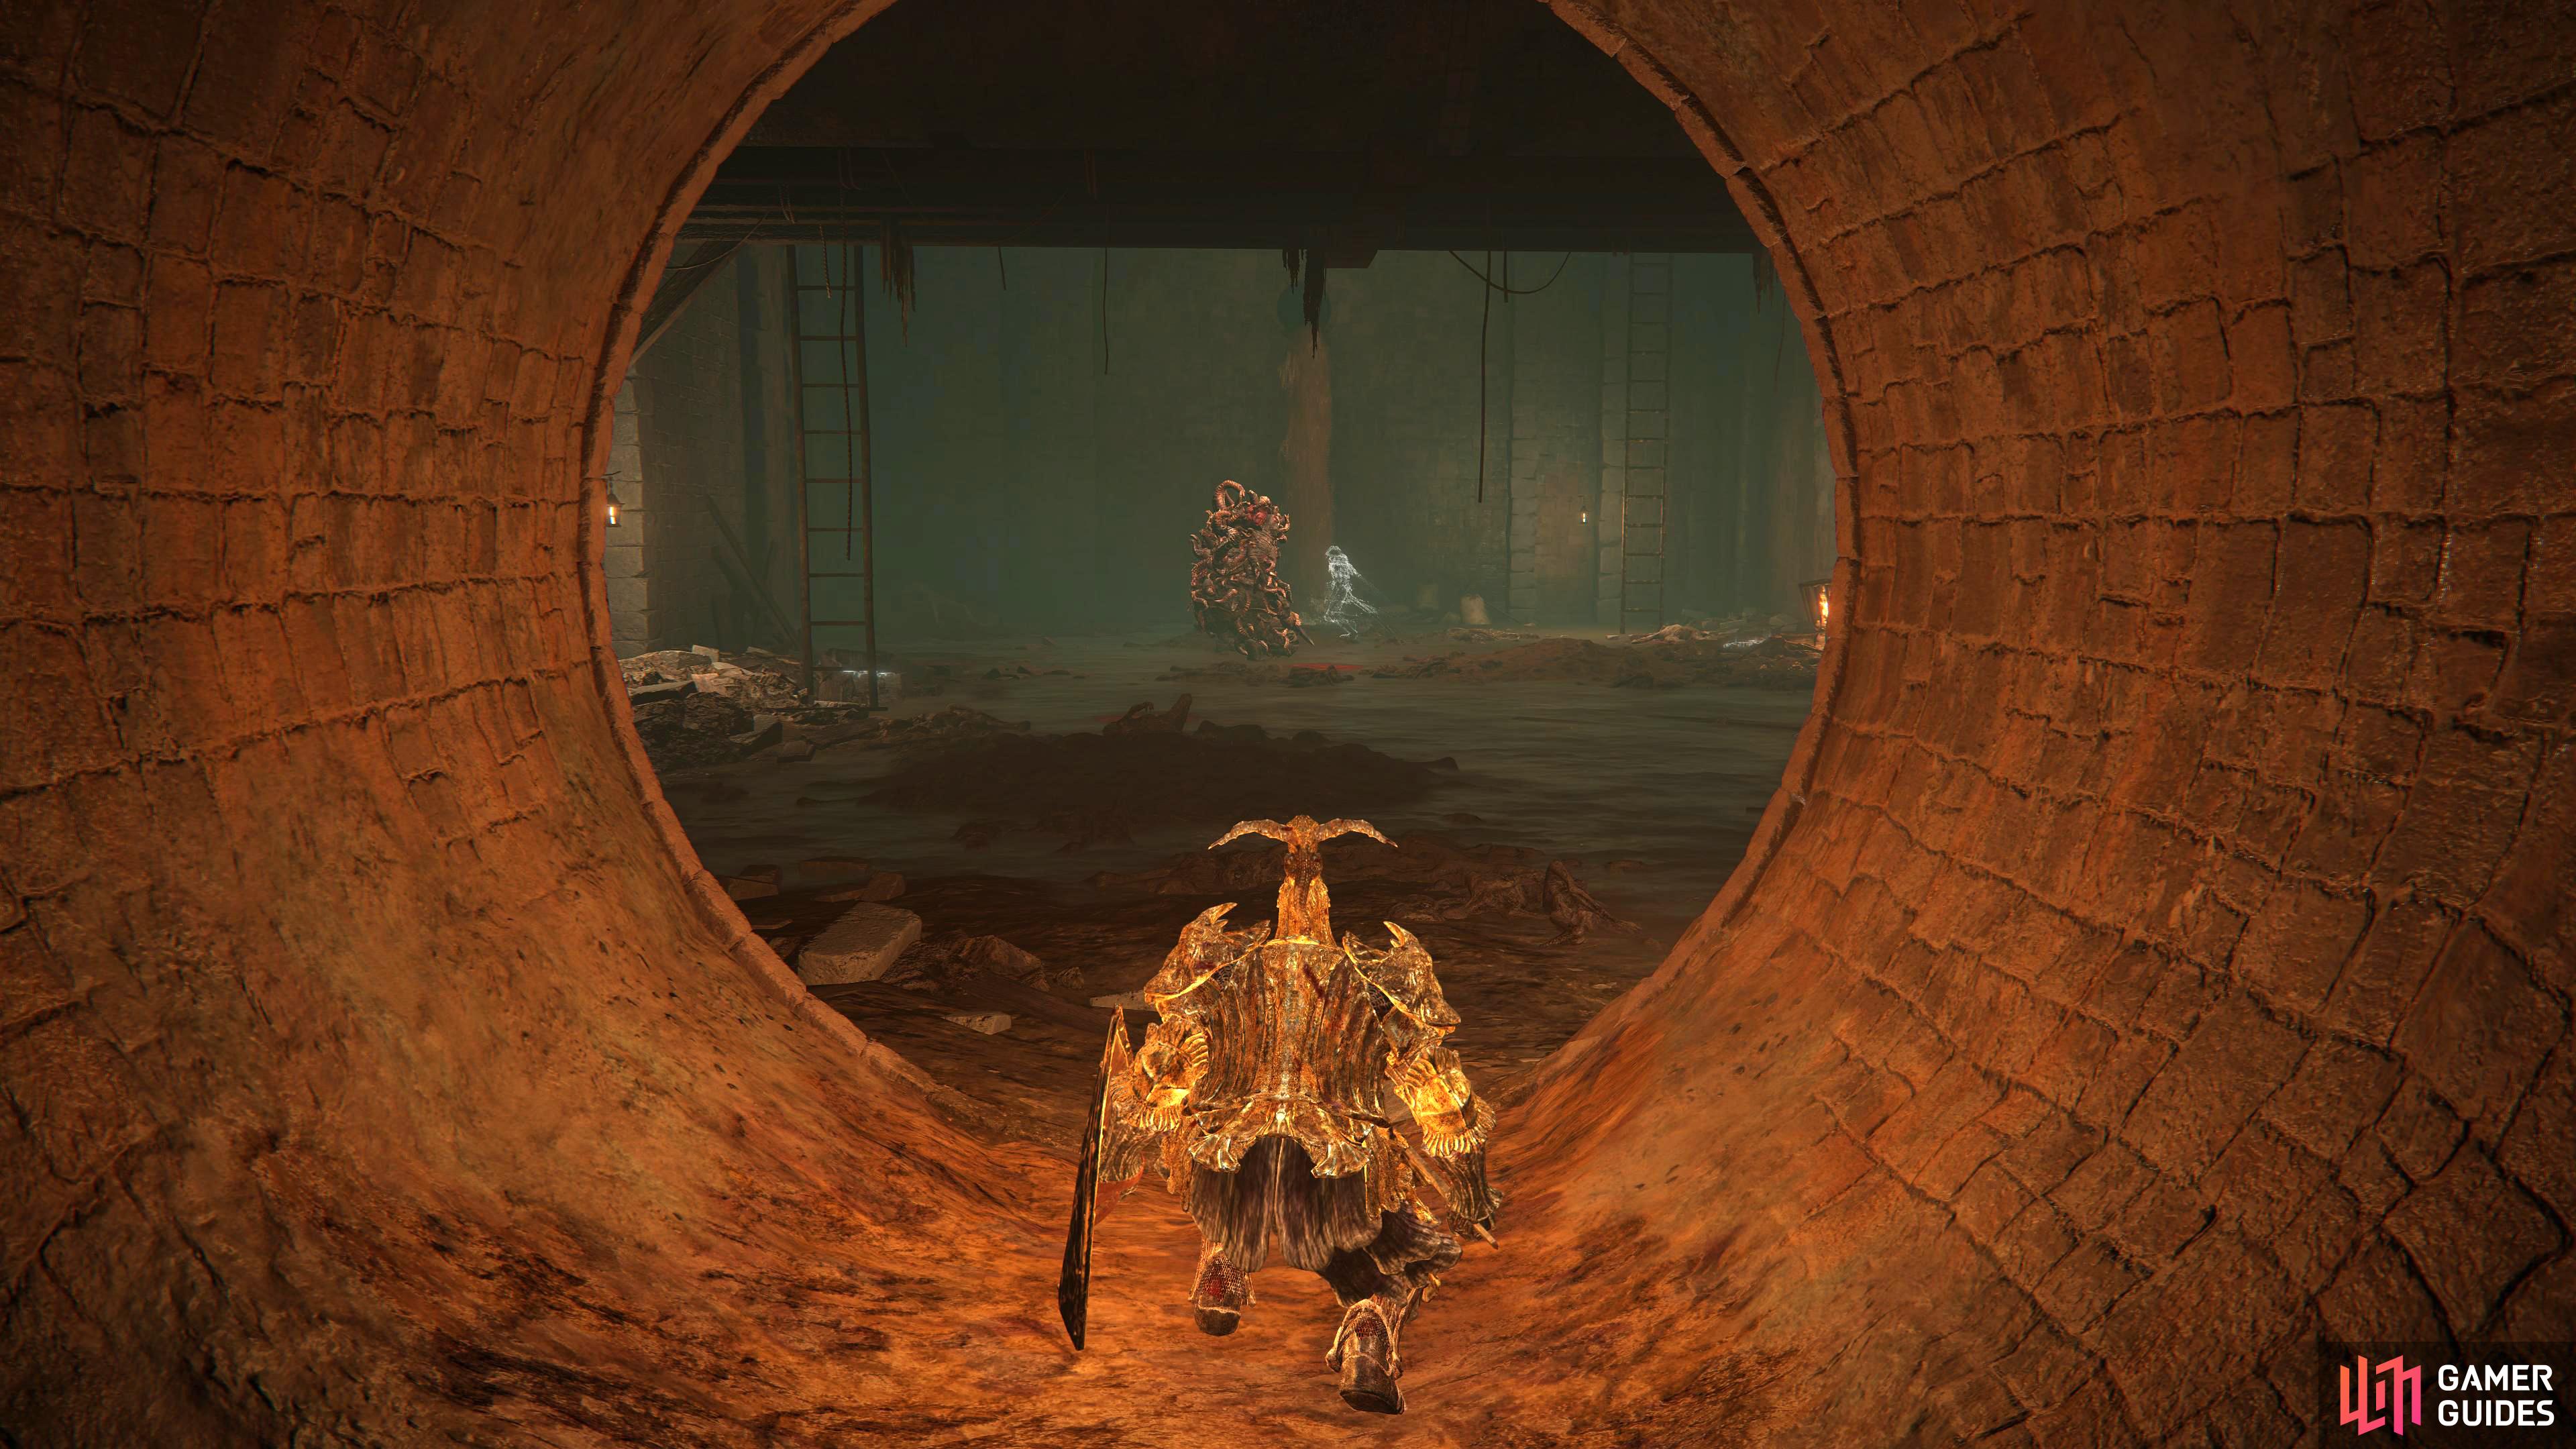
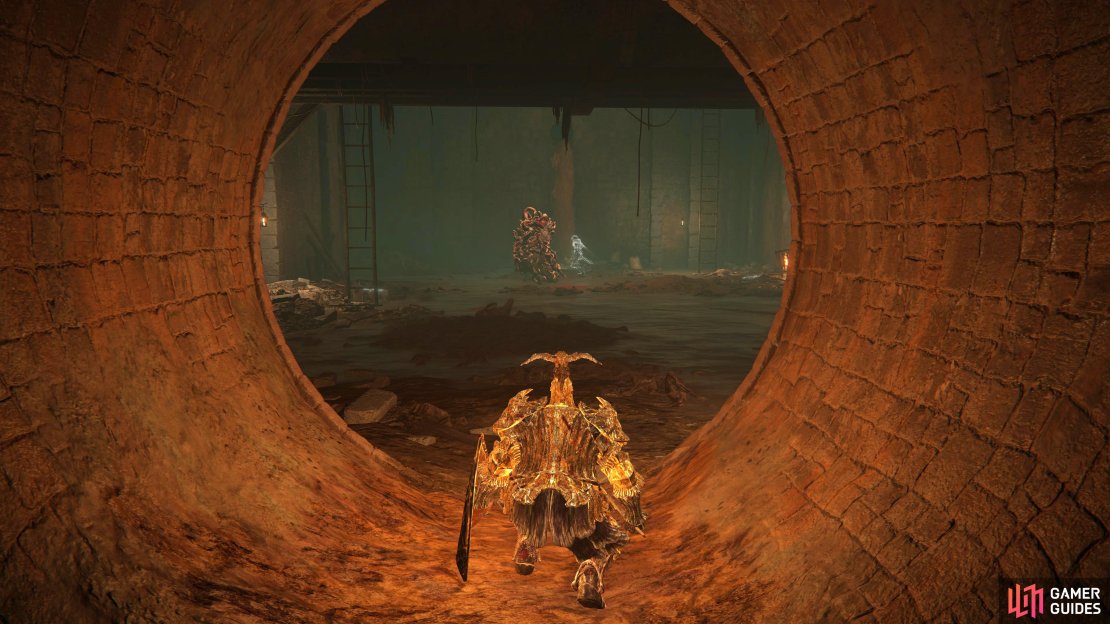
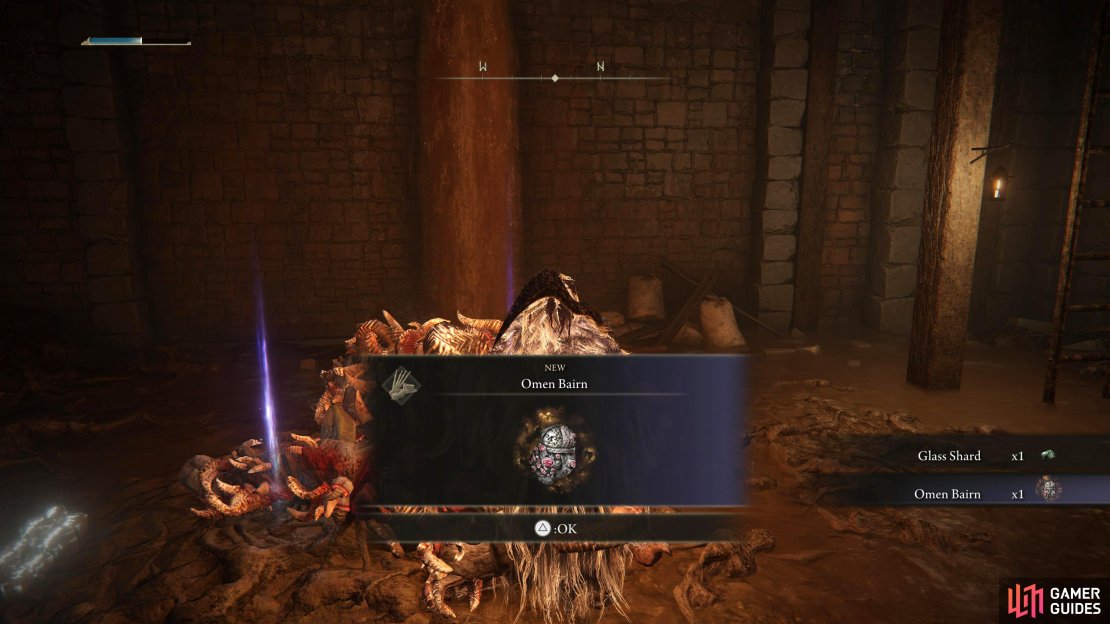
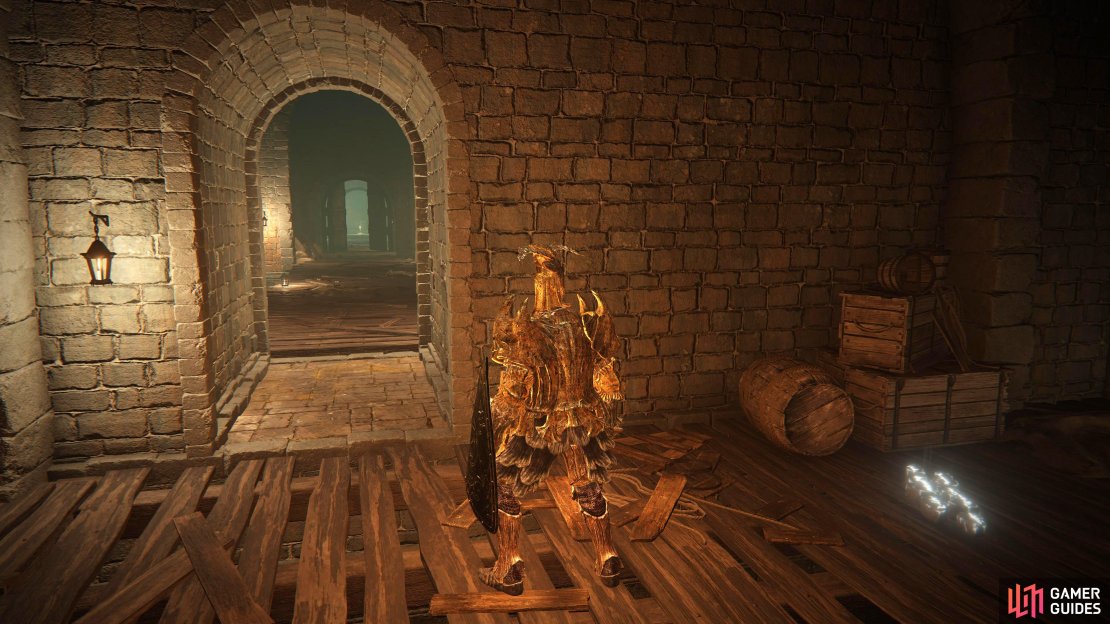
Make sure you have full health as you may get hit by some of its magic. As you reach the top, take the right door, and open the double doors across the wooden bridge, picking up the 3x Poisoned Stone from the corpse on your way. These doors lead straight back to the Underground Roadside site of grace. Be quick about it as the Omen can, and will follow up the ladder after you. If you choose to defeat the Omen, it’ll drop the Omen Bairn, a reusable magic item. In the same room is a few corpses to loot, these will be 2x Golden Centipede, a Dapple White Cured Meat, and 3x Glass Shard.
(1 of 3) The shortcut is up the ladder to the right of the Omen.
Head back into the room with the Omen that you were just in, and take the other ladder up, kill the imp, and drop onto the pipe below, and you should see a hole to drop in. Once you’ve jumped into the pipe, you’ll have a multitude of ways to go, many of them leading to a dead-end or a not particularly great item. This is a frustrating area which isn’t worth the trouble of getting lost over, if you do want to explore, you’ll find a Smithing Stone [7] and a Golden Rune [8]. You can obtain these items elsewhere with far less trouble.
Jump to the pipe below, and go into the hole on top.
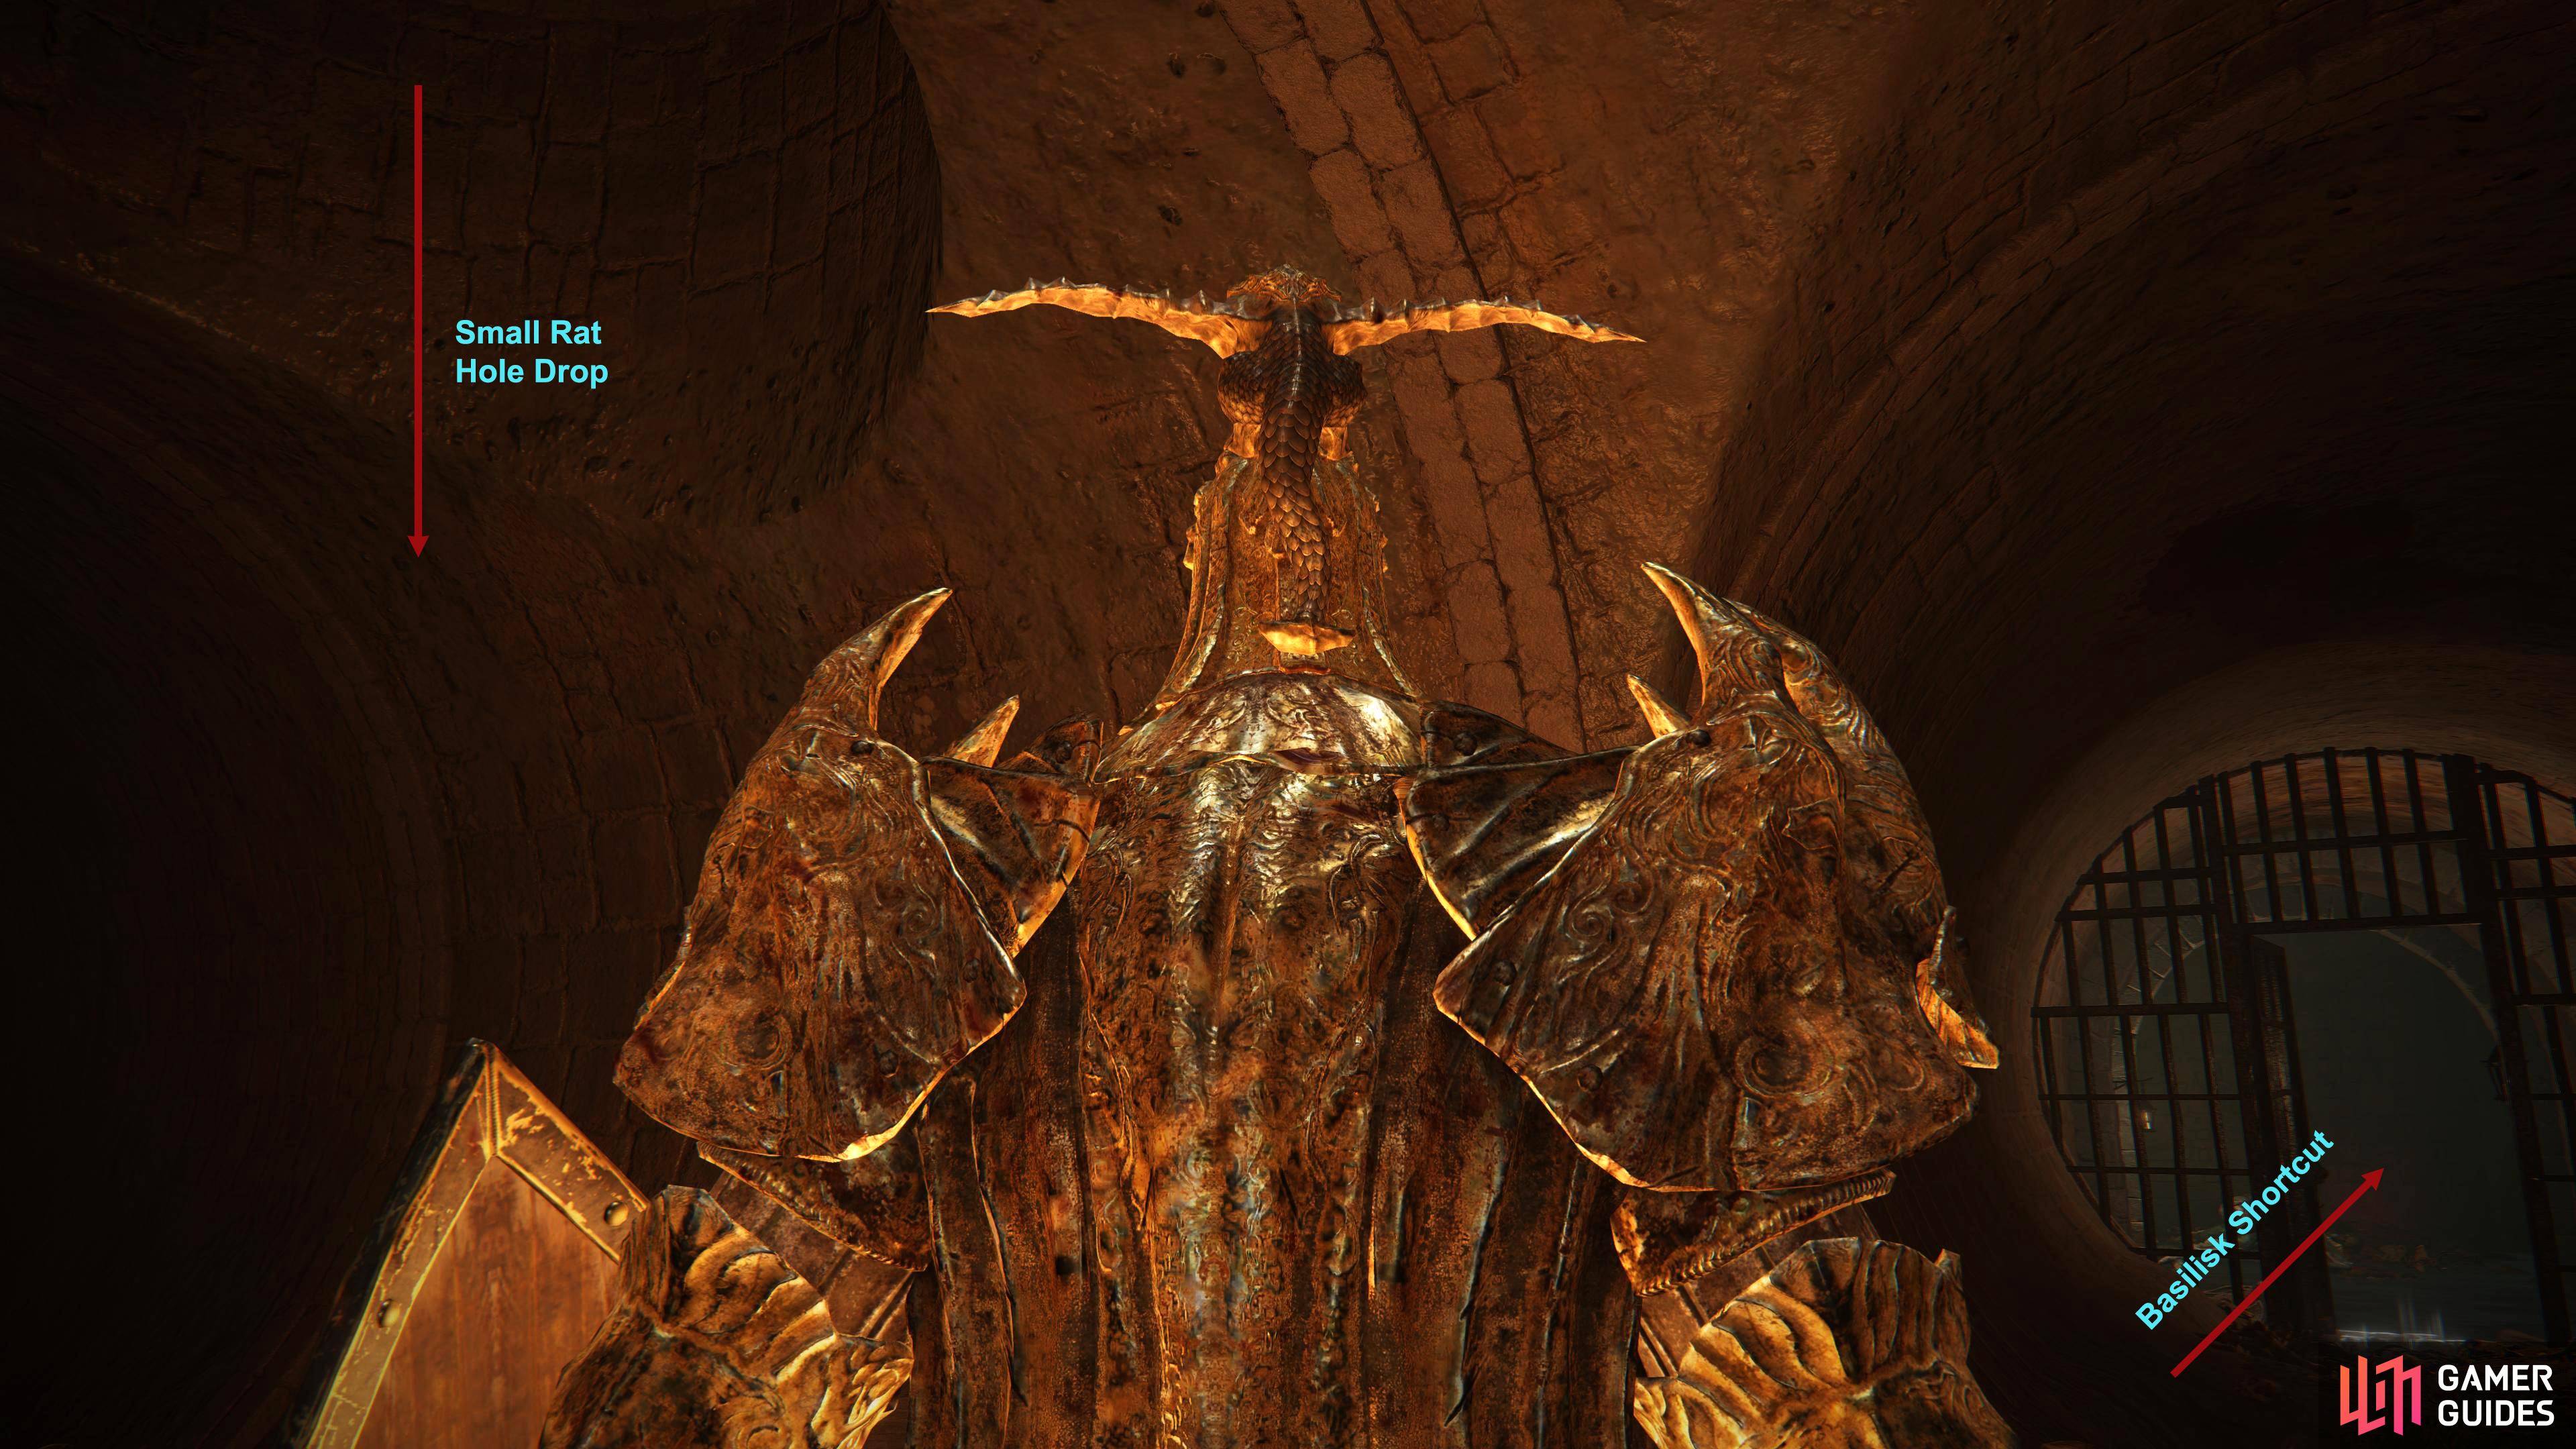
Instead, as you drop the hole, take the southeastern tunnel, and follow it until you reach the intersection. The northwestern tunnel will take you towards a hole which is just past the small rat, this’ll lead to the shortcut on the other side of the gate where the Basilisk were, and eventually lead to the boss. Whilst the northeastern tunnel will lead to another hole that’ll lead to the area where the Basilisks are that you fought earlier but on the locked side of the shortcut. If you jump over the northeastern hole, you’ll need to defeat a giant rat, but the tunnel will lead back to the same hole where the small rat is.

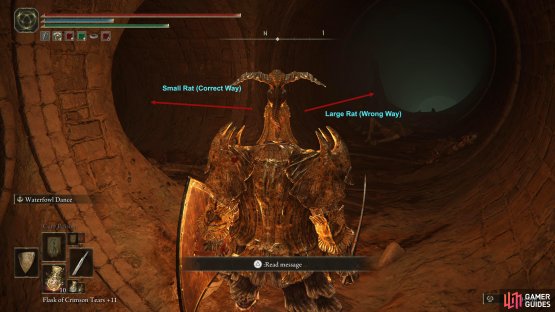

(1 of 2) Take the tunnel towards the Small Rat, and drop the hole behind it
Take the tunnel towards the Small Rat, and drop the hole behind it (left), as this’ll lead to the shortcut with the Basilisks. (right)
Take the northwestern hole and drop, but be wary of the weak undead attacking you as you drop, unlock the gate leading to the Basilisk area then proceed down the northeastern tunnel until you reach the ladder. When you reach the bottom, there’ll be a room with four small Living Jars and one large one. The large Living Jar cannot be locked onto straight away, but it becomes targetable after a couple of seconds. If you don’t want to risk dying here, head straight over to the cage, and take it down. The Jars may knock you off of it though, so be careful.
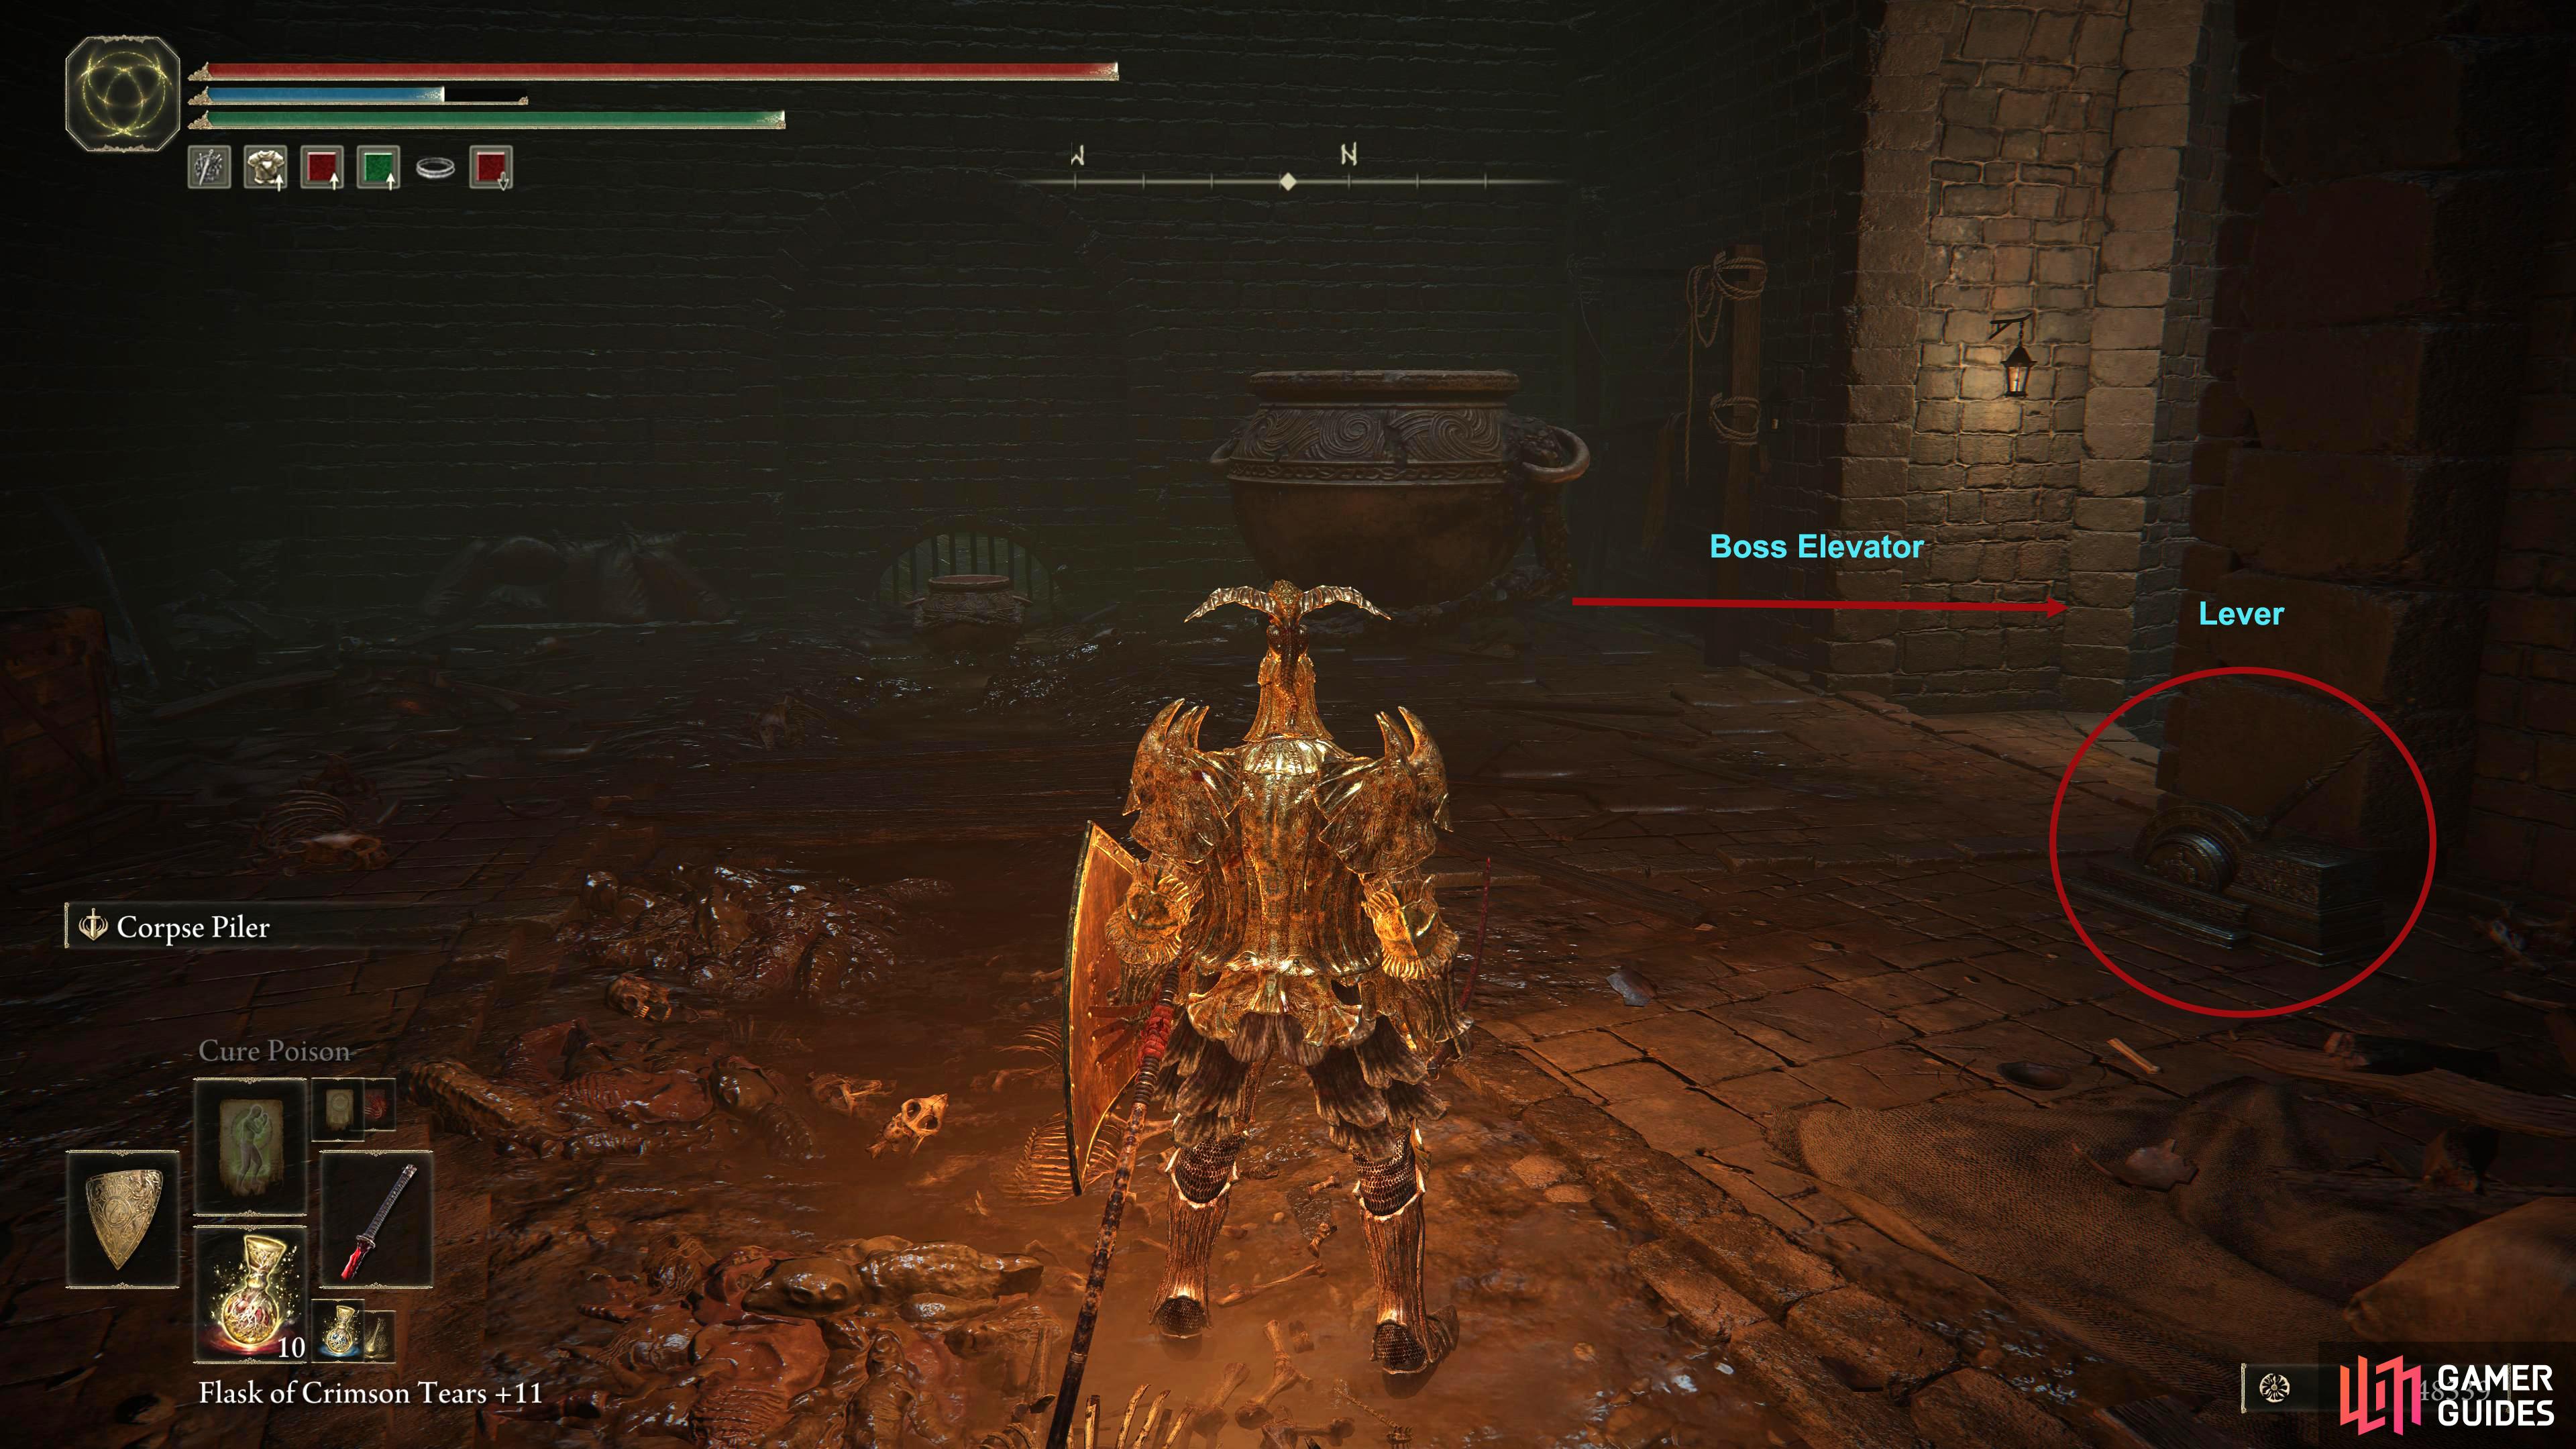


(1 of 2) Ignore the Jars, and take the elevator down
Ignore the Jars, and take the elevator down (left), where you’ll see the Forsaken Depths site of grace. (right)
After the long trip down in the elevator, you’ll reach the bottom and be welcomed to the Forsaken Depths site of grace. Activate it, and prepare yourself for the boss fight against Mohg, the Omen at the end of the sets of stairs. Once Mohg is defeated, your exploration can continue. Activate the Cathedral of the Forsaken site of grace, open the chest containing the fantastic Erdtree’s Favor +1 talisman. Attack the wall behind the chest to reveal a secret location to the Cathedral of the Forsaken. This area will lead to the Lord of Chaos Ending, and you’ll need to have Hyetta’s quest line as far as it can get to which can be followed here. Even if you don’t want to get the ending, there are a couple of nice pieces of loot to find on your way down.
Cathedral of the Forsaken - How to Reach the Frenzied Flame Proscription
Go through the secret area that you’ve just opened up and head down the northeastern stairs and follow the corridor around into the open area full of corpses. There are one or two enemies here, but the ones that are sitting down mostly passive. You can find them amongst the corpses by target-locking on to them. Either go across the thin plank or drop on to the stairs to the west of it. On the other side, to the left of the plank is an item behind a tent. The proper way of getting the item is by luring the nearby aggressive enemy to cast its magic at you to destroy the tent, allowing you to pick up the Nomadic Merchant Set. The easier, and much safer way is to kill the enemy, then quit the game right next to the tent, when you log back in, the tent will be destroyed!
Take the northeastern stairs down, and you’ll have another item behind some tents with another nearby enemy. Use one of the above methods to obtain an Eye of Yelough. Continue around to the southeast until you reach another plank. This time, you’ll have to go over it. Follow it all the way across to loot the corpse containing a Golden Rune [11]. Now go back to the middle of the plank, turn your camera to the southeast, look down, and jump to the plank below by jumping into the wall. Head back up the plank to loot another corpse containing the Frenzied’s Cookbook [2].
Go back down the plank and turn right towards the wall, and right again and go to the edge of the platform. See all those tombstones down below? Yes, you do need to carefully make your way down there. The first drop you’ll make is to the tombstone right underneath you, slowly edge yourself off and drop. Your next tombstone will be right beneath you, slowly edge yourself off again whist walking slowly into the wall. With a bit of luck, you won’t fall to your doom!
From there, walk off at normal speed to the northwestern tombstone below you, and then do a small jump to the northwestern tombstone next to it. Now jump over to the northeastern tombstone which is level, maybe slightly higher than the one you’re currently standing on. You can make the jump, by with a standard standing jump. Walk off to the next northeastern tombstone, and jump to the southeastern tombstone. Ideally you’ll want to land on the one underneath, but if you land on the one above it, you can edge yourself on to the one below by walking into the wall.
Walk off to the southeast tombstone, then turn around and drop off to the northwestern tombstone with a corpse containing the Inescapable Frenzy Incantation. From there, walk onto the corpse-ridden platform and another tent containing an item. Repeat the process to rid the tent to obtain the Note: Miquella’s Needle. If you need an enemy to break the tent, you can find it to the southwest guarding a corpse containing the Fingerprint Stone Shield.
All that’s left to do now is, drop to the floor below, and as you land, the floor will crumble and crash down below you. Revealing another secret room containing the Frenzied Flame Proscription site of grace, Hyetta if you’ve been following her quest line, and a giant door which is used in the Lord of Chaos ending. To find out more about the endings, head over here.
No Comments