
So you’ve decided to pick up that game that everybody is talking about? Perhaps this is your first time playing one of From Software’s difficult RPGs and you don’t know where to begin? Look no further! This page will fuel you with all the knowledge you need as you begin your first journey in the Lands Between.
What to Do First In Limgrave
If you’re new to From Software’s RPGs, you’ll have a significant learning curve ahead of you in terms of combat mechanics, but also exploration mechanics and how to make the most efficient use of your time. The starting region of Limgrave provides the perfect opportunity to learn about the basics of adventuring in Elden Ring.
Quick Jump
There are quite a lot of tasks ahead of you, but you’re free to pursue them in whatever manner you see fit. This handy table below will allow you to jump to a specific task:
| Task |
|---|
| Varre and Sites of Grace |
| Merchant Kalé |
| Melina and the Torrent Mount |
| Renna and the Spirit Calling Bell |
| Map Fragments |
| Flask of Wondrous Physick |
| Exploration and Character Improvements |
Speak with Varre and Activate the Site of Grace
The first NPC that you’ll encounter once you enter Limgrave is Varre, who can be found near the Site of Grace at The First Step, just outside to the northwest of the Cave of Knowledge and Stranded Graveyard. Varre will introduce you to the concept of “grace” in Elden Ring - how it provides you with life and guides you along the path of the Tarnished. Essentially, when in doubt as to where you should go next to continue with the main story, you should follow the direction of the light which shines from Sites of Grace, and which can also be seen on your map.
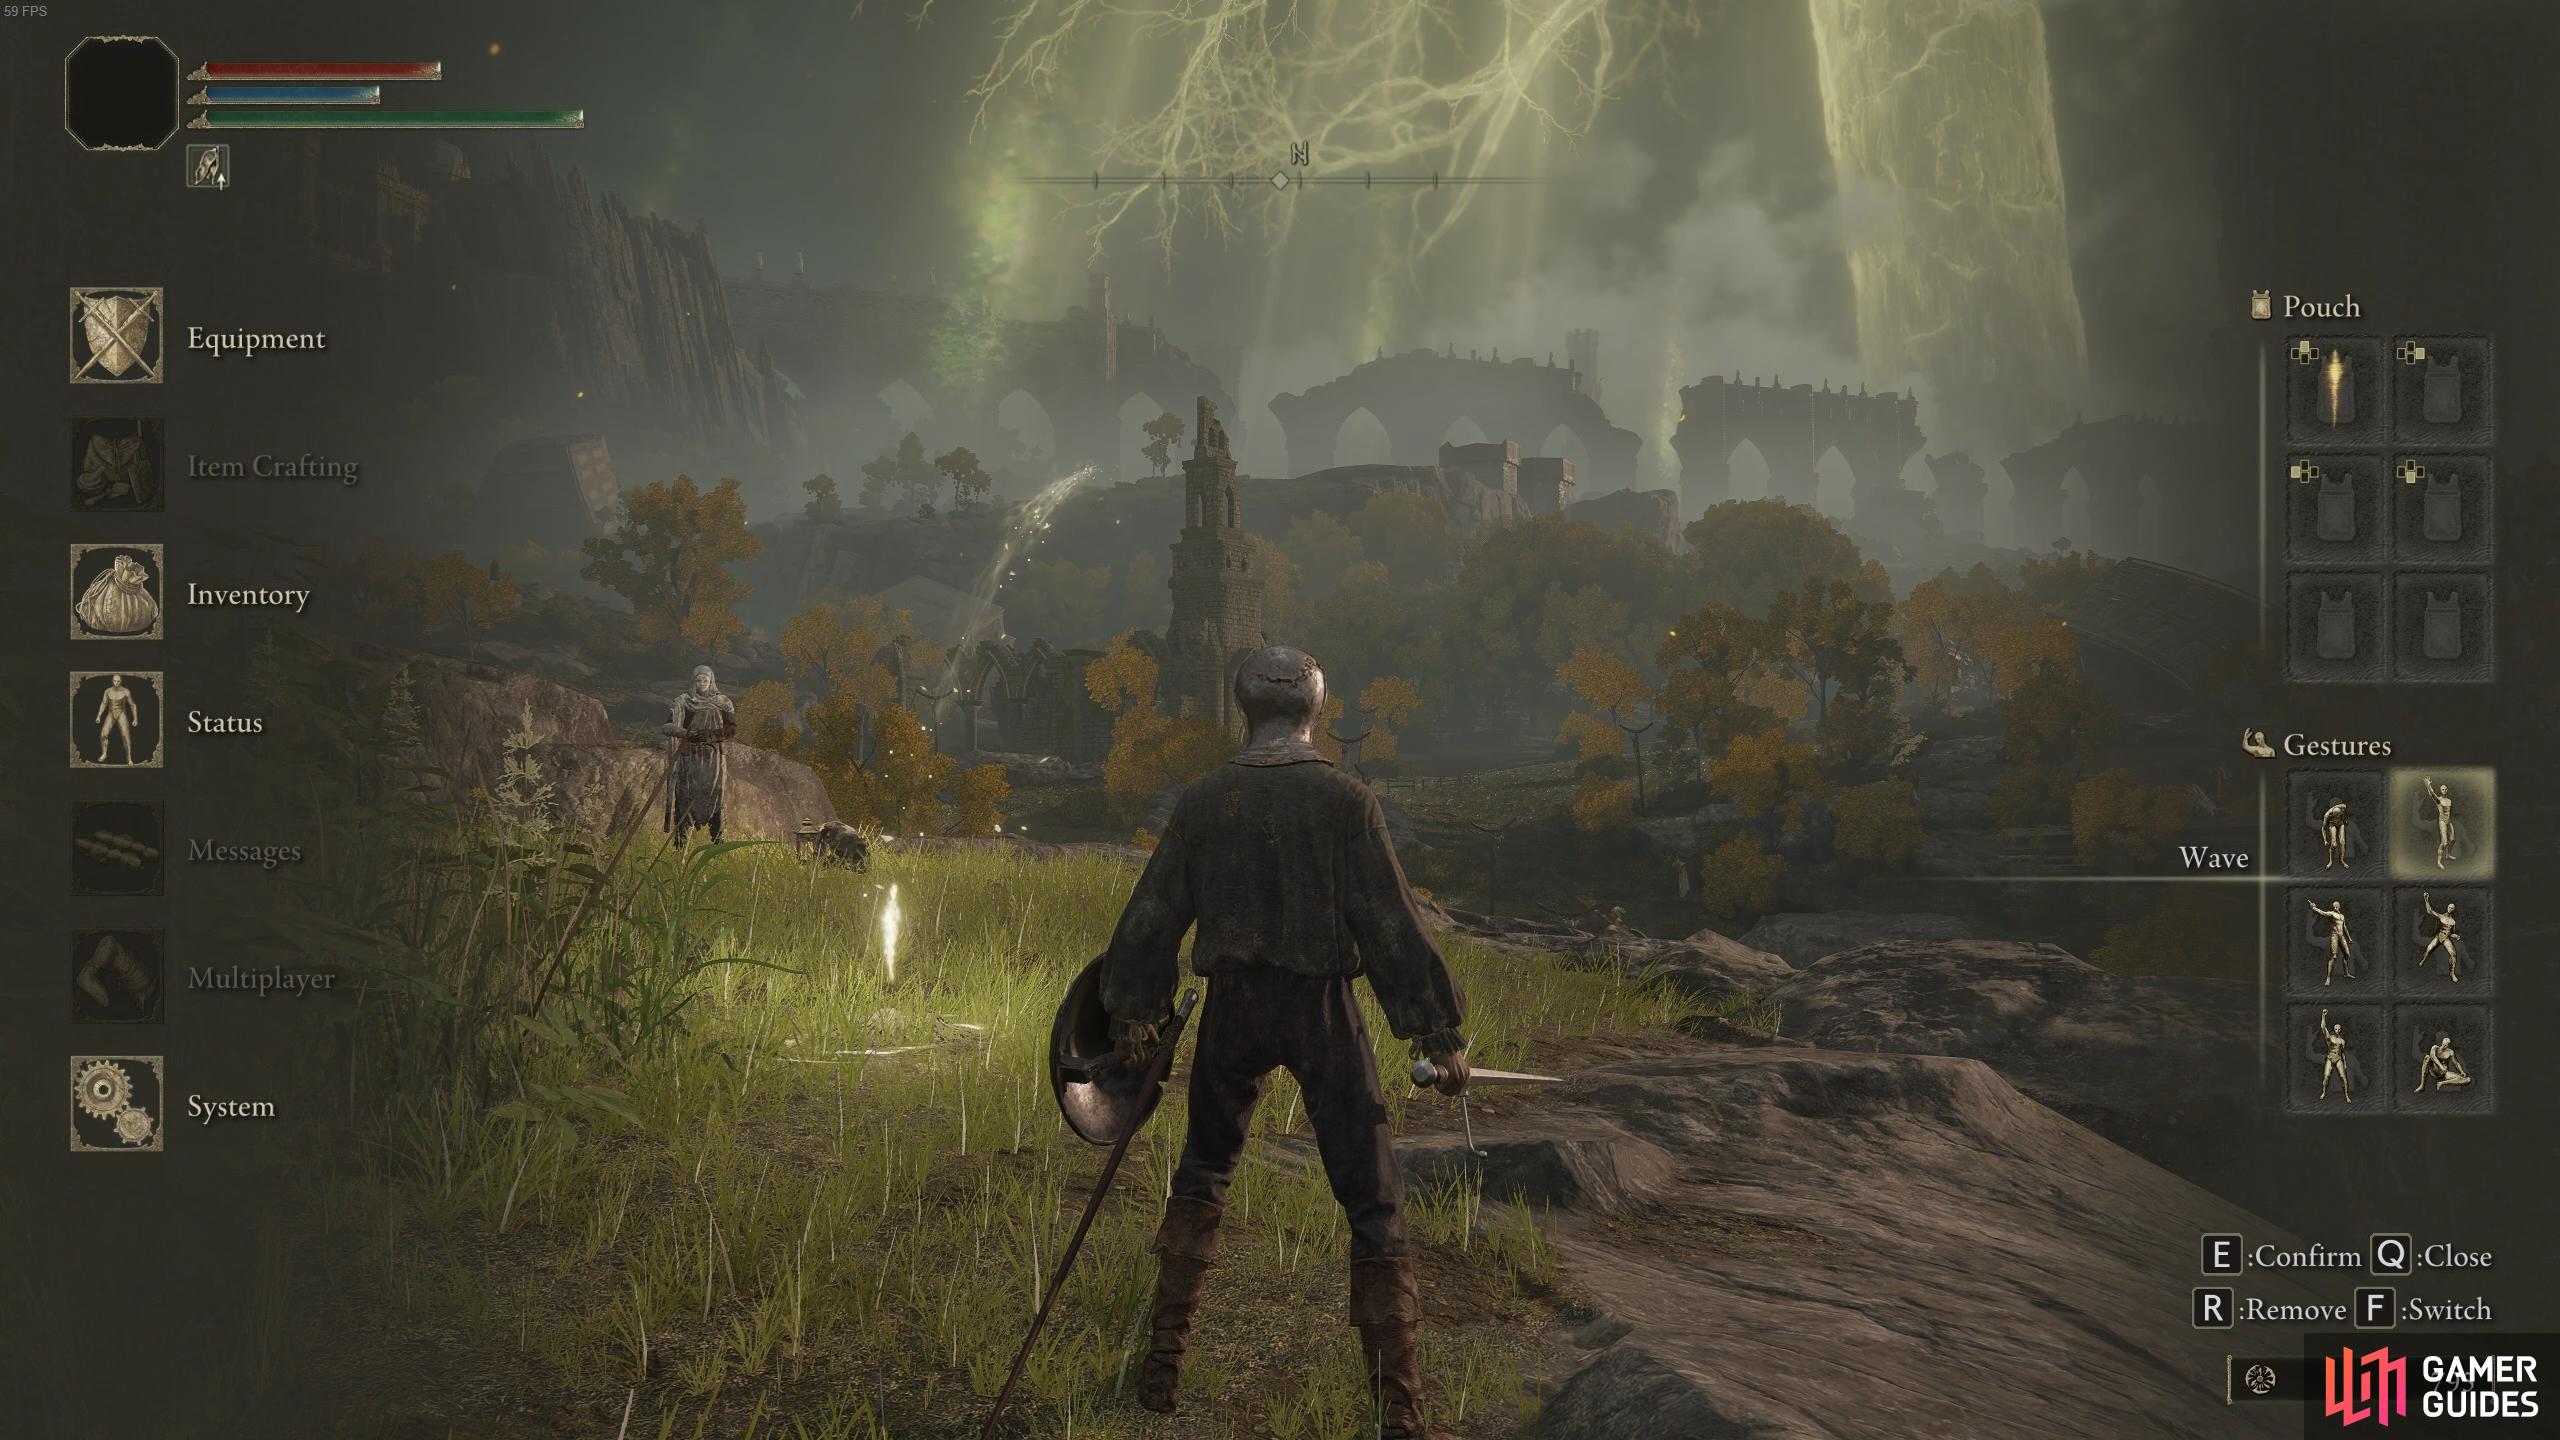

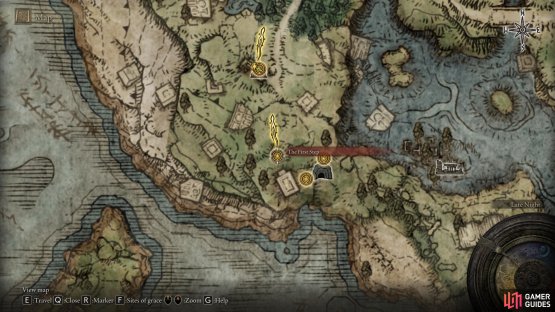
(1 of 2) Here you can see the light emanating from the Site of Grace, pointing towards the next point of interest at the Church of Elleh.
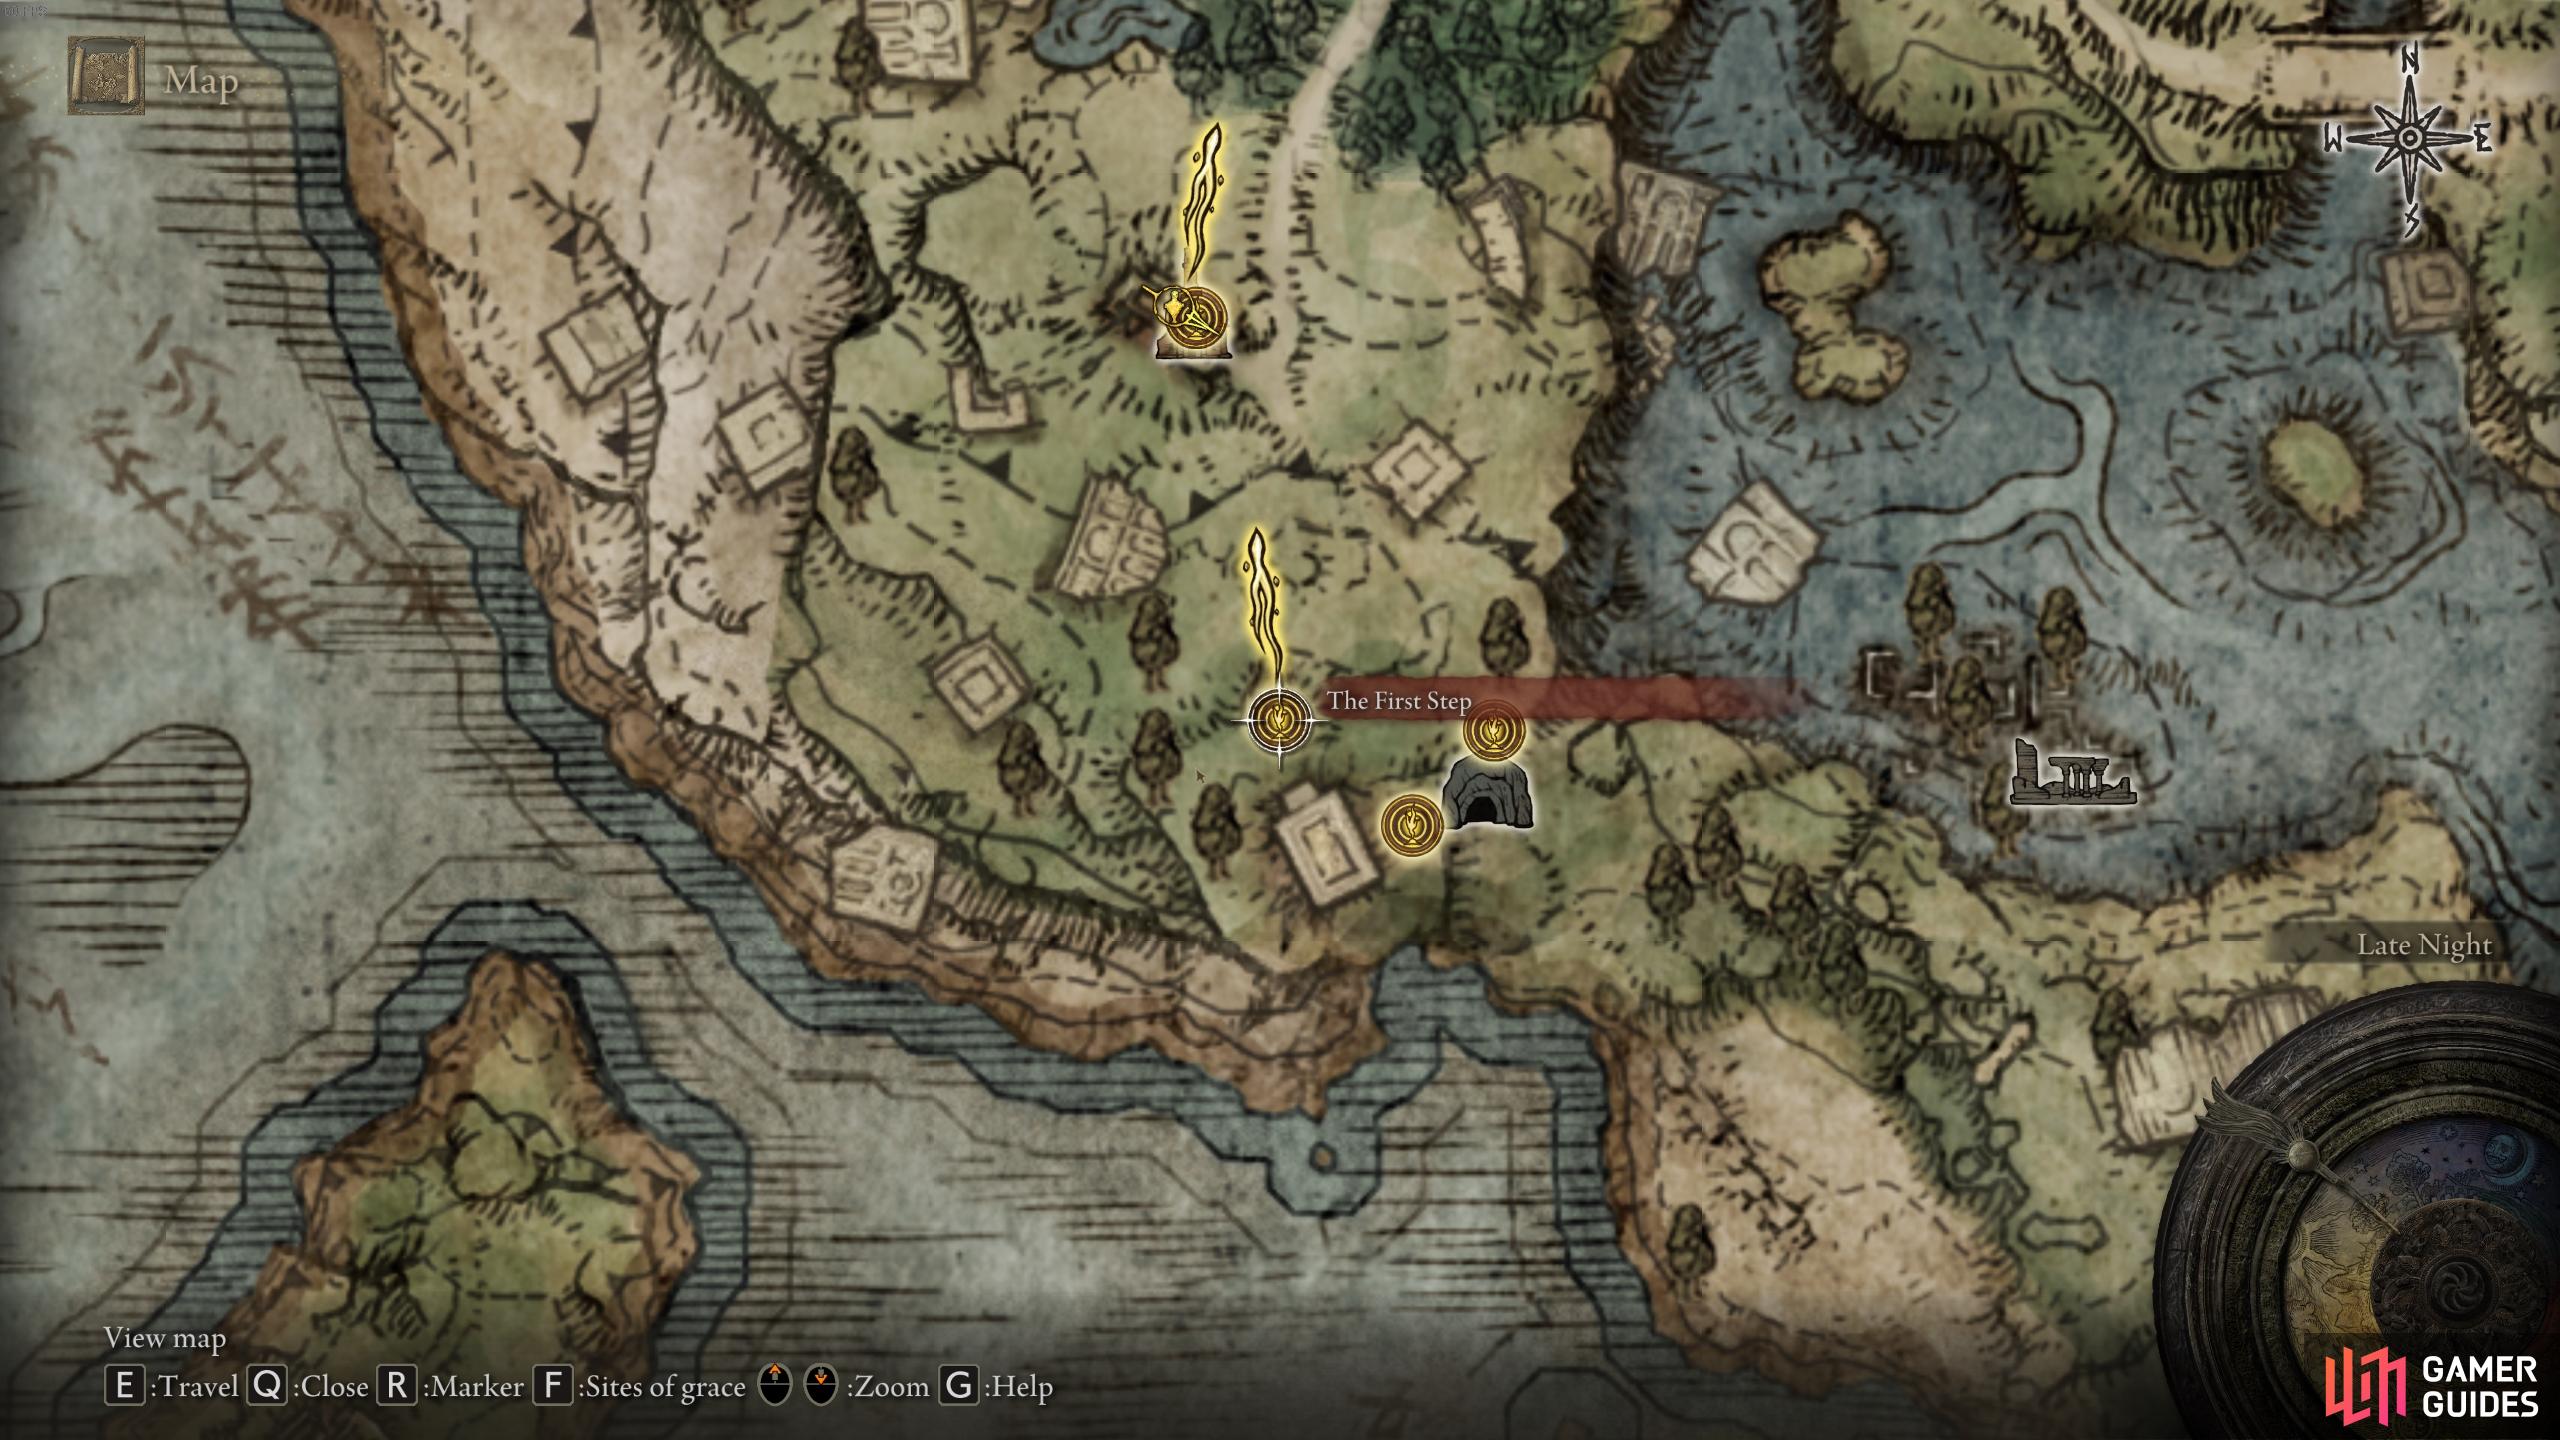
Here you can see the light emanating from the Site of Grace, pointing towards the next point of interest at the Church of Elleh. (left), You can refer to your map to see the path of the Tarnished, indicated by the representation of the light pointing northward from Sites of Grace here. (right)
Any Site of Grace that you come across should be discovered immediately. These are essentially camps where you can rest to regenerate health, stamina, and FP (Focus Points), which are used primarily to power magical skills. You can also pass time at Sites of Grace to Morning, Noon, and Night, and you’ll eventually be able to use the sites to level up, memorize spells, mix custom potions with specific ingredients, sort your storage chest, and imbue weapons with Ashes of War armaments. Finally, Sites of Grace can be used as fast travel points, making them invaluable as points of interest to discover across the map.
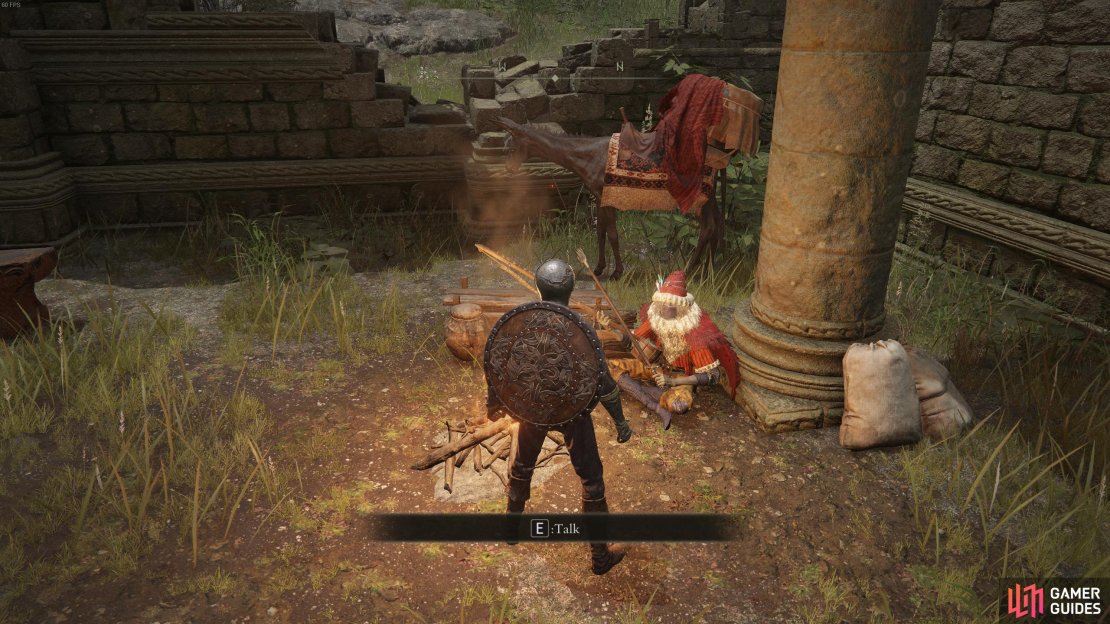
Speak with Merchant Kalé at the Church of Elleh
Once you’ve spoken with Varre and avoided the Sentinel Tree boss (or died to him), you can make your way north from The First Step to the Church of Elleh, where you’ll find another Site of Grace. Interact with this and then speak with the nearby NPC, Merchant Kalé. You’ll find a number of merchants like this around the world, each of which offer different things for purchase. You can also sell most items that you acquire to these merchants in exchange for Runes, the main basic currency of the game. Runes are used to purchase all manner of items from armor, weapons, recipe books, arrows, throwing weapons, various crafting ingredients, and basic tools such as the Crafting Kit and Telescope. However, you’ll also need Runes to level up your character at Sites of Grace, so be sure to keep a healthy balance between purchasing useful items and investing in your character development.
In addition to the Site of Grace and Merchant Kalé, you’ll also find a Smithing Table here at the Church of Elleh. This can be used to upgrade your equipment, but you’ll need Smithing Stones to do this, plenty of which you’ll find during your adventures.

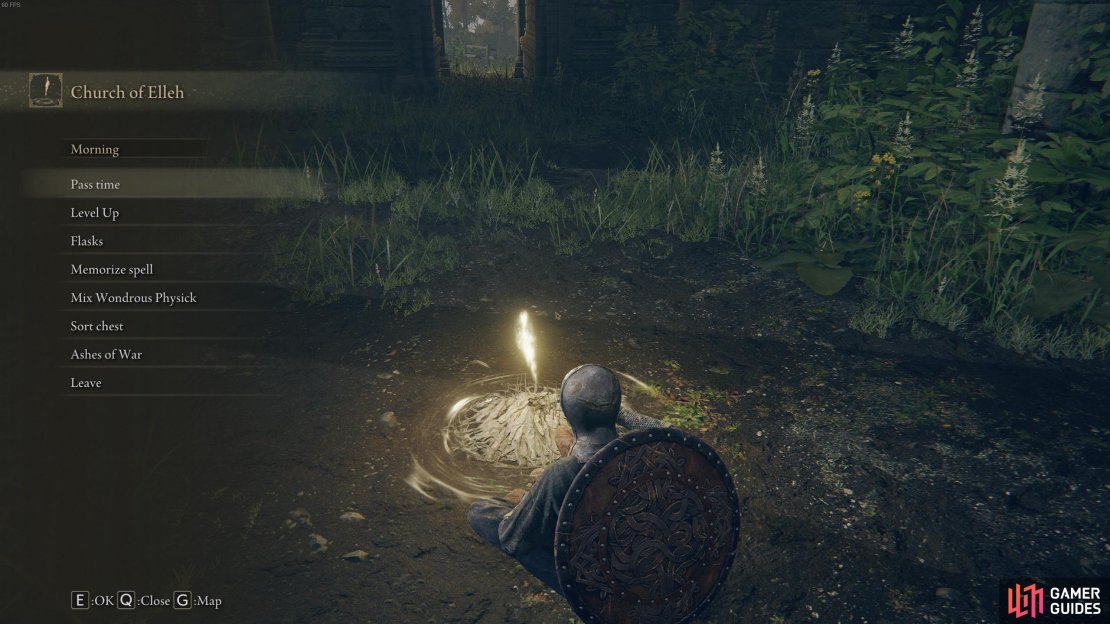

(1 of 3) Each Site of Grace is a central hub for fast travel, levelling up, and other character development.
Meet Melina the Maiden and Claim the Torrent Mount
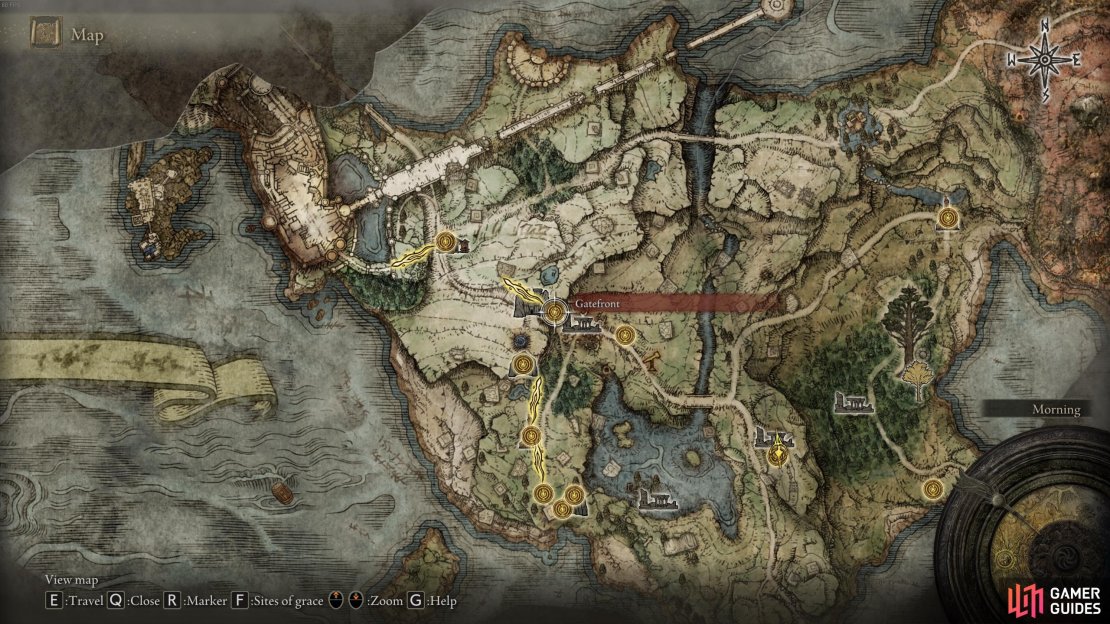
At this point you’ve found at least two Sites of Grace. If you haven’t already encountered Melina the Maiden, you should travel to the Site of Grace at Gatefront, which is along the road north from the Church of Elleh. Upon resting at this Site of Grace (or any other for the third time), a cutscene will play during which you’ll encounter Melina the Maiden. You should accept her offer to be your maiden, then receive the Spectral Steed Whistle, which will allow you to summon the mount known as Torrent. This is an essential step that you’ll need to complete before you meet the witch known as Renna, who will give you the Spirit Calling Bell that can be used to summon spirit allies in various forms during battle.
Now that you’ve met Melina, from this point on you’ll be able to level up at any Site of Grace, so long as you have enough Runes. The amount of Runes required to level up will increase for each new level.


(1 of 3) You’ll can travel to the Gatefront Site of Grace, north of the Church of Elleh, to rest and meet Melina.
Meet Renna to Obtain the Spirit Calling Bell
Now that you have the Torrent mount, you can return to the Church of Elleh at night to meet the witch named Renna. She will only appear at night, so you may need to pass some time at a Site of Grace. There is also a chance that she may not appear until you’ve been defeated by the Tree Sentinel at least once, so if you can’t see Renna at night in the church ruins, just go get yourself killed by the Tree Sentinel. She will then appear sat on the ruins of the church.
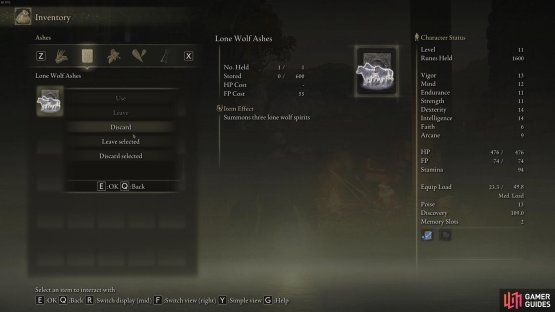
The first spirits summon that you have access to are three Lone Wolf Spirits. These provide effective crowd control and can be used to distract larger enemies for a period of time, but they’re not particularly tough so don’t expect them to last too long without help. There’s no time limit duration on the summon of the spirits, so they’ll stick with you until you die or fast travel. You can slot the Spirit Calling Bell in your pouch in the same way that you did with the Torrent mount, providing easy access without having to enter your inventory. You’ll find more spirit allies that you can summon throughout the game, such as the Spirit Jellyfish Ashes from Roderika, each of which have their own strengths and weaknesses.
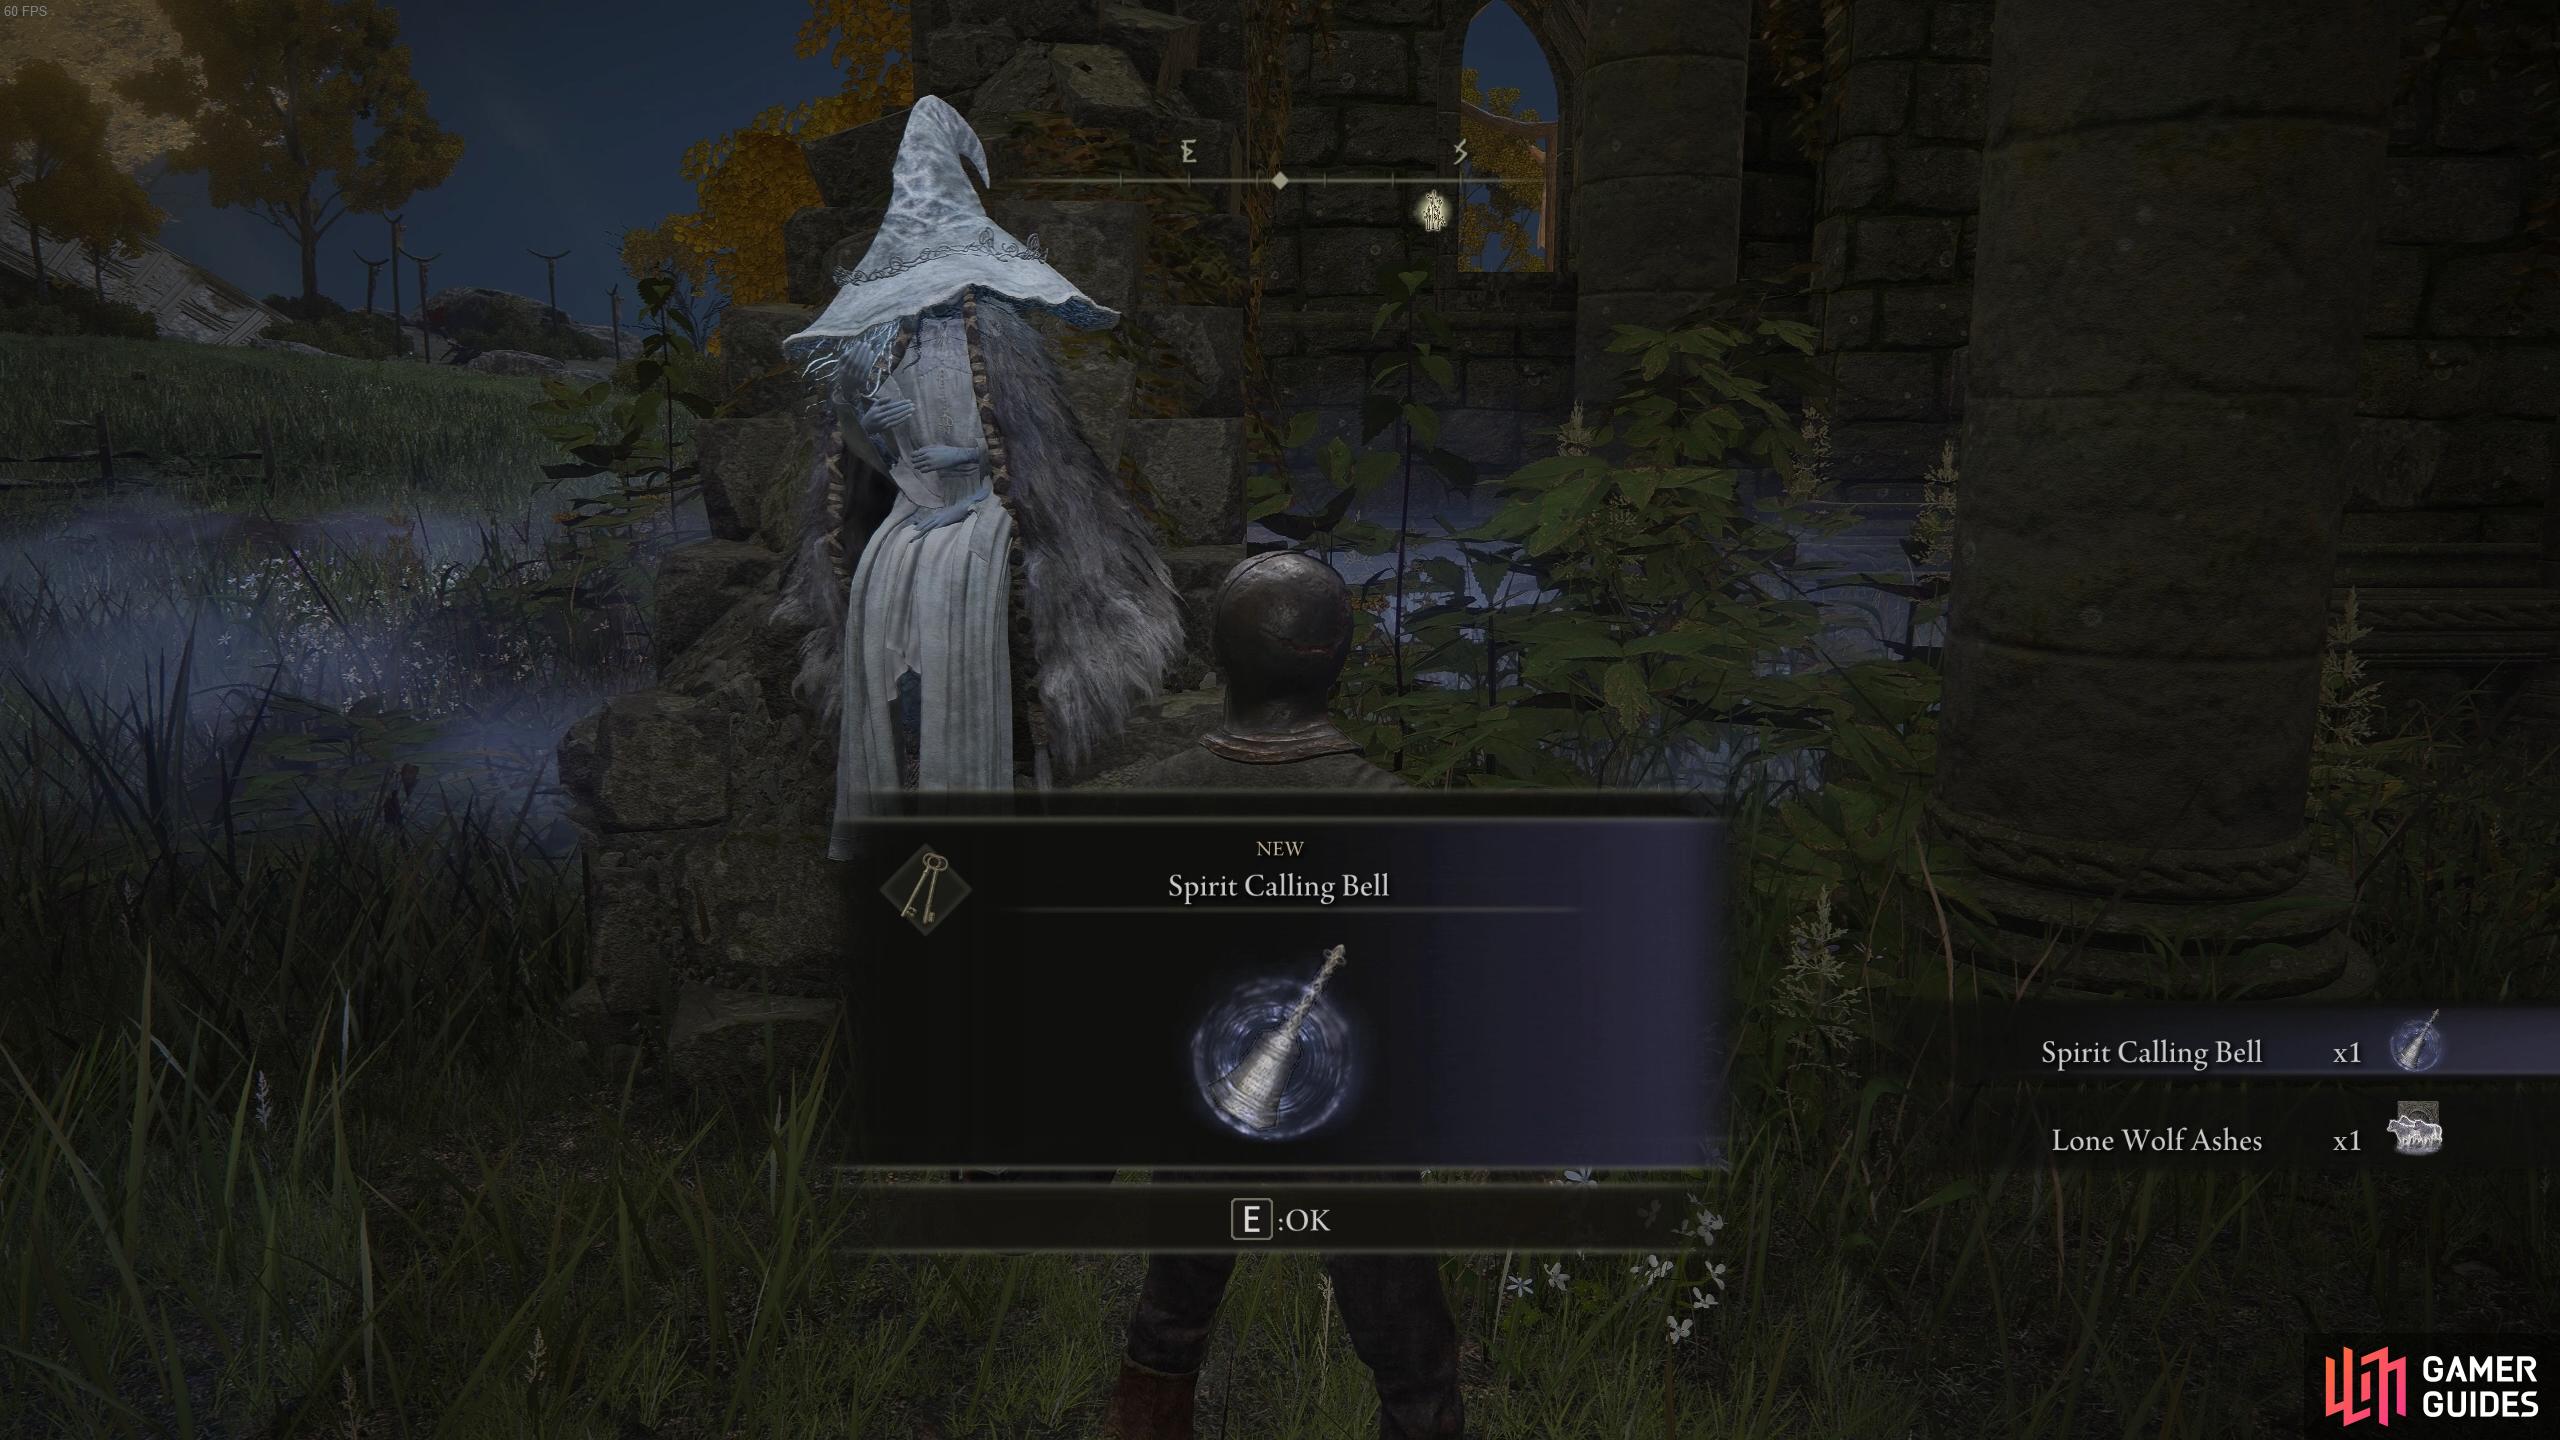

(1 of 2) You’ll find Renna perched on the walls of the church at night, but you’ll need the Torrent mount before she’ll give you the Spirit Calling Bell.
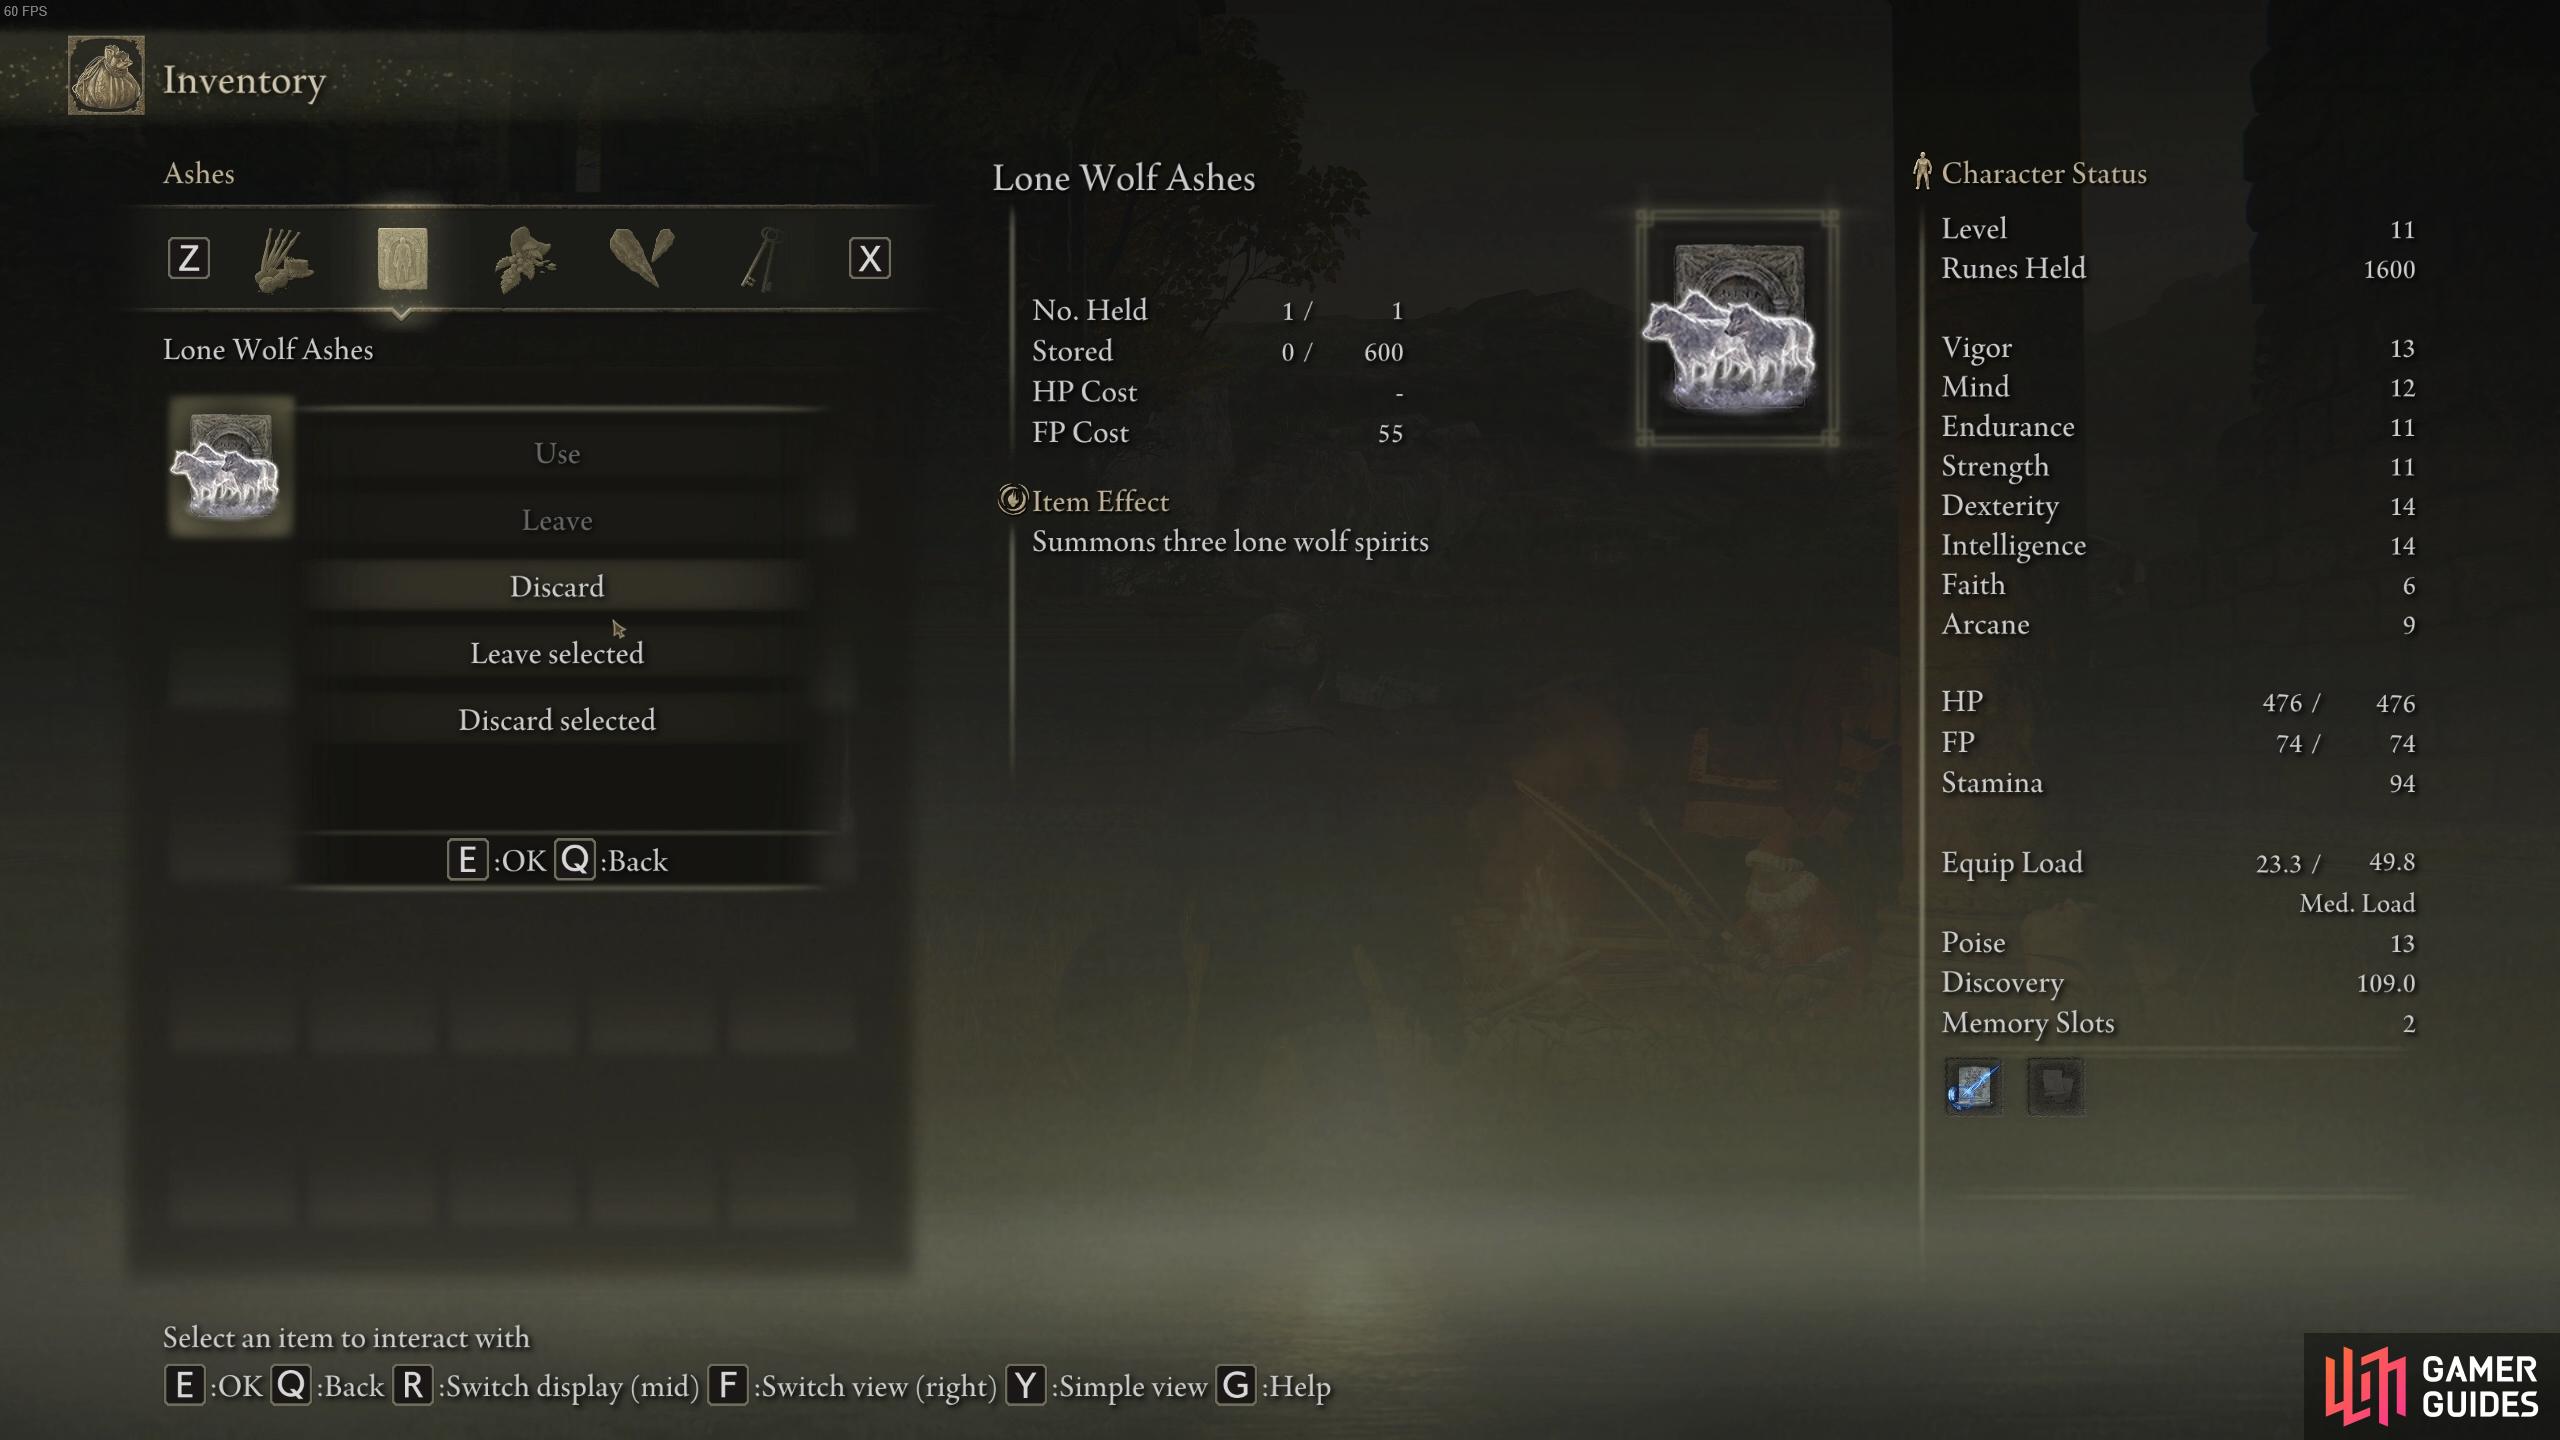
You’ll find Renna perched on the walls of the church at night, but you’ll need the Torrent mount before she’ll give you the Spirit Calling Bell. (left), The Lone Wolf Ashes is the first of many spirit ally summons. (right)
Obtain the West and East Limgrave Map Fragments
The world map is clouded in a fog of war by default, so once you’ve got your Torrent mount you’ll want to find the map fragments which will reveal more of the details in Limgrave. There are two main map fragments for this region. The first one can be found along the road just southeast of the Gatefront Site of Grace. You can kill some of the nearby enemies, including the summoner who calls allies if they manage to blow their trumpet. If you’d rather not bother with the enemies, you can just run under the statue and loot the map, then run away.
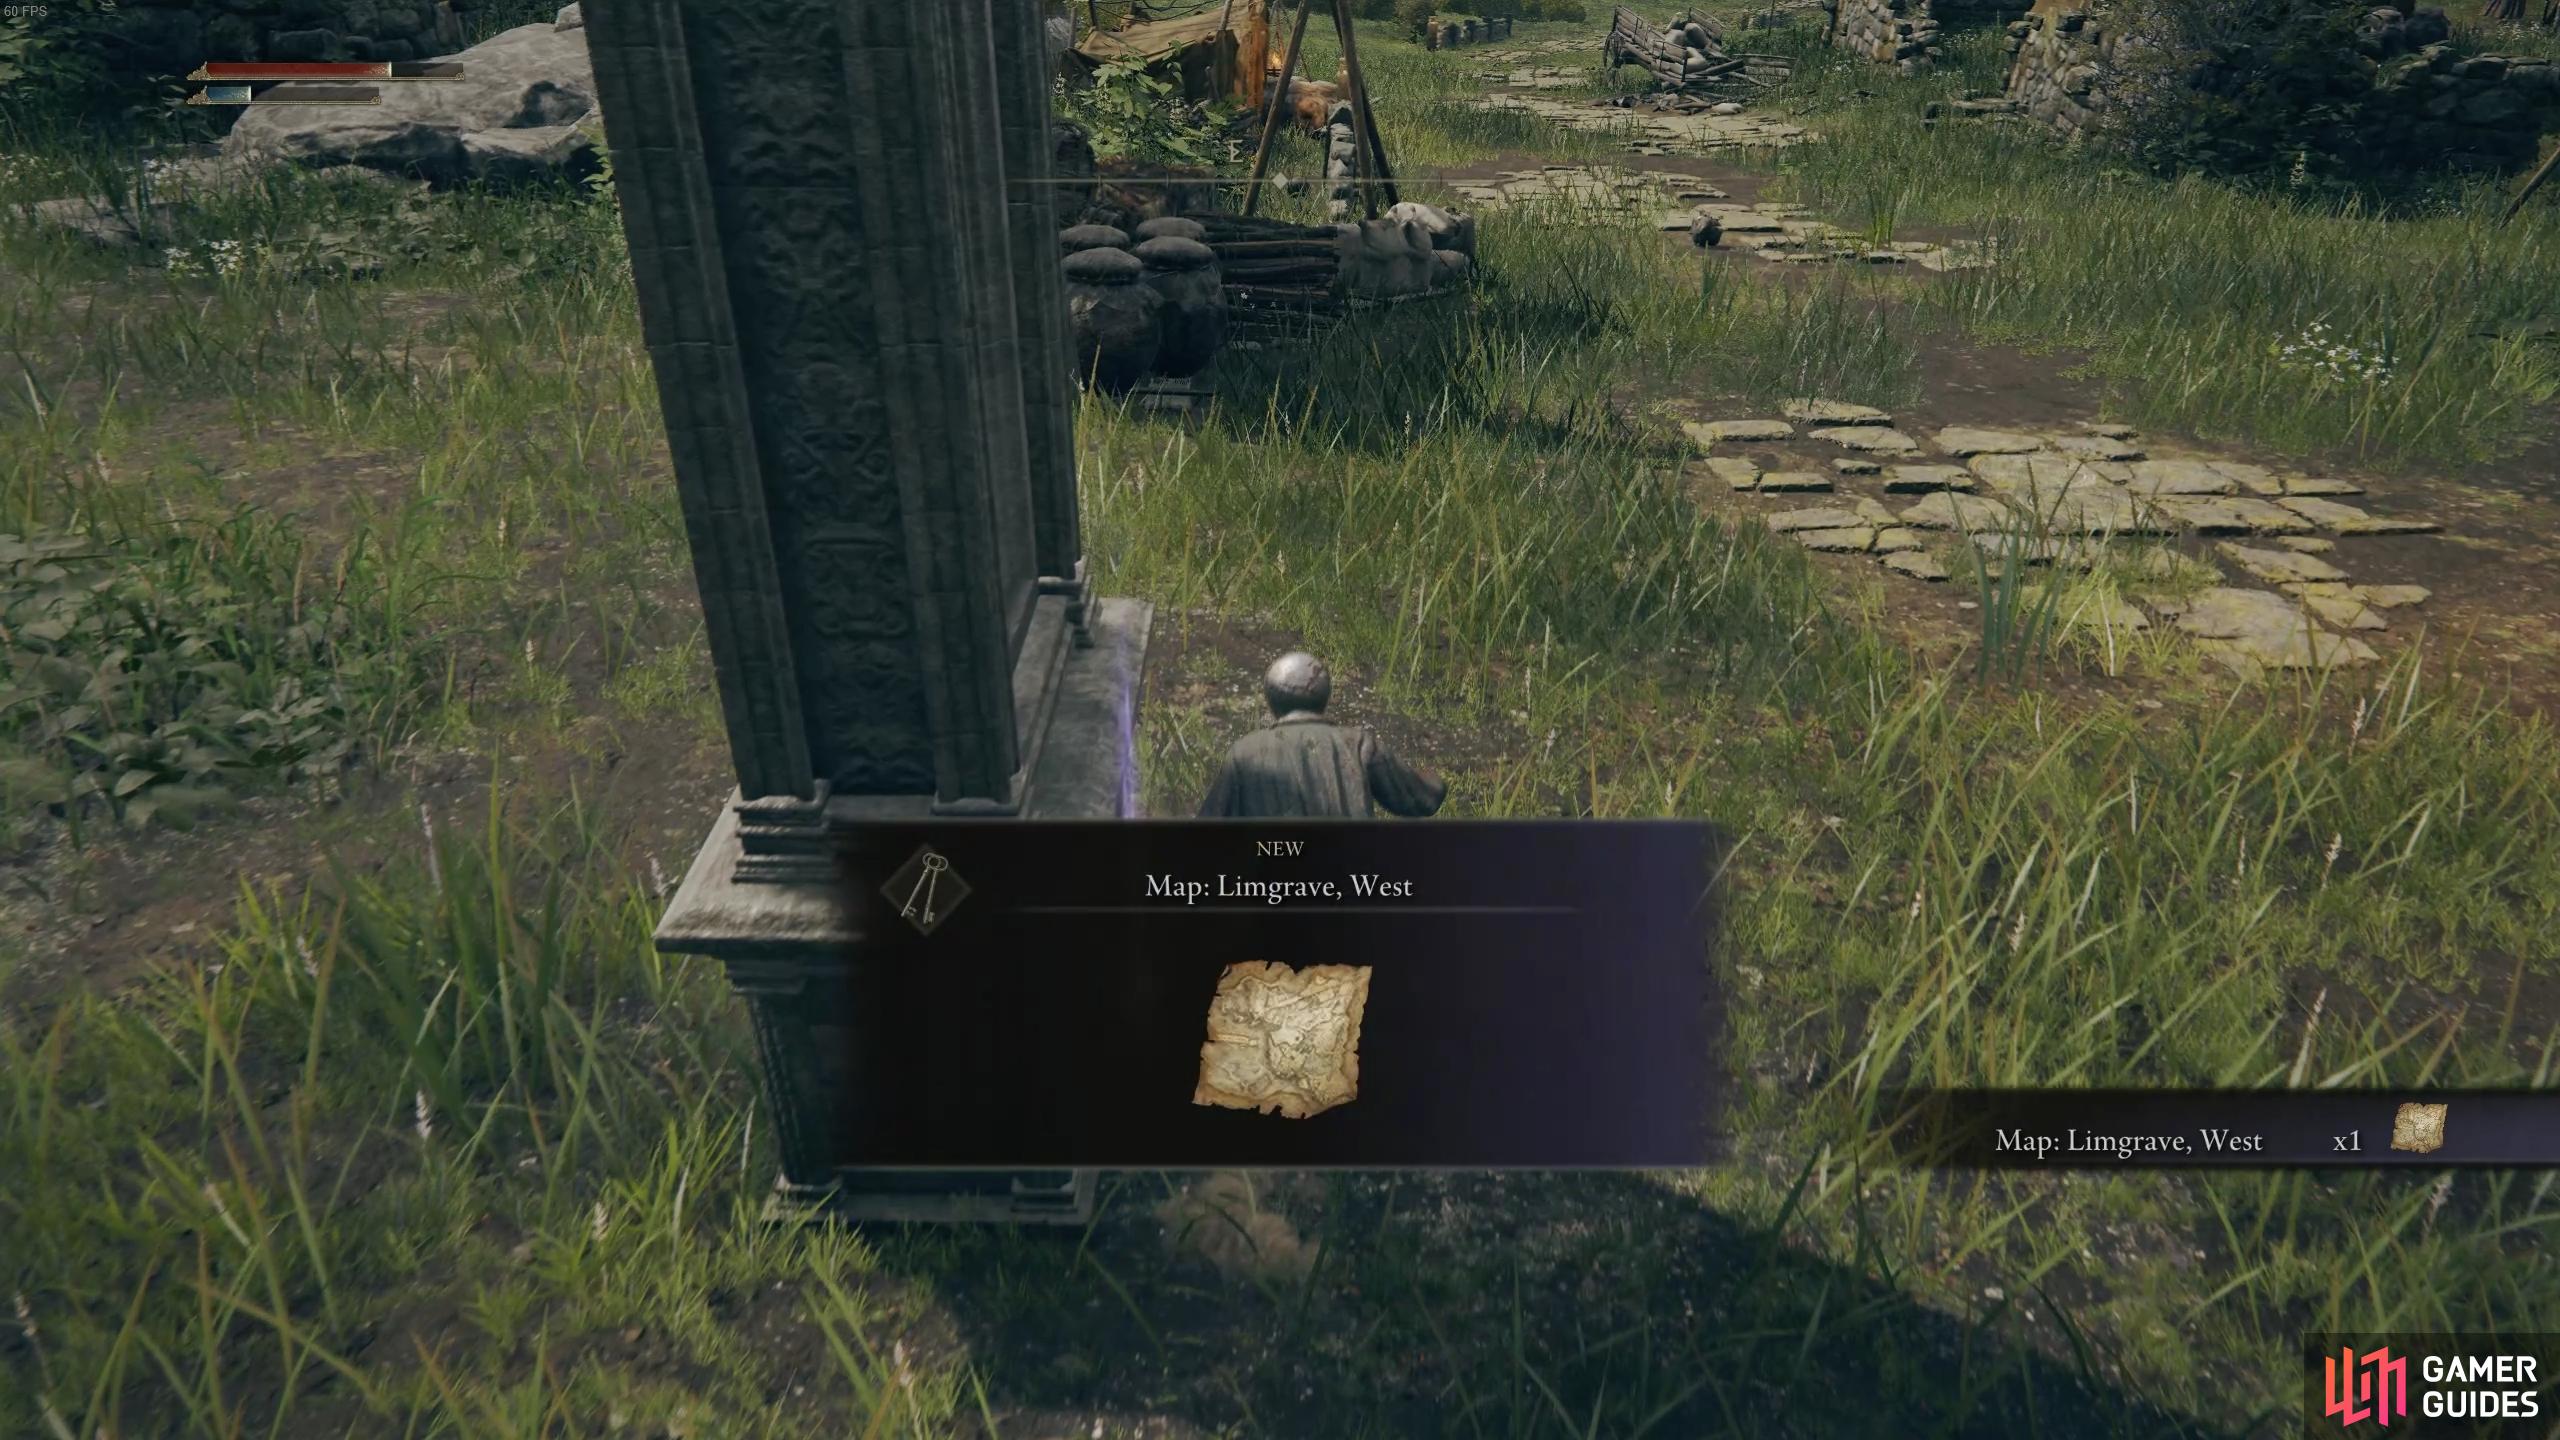

(1 of 2) You’ll find the West Limgrave map fragment beneath the statue on the southeastern road from Gatefront.

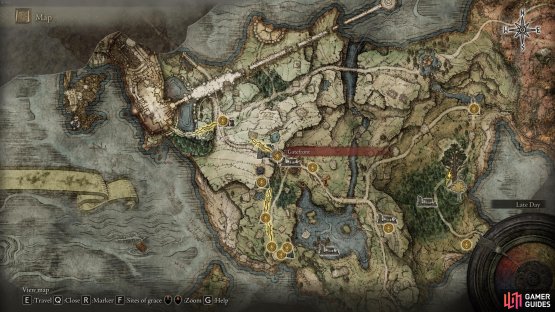
You’ll find the West Limgrave map fragment beneath the statue on the southeastern road from Gatefront. (left), The location of Gatefront, as shown by the West Fragment. (right)
This first map fragment for West Limgrave can be obtained early on and without much trouble, but the second map fragment for East Limgrave is quite a bit further away, along the road south of the Third Church of Marika Site of Grace. This road is more dangerous than the one southeast of Gatefront, primarily due to the presence of enormous bears. These are powerful opponents, so you may want to skip them for now and just grab the map fragment. You can continue along the road to find some lesser enemies though.


(1 of 2) The East map fragment can be found beneath another statue along the road south of the Third Church of Marika.

The East map fragment can be found beneath another statue along the road south of the Third Church of Marika. (left), The location of the statue with the East fragment beneath it. (right)
Find the Flask of Wondrous Physick & Upgrade Your Flasks
Now that you have both map fragments, you can refer to the map to find and note specific locations. If you haven’t already been and explored it, head to the Third Church of Marika and loot the Flask of Wondrous Physick which can be found there, near to the Site of Grace at the same location. This flask allows you to mix two crystal tears (which can be found at the bases of Minor Erdtrees) to create elixirs with custom effects, depending on the type of tears mixed. You can combine tears to replenish health, stamina, and focus points at the same time, for example.
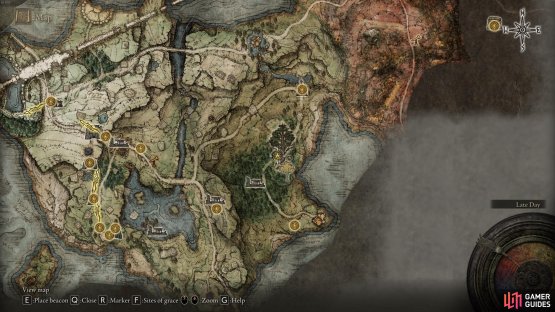
The Flask of Wondrous Physick can be filled at Sites of Grace, and you can also upgrade your regular health and focus point flasks from the same menu. You can use two Golden Seeds to increase the amount of flasks at your disposal, and Sacred Tears to increase the amount of health points or focus points replenished by your flasks. The former is particularly useful, so you’ll want to find the two Golden Seeds in Limgrave as soon as possible. We’ve noted the locations for these on the map below. We’ve also noted the location of the Third Church of Marika in the northeast of the map.
Finally, in addition to upgrading the flask amount and effectiveness of each flask, you can allocate how many flasks you want to use for health points or focus points. This will vary depending on your class, but suffice to say that if you’re a melee focused class you’ll want most of your flasks allocated to health points. If you’re a more magic-focused class or even a spellsword type, you might want to consider a decent balance between the two.

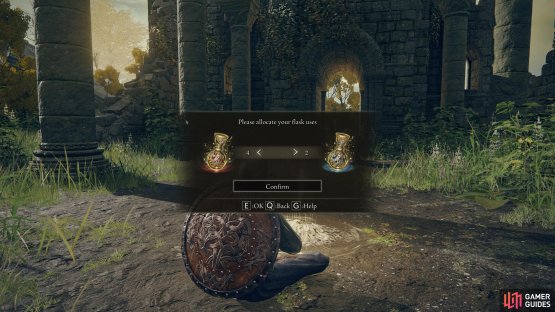

(1 of 2) You can allocate flasks to health or focus points according to your needs.

You can allocate flasks to health or focus points according to your needs. (left), The locations of the two Golden Seeds in Limgrave are noted here to the west and the east, while the Third Church of Marika is noted to the northeast. (right)
Explore, Level Up, and Improve Your Character
At this point you have most of the basic essentials that you need to give you the best chances of survival as you explore Limgrave. The Torrent mount will make some battles much easier, especially against other mounted foes and some larger enemies such as the giants which roam the landscape. However, it’s often unnecessary to use the mount in combat and it can even slow you down if you use it too much for basic fights on the ground. The Spirit Calling Bell will remain a useful skill throughout your adventures, but you won’t need to use it for most fights. Try to save it for tough encounters with elite enemies and bosses. The map fragments allow you to see most of Limgrave and its main geographical features. You can also place markers and beacons anywhere on the map for your own reference.
Now is a great time to explore some of the early enemies and optional bosses. You’ll find giants roaming the landscape which provide a decent challenge with reference to larger foes, and you’ll find plenty of humanoids, bats, wolves, and other creatures. Some relatively easy first optional bosses include Mad Pumpkin Head at the Waypoint Ruins, and Beast of Farum Azula at Groveside Cave. There’s no specific order in which you must fight different bosses or groups of enemies, but as a general rule if you’re having a tough time with one particular enemy, focus on farming those you know that you can handle while you level up and improve your gear / stats. If you’re looking for further guidance in Limgrave, see our Limgrave Locations, Limgrave Bosses, Limgrave NPCs, Limgrave Weapons, and Limgrave Spells pages.
No Comments