
This page will tell you how to find and defeat the Godskin Duo in Elden Ring.
About the Godskin Duo
The first part of this duo is the Godskin Apostle and its partner in crime is the Godskin Noble. This dastardly duo were once said to sever Destined Death and are wielders of the god-slaying black flame until it was sealed away after their defeat to Maliketh, the Black Blade.
Godskin Duo Location in Crumbling Farum Azula
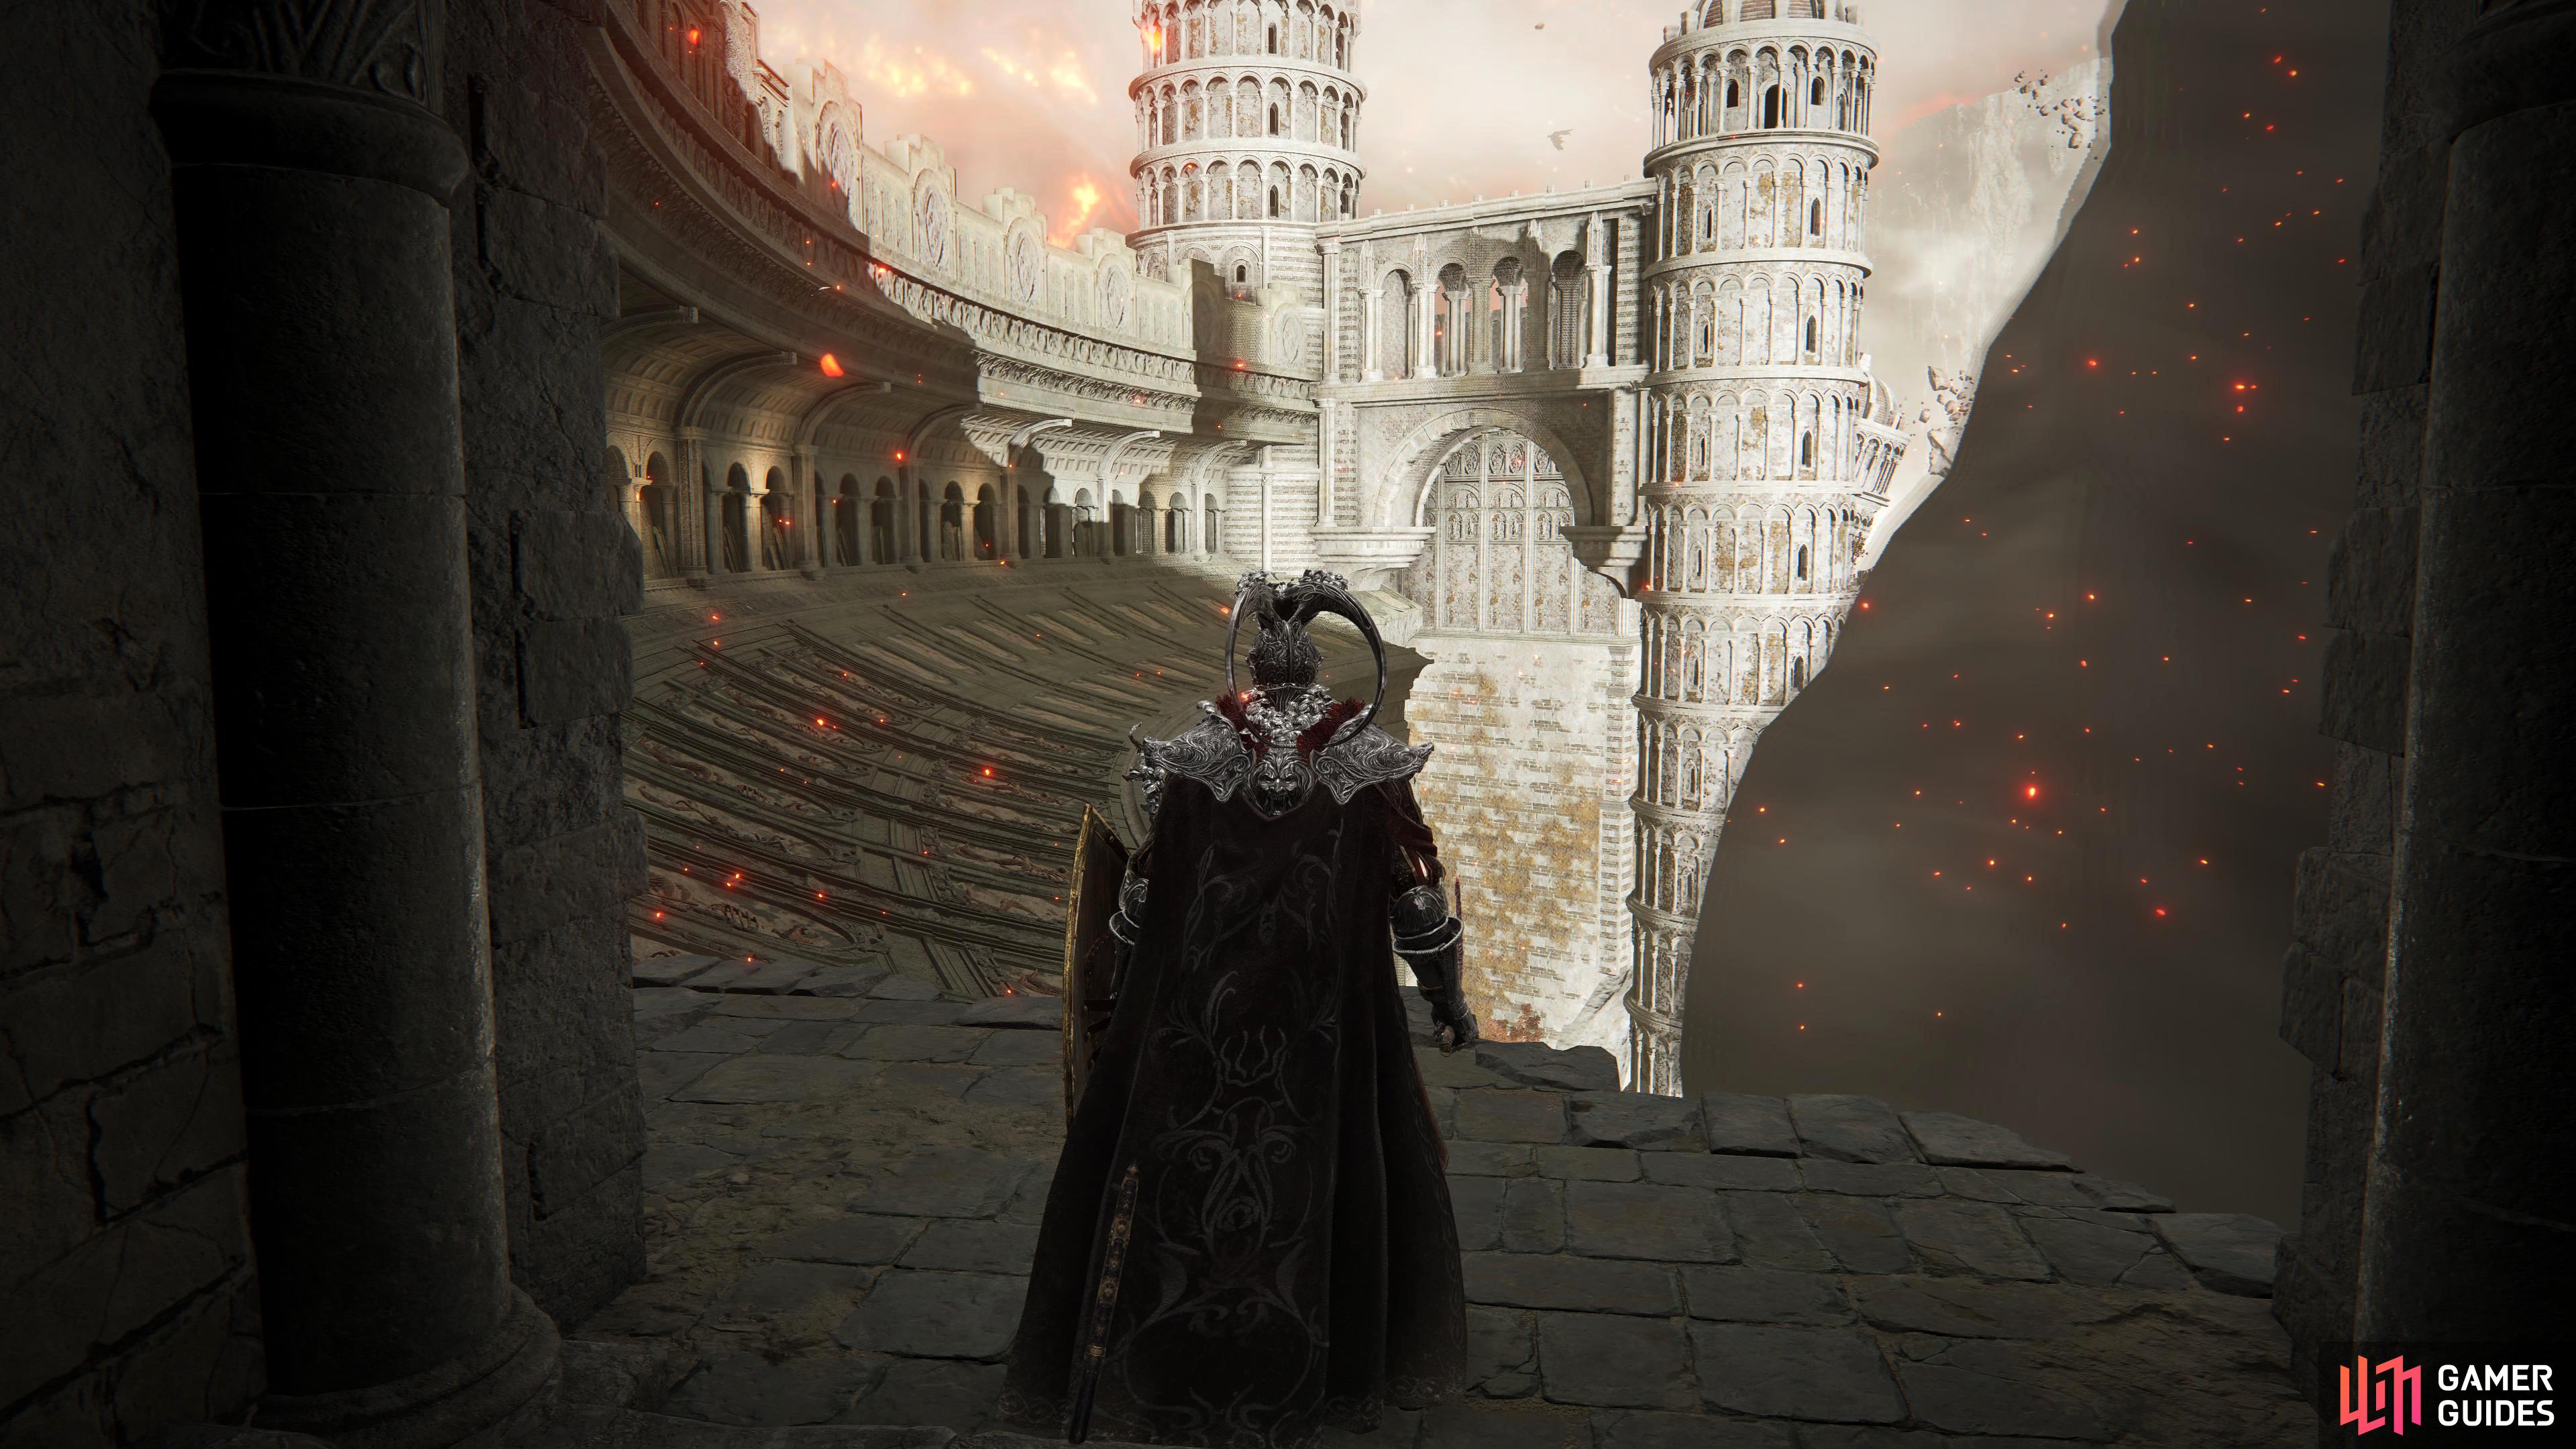
You can find the Godskin Duo just up the stairs from the Dragon Temple Transept site of grace located in the Crumbling Farum Azula Legacy Dungeon. This area can only be reached through touching the site of grace at the Forge of the Giants which is located in the east of the Mountaintops of the Giants region. This is a small region compared to the other areas in the game, but there are a lot of branches and routes to take that lead to all sorts of loot, bosses or tough fights.
From the Crumbling Beast Grave site of grace, take the west exit and follow the stairs down and drop to the curved platform below. Follow the platform west to the far end where you’ll be able to go into the archway where another site of grace will be. About halfway past the platform, a large dragon will drop from the skies and attack you. This is the Farum Azula Dragon, and it’ll drop the Ancient Dragon Smithing Stone for defeating it. You can ignore this fight for now and run past it.

(1 of 2) Run across the curved platform ignoring the dragon along the way

Run across the curved platform ignoring the dragon along the way (left), and head left at the end to find the Crumbling Beast Grave Depths site of grace. (right)
As you go through the archway, the Crumbling Beast Grave Depths site of grace can be found. Follow the path northwest sneaking past or defeating the Beastman along the way and take the stairs down. When you get to the intersection of stairs, take the northeast flight down into the open room. There are at least four Beastman in here, and some will cast Lightning Greatbolts at you. Either defeat them or run past to the open door leading outside in the northeast where the Tempest-Facing Balcony site of grace can be found.

(1 of 2) Fight or run past the Azula Beastman and run through the door ahead of you

Fight or run past the Azula Beastman and run through the door ahead of you (left), where you’ll find the Tempest-Facing Balcony site of grace. (right)
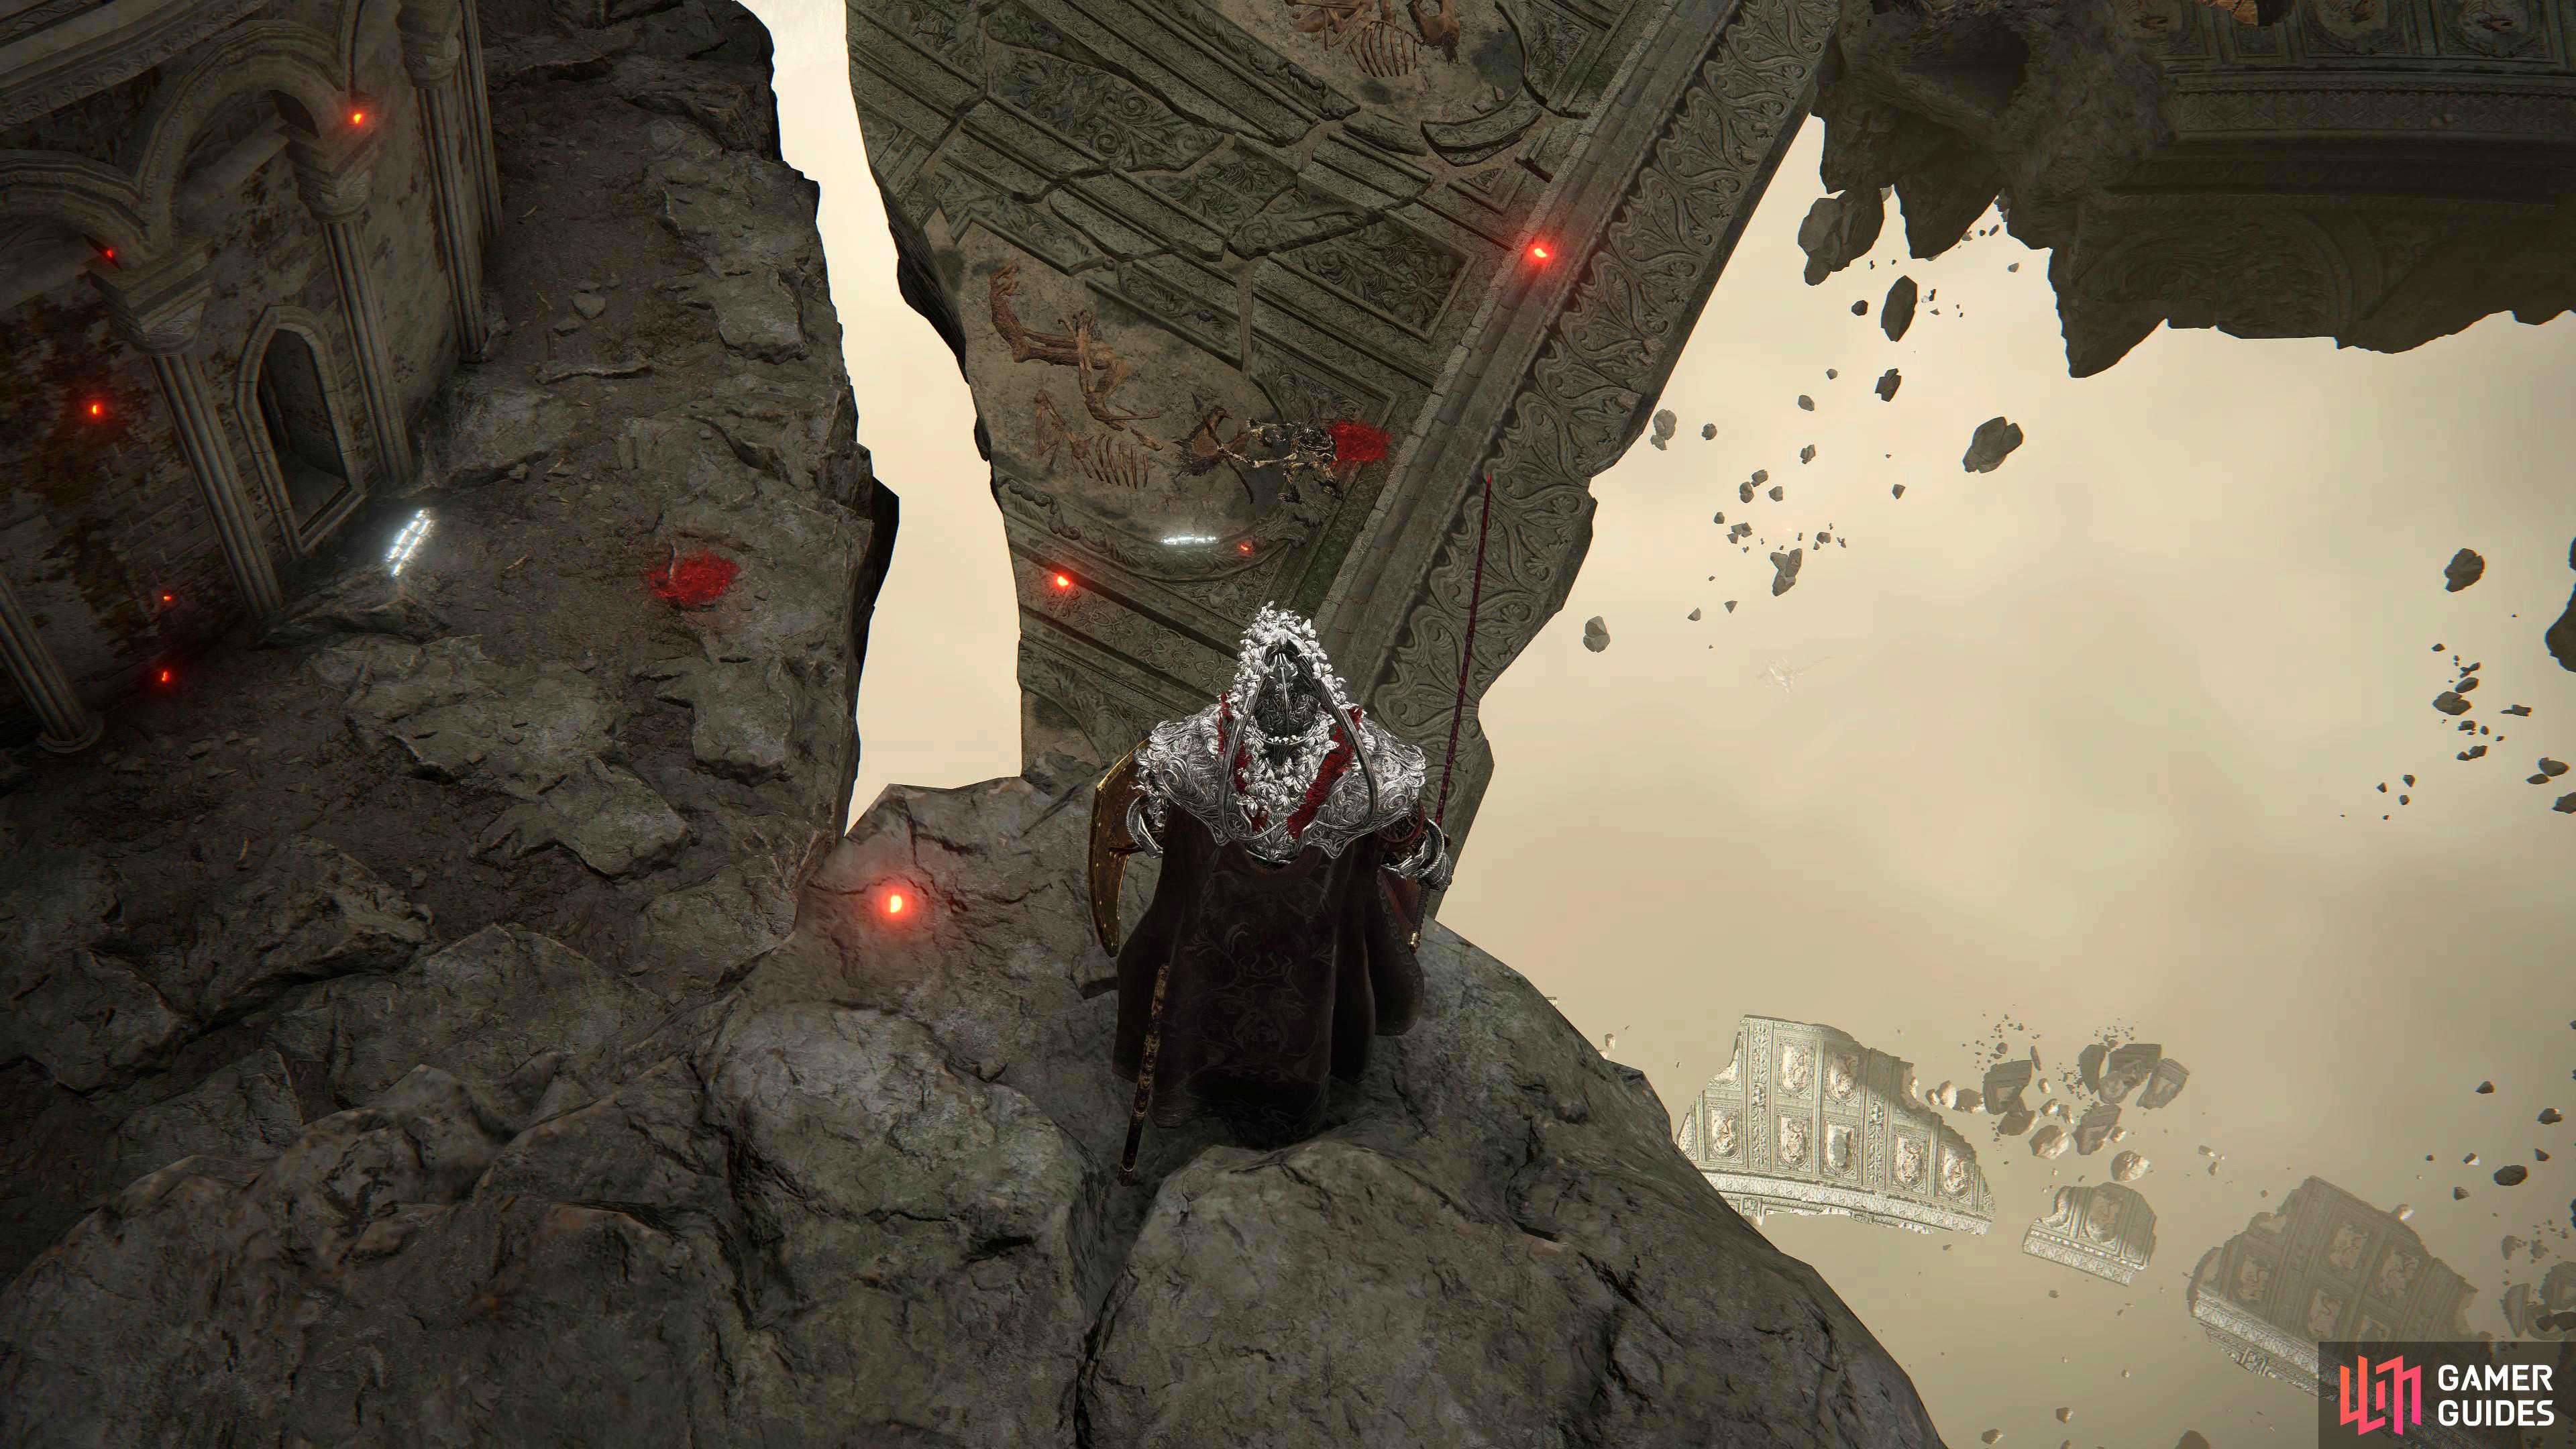
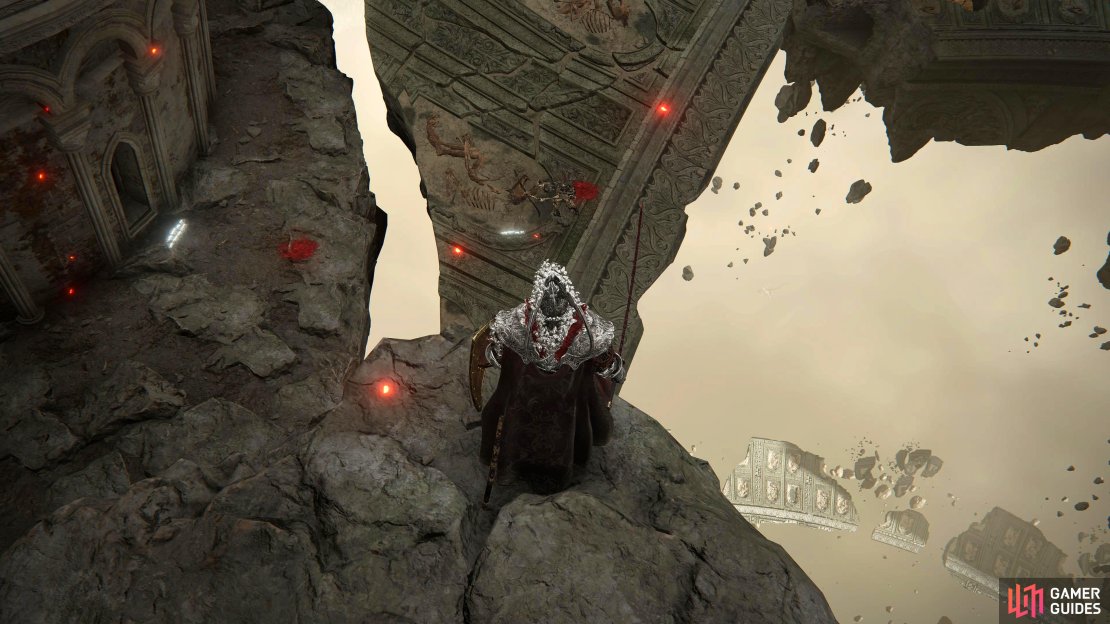
From the site of grace, follow the rocky platform northwest just past the Summoning Statue and drop on to the rocky shard below you. There are several skeletons on this piece of land, so you may want to take them out before you continue exploring. There is a corpse on a floating shard to your east that contains a Somber Smithing Stone [7] and a Golden Rune [9] behind the pillars to your west. At the northern edge of the platform is a concrete pillar which you can use to make your way down to the next large platform.
On your way down, you’ll be shot at by a skeleton archer on the western cliff. Ignore it, and drop to the platform below. There are two large skeletons here, one with a cleaver which is behind the pillar in front of you as you land (next to the hole), and another which wields a giant axe underneath the archways to your northwest. These hit hard and can spew flames at you whilst also being able to take a few hits to stagger, but they’re easy enough to backstab, and you can roll through the fire and get a few hits on them.
(1 of 4) Just past the summoning statue, drop to the platform below.
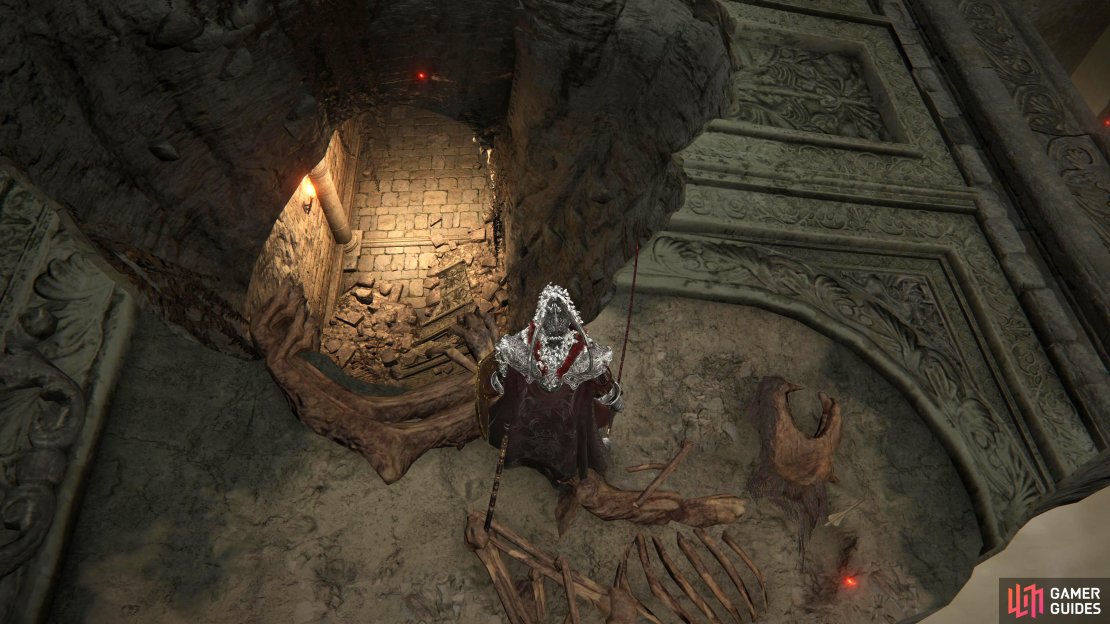
Drop into the hole in the floor next to the pillar, and you can find a Golden Rune [10] to your southwest. Turn back around, and follow the corridor northeast. Be wary of the large skeleton who’ll pounce at you from your left as you reach the bottom of the stairs. You can explore the area for some items (and enemies) if you want, but when you’re ready, drop to the platform below. After you land, head through the eastern archway and follow the stairs around where a Banished Knight will be waiting for you. This enemy attacks hard and fast as well as spew flames. Roll through the combos and flame attack and take it out. Follow the corridor into the next area.
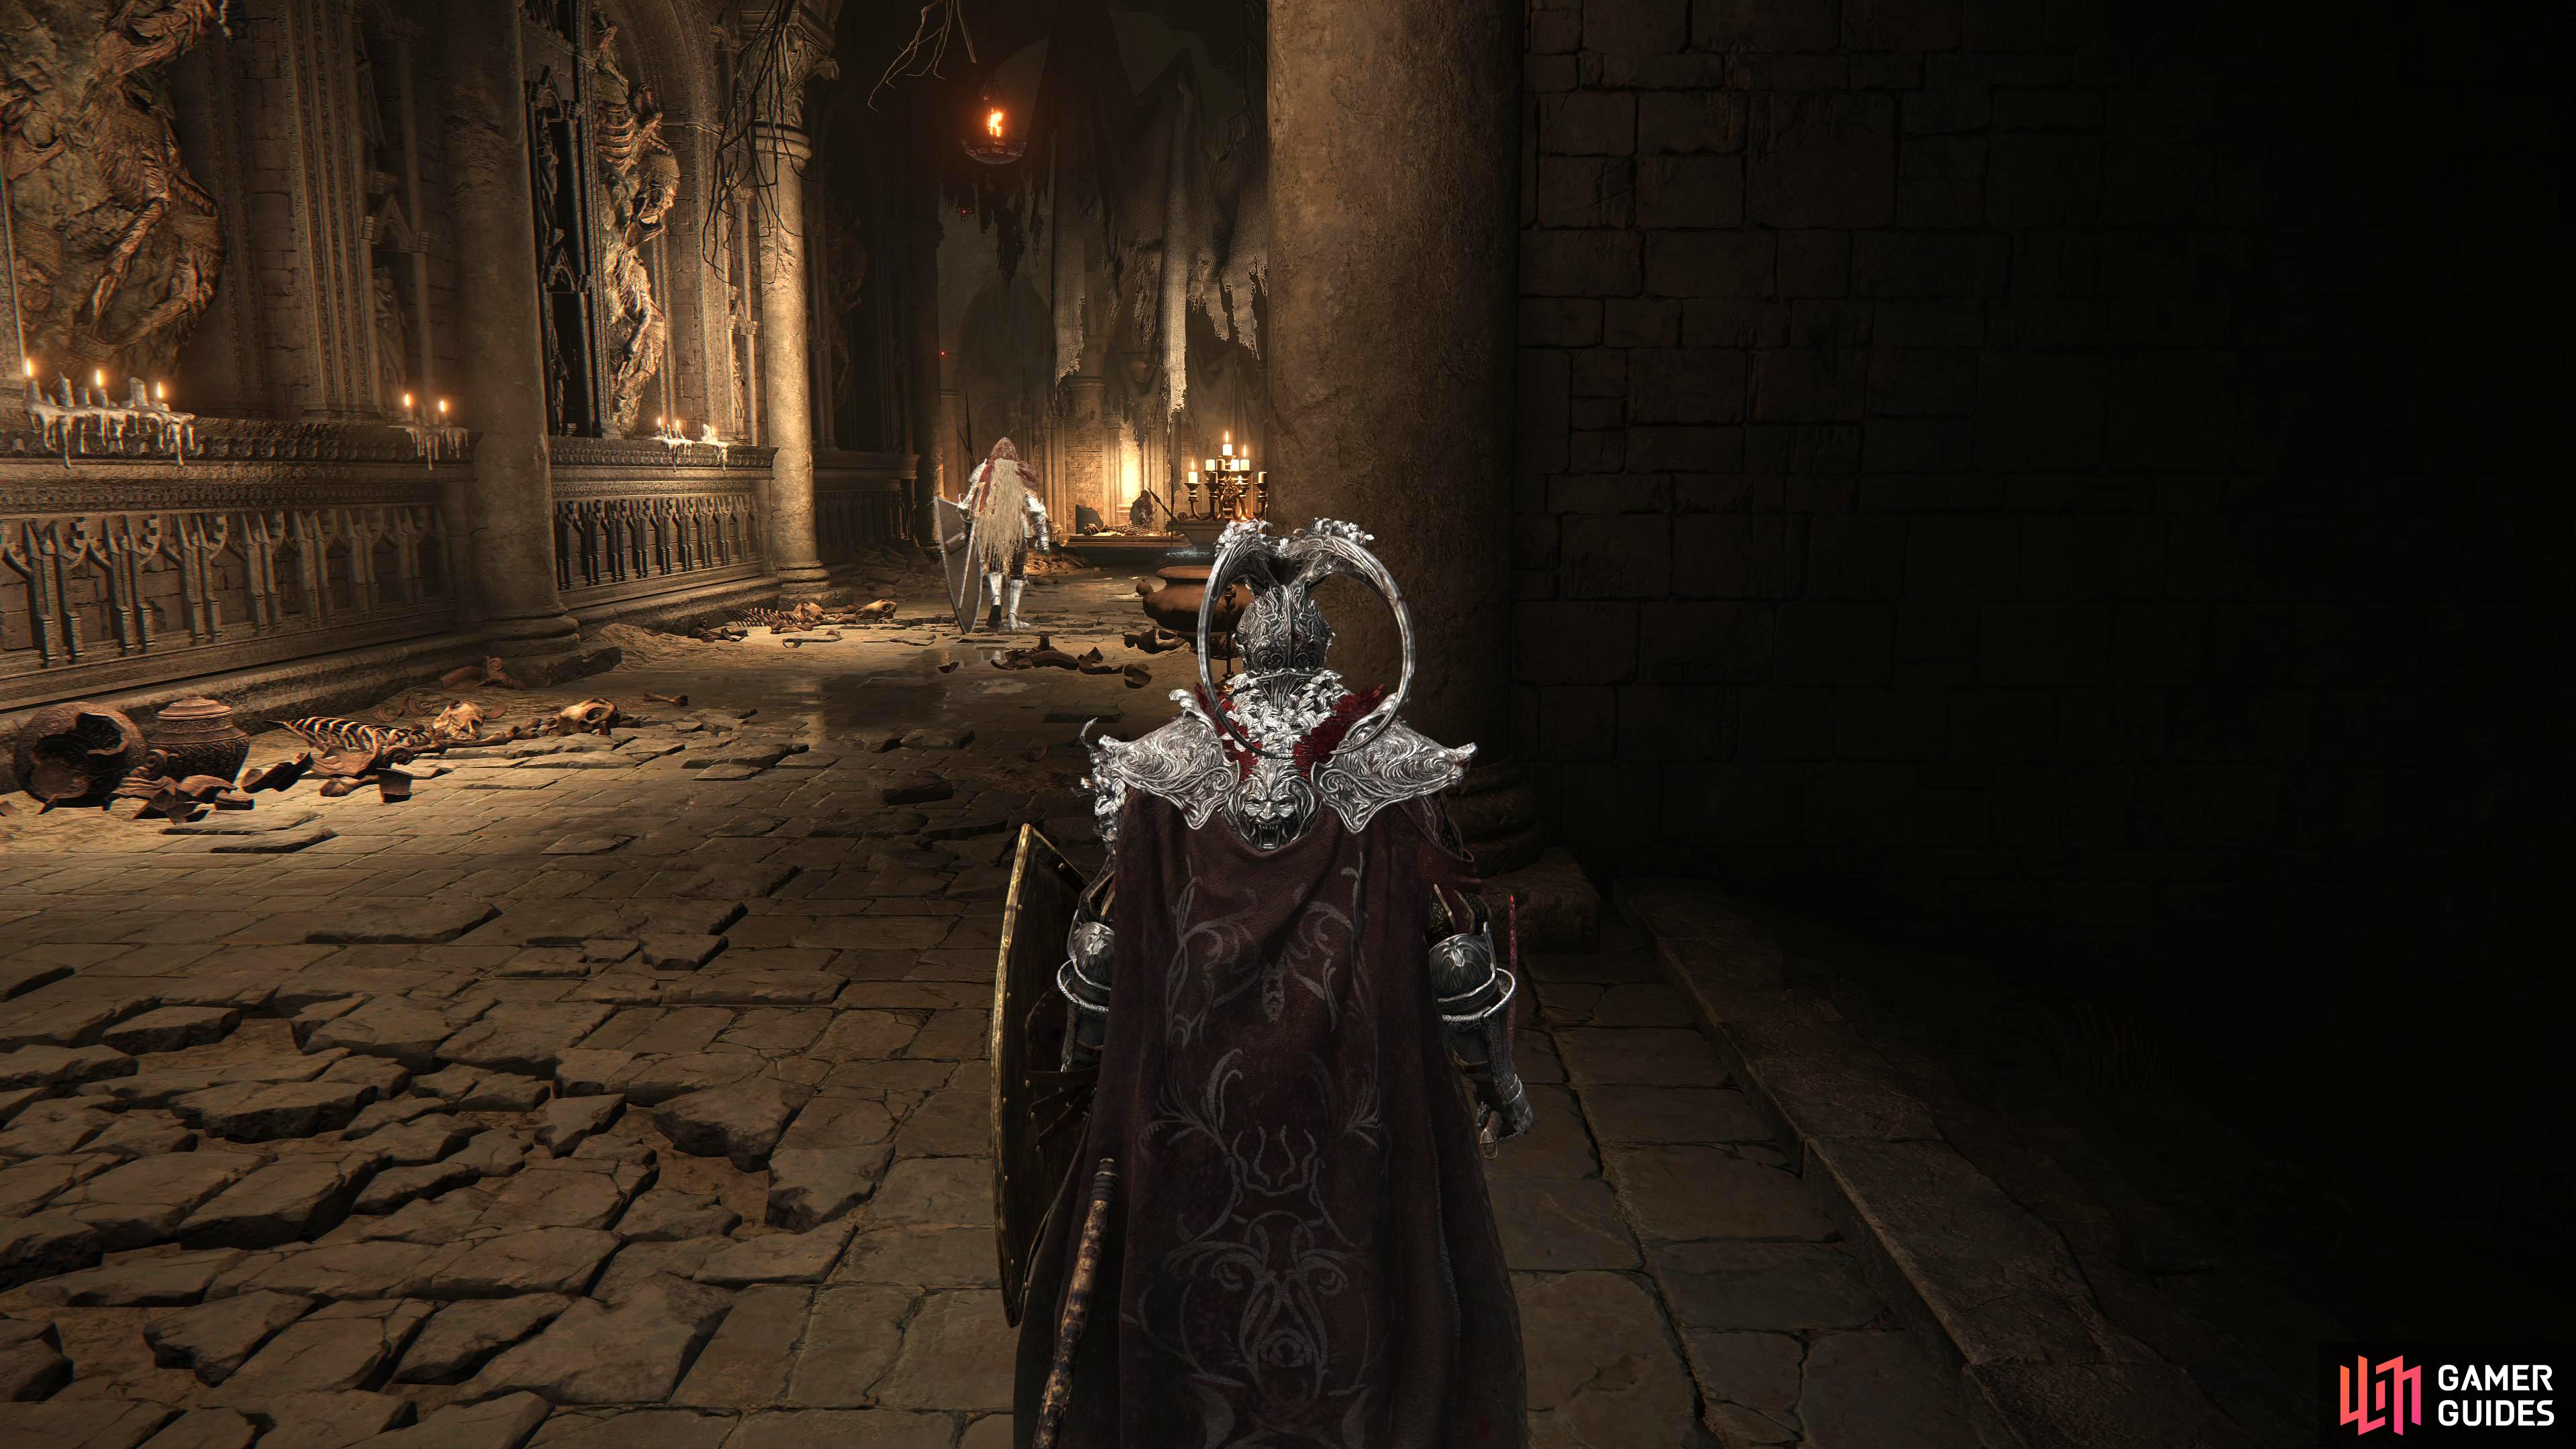
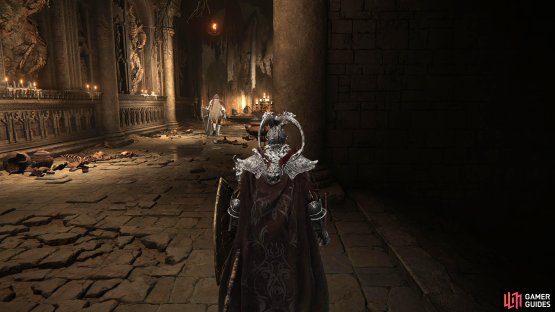

(1 of 2) Take out the first Banished Knight in the corridor before you head into the next room.
Take out the first Banished Knight in the corridor before you head into the next room. (left), Here, you’ll find another two Banished Knights. If you’re quick enough, you can sneak to the left without attracting their attention. (right)
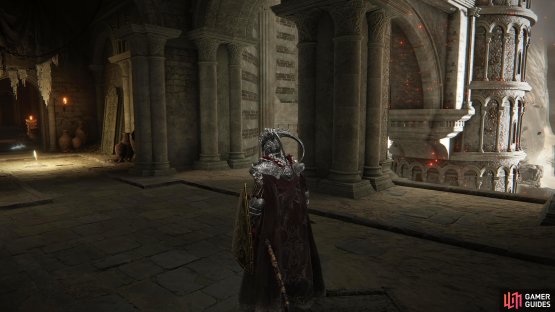
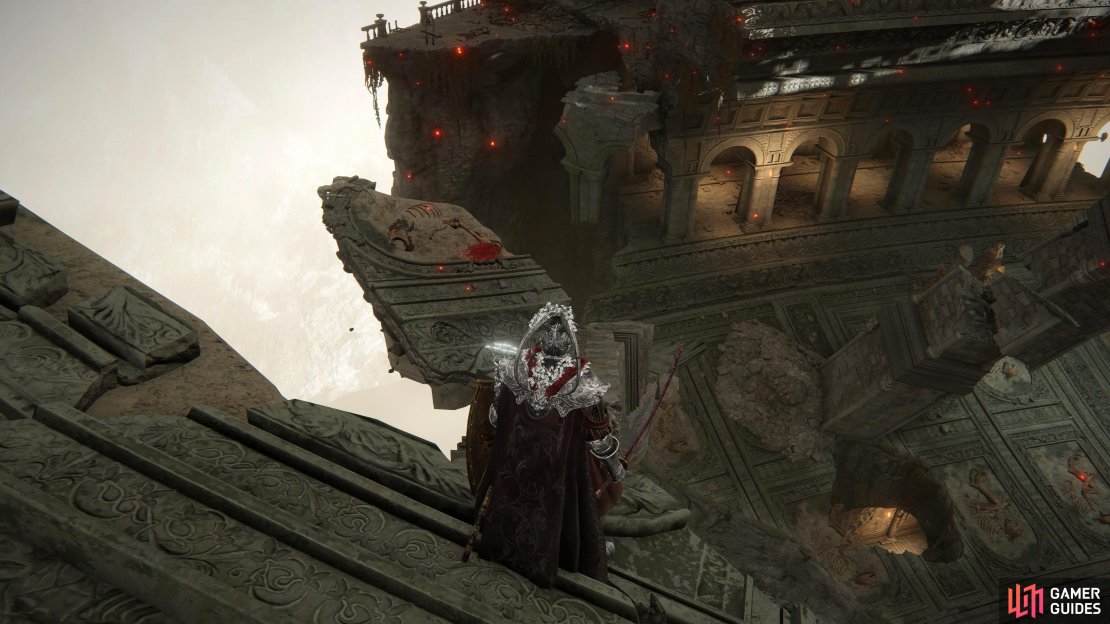
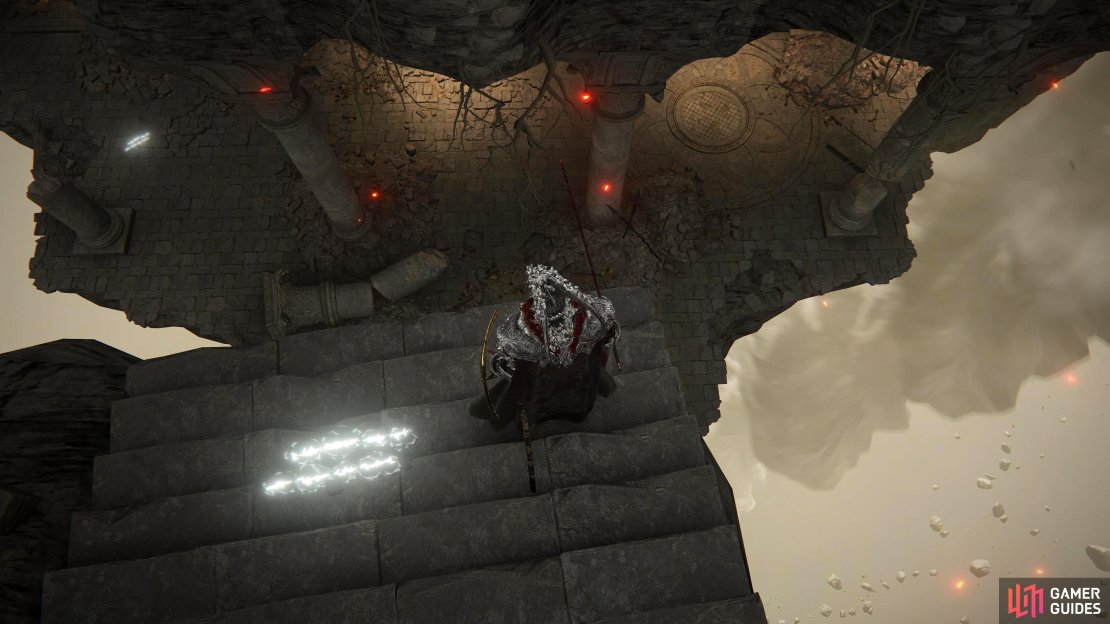
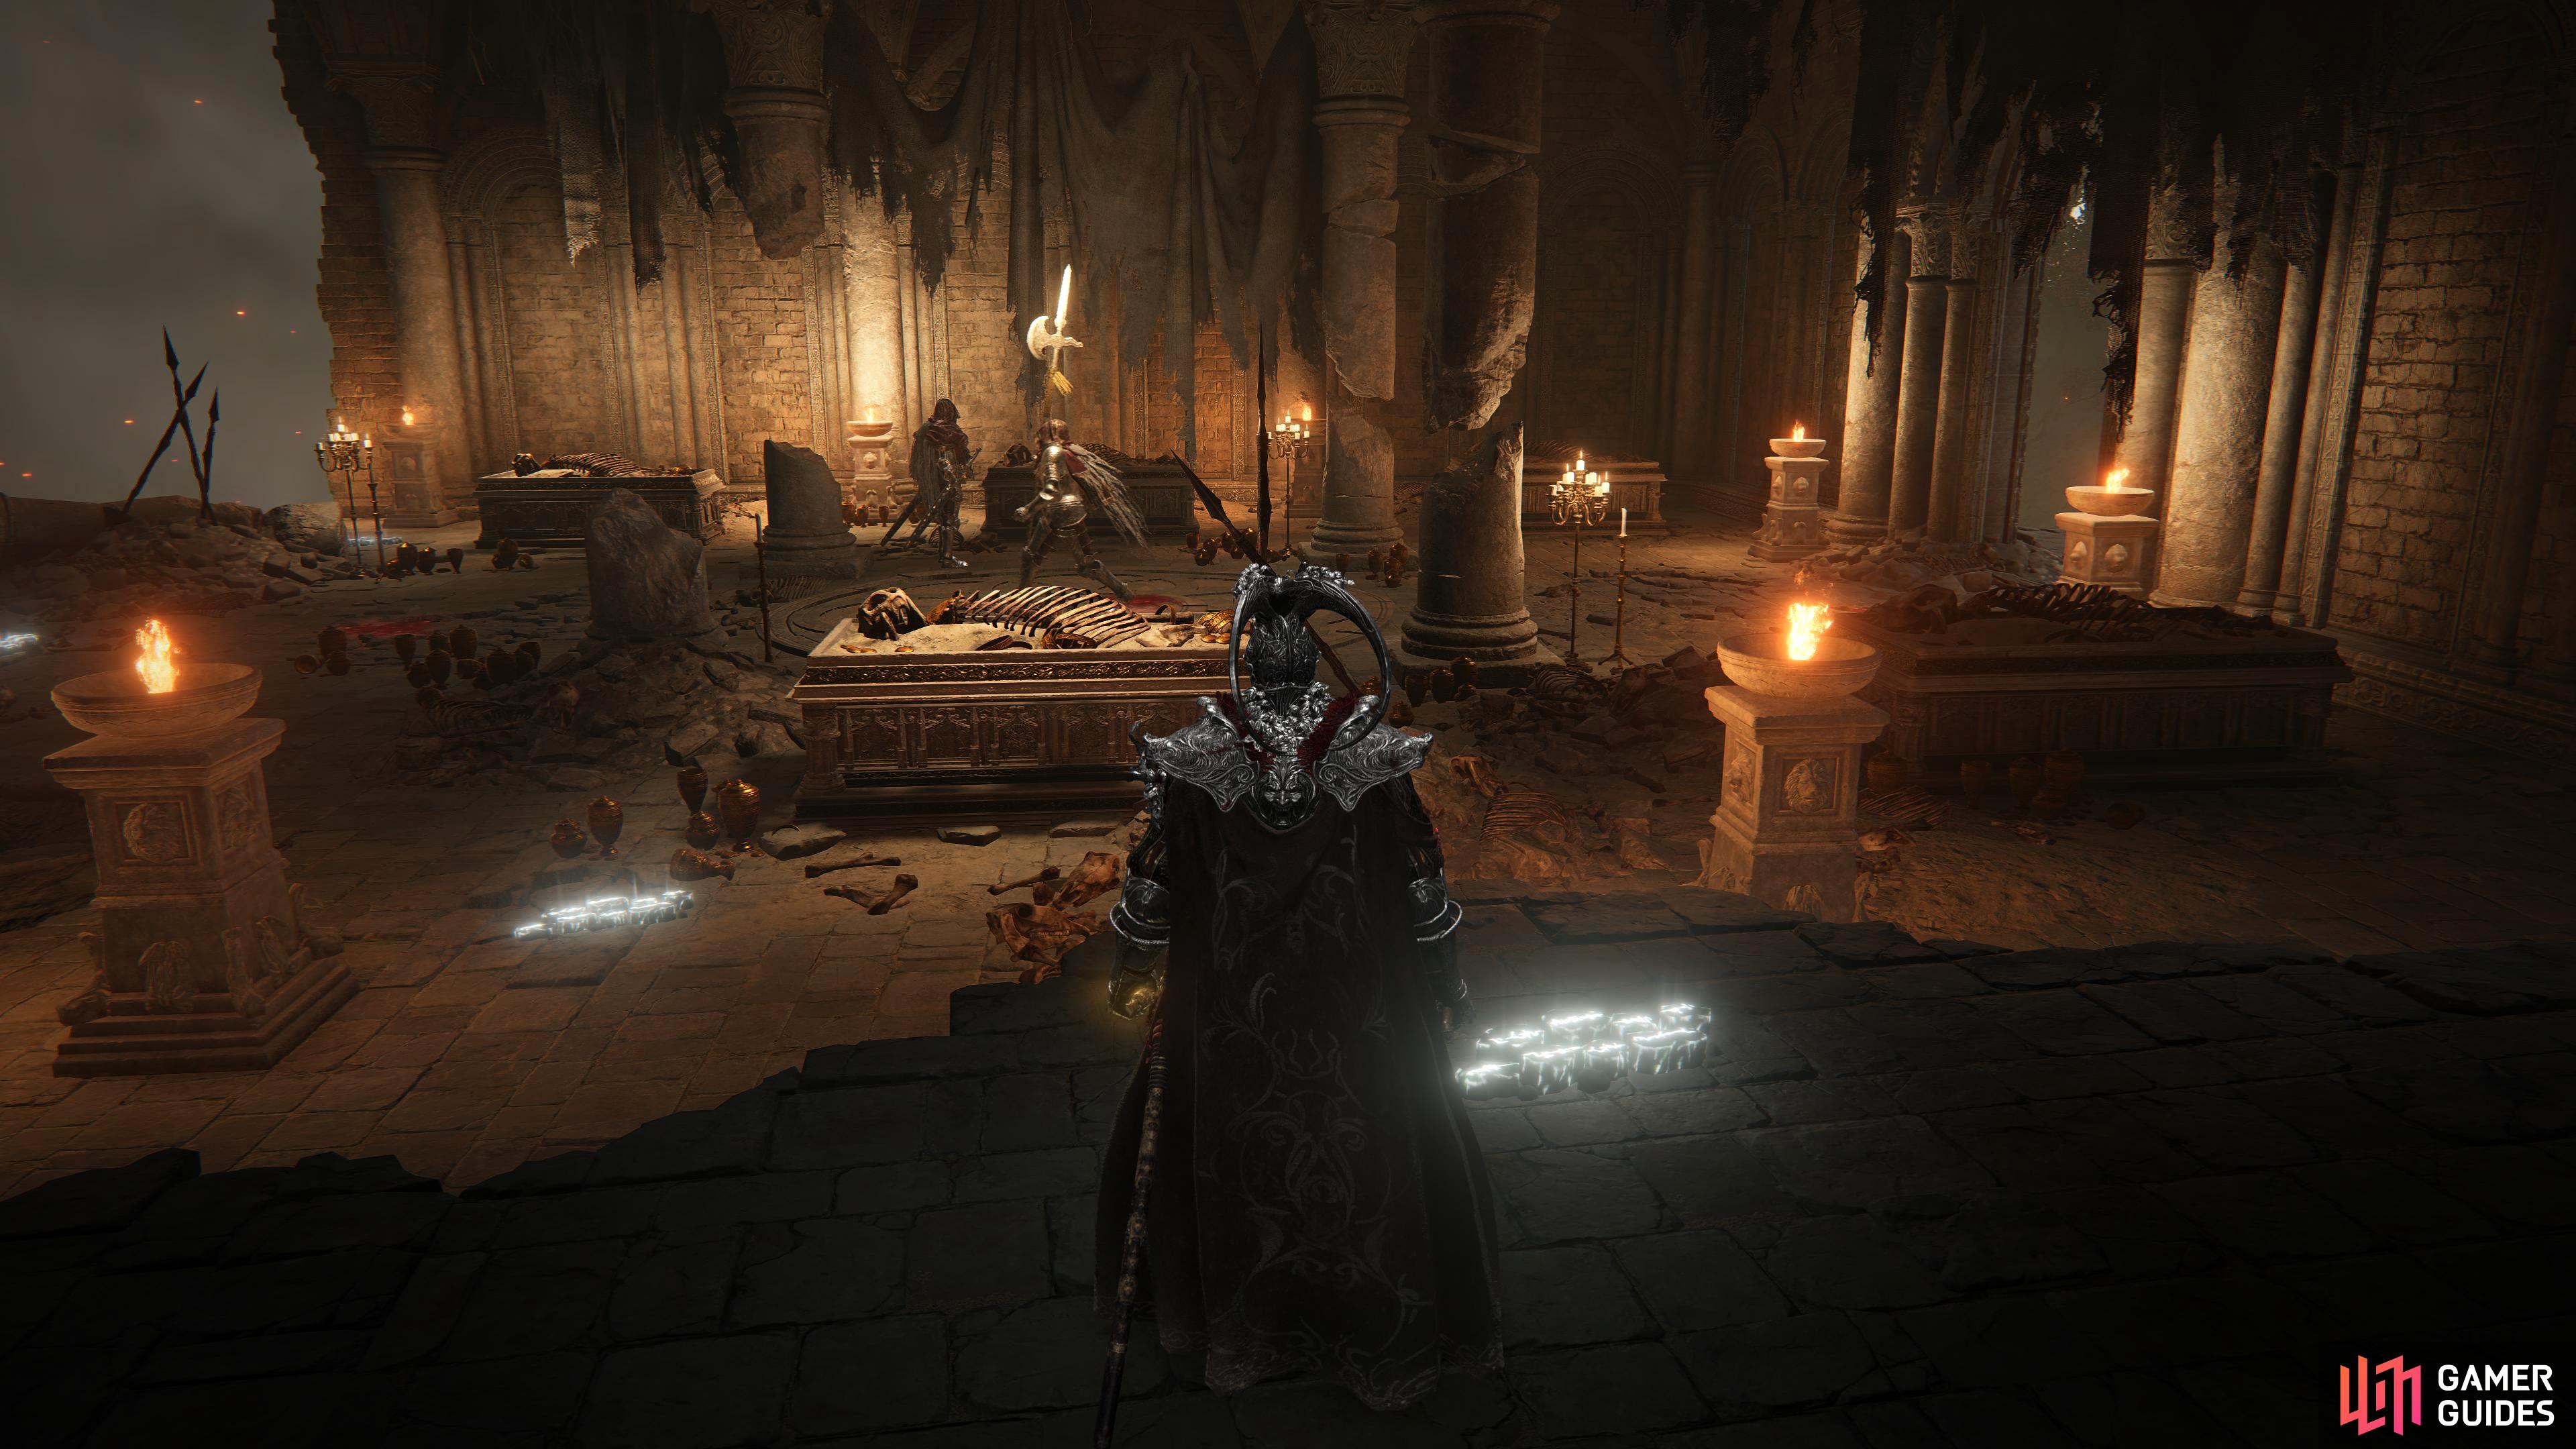
In this area, you’ll see one Banished Knight wielding dual swords standing next to a coffin in front of you. There is also another Banished Knight to your southwest that wields a large axe. Try to fight them one at a time, then pick up the Azula Beastman Ashes from the coffin the Knight was protecting. Head out the western archway and collect the Somber Smithing Stone [9] from the corpse hanging off the northern ledge. Go back into the other room, and east head into the corridor, where you’ll find the Dragon Temple Transept site of grace. Just up the northern stairs from the grace is the Godskin Duo boss room.
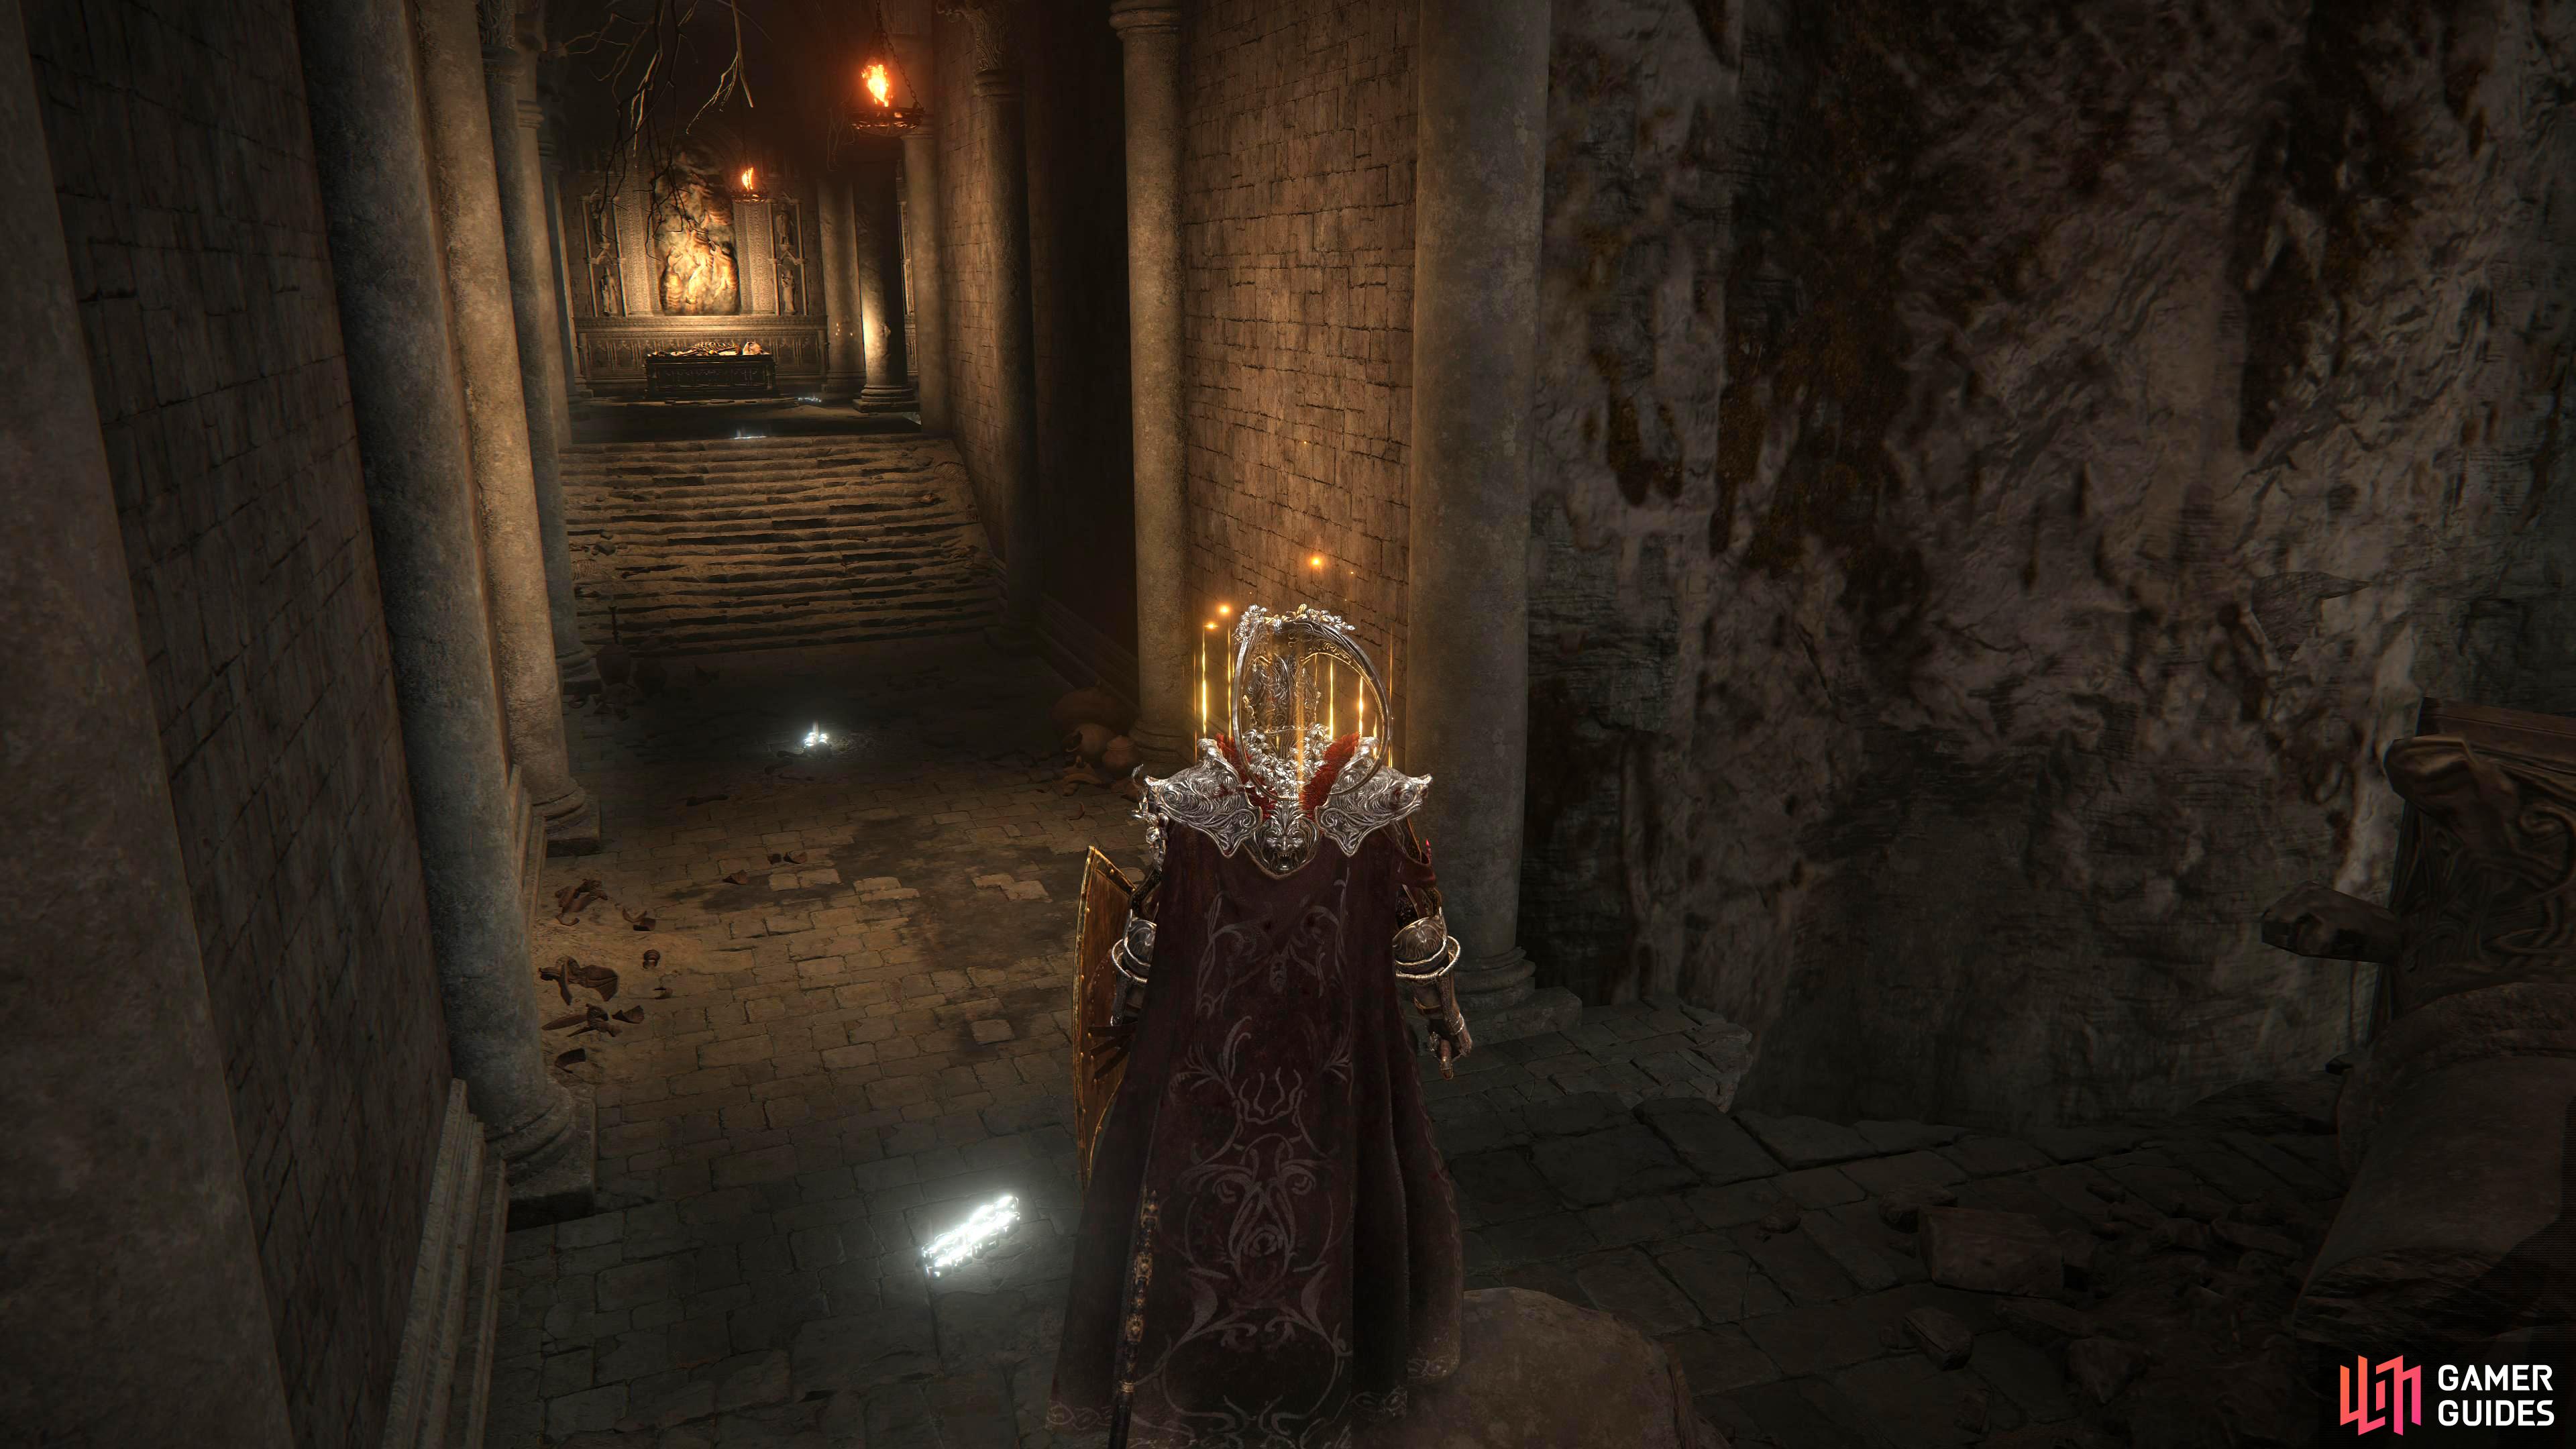


(1 of 2) Follow the dim corridor all the way to the end.
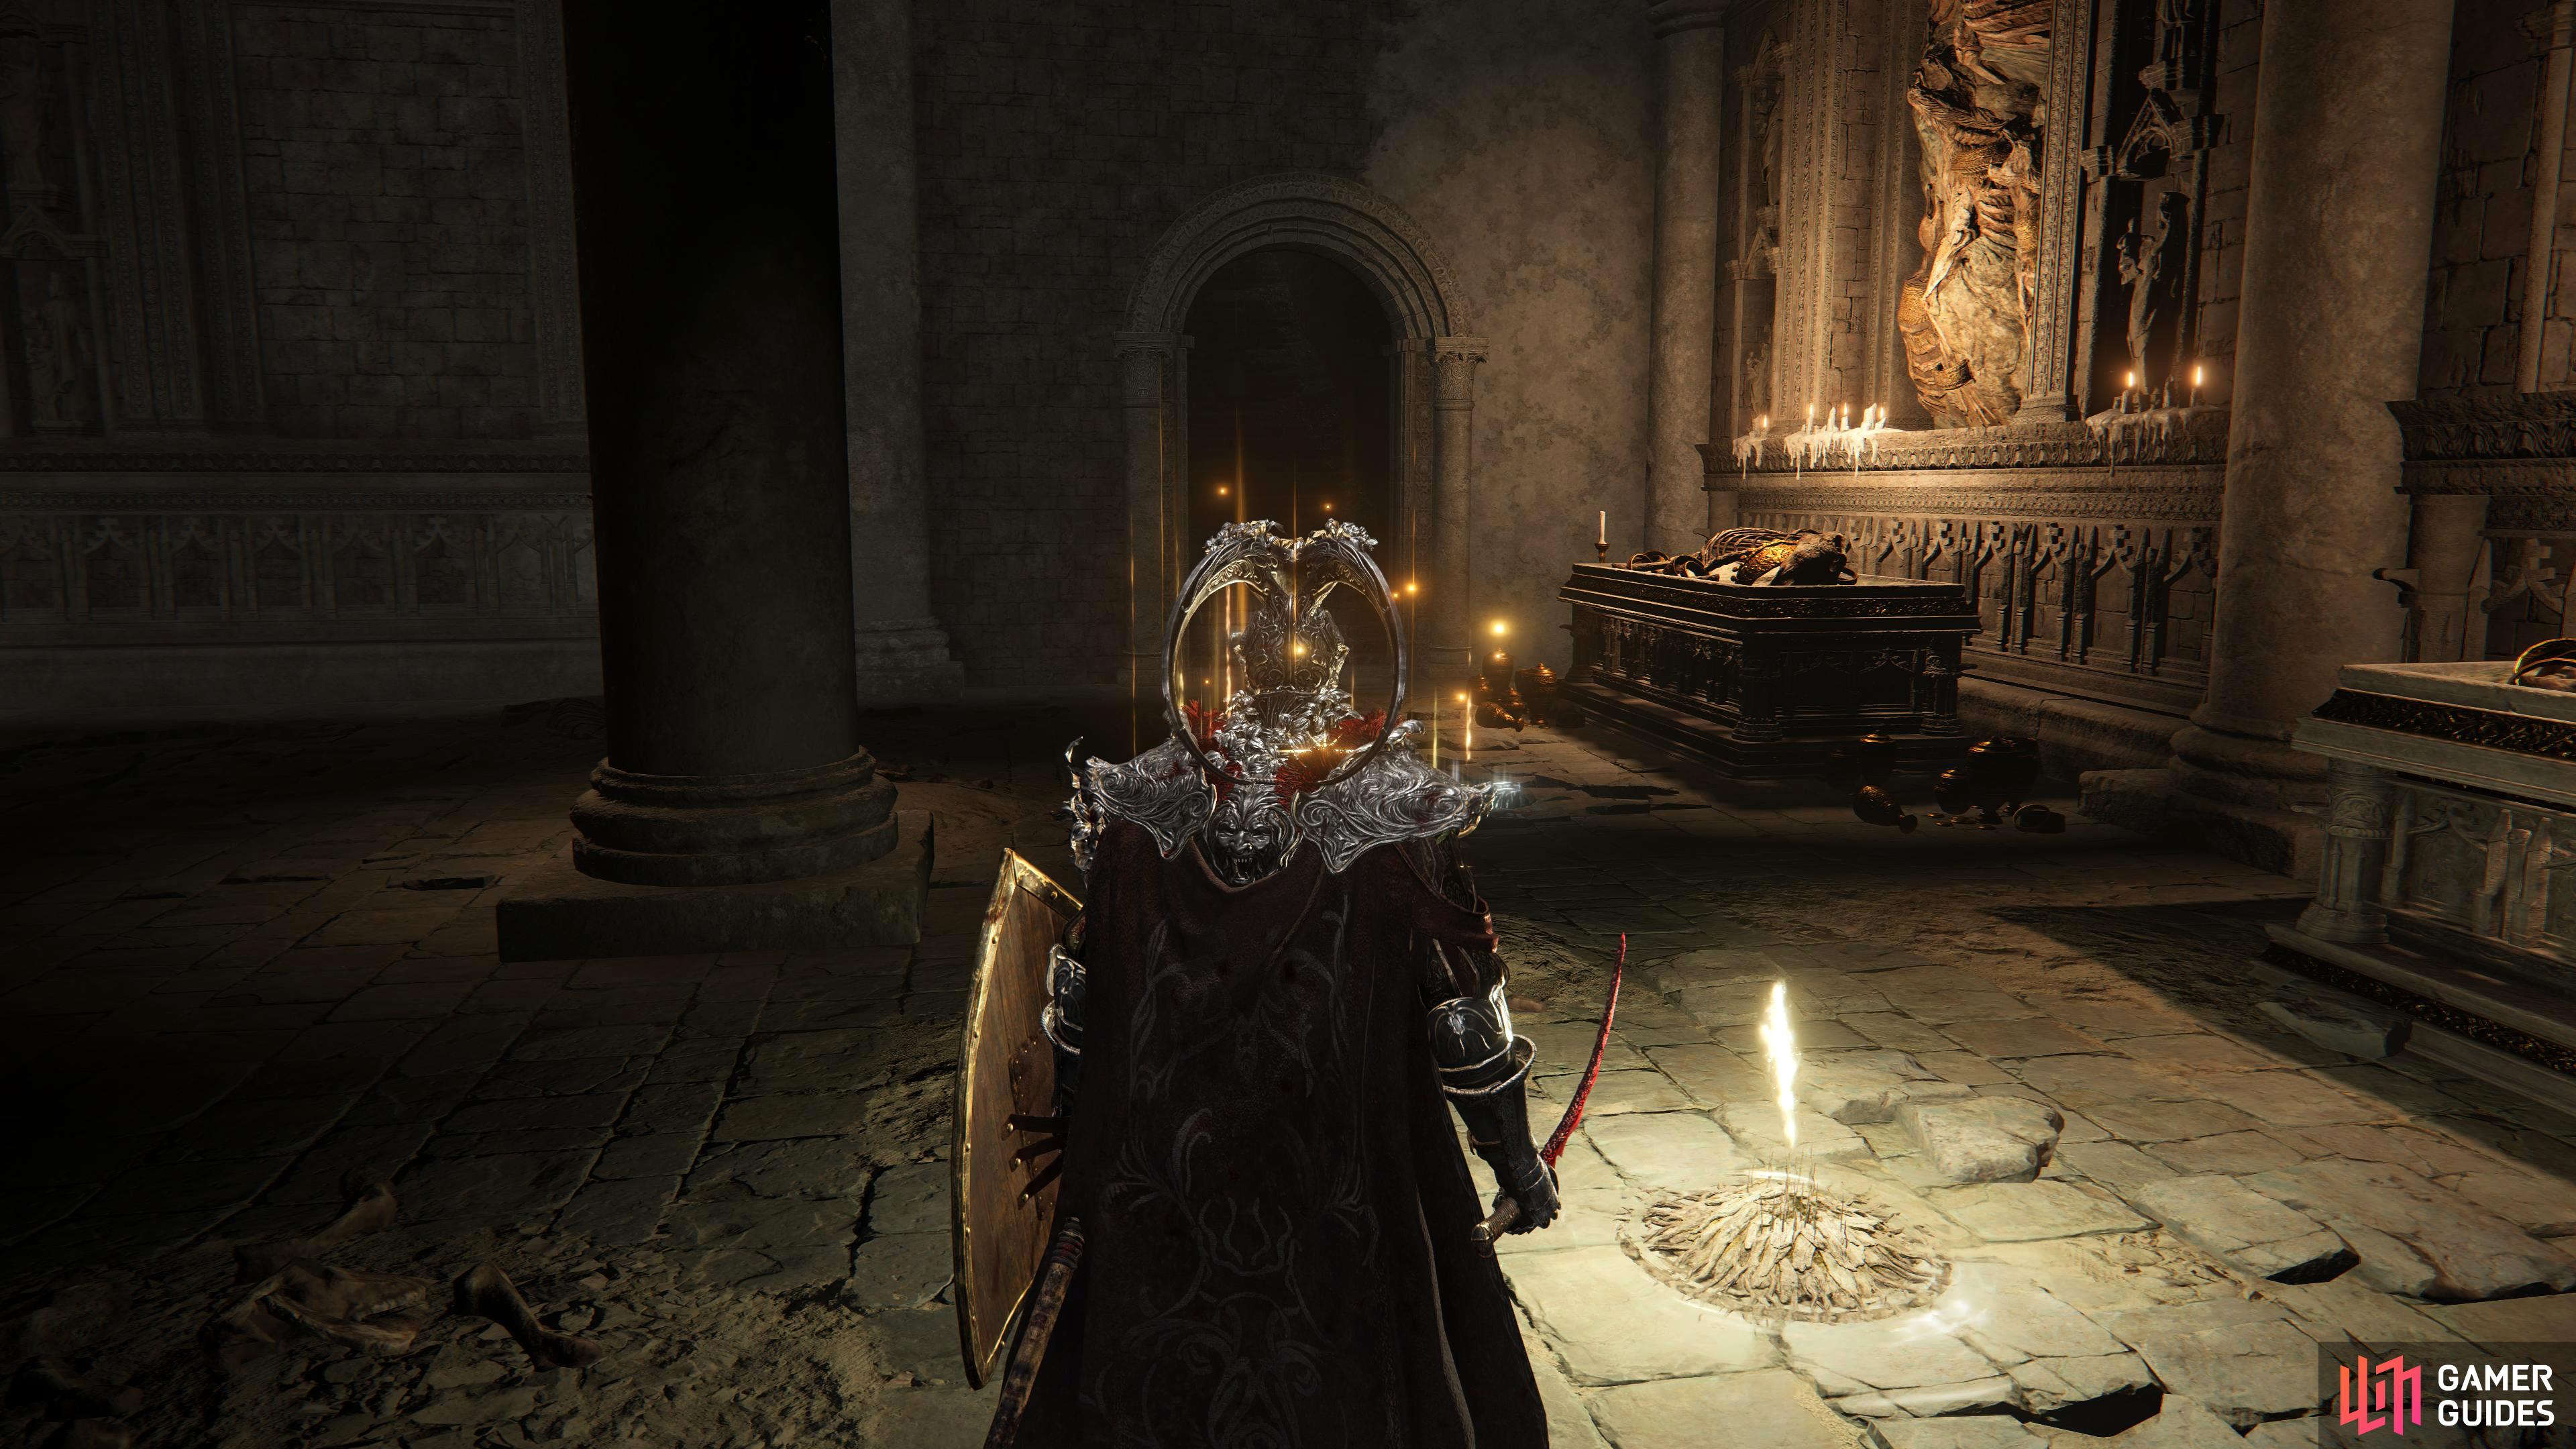
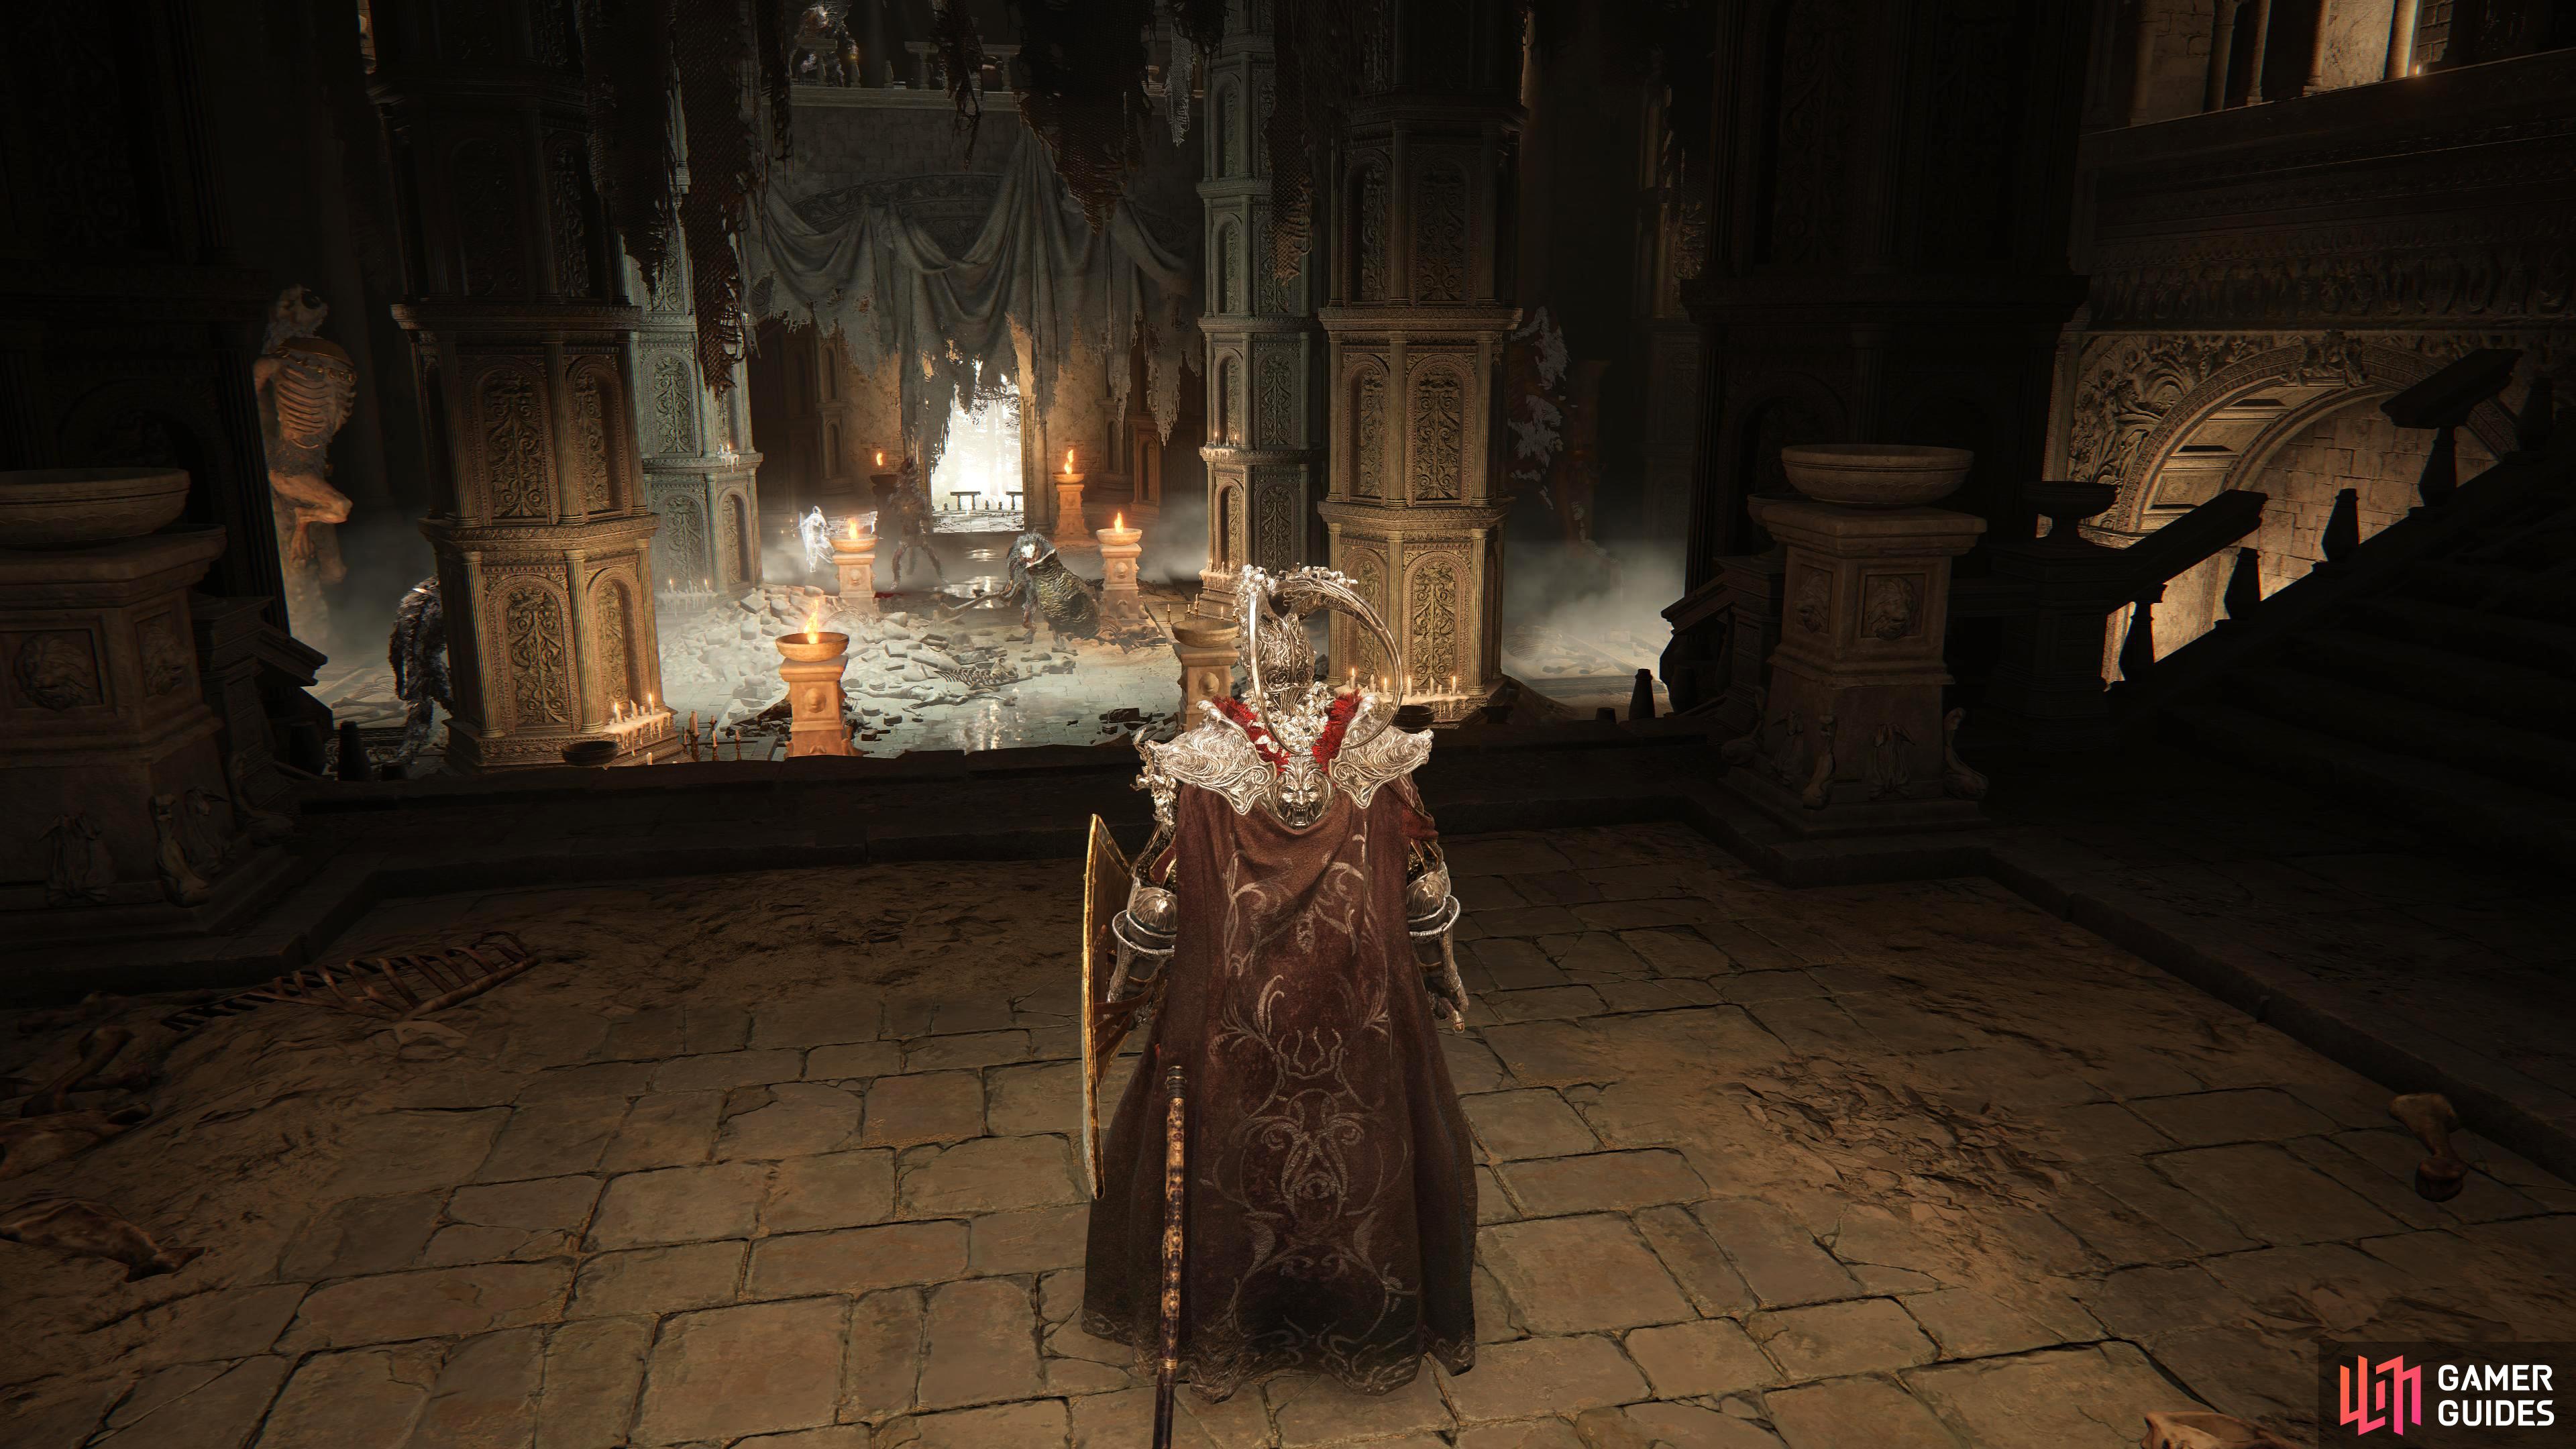
Follow the dim corridor all the way to the end. (left), To your right will be the Dragon Temple Transept site of grace with the boss arena through the doorway in front of it. (right)
How to Defeat The Godskin Duo
This is unlike any bosses in the game so far. When you defeat one of the Godskin’s, a portion of their health bar will disappear. When you defeat the second one, they’ll respawn one at a time until the entire health bar is depleted. The Godskin Noble is the tougher to fight out of the two as its inflated rolling attacks can be awkward to dodge. The Godskin Apostle has more range due to its elongated body although both of them can hurl Black Flames at you.
Godskin Noble Attacks
You may have fought a Godskin Noble before, especially if you went to the Divine Tower of Liurnia or even better, the Spiritcallers Cave in Mountaintops of the Giants as that was more or less the same fight but in corporeal form. This version hasn’t changed at all other than a slight health and damage increase.
Black Flame
The Godskin Noble will hurl a black flame directly where you are standing. This comes at you with quite some speed so be ready to dodge to either side. It’ll usually use this attack when you retreat and try to heal or if you fight it at range.
Black Barrier
When you’re in melee range of the boss, it can cast a barrier of black flame around itself which persists for a while after. Always expect it to use this move when you’re meleeing it, so you’re ready to roll away from the attack when it happens. You can see when it’s about to cast the spell as it’ll drop its left hand to its side.
Double Stomp
The Noble will stamp its right leg twice in quick succession. Roll away from the boss if you get caught by the first attack otherwise try to attack the opposite side of the boss to avoid getting caught by it.
Rapier Combos
The Godskin Noble wields a Rapier so expect a lot of thrusting attacks to come your direction. In addition to normal thrusts, it has a couple of combos to be wary off. One of them is when it’ll use a quick thrust and slowly perform a following overhead attack. Another combo is when it’ll start off with a thrust, and after a short delay, it’ll and slap you with its left hand. Both of these attacks can be avoided by dodging to the bosses right especially with the second combo as the slap will miss you. Finally, it’ll thrust repeatedly at you four times in quick succession. For this attack, keep rolling towards and to the side to avoid the attacks. Blocking this combo will shatter your poise and stagger you.
Slashing Backslap
Rapier Combo
Inflated Roll
Probably the hardest attack to avoid is the Inflated roll. The Noble will bloat up and will start spinning like a wheel towards you. This attack can hit you multiple times and even kill you if you get hit by every attack. The easiest way to avoid this is by sprinting to either side of the room as soon as you see him swell up. A well-timed dodge using your invincibility frames can also avoid the attacks, but the timing can be tight due to the size of its hit box.
Inflated Slam
When the Noble is inflated, it can launch itself into the air and slam down on to you with all its weight dealing significant damage. Whenever you see the boss take flight, sprint/roll away from the point of impact.
Inflated Expand
Whist standing, the Noble will expand it’ll inflate its belly and quickly expand it around itself producing a shockwave around him, knocking you back. This is normally performed after the Inflated Slam. Keep your distance or roll away from the attack.
Slash and Tail Swipe
The Noble will raise its right hand and slash at you with its rapier and follow it up with a tail swipe after a short delay. Roll through the slash and either block or roll away from the tail swipe.
Godskin Apostle Attacks
The Godskin Apostle is probably the easiest out of the two to fight, although its elongated body can catch you off guard due to the range it can get. Like the Noble, you may have fought this boss numerous times before. It can be found in Windmill Village in Altus Plateau as well as being the main boss at the bottom of Caelid’s Divine Tower. Once again, its move set is exactly the same, so if you’ve defeated those version of it, you shouldn’t have much trouble.
Black Flame
Same as the Godsking Noble’s Black Flame attack, although this one appears to reach you slightly quicker. Dodging to the side or even through the projectile will suffice.
Black Flame Ritual
The same attack as the Incantation of the same name. The Apostle will envelop their weapon with Black Flames whilst spinning it above its head to create a whirlwind of black flames. This’ll surround itself in a large radius that expands until it stabs the weapon into the ground causing the whirlwind to explode dealing significant damage. To avoid the attack, you’ll want to get as far away as possible from it. If you’re inside it, keep rolling out of it to avoid taking as much damage as possible.
Elongated Stab and Spin
With this attack, the Apostle will stab the twinblade downwards with the blade part of the weapon, then it’ll spin around and end the attack with a downwards slash with the sickle part of the weapon. By rolling into the attack, you can avoid both parts of the attacks. This attack leaves the Apostle open for a brief moment allowing you to get an attack or two in.
Elongated Weapon Spin
The Apostle will elongate its body leaving the bottom half in place whilst the upper half will head towards you spinning its weapon like a helicopter blade. If you can dodge through the initial attack, you’ll have sufficient time to attack the bottom half with a few hits.
Elongated Sweep
Similar to the previous attack, the boss will elongate its body leaving the bottom half in place whilst the upper half extends upwards before stabbing the blade part of the weapon downwards. As it returns to its original state, it’ll perform a sweep attack. Dodge to the side for the stab and roll through the sweep, and use the bosses’ recovery time to get a couple of attacks in yourself.
Jumping Slam
This attack comes at you quickly. The Apostle will leap into the air and proceed with a downwards slam. Dodge the attack by either rolling through it or to the side which’ll leave you ample time to get a few attacks in.
Retreating Slash
The Apostle will do a horizontal slash at you then jump away so it can gain some distance. This is a simple attack that a dodge or a block will nullify. It can come quickly from nowhere so be on your toes. It’ll normally follow the attack up by hurling a Black Flame at you.
Sickle Spin
The Apostle will move to you whilst continuously spinning its twinblade. This is one of its more dangerous attacks especially if you get hit by all the attack. Ideally, you’ll want to keep your distance from the boss whilst it’s performing this attack. Worst case scenario, you can roll through the attack and get behind it.
Stab and Drag
The Apostle will stab out with the hooked part of the blade, and then pull back towards itself. This is a two-stage attack where the initial stab and the pull count as two separate attacks and can hit you twice. This is a relatively easy attack to avoid providing that you don’t forget it has a second stage to the attack as its hit box is only in front of the Apostle. You can dodge to the side a couple of times to avoid the attack or if you see it coming, keep your distance from it.
Sweeping Slash
The Apostle will move to the side whilst performing two sweeping slashes. Roll away or block to negate the damage.
Strategy
At first this fight will feel overwhelming because the first time that you fought either of these bosses they were quite difficult. This time around, you’re a lot stronger, and they haven’t gained anything extra. The bosses have their own separate health bars above them as well as a collective boss health bar labeled “Godskin Duo”. When you defeat one of the bosses, the boss health bar will deplete. When one of the bosses is defeated, the other will revive it until the entire boss health bar has been depleted.
There are a few ways to deal with this fight. Summoning a strong Spirit Ash like the Mimic Tear or Black Knife Tiche can help you focus on one boss at a time. They are susceptible to sleep, which means you can use the various sleep inducing items like Soporific Grease, Sleep Pots or Sleep Arrows to put them in a slumber. You can use the environment to your advantage to avoid attacks, heal yourself or even separate the bosses for a brief moment. This is mainly because the battlefield has a lot of pillars and other objects around the area which can break line of sight or give you a moment of respite.
On to the fight, the Godskin Noble is the bigger threat as some of its attack are hard to judge sometimes. Its rapier has deceptive range, and its inflated roll attack can deal a lot of damage especially if you’re not ready for it. Although the Noble is the biggest threat, you’ll want to focus on the Apostle as you should be able to defeat it quicker, and because the bosses respawn, it’s easier to keep killing the Apostle than the Noble.
If you’re using a melee build, you’ll have to be patient and use the environment to separate the two, so you can focus on one at a time. When fighting one of them be always aware of what the other is doing as you might just find a fireball to your face when you least expect it. Take your time, get a couple of attacks in and reposition every time the second boss closes in on you.
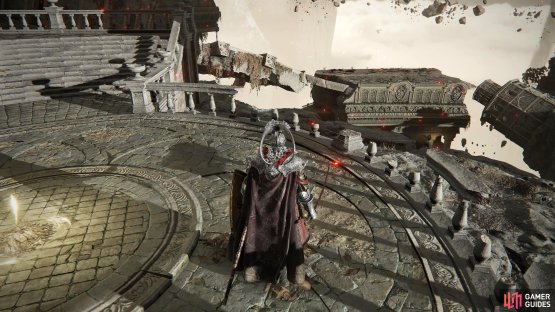
For magic builds, this fight is a lot easier, especially if you have the powerful Comet Azur. You can target the furthest away Godskin and position yourself where the bosses are in line with each other allowing you to hit both bosses with one cast. Use the pillars to avoid getting hit and keep peeking the bosses whilst throwing a comet at them. When you eventually defeat the boss, you’ll be rewarded with the Smithing-Stone Miner’s Bell Bearing [4], and the Ash of War: Black Flame Tornado.
This is a tough battle regardless of which way you tackle it which is why you should use every advantage you can. Spirit Ashes to take one of the bosses’ attention of you or even summoning other online players for the same reason. Sleeping one of the bosses only waking it to revive the other boss before sleeping it again.
No Comments