
In Elden Ring, you’ll find yourself up against many challenging Bosses, many of which are optional. This page will detail where you can find every Boss in the Altus Plateau region. This isn’t including the Legacy dungeons Volcano Manor and Leyndell.
For bosses in other regions of Altus Plateau see below:
All Boss Locations in Altus Plateau, Elden Ring
Anastasia, Tarnished-Eater
You may remember fighting Anastasia in front of the Smoldering Church near Caelid. Well this is part two of the fight. She’ll invade you as you approach the Corpse-Stench Shack, at the end of the road leading to Mt. Gelmir. This is more or less the same fight you had at Smoldering Church, where she’ll be super aggressive and deal significant damage if she hits you. It’s worth noting, she is weak to Strike damage. When you defeat her, you’ll get her Butchering Knife as a reward.
Ancient Dragon Lansseax
You’ll first find the Ancient Dragon north of the Abandoned Coffin site of grace. Once you deal approximately a 1/3 of its health, it’ll disappear. The proper fight won’t happen until you reach the Rampartside Path site of grace, which is outside the walls of Leyndell. Head to the hill southwest from there, and it’ll fly down. It has the same attacks that all the other dragons have, other than using lightning attacks. When you defeat it, you’ll receive Lansseax’s Glaive as a reward.
Ancient Hero of Zamor
You can originally fight the Ancient Hero at the Weeping Evergaol in Weeping Peninsula, and this fight will be no different, other than you’re not confined to an Evergaol which means you can summon or use Spirit Ashes. She can be found in the Sainted Hero’s Grave, which is west of the Rampartside Path site of grace. The entrance to the dungeon is guarded by a Black Knife Assassin, which you read about below. Finally, she is weak to fire and lightning but resistant to blood status. When she is defeated, you’ll be rewarded with the Ancient Dragon Knight Kristoff Spirit Ash for your troubles.
Black Knife Assassin (Sainted Hero’s Grave)
The first of two Black Knife Assassins in Altus Plateau will be guarding the entrance to the Sainted Hero’s Grave dungeon. Like most of the Black Knife Assassins, it can go invisible. If you have access to the Sentry’s Torch, you can use it to stop it from going invisible. They’re also very vulnerable to being staggered. Wide-range attacks seem to work best against them, as it covers a lot of ground. When you defeat the Assassin, you’ll be rewarded with the Black Knife.
Black Knife Assassin (Sage’s Cave)
The second of the Black Knife Assassins can be found inside the Sage’s Cave dungeon, located in the northeastern corner of the large lake south of Volcano Manor. To get there, you need to head west from Wyndham Ruins and drop into the lake. Once again, this Assassin is an invisible one, so you’ll need a wide-range weapon or spell to hit it. Spirit Summons help in these battles as their AI knows where the assassin is. When you defeat the Assassin, you’ll receive the Concealing Veil for your troubles.
Crystalian Spear & Crystalian Ringblade
Another Crystallian duo, but this time using a spear and ringblade. You can find this particular irritating pair at the end of the Altus Tunnel dungeon, which can be found east of the Wyndham Catacombs site of grace. Like with most duo bosses, Spirit Ashes can help divide their attention whilst you fight the other. They take almost no damage until you break their poise, then they will take damage from all sources. The easiest way to deal with them is to guard counter until their poise is broken, or cast a Glintstone Pebble at them. They are weak to Strike if you happen to have access to a leveled up Strike weapon. Once they’ve been defeated, you’ll be rewarded with the Somberstone Miner’s Bell Bearing [2].
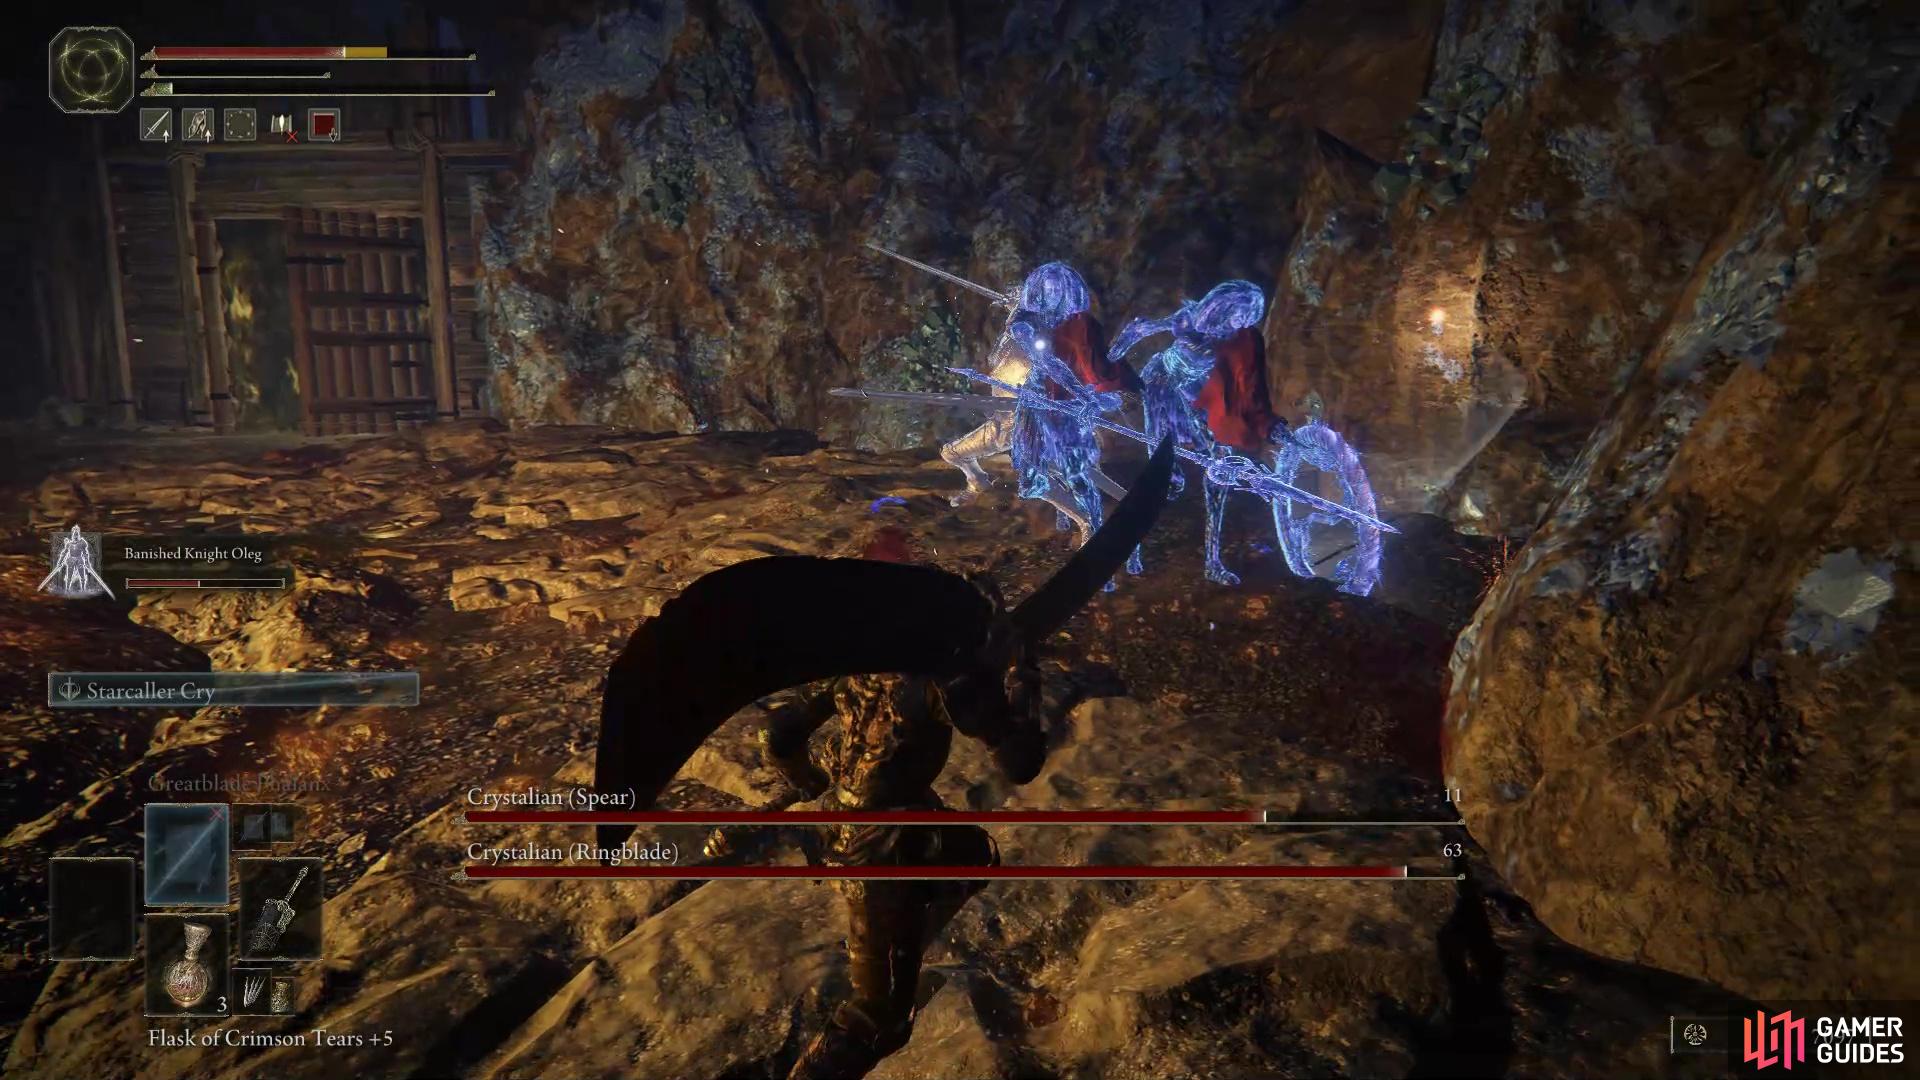
Crystalian (Spear) and Crystalian (Ringblade).
Demi-Human Queen Gilika
The Demi-human Queen Gilika is a Demi-human that wields a staff. She can be found inside the Lux Ruins cellar, which is southwest from the Erdtree-Gazing Hill site of grace. The cellar is located on the upper part of the ruins. She’s a relatively easy boss, just go under her legs and attack away, but make sure to watch out for her downward stomps. When she is defeated, you’ll have access to the chest in the next room containing the Ritual Sword Talisman.
Demi-Human Queen Maggie
The Demi-human Queen Maggie is a Demi-human that wields a staff. You can find her roaming about south of the Primeval Sorcerer Azur site of grace. Like Gilika, she shouldn’t pose much of a threat, just go under her legs and attack away, but make sure to watch out for her downward stomps. When she is defeated, you’ll be rewarded with a Memory Stone.
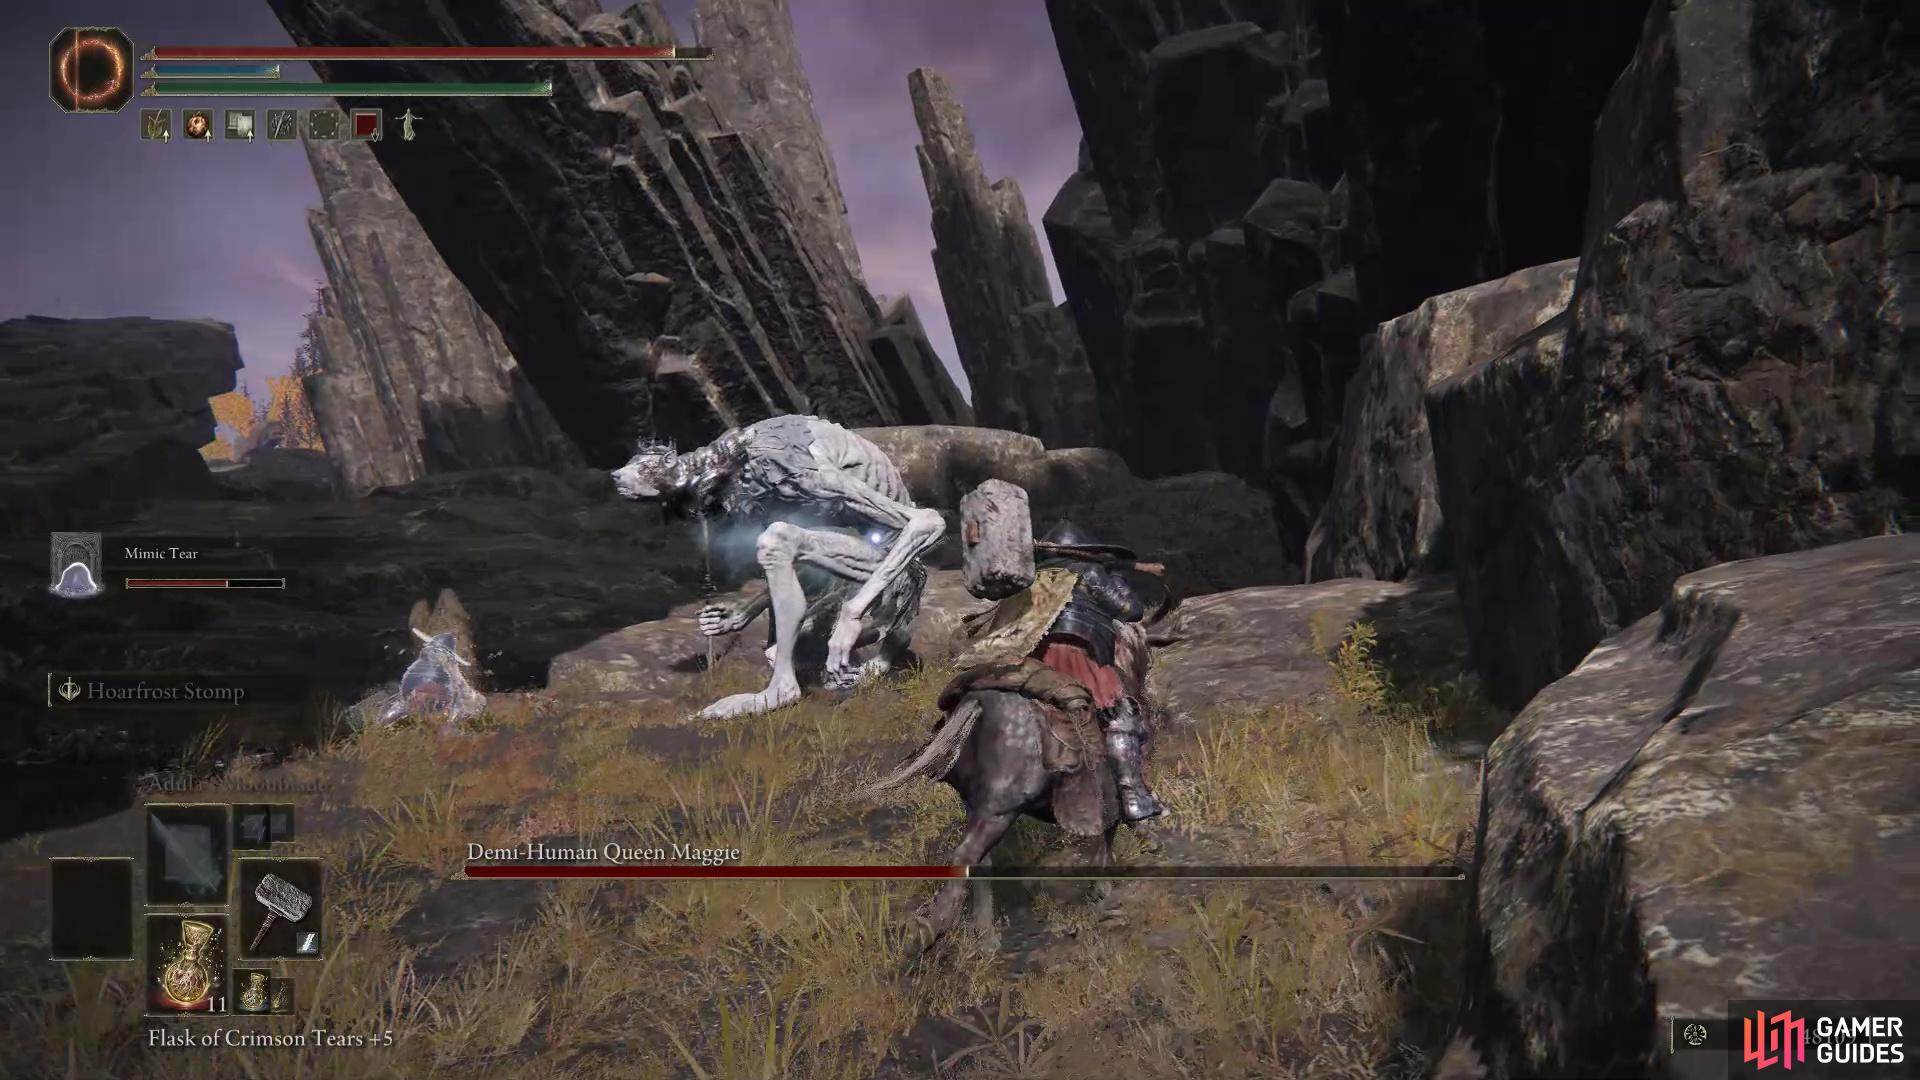
Demi-Human Queen Maggie.
Demi-Human Queen Margot
The Demi-human Queen Margot is a Demi-human that wields a staff. You can find her at the end of the Volcano Cave dungeon in Mt. Gelmir which is located north of the Ninth Mt. Gelmir Campsite site of grace. Once again, she shouldn’t pose much of a threat, just go under her legs and attack away, but make sure to watch out for her downward stomps. When she is defeated, you’ll be rewarded with the unique ranged weapon, Jar Cannon.
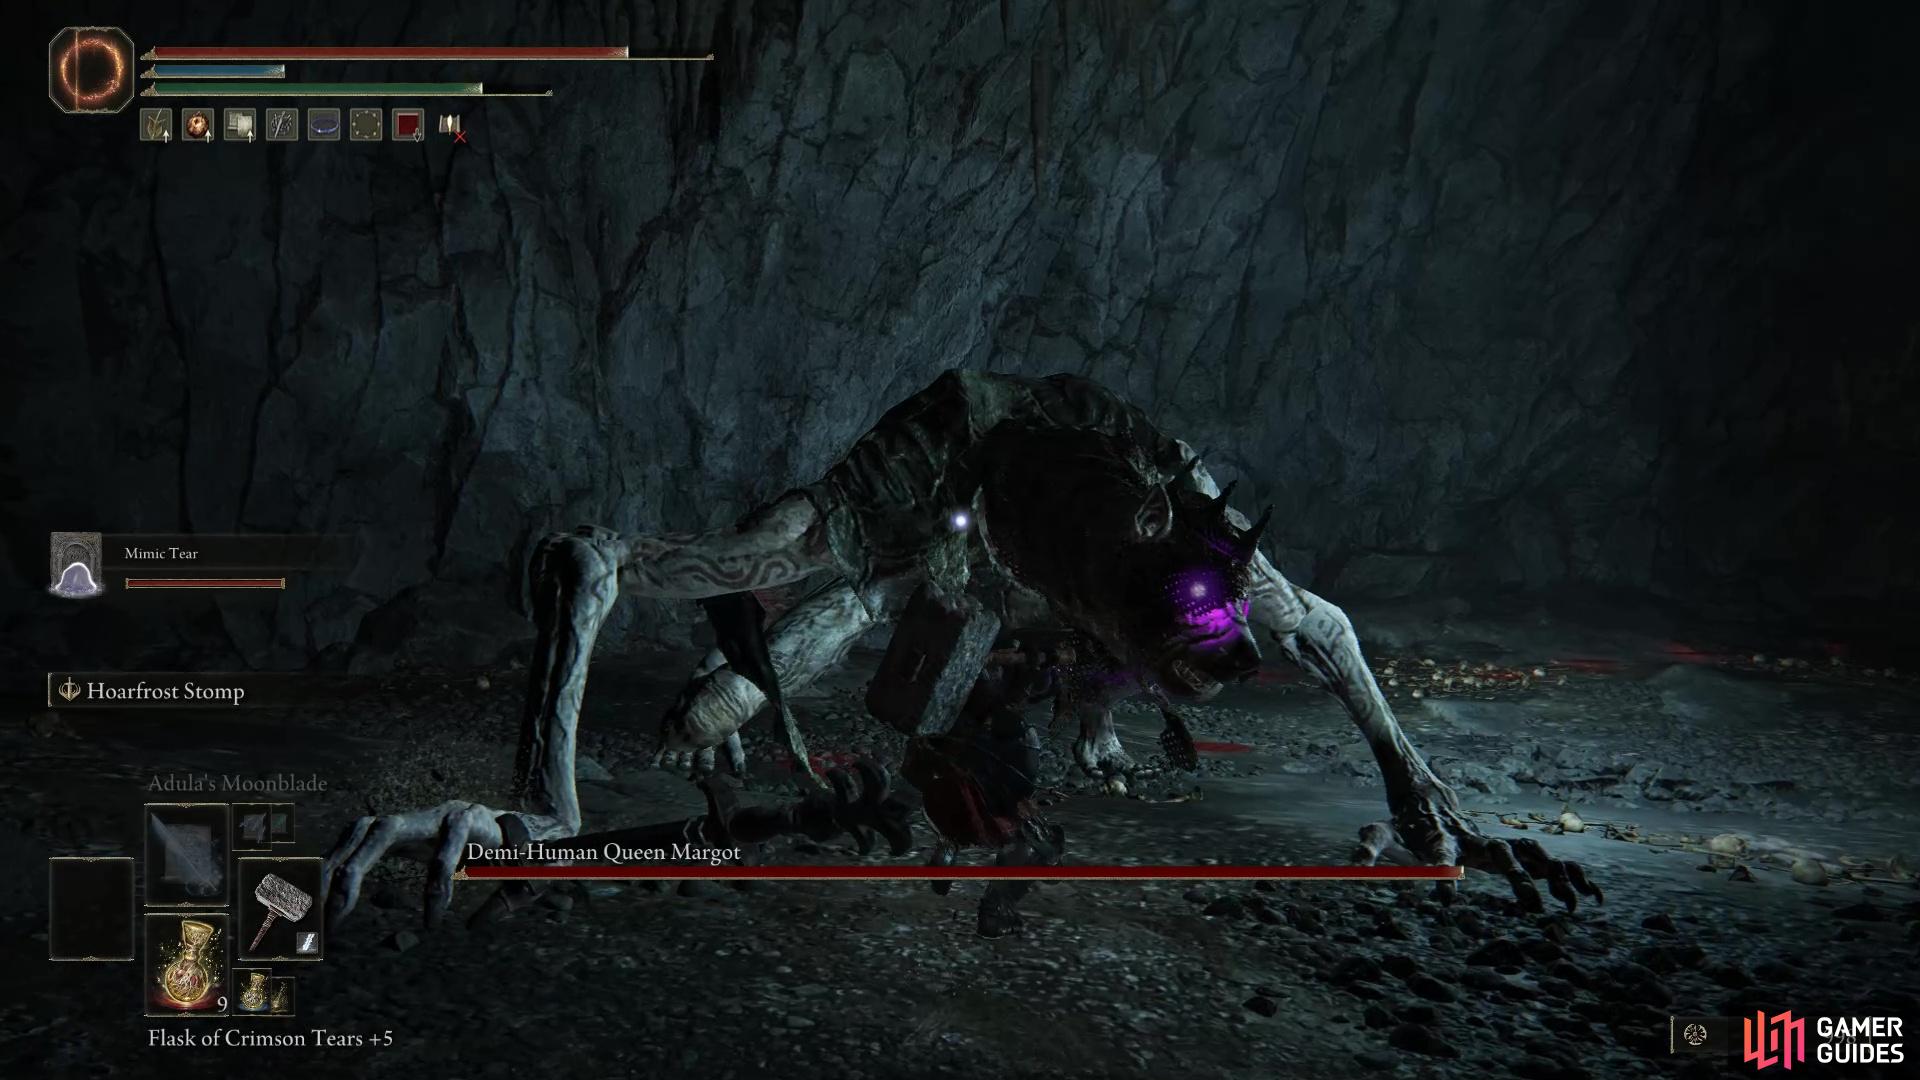
Demi-Human Queen Margot.
Erdtree Burial Watchdog
Another region, another Burial Watchdog to fight. You can find this particular one at the end of the Wyndham Catacombs dungeon in Mt. Gelmir which is located in the center of the area, north of Wyndham Ruins. If you’ve fought one of these watchdogs, you know exactly what to expect. Weird animations, horrible tracking, and although it’s an incredibly easy fight you’ll still die. Once you defeat this obnoxious creature, you’ll receive the Glovewort Picker’s Bell Bearing [1].
Elemer of the Briar
Elemer is a great boss that resides in The Shaded Castle. He is a formidable opponent who is extremely aggressive. At medium to long range, he can be particularly frustrating to fight against as his attacks can hit you from pretty much any range, he can stunlock you as well as deal substantial damage with every hit. To win this battle, stick to fighting close-range, as his attacks are more readable. If you’re a ranged build, use Spirit Ashes to distract him whilst you deal damage. If he turns to you, stop attacking until the Spirit Ash retains his attention. You’ll be rewarded with the Marais Executioner’s Sword and Briar Greatshield for your troubles.
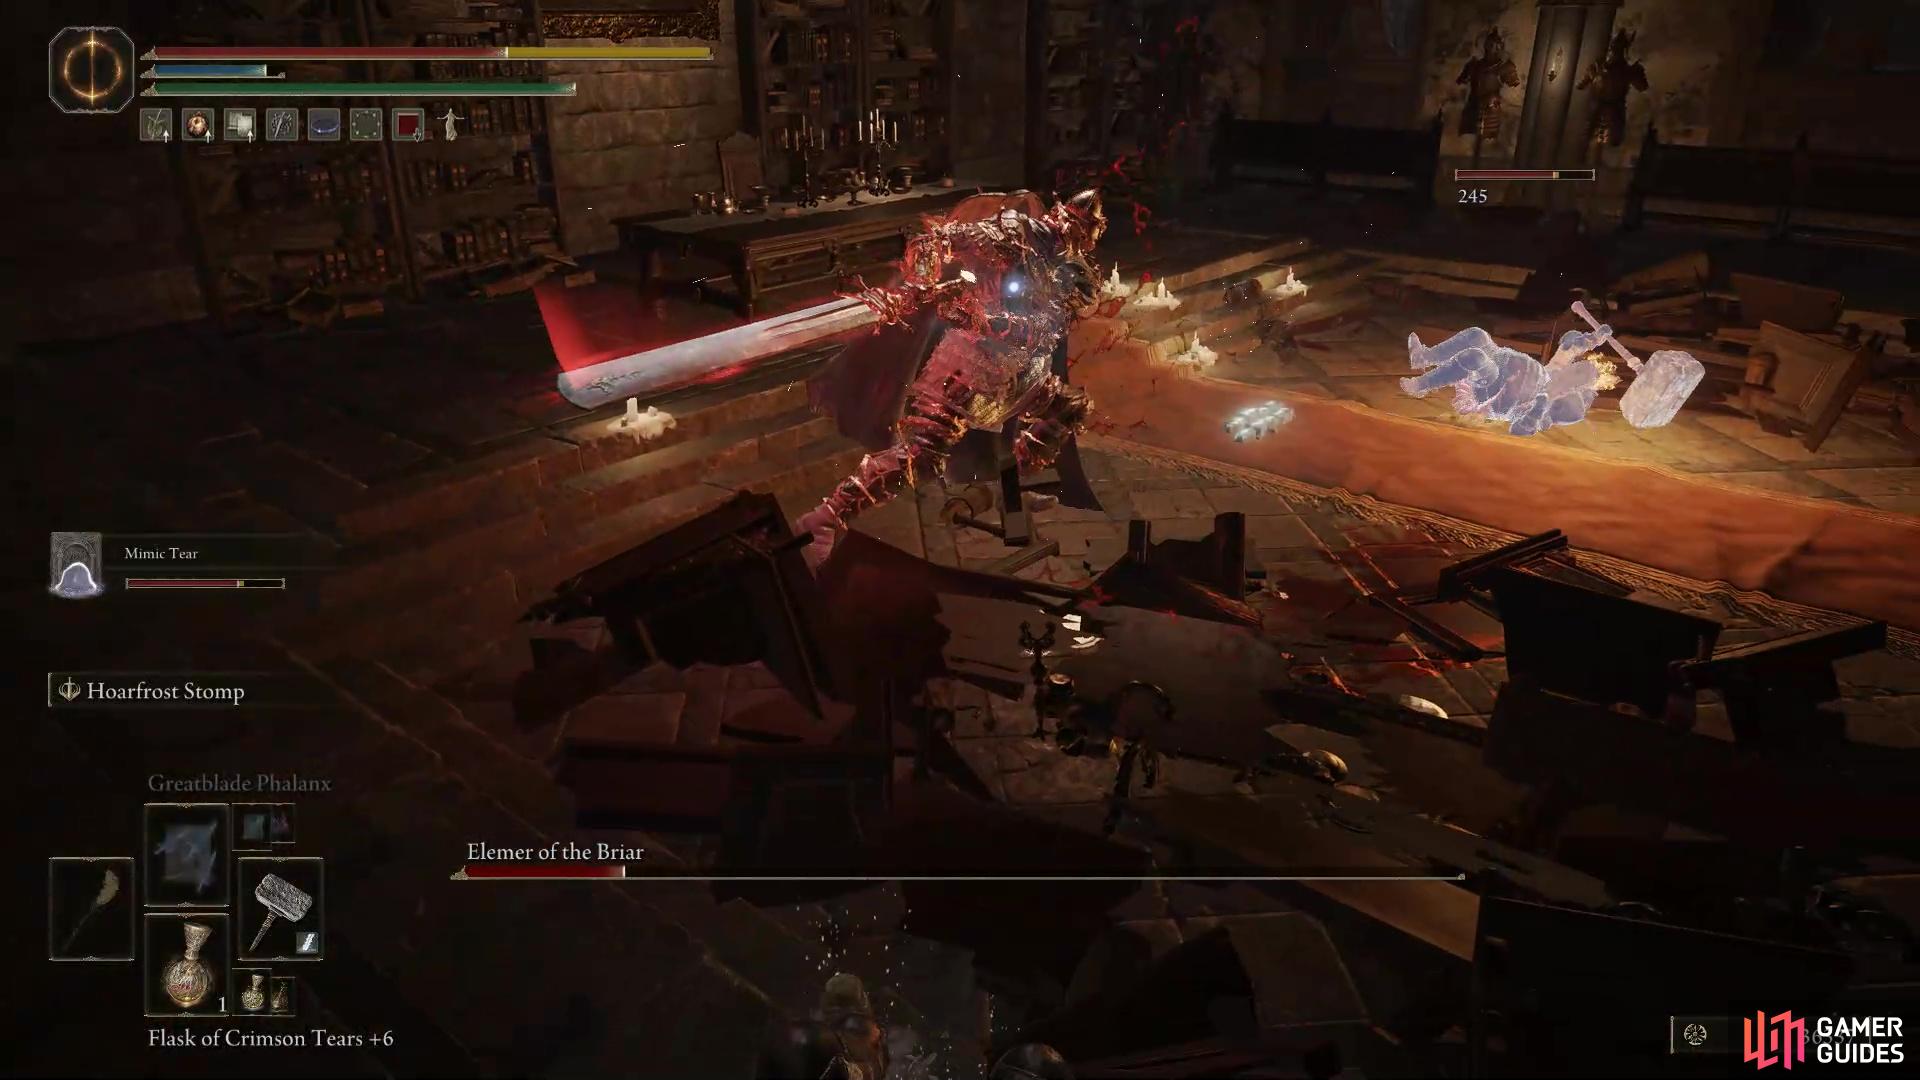
Elemer of the Briar.
Eleonora, Violet Bloody Finger
Eleonara will invade you at the Second Church of Marika if you’ve been following Yura’s quest line. You can find the church northwest of the Altus Highway Junction site of grace. She can be a formidable opponent, especially if you’re not using one of the overpowered builds in the game. Her Polearm inflicts massive bleed damage and her attacks are of a quick nature. If you get hit by multiple attacks in quick succession, you’ll receive hemorrhage damage, which will make you lose a significant amount of health. Wait for her to perform her combo before getting a couple of attacks in. If you’re having trouble with her, consider using Spirit Ashes to take the attention off yourself. When defeated, she’ll reward you with Eleonora’s Poleblade as well as a Furlcalling Finger Remedy, and a Purifying Crystal Tear.
Full-Grown Fallingstar Beast
You can fight the normal version of this in the Sellia Crystal Tunnel dungeon in Caelid. This is the Full-Grown version that can be fought at the top of Mt.Gelmir and it can be reached through a spiritspring or a ladder on the side of the mountain up from the Ninth Mt. Gelmir Campsite Site of Grace.
The boss uses a lot of gravity magic attacks which have a wide area of effect, giving you very little space to work with when attempting to avoid the attacks. It also uses a number of melee attacks including a ram, back leg kick, stomp, pincer grab, tail swipe, and jump roll. There’s a lot to take in here, with each attack requiring you to anticipate the animations. Another thing that the boss also has is a magical attack which causes spikes to rise from the ground, this can be anticipated by looking out for the pincers as they begin to glow with purple light.
Furthermore, the boss can also use its pincers to throw rocks at you by digging into the ground. The grab attack can be anticipated by looking out for when the pincers begin to click. At this point, you should be ready to dodge to avoid it at all costs. Finally, in the second half of the fight, the boss will begin to use an attack which lifts you in the air and slams you into the ground. This will inflict massive damage, so it’s important to run away from this when you see the purple light emanate from the body of the beast. Although it’s a tough battle, you have more space to fight here than the Selia Crystal Tunnel variant. When you defeat it, you’ll receive five Somber Smithing Stones, a Smithing Stone [6] and the weapon, Fallingstar Beast Jaw.
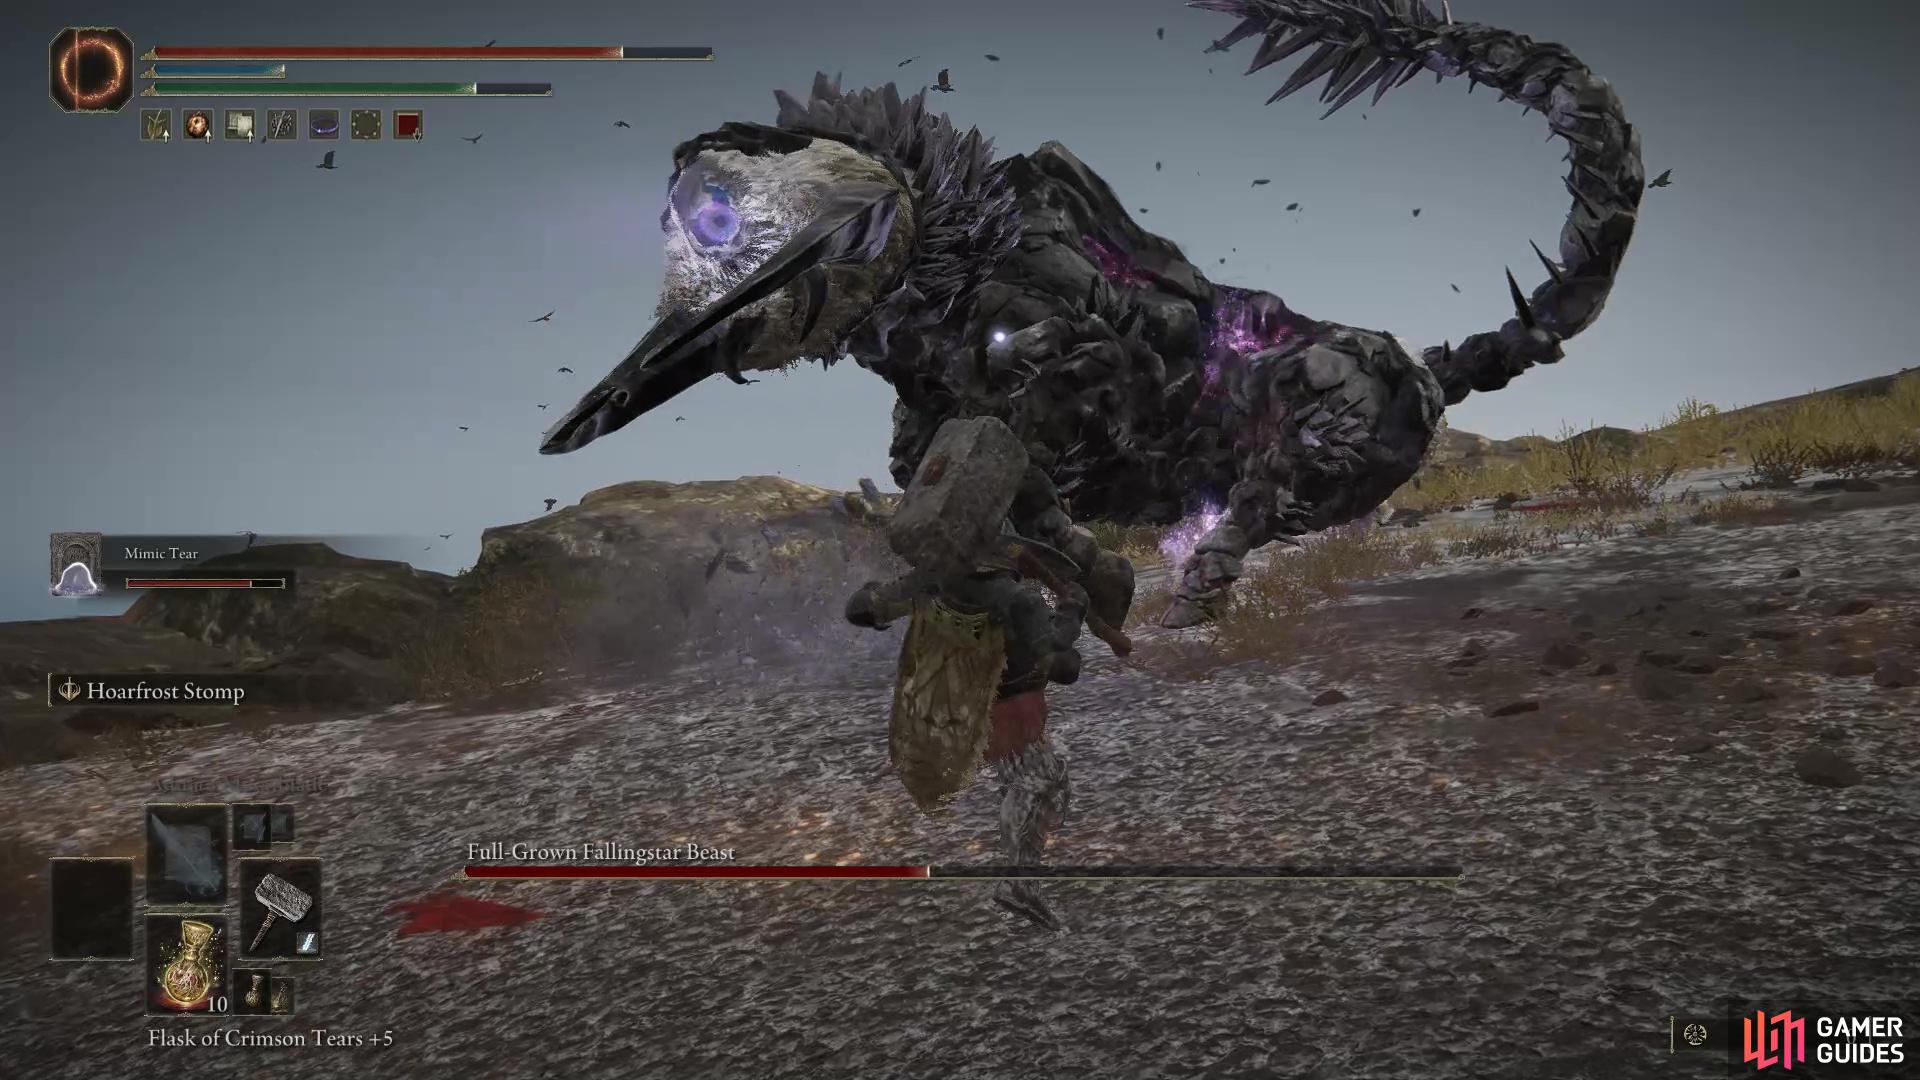
Full-Grown Fallingstar Beast.
Godskin Apostle (Dominula, Windmill Village)
You may have fought the Godskin Apostle before at the bottom of the Divine Tower in Caelid, if you have, this is more or less the same fight, if not easier due to the versatility of having your horse as it’s a field boss. You can find this particular variant at the back of Windmill Heights, which is just past Dominula, Windmill Village. It can be a tough fight if you haven’t fought one before due to its myriad attacks. If you stay at range from the boss, it’ll hurl black flame fireballs at you, especially if you’re trying to heal.
The hardest attack to counter can be its black whirlwind skill, as it’ll normally do it when you’re in melee range. It’ll start spinning its twinblade above itself creating a whirlwind of black flames which extends outward, ideally you’ll want to keep rolling away from the boss to avoid taking a lot of damage. The best time to attack the boss is when it does its jumping slash or its two-hit combo, as you can roll through the attacks and get some hits in. When you defeat the Godskin Apostle (Dominula, Windmill Village), you’ll receive the Godskin Peeler, and the Scouring Black Flame incantation.
Godefroy the Grafted
Godefroy the Grafted is a very similar fight to the Godrick fight at the end of Stormveil Castle with a couple of variations. It doesn’t have the second phase with the Dragon arm. You can find Godefroy in the Golden Lineage Evergaol which is located east of the Grand Lift of Dectus. As it is a Evergaol, you won’t be able to summon Spirit Ashes or other players, so it’ll just be you and him. Like with most Evergaols you can get a few strong attacks on the boss as it’s spawning in. You can follow our guide on Godrick to find out how to deal with most of Godefroys attacks. When you defeat Godefroy, you’ll receive the valuable Godfrey Icon, which enhances charged spells and skills.
Giant Golem Archer
This is your typical Golem Archer elite enemies. Close the distance to avoid getting attacked by its ranged attacks, and attack its feet until it’s defeated. Be wary of its foot stomps and fire breath attack. You can find the Golem Archer as you exit the Grand Lift of Dectus accompanied by the Halberd Golem. You have a chance of receiving the Golem’s Bow when you defeat it, but it’s not a guaranteed drop.
Halberd Golem
Like the Golem Archer, this is your typical Golem elite enemy, but with a Halberd. The same principles apply here as with any golem enemy. Stay close to and attack their feet, avoid the stomps and fire breath attack, and when it gets its weapon out and slashes at you, roll towards the weapon to avoid the attack. You have a chance of receiving the Golem’s Halberd when you defeat it, but it’s not a guaranteed drop.
Kindred of Rot (Duo)
The Kindred of Rot is a prawn-like creature that wields spears in its many arms. It’s the main boss of the Seethewater Cave dungeon, located at the northern end of the ravine in Seethewater River, north of the Seethewater River site of grace. You’ll need two Stonesword Keys to unlock the entrance of the cave. This battle is very similar to fighting a regular prawn enemy with a lot of the same attacks, the only real difference being it’ll have more health and deal more damage. It’s best to stay in melee range against these, as their projectile attack can be tough to avoid. It’s especially weak to the Swift Glintstone Shard sorcery. After you’ve done approximately half of its health, a second one will join the fray, using Spirit Ashes can help you deal with it, so you can focus on getting the first one down. When they’re defeated, you’ll receive the Kindred of Rot’s Exultation Talisman for your troubles.
Maleigh Marais, Shaded Castle Castellan
Maleigh Marais is a hostile human NPC that wields the Antspur Rapier. This inflicts Scarlet Rot buildup, so try to avoid getting hit by too many of her attacks. Because she has a rapier, most of her attacks are repeated thrusts which makes it easier to avoid, as dodging towards her, and to the side will give you time to get some attacks in. She’s especially weak to jumping attacks as well as ranged attacks. When she loses a decent amount of health, she’ll try to use a flask, so make sure she doesn’t! You can find Maleigh in the clearing to the west of The Shaded Castle, which is located north of the First Mt. Gelmir Campsite site of grace. When she’s defeated, you’ll receive her weapon, Antspur Rapier, as well as the Marais Mask and Robe.
Necromancer Garris
Necromancer Garris is your typical hostile human NPC and is one of two bosses in Sage’s Cave, which is located in the northeastern corner of the large lake south of Volcano Manor. To get there, you need to head west from Wyndham Ruins and drop into the lake. For the most part, this is a simple fight, but be aware of Garris’ flail attack as it can deal significant damage if you’re hit with its full combo as it’ll deal hemorrhage damage. The frustrating part of the fight is the irritating snails that periodically spawn throughout the battle as they can barrage you with magic which can interrupt your healing, sometimes even your attacks. The best strategy for this fight is to finish it as soon as possible. Using weapons that deal slashing/bleed are great here, or even weapons like Greatswords which have a wide arc and high poise as he’ll be rolling around a lot. Thankfully, he doesn’t have a huge health pool, and should go down with a few hits. When you defeat Garris, you’ll be rewarded with his Family Heads Flail.
Night’s Cavalry (Altus Plateau)
You might be getting bored with these by now. This will be the exact same fight you’ve had with all the others. This particular variant will roam the road between Altus Highway Junction and the Grand Lift of Dectus, appearing only at night. The only real worrying attack to watch out for is its leap attack as it can cover a large amount of distance quickly, other than that, you can ride your horse around it in circles whilst repeatedly attacking it. Retreat if you need to heal, then go back for round 2. If you choose to fight it without the horse. Try staying on its right side to limit the attacks it has at its disposal, and roll towards its attack to avoid taking damage whilst getting a couple of your own in when you recover from the roll. You’ll receive the Ash of War: Shared Order once you defeat it.
Omenkiller
You may have fought one of these before in the Village of the Albinaurics, Liurnia of the Lakes. If you haven’t, these are extremely aggressive dual-wielding Greataxe users, and don’t leave you much time to heal. The worst attack to deal with is the double slam, where it’ll do three consecutive slams in a row with both of its Great axes, with the third hit having a deceptively long range. This attack can outright kill you if you get hit by all three hits, especially if you don’t have high Vigor.
This attack is almost impossible to block unless you have a really strong Greatshield, so you’ll have to time your rolls to dodge it. It has a fire attack which covers a cone in front of it, and is probably the safest time to attack the boss. When it’s doing the animation for the attack, you can run either side of it and get a couple of hits in. Another thing worth noting is its poise isn’t particularly high considering its size, and the heavier weapons can stagger it.
You can find this variant skulking around the Perfumer’s Ruins, located northwest of the Abandoned Coffin site of grace. Once it’s defeated, you’ll receive the Omenkiller Long Gloves, Omenkiller Robe and Omenkiller Boots.
Omenkiller & Miranda the Blighted Bloom
This version of the Omenkiller comes with backup, that being Miranda the Blighted Bloom. Miranda is a giant poison flower that you may have seen throughout the lands between, and this one is no different. You can find them at the Perfumer’s Grotto dungeon north of the bridge next to the Altus Highway Junction site of grace.
The easiest way to deal with this fight is to use Spirit Ashes to take one of the enemies’ attention while you deal with the other. The only thing that will kill you in this battle is the Omenkiller, or the poison that Miranda spews around the place. What you want to do is kite Omenkiller away from Miranda to avoid getting poisoned and fight it in a corner.
The only problem with that is Omenkiller is lethal when you’re standing face to face with it, so you’ll need to be on your toes. Miranda is weak to fire, whilst Omenkiller is vulnerable to Hemorrhage (blood) and frostbite. To deal with Omenkiller, read above. Once you’ve defeated this dastardly pair, you’ll be rewarded with the Great Omenkiller Cleaver.
Prelate
Prelate is a hostile humanoid warrior clad in heavy armor wielding a large heavy hammer. You can find him in Fort Laied which is located northwest of the Seethewater Terminus site of grace near the Volcano Manor. Like most humanoid battles, he is extremely aggressive and will roll to avoid taking damage. The worst attack you’ll have to deal with is its fire attack that he spews out from his helmet.
This will rain down mini fireballs in the surrounding perimeter, which can be avoided by getting some distance from it. The other attacks include, a hammer spin attack, a hammer slam, a ram, and finally he can hurl a singular fireball. It’s easier to attack him from range, otherwise attack him when he does either the slam or ram. When he’s defeated, you’ll be rewarded with his lovely red hammer Prelate’s Inferno Crozier. He can drop some of his armor set, but that’s a random drop.
Perfumer Tricia & Misbegotten Warrior
It feels like every boss has a bodyguard in this region. This time it’ll be with the super aggressive Misbegotten Warrior who you fought at Castle Morne. You can find this pair at the end of the Unsightly Catacombs dungeon, which is located northwest from the Abandoned Coffin site of grace.
As soon as you enter the arena, dodge to the side to avoid the Misbegotten Warrior’s inevitable lunge that will happen at the start. The hardest part of this battle will be the Misbegotten Warrior, as he’ll always close the distance to you. Perfumer Tricia doesn’t pose much of a problem as her only real damaging attack is her Perfume Fire Spray attack which detonates after a short delay and that is only near her person. She can enhance the Misbegotten Warrior with various buffs, although this doesn’t happen too often.
If you want an easier fight, use higher health/defense Spirit Ashes at the beginning and attack the one who your Spirit Ash isn’t attacking. For the Misbegotten Warrior, he has a lot of combos that require you to either dodge to the side or dodge through to avoid. The best opening for attack is after he leaps and plants his sword into the ground. Once the pair are defeated, you’ll be rewarded with the Perfumer Tricia Spirit Ash.
Red Wolf of the Champion
The Red Wolf of the Champion is the optional version of the Radagon fight in the Academy of Raya Lucaria. You can find this variant as a dungeon boss in Gelmir Hero’s Grave, which is located northwest of Wyndham Catacombs in the central area of Altus Plateau. You’ll need to jump on top of the chariot in the second chariot hall, and ride it down the hall until it turns and starts to head back. Jump into the lava to your right and roll to safe ground and climb the ladder to reach the boss arena.
This is a carbon copy of the Radagon Fight. It has the ability to conjure a flaming sword in its mouth that it uses to take swipes at you, and it will leap in the air and slam to the ground. The Red Wolf can also cast numerous sorceries as it bounds around the room: a Glintblade, three-sword sorcery and a more powerful, singular beam.
Try to bait out its attacks, so you can dodge/block them and get a few hits in. Spirit Ashes are available for this fight, so if you’re having trouble, these can take some of the Red Wolf’s aggression away. Once you defeat the Red Wolf, you’ll receive the Bloodhound Knight Floh Spirit Ash.
Sanguine Noble
The Sanguine Noble is an elite assassin that resides in the depths of the Writheblood Ruins cellar, located southeast from the Shaded Castle Ramparts site of grace. Being that they are an elite order of blood mages, it’s only reasonable to expect them to use blood attacks.
It dual-wields the Bloody Helice heavy-thrusting rapier paired up with a Reduvia dagger. Both of these weapons are known for their bloodletting ability, so keep a bunch of Stanching Boluses in your pouch. Most of its attacks are slow 2-3 hit combos, and it can throw daggers at you if you keep your distance from it.
The two main attacks to watch out for are its jumping thrust and its bloody sideswipe attacks, as they deal significant damage. For the former, roll towards the attack whilst rolling away from the latter. It can be easily staggered, so heavy high-poise weapons make the battle more approachable. Try to bait out its combos, roll through them and get a couple of hits. Thankfully, it doesn’t have a lot of health, so it pays off to be aggressive in this battle. Once it’s defeated, you’ll be rewarded with a…Bloodrose, but the real reward is the Bloody Helice rapier from the chest it guards.
Stonedigger Troll
The Stonedigger Troll is an almost identical version of the one you may have fought in the Limgrave Tunnels dungeon in Limgrave, the only difference being its increased stats. You’ll find this variant in the Old Altus Tunnels, which is located east of Wyndham Catacombs in the central area of Altus Plateau. This requires a Stonesword Key to access the dungeon.
You can find out how to defeat the Stonedigger Troll by reading our Limgrave strategy as it’s exactly the same. Once you defeat this sorry excuse for a boss, you’ll be rewarded with a Great Club.
Tibia Mariner
Tibia Mariner is an interesting boss that you may have fought countless times by now and this particular version will be at Wyndham Ruins which is located northeast of the lake below Volcano Manor. He is a skeleton that rides around on a ghost boat. It’ll disappear and reappear in a different location in the surrounding area whilst summoning other skeletons to do its bidding.
This battle is best done mounted on your Steed Torrent as you can just ride up to him, get a few attacks in, then ride away to avoid all of its attacks. You can ignore the skeletons it summons and focus completely on the boss himself. He only has a couple of attacks to watch out for, the worst being his purple wave attack which’ll be obvious when he uses it, just ride/run away from it to avoid getting hit by it. The other attack is the boat slam, where he’ll raise the front end of the boat and slam it down, but it’s so slow that you can avoid it easily. Once you defeat the Tibia Mariner, you’ll be rewarded with a Deathroot and the Tibia’s Summons Spirit Ash.
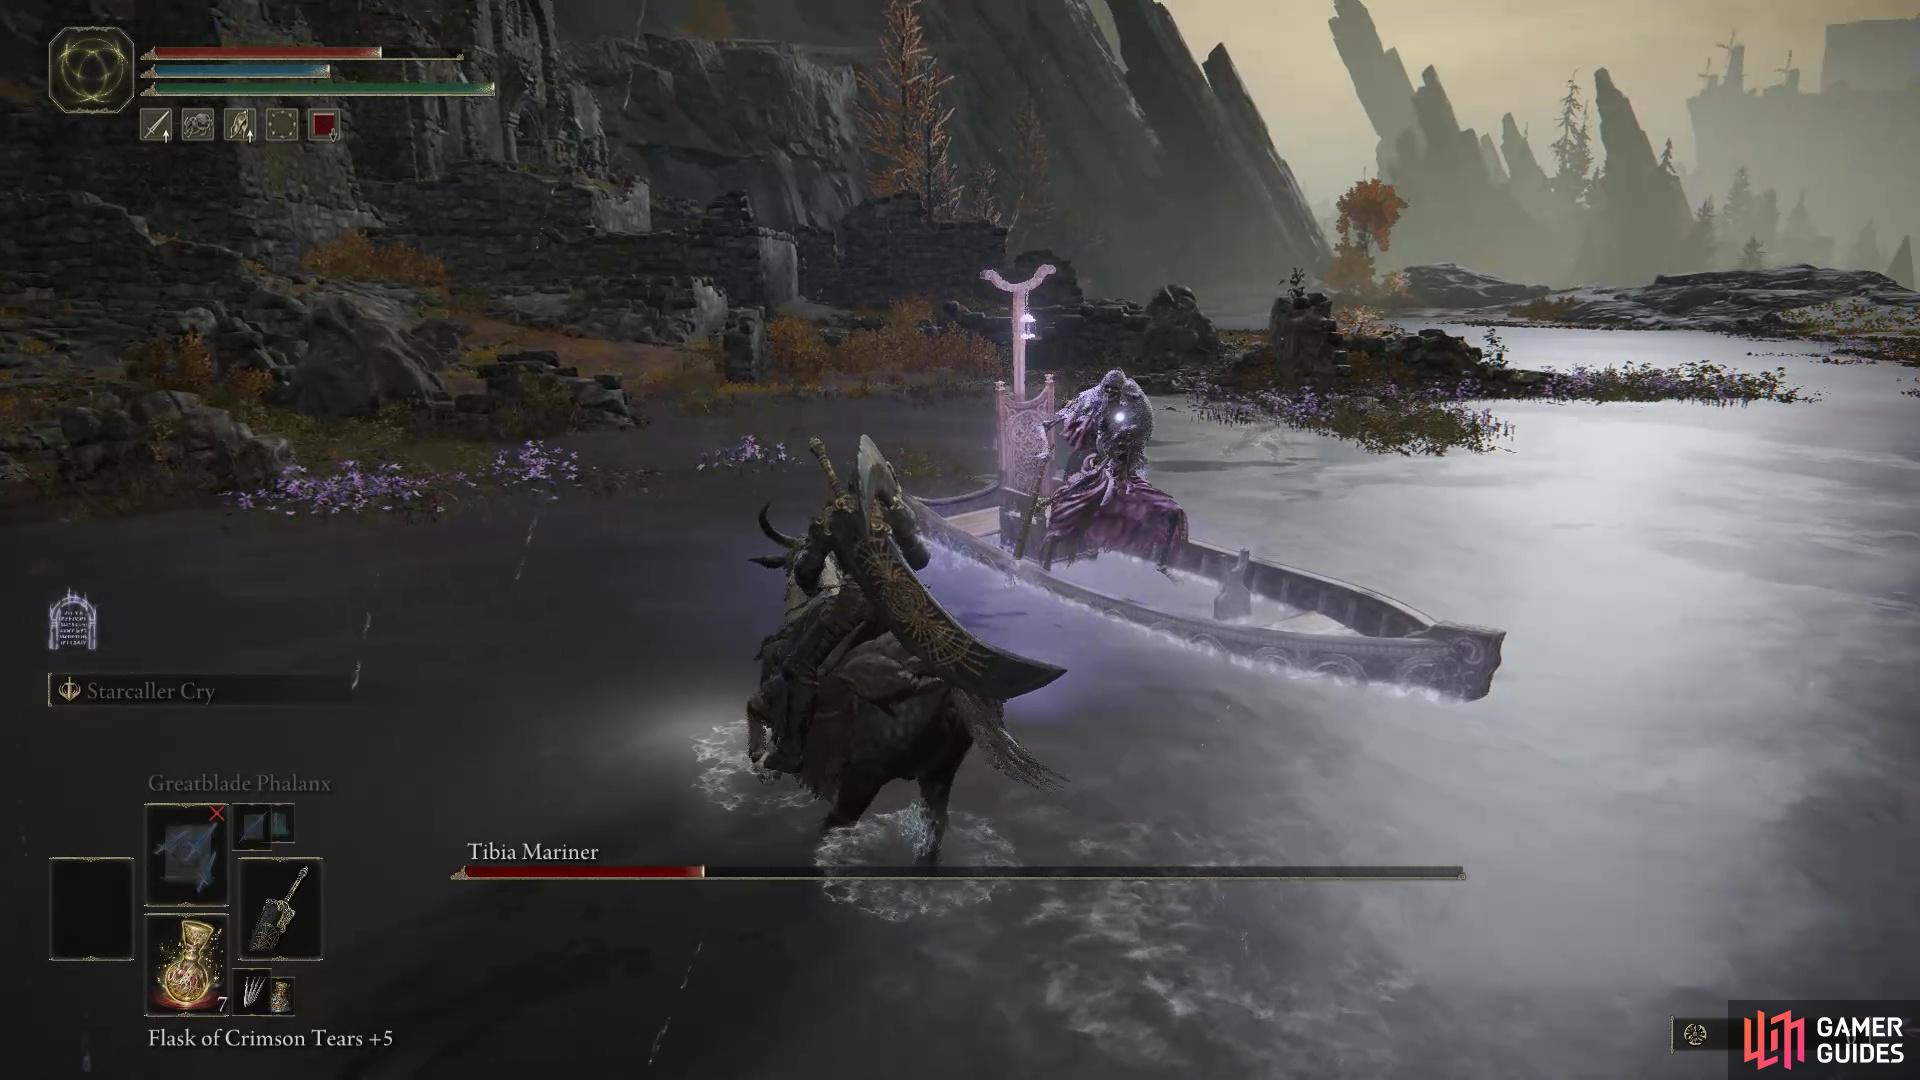
Tibia Mariner in Altus Plateau.
Tree Sentinels (Duo)
If you thought fighting one of these was bad enough at the beginning of the game, you get to fight two at the same time here. You can find this pair at the gate of the outer wall of the Leyndell, Royal Capital, east of the Altus Highway Junction site of grace.
The Tree Sentinel is a knight on horseback. He wields a large halberd that has a long reach. He’ll frequently charge, jab or swing the halberd, so agility is necessary to dodge out of the way of his incoming attacks. The environment makes this battle more challenging than it has to be, as you’ll be fighting them on a slope for the most part. To make the battle more manageable, try using a Spirit Ash to take the attention of one of them away from you whilst you deal with the other. They don’t gain any new attacks, so you can follow our Limgrave strategy here. Once you’ve defeated them, you’ll be rewarded with the Hero’s Rune [1].
Ulcerated Tree Spirit
Yes, another Ulcerated Tree Spirit, and yes it still isn’t fun to fight. This one appears at the Minor Erdtree in Mt Gelmir, north of the Seethewater Cave dungeon, northeast of Volcano Manor. This version is a bit easier due to the area you’re fighting in as you’ll have space to fight in, but it can still be a pain with its bite attack, although this shouldn’t one-shot you this time.
You can fight this version on horseback if you like, for some attacks it’s better, some it isn’t, so the choice is for you to decide. For the most part, you can hug the bosses side and attack away, blocking/dodging the odd swipe or stomp. The only real attacks to worry about are its bite, which you should keep rolling to its right to avoid. The explosion which you’ll need to get away from (the horse makes this easier) and its tail attack which can be jumped or rolled through. When you defeat this monstrosity, you’ll be rewarded with Leaden Hardtear, and a Cerulean Hidden Tear.
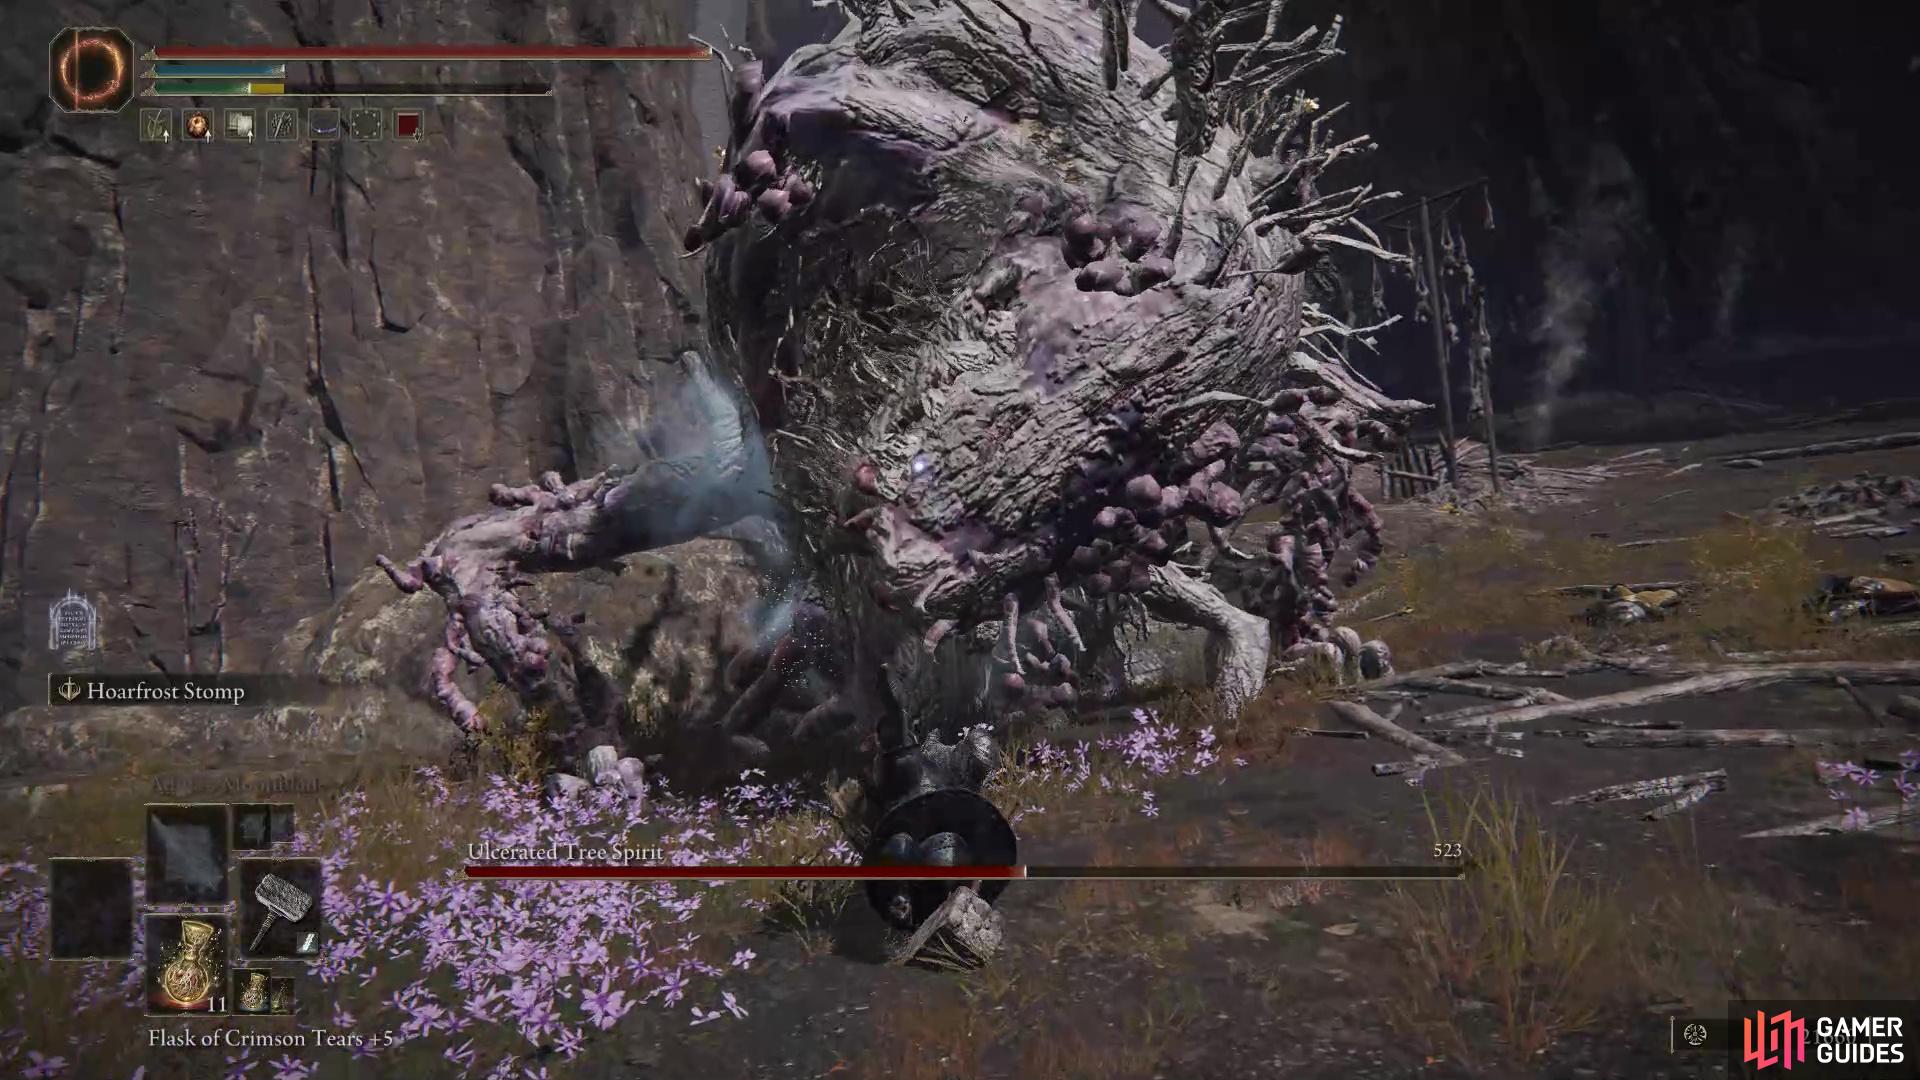
Ulcerated Tree Spirit.
Wormface
This large hunched over Woodfolk that has a head composed mostly of worms can be found at the Minor Erdtree west of the Woodfolk Ruins, which is located west of Leyndell, Ashen Capital. This is a frustrating fight for melee users as the camera can only lock on to its body even though it’s a large entity. Although its attacks are on the slow side, they can deal significant damage with each hit and its jumping worm throw attack has a lot of range and can deal blight buildup which causes instant death when the gauge is filled. Furthermore, it has a couple of slam attacks and an attack that throws blight dust in the air.
The easiest way to deal with this battle is to Summon Spirit Ashes, so the boss focuses on that instead of you. Then you can ride in on your horse to its rear and get a few attacks on it until it uses any of its blight attacks, when it does this, retreat until it dissipates then head back in. Once you defeat the boss, you’ll receive a Crimsonspill Crystal Tear, and the Speckled Hardtear.
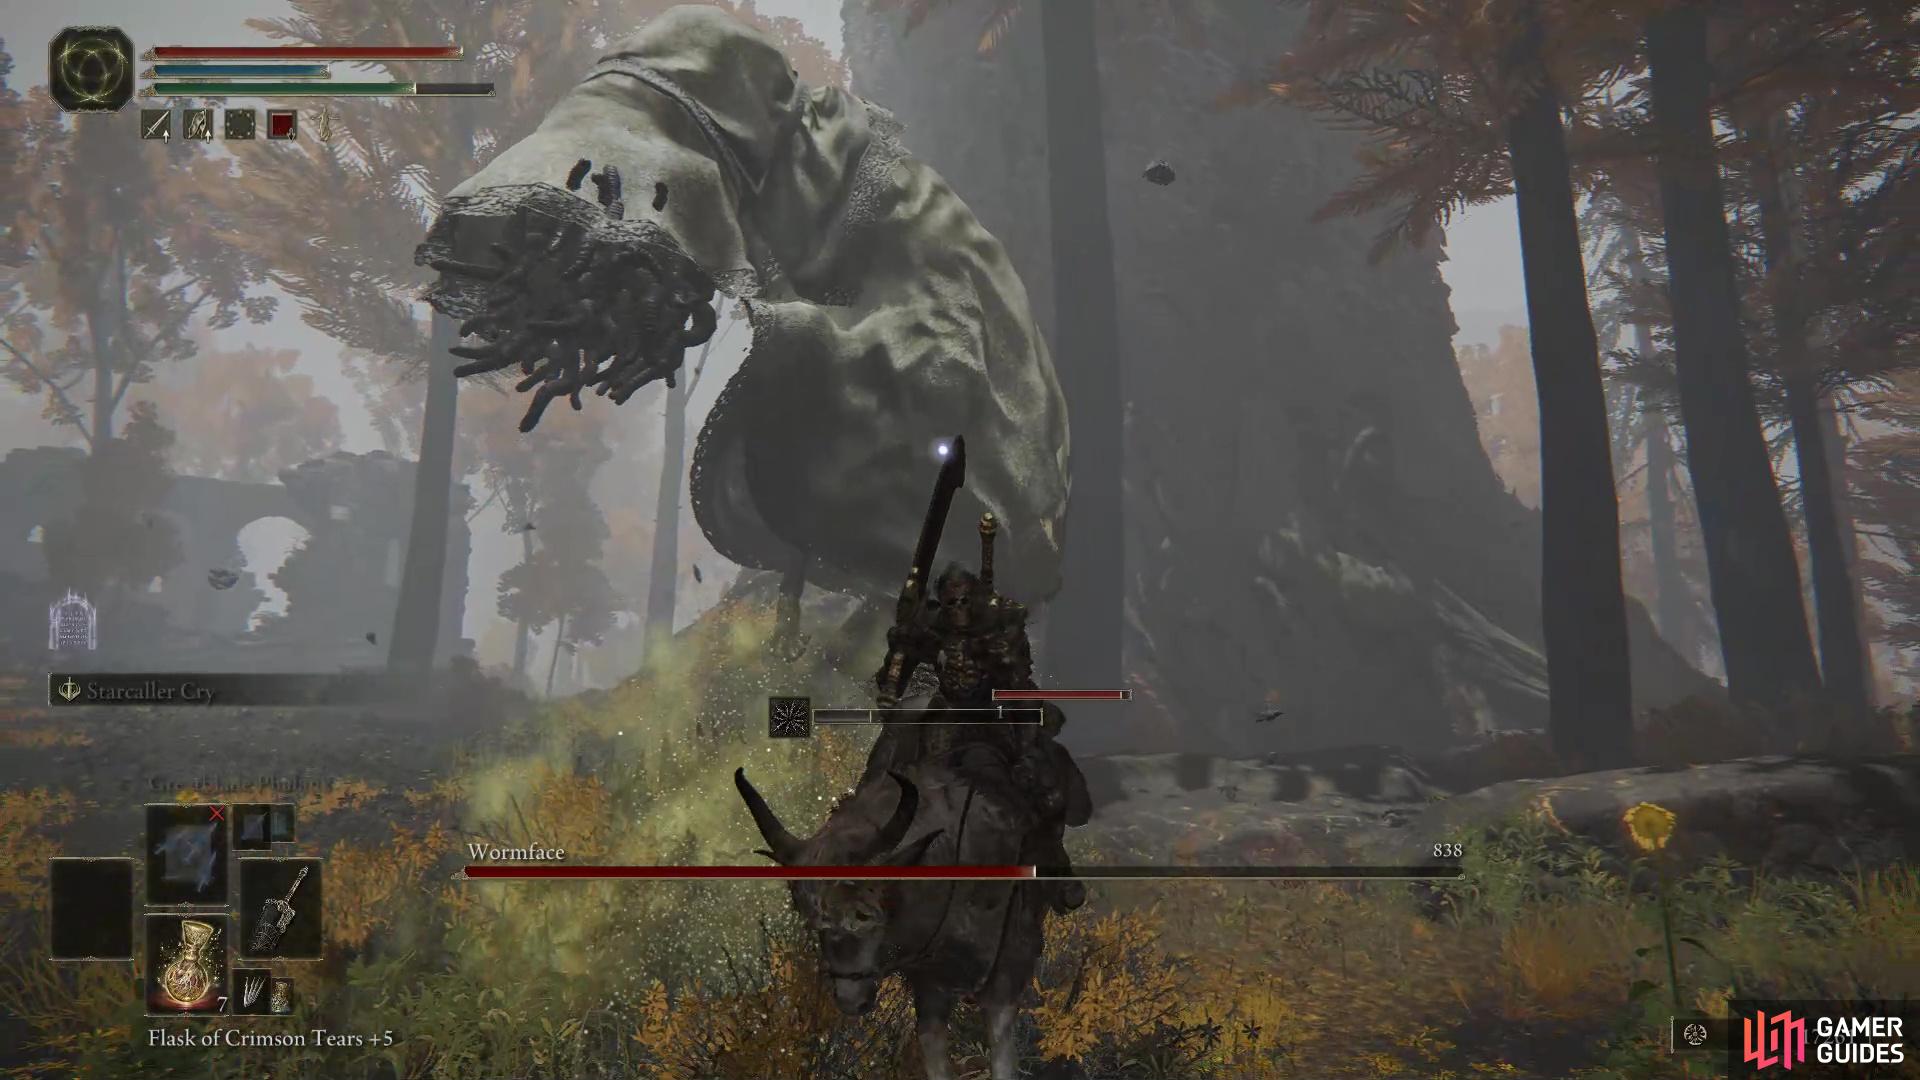
Wormface.
No Comments