
Information about how to obtain Moonveil in Elden Ring, including information about how to find the Gael Tunnel dungeon and how to defeat the Magma Wyrm.
The Moonveil Katana is a hybrid Dexterity/Intelligence scaling weapon, useful for mage-warrior builds.
What is the Moonveil Katana?
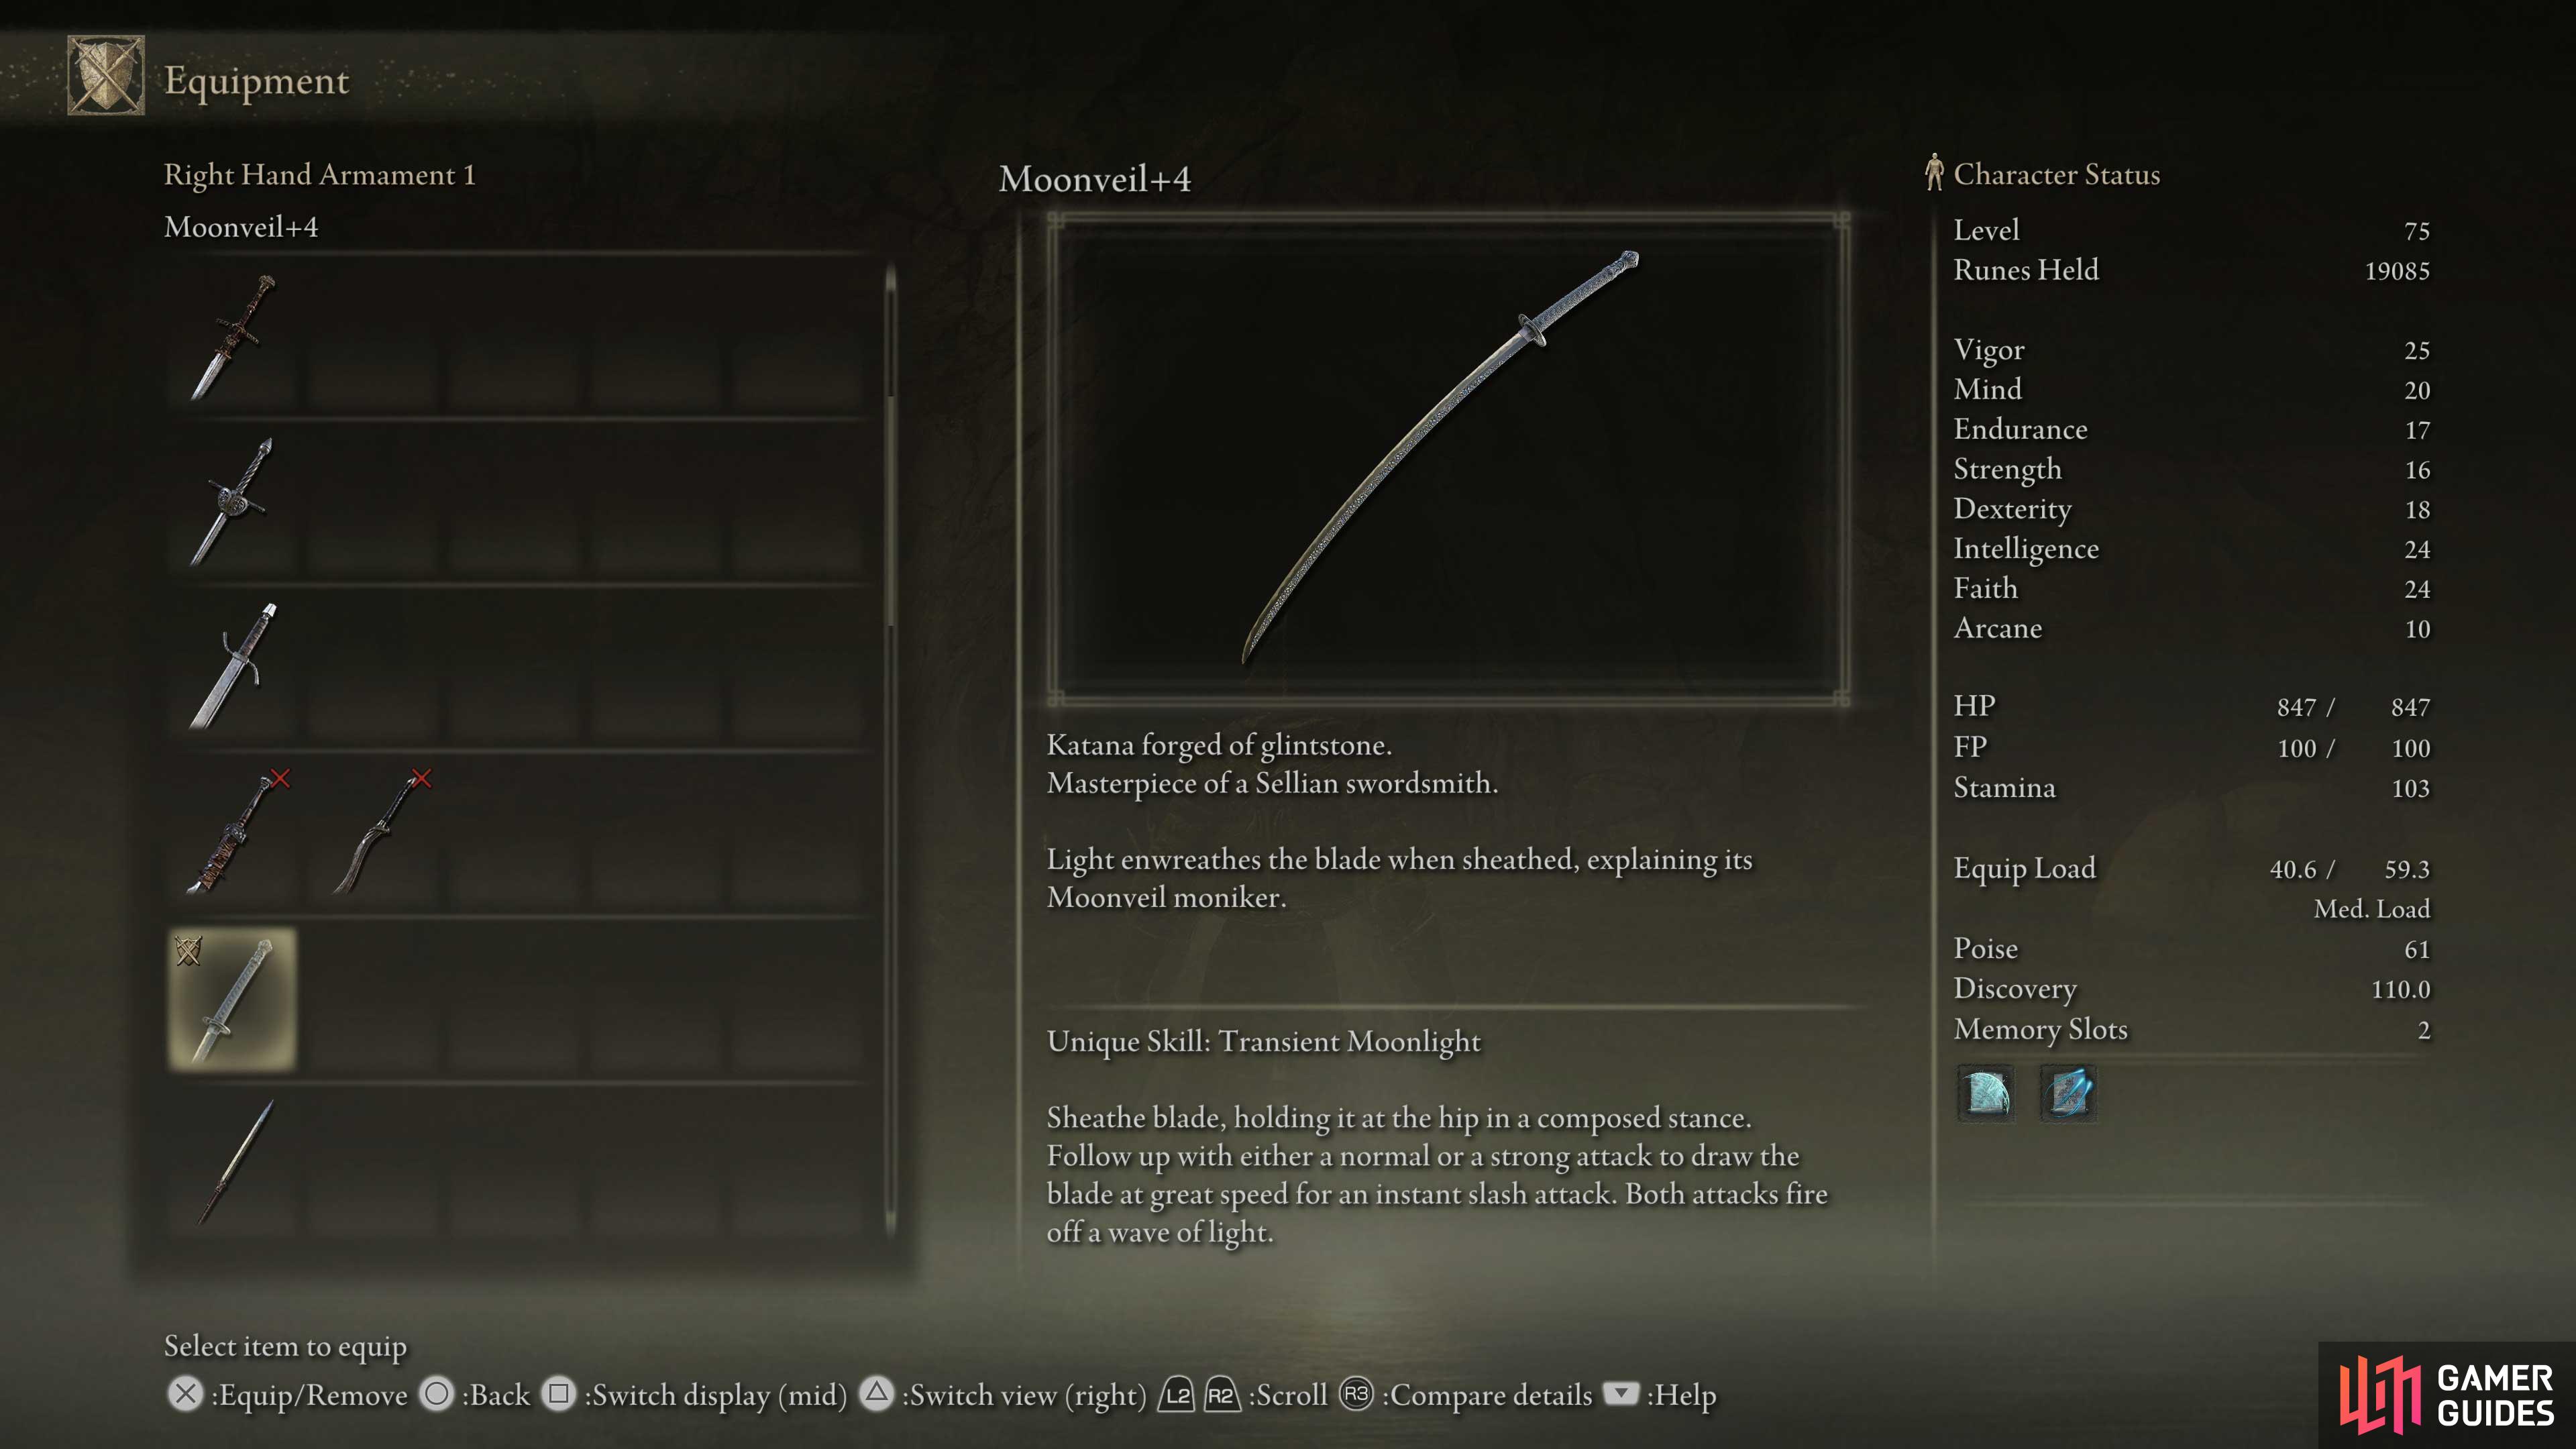
Mooveil is a katana that scales primarily with Dexterity and Intelligence, and to a lesser degree, Strength. It requires 12 Strength, 18 Dexterity and 23 Intelligence to wield properly - 23 stat points above base 10. Because of its requirements it’ll take a bit of leveling to wield, but it’s an excellent weapon for high-Intelligence characters who want a melee weapon, making it a worthwhile investment, indeed.
The Moonveil Katana’s special ability, Transient Moonlight, has an R1 and R2 attack, the former being a horizontal slash and the latter being a vertical slash. Both have a very short “charge up” time where you’ll sheath your blade, but after this brief animation you’ll be able to unleash the attack, making it a fairly quick weapon whose skills you can abuse reactively as the situation demands. Both slashes are accompanied by a magical beam, provided you have sufficient FP left when performing the move - the R1 slash has a short range, but hits a wide arc nearby, while the R2 slash has superior range.
With the nerfs the Sword of Night and Flame were hit with, Moonveil might just be the go-to weapon for mage/warriors, and it’s certainly one of the better early options.
How to Get the Moonveil Katana Early in Elden Ring
To get this weapon you’ll need to travel to the Gael Tunnel, which, while not terribly hard to reach, is near the border between Limgrave and Caelid. You’ll want to acquire your mount, Torrent, before going after this, as it’ll allow you to bypass most enemies outside of the Gael Tunnel dungeon and take a shorter route to reach your destination.
Assuming you’re starting out from The First Step Site of Grace, you’ll need to head northwest to the Church of Elleh. From there, follow the road northeast to reach the Gatefront Ruins. Rest at the Gatefront Site of Grace and you’ll be visited by Melina, who will give you the Spectral Steed Whistle, which you can use to summon your mount, Torrent.
How to Get From the Gatefront Ruins to the Third Church of Marika
Summon Torrent and follow the road southeast. Cross a bridge and when you reach a fork, turn north, ultimately following the trail northeast until you reach the Third Church of Marika.
You may encounter Kaiden Sellswords and a Troll-drawn carriage convoy along the road southeast of the Gatefront Ruins, but you should be able to evade them by just keeping your distance and riding past. On the northeastern fork after the bridge you’ll encounter more enemies, including numerous Demi-Humans under a collapsed curved building that now arches over the road. You’ll probably hear somebody named Kenneth Haight call out to you here - don’t worry, just ignore the whole situation, they’ll still be here when you want to come back and deal with them. Finally, just outside of the Third Church of Marika you’ll find a Troll armed with a sword appropriate to its stature. Again, no reason to fight, just ride past it and into the church.
When you’re ready for the next phase of the journey, exit the Third Church of Marika and head north, cross a shallow river, and look for a white vortex rising into the air. These “Spiritsprings” will allow you to jump exceptionally high while riding Torrent. Jump up the cliffs using the first two Spiritsprings you find, then turn northeast, ignoring a third Spirit Spring to find the rear entrance to the Gael Tunnels in the cliffs. Alas, while this will get you into the tunnels, this entrance was intended as an egress, not an ingress - you can claim the Rear Gael Tunnel Entrance Site of Grace, but to explore this area fully you’ll need to find another entrance.
How to Reach the Gael Tunnel
Exit the Gael Tunnel Rear Entrance and return southwest to find the third Spiritspring and use it to reach the top of the cliffs to the northwest. Ride northeast, but keep an eye to the north to spot Smoldering Church in the distance. Keep your distance from this area, as the invader Anastasia, Tarnished Eater will spawn if you get too close.
Continue northeast until you find a short wall dividing Limgrave and Caelid, just beyond which is the Rotview Balcony Site of Grace. If you want a fast travel point, jump the wall and claim it, but then return back to the Limgrave side of the wall and turn southwest to find some rocks forming the boundary of the wall. Jump up onto the rocks and ride south, drop down a ledge to find a graveyard, drop down another two ledges and turn east to find another entrance to the Gael Tunnel.
How to Defeat the Magma Wyrm and Obtain the Moonveil Katana
Reaching Gael Tunnel is the easy part, to actually get your hands on the Moonveil Katana, you need to clear this dungeon. Inside you’ll find Radahn Soldiers and Miners, whom are significantly stronger than their counterparts in Limgrave. Fortunately many of them can be avoided, and once you drop down the ledges at the beginning and activate the Gael Tunnel Site of Grace you’ll be free to try this without the hassle of having to run back any great distance.
From the Gael Tunnel Site of Grace, head north into a large chamber occupied by many enemies, a few of which can be backstabbed to make your passage easier. Your ultimate goal is to head down the wooden platforms and exit to the west, where you’ll find another Radahn Guard near a ladder. Drop down and either avoid or defeat a second Radahn Guard and a nearby Miner, then head into a tunnel to the south and follow it until you reach a chamber with a door to the west and some double doors to the north. Ignore the doors to the north, as they lead to the area’s boss, but do be sure to open the door to the Rear Gael Tunnel Entrance Site of Grace, which will make returning to the boss chamber much more convenient.

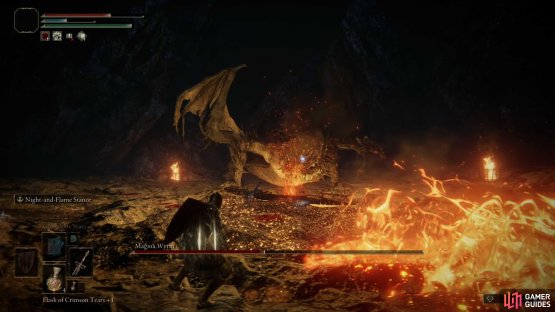
(1 of 2) Defeat the Magma Wyrm,

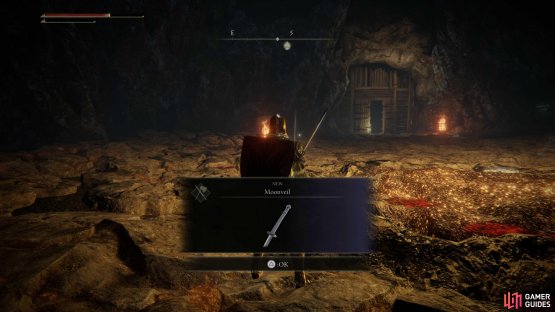
Defeat the Magma Wyrm, (left), to obtain the Moonveil Katana. (right)
Speaking of which, while the Magma Wyrm isn’t one of the game’s more challenging bosses, it is intended to be a lower-midtier foe. If you’re engaging with a fresh character, there are a number of attacks that may one-shot you, so if you’re struggling, there’s no shame in boosting your Vigor and returning when you’re more sturdy. Stay mobile when fighting this boss, as standing in the magma it emits isn’t a very good survival strategy, especially during its charge attack. While generally lethargic, its area denial attacks can make it somewhat tricky, and summons are likely just going to get burnt to a crisp by its magma. You also need to be wary of the beast’s sickle-sword - some of its initial strikes aren’t the main threat, as the Magma Wyrm will pull the blade back towards itself after striking, which may catch the unwary off guard.
Defeat the beast and you’ll obtain a Dragon Heart and the Moonveil Katana.
No Comments