
This page will tell you how to find and complete the Ordina, Liturgical Town puzzle in Elden Ring.
How to get to the Consecrated Snowfield in Elden Ring
First things first, you’ll need access to the Consecrated Snowfield, and for that to happen, you’ll need two halves of the Haligtree Secret Medallion (Left and Right).
How to Find the Right and Left Haligtree Secret Medallion Pieces
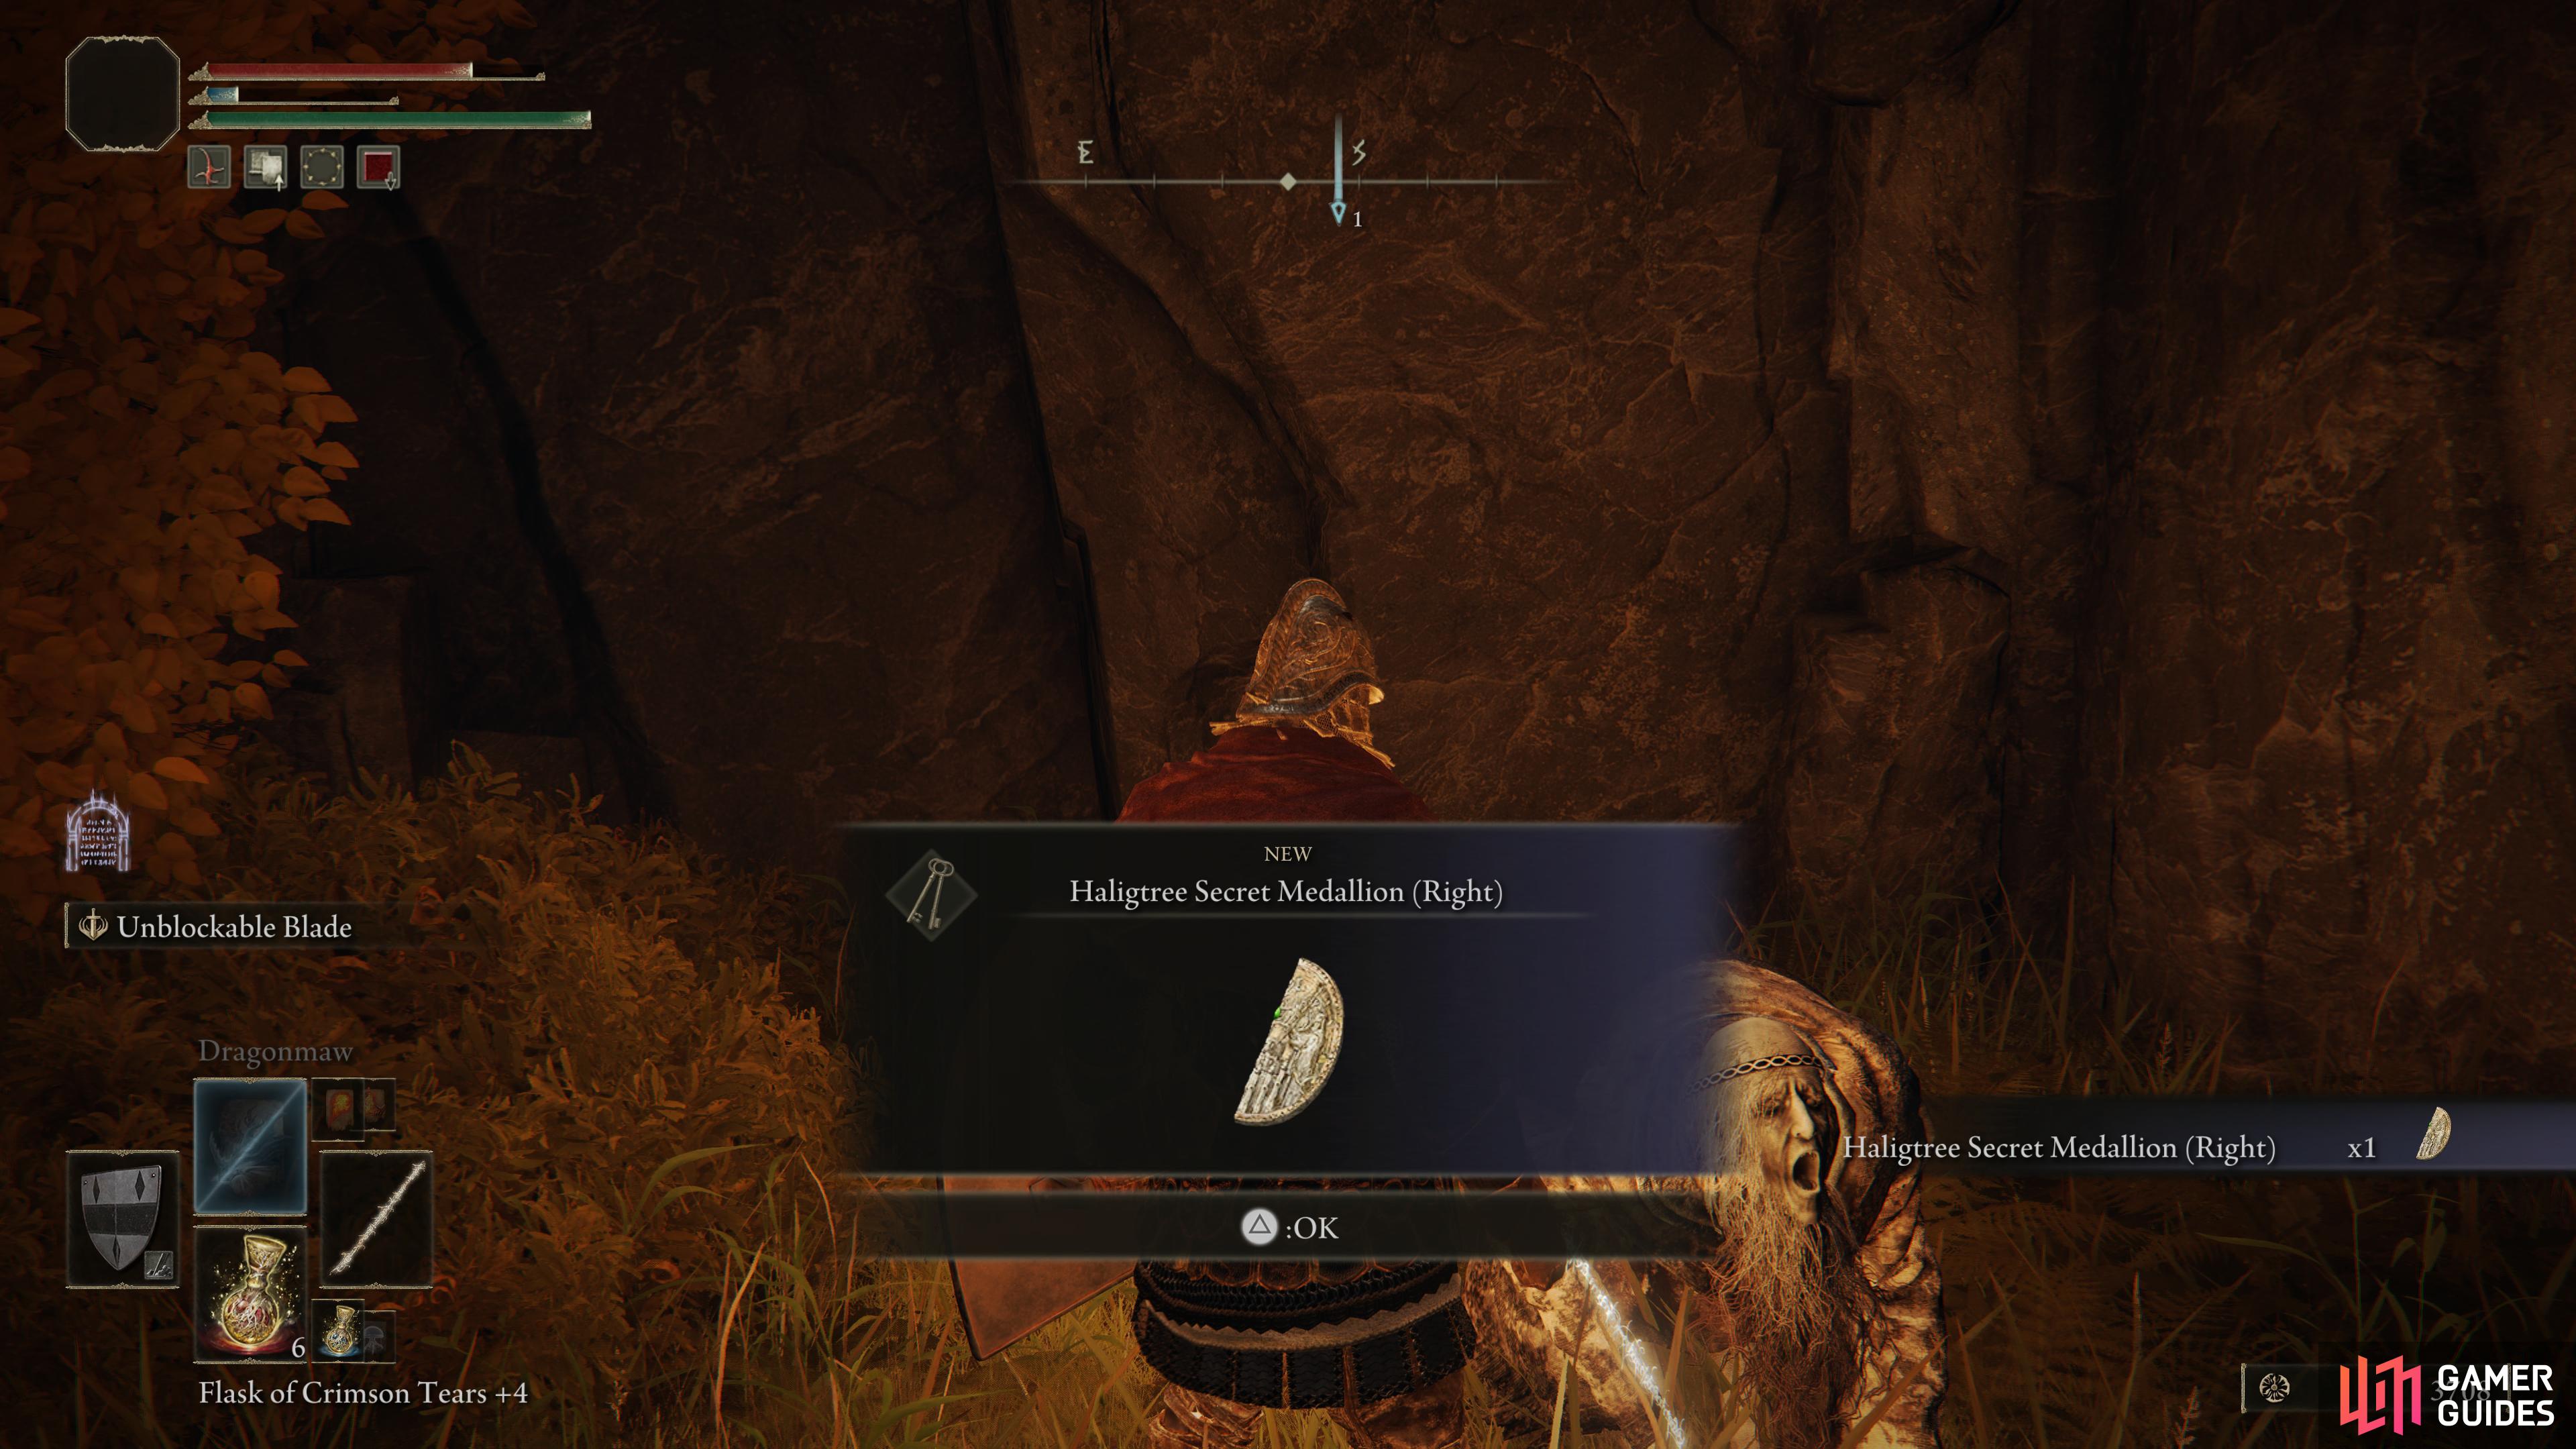
Haligtree Secret Medallion (Right)
This piece of the medallion can be obtained as early as Liurnia of the Lakes. All you have to do for it is talk to Albus in the Village of the Albinaurics. You’ll find him hiding at the back as a large pot which you’ll need to roll into before you can talk to him. If you require any further help finding Albus, follow our page here.
Albus is disguised as a pot in the Village of Albinaurics. Roll into the pot to reveal him.
Haligtree Secret Medallion (Left)
The second half of the medallion can be found in a chest atop the roof of Castle Sol which is located across the northern bridge in the northeastern part of Mountaintops of the Giants. You’ll need to defeat Commander Niall (Castle Sol) to access the elevator behind him.

Head up the elevator after defeating Commaner O’Neil (Castle Sol) to receive the left half of the medallion.
How to find the Grand Lift of Rold
Now that you have both halves of the medallion, you’ll need to head to the Grand Lift of Rold. This is located east from Leyndell, Royal Capital, but the lift will remain inoperable until you have the Rold Medallion. You can obtain the medallion by defeating Morgott, The Omen King who can be fought at the end of the Leyndell, Royal Capital legacy dungeon. Rest at the grace and talk to Melina to receive the Rold Medallion.
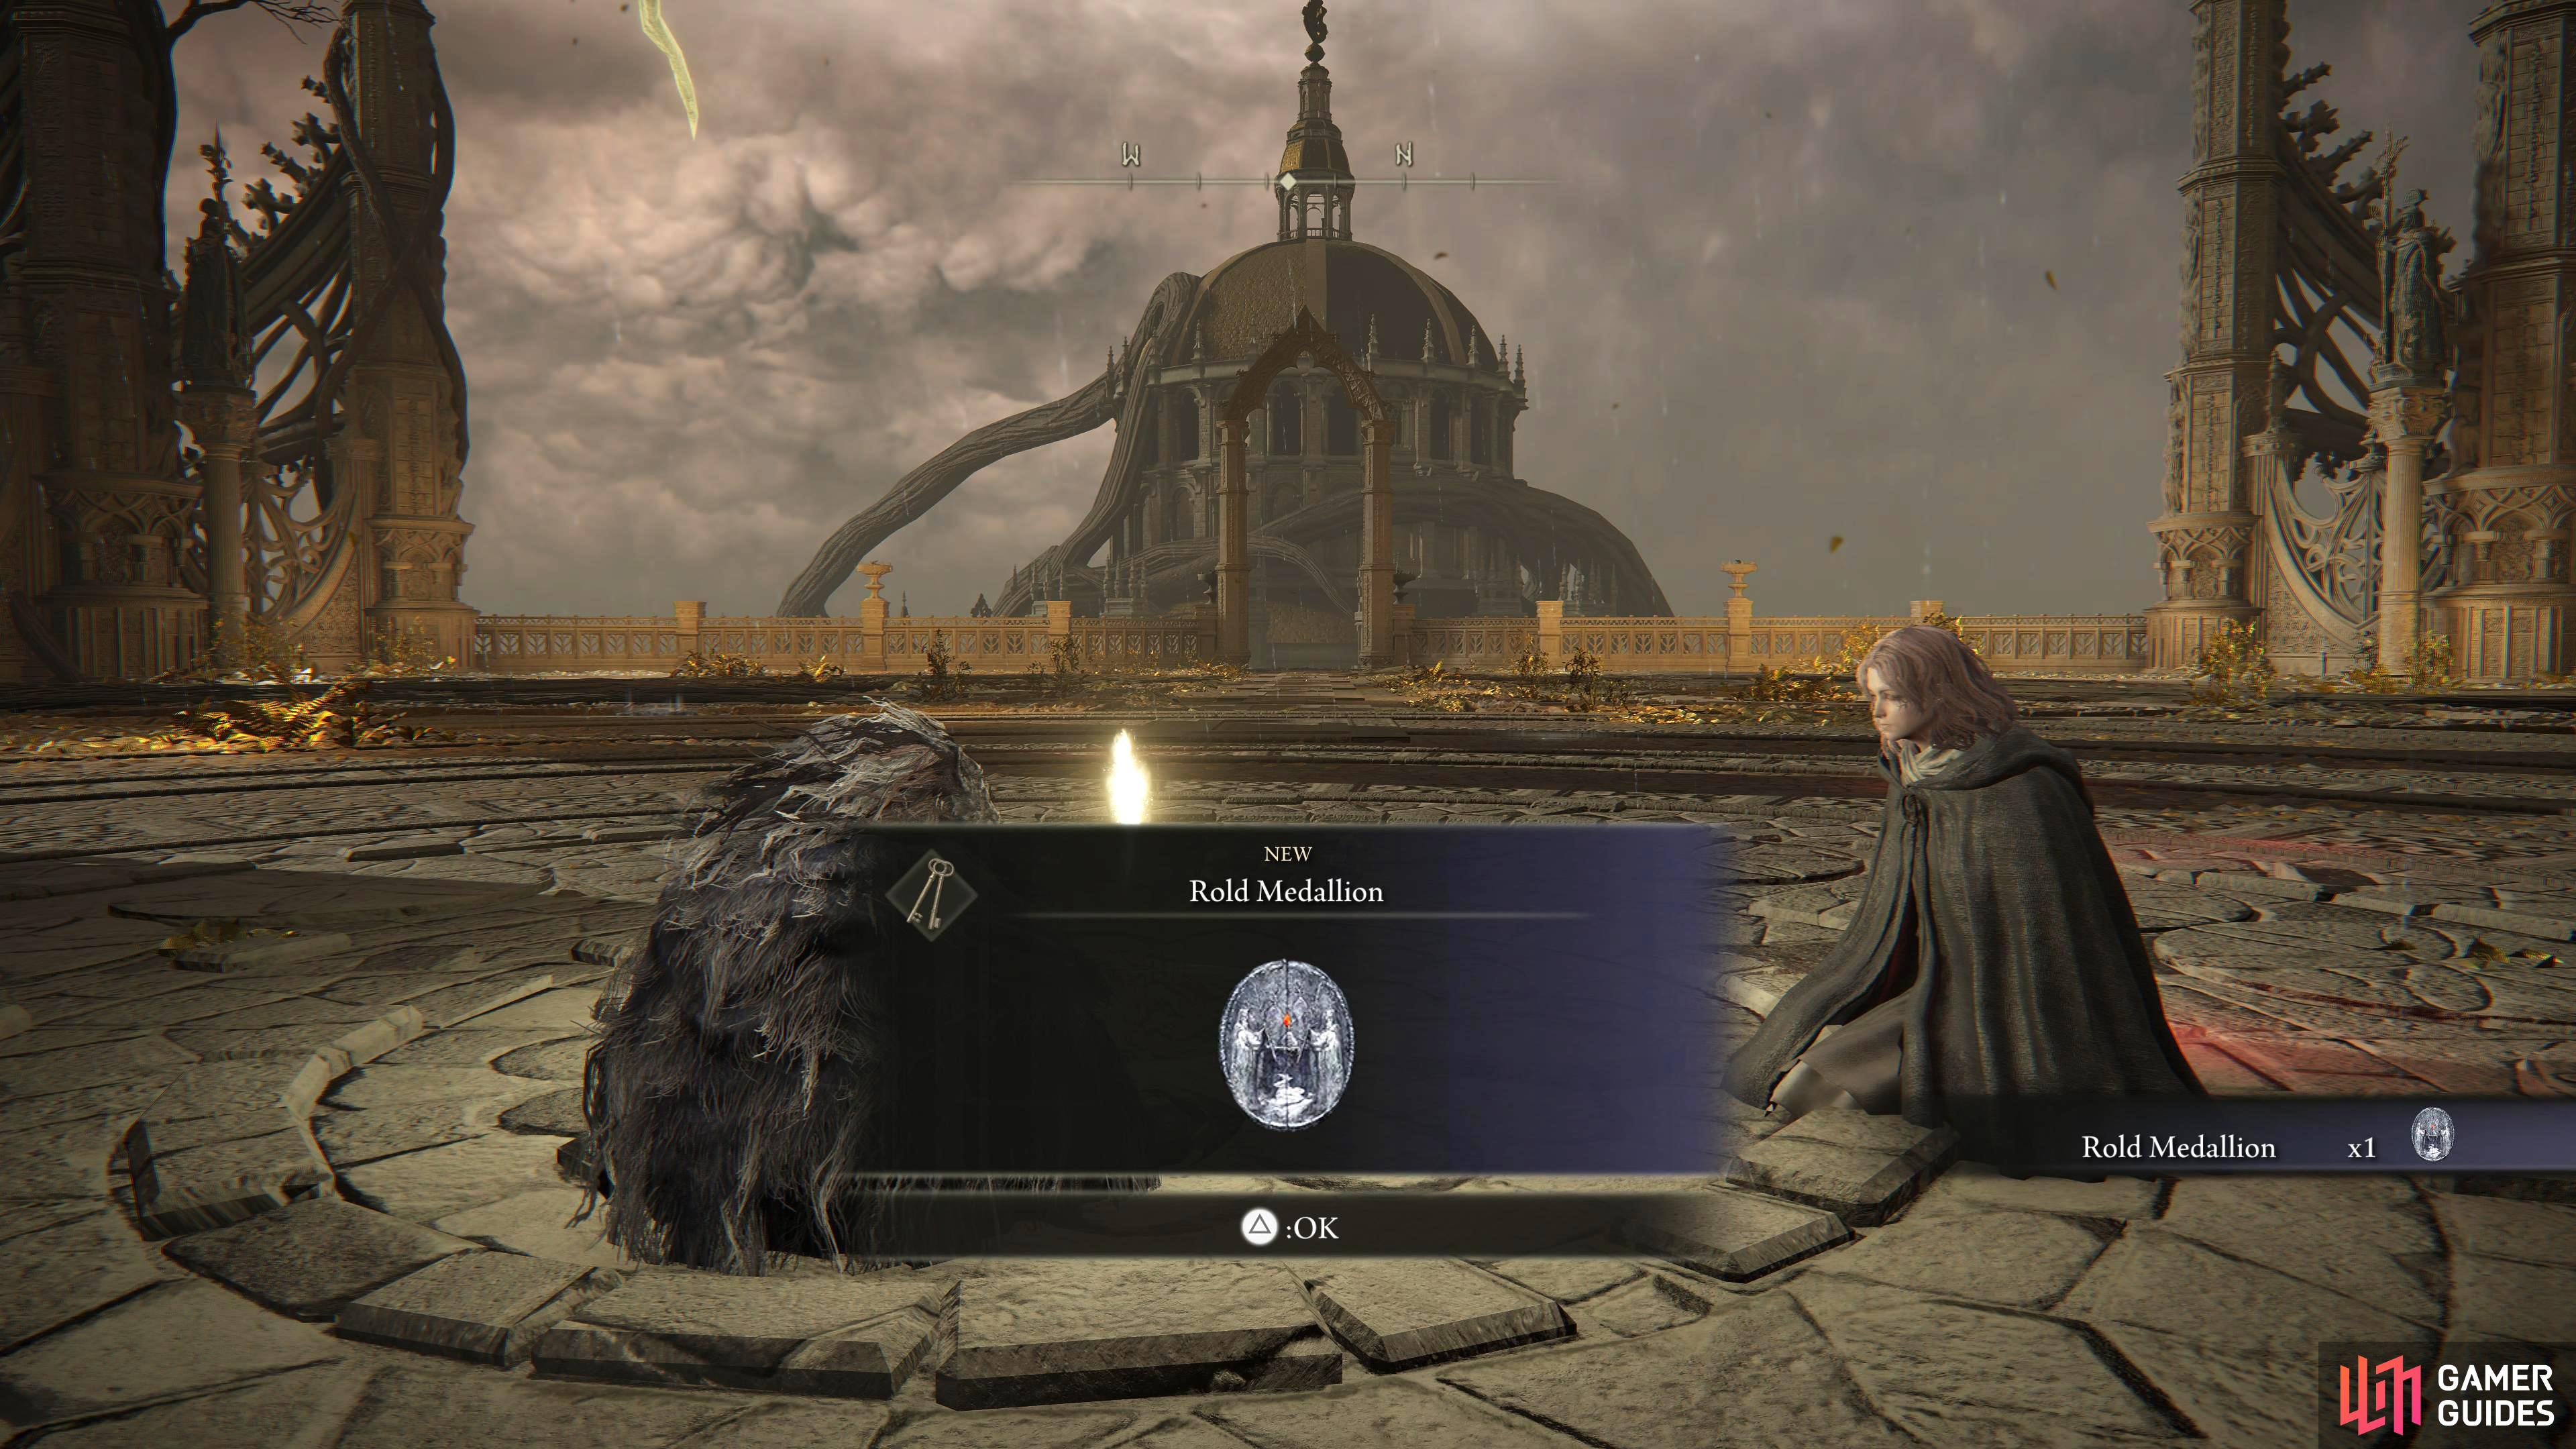
After defeating Morgott, rest at any grace and talk to Melina who will give you the right half of the medallion.
Ordina Puzzle
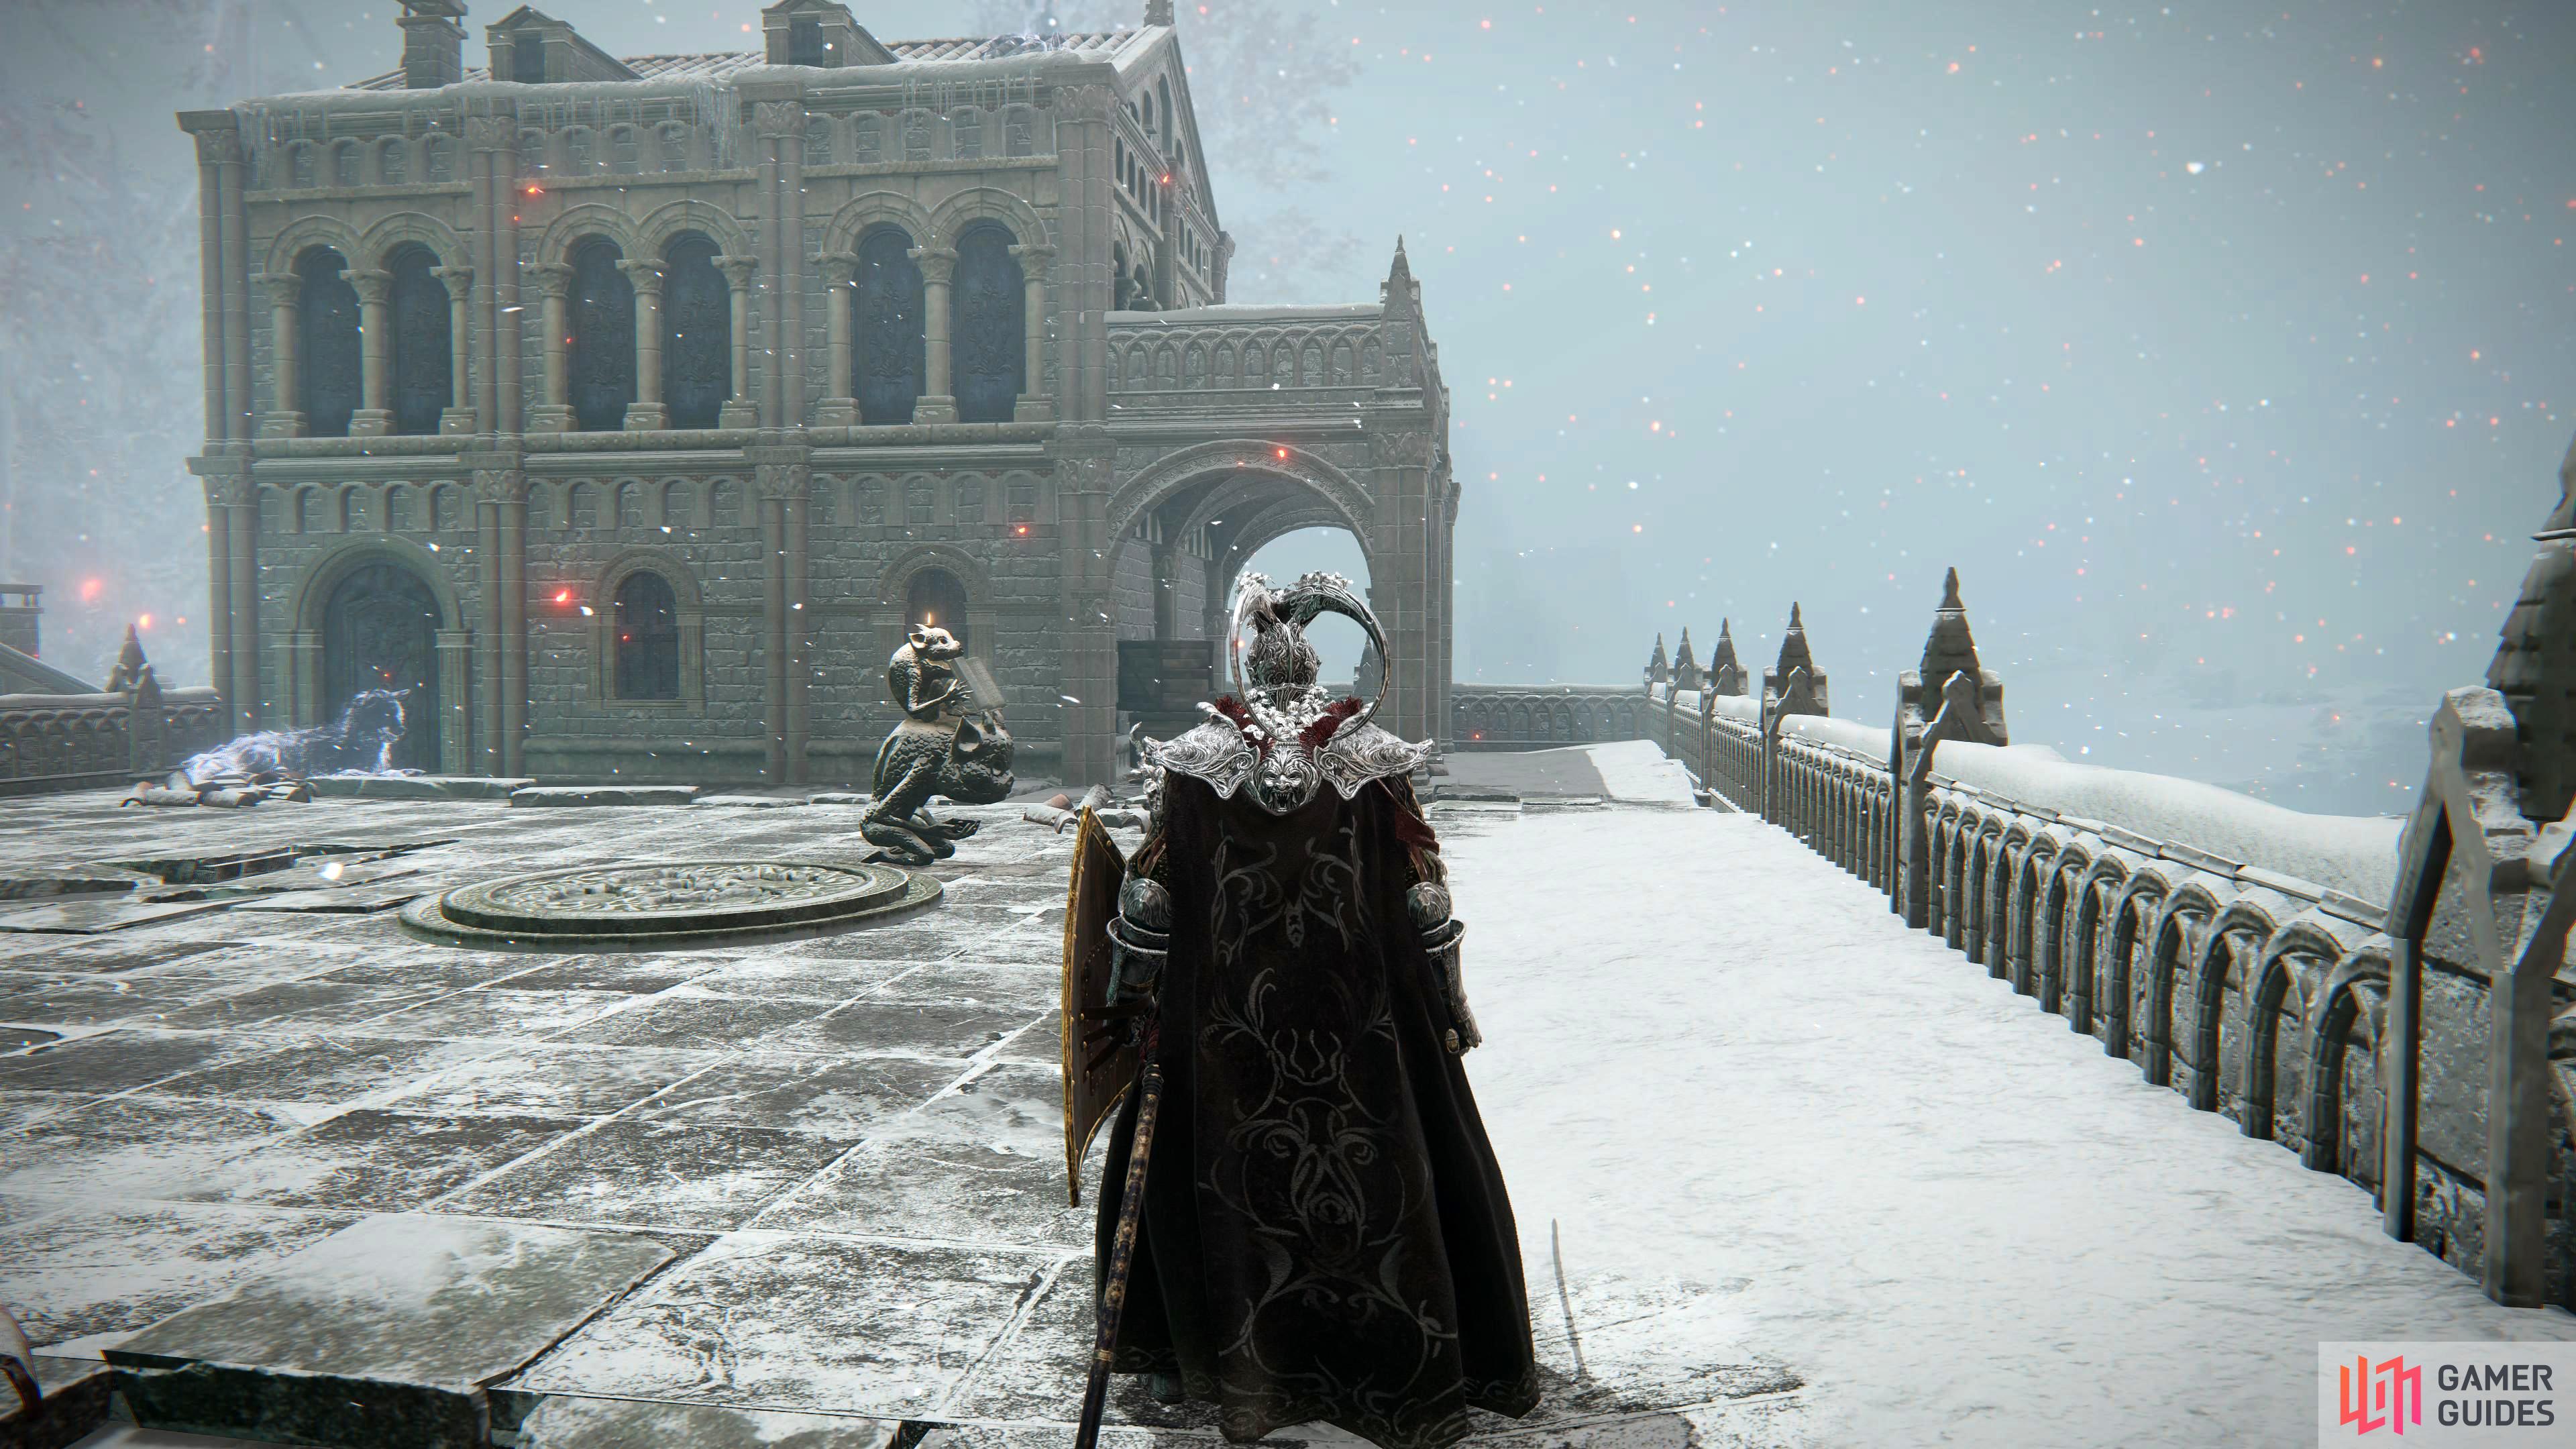
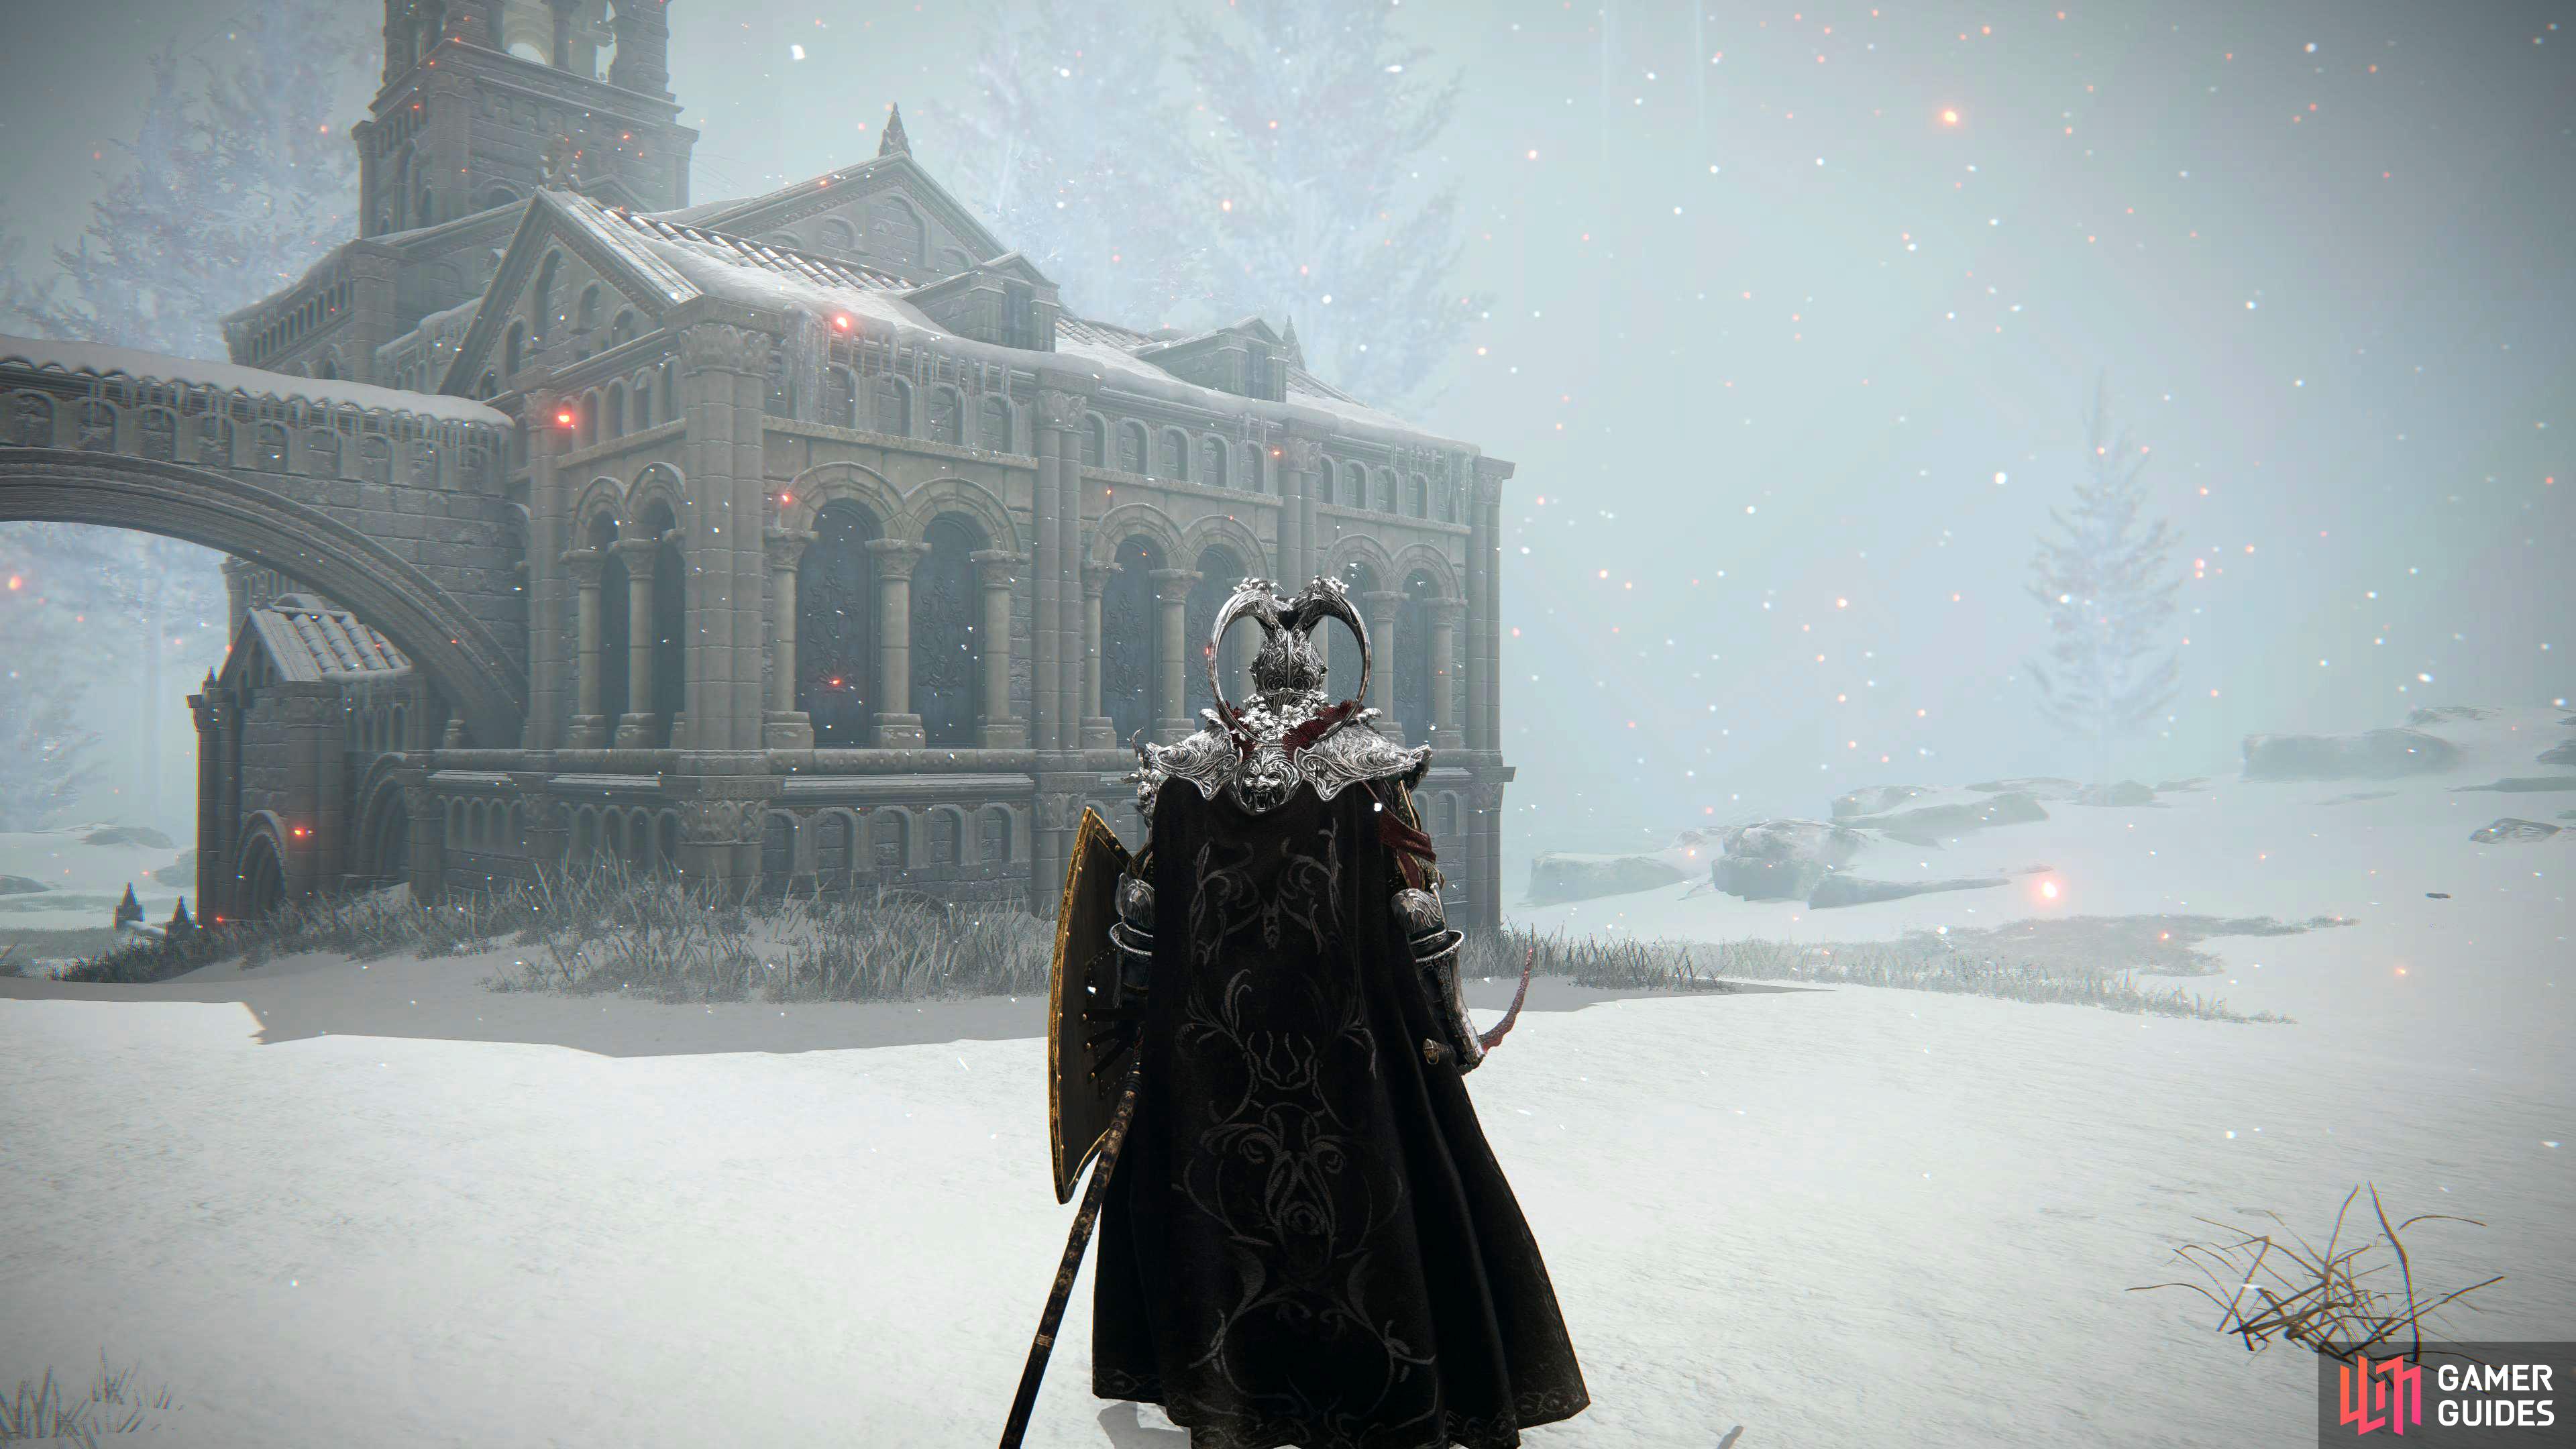
Now that you have access to both halves of the Haligtree Medallion and the Rold Medallion, you’ll have access to the Consecrated Snowfield. At the furthest north of this misty area is the ghost town of Ordina and in this town is a puzzle that needs to be completed to access Miquella’s Haligtree.
This version of the town has no enemies, but there are a couple of items to pick up first. The Black Knife Armor Set can be found underneath the large stone stairs, in the archway to the far north of the town. Other than that, the only other items in the area are a Golden Rune [10] and a couple of consumables.
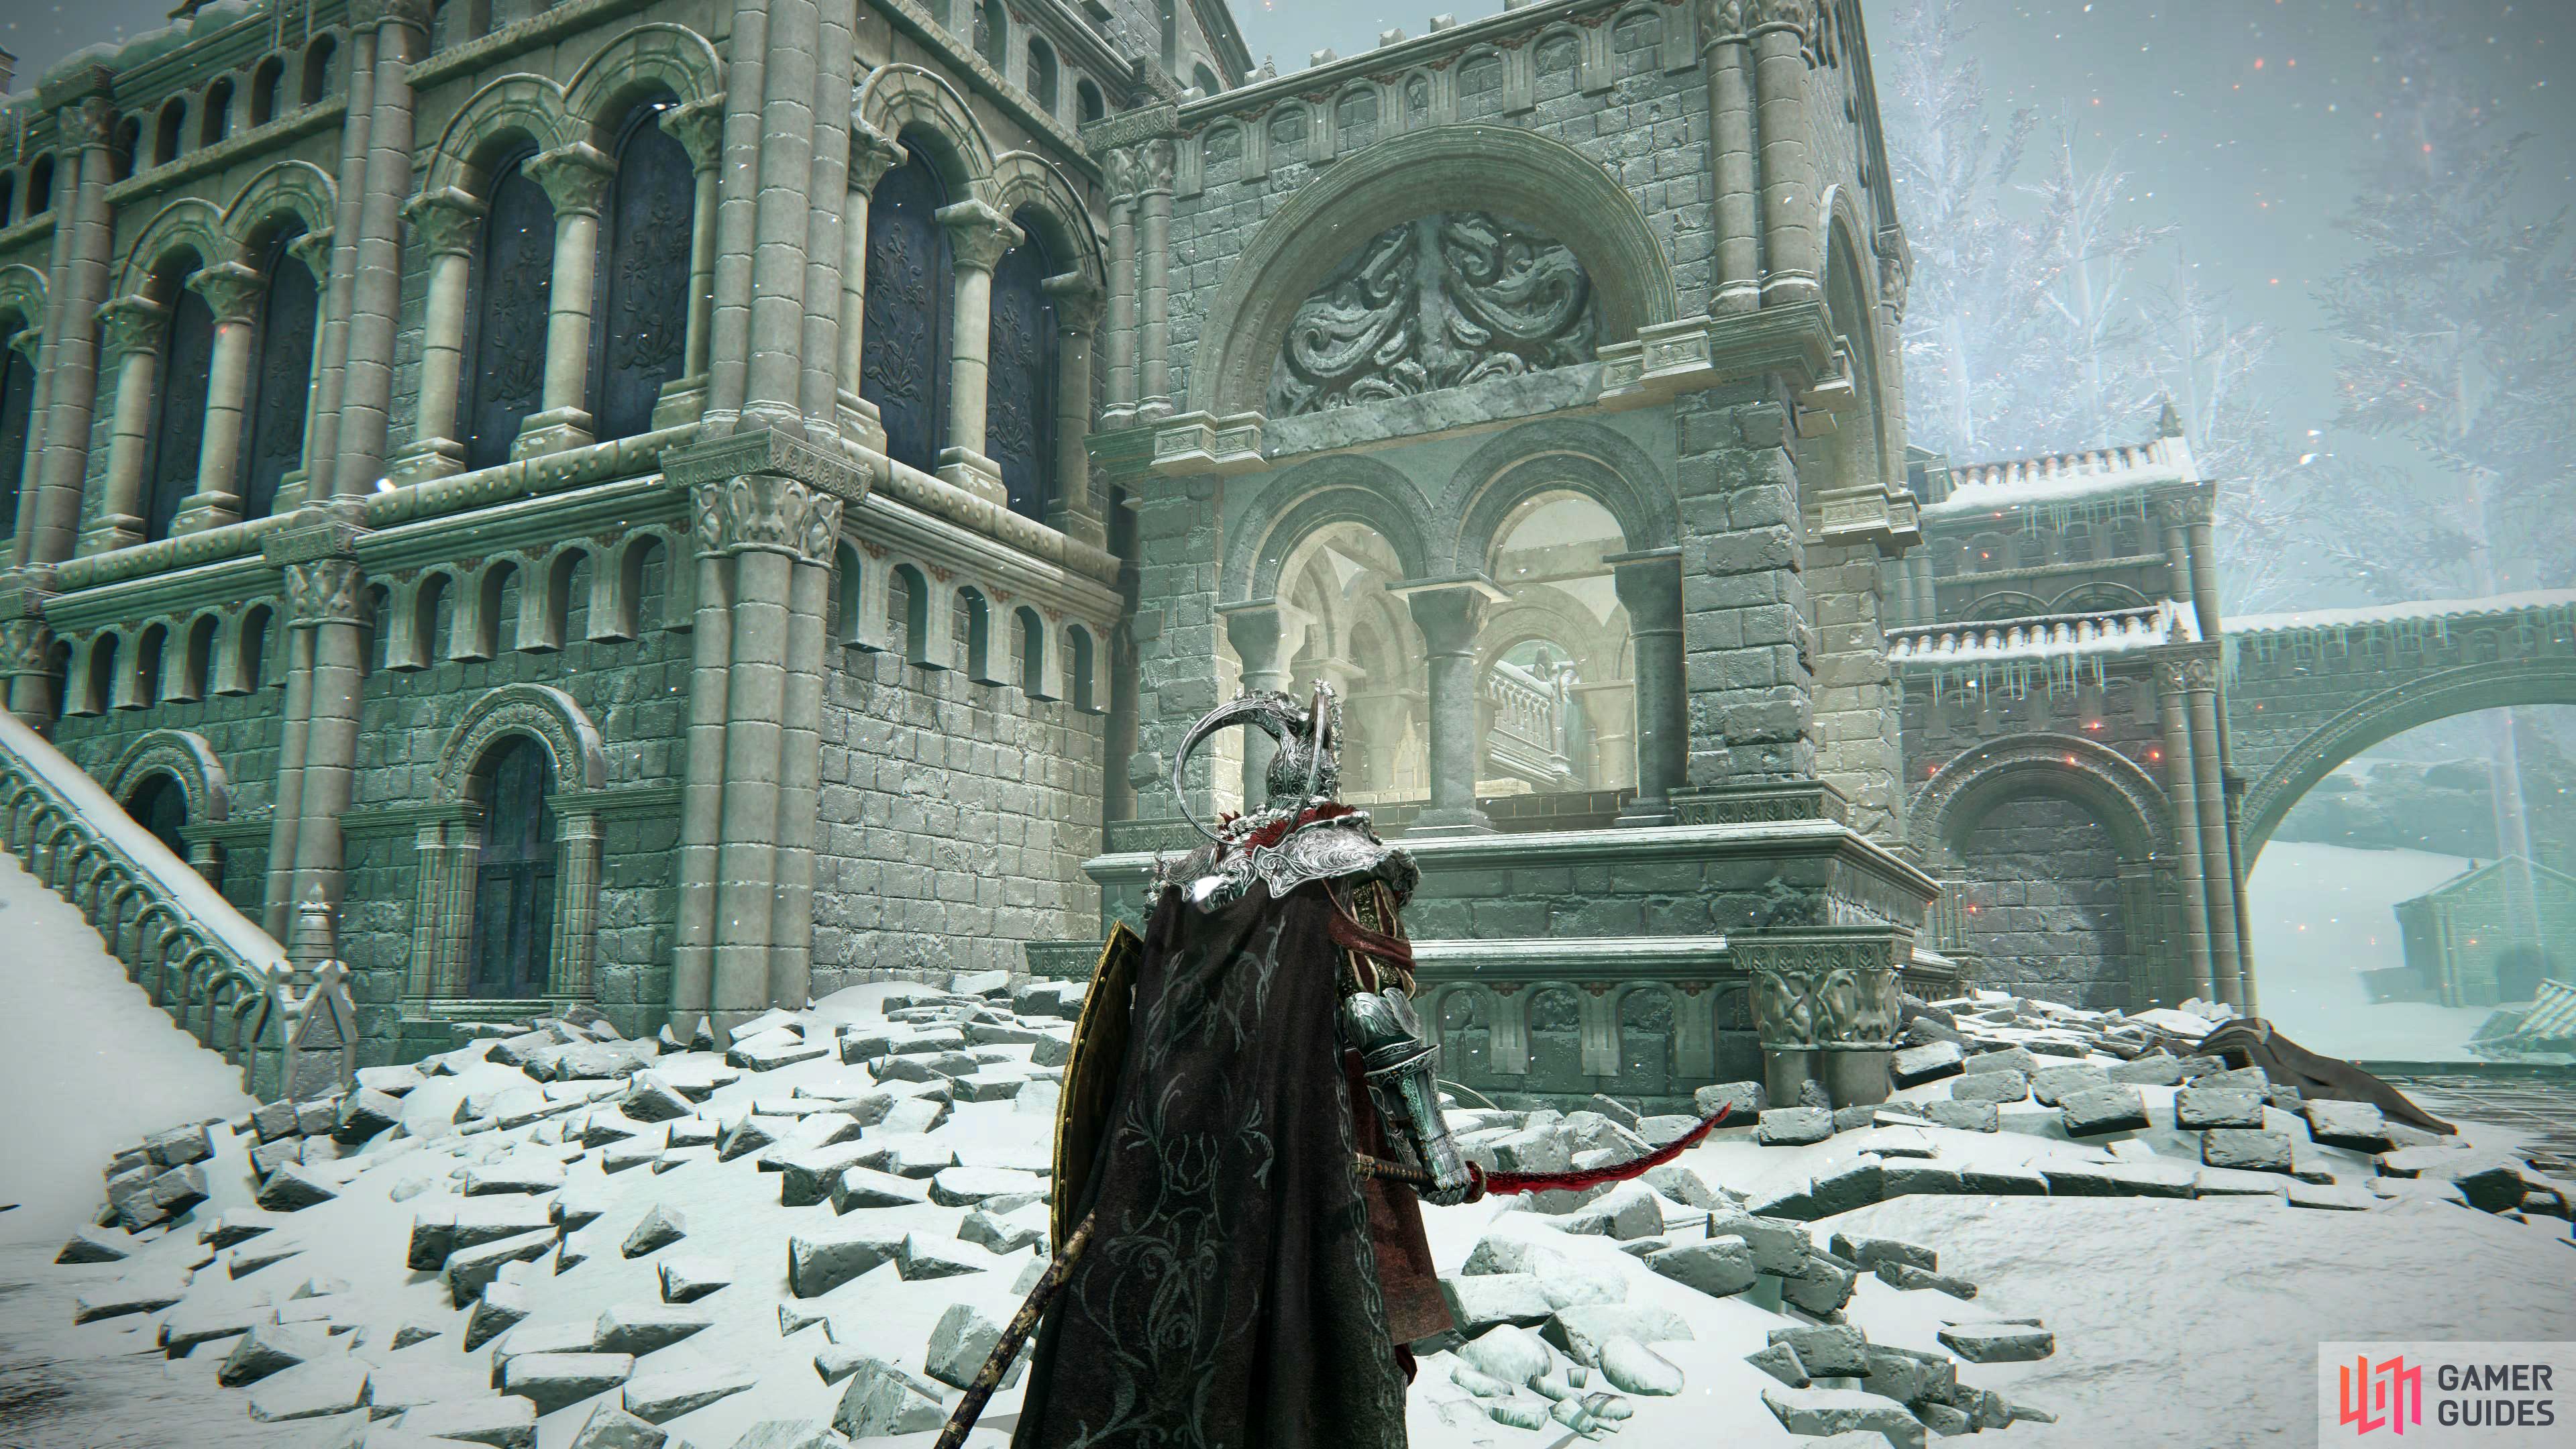
To activate the puzzle, you’ll need to interact with the evergaol at the back of the town. From the Ordina, Liturgical Town site of grace, go up the two staircases to your north until you reach the large building. Follow the building around by going east until you reach the set of stairs heading up. Go straight past them heading northwest until you see the stone statue with the evergaol next to it.
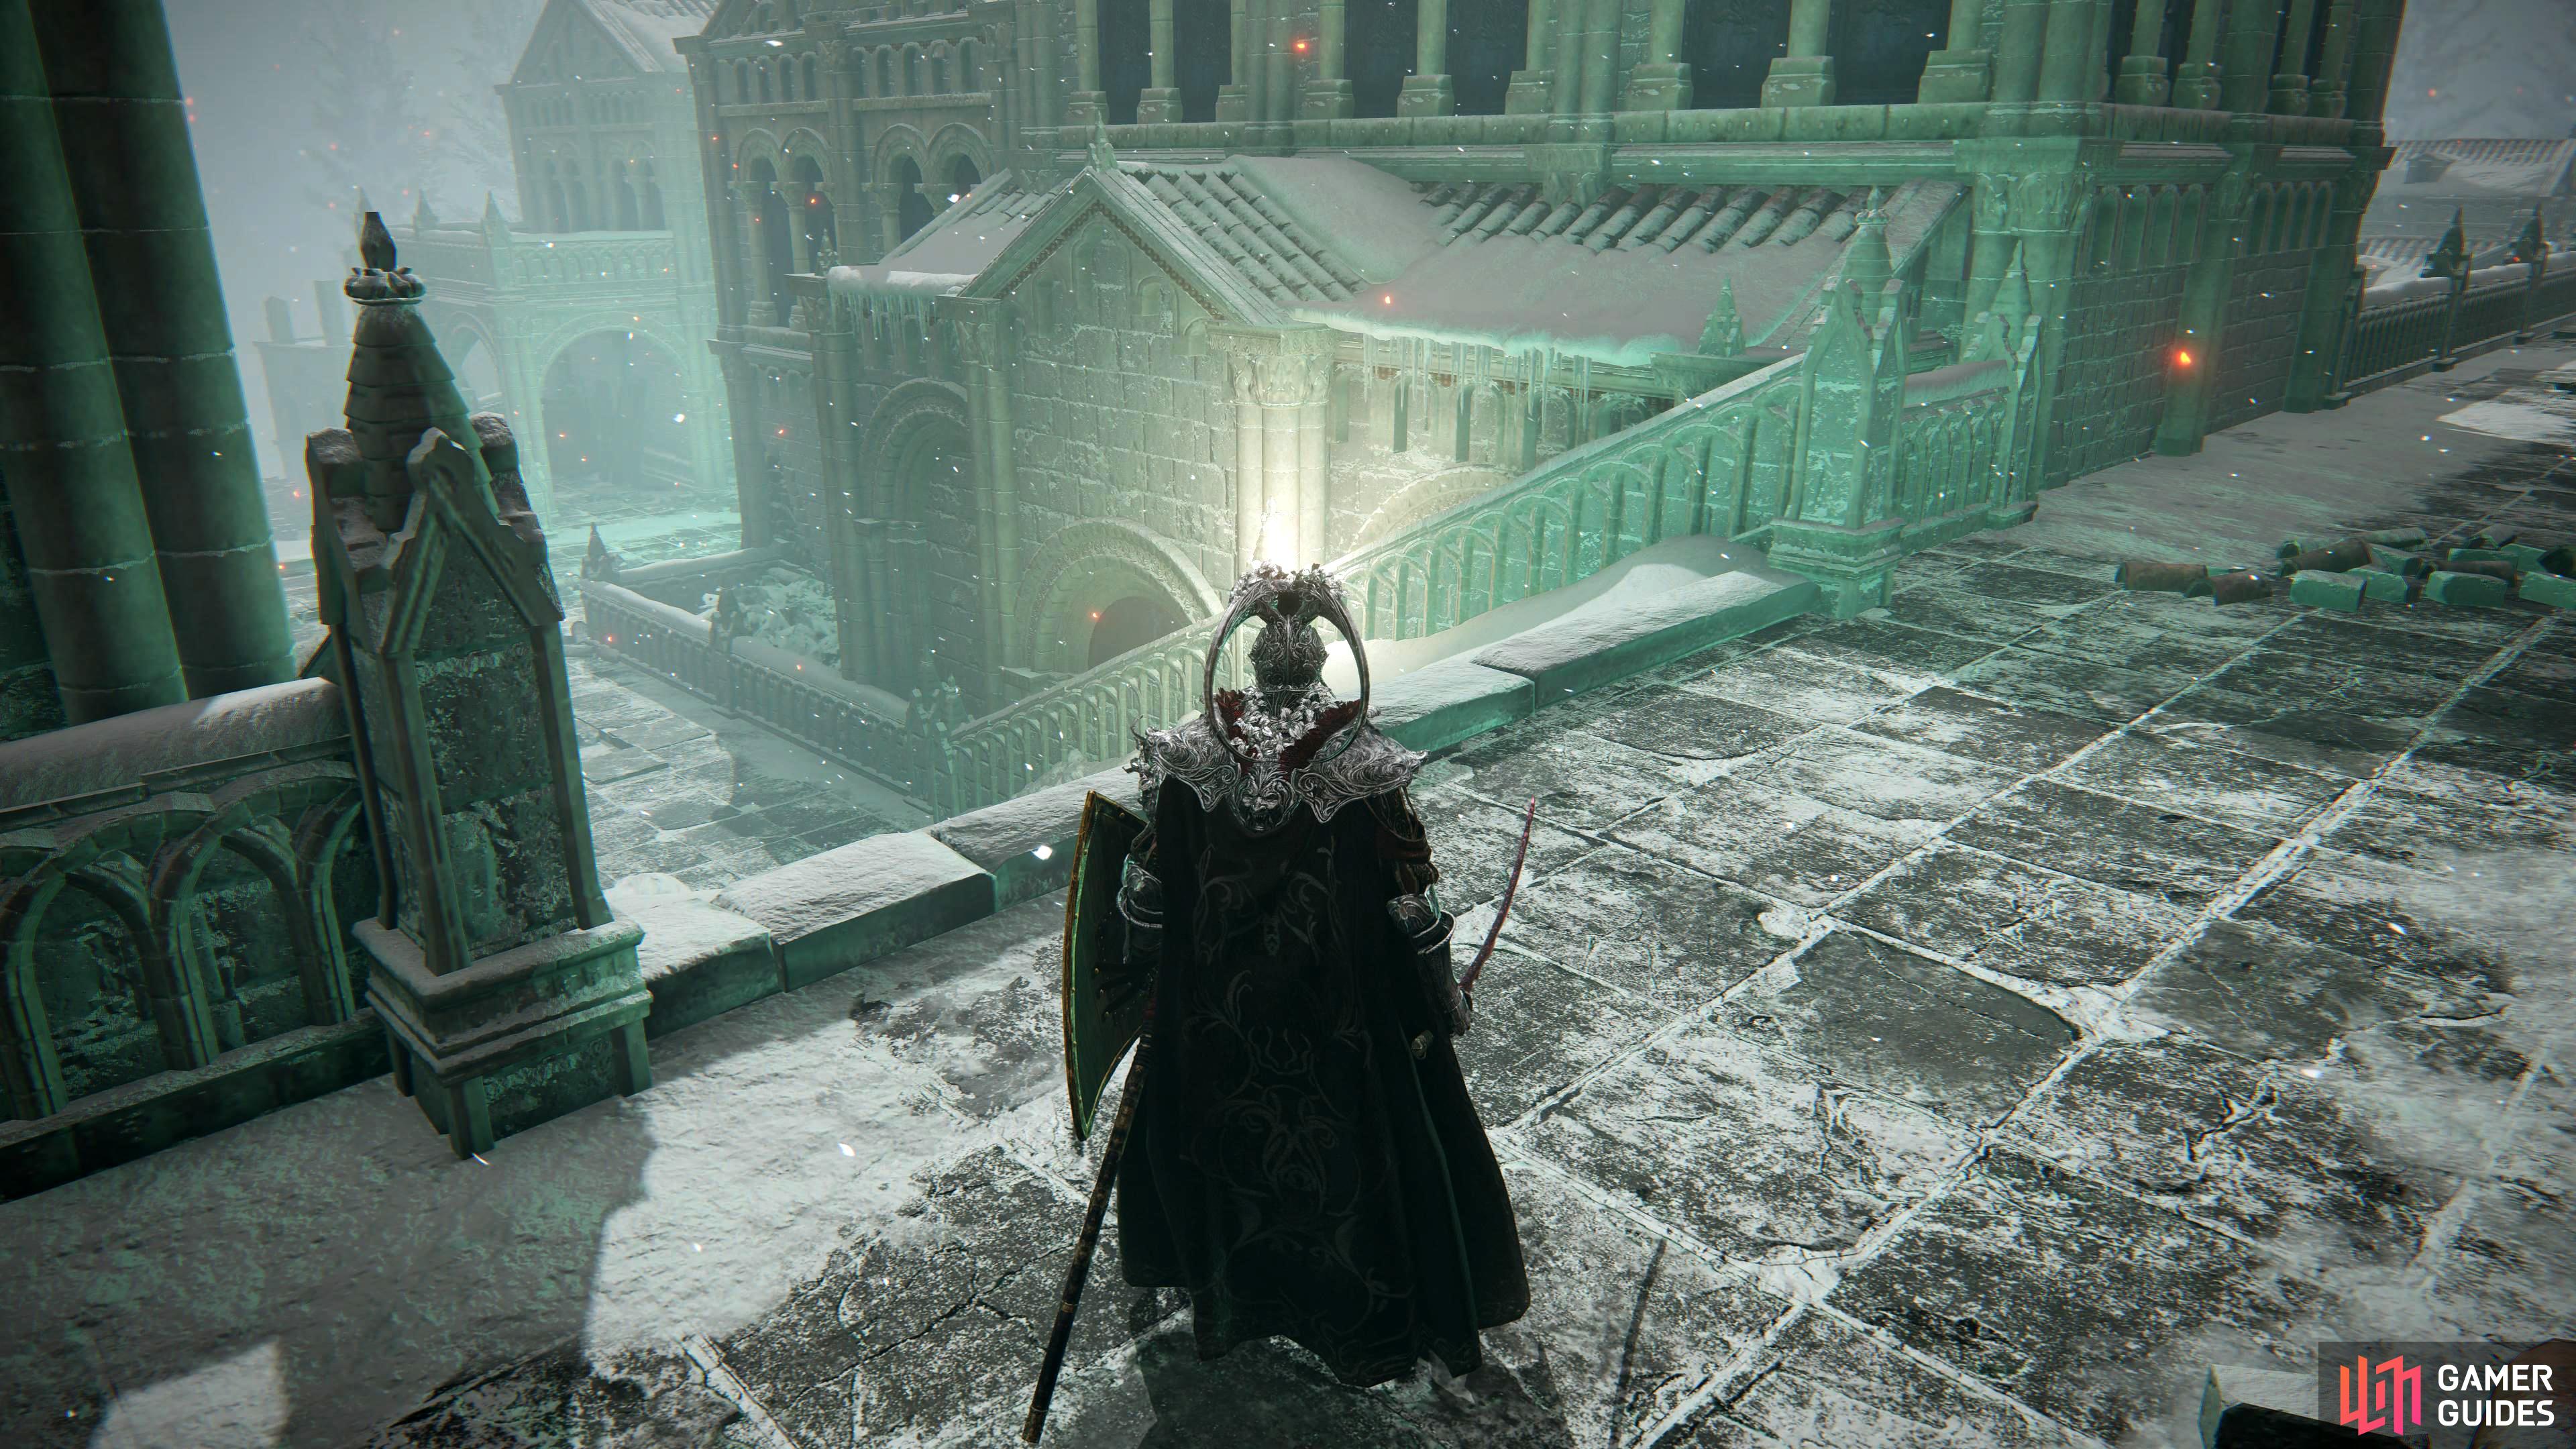
When you interact with the evergaol, you’ll appear in an altered version of the town. In here you’ll find some frustrating enemies who are invisible, so you might want to consider changing your equipment to make the area easier. The Black Knife chest piece you just picked up can muffle your sound. The Sentry’s Torch (purchased from the Hermit Merchant in the Hermit Merchant’s Shack near Leyndell Royal Capital.) can reveal hidden enemies, and considering that all of them here are invisible makes this torch invaluable. The Concealing Veil Talisman which is obtained from the Black Knife Assassin (Sages Cave) will also make you harder to detect. Finally, use the consumable Soft Cotton to muffle your sound even more.
Interact with the evergaol to change the town to its alternate version.
On to the puzzle, you’ll need to light up four statues similarly to the puzzle in Selina, Town of Sorcery. These can only be lit in the alternate version of the town via the evergaol. If you die, the statues will stay lit, so you could try ignoring the enemies if you’d prefer to do it that way.
Statue 1
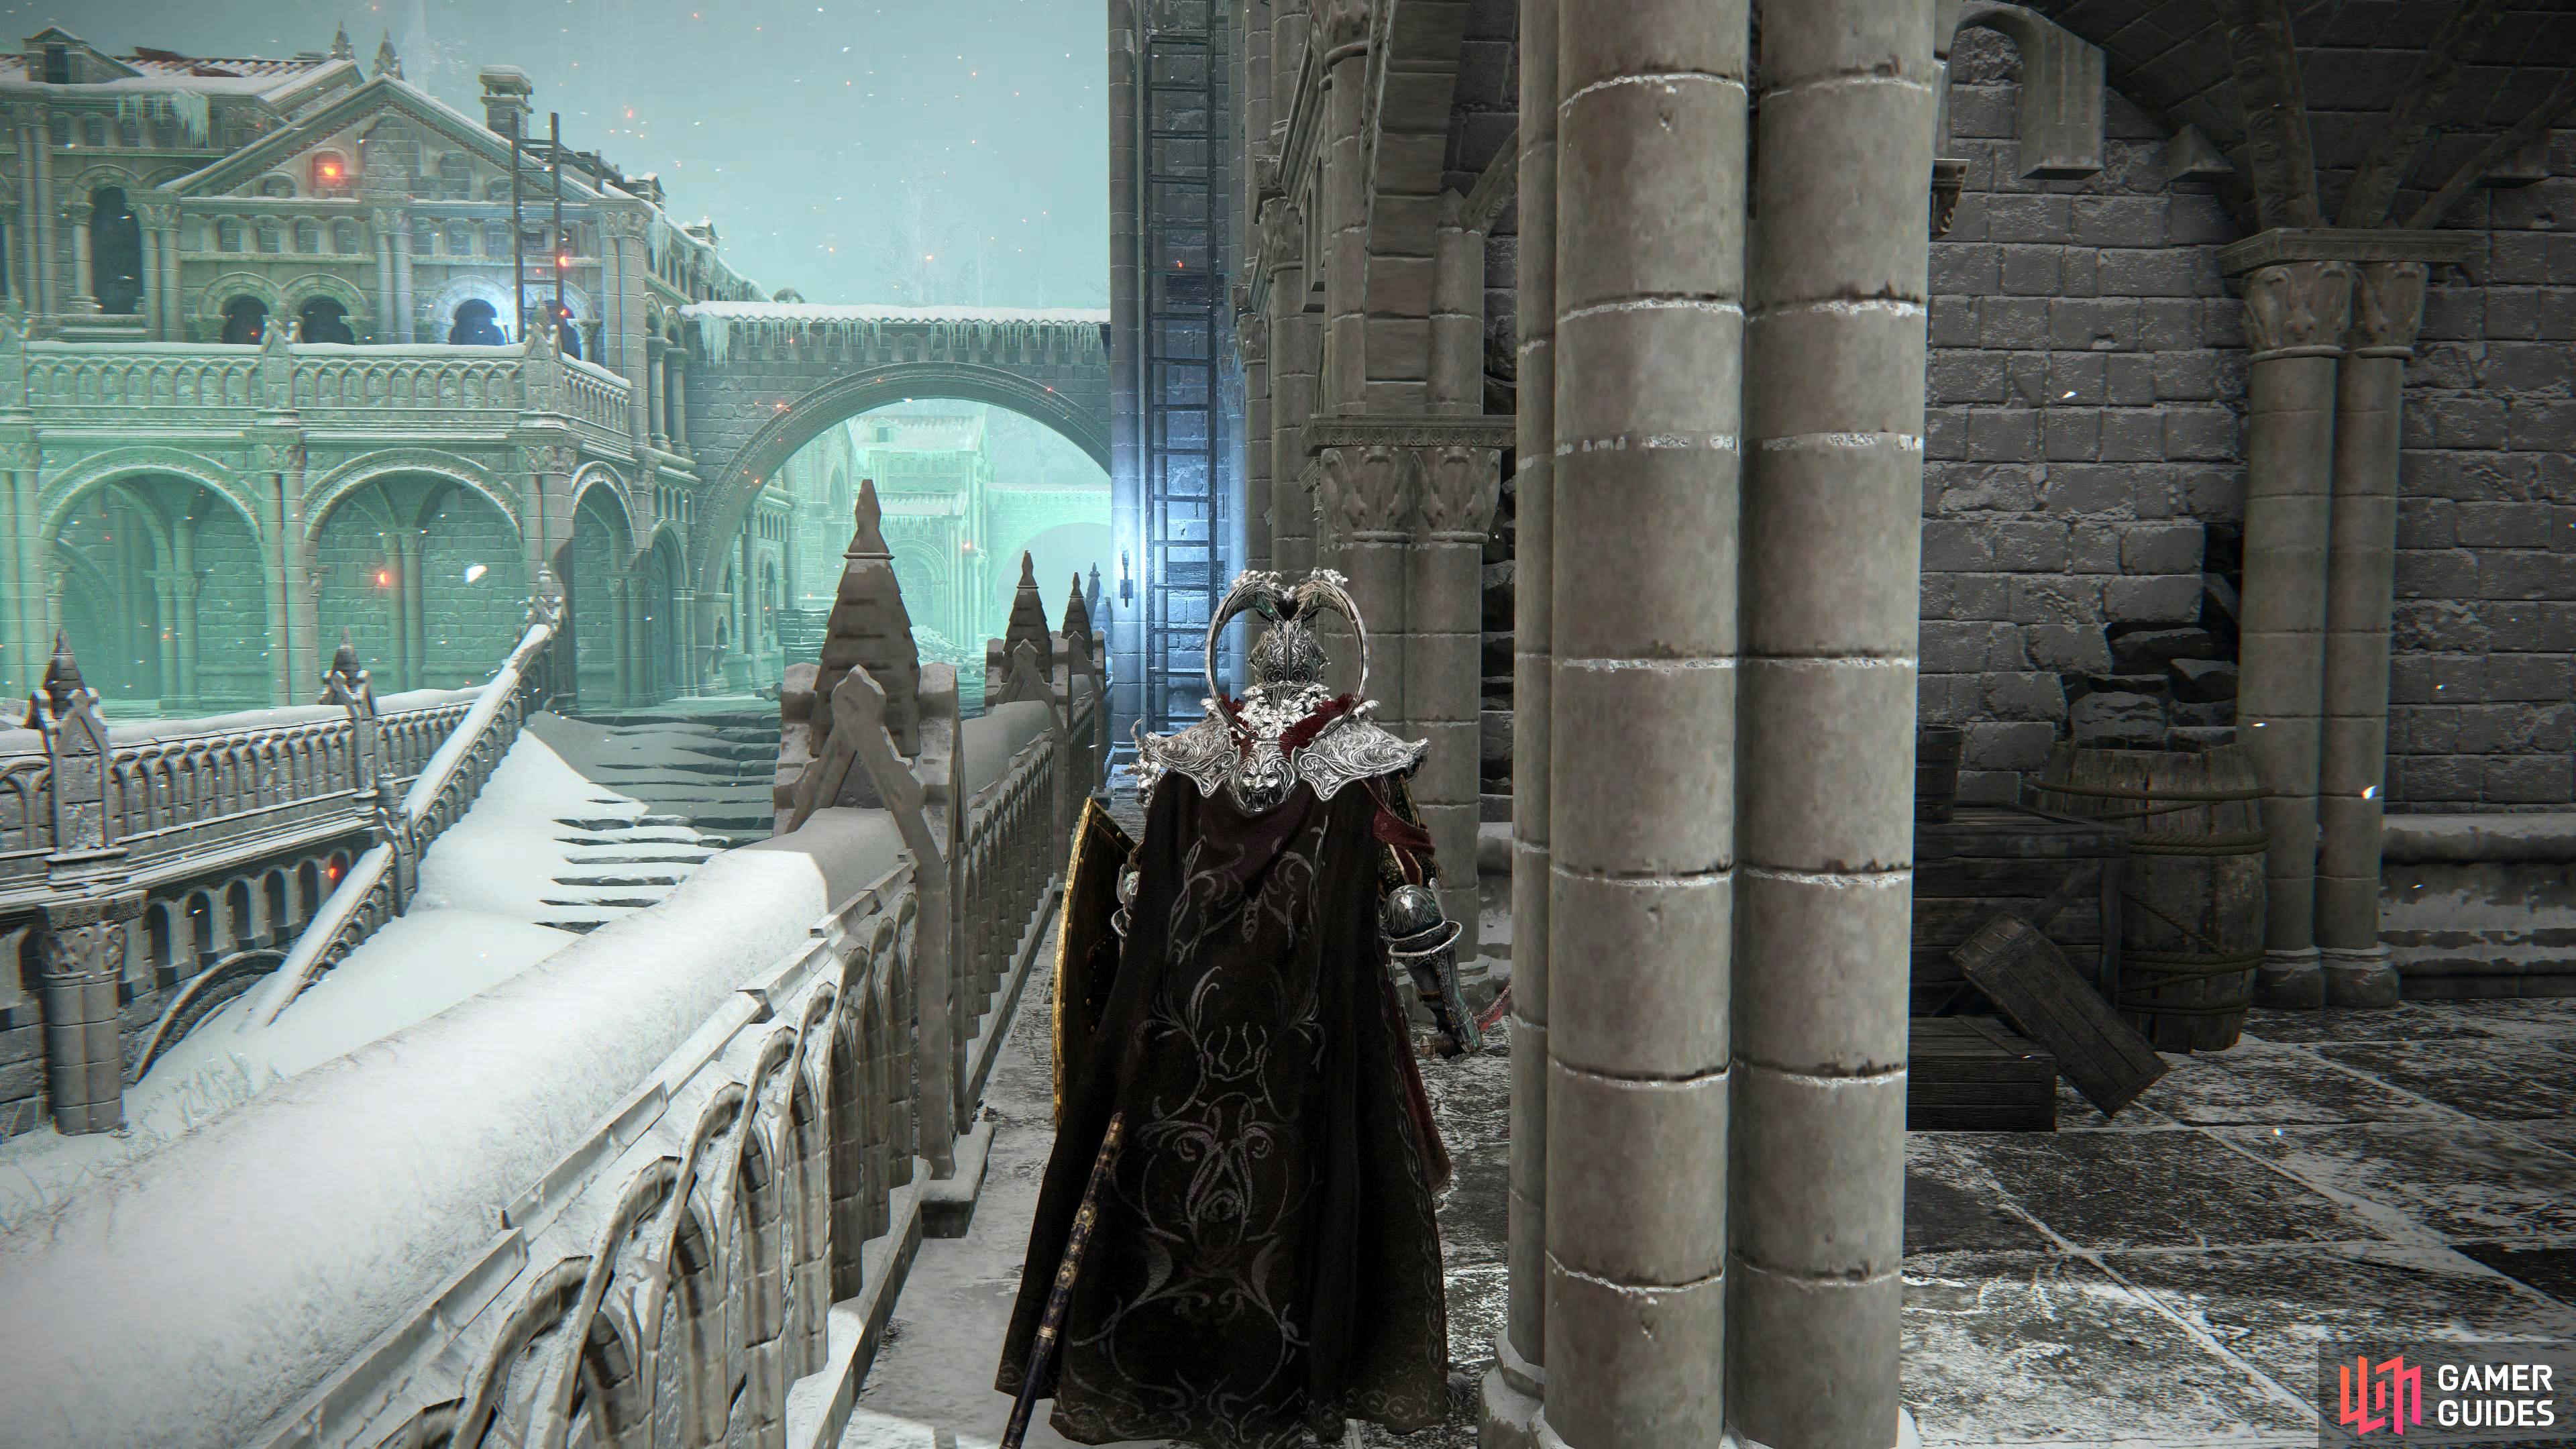
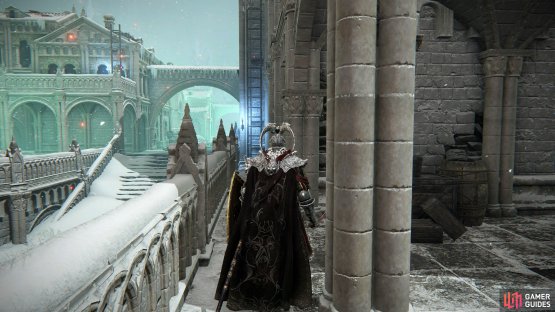
On the western side of the town. From the evergaol, jump over the balcony to your northwest and head to the west side of the building which has an archway connected to it. At the end of the building, there’ll be a ladder leading to the roof. This can be tough to see due to the blue torch obscuring it. Climb the ladder to the roof where you’ll see another ladder leading up to the first statue that needs to be lit.

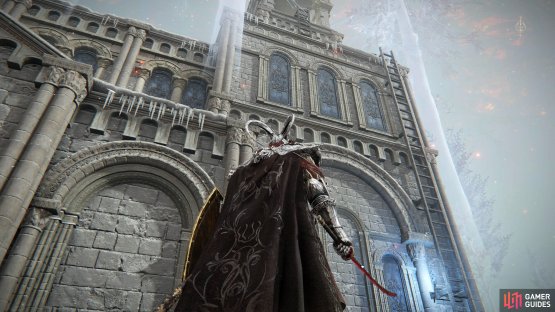
(1 of 2) Head over to the western building
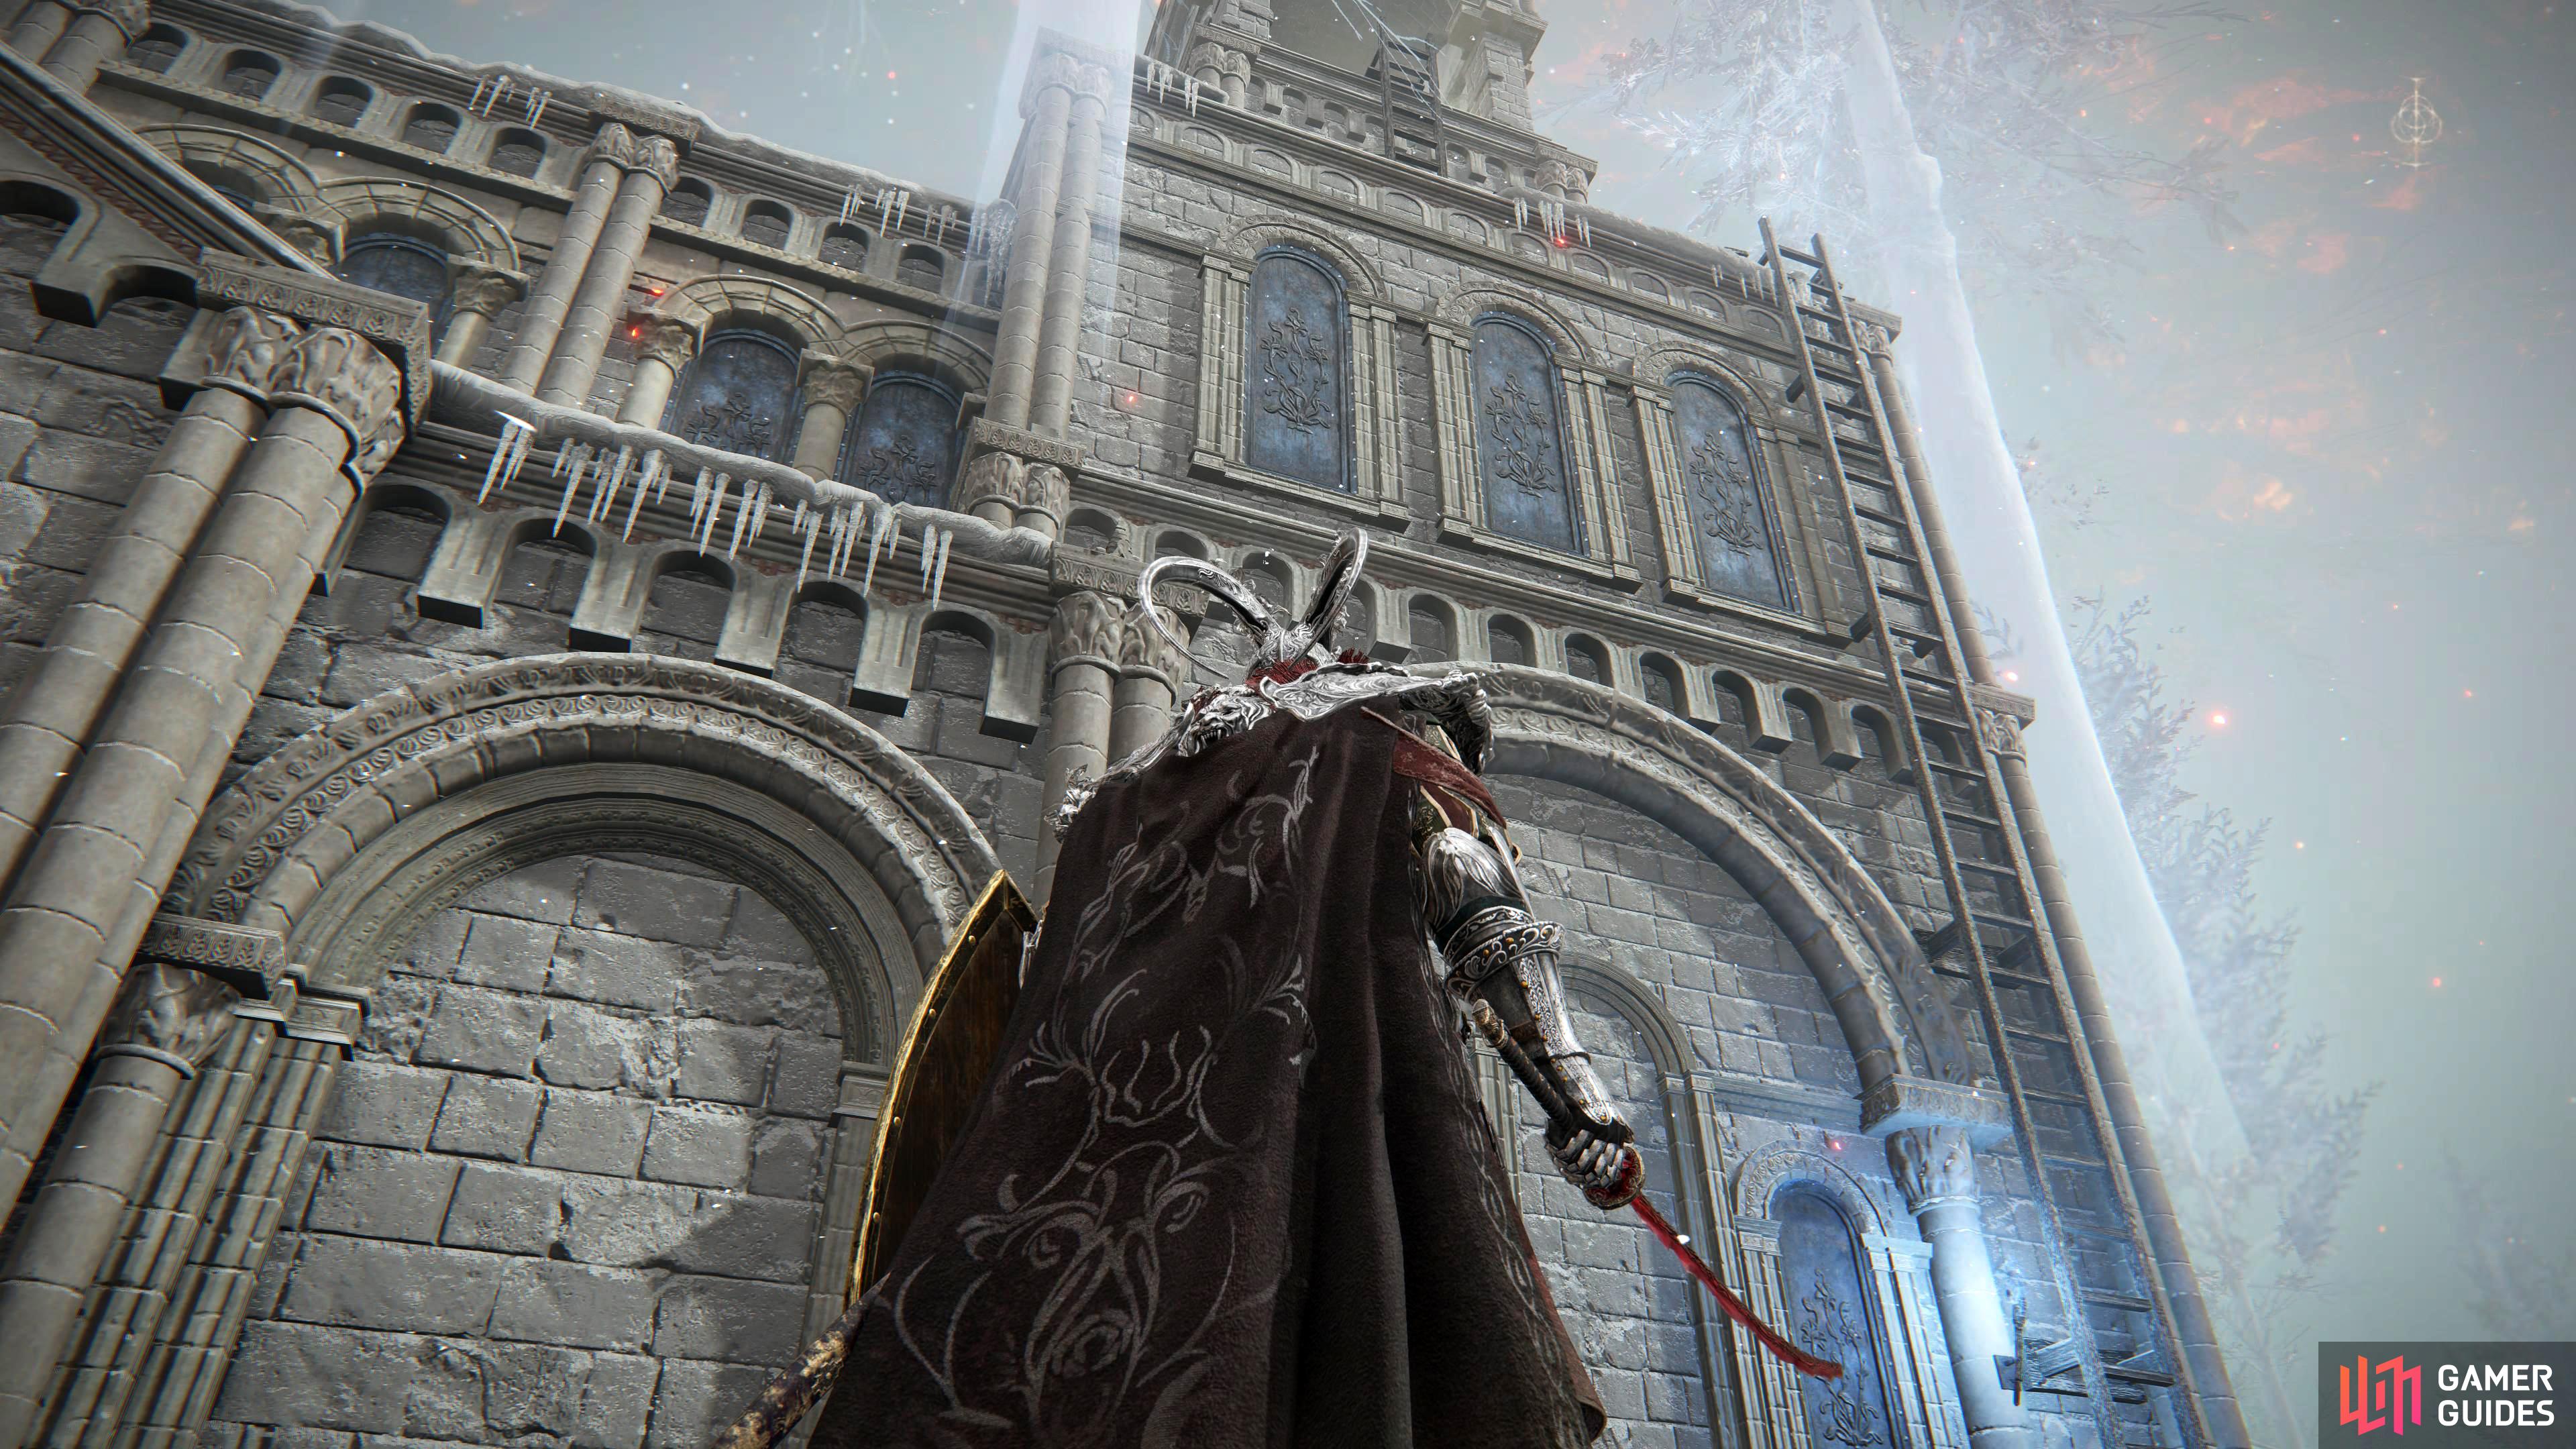
Head over to the western building (left), and on the side of it will be a ladder leading to the statue. (right)
Statue 2
This statue is in the center, on the floor. From the evergaol, head southeast behind the large building, and past the stairs to your left and follow it around until you reach the southern steps. Head down the stairs, and you’ll find the statue to your left. There are two invisible assassins around this area who act similarly to the Black Knife Assassin bosses which is one of the reasons that the Sentry’s Torch is recommended for this area. If you defeat them, you can rest assured they will not respawn.


(1 of 2) Head down the set of stairs southeast of the evergaol
Head down the set of stairs southeast of the evergaol (left), and the statue will be on your left at the bottom of them. (right)
Statue 3
From statue 2, head northwest and take a sharp left just after the stairs. Follow the building all the way around where you’ll find a ladder wedged in between the balcony and the building. Climb the ladder, as well as the ladder at the top to reach the statue.

(1 of 2) You can also reach this ladder by jumping on the edge of the balcony and jumping over to it.
You can also reach this ladder by jumping on the edge of the balcony and jumping over to it. (left), After activating Statue 3, you can jump off to the southeastern roof from here which’ll lead to Statue 4. (right)
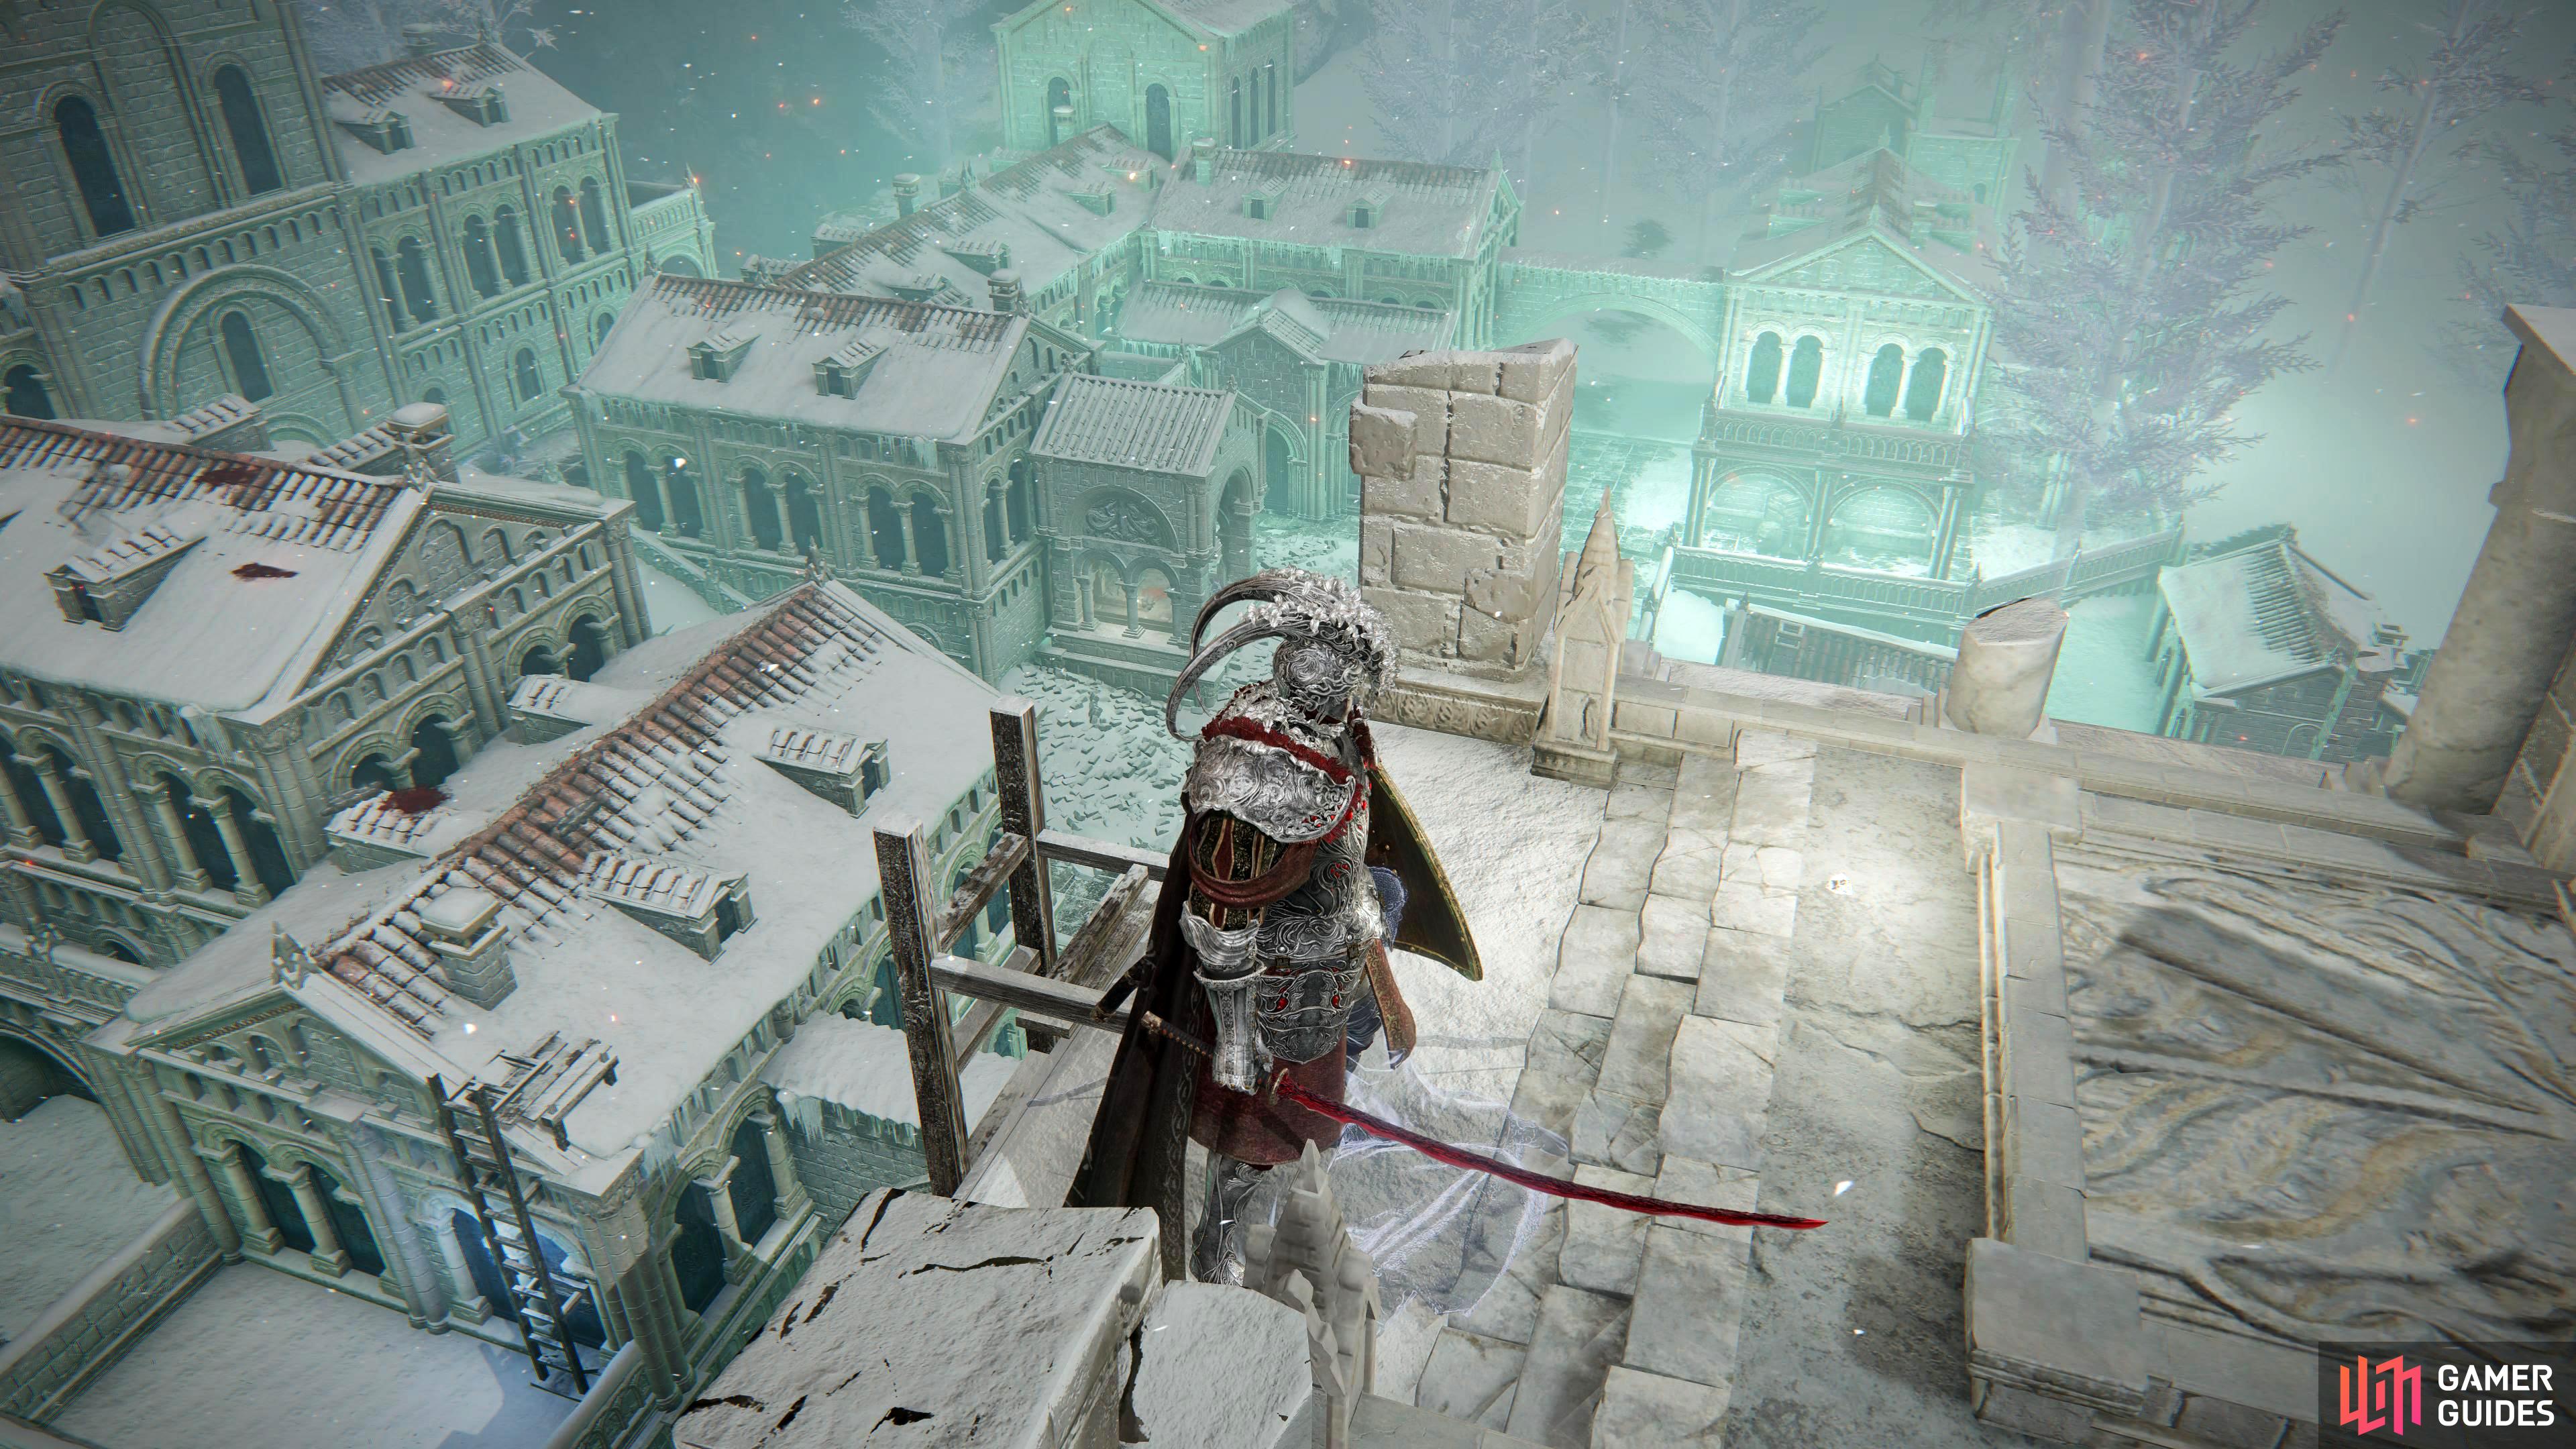
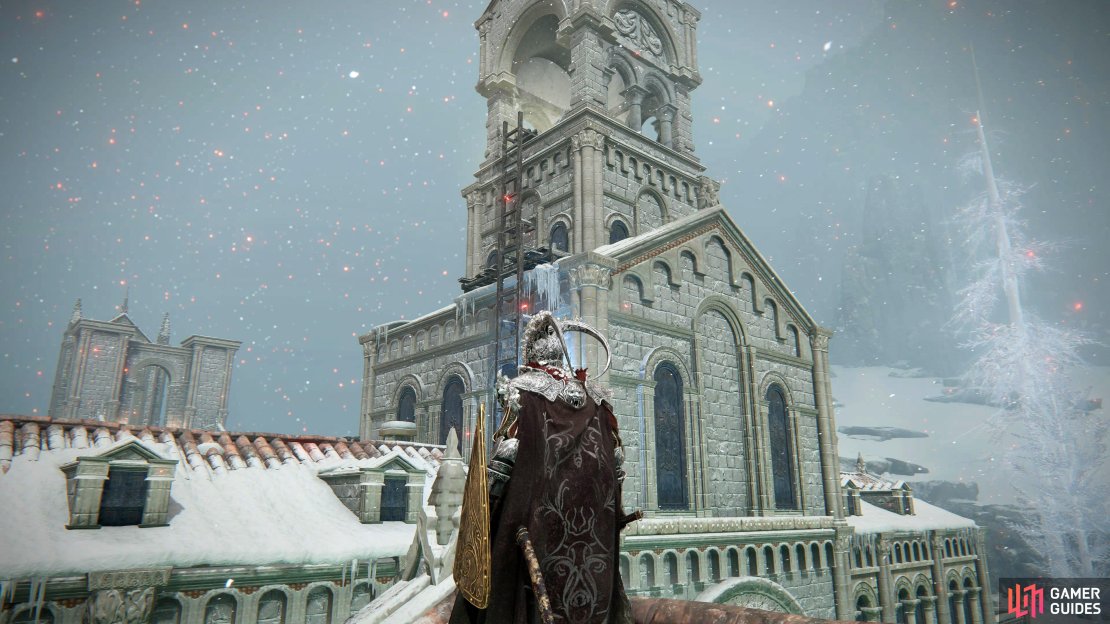
Statue 4 - Invisible Archers Puzzle
From statue 3, go back down the first ladder and drop onto the southeastern roof next to it. As you land on the roof, head over the snowy platform to the northeast onto the next roof. This next part can be tricky, you’ll need to time your jump in the middle of the roof where it’s at its highest and jump on to the next roof to the northeast. The tricky part is the invisible archers barraging you with arrows. When you’re on the next roof you’ll need to run and block/dodge your way across to the last northeastern roof where a ladder will be to your right. Climb the ladders and light the last statue where you’ll be transported out of the evergaol. You’ll now have access to the teleport at the top of the large set of stairs in the north taking you to Miquella’s Haligtree.


(1 of 3) To reach the roof ahead, you’ll need to jump at the highest point of the roof which is its middle.
No Comments