
Information and walkthrough for the Limgrave Tunnels location in Elden Ring, including details about how to defeat the Stonedigger Troll and obtain the Roar Medallion.
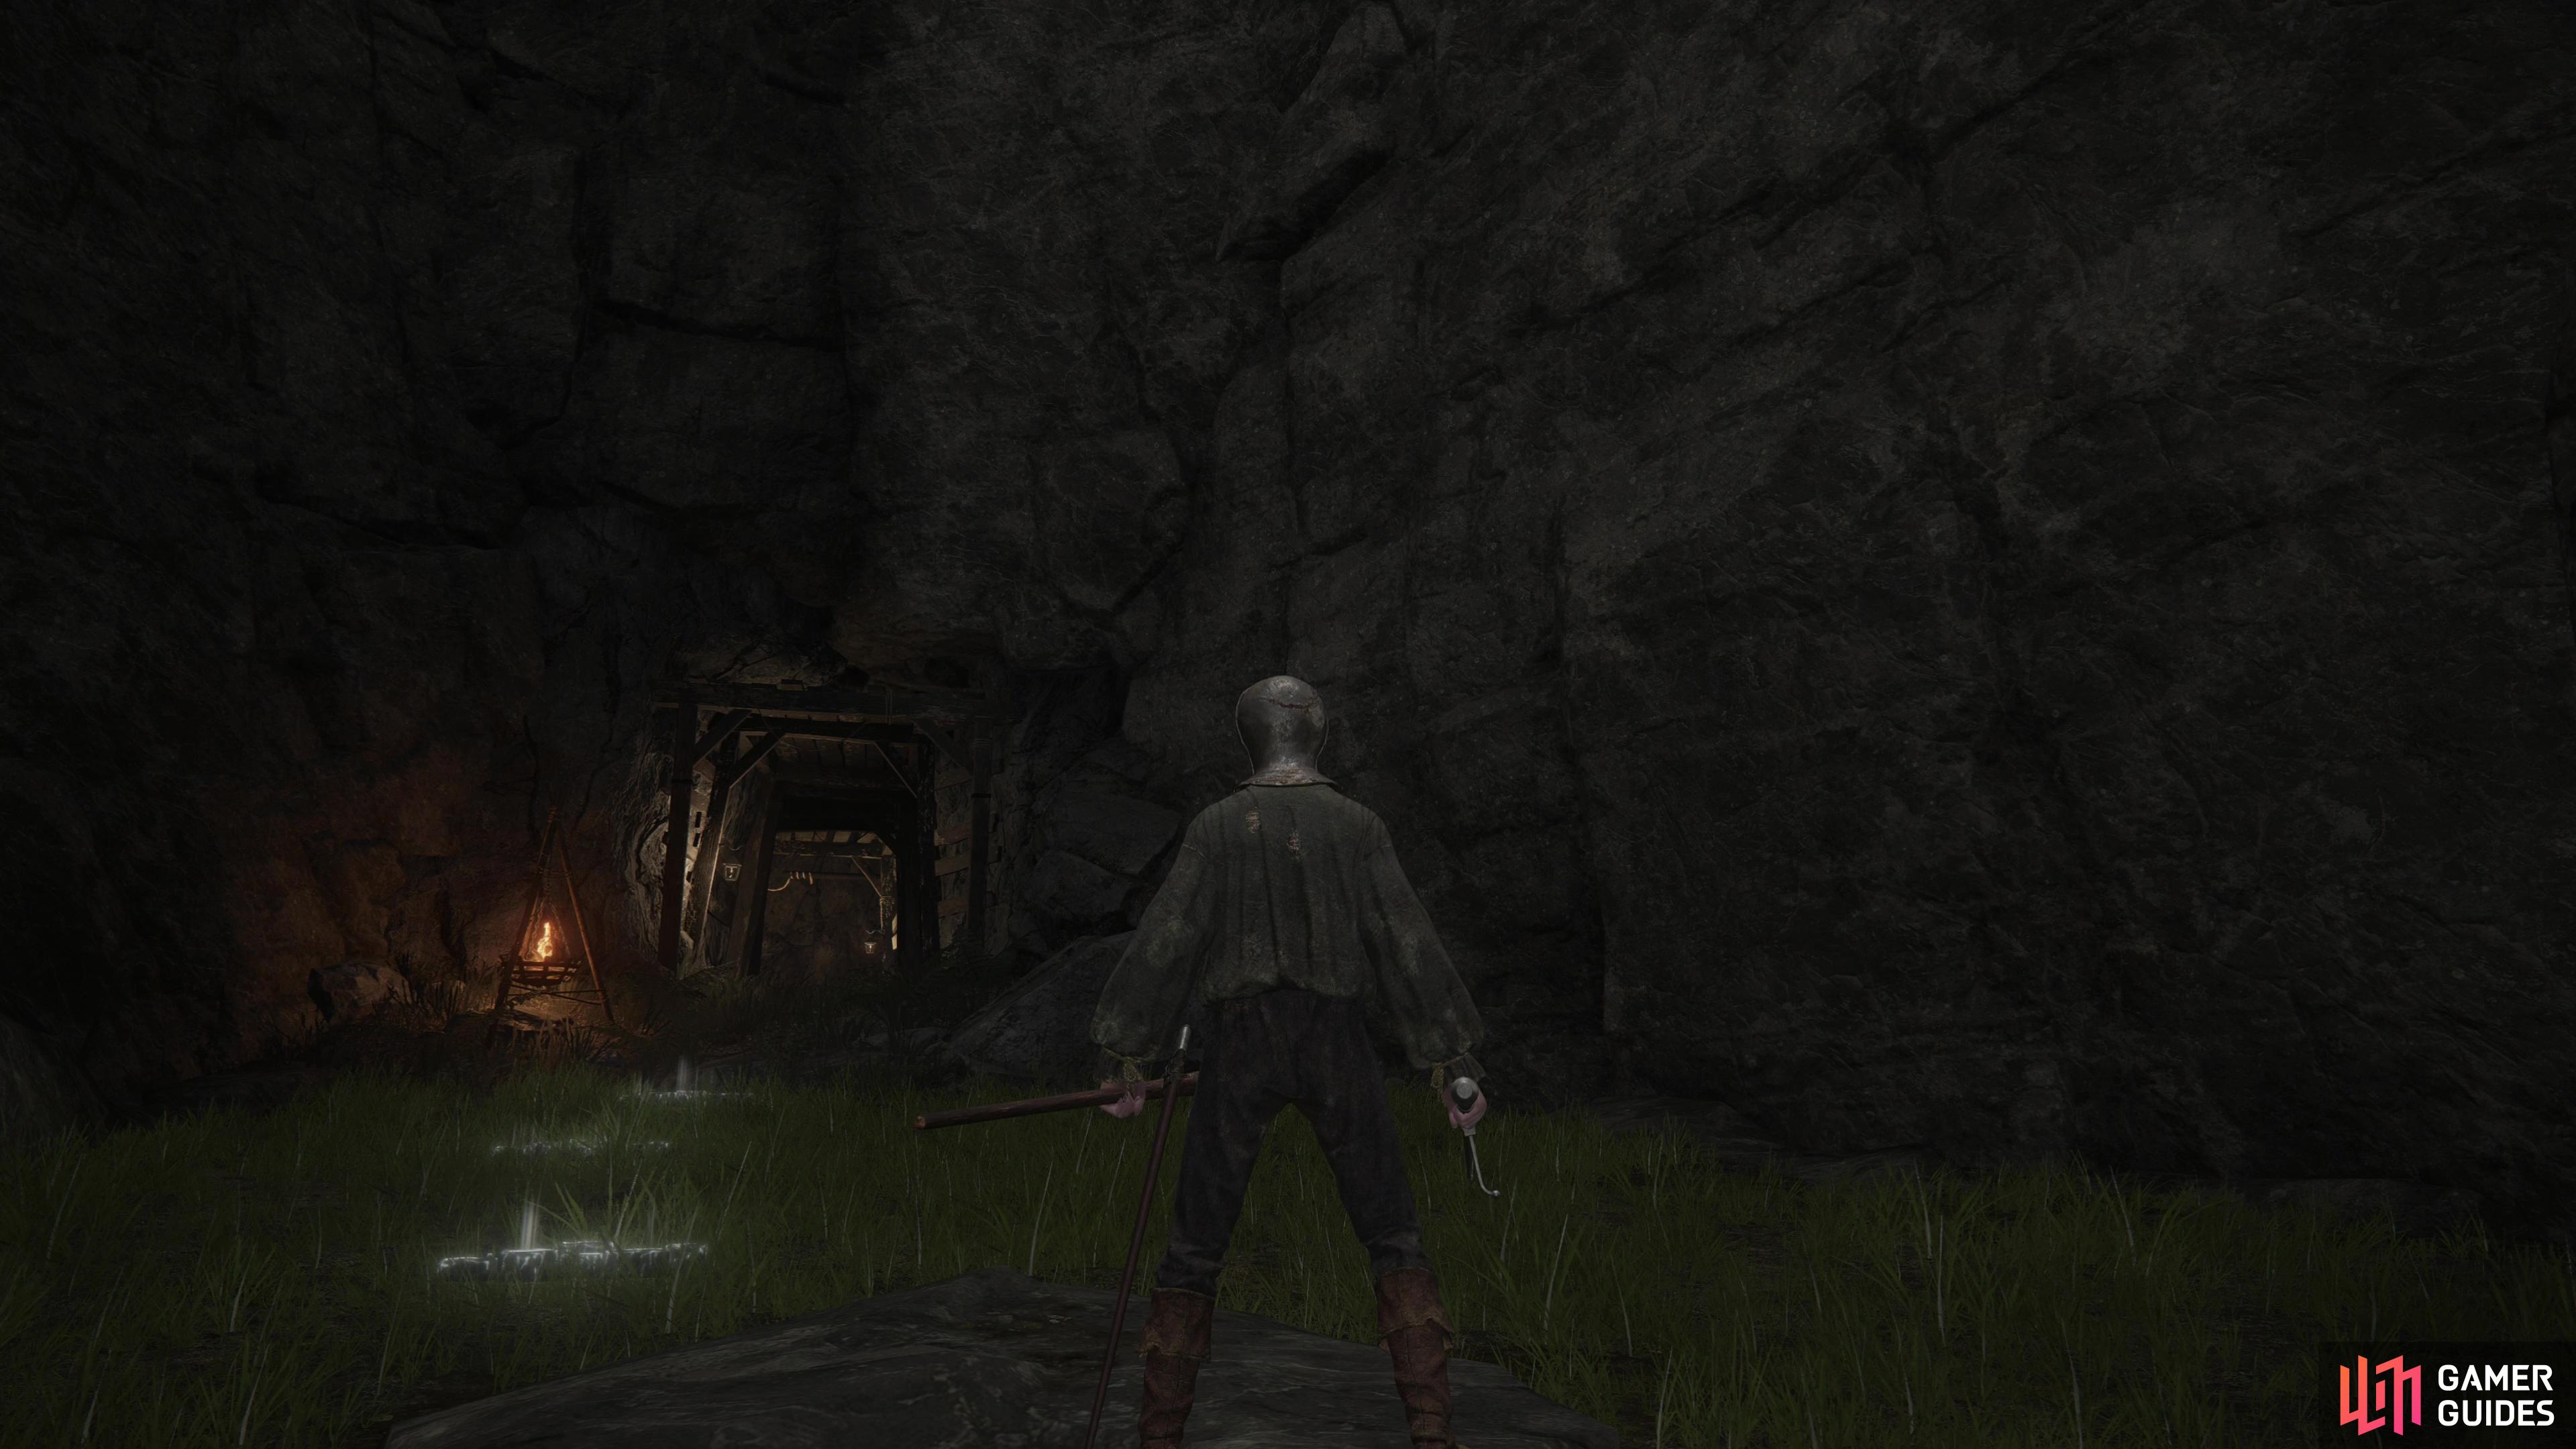
The entrance to the Limgrave Tunnels can be found along the northern end of Lake Agheel.
How to Find the Limgrave Tunnels
The Limgrave Tunnels can be found south of the Gatefront Ruins, along the northernmost reaches of Lake Agheel. Simple enough as the crow flies, but a cliff will impede your progress and force you to navigate around the eastern edge of these cliffs to descend into Lake Agheel (which for all intents and purposes is a swamp, being too shallow to impede you at any point), then work your way back north to find these tunnels. Failing that, you can just jump down while mounted on Torrent and double jump before you hit the ground to avoid/mitigate fall damage. Be wary of Poison Pods and Giant Crabs as you traverse the lake - if you’re incredibly unlucky you may also draw the attention of Flying Dragon Agheel, but you should be able to run past all these foes to reach the Limgrave Tunnels.
Best Loot in the Limgrave Tunnels
| Item | Location |
|---|---|
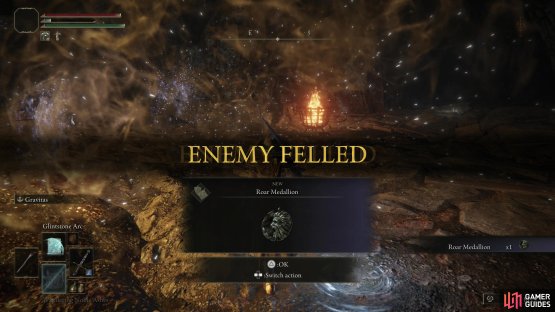
| Roar Medallion | Defeat the Stonedigger Troll. |
| Somber Smithing Stone | Reach the third elevator and as it descends (or ascends), jump onto a ledge to the north, upon which you’ll find this stone. |
Enemies in the Limgrave Tunnels
| Enemies | Runes | Drops | Notes |
|---|---|---|---|
| Miner |  92 92 |
Explosive Stone, Pickaxe, Smithing Stone (1) | - |
| Rat | 13 |
Golden Rune (1), Pauper’s Rune, Rune Arc | - |
| Stonedigger Troll BOSS | 1800 |
Roar Medallion | Optional boss. |
| Zombie Dog | 52 |
Thin Beast Bones | - |
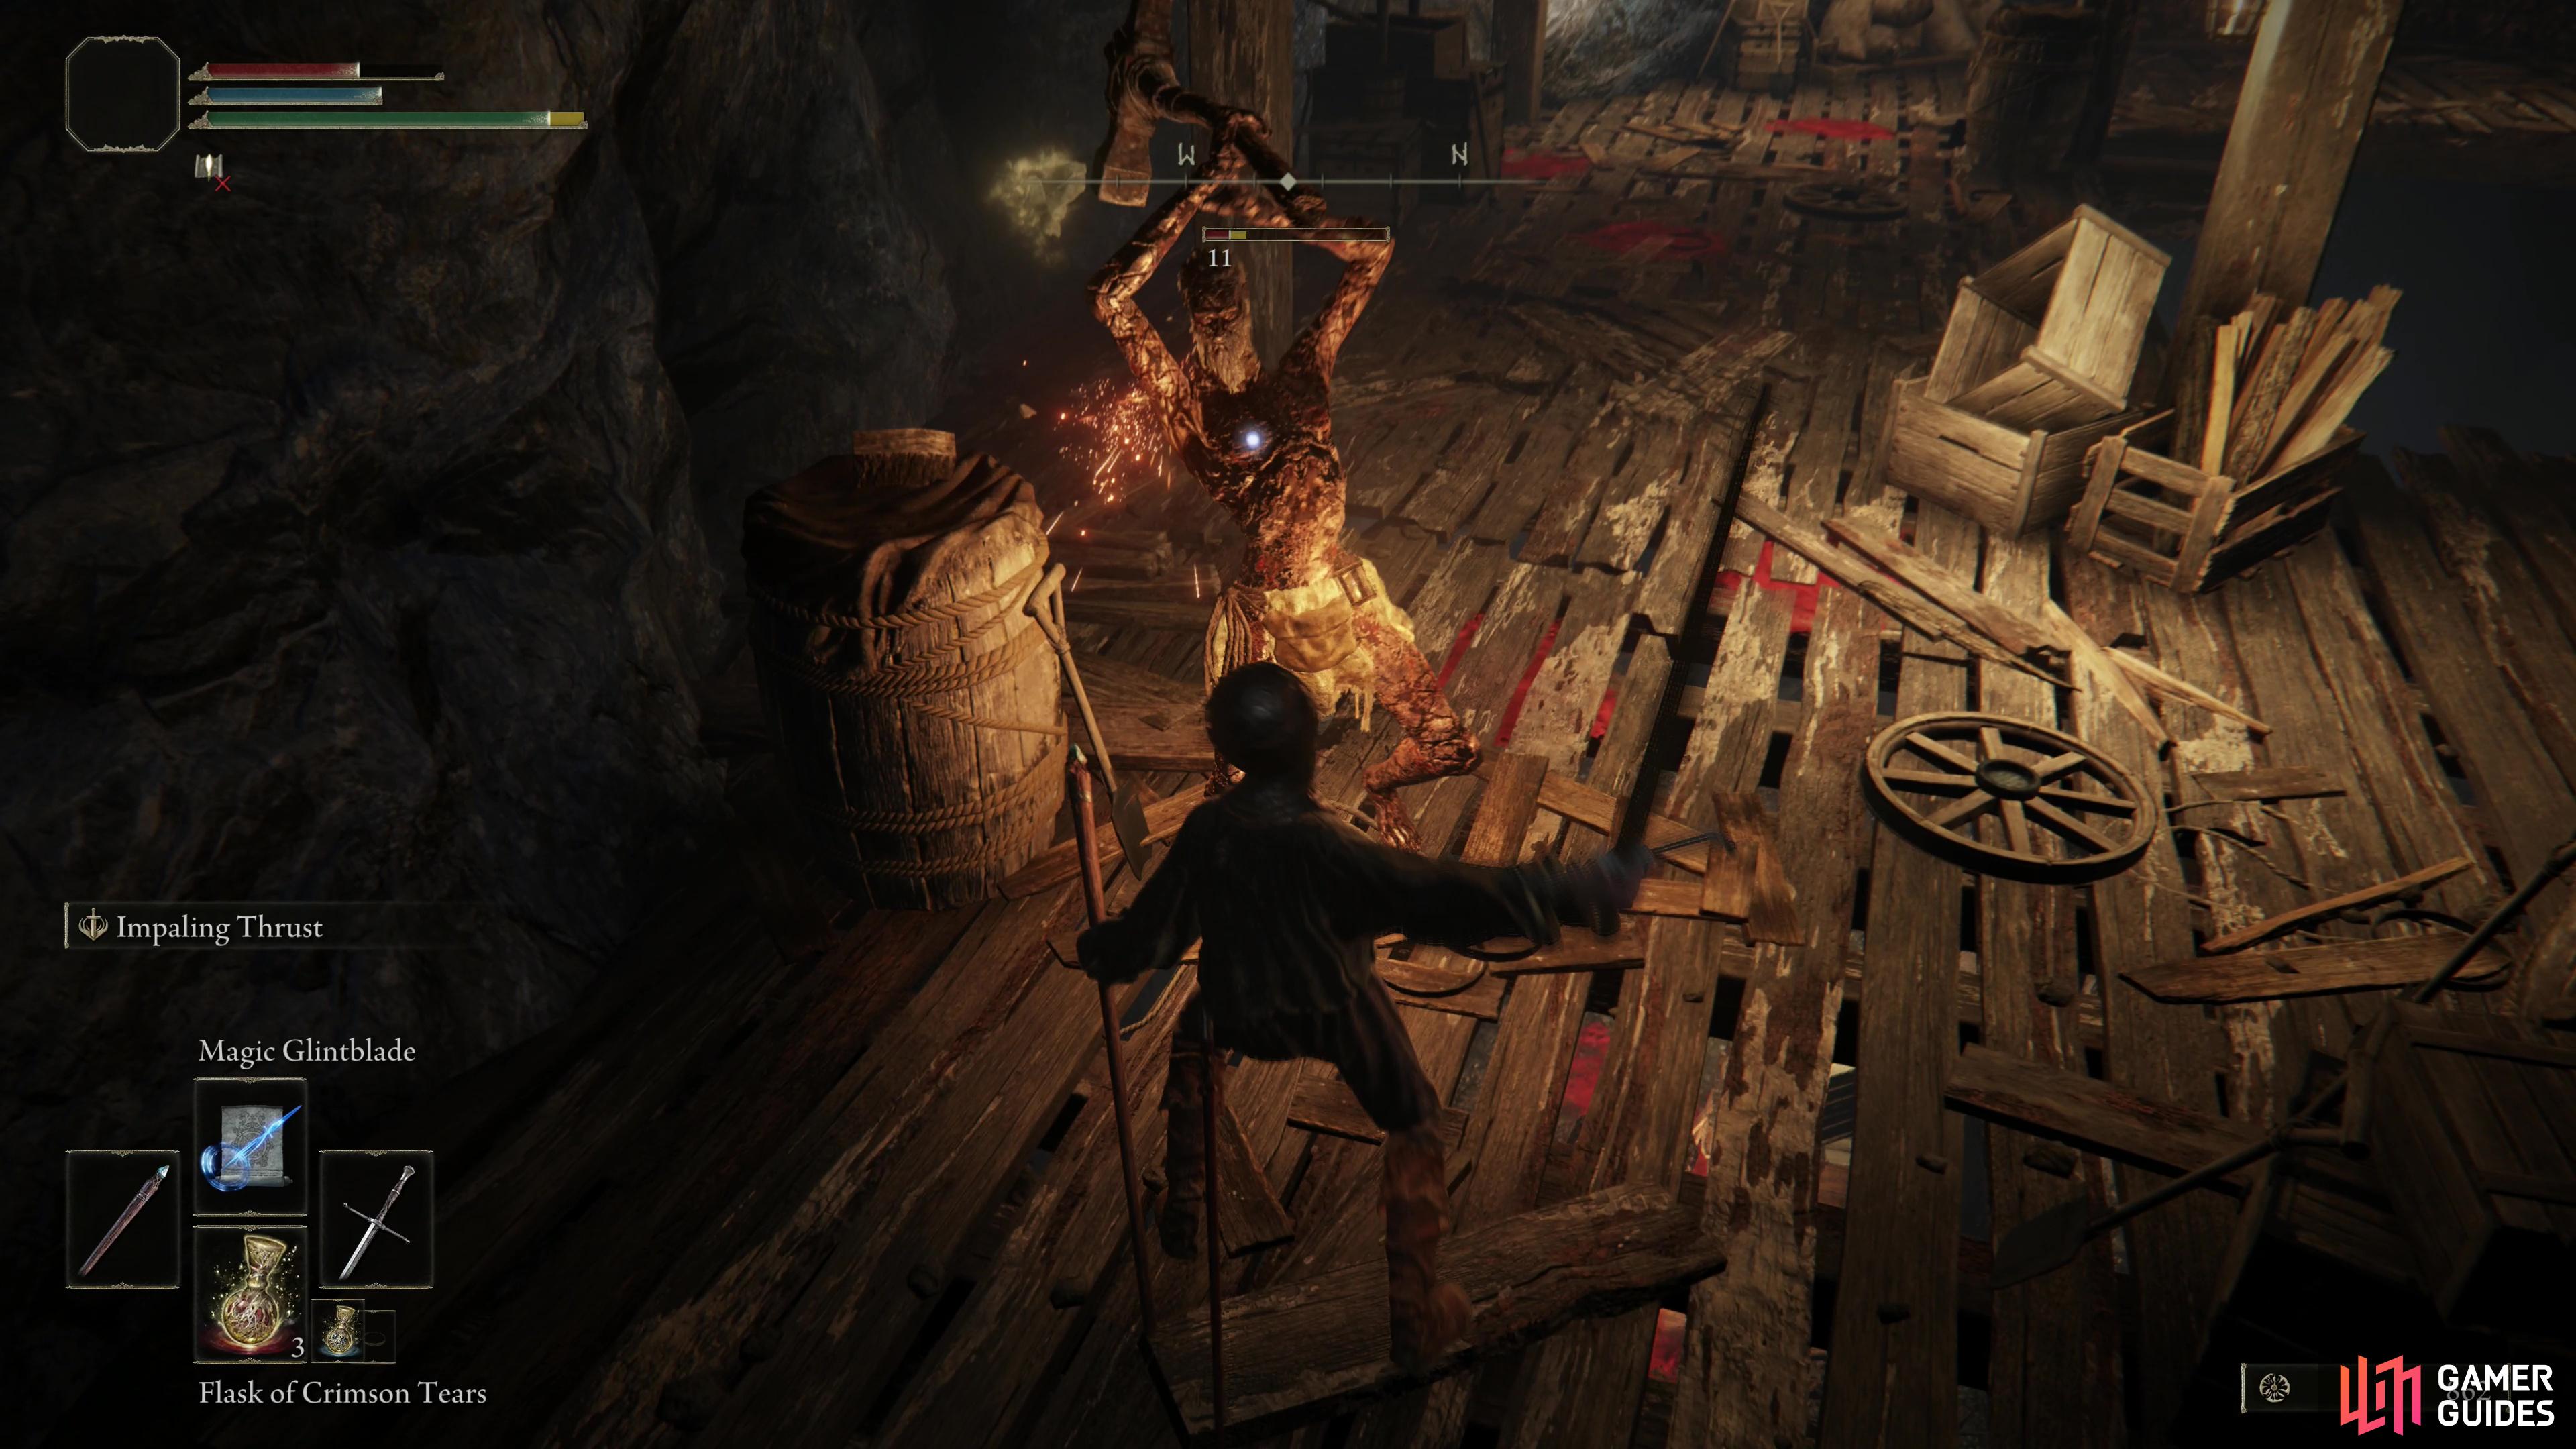

(1 of 2) The Miners in the Limgrave Tunnels are resistant to physical damage - lighter weapons will even bounce off!
The Miners in the Limgrave Tunnels are resistant to physical damage - lighter weapons will even bounce off! (left), They are, however, vulnerable to magical damage. (right)
How to Complete the Limgrave Tunnels
Find the opening to this mine along the northern end of Lake Agheel and continue until you reach an elevator. Stand on the panel in the middle to descend, and note that most elevators will also have a lever you can pull to summon them, if they’re not already present. Ride the elevator down, then activate the Limgrave Tunnels Site of Grace before continuing on into the next chamber.
These infernal mines are populated - fittingly enough - mostly by Miners. Some of these foes carry Pickaxes and will ignore you as they toil away, while others will respond violently if they spot you. All Miners will use their Pickaxes in melee combat, and some can toss explosives and shoot streams of fire at you, as well. Generally Miners aren’t too dangerous, but they are highly resistant to physical damage, and weaker weapons have the unfortunate tendency to bounce off them. Magic and heavy weapons will perform much, much better here, as will backstabs - most of the working Miners won’t react to you at all, so you don’t even need to sneak to land a devastating first strike.
Kill whatever Miners you wish and be sure to loot the glowing nodes on the walls they were mining to stock up one Smithing Stones (1), which you can use to upgrade many regular weapons.
Descend to the lower level and if you go west you’ll find a darkened room occupied by several Rats, which guard a corpse you can loot for a Smithing Stone (1). If you go east you’ll find another elevator, which will take you further down.
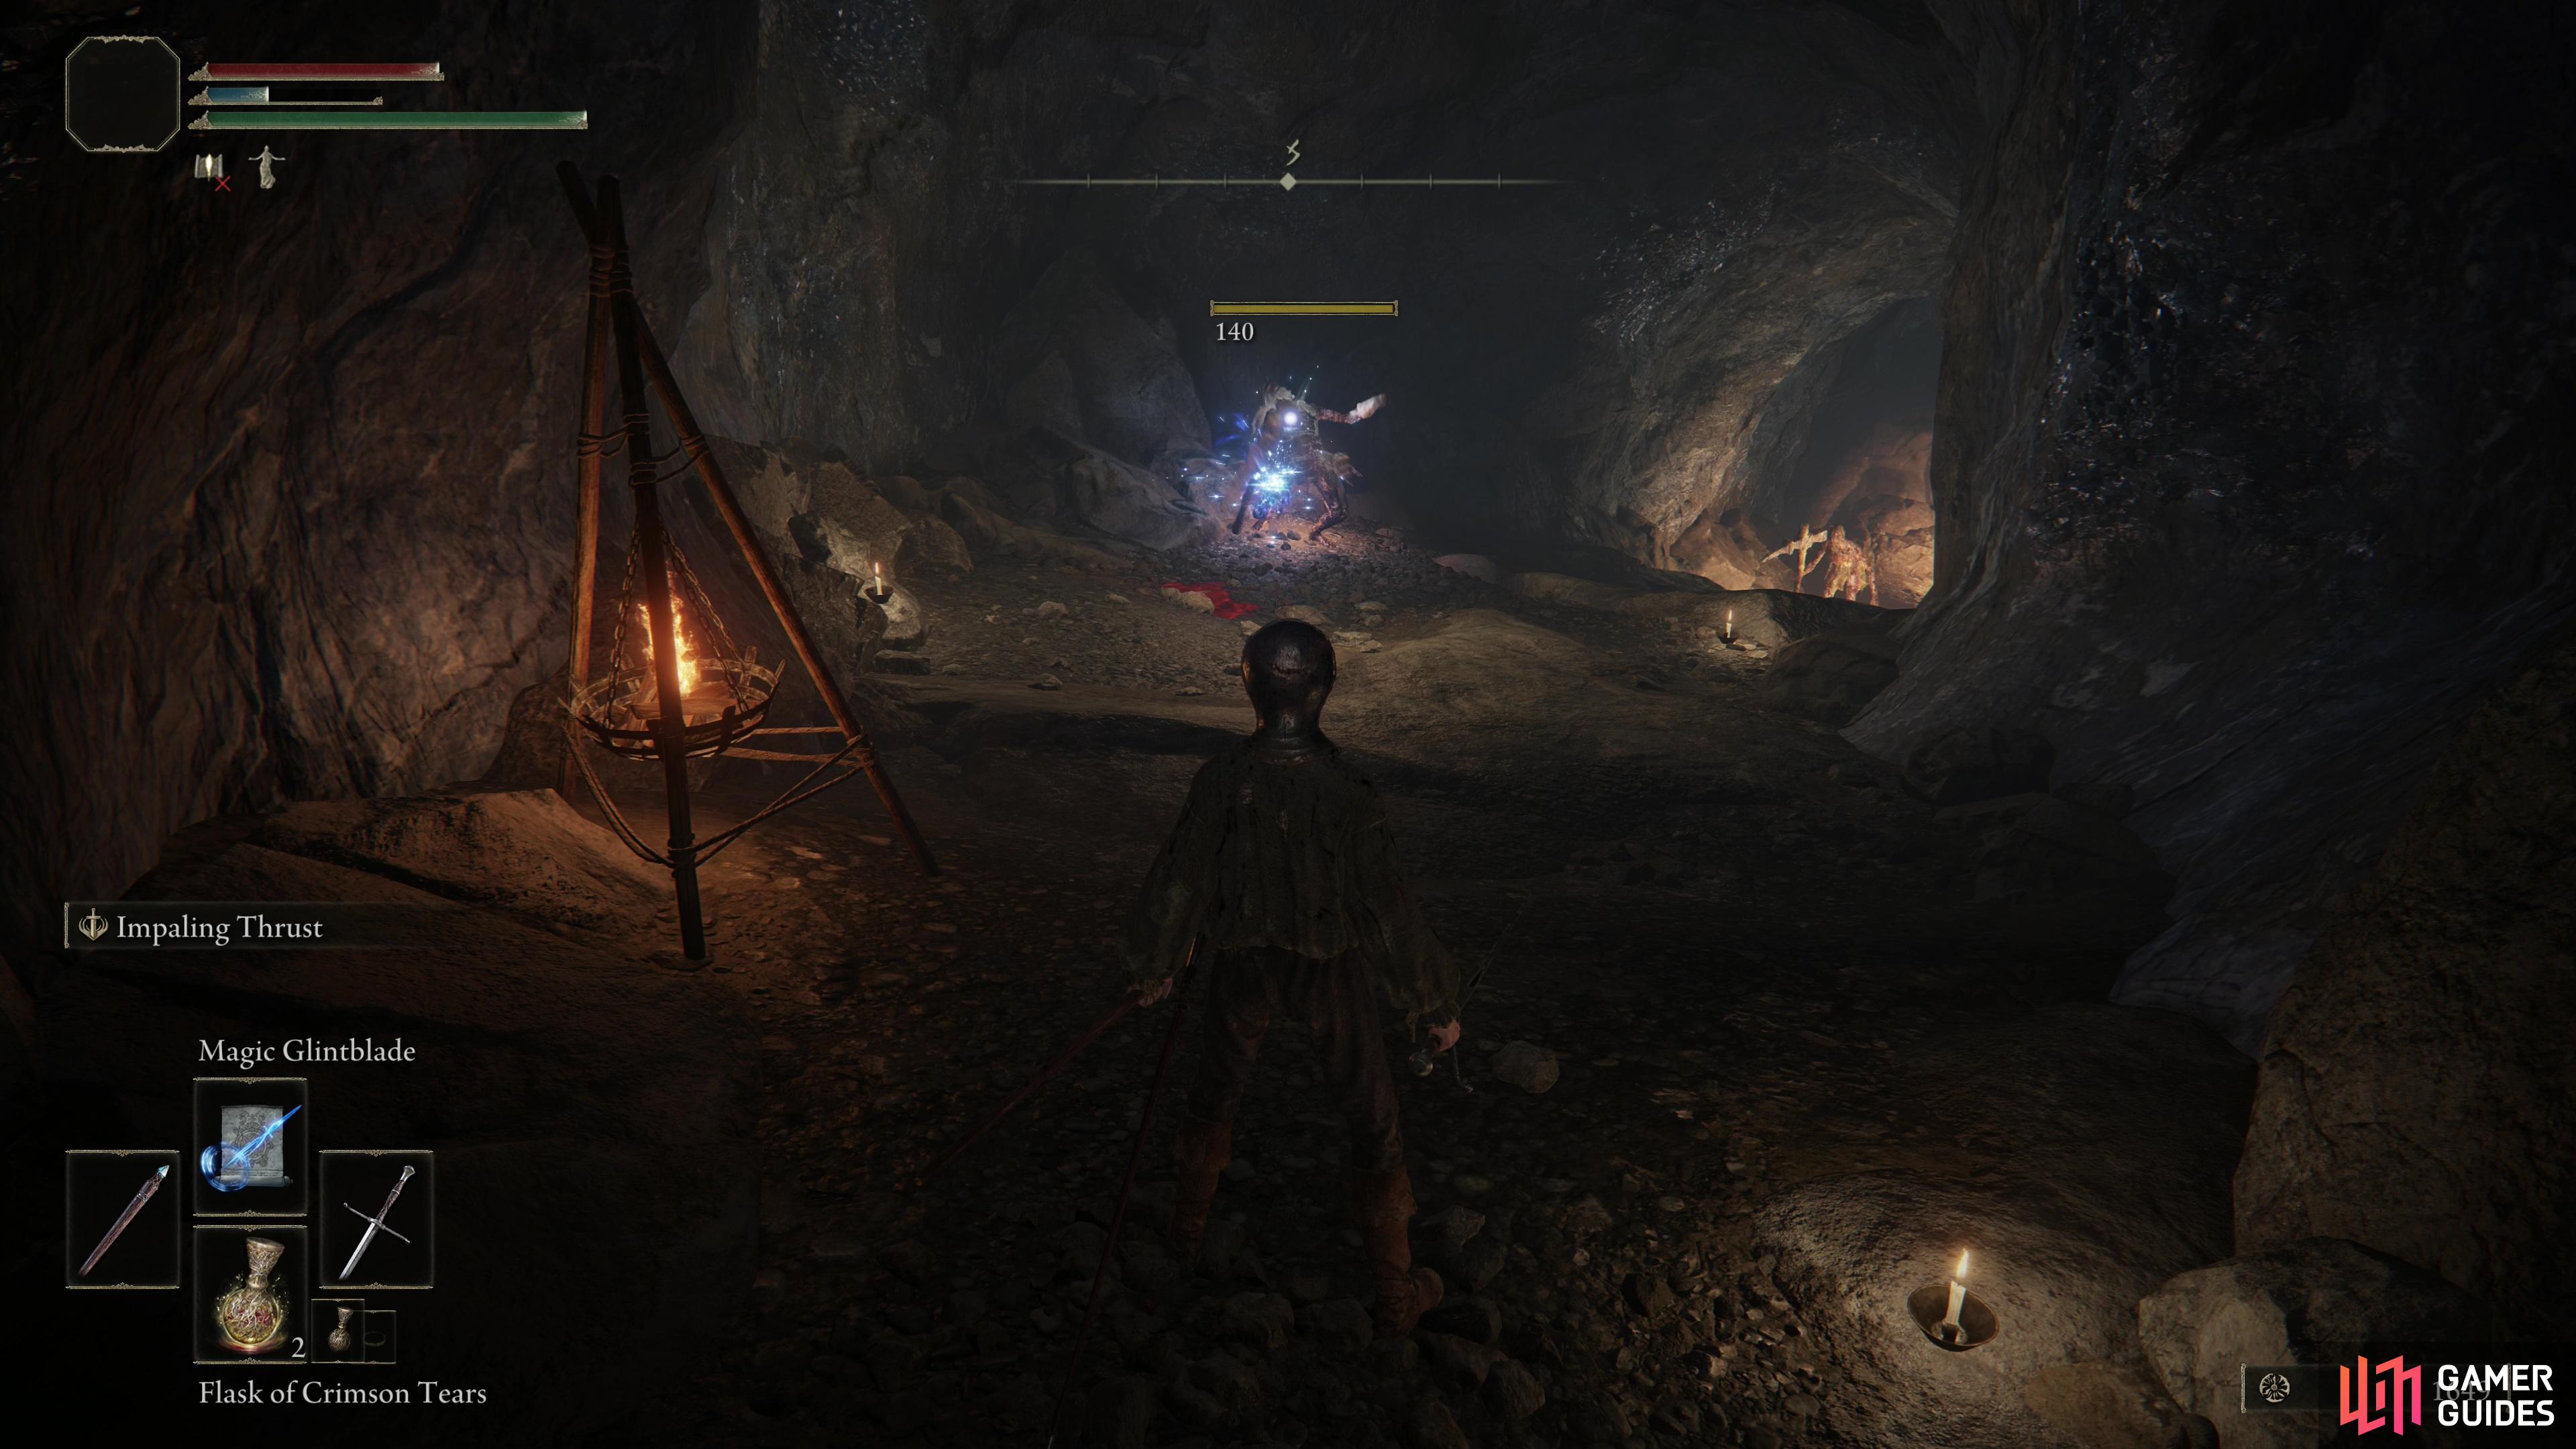
Ride the elevator down, but keep an eye to the southeast as you descend, as you’ll see a ledge you can roll/jump onto. It’s pretty well lit and should be hard to miss. Ignore it on your first trip down, but keep it in mind for the near future.


(1 of 2) To progress deeper into the mine, you’ll need to jump to a ledge as you ride an elevator.
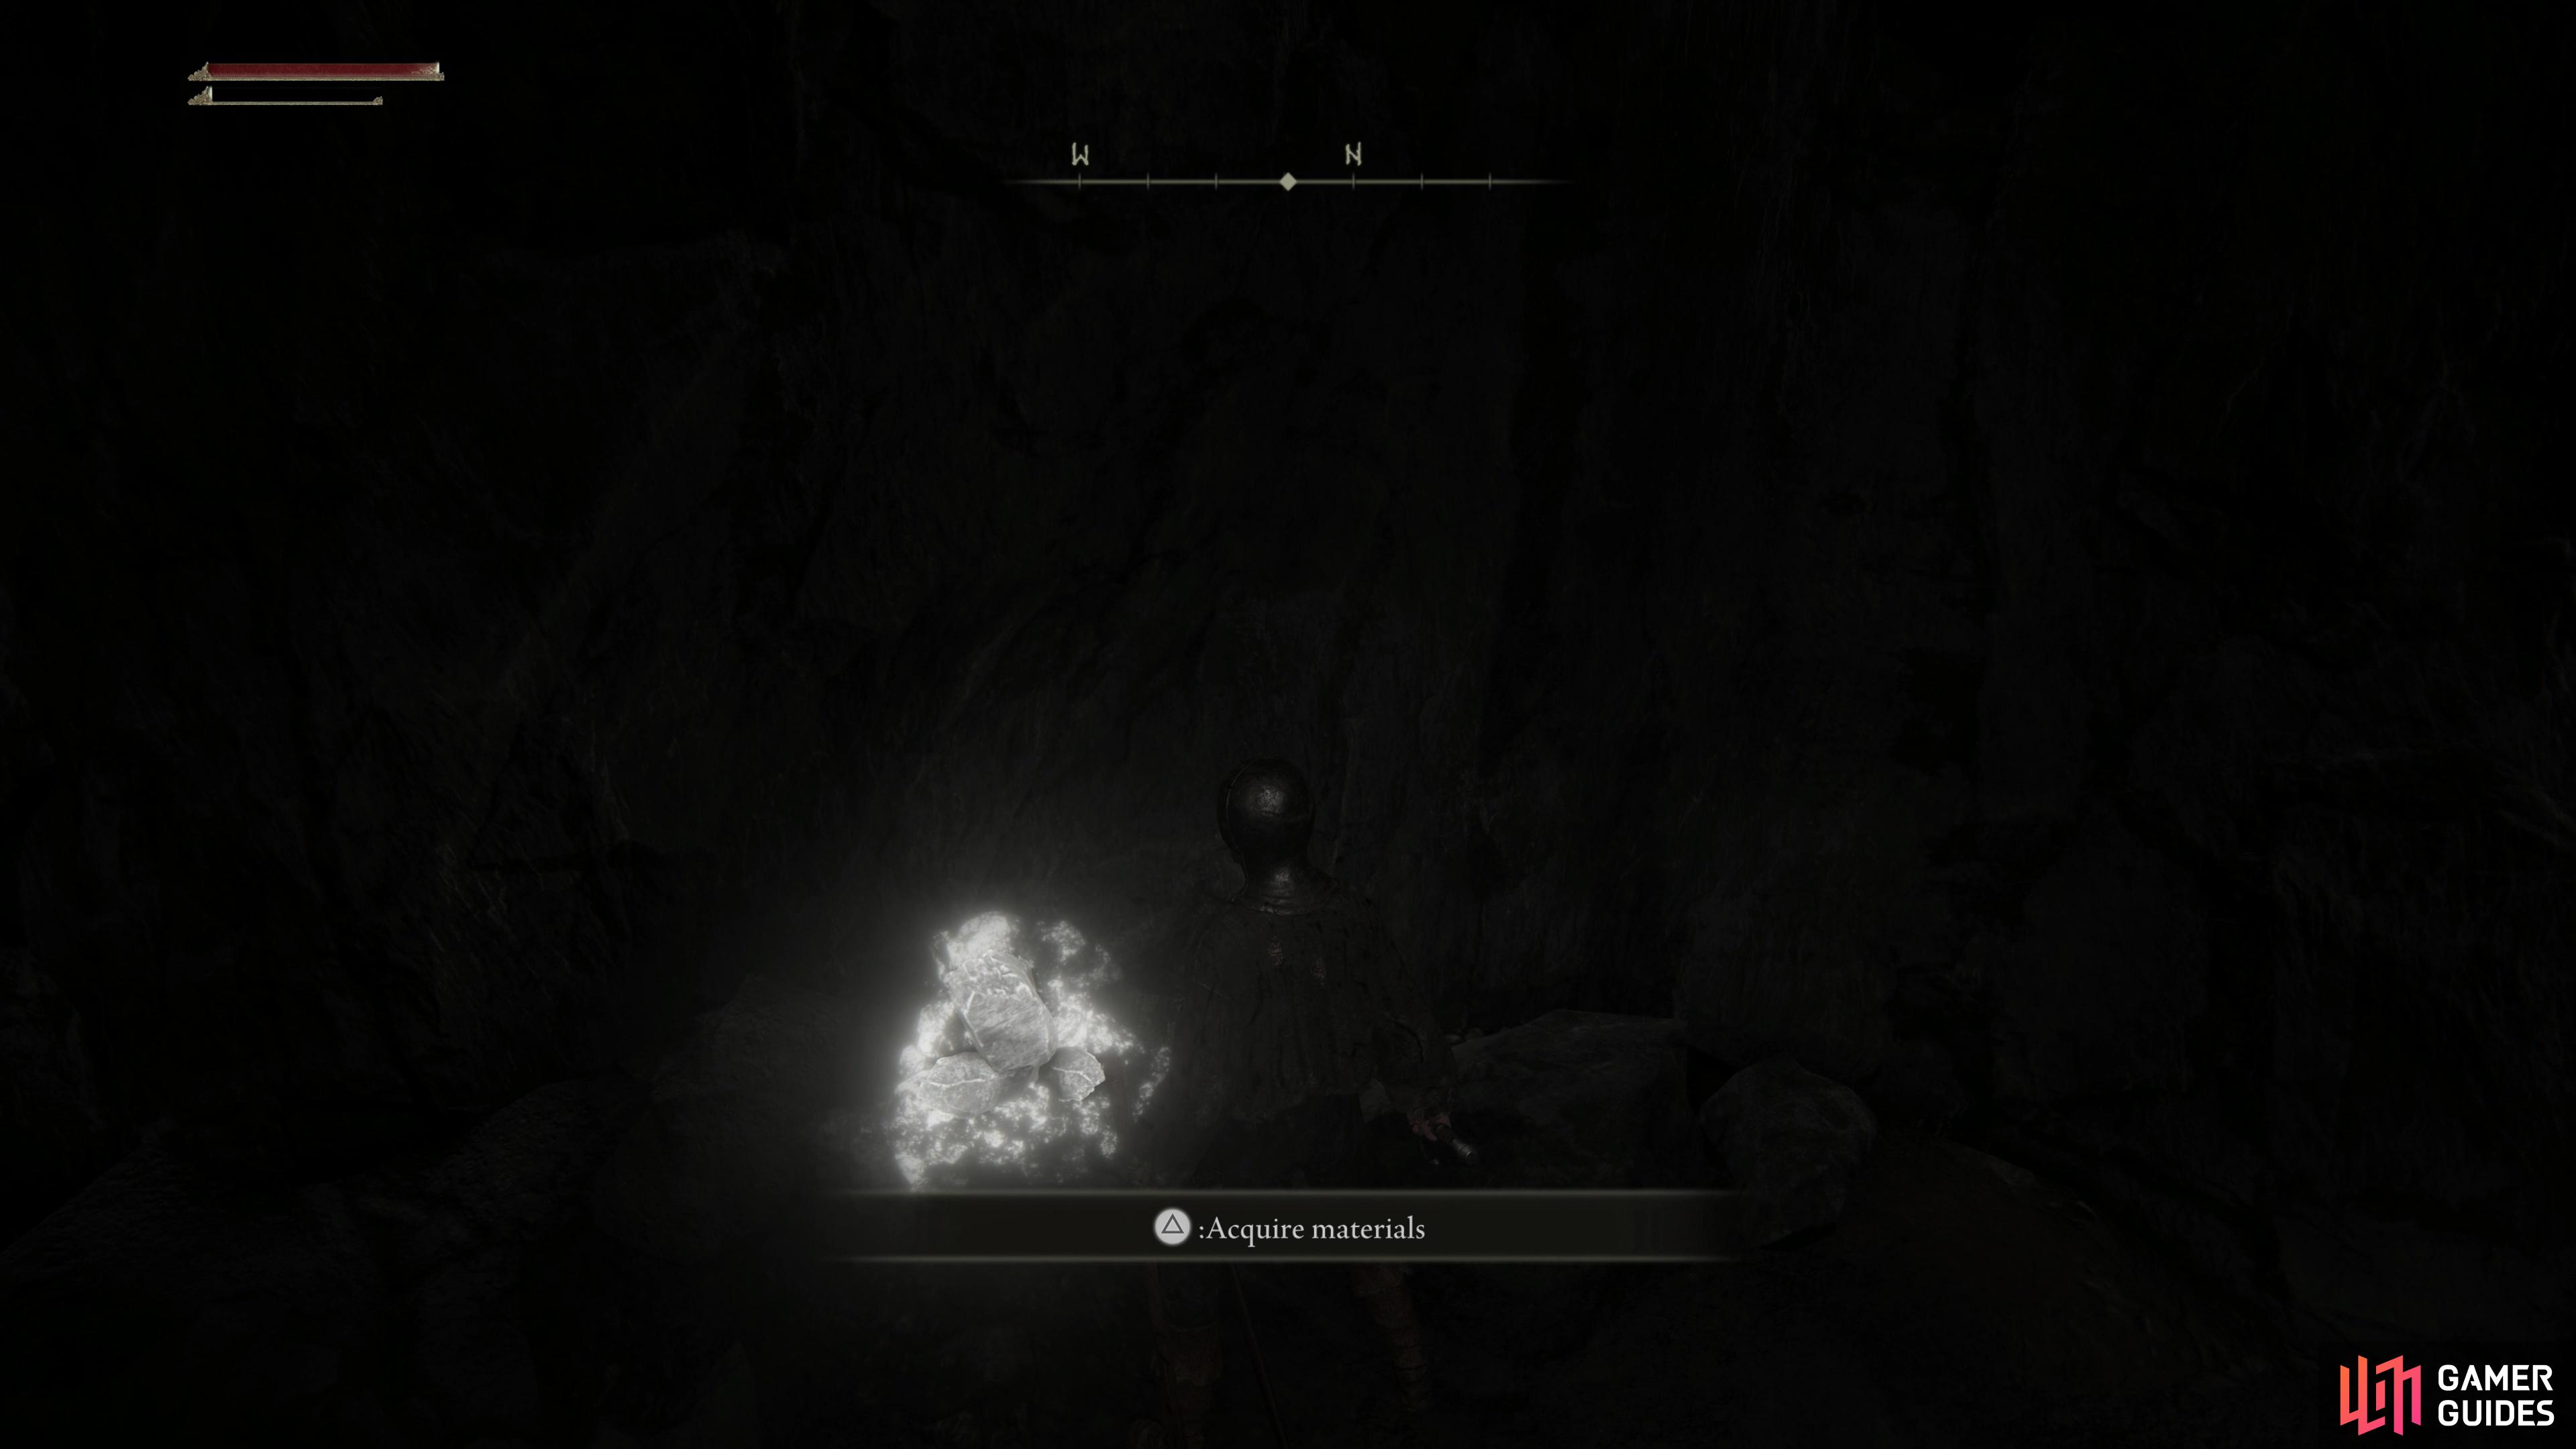
To progress deeper into the mine, you’ll need to jump to a ledge as you ride an elevator. (left), You can also find a Somber Smithing Stone by exploring elevator-adjacent ledges. (right)
At the bottom of the second elevator make your way forward (northwest) to find a chamber with a shack in it. Inside the Shack is a Zombie Dog and a corpse, the latter of which you can loot for 5x Large Glintstone Scrap. Be wary, however, as there’s another Zombie Dog and two Miners in the area, and you probably don’t want to get pinned inside the shack. Kill your foes, loot the chamber for Smithing Stones, then ride the elevator back up. During your ascent, try to get onto the ledge to the southeast to reach the next area.
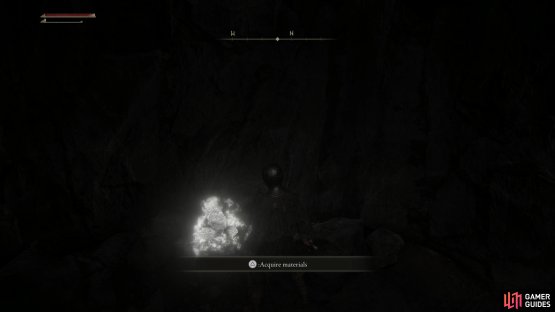
Once you make it onto the ledge, continue forward to find a chamber occupied by five Miners, although they’re spread out enough that you shouldn’t have to engage more than two at once. Pick them off, loot a corpse at the end of a tunnel to the northwest to obtain 3x Glintstone Scrap, then search the reach of the area for more Smithing Stones (1). You’ll find the third and final elevator to the southwest. Ride it down and look to the north as you descend - you should spot a white mineral deposit. If you can land on the ledge this rock is on you’ll score a Somber Smithing Stone (1) which can be used to upgrade higher-end weapons.
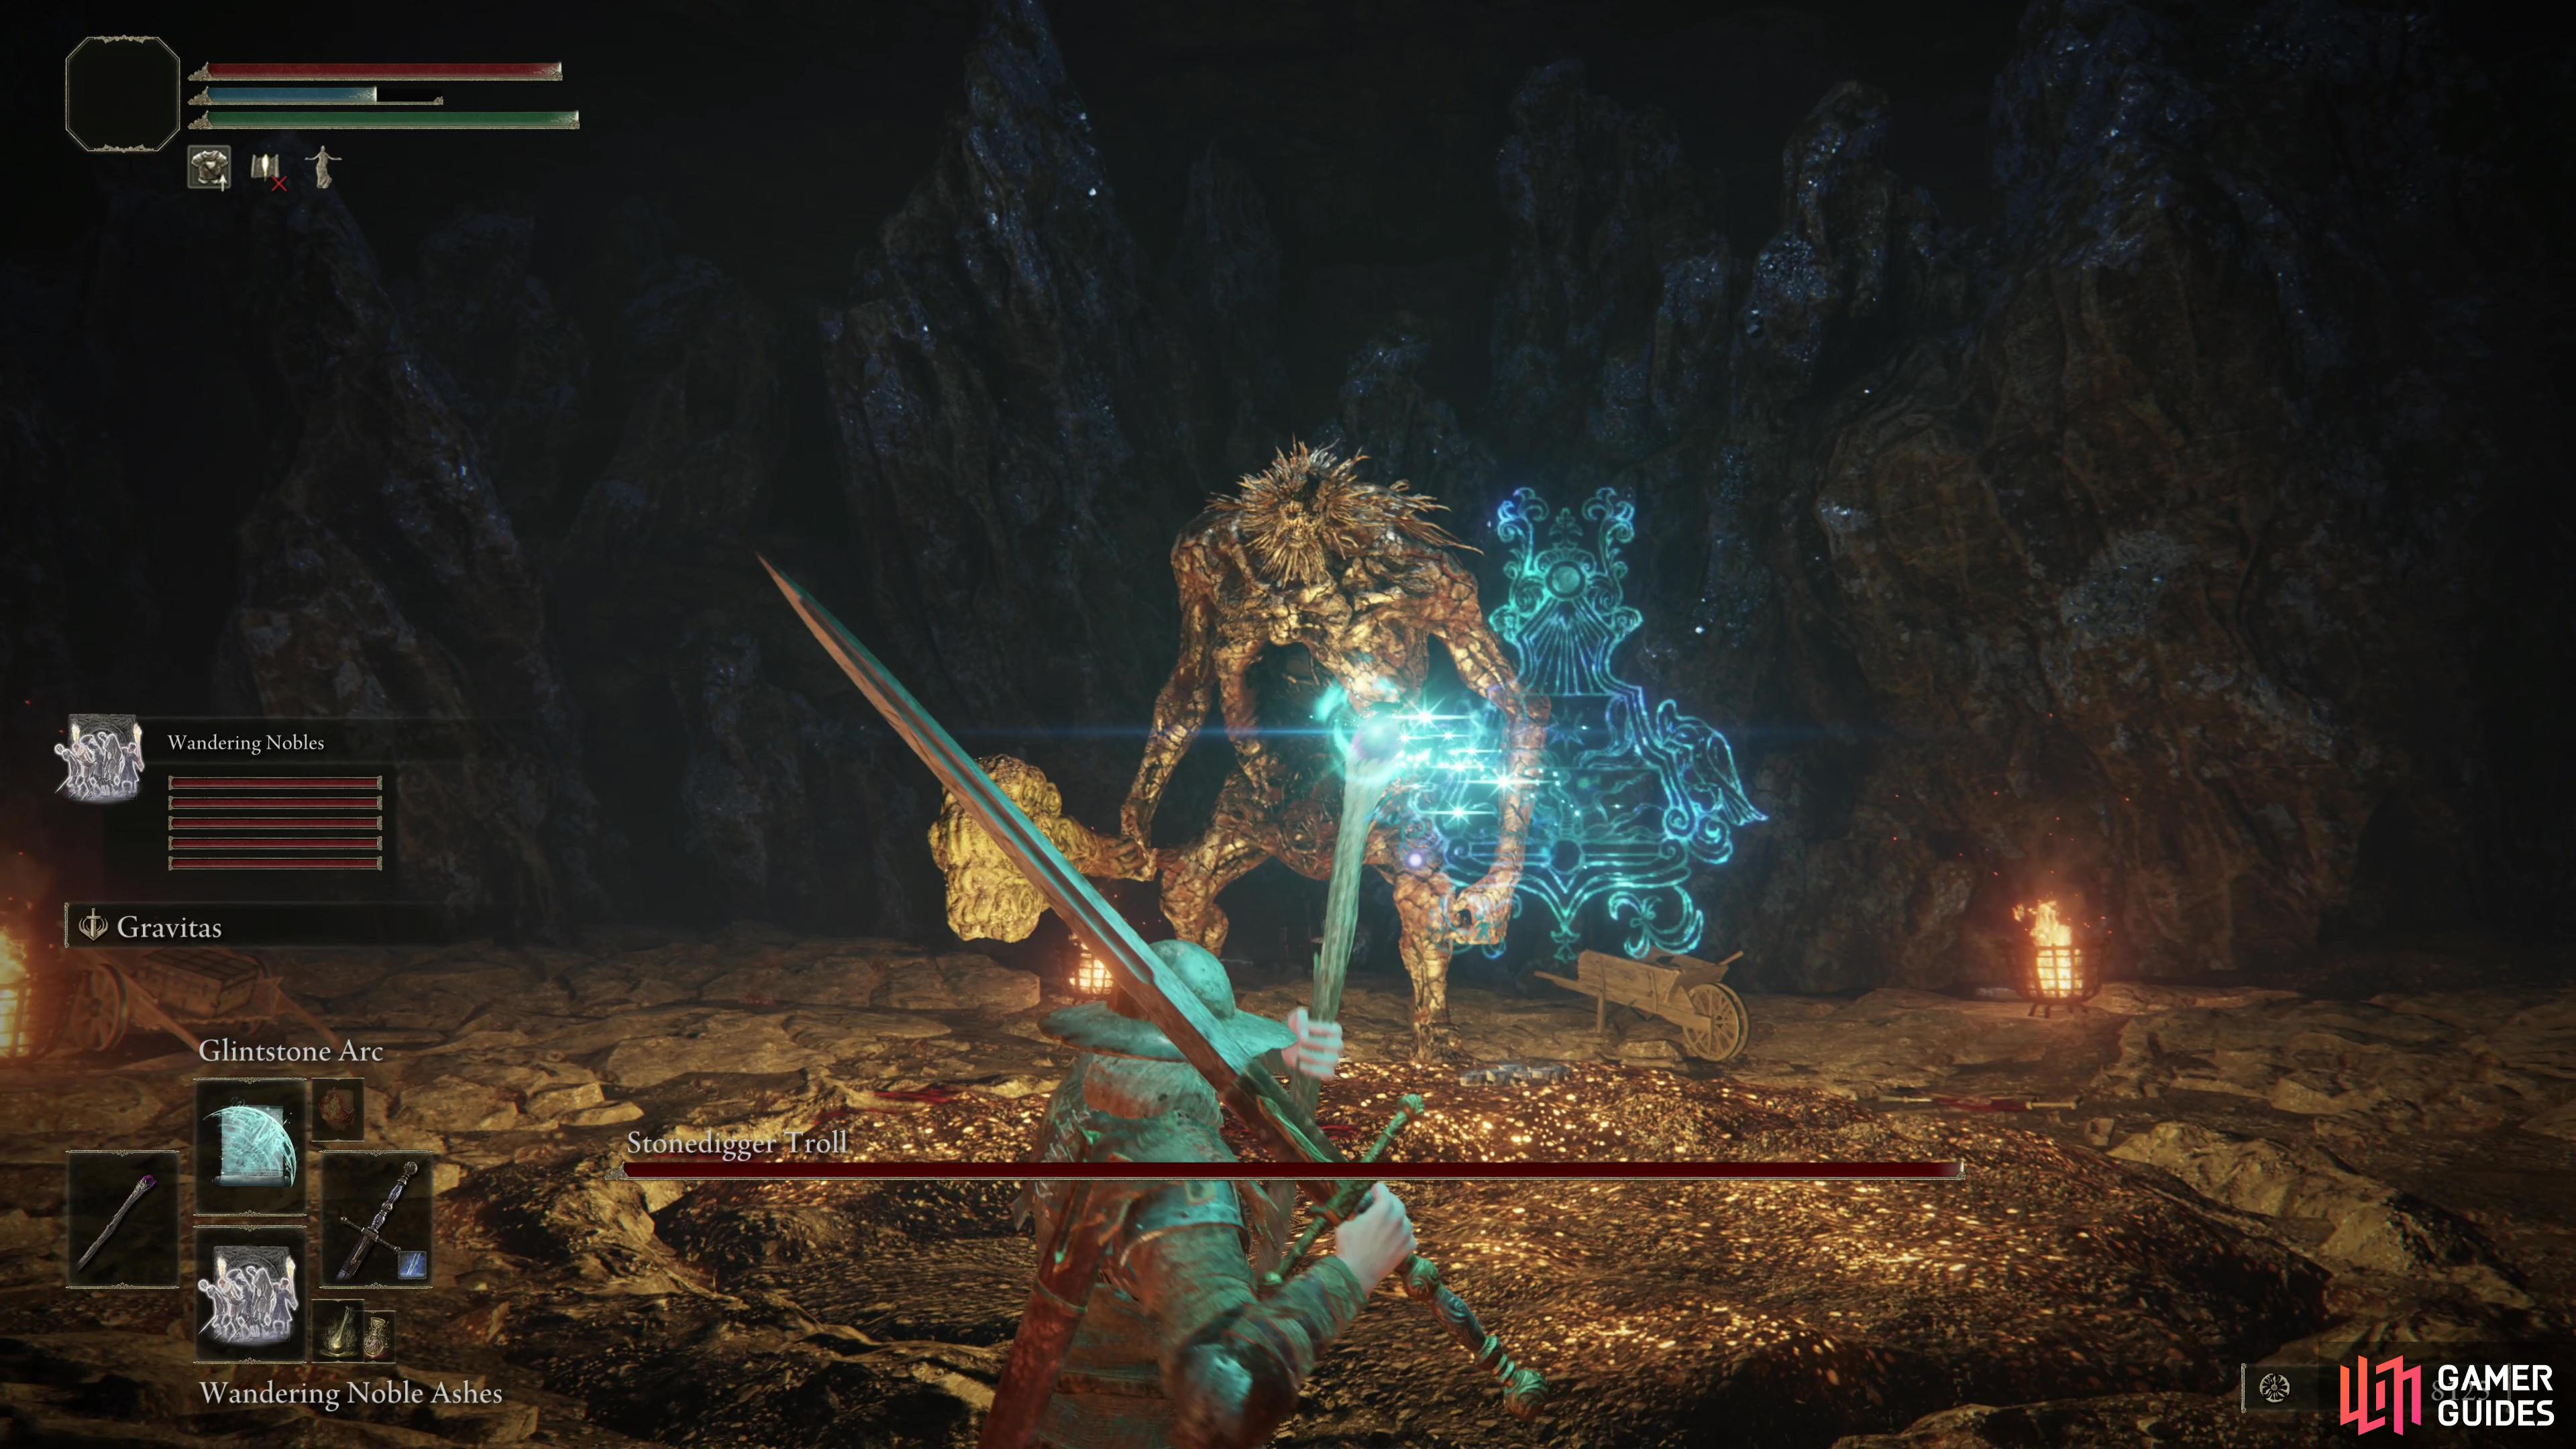

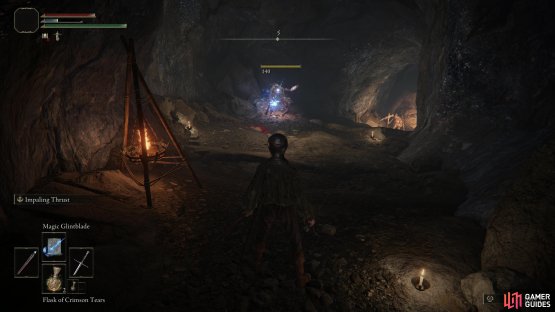
(1 of 2) In the depths of the Limgrave Tunnels you’ll find the Stonedigger Troll,
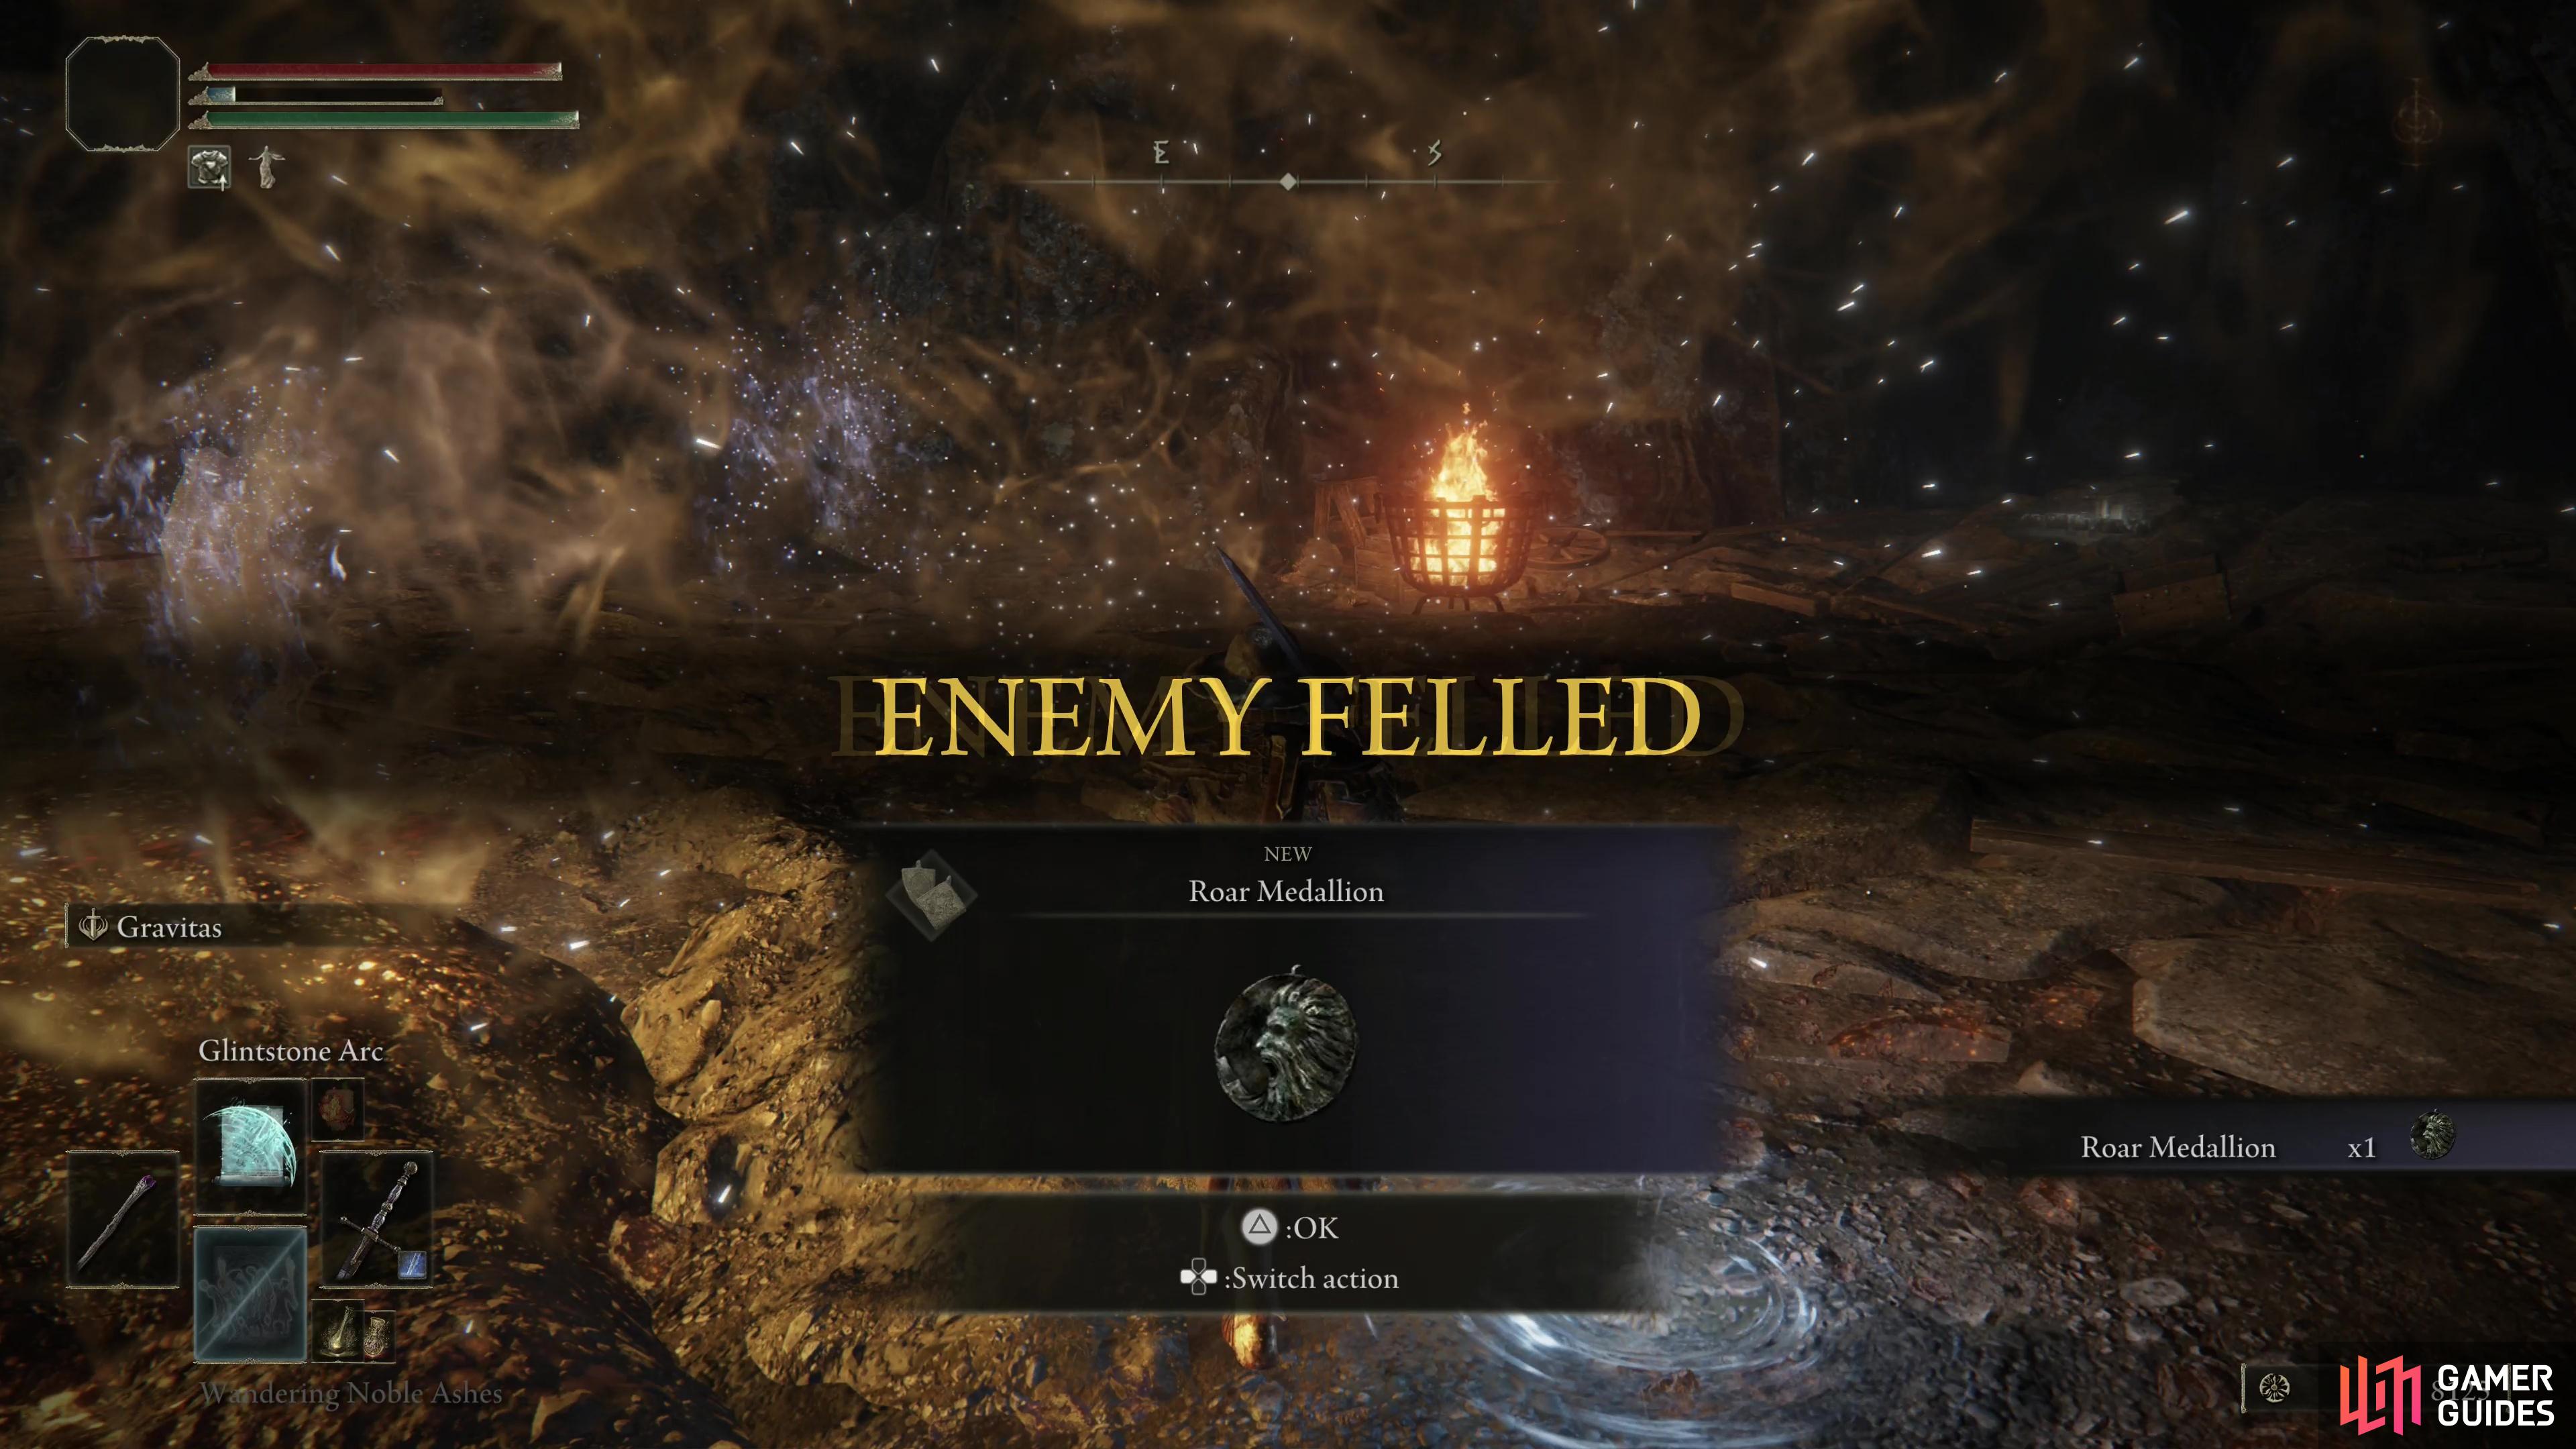
In the depths of the Limgrave Tunnels you’ll find the Stonedigger Troll, (left), which will drop the Roar Medallion when defeated. (right)
Ride the elevator to the bottom, then turn southwest to find some wooden doors, beyond which is this dungeon’s boss, the Stonedigger Troll. This boss’s attacks generally have a wide AoE and the arena you’re fighting in isn’t very large, which can make melee combat tricky, but the boss doesn’t have a whole lot of health and is fairly weak to magic. Stronger, singular summons are preferable over weaker mobs due to the boss’s AoE. Defeat the Stonedigger Troll and you’ll obtain the Roar Medallion.
No Comments