Information and walkthrough for the Warmaster’s Shack location in Elden Ring, including details about Knight Bernahl’s wares, how to find and defeat the Bell Bearing Hunter, and how to obtain the Bone Peddler’s Bell Bearing. Also includes information about nearby enemies and loot, including how to defeat the Deathbird and obtain the Blue-Feathered Branchsword, and how to obtain the Strength-knot Crystal Tear, Hammer Talisman, the Ash of War: Golden Vow, the Lance and the Beast Crest Heater Shield.
The Warmaster’s Shack.
How to Find the Warmaster’s Shack
The Warmaster’s Shack is just down the road to the northeast of Stormhill Shack. Assuming you can make it through the Stormgate to reach the Stormhill Shack, you should have little trouble going up the road a bit more to find this location. Aside from some Kaiden Sellswords and Wolves - both of which you can simply ride past - there will be little in the way of opposition.
Best Loot in the Warmaster’s Shack
| Item | Location |
|---|---|
| Ash of War: Golden Vow | Defeat the mounted Godrick Knight patrolling the cliffs above the Deathtouched Catacombs. |
| Beast Crest Heater Shield | Loot a chest in an undead camp. |
| Blue-Feathered Branchsword | Defeat the Deathbird. |
| Bone Peddler’s Bell Bearing | Defeat the Bell Bearing Hunter. |
| Hammer Talisman | Defeat Recusant Henricus. |
| Lance | Plunder a corpse atop a ruin near an undead camp. |
| Strength-knot Crystal Tear | Find in an offering bowl northeast of the Warsmaster’s Shack. |
Enemies in the Warmaster’s Shack
| Enemies | Runes | Drops | Notes |
|---|---|---|---|
| Bell Bearing Hunter BOSS |  2700 2700 |
Bone Peddler’s Bell Bearing | Optional Boss. |
| Deathbird |  2800 2800 |
Blue-Feathered Branchsword | Optional Boss. |
| Godrick Knight |  260 260 |
Gilded Greatshield, Godrick Knight Armor, Godrick Knight Gauntlets, Godrick Knight Greaves, Godrick Knight Helm, Partisan | Drops Vary by Enemy Armament |
| Kaiden Sellsword |  282 282 |
Dismounter, Frozen Raisin, Kaiden Armor, Kaiden Gauntlets, Kaiden Helm, Kaiden Trousers | - |
| Troll |  1000 1000 |
Smithing Stone Shard (1) | - |
| Undead Soldiers |  33-64 33-64 |
Bolt x5, Chain-Draped Tabard, Dagger, Food Soldier Cap, Foot Soldier Gauntlets, Foot Soldier Greaves, Mushroom, Smoldering Butterfly | Drops Vary by Enemy Armament |
| Wolf |  55 55 |
Lump of Flesh, Thin Animal Bones | Wolves hunt in packs! |
| Zombie Dog |  52 52 |
Thin Beast Bones | - |
Knight Bernahl will sell you a variety of Ashes of War.
What Items You Can Buy From Knight Bernahl
On its own, the Warmaster’s Shack area isn’t all that involved. There’s no enemies around, no significant loot to find, and little of interest outside the shack save for the Warmaster’s Shack Site of Grace. Inside the dubious structure you’ll find Knight Bernahl, who, after some chatter, will sell you various Ashes of War, as follows:
| Item | Cost (Runes) | Notes |
|---|---|---|
| Ash of War: Stamp (Upward Cut) | 1500 | - |
| Ash of War: Kick | 800 | - |
| Ash of War: Endure | 600 | - |
| Ash of War: War Cry | 800 | - |
| Ash of War: Spinning Slash | 1200 | - |
| Ash of War: Impaling Thrust | 1000 | - |
| Ash of War: Quickstep | 800 | - |
| Ash of War: Storm Blade | 1800 | - |
| Ash of War: Parry | 600 | - |
| Ash of War: No Skill | 600 | - |
Be sure to buy at least one Ash of War from Knight Bernahl, whether you actually need it or not - this will allow you to encounter the field boss, the Bell Bearing Hunter.
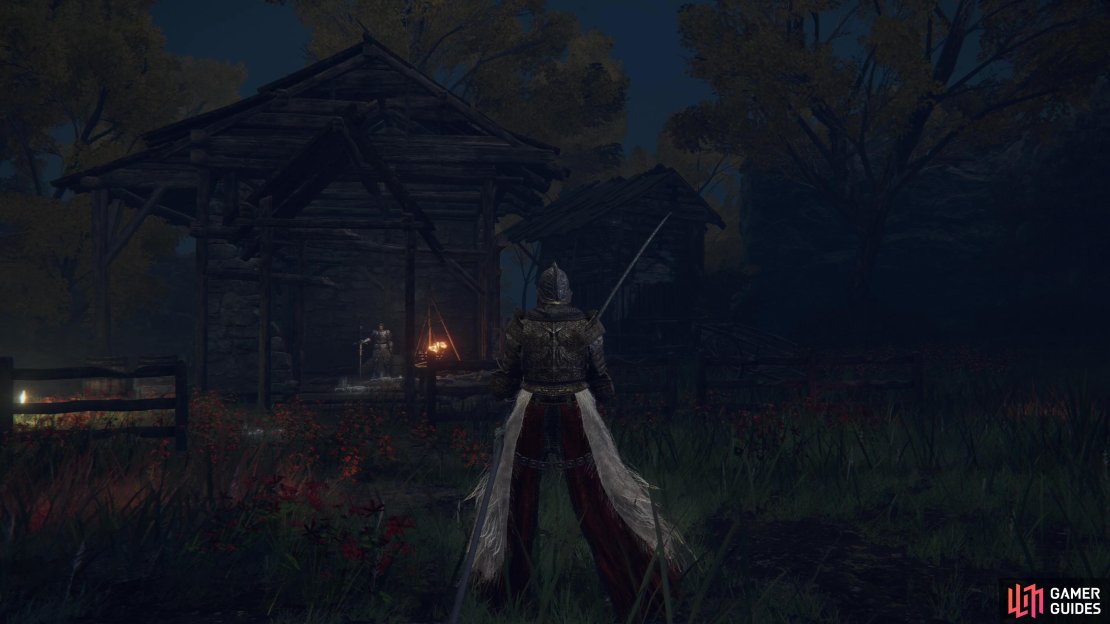
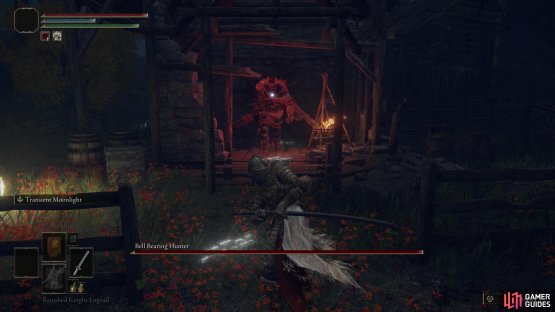
(1 of 2) Buy an Ash of War from Knight Bernahl, then wait until night to encounter the Bell Bearing Hunter.
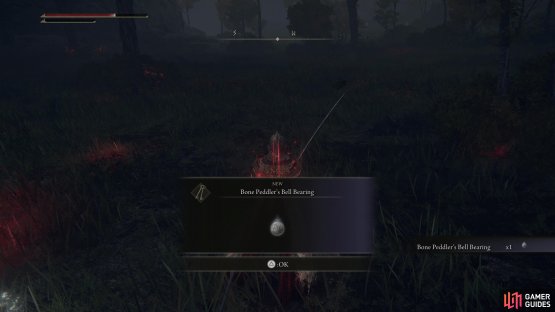
Buy an Ash of War from Knight Bernahl, then wait until night to encounter the Bell Bearing Hunter. (left), Defeat the the Bell Bearing Hunter to obtain the Bone Peddler’s Bell Bearing. (right)
How to Find and Defeat the Bell Bearing Hunter
Assuming you’ve purchased at least one Ash of War from Knight Bernahl and are keen on encountering this boss, rest at the nearby Site of Grace until nightfall, then check inside the shack to make sure Knight Bernahl isn’t there. If he is, interact with the Site of Grace again - don’t rest another time - then look for Knight Bernahl again. Once he’s gone, enter the shack and the Bell Bearing Hunter will appear.
Typically slow-moving and methodical, the Bell Bearing Hunter is capable of the odd dash attack, and when he conjures his sword to animate and attack it can cover quite a distance. You cannot use Spirit Ashes to summon allies to help with this fight, which can potentially make him somewhat difficult, compared to other Limgrave bosses. He is, however, receptive to both lightning and piercing damage, and if you move in after his ranged three-attack sword combo, you should be able to counter with your own ranged attack.
Defeat the Bell Bearing Hunter and he’ll drop the Bone Peddler’s Bell Bearing, which will allow you to purchase Thin Animal Bones and Hefty Beast Bones from the Twin Maiden Husks, after you’ve offered it up.
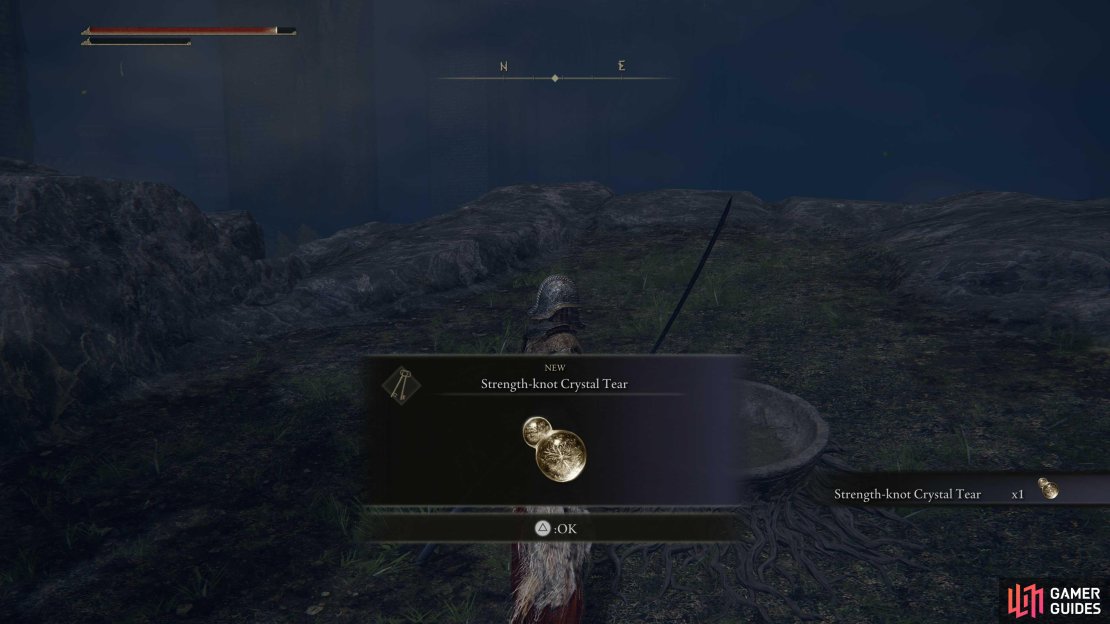
Defeat a Troll and loot an offering bowl to obtain the Strength-knot Crystal Tear.
How to Find the Strength-knot Crystal Tear
While the Warmaster’s Shack is of relatively limited importance, there are numerous points of interest worth covering in the vicinity. If you head up a hill to the northwest you’ll find a Troll armed with a sword stalking around. Kill it, then loot an offering bowl behind it to obtain the Strength-knot Crystal Tear.
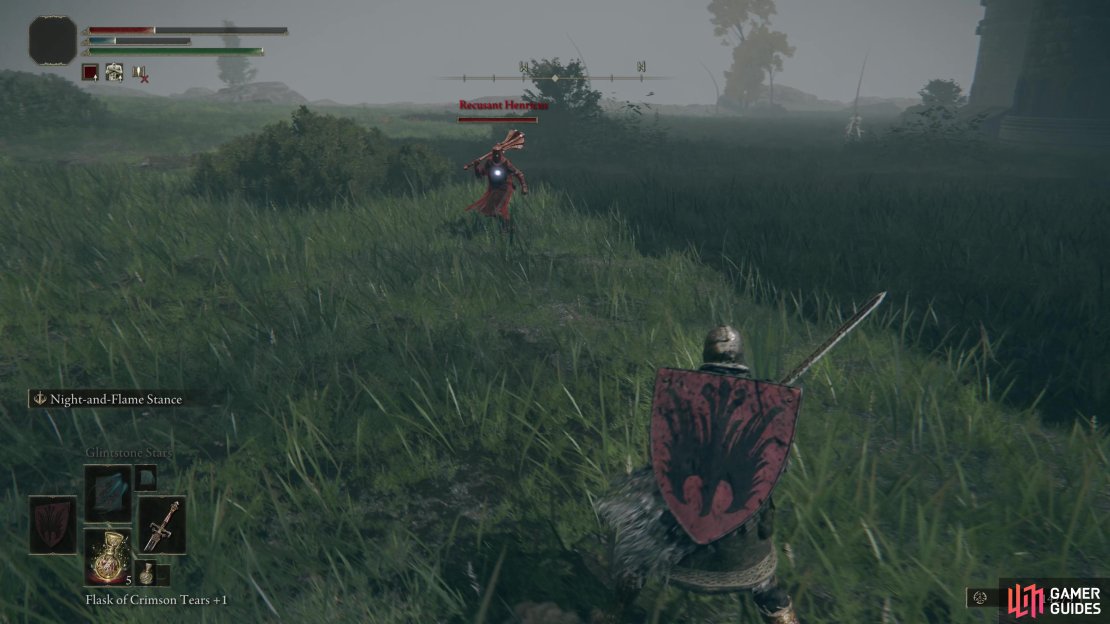
(1 of 3) Defeat the faux invader Recusant Henricus,
How to Find and Defeat Recusant Henricus
Return to the Warmaster’s Shack and from there head north, following a road until you reach a circular keep at the edge of a cliff beyond an elevated highway. Outside of this keep you’ll be attacked by the faux invader Recusant Henricus. Defeat him and you’ll obtain the Hammer Talisman and a Furlcalling Finger Remedy.
How to Find the Ash of War: Golden Vow and the Lance
Southeast of this circular keep, beyond the elevated highway you’ll find some ruined square building sinking into the earth. At the top of it you’ll find a orb-guarding scarab you can kill to obtain a Somber Smithing Stone (1).
Southeast of these ruins, on the cliffs overlooking the Deathtouched Catacombs, you’ll find a mounted Godrick Knight patrolling about. Kill him and he’ll drop the Ashe of War: Golden Vow.
Return to the ruins and from there head south to the edge of a cliff, where you’ll find another square ruin below you. While mounted, double jump down onto this ruin and head to its southeastern corner to find a corpse, which you can loot for a Lance.
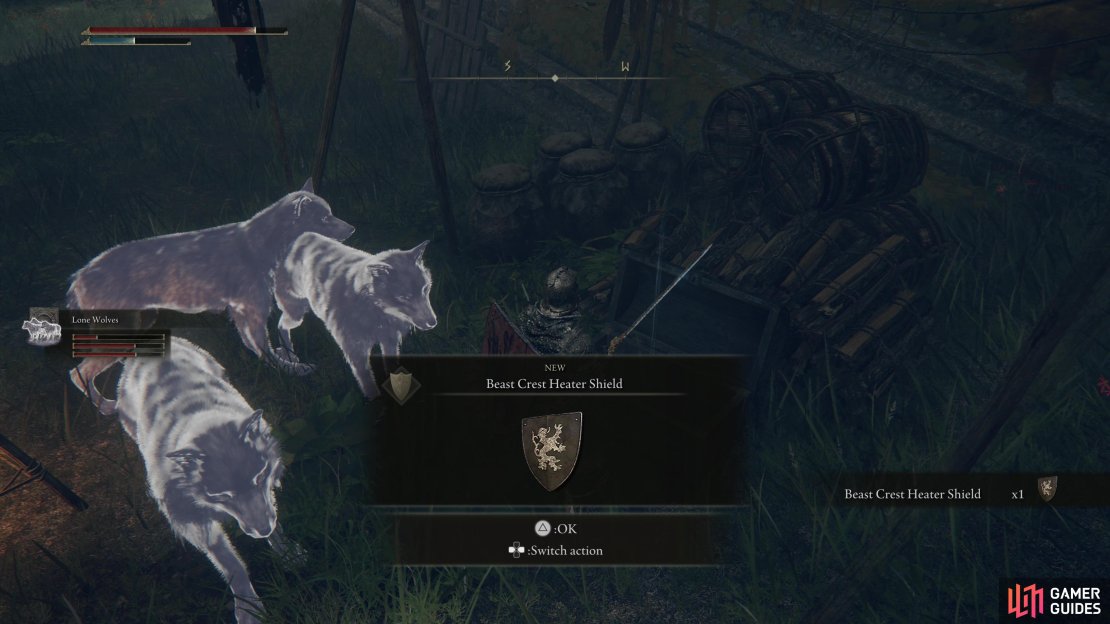
Loot a chest in an undead camp to find the Beast Crest Heater Shield.
How to Find the Beast Crest Heater Shield
The ruins upon which you can find the Lance is along the northwestern edge of an undead camp, which is occupied by Undead Soldiers, Zombie Dogs and a Godrick Knight. You can also reach this camp by simply following the road northeast from the Warmaster’s Shack. Kill the undead - biped and quadruped alike - then loot a chest to obtain the Beast Crest Heater Shield.
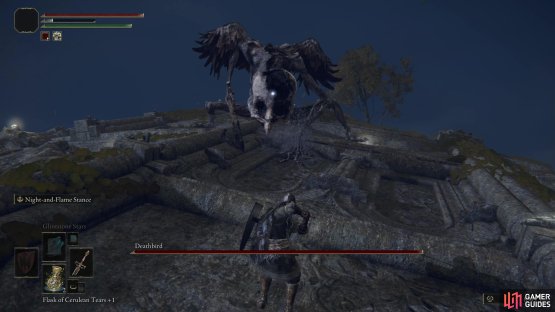
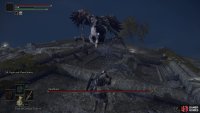
(1 of 2) The Deathbird will attack if you trespass on some ruins southeast of the Warmaster’s Shack.
The Deathbird will attack if you trespass on some ruins southeast of the Warmaster’s Shack. (left), Defeat it to obtain the Blue-Feathered Branchsword. (right)
How to Find and Defeat the Deathbird
Return to the Warmaster’s Shack and from there head southeast and drop down a short ledge to reach a plain crawling with Trolls. If you plan to defeat these giants, performing hit-and-run attacks while mounted is probably the way to go. If you can trick a Troll into destroying a statue you’ll be able to loot the ruins for 6x Smithing Stones (1) and a Smithing Stone (2).
Kill or avoid the Trolls, then head onto some collapsed ruins to provoke the Deathbird boss to attack. Despite the name of the boss, it won’t do a whole lot of flying, or really anything else terribly bird-like, as it prefers to strike with a crude hooked sword. Its attacks are somewhat quick, although it doesn’t hit terribly hard, and the boss is weak to physical damage (strike and slash) and holy damage. Defeat it and it’ll drop the Blue-Feathered Branchsword.



No Comments