
Information for Rennala, Queen of the Full Moon in Raya Lucaria Academy, Liurnia, including details about how to find and defeat the boss.
| Runes | Drops |
|---|---|
 40000 40000 |
Great Rune of the Unborn, Remembrance of the Full Moon Queen |
Where is Rennala, Queen of the Full Moon in the Academy of Raya Lucaria
Rennala, Queen of the Full Moon can be found in the Raya Lucaria Grand Library, along the northern end of Raya Lucaria Academy. The Academy itself is located in the middle (northwest of center, to be exact) of the massive ankle-deep “lake” that dominates Lucaria.
The first obstacle you’ll face, fittingly enough, is the academy gates. They’re magically sealed, and won’t open until you obtain an Academy Glintstone Key. Fortunately there’s one near the academy, although obtaining it does involve some risk. You’ll need to make your way to some rock formations west of the isle upon which the academy itself rests, where you’ll find Glintstone Dragon Smarag. You don’t need to fight this wyrm, just search the rocks it guards to find a corpse, which will yield this key. With the key in hand you can confidently approach either of the academy gates to gain access.
Once inside, you’ve got to progress through the entire dungeon to reach Rennala. Despite its location on the southeastern edge of the academy, the Debate Parlor Site of Grace is the closest checkpoint to the lift that’ll take you up to Rennala. This Site of Grace is a fair distance into the dungeon, and you’ll have to defeat the Red Wolf of Radagon to get it to appear and to continue on.
Head north from the aforementioned Site of Grace and jump onto a curved walkway to the east. Be wary of an Abductor Virgin patrolling the garden, but worse is yet to come, as some Glintstone Sorcerers in the building atop the walkway will summon a metal ball that’ll come rolling down said walkway. Dodge (or endure) the ball, but keep moving, as they’ll keep summoning it until you reach the building atop the walkway.
Once inside, heal up then head northwest to reach a courtyard where you’ll have to fight Moongrum, Carian Knight. Defeat him and be sure to explore to the south, as you can find a bridge that’ll lead to a door you can open, creating a shortcut back to the garden from earlier. This allows you to bypass the metal ball trap, but even better, in the garden south of where you fought Moongrum, Carian Knight, you can turn left (east) and jump onto a ledge that leads to a ladder, which in turn allows you to reach the Glintstone Sorcerers who summon the iron ball. Kill them and they’ll never summon it again.
With a shortcut back secured, return once again to where you fought Moongrum, Carian Knight and continue northwest to find a lift. Ride it up and you’ll find yourself just outside of the Raya Lucaria Grand Library - Rennala awaits beyond some doors.
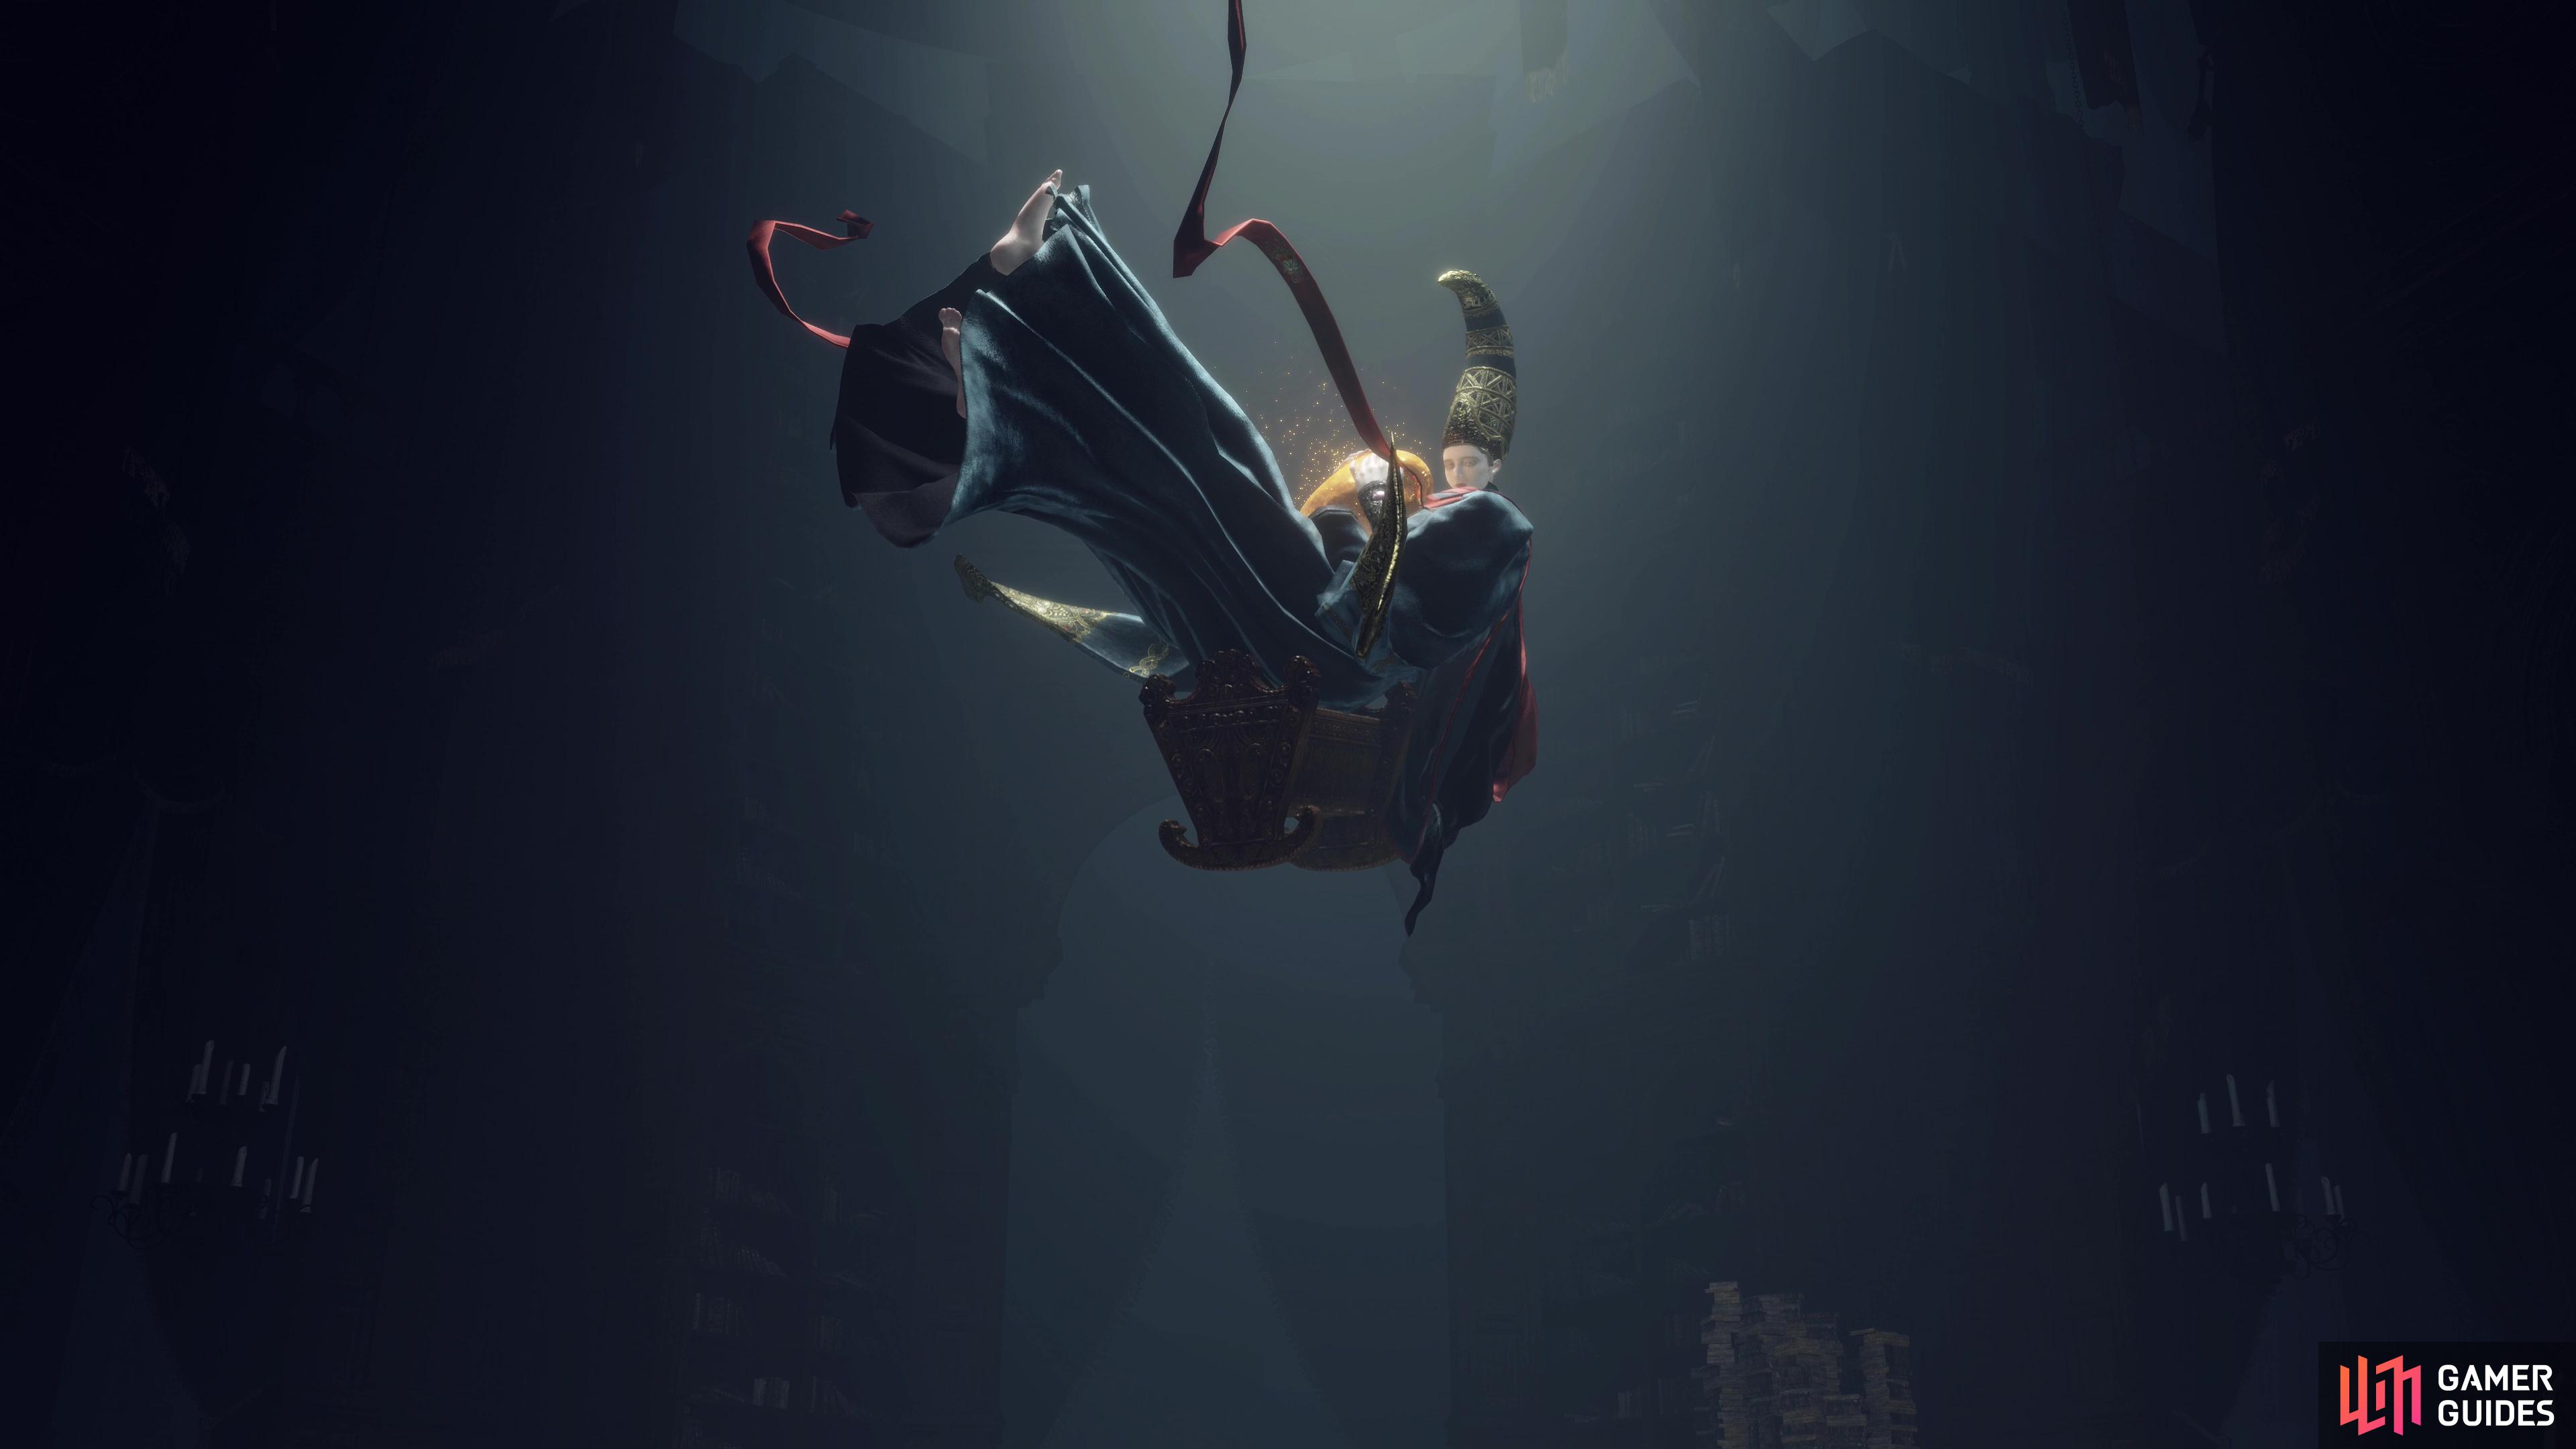
Rennala can be found in the Raya Lucaria Grand Library.
Attacks - Phase 1
During the first phase of the fight, Rennala isn’t your opponent as much as she’s the objective, as she’s content to ignore you, safe behind a golden barrier.
Swarming on the floor of the library, however, you’ll find numerous students, and they’re not keen on ignoring you. These wretched students will cast a variety of sorceries to thwart you, and while killing them all is a fool’s errand given their endless numbers, they’re also the source of Rennala’s barrier. Specifically, three of these Juvenile Scholars will be shrouded by a golden aura - kill them and the magic protecting Rennala will fail, and you’ll have time to run up and attack her before she recovers and the process repeats itself.
You must deplete Rennala’s HP bar fully before the fight will progress to phase two.
Telekinesis
A versatile attack that comes in several forms, the most common of which is to throw ensorcelled tomes at you, a trick most commonly performed by the golden aura-bearing students you have to hunt down. Your foes can also use telekinesis to throw globes at you and knock chandeliers off the ceiling - you’re safest from this attack if you stay in the center of the library, near where Rennala floats. These attacks generally deal little damage, save for the chandelier.
Flame Breath
Students will breathe gouts of flame at you. The flame’s spread is slow moving, the range is moderate, at best, the damage is nothing special and the students can only breathe fire in the direction they’re facing - a significant handicap considering how slow they are. The only redeeming factor this attack has is due to the sheer number of students littering the floor - it’s not uncommon to have several gouts of flame directed at you from several students at a time. Keep moving and try to avoid approaching students from the front.
Burst of Light
After you defeat the three golden-glowing students, Rennala will fall to the ground, shorn of her barrier. You’ll have some time to deal damage to her, but once she recovers she’ll detonate a burst of light that deals moderate AoE damage.
After depleting her HP bar once, Rennala will decide to finally fight back.
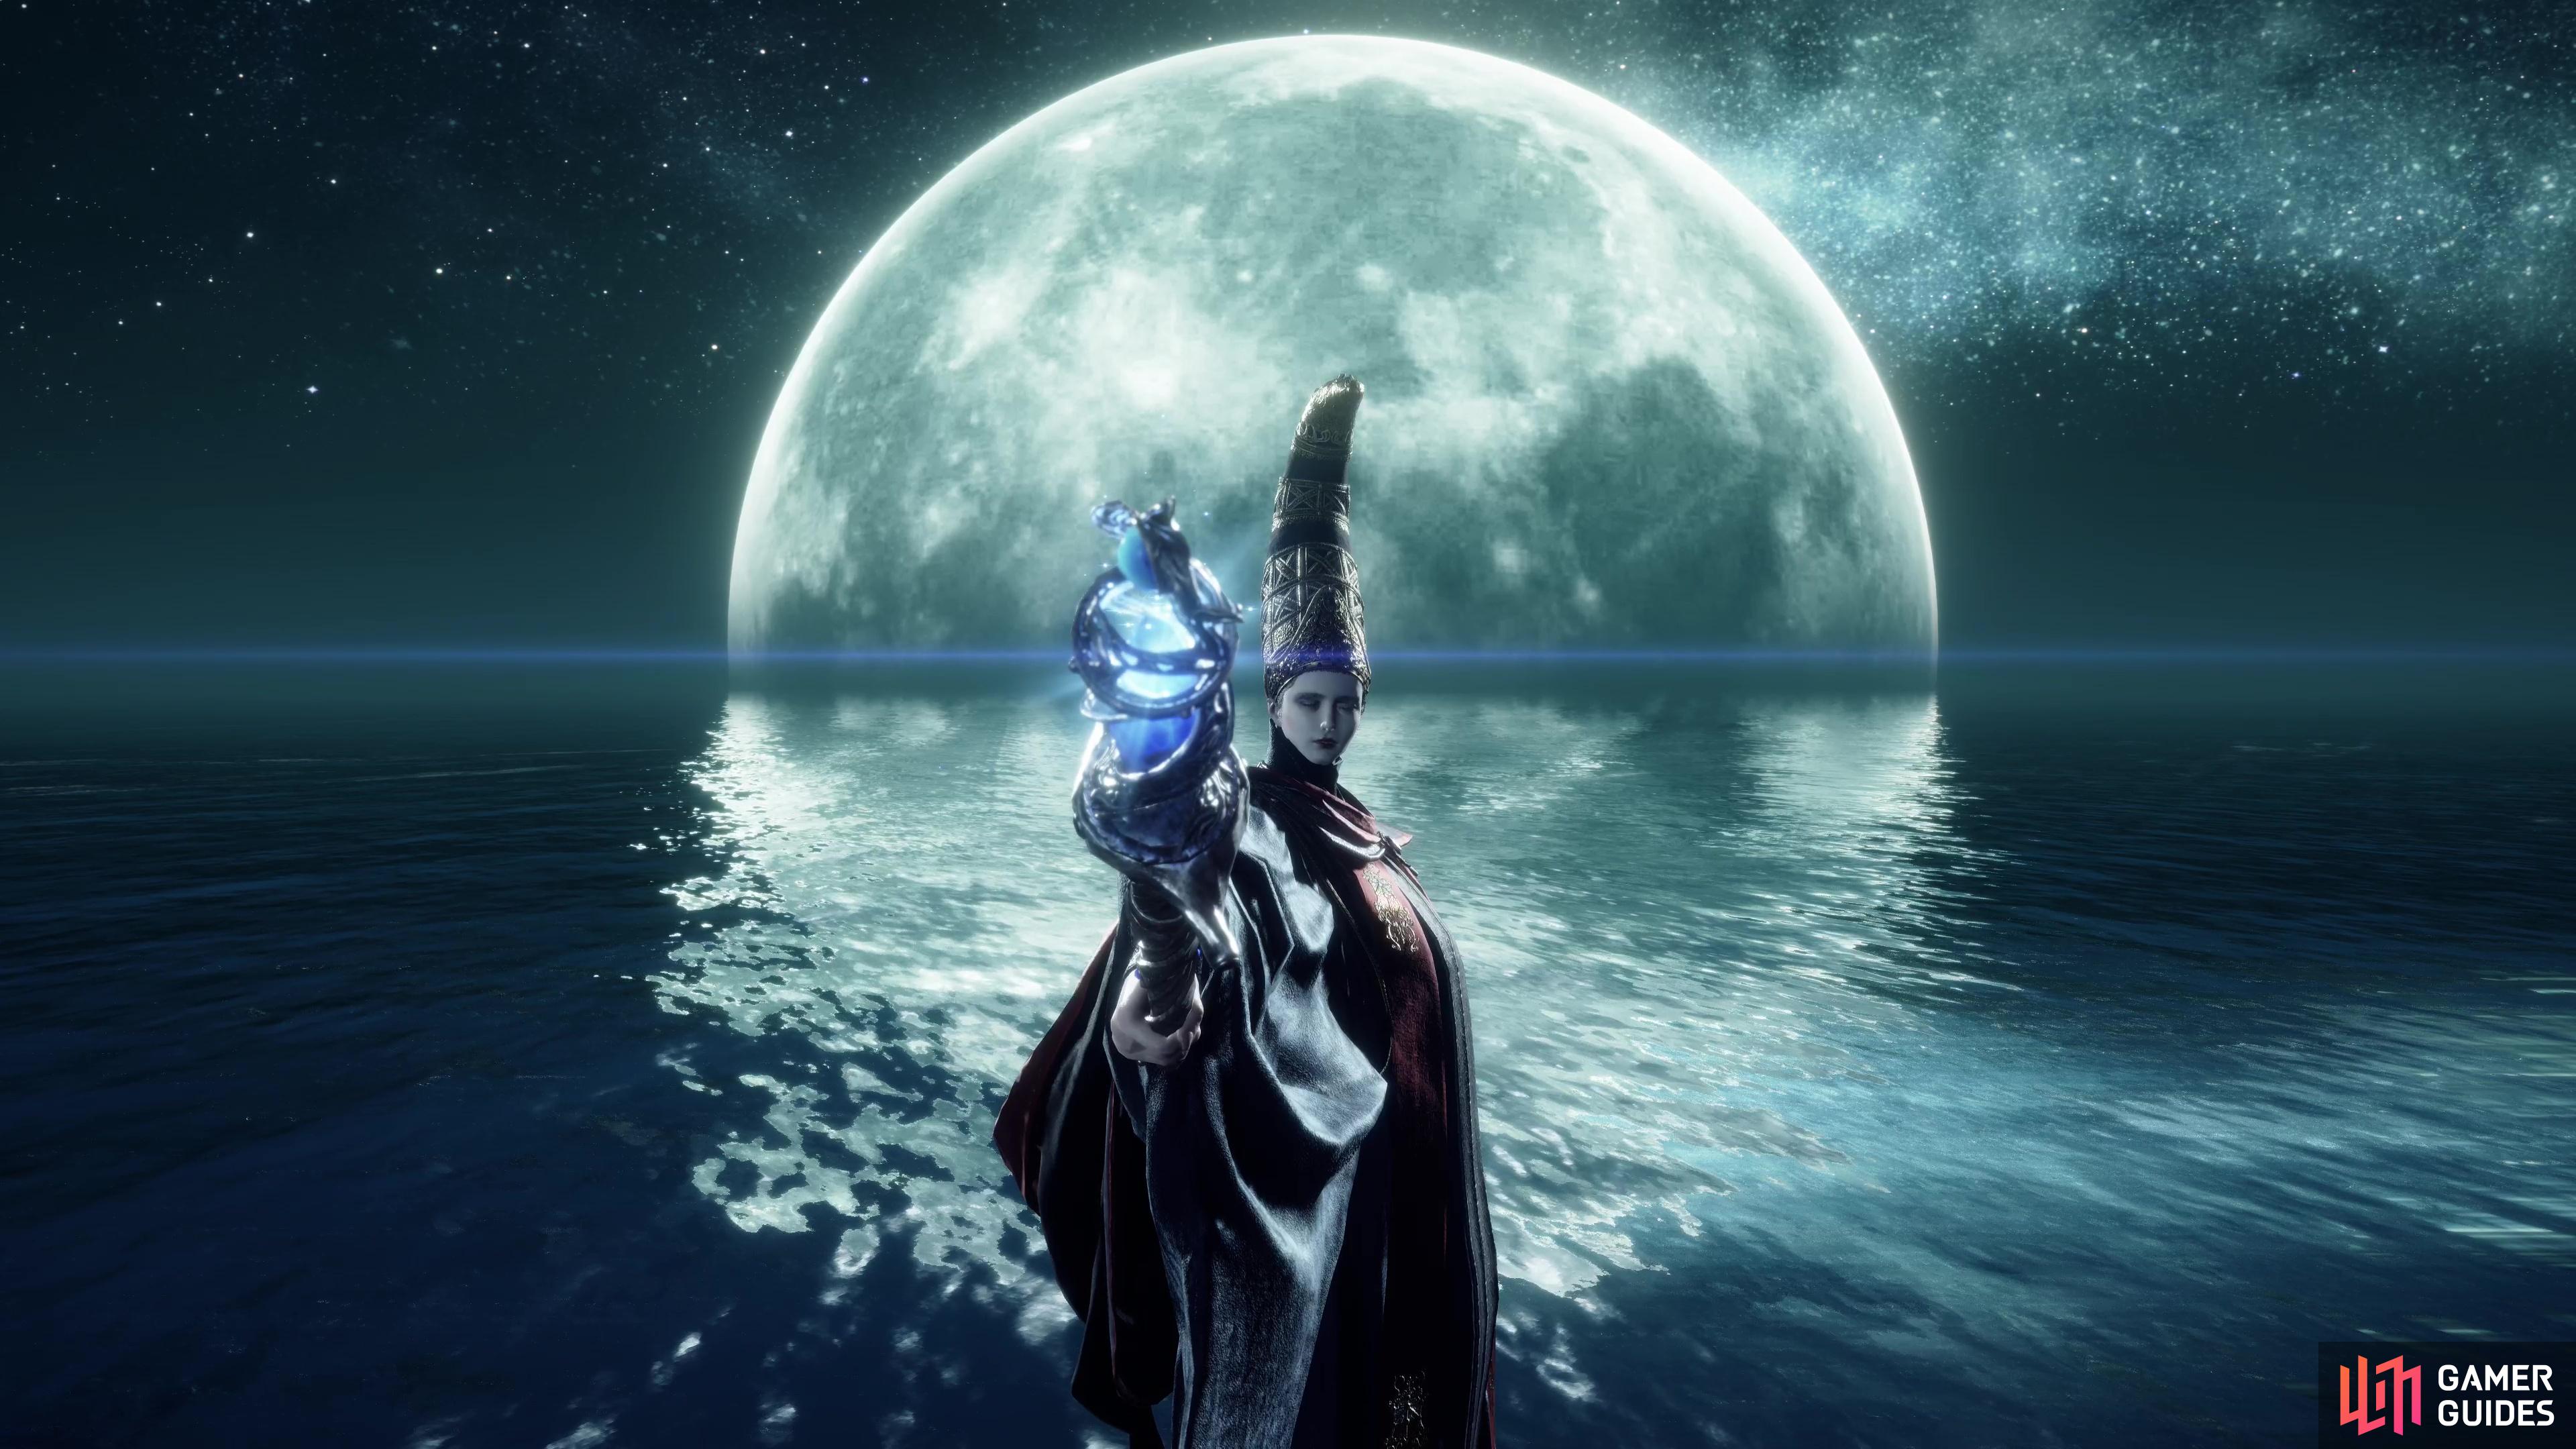
Attacks - Phase 2
After dealing enough damage to Rennala in the Grand Library (depleting her HP bar entirely) phase two will begin. You’ve earned her attention, for better or worse, and she’ll now deign to fight you properly, albeit in a twilight dimension where you’ll both be free of distractions.
It should be no surprise that Rennala primarily attacks via various sorceries, many of which you’ll be familiar with. Some are slightly edited as compared to the versions you can cast, but none are wholly unique. Rennala will constantly spam spells, as mages are wont to do, and while none of them are particularly difficult to dodge (most are downright trivial, in fact), the sheer volume of spells she throws at you and their differences in projectile speed and tracking can create some dangerous combinations.
Glintstone Stars
Rennala’s most common - and perhaps most dangerous - attack, she’ll conjure an array of glintstones which will move towards you slowly, picking up speed as they approach. They have decent tracking, but simply strafing to the side should allow you to avoid them, or failing that, you can always dodge through them (huzzah, for iframes!). Their individual damage is low, but if you get caught and take a full barrage this attack can inflict massive cumulative damage. She can cast this spell while remaining mostly stationary, or she can float in an arc while casting it, allowing her to use this spell to create distance between you and her, while allowing the glintstones to enforce this separation.
Stars of Ruin
Rennala will create a fan of glintstone shards and after a brief delay, will shoot them all at you in quick succession. These things have roughly the same tracking as the Glintstone Stars, but they move much faster. You’ll have less time to react, but they’ll have less time to course correct. Like Glintstone Stars, these individually deal light damage, but cumulatively are dangerous. Rennala casts this spell much less often than Glintstone Stars, but the difference in their speed can make them an effective combo.
Comet
Rennala shoots a beam of energy at you. Deals moderate damage, has minor tracking and moves fast. Often cast at the end of Glintstone Stars combos. All in all, pretty easy to dodge and virtually identical to the player spell of the same name.
Comet Azur
Identical to the player spell of the same name, Rennala projects a massive, sustained beam of magical energy. Very fast, but she has little ability to adjust her aim once it has been cast. If you’re strafing, it should deal nominal damage, at worst, but if she catches you with this while you’re running at her it could prove devastating.
Rennala’s Full Moon
One of Rennala’s signature spells, the Queen of the Full Moon will seek shelter in a magical moon she conjures momentarily, after which she’ll exit and the moon will lazily move towards you, exploding on impact. Deals heavy damage but is easy to dodge, it’s mostly a distraction-punishment spell.
Summon
Arguably Rennala’s most annoying attack, Rennala will summon some spectral minions, who will attack you for a brief period of time before attacking. Summons we’ve seen include: a pack of wolves, a Troll, a Bloodhound Knight, and a freaking Dragon! These critters have their normal attacks and are of roughly the potency of weaker-end Liurnia-based enemies, often dealing moderate damage. Their duration means you shouldn’t bother fighting them, just keep your distance if at all possible (some enemies are easier to evade - dragons are notoriously difficult to ignore). While they can deal respectable damage in their own right, their main purpose is to clutter the battlefield and distract you, which will allow Rennala’s far more potent offense to punish you.
Strategy
The fight with Rennala, Queen of the Full Moon, is a two-phase battle, and both phases are quite distinct from each other. Before you engage her, ensure you have a way to deal physical damage, as she’s very susceptible to physical damage. Both ranged attacks and melee attacks are useful in different phases, but one isn’t strictly required.
During the first phase of the battle, Rennala will float in the air, cocooned within a golden barrier that makes her impervious to damage… assuming you’ve got a ranged weapon to reach her with in the first place.
While Rennala won’t attack you directly, the horde of prostrate students crawling on the library floor will. Their attacks are limited in both damage and variety, and include a Fire Breath attack and the use of Telekinesis to throw various objects at you (mostly books, but also the odd globe and chandelier). You’re safer from the Telekinesis attacks if you stay in the center of the library, under where Rennala floats, but this will put you in the midst of the students and their Flame Breath. The students are individually weak, but they’ve got one strength - numbers, and Rennala will continue to “rebirth” them throughout the fine, so you’re not going to win a war of attrition.
Instead, you need to seek out three students encompassed by a golden aura and kill them. Once those three are dead, Rennala’s shield will falter and she’ll fall to the ground, wide open for whatever punishment you can inflict. Be hasty, as she won’t remain downed forever, but don’t get greedy, as she’ll emit a moderately damaging Burst of Light attack when she recovers, at which point she’ll regain her lofty perch and her barrier. You’ll need to repeat this trial of endurance/scavenger hunt until Rennala’s HP bar is depleted, at which point the second phase of the battle will begin.
Once Rennala’s HP bar has been depleted, she’ll decide to fight you directly, summoning you to a twilight dimension devoid of obstacles and distractions.
During the second phase of the battle, Rennala will pelt you with spells while trying to keep her distance. Her offense largely consists of a barrage of Glintstone Stars, followed up with a Stars of Ruin, Comet, Comet Azur or Rennala’s Full Moon spell. See the descriptions of these attacks, above, for more details. Generally, however, most of her attacks can be avoided if you just keep moving - running to the side should suffice. While her spells are individually easy to dodge, their sheer volume and the variability of their speeds and tracking can make them collectively dangerous.
Another complication is Rennala’s ability to summon spectral minions for a brief period of time. These include a pack of wolves, a Troll, a Bloodhound Knight and a Dragon. Which she summons is random, and while they can attack like normal versions of these beasts, their existence is temporary. That being the case, it’s best to try to just avoid them (and their attacks) and focus on Rennala (and her attacks) until the summons vanish.
Rennala is quite receptive to all forms of physical damage while being resistant to fire, lightning and holy. She’s highly resistant to magic, to the point where you’re better off just seeking other options. If you’re a mage, spells like Rock Sling will work wonders, having a decent range, good damage output, and a moderate casting time. Just wait for an opening, stay within range, and keep unleashing this spell and she’ll fall surprisingly quickly. For melee characters, Rennala will have to be caught before she can be damaged. Fortunately she’s not incredibly mobile aside from her Glintstone Stars spell (which she can cast while gliding away in an arc) and Rennala’s Full Moon (which will protect her during part of the spell’s effect). Generally her best defense is distance, and she maintains distance by continuously unleashing offensive magic, forcing you to evade rather than pursue her.
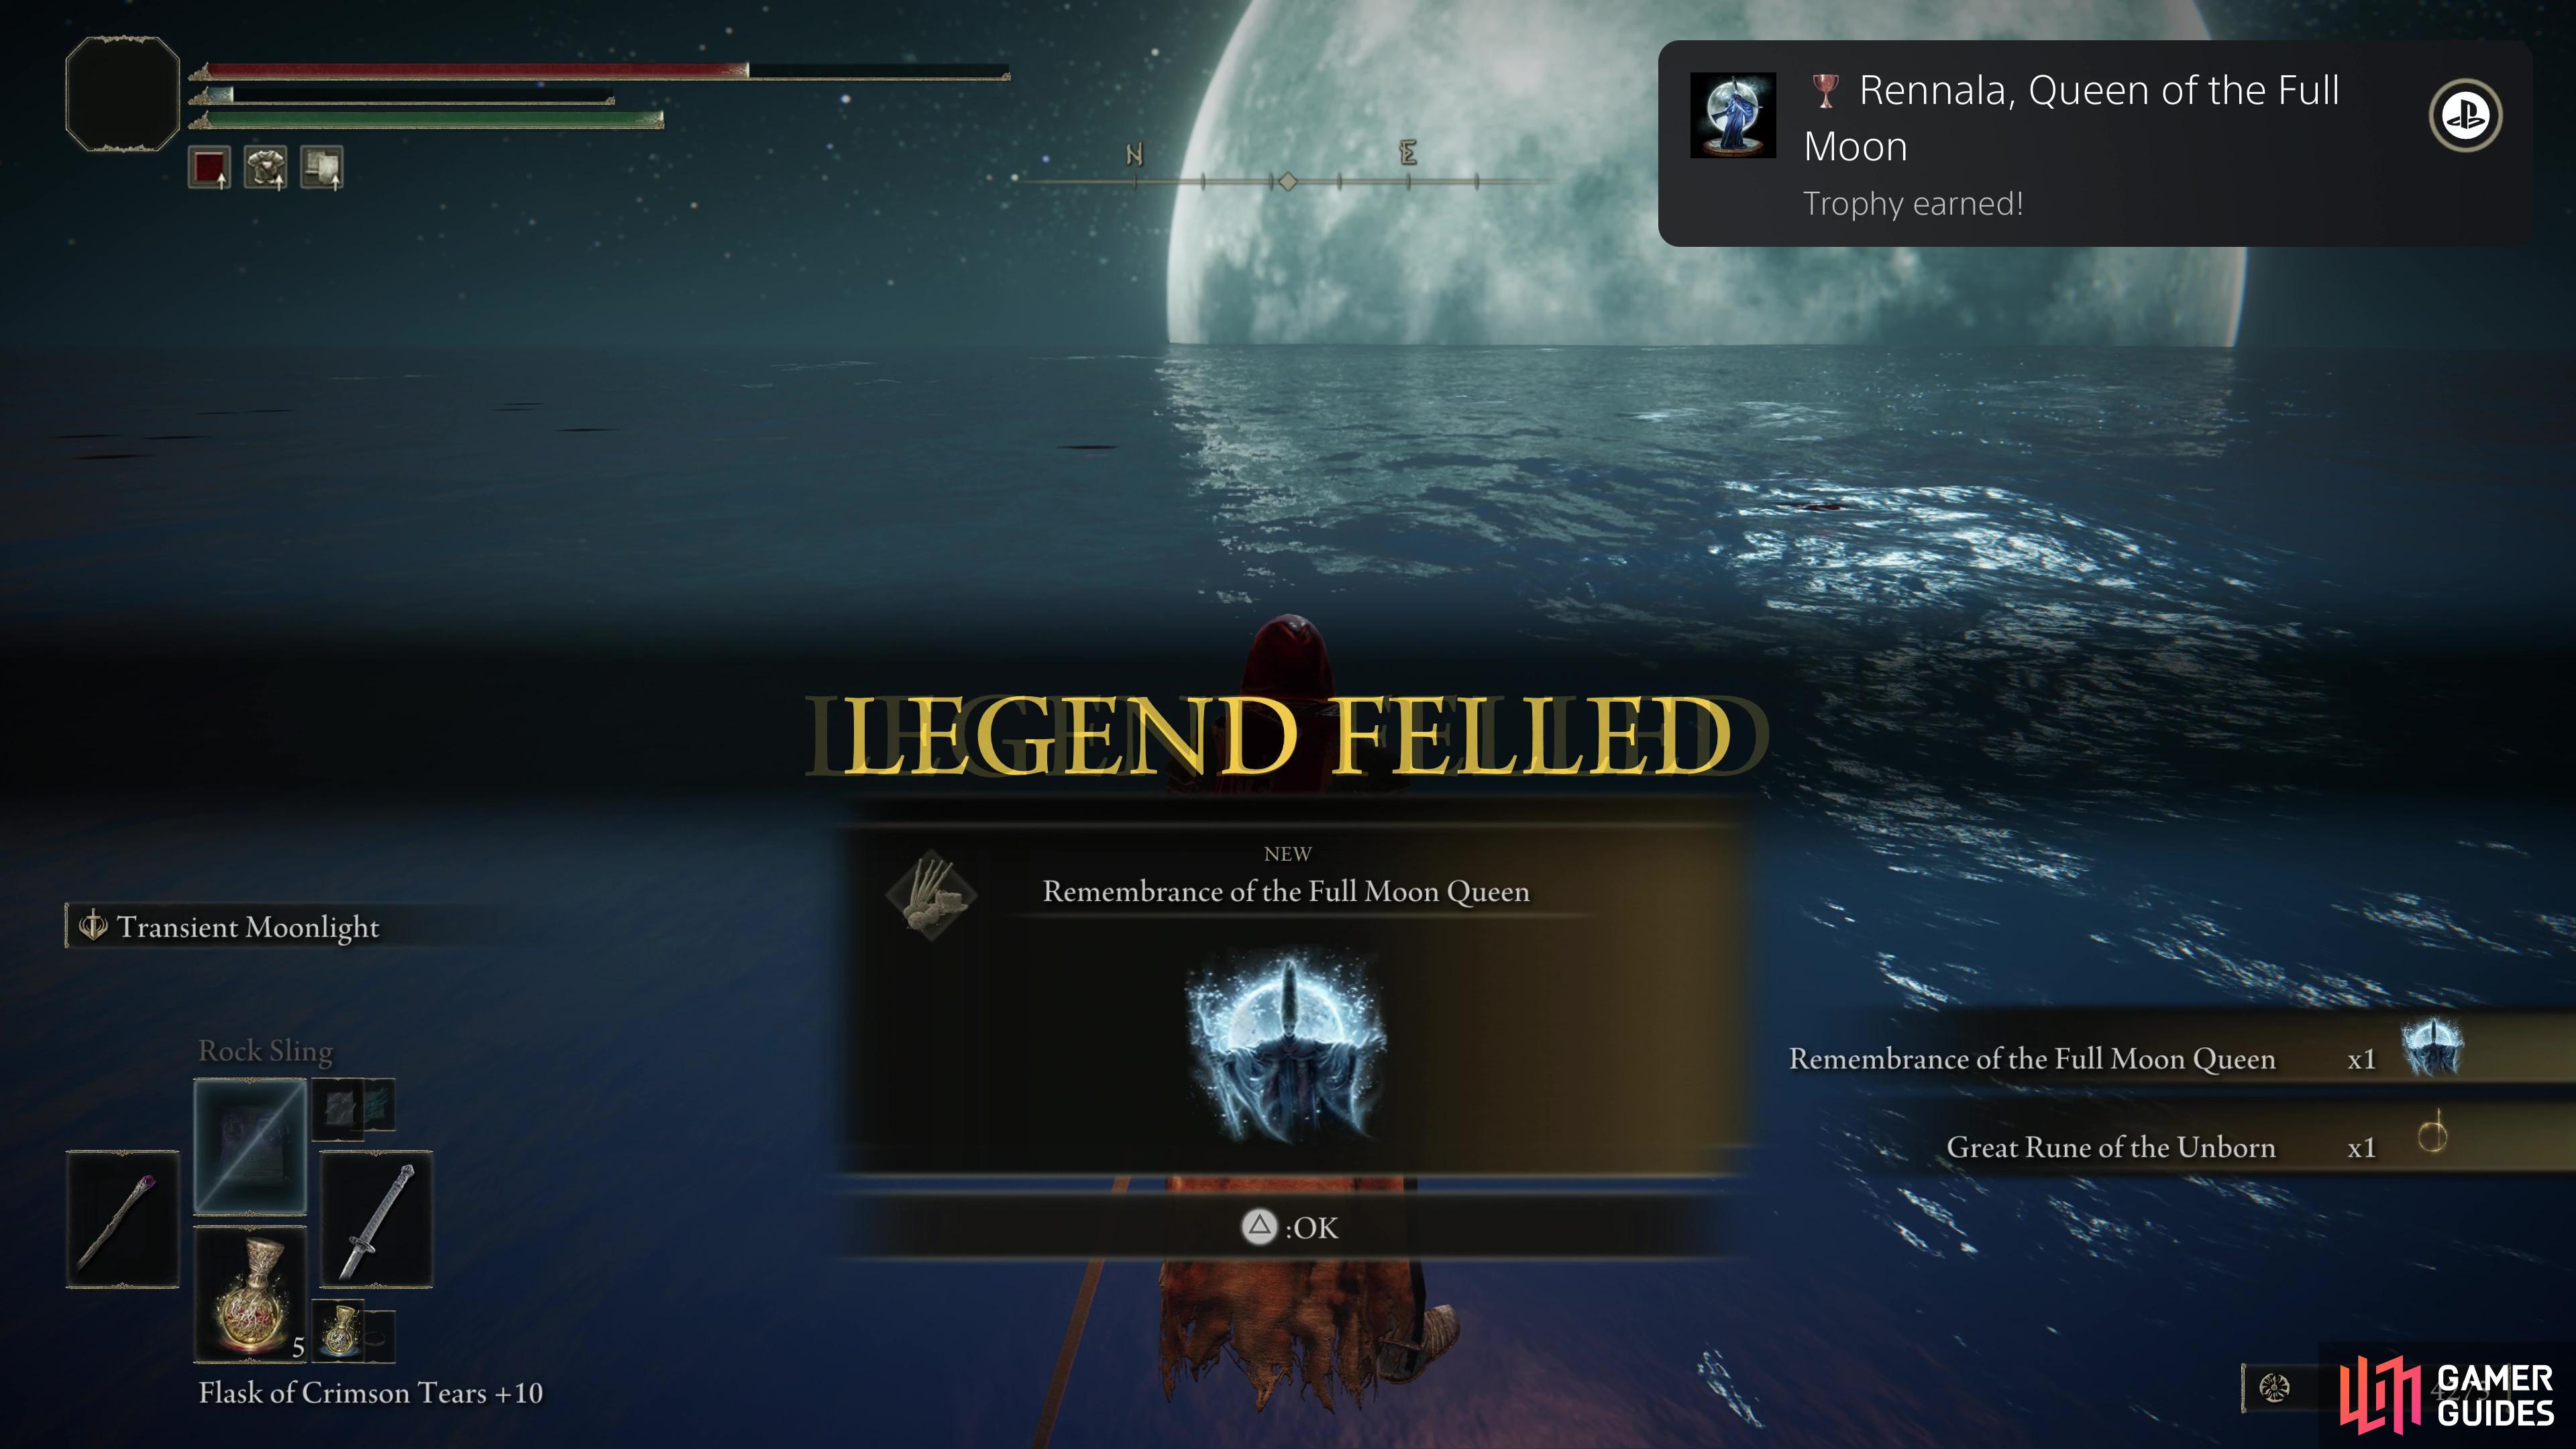
When defeated, Rennala will drop the Remembrance of the Full Moon Queen and the Great Rune of the Unborn.
Keep up the pressure and when she’s defeated Rennala will drop the Great Rune of the Unborn and the Remembrance of the Full Moon Queen. After the fight you can talk to Rennala, who will henceforth offer to “rebirth’ you, which is Elden Ring’s version of respecing. For more details, check out the How to Respec in Elden Ring page.
If you return to Roundtable Hold and talk to Enia, you can trade in the Remembrance of the Full Moon to obtain either the Rennala’s Full Moon sorcery or the Carian Regal Scepter. You can also just sell the Remembrance of the Full Moon for 20,000 Runes. Enia will also sell Rennala’s attire, if you wish to emulate her style:
| Item | Cost (Souls) | Notes |
|---|---|---|
| Queen’s Robe | 10,000 | - |
| Queen’s Bracelet | 7,000 | - |
| Queen’s Leggings | 7,000 | - |
| Queen’s Crescent Crown | 7,000 | Grants Intelligence +3 when worn. |
If this is the second Remembrance boss you’ve defeated (the other likely being Godrick the Grafted) you’ll also be given a Talisman Pouch, increasing the number of talismans you can equip.
No Comments