
Information and walkthrough for the Stormfoot Catacombs location in Elden Ring, including details about how to defeat the Erdtree Burial Watchdog and how to obtain the Prattling Pate “Hello” item as well as the Noble Sorcerer Ashes and the Wandering Noble Ashes.
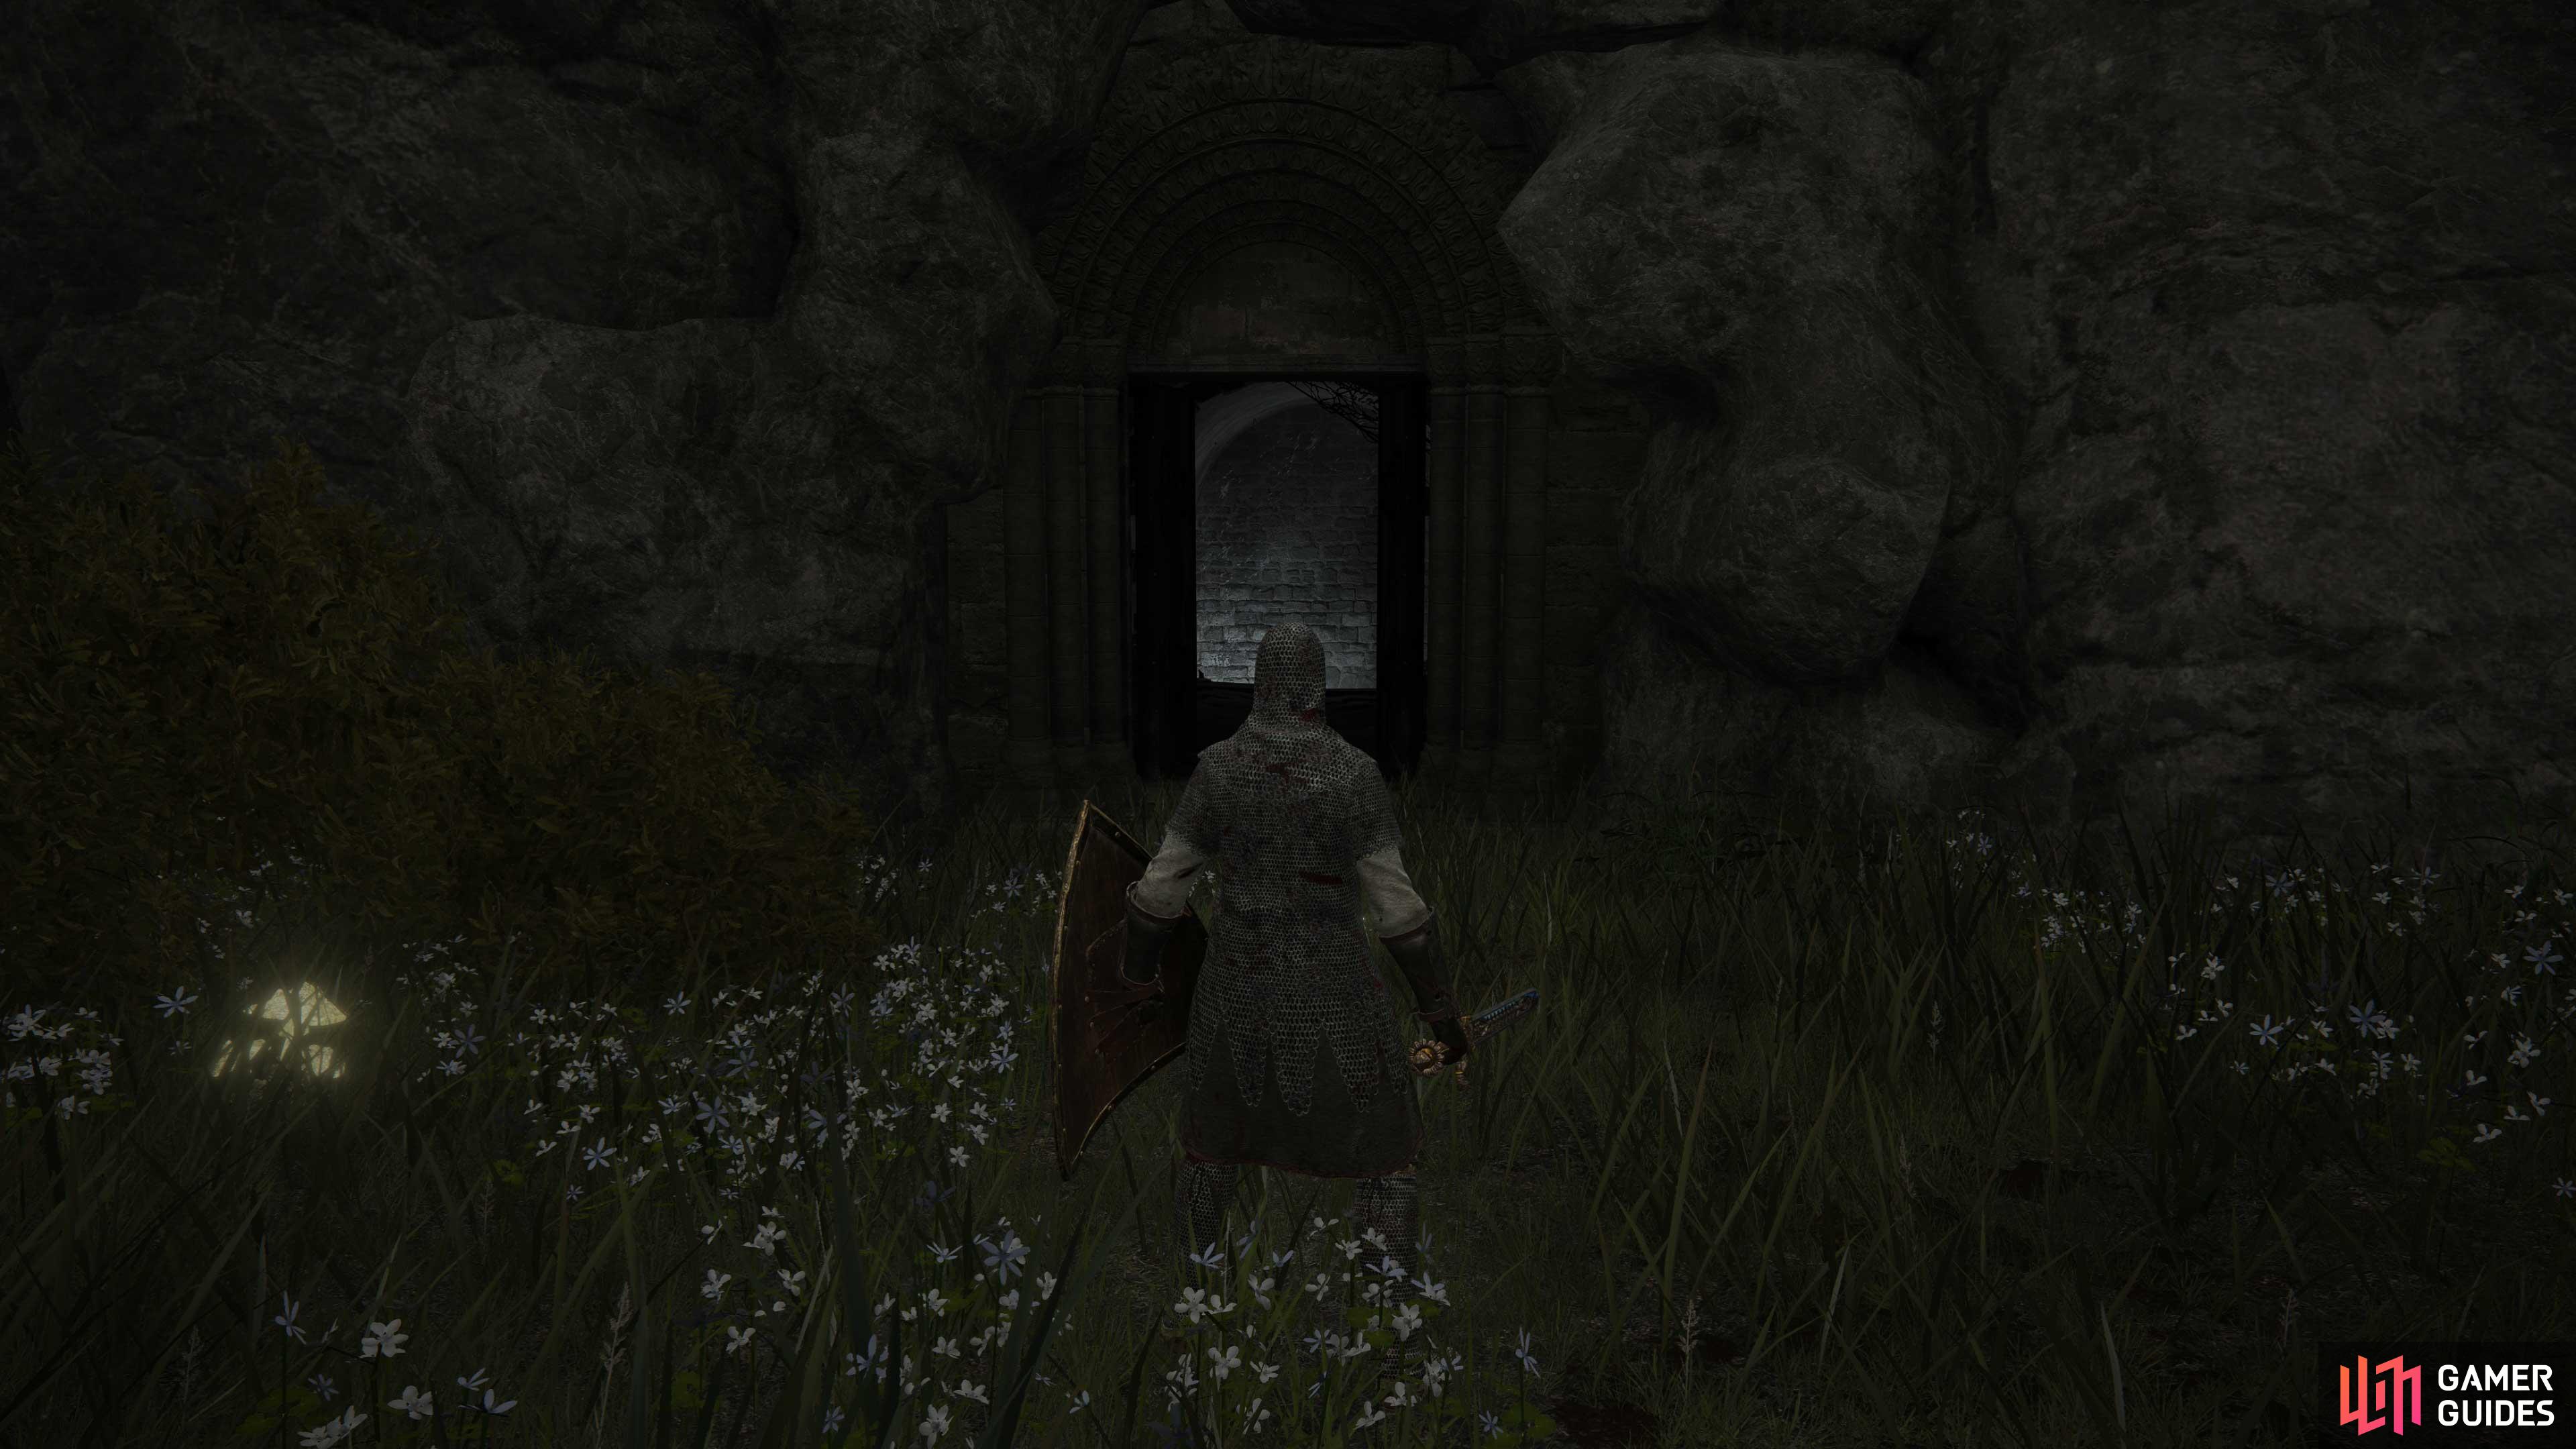
The Stormfoot Catacombs are buried in a cliff face northwest of the Church of Ellah.
How to Find the Stormfoot Catacombs
The Stormfoot Catacombs can be found northwest of the Church of Ellah, past some ruins. It’s built into the cliffs - you’ll know you’re getting close when you encounter various undead milling about.
Best Loot in the Stormfoot Catacombs
| Item | Location |
|---|---|
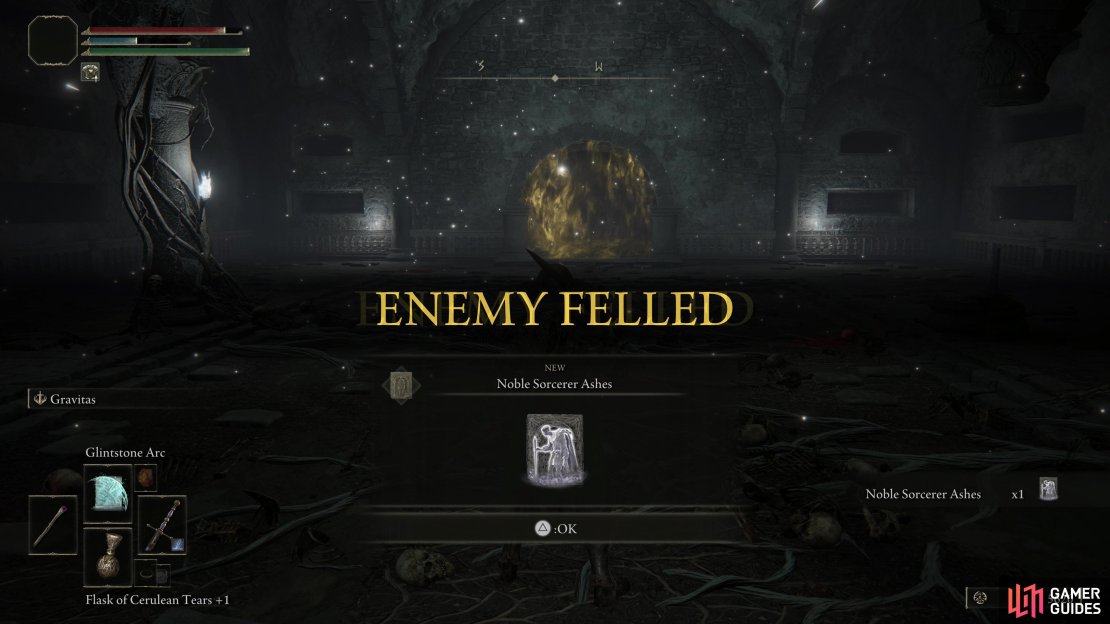
| Noble Sorcerer Ashes | Defeat the Erdtree Burial Watchdog. |
| Prattling Pate “Hello” | Get behind the first fire trap to find a corpse you can loot. |
| Wandering Noble Ashes | Get past the fire traps, climb a ladder, then continue into a chamber to the southwest. It can be plundered from a corpse. |
The Stormfoot Catacombs are crawling with Jade Goblins. They may not be sturdy, but they can inflict bleeding.
Enemies in the Stormfoot Catacombs
| Enemies | Runes | Drops | Notes |
|---|---|---|---|
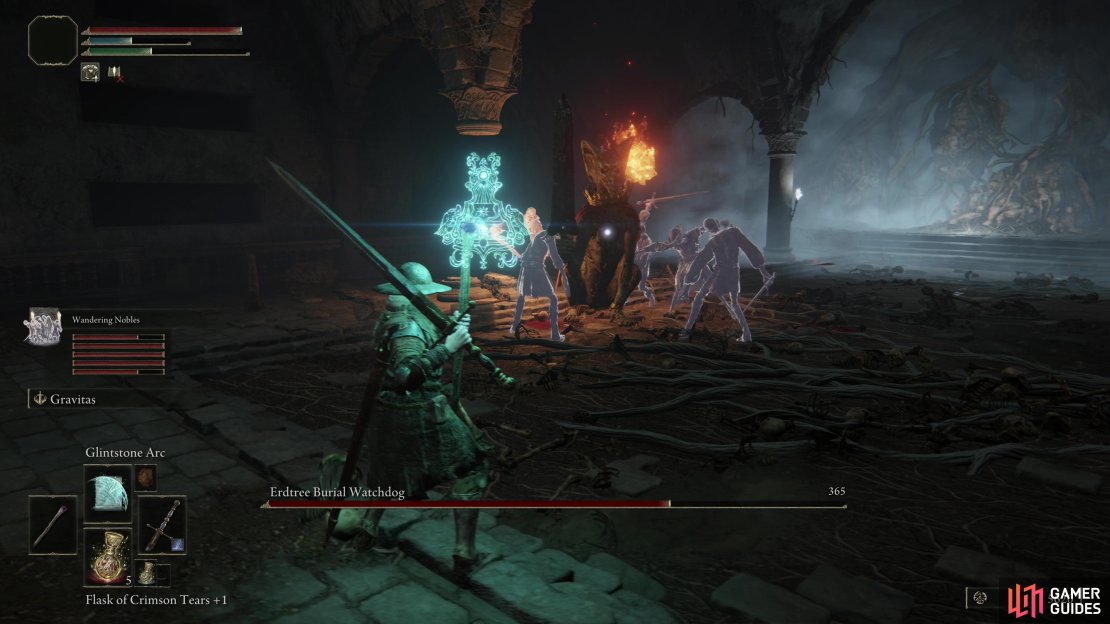
| Erdtree Burial Watchdog BOSS |  1300 1300 |
Noble Sorcerer Ashes | Optional boss. |
| Jade Goblin | 67 |
Forked Hatchet, Imp Head (Cat), Smithing Stone (1) | - |
How to Complete the Stormfoot Catacombs
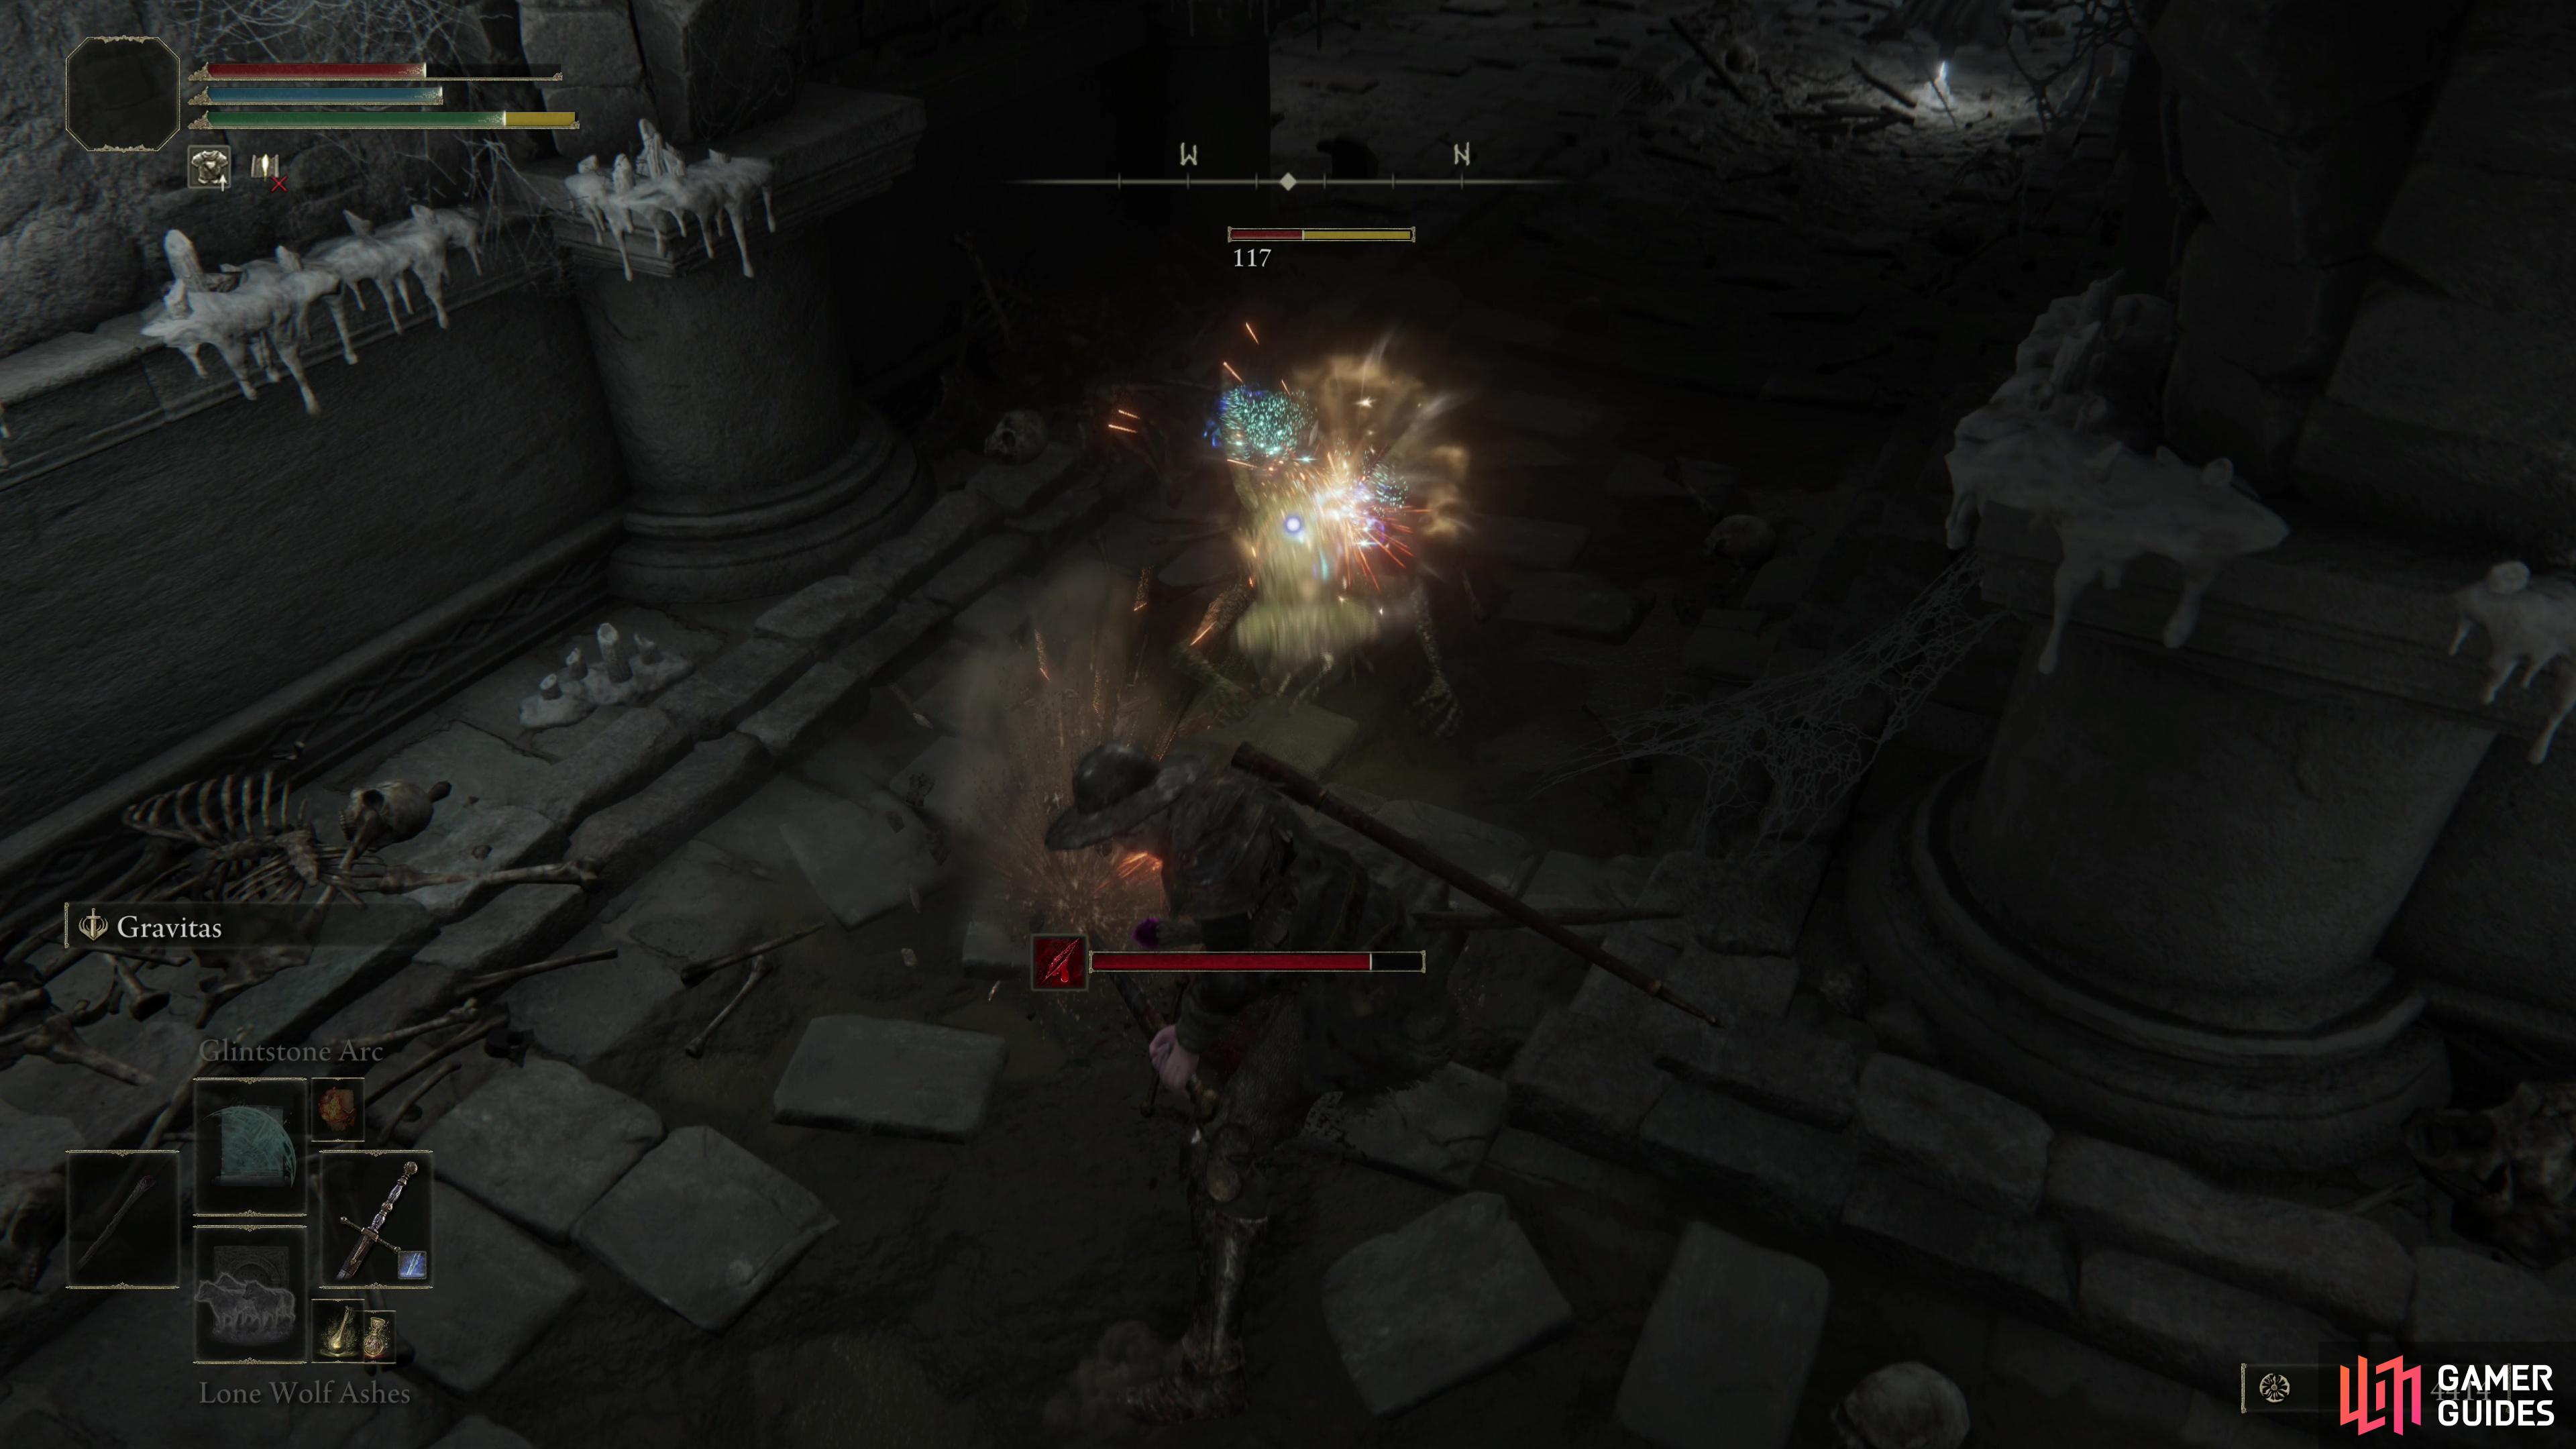
Shortly after entering you’ll find some stairs that lead to the Stormfoot Catacombs Site of Grace. Continue downstairs and you’ll find yourself at a fork. If you continue northwest into a chamber you’ll be ambushed by two [Jade Goblins], one of which will ambush you from the left while the other is content to throw projectiles from the far side of the room. Their attacks can inflict blood loss, even if you block. Your reward for clearing this room? You can loot a corpse for some Root Resin. At least you can return to the Site of Grave and rest shortly thereafter.
At the fork, turn down some stairs to the northeast, note a locked door to the northeast, then head down another staircase to the northwest to reach a large, multi-level chamber. More Jade Goblins dwell here, and at least one will jump down from its elevated perch and attack, while another is content to throw missiles at you. Depending on your armaments, luring them into a narrow tunnel to the northwest may make them easier to deal with.
Continue into a chamber to the northwest, but be wary of the Jade Goblin clinging to the wall above the doorway from which you entered - being able to cling onto walls and ambush you from elevated perches is another annoying trick these enemies can play.
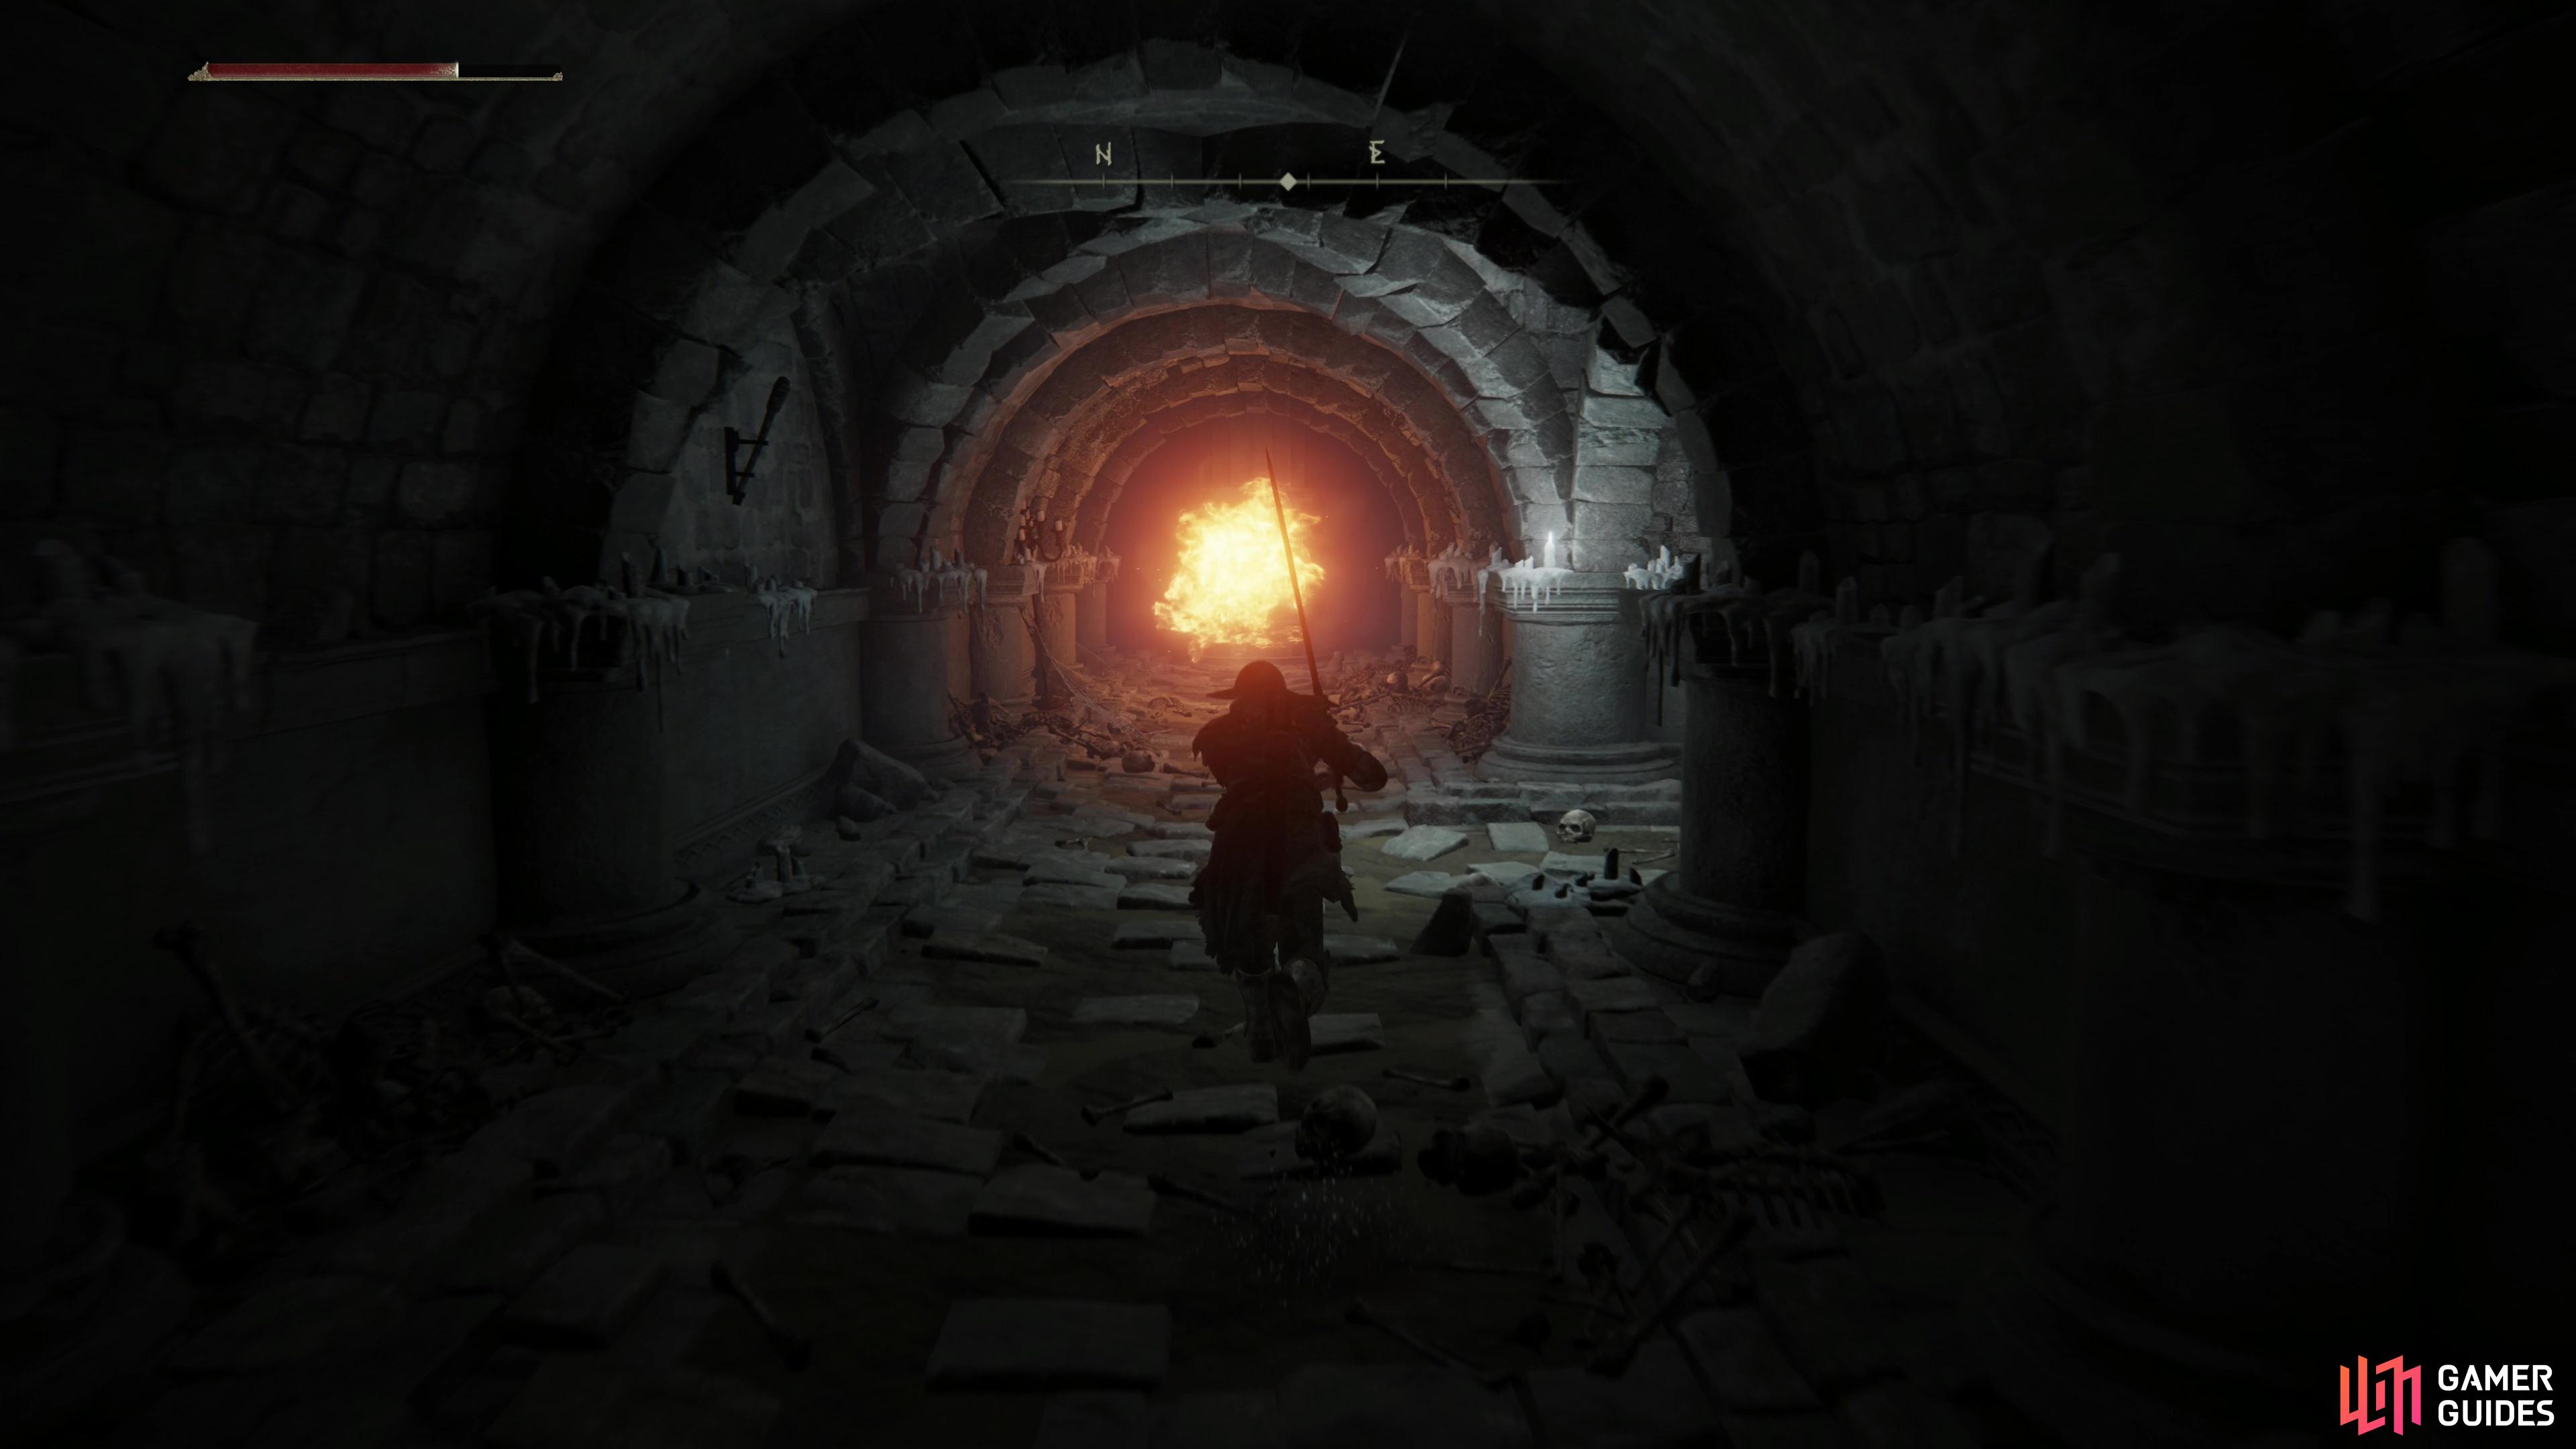

(1 of 2) Time the fire traps and try to run past when they’re inactive.
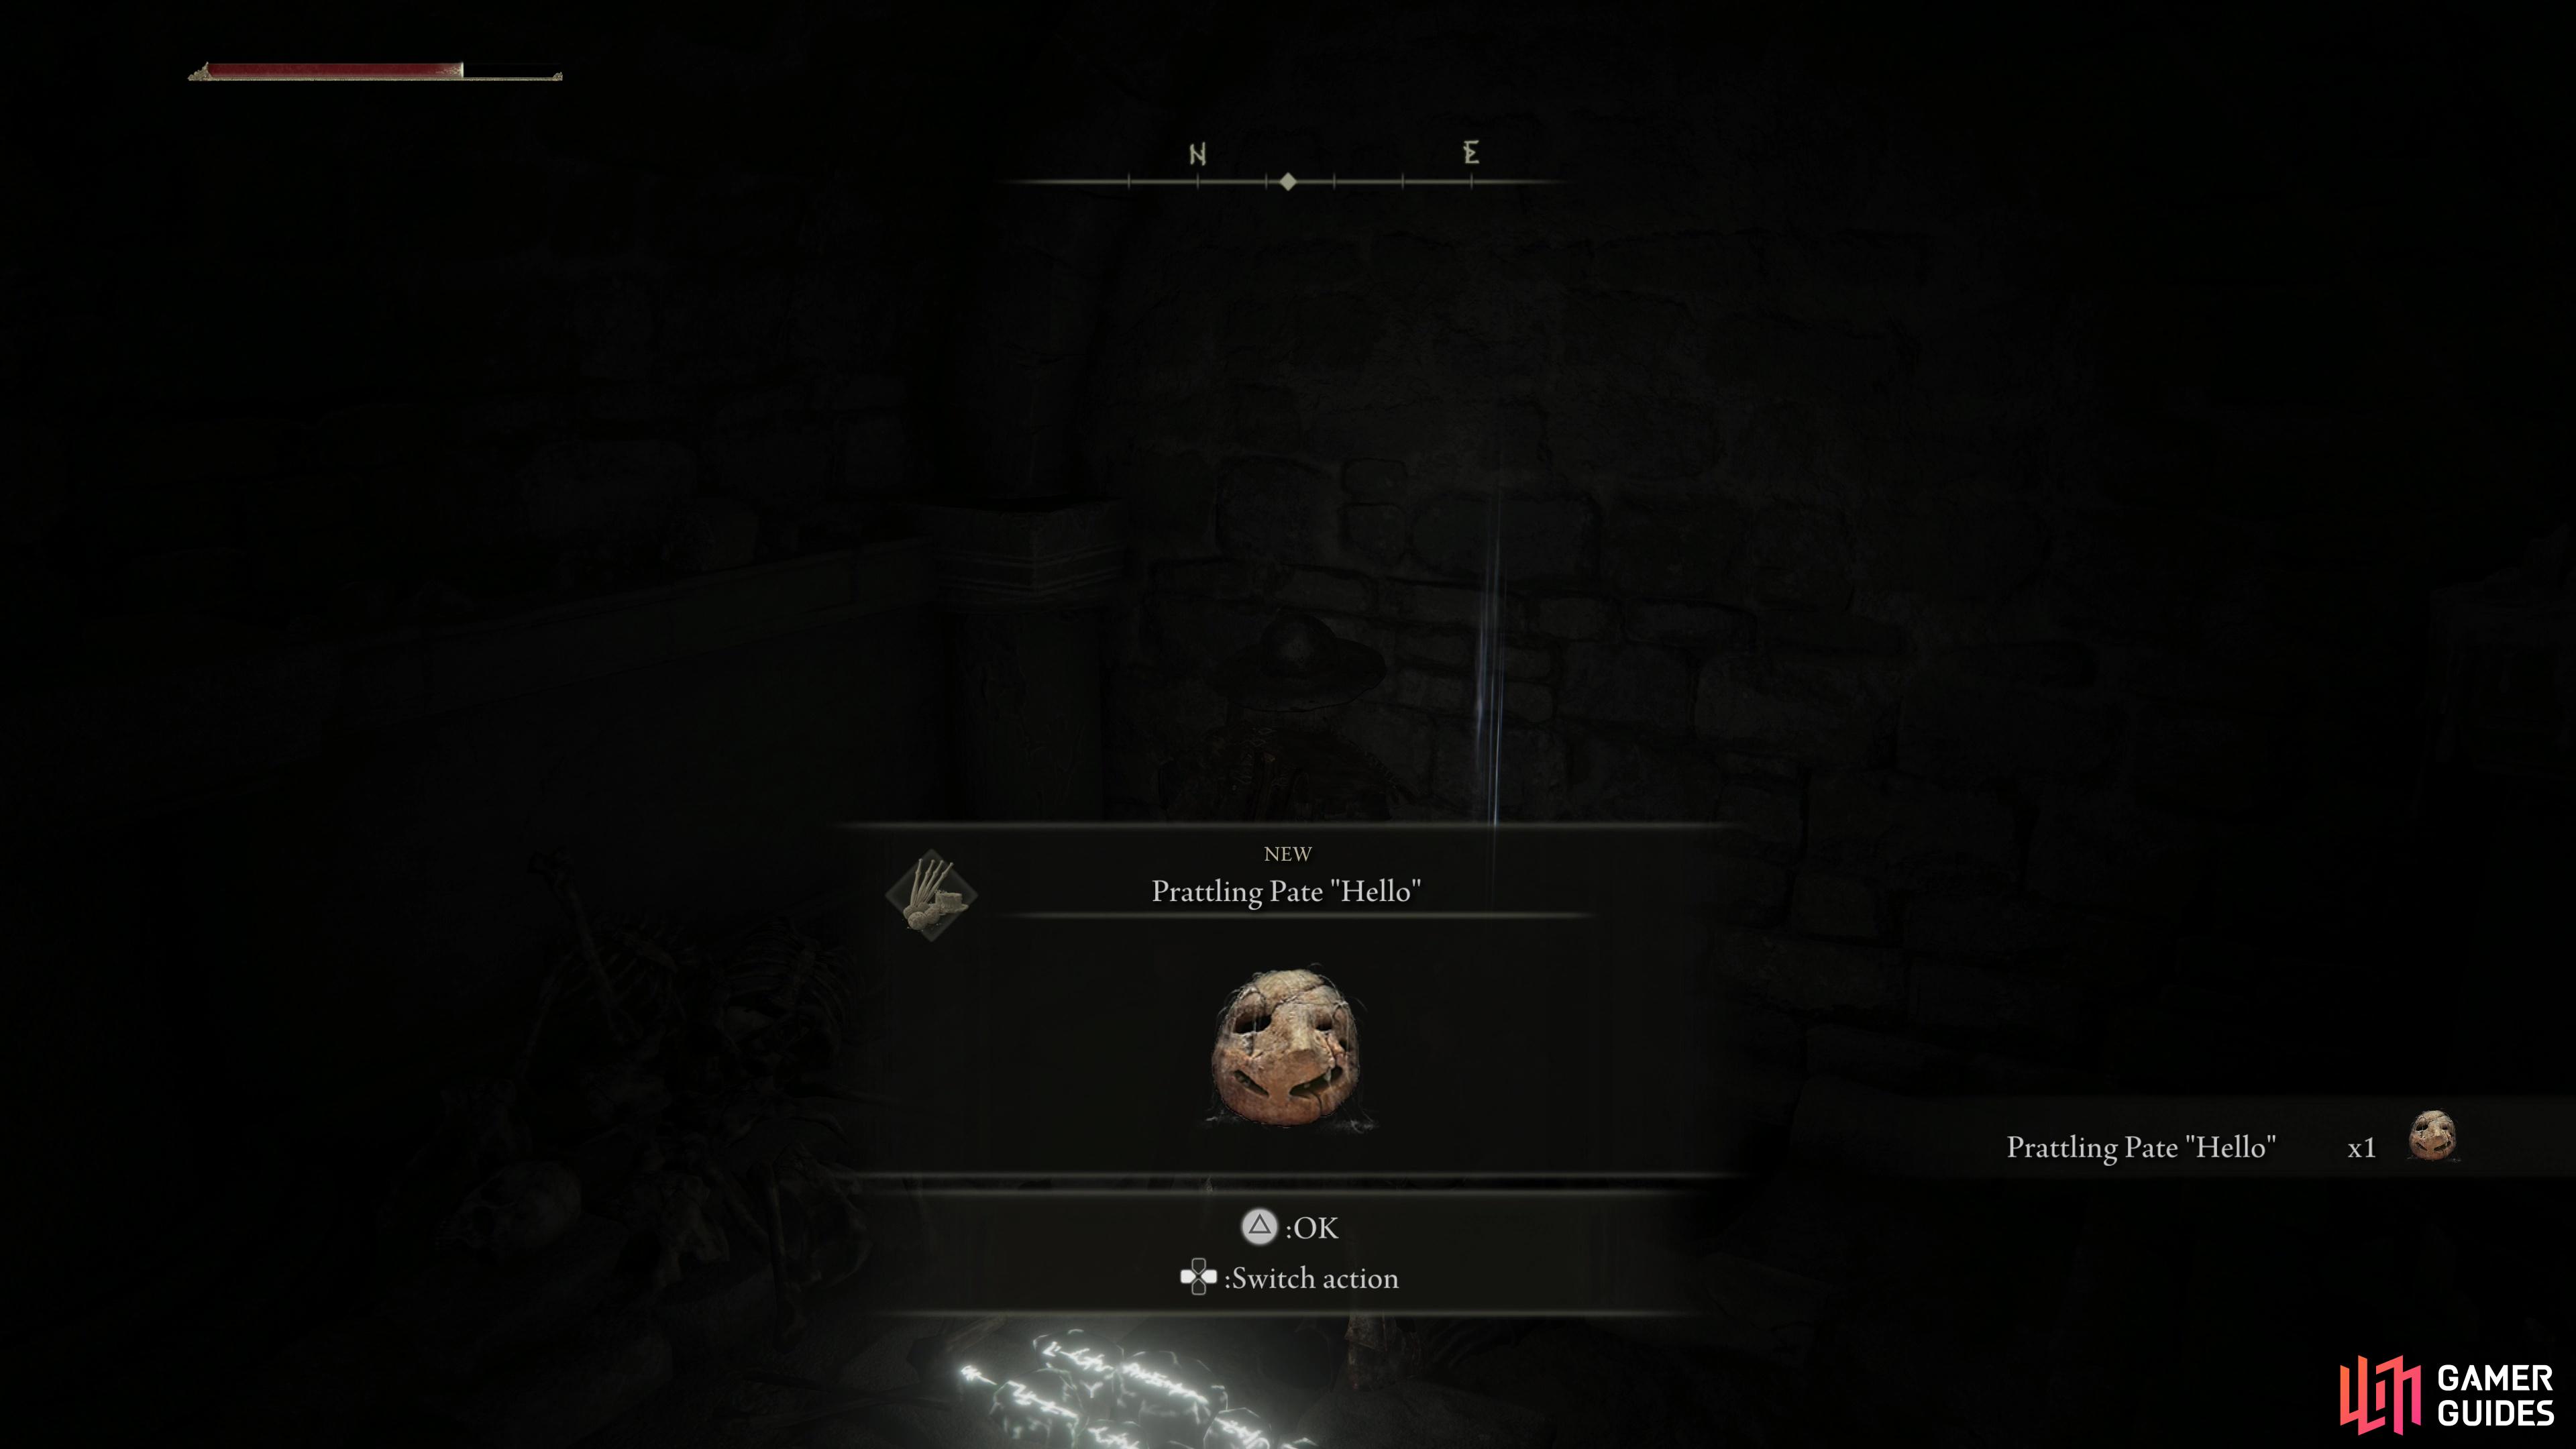
Time the fire traps and try to run past when they’re inactive. (left), You can loot the “Prattling Pate “Hello”” from behind the first fire trap. (right)
Venture down a hallway to the northeast and you’ll find a fire-spewing pillar. You’ll need to make a dash for a side tunnel to the right when it’s not belching first, something which may prove difficult if you’re not lightly encumbered. Blocking will not suffice, but fortunately it should only be able to hit you once - if you can survive being burnt, you should be able to make your way to cover and heal up. If you can get behind the trap and strike it, it’ll lower into the ground and won’t bother you again (unless you jump on it, which will prompt it to redeploy). Loot a corpse behind the first fire trap for the Prattling Pate “Hello”.
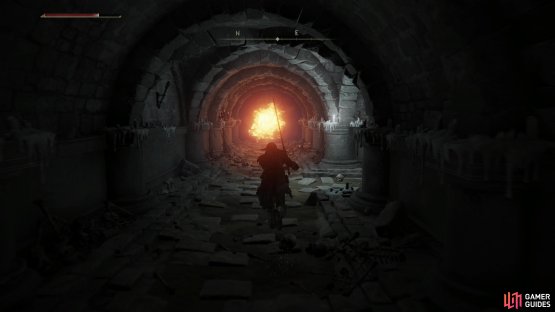
Deal with or bypass the first trap and make your way into a side passage to the southeast, at the end of which is another fire trap. You know the drill, time the flame spout, then make a run for a side tunnel to the right. Climb a ladder at the end and you’ll reach the upper reaches of the multi-level chamber you were in previously. Kill any Jade Goblins lurking about (there will likely be at least two here, one immediately to the left and another across the chamber to the southwest), then note another tunnel to the southwest.
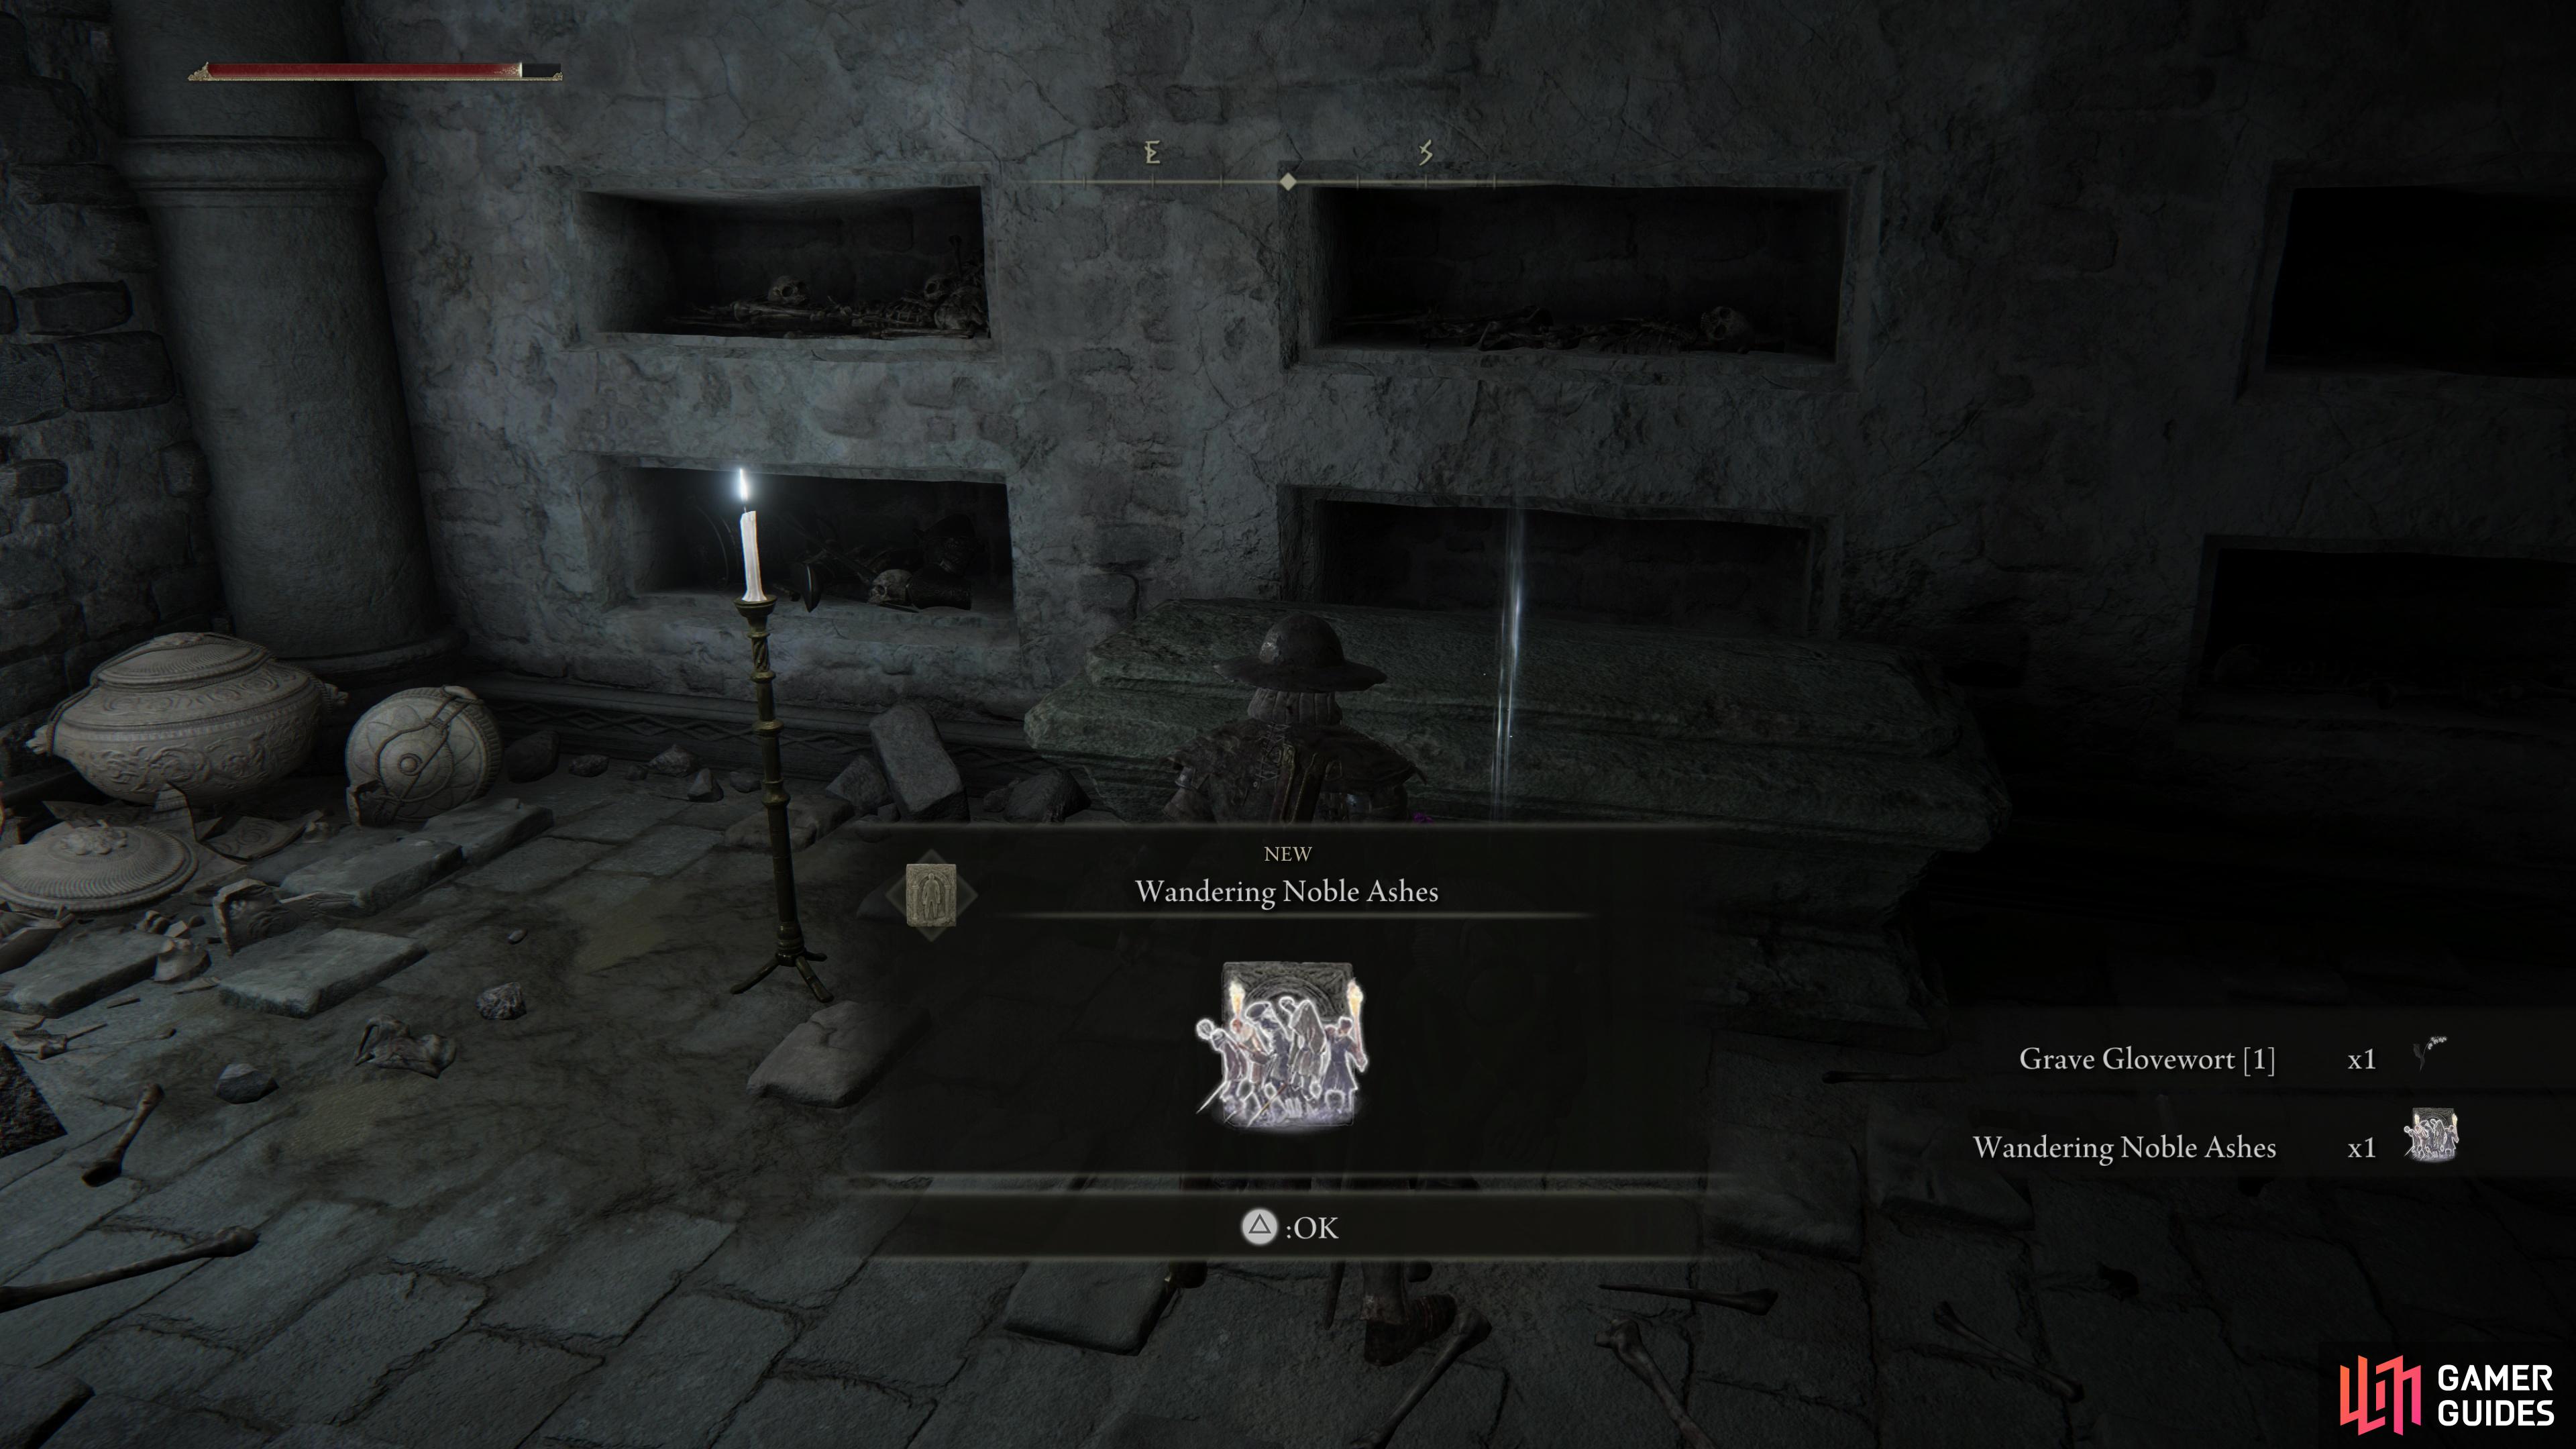
Plunder a corpse to obtain the “Wandering Noble Ashes”.
This tunnel leads to a chamber which is functionally identical to the one at the beginning of the dungeon; a Jade Goblin will ambush you (this time from the right) while another stands back and throws projectiles at you. Kill them and you can claim the Wandering Noble Ashes, a new summon that sacrifices potency in favor or sheer numbers.
Return to the multi-level room and drop down to a lower ledge along the southwestern end of the room. Kill another Jade Goblin to the northeast, then pull a lever and drop down to the lower floor. Head upstairs to the southeast, then go through the now-unlocked door to the northeast.
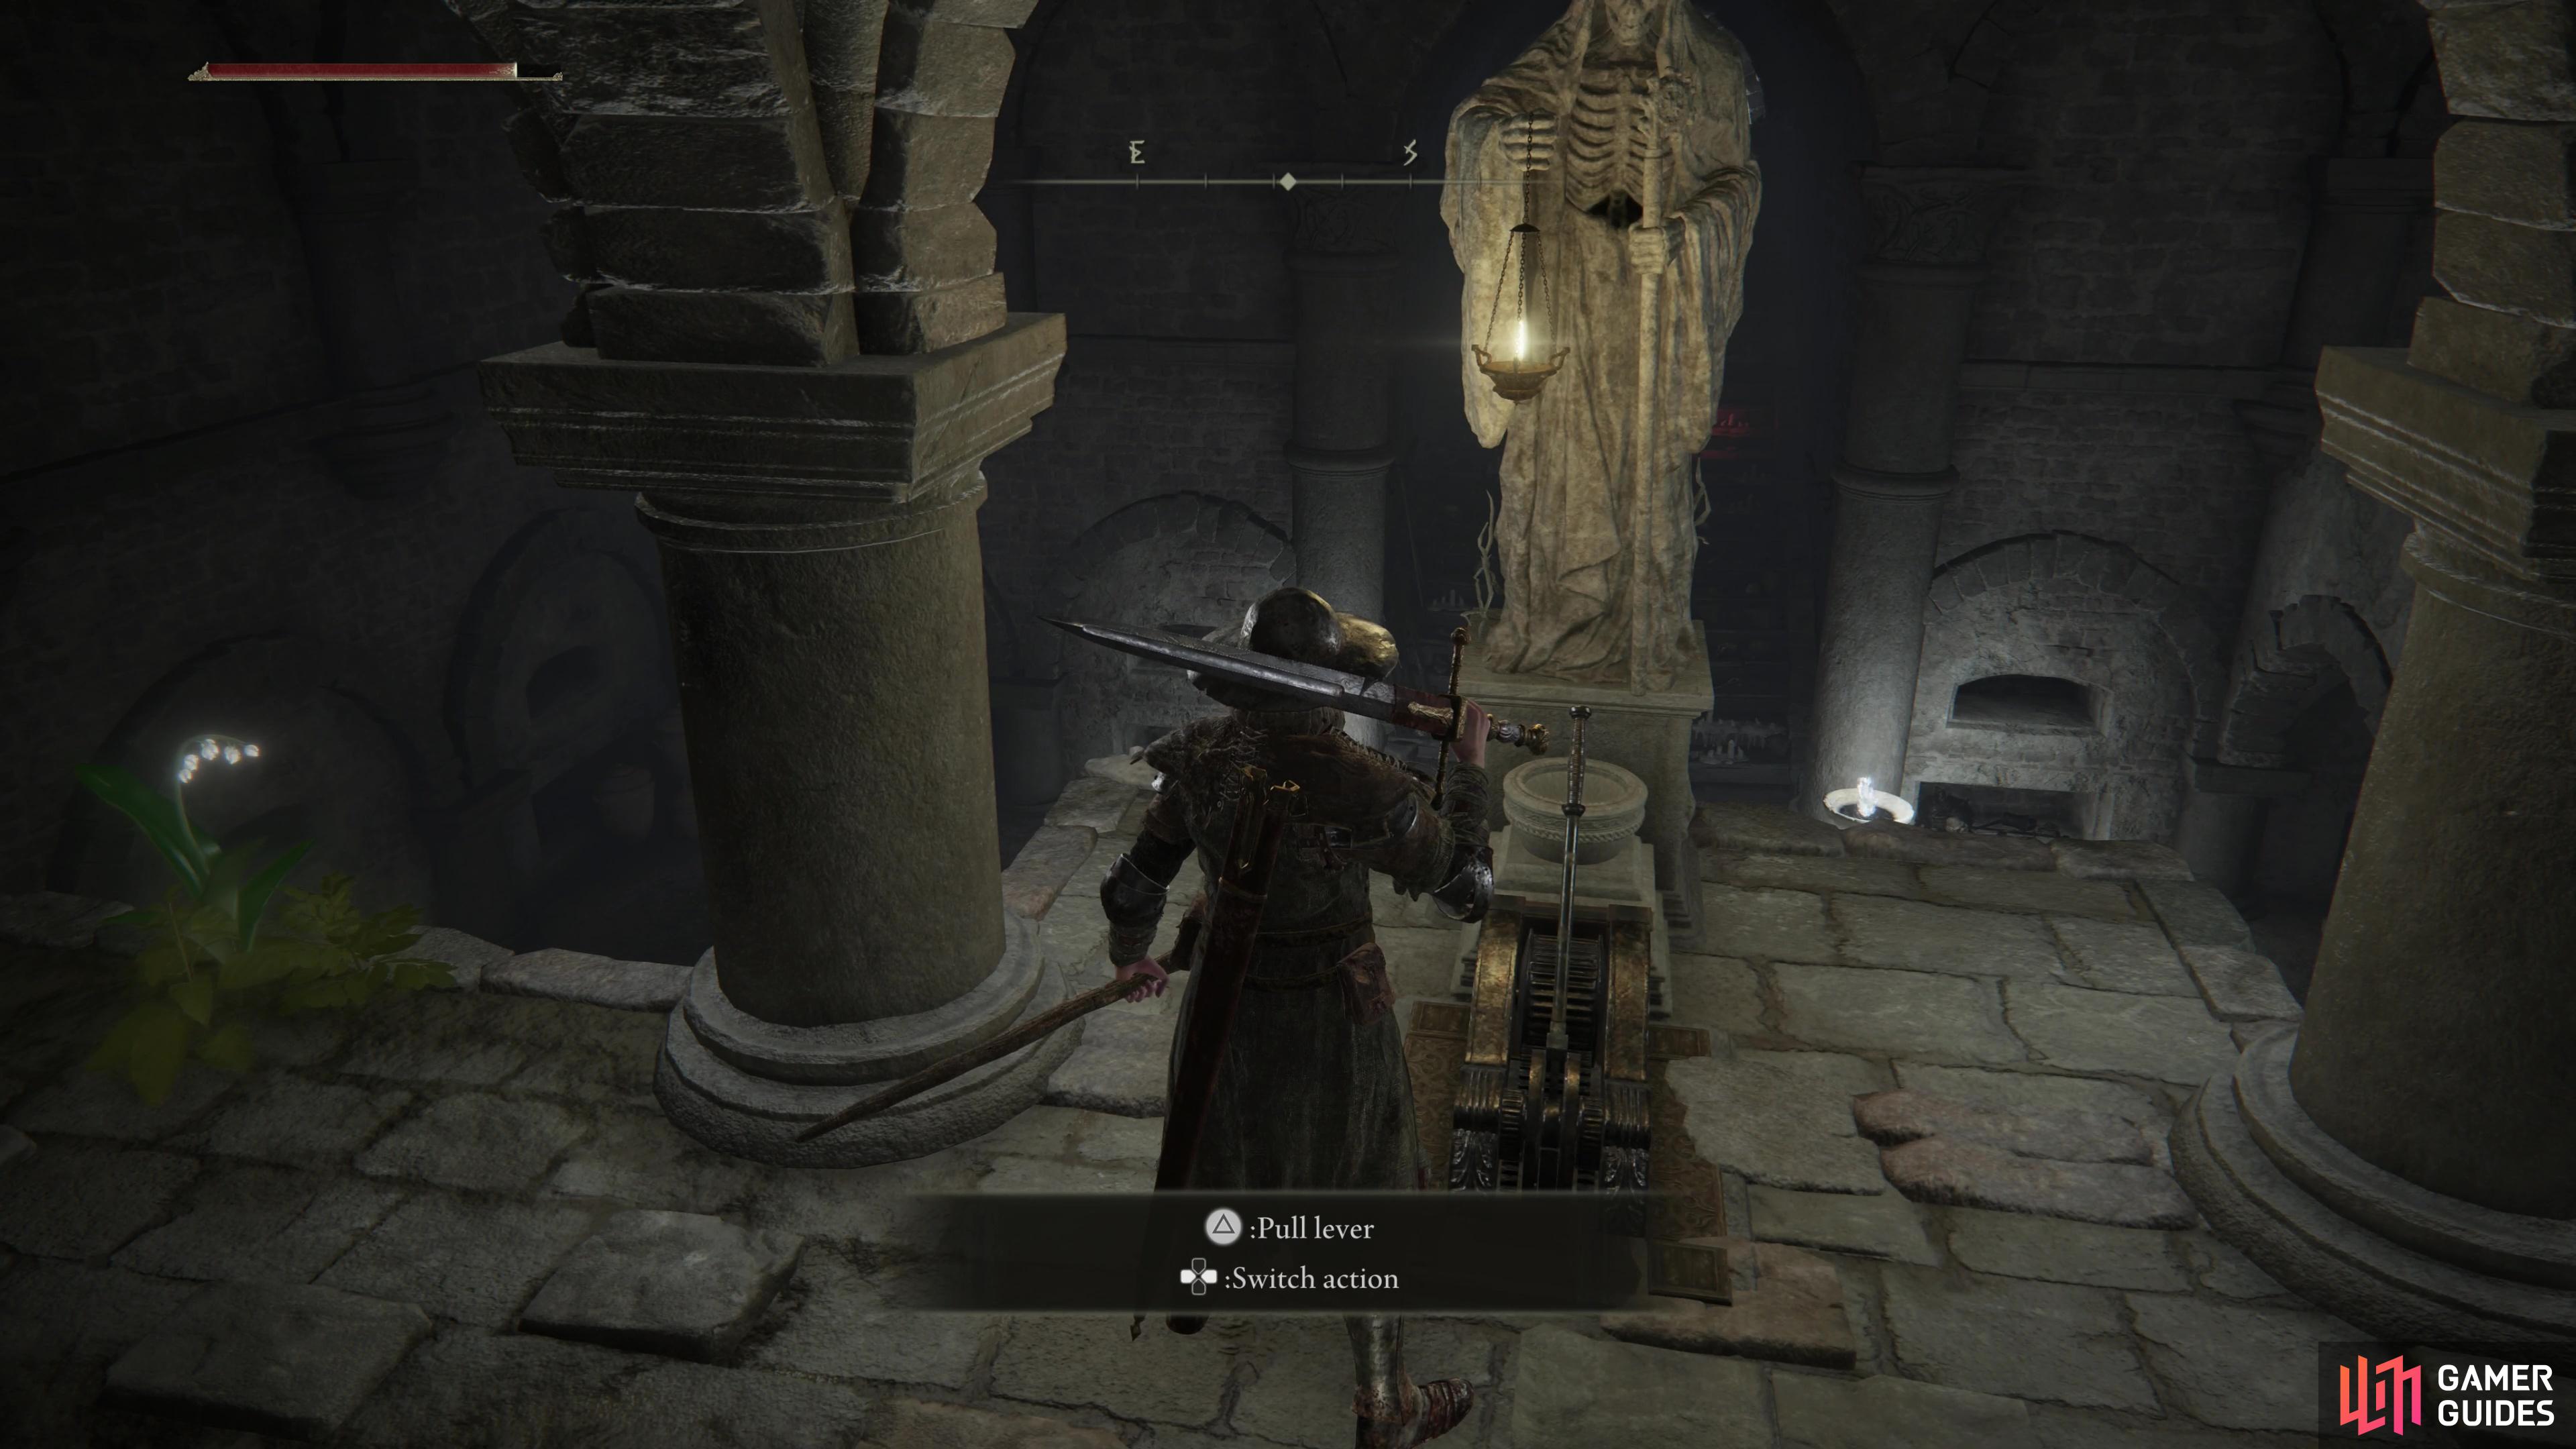
(1 of 3) Pull a lever to open a door,
At the bottom of another flight of stairs you’ll find another mist door, so be prepared to go toe-to-toe with the Erdtree Burial Watchdog once you cross the threshold. This is another fairly weak boss, but just be warned, it doesn’t even try to follow the laws of physics or animate normally, attacking with both a large sword and by spewing fire. Fortunately you can try out your new summon here, and the Wandering Nobles are fairly competent at distracting the boss, even if they probably won’t do much damage. Defeat it and you’ll claim another summon via the Noble Sorcerer Ashes.
No Comments