
In Elden Ring, you’ll find a wide range of characters that will share their plight with you, most of these will have Quests that span multiple locations. This page will detail where you can find Hyetta and complete her Questline.
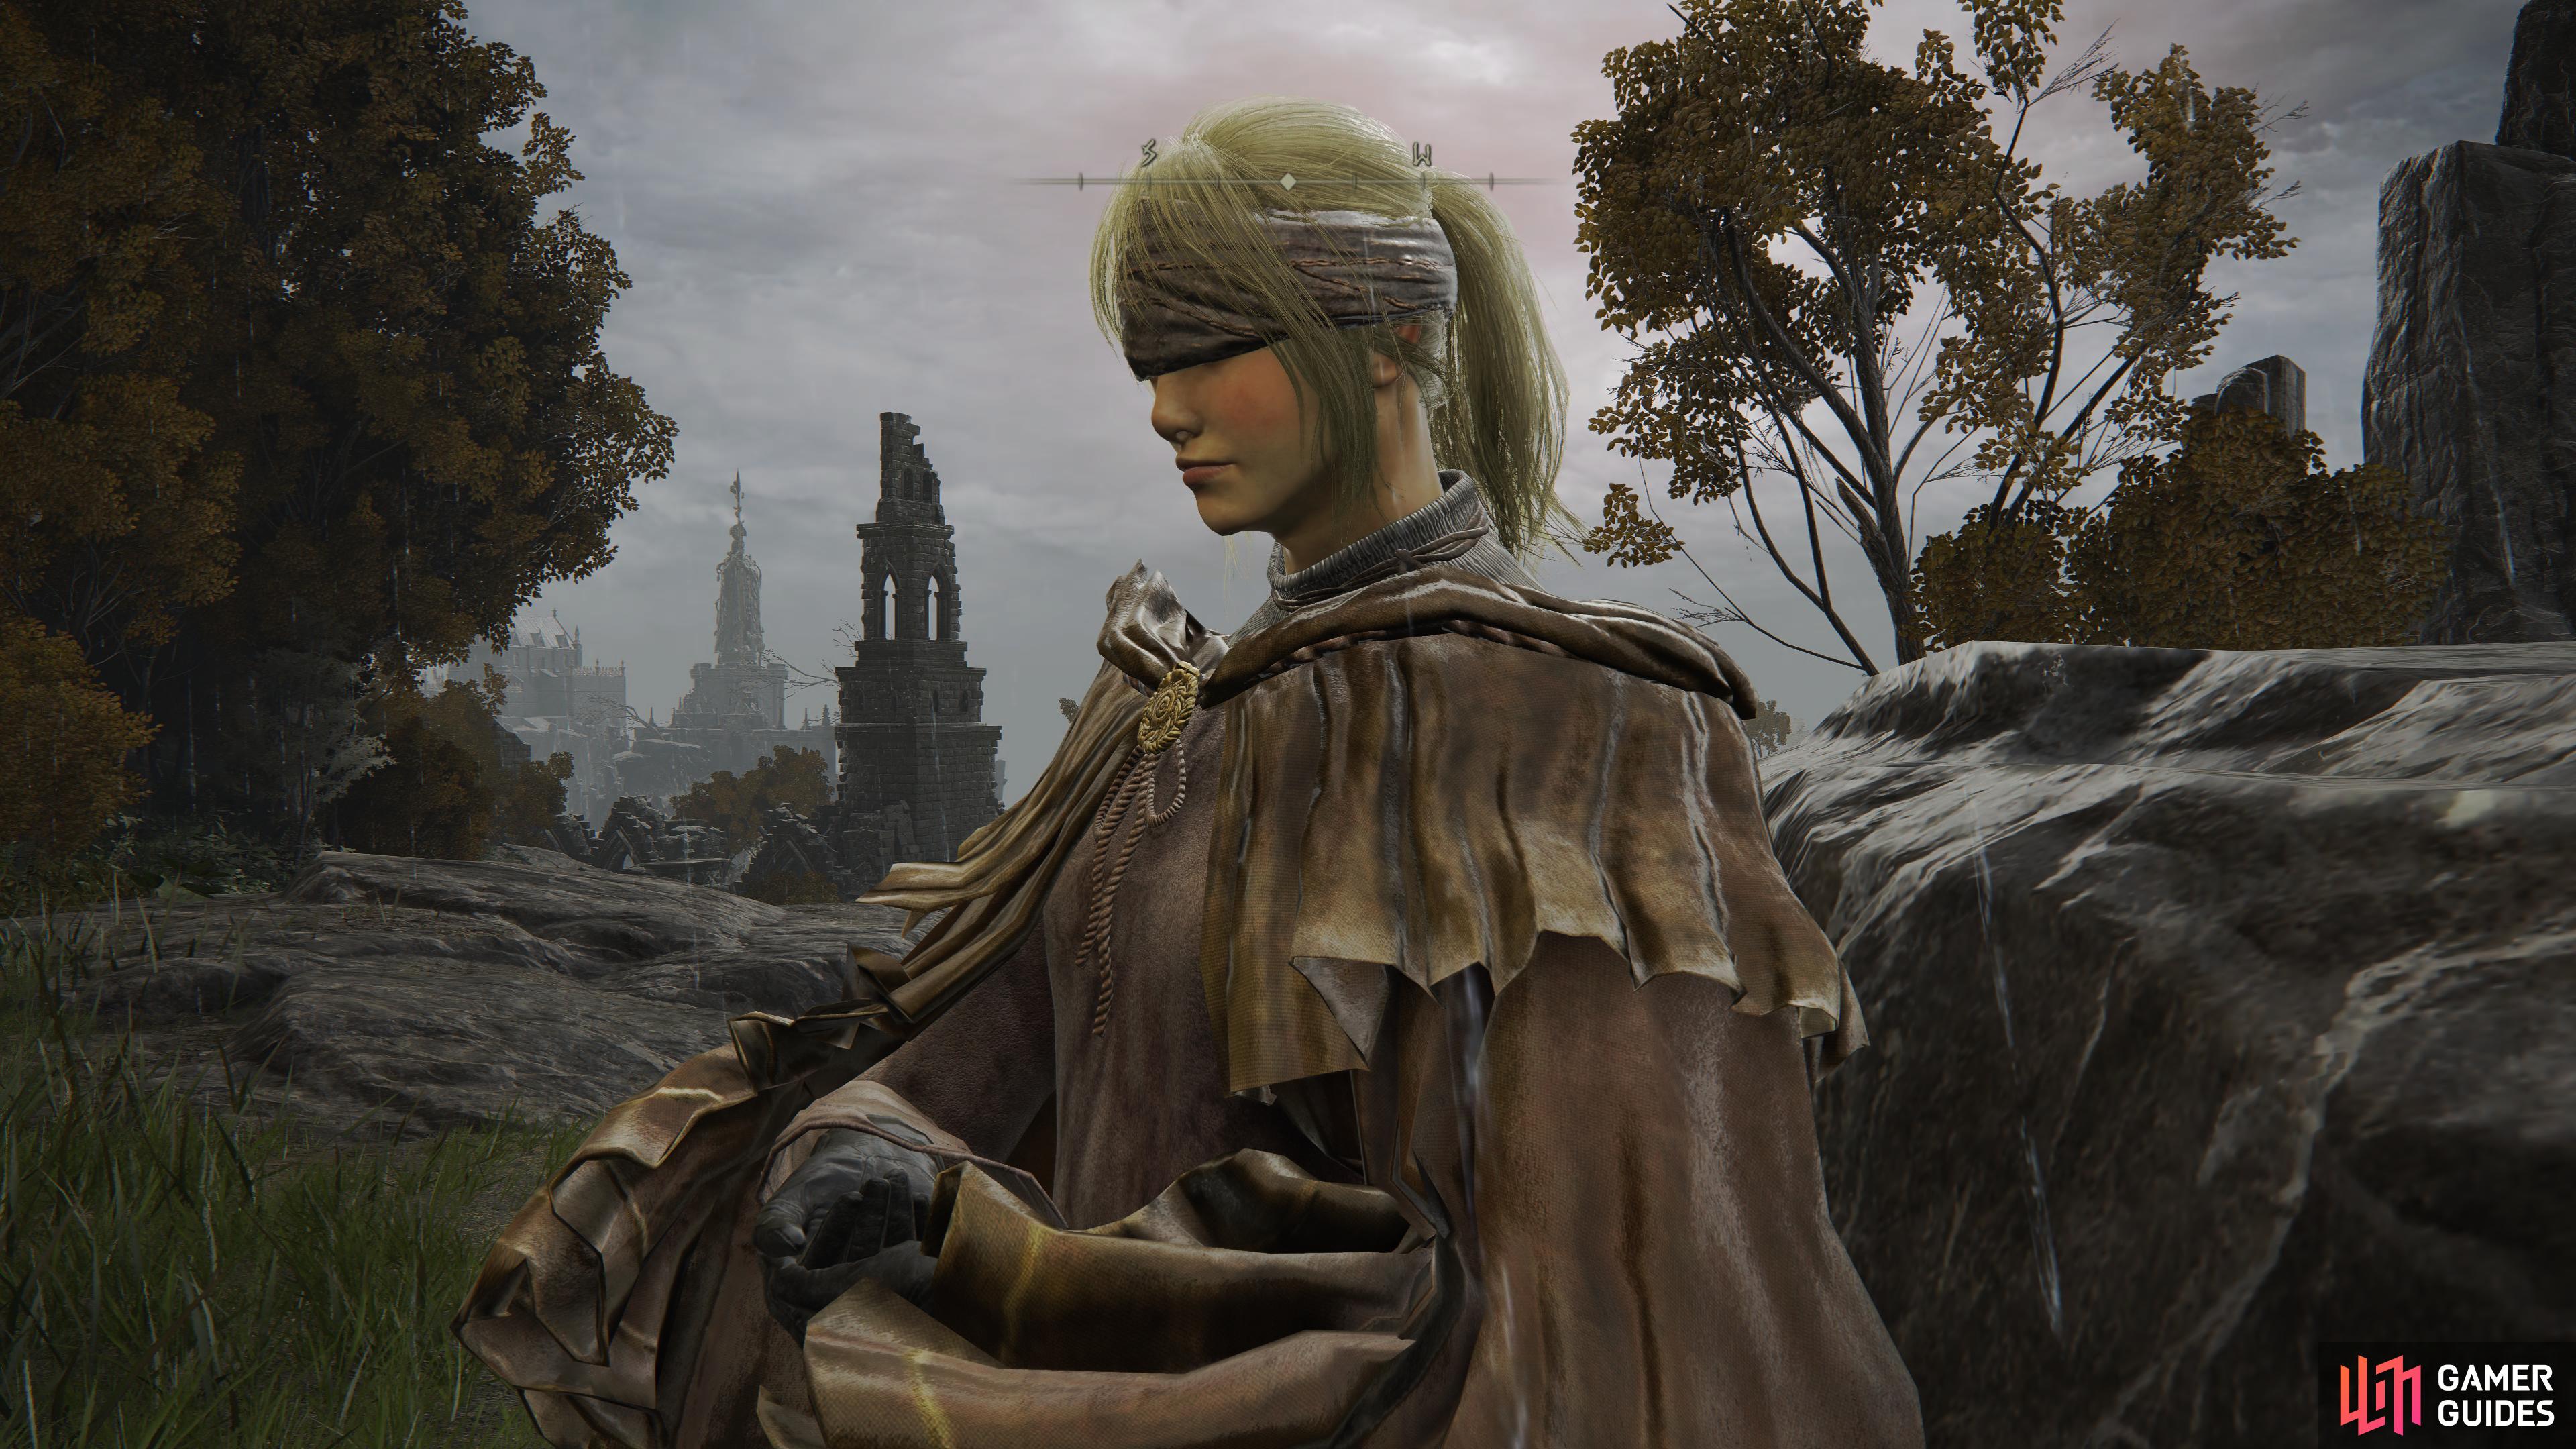
Hyetta in Elden Ring.
First Meeting - Lake-Facing Cliffs in Liurnia of the Lakes
Hyetta is an important character in Elden Ring, and her Questline is related to one of the endings you can obtain. Before you can even get started with this Quest however, you must see Irina’s short Quest in Weeping Peninsula to its conclusion.
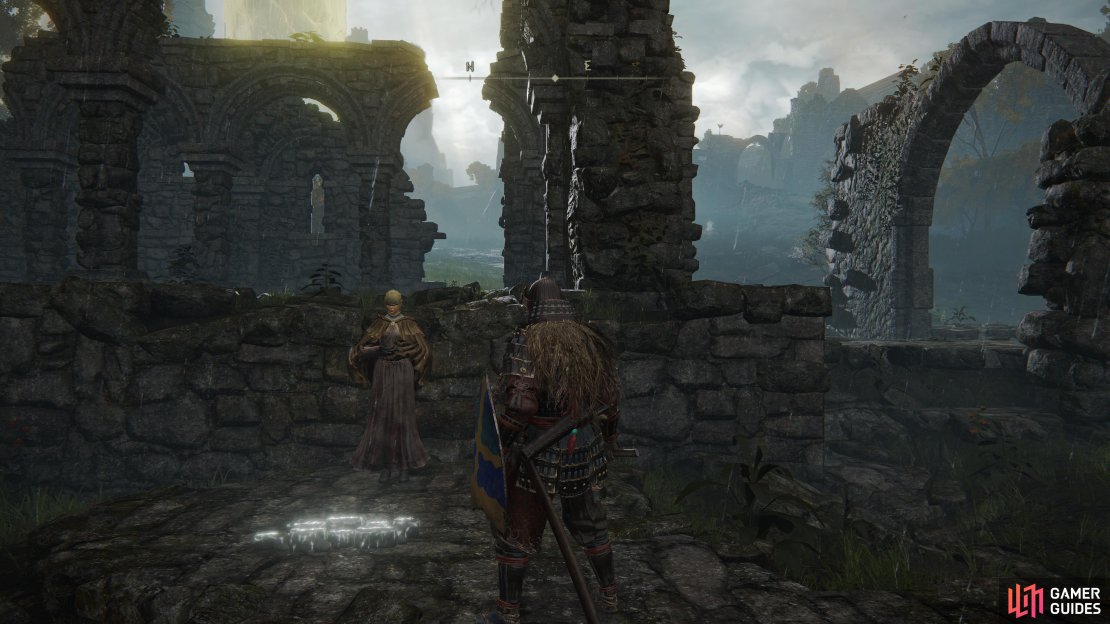
(1 of 2) You will first meet Hyetta at the Lake-Facing Cliffs in Liurna
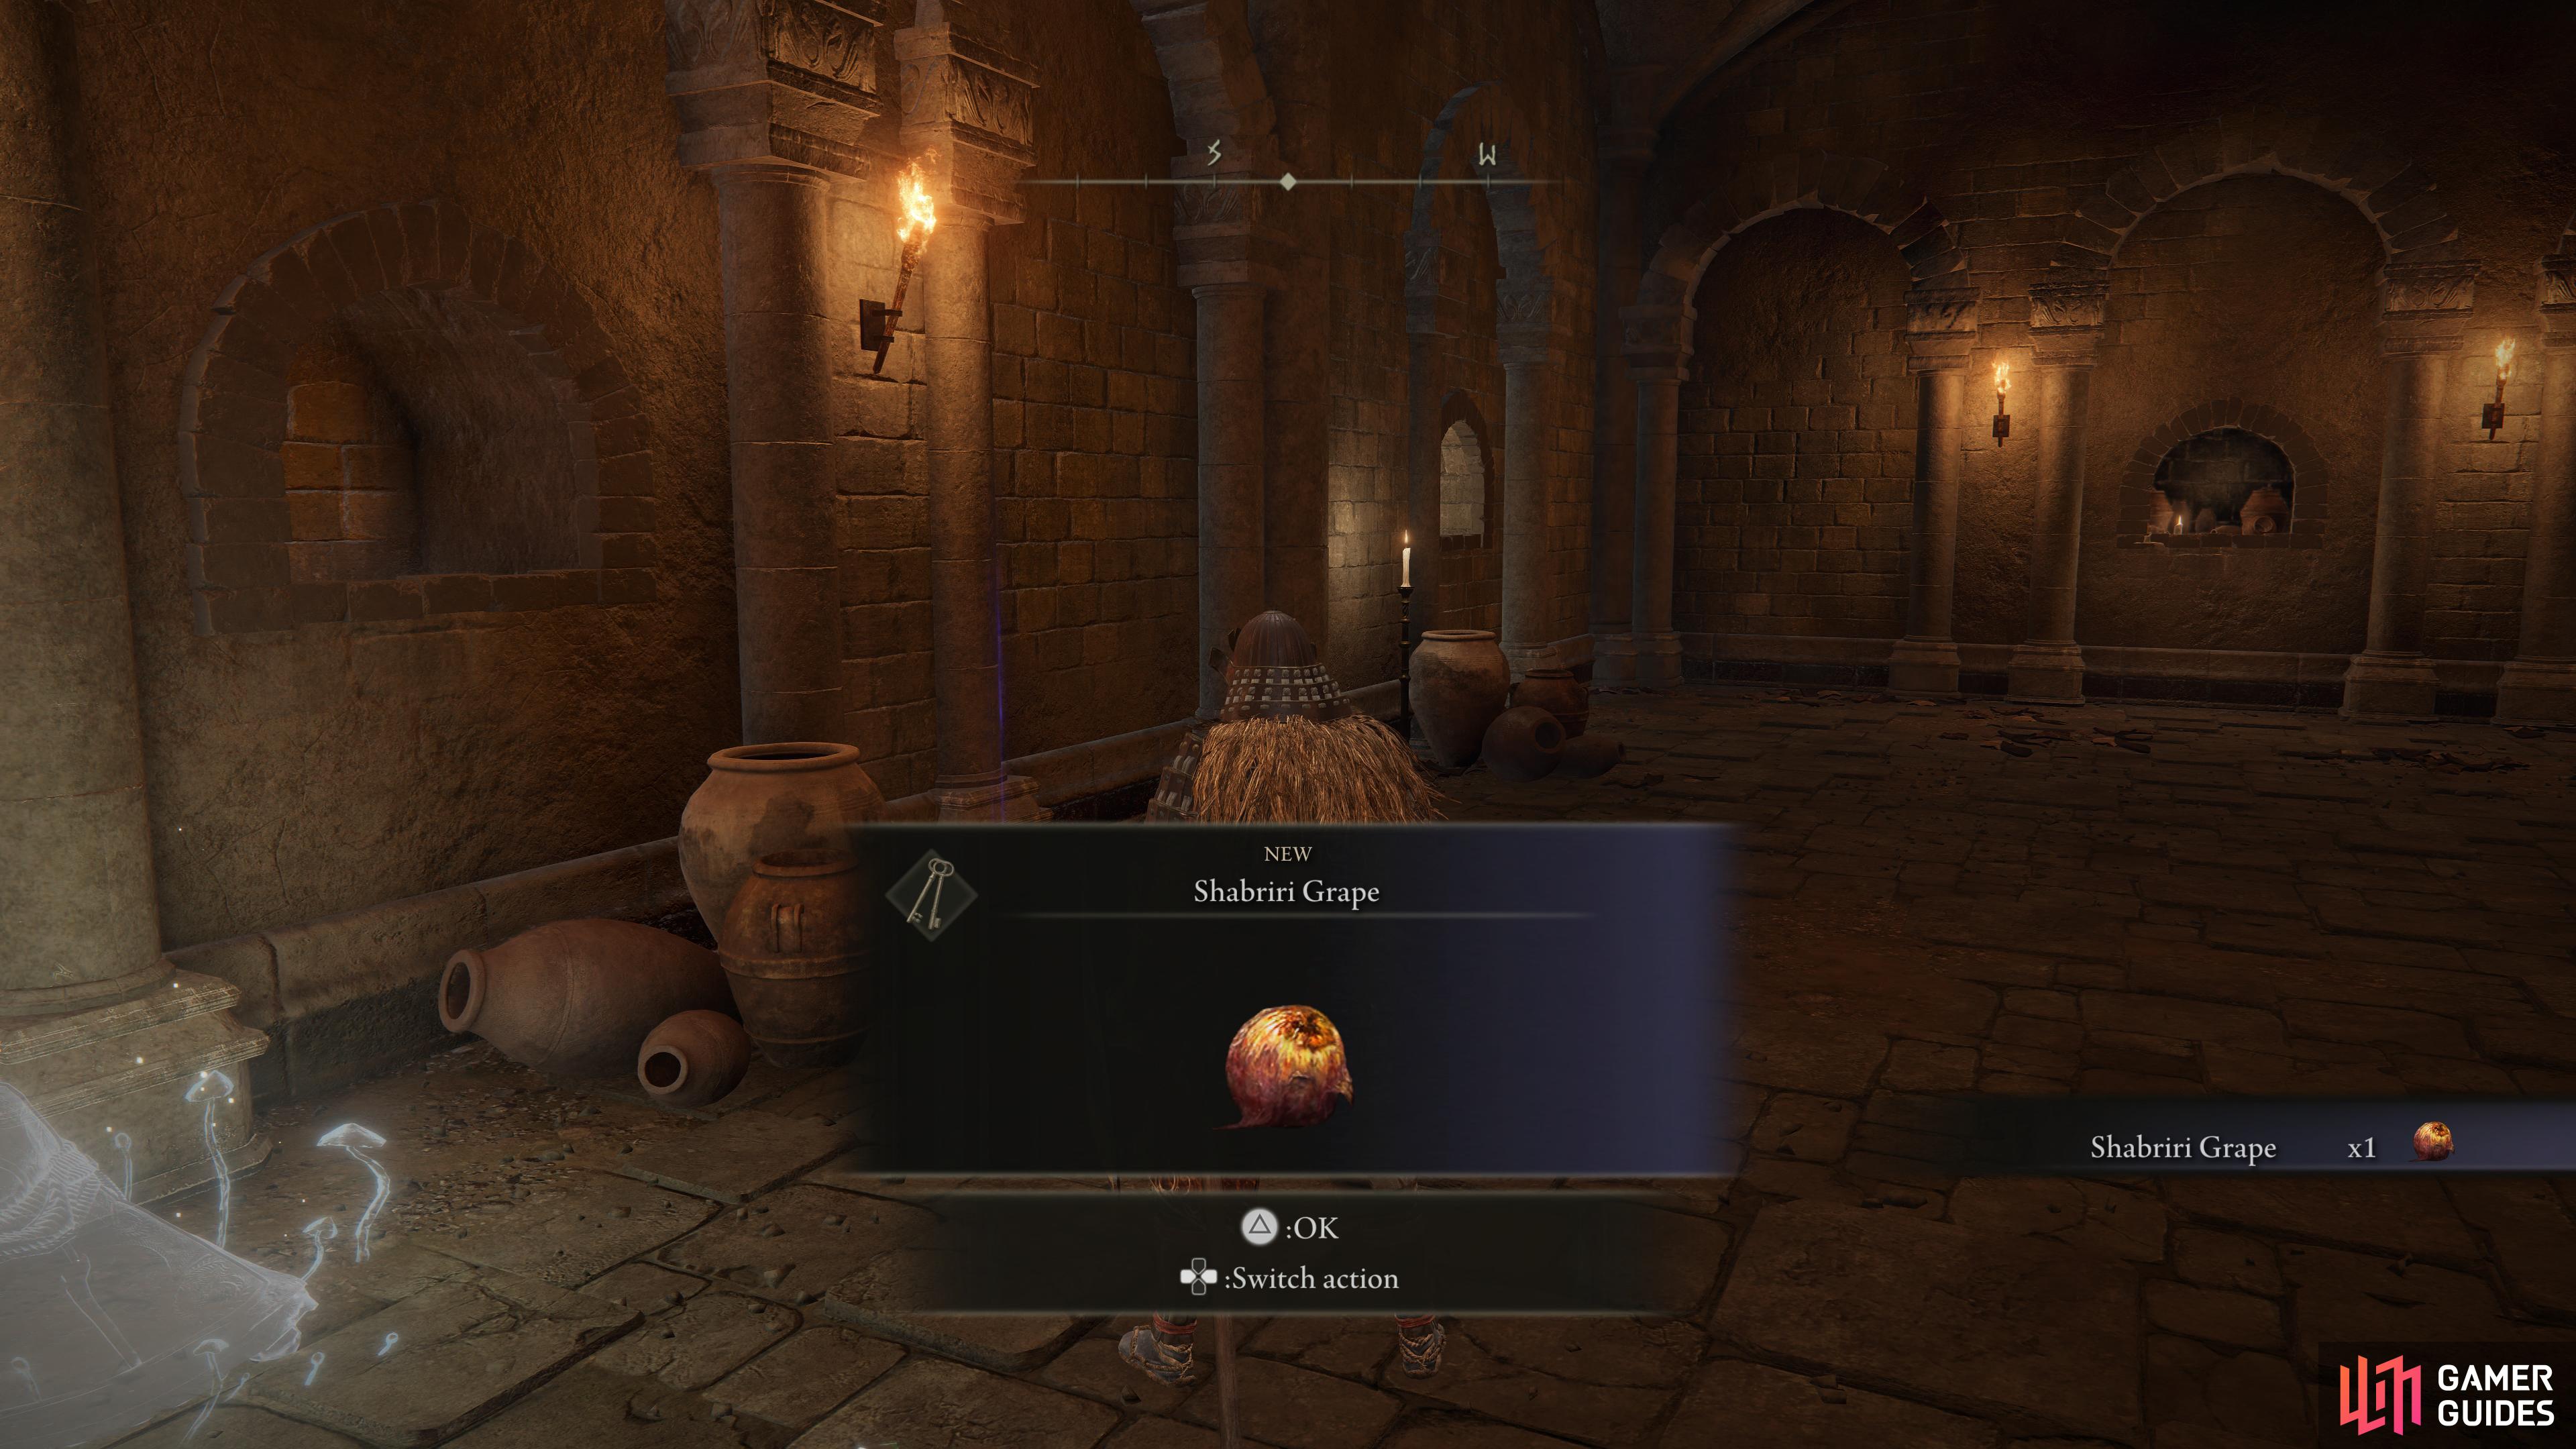
You will first meet Hyetta at the Lake-Facing Cliffs in Liurna (left), the first Shabriri grape can be found in the section of Stormveil Castle before you enter Liurna for the first time. (right)
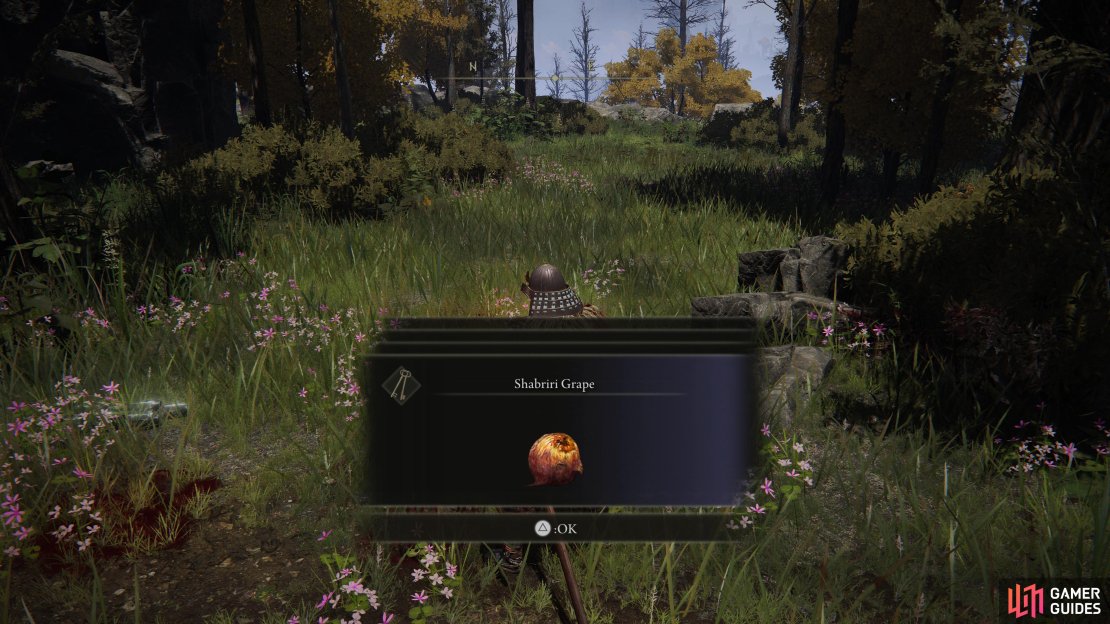
Once you’ve achieved this, head to the Lake-Facing Cliffs Site of Grace at the entrance to Liurnia of the Lakes and refresh the area. You’ll find Hyetta here and after exhausting her dialogue, you’ll learn she’s on a journey and on the lookout for Shabriri Grapes. For this first encounter, you may already have your first Shabriri Grape, heading north from the Godrick the Grafted Site of Grace in Stormveil Castle, follow the path towards Liurnia and you should come across a spirit near an item, this item is your first grape.
With it in hand, return to Hyetta and hand it over, she’ll thank you and teach you the As You Wish Gesture. Then, after you rest at the nearby Site of Grace, will move on to her second location in Liurnia.
Second Meeting - Purified Ruins
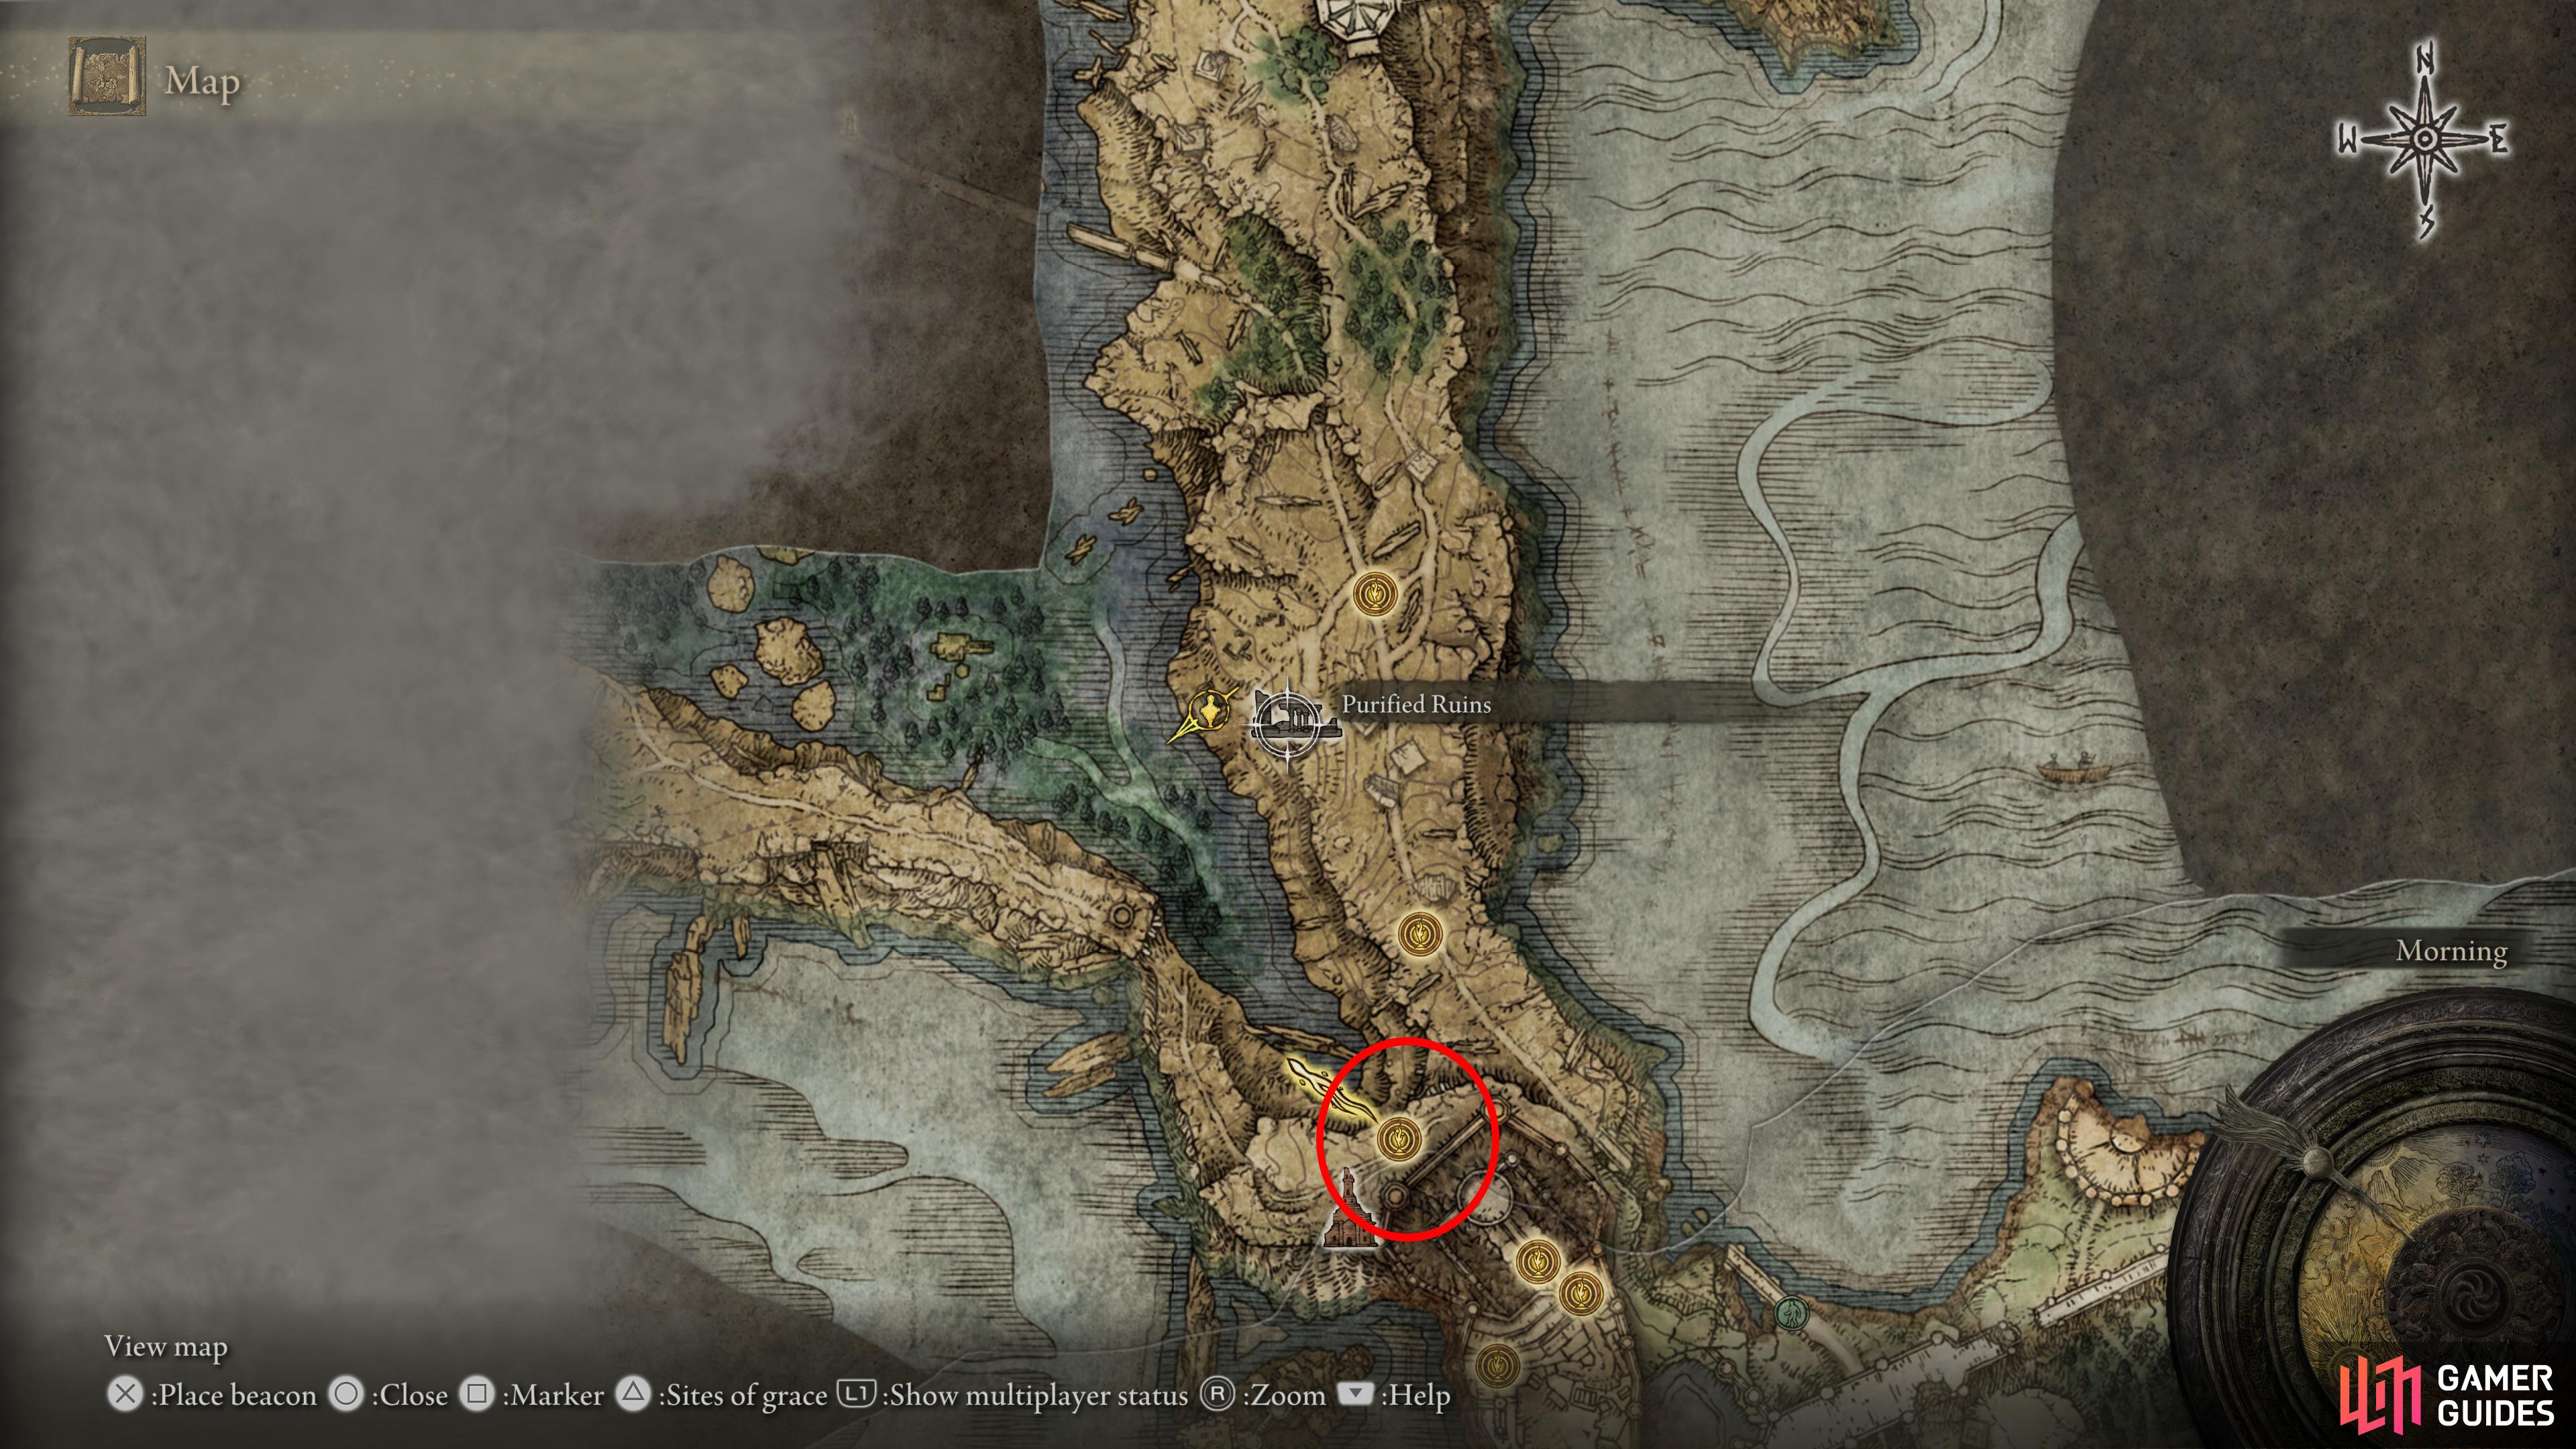
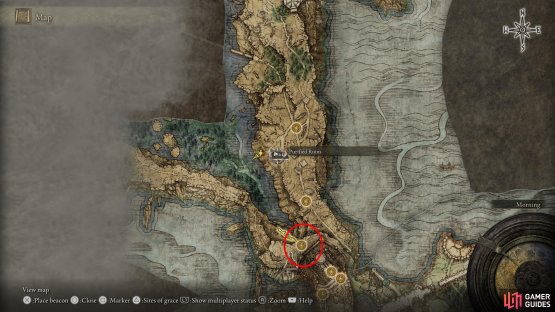
You’ll next find Hyetta by following the northeast of Liurnia until you reach the Liurnia Highway South and start heading northwest to reach the Purified Ruins. Head to the far west here, close to where the lake begins and you’ll find Hyetta once more, who wishes for another Shabriri Grape.

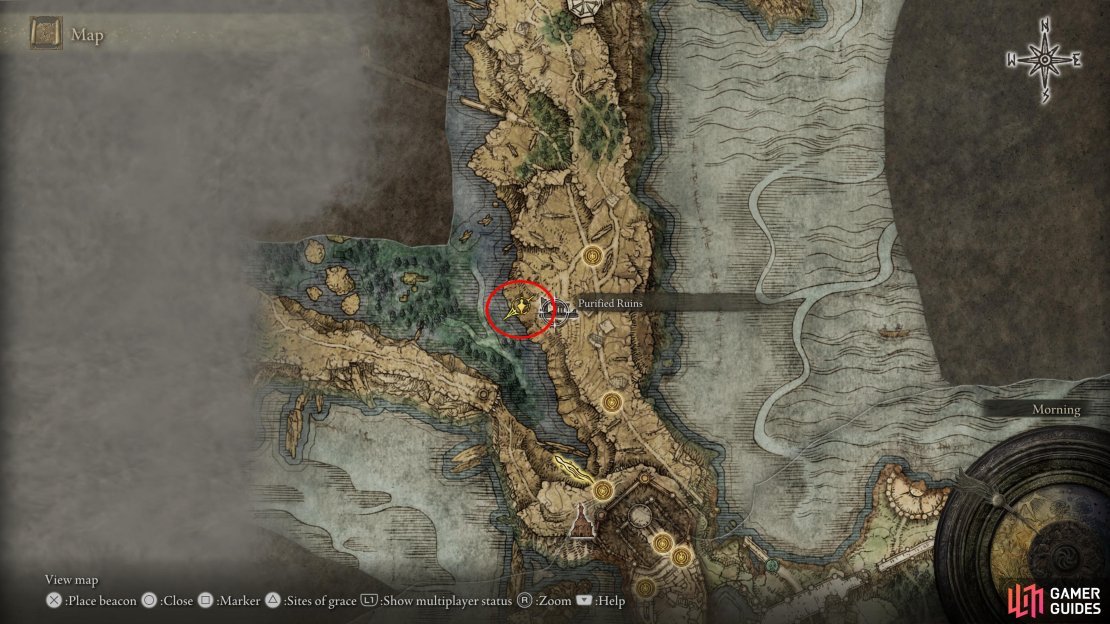
(1 of 3) Head north a little to the Pacified Ruins
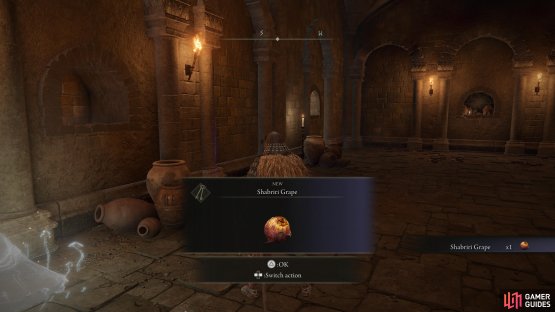
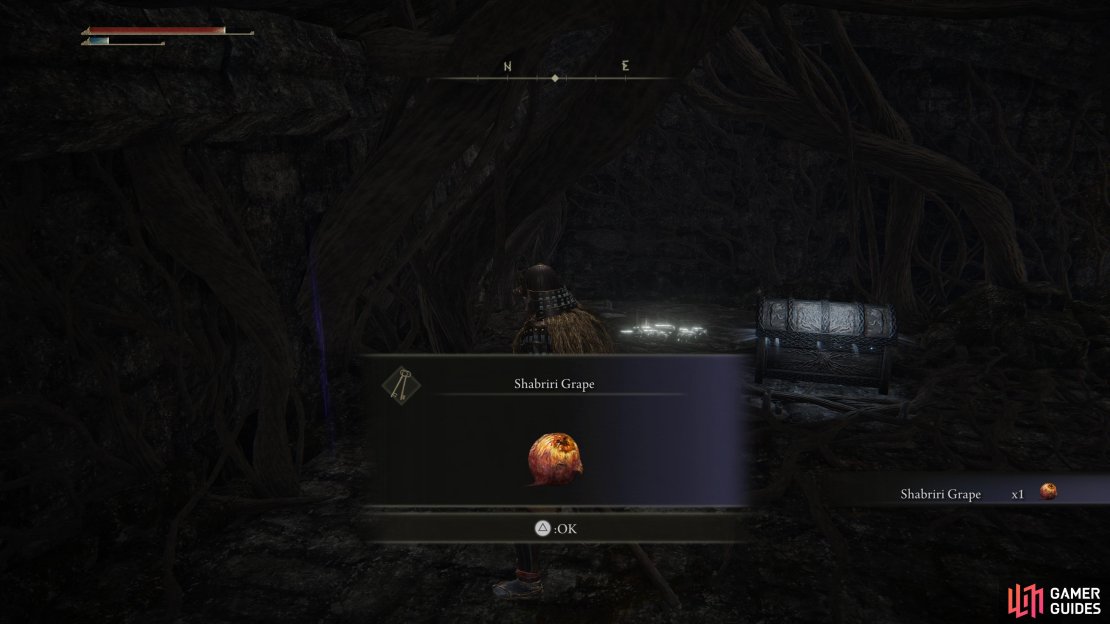
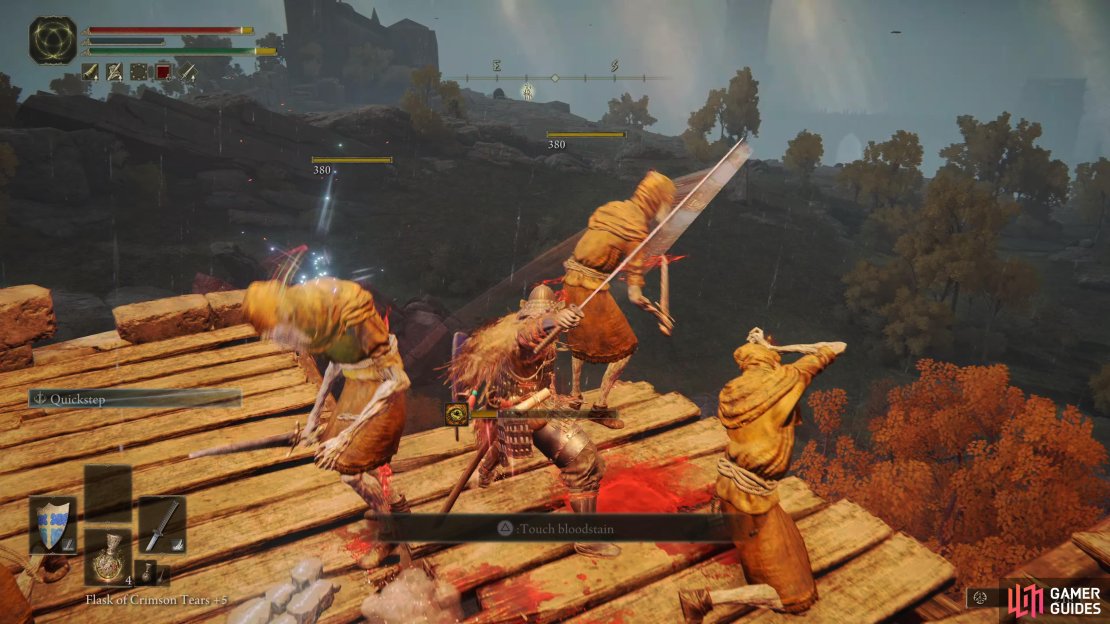
This second Grape can be found nearby, head northeast to the other part of the ruins here and you’ll need to deal with a large group of soldiers. Once they’ve been dispatched off, head into the main area here and you should see some planks on the ground. Roll into these to break them and find some stairs leading down to the second Shabriri Grape and the Two Fingers Heirloom. Return to Hyetta, hand it over, and exhaust her dialogue once more to have her move on to her next location.
Third Meeting - Gate Town Bridge
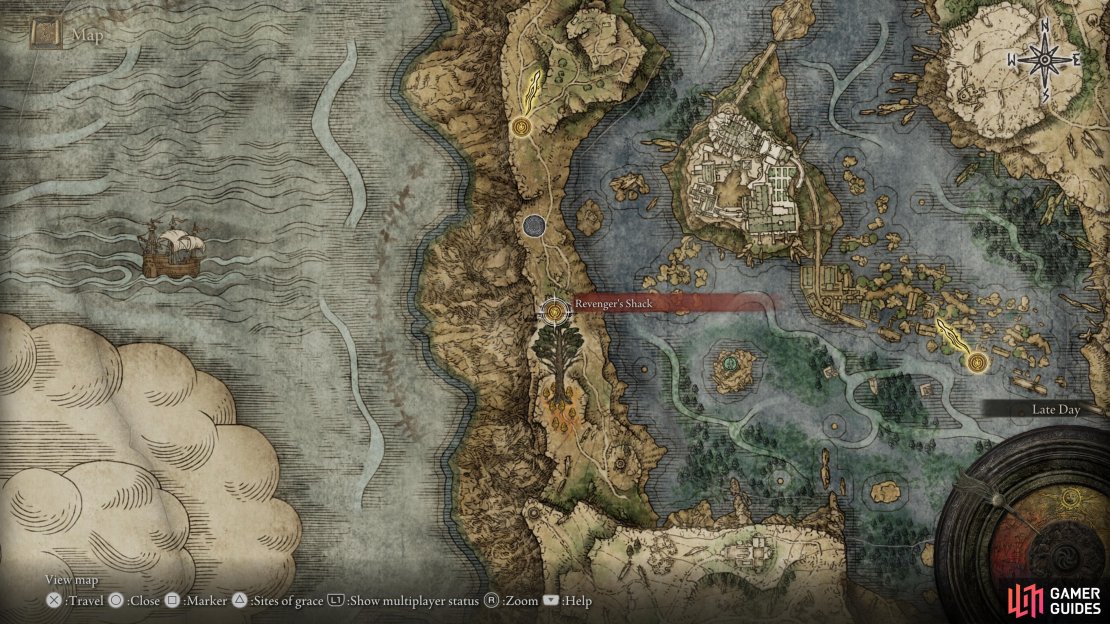
For the next Shabriri Grape, you’ll need to go to a different location than Hyetta, but do head north from your current location and activate the Gate Town Bridge Site of Grace, it will save some travel time later. Once you’ve done this, you’ll need to head to western Liurnia and head just north from from the Minor Erdtree here to discover the Revenger’s Shack Site of Grace. Prepare yourself, rest at the Grace and then enter the shack to be invaded by Edgar the Revenger, your final meeting with Edgar from Weepining Peninsula. Defeat him and you’ll obtain your next Shabriri Grape among other goodies.
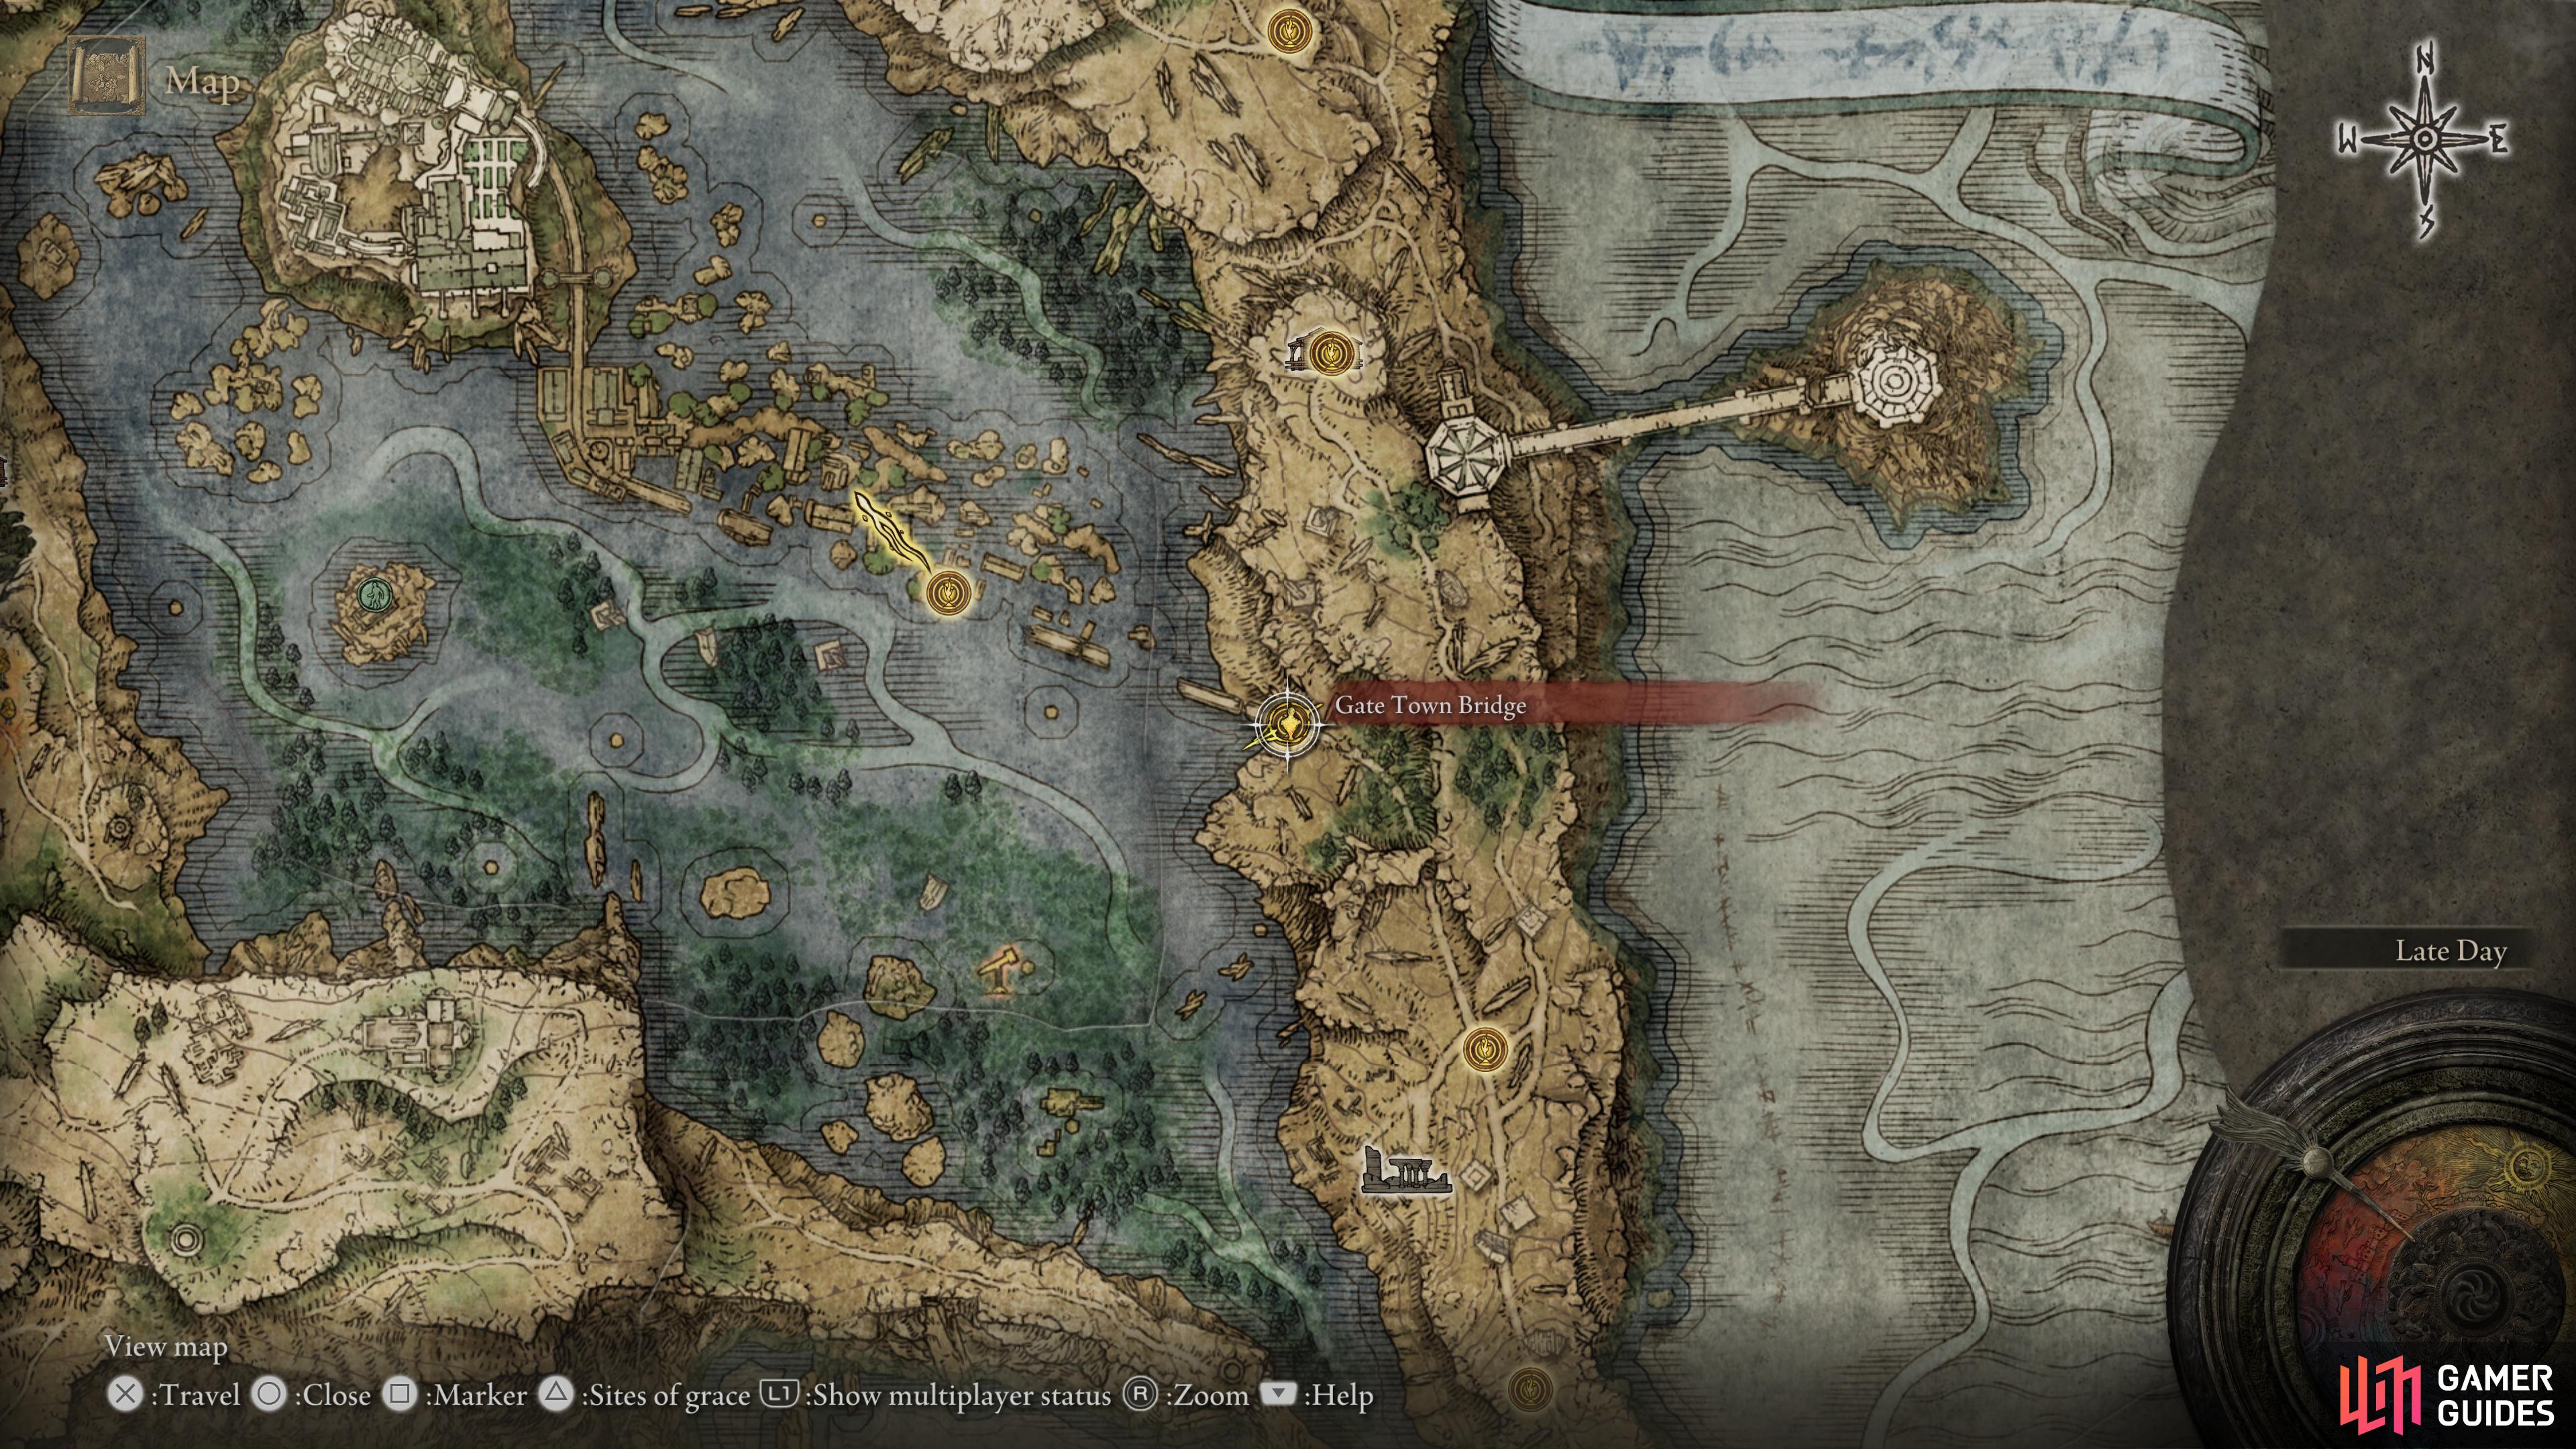


(1 of 5) Make your way to Gate Town Bridge in eastern Liurna to register the Site of Grace
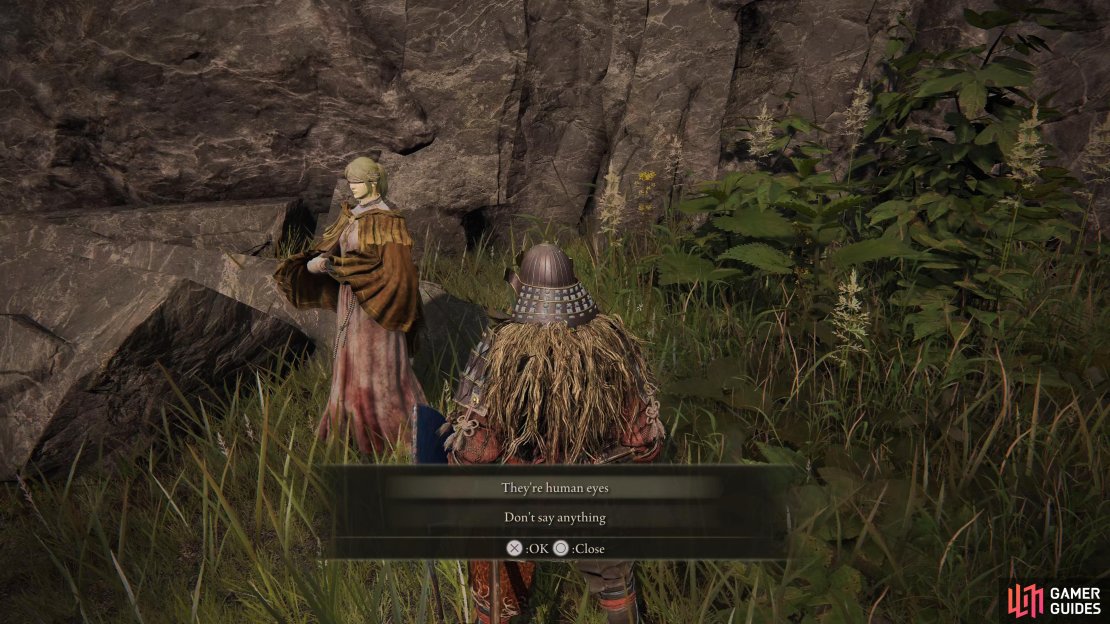
Return to the Gate Town Bridge Site of Grace and Hyetta can be found just to the north of it. Hand over the latest grape and when given the choice, inform her of what the grapes really are. After reeling, and then thanking you, rest at the Site of Grace and speak with her again, exhausting her dialogue options. Rest once more at the Site of Grace following this and she’ll move on to her next location.
Fourth Meeting - Bellum Church
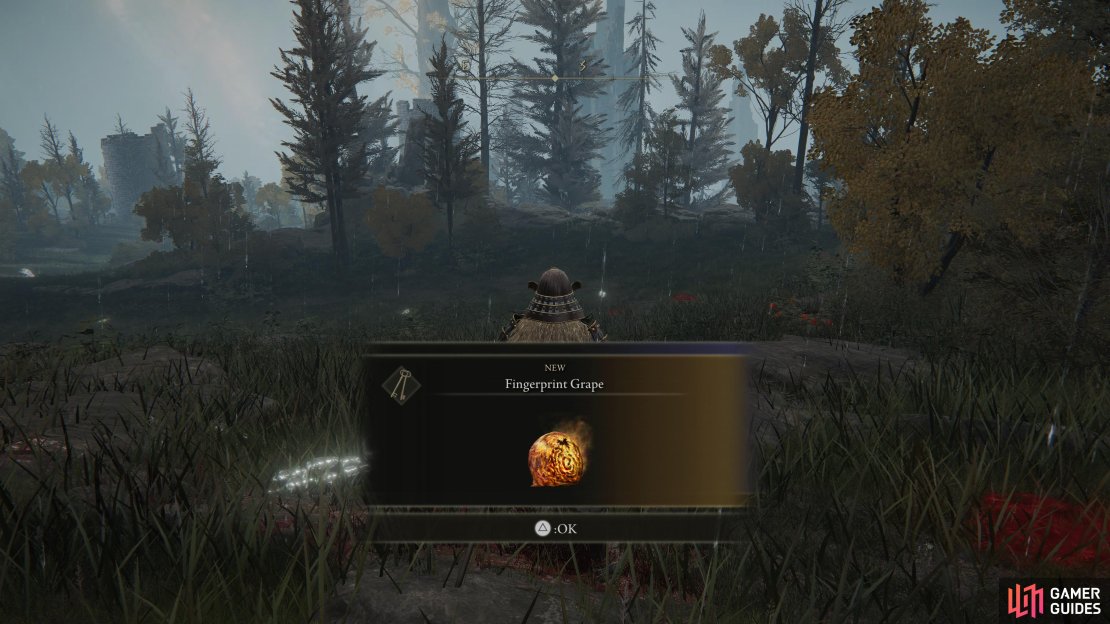
You’ll next run into Hyetta at Bellum Church, to the north of Liurnia. You can best access this by heading north along eastern Liurnia, following the road until you reach the Ruined Labyrinth Site of Grace. From here, start heading northwest and drop down (using the tombstones on the edge of the cliff) to the land (but not the lake) below you. From here it’s just a short trip to the northwest through the trees to reach Bellum Church where you’ll meet Hyetta once more. This time, she requests a Fingerprint Grape.
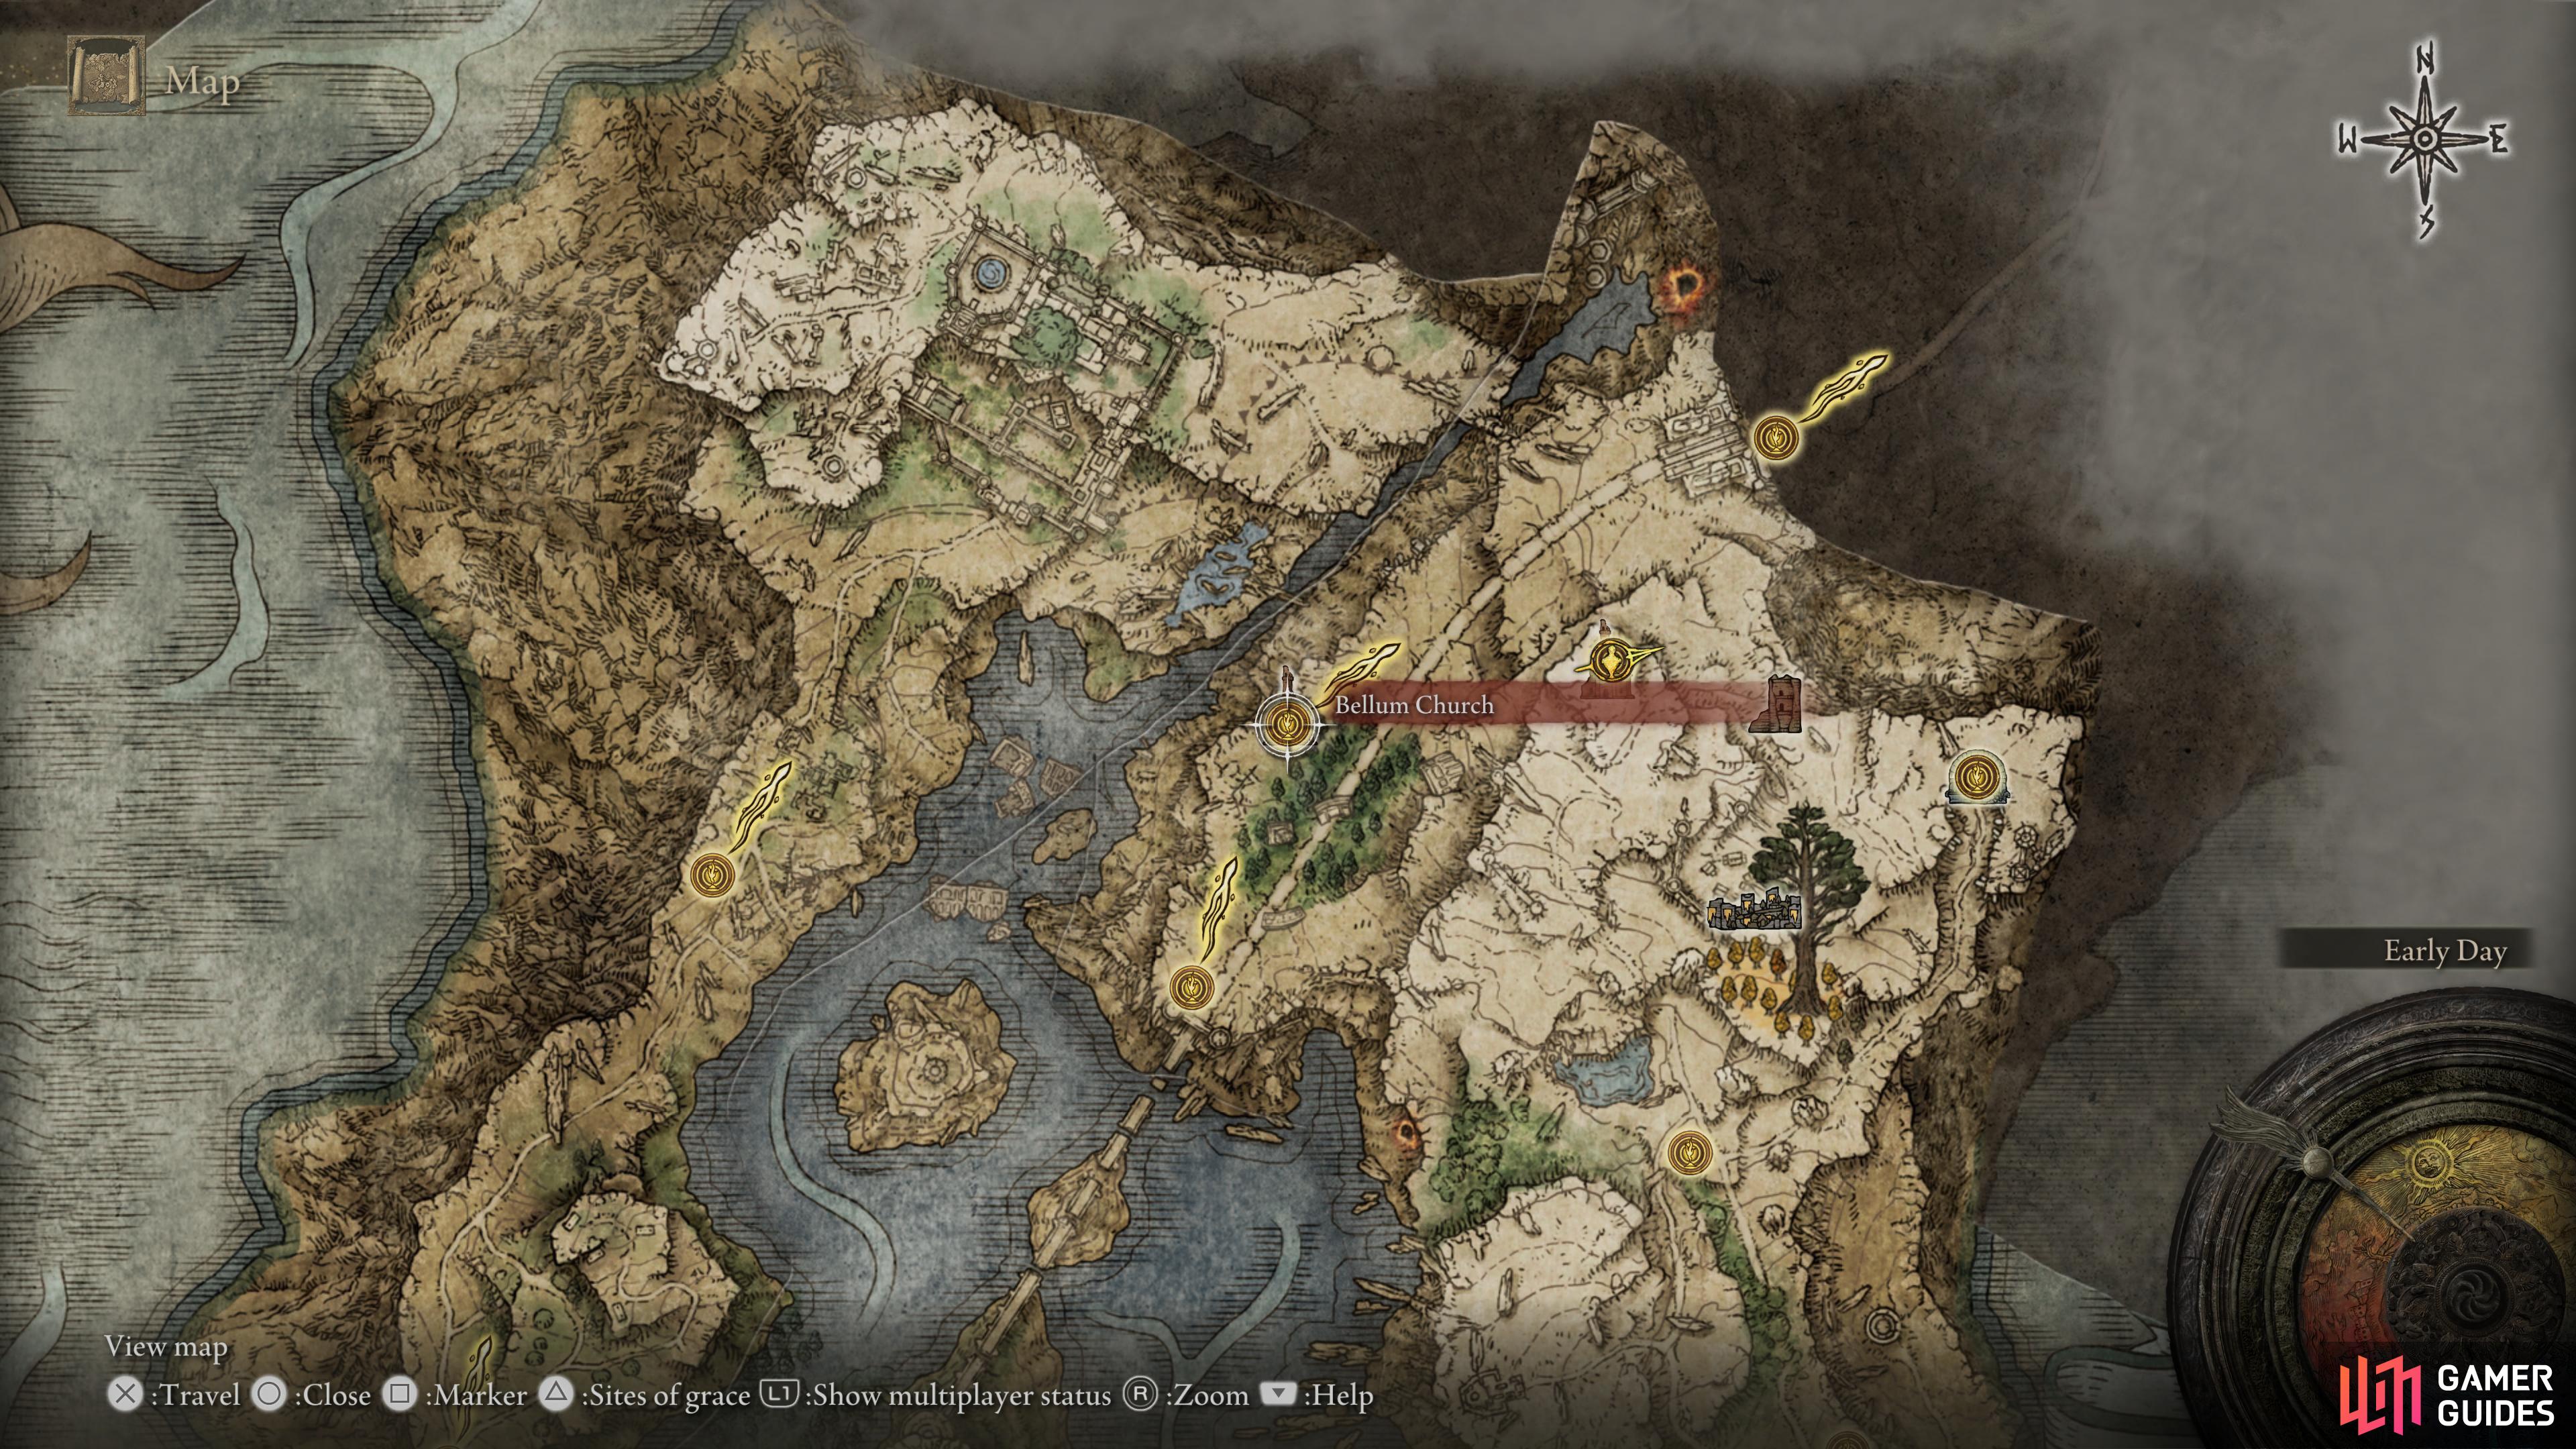


(1 of 2) Head to Bellum Church in northeast Liurna

Head to Bellum Church in northeast Liurna (left), to meet Hyetta for a fourth time. (right)
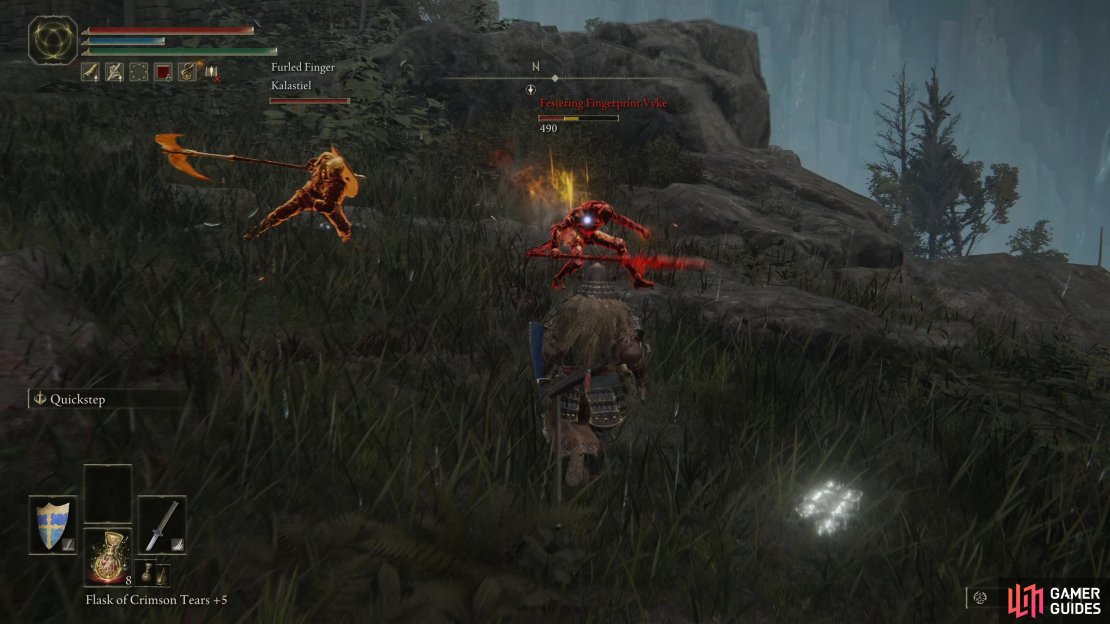
To find this grape, head northeast from the Church of Bellum and then as you approach the Grand Lift of Dectus, head southeast and climb up a little to find the Frenzied Flame Village on your left. Before heading any further, head towards the tower on your left and defeat the Maniacs at the top to stop the constant buildup of Madness in this area. Next, head northwest here and you’ll eventually reach the Church of Inhibition where Festering Fingerprint Vyke will invade. Be sure to have protection against Madness and defeat Vyke to obtain, among other loot, the Fingerprint Grape.

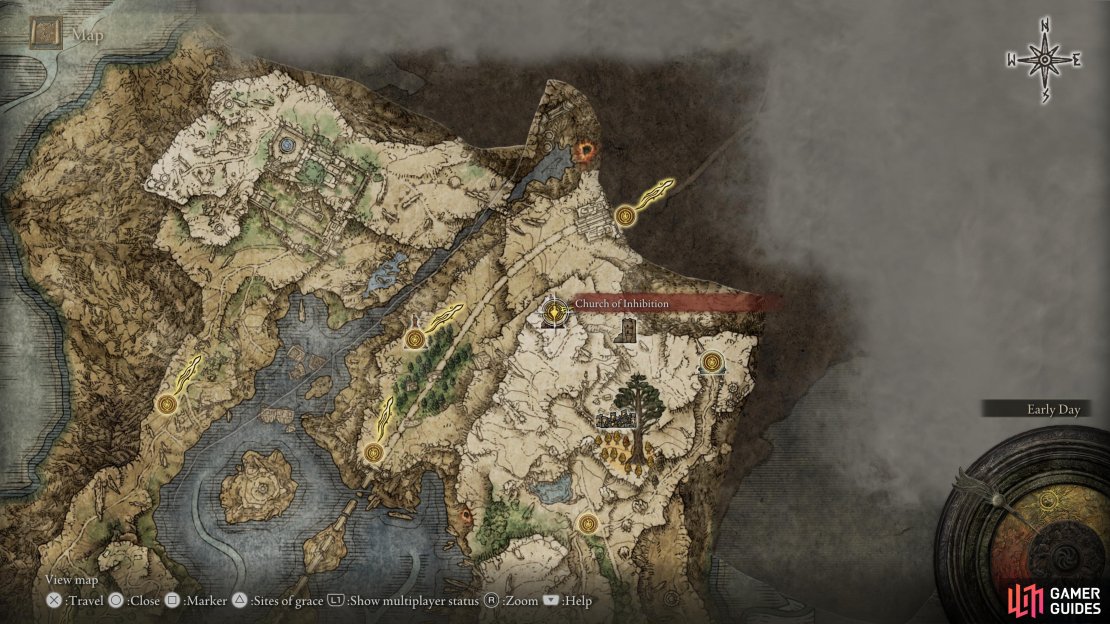
(1 of 5) Your next objective is the Church of Inhibition that you can reach by heading east from the end of the northeastern road
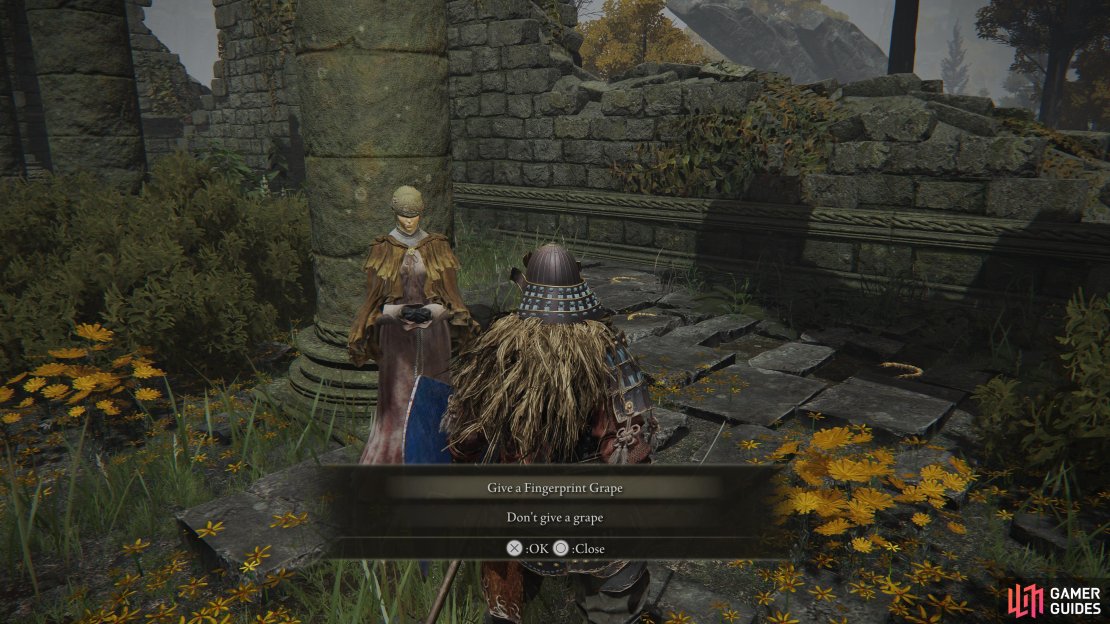
Return to Hyetta and hand it over to her for her to come to the conclusion that she must become a Finger Maiden, after which you should rest at the nearby Site of Grace. At this point, Hyetta will then move on to her next location, in Lyndell, where you won’t see her for a while.
Fifth Meeting - Frenzied Flame Proscription
Once you’ve progressed the game to the Leyndell, Royal Capital Legacy Dungeon and explored the Subterranean Shunning-Grounds, you’ll reach a boss battle against Mohg, the Omen. After his defeat, head behind the altar to find an hidden path (strike the wall) that will lead you to the Frenzied Flame Proscription. Speak with her and she’ll give you a hint about how to get through the door ahead, simply removing all of your equipment and you’ll gain access to the Three Fingers.
Return to Hyetta and she’ll ask you to burn her with the flame to make her your maiden (this is your last chance to prevent losing Melina), you’ll need to stand directly in front of her to get the option. Exhaust her dialogue at this point and her Quest will come to an end, you’ll be able to obtain the Frenzied Flame Seal from her body.
No Comments