This is a guide for defeating Professor Sada at the end of Area Zero in Pokémon Scarlet. We’ll explain what Pokémon she uses, their moves and the best Pokémon to counter them!
Professor Sada issues a challenge at the bottom of Area Zero.
Recommended Pokémon for Professor Sada
Sada has a varied team of Paradox Pokémon, so you’ll need a varied team yourself. At the very least, we suggest bringing a Fairy and a Fighting type.
Your Pokémon should be Level 66 or higher, since Sada’s Pokémon are all Level 66 to start with.
Here are some Pokémon you could use, if you’re low on ideas:
- The Level 75 Tera
 Lucario at Dalizapa Passage, in the underground tunnel. A good all-rounder that’s super-effective against two of Sada’s Pokémon.
 - The Level 65 Tera
 Garchomp at Colonnade Hollow. An excellent Ground type.
 - The Level 65 Tera
 Mimikyu at North Province (Area Two). A sneaky Ghost type that can absorb one hit with Disguise.
  Corviknight, a Flying and Steel type. Common within Area Zero. Can wall Sada’s first Pokémon.
- Farigiraf, a Normal and Psychic type. You can occasionally find them in Area Zero or evolve the
 Girafarig commonly found there.
 - Scream Tail, a Fairy and Psychic type common within Area Zero, especially towards the end. Sometimes you have to fight fire with fire!
 Venomoth,
  Frosmoth or
  Volcarona, all Bug types found in Area Zero.
What Pokémon does Professor Sada have?
| Pokémon | Level | Type |
|---|---|---|
| Slither Wing | 66 | Bug |
| Scream Tail | 66 | Fairy |
| Brute Bonnet | 66 | Grass |
| Flutter Mane | 66 | Ghost |
| Sandy Shocks | 66 | Electric |
| Roaring Moon | 67 | Dragon |
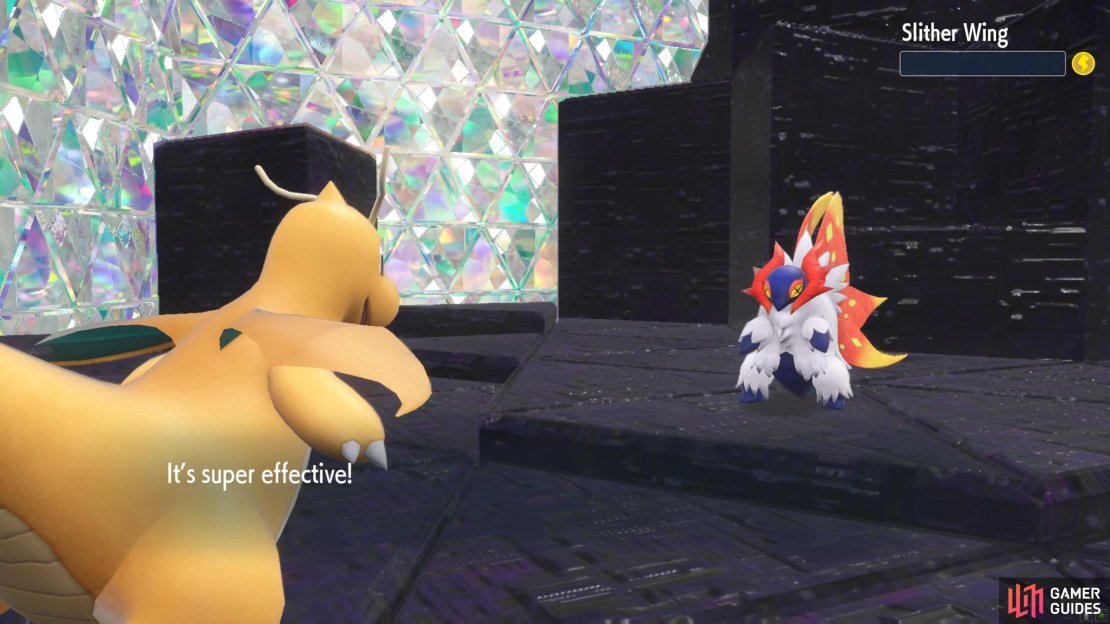
Slither Wing
Slither Wing is exceptionally weak to Flying attacks.
This ancient Volcarona is a Bug and Fighting type. For attacks, it can use ![]() Lunge to deal Bug damage and lower your Attack,
Lunge to deal Bug damage and lower your Attack, ![]() Leech Life to deal Bug damage and restore its own health,
Leech Life to deal Bug damage and restore its own health, ![]() Low Sweep to trip up heavy targets and
Low Sweep to trip up heavy targets and ![]() Zen Headbutt just in case.
Zen Headbutt just in case.
Flying types are ideal, since they deal quadruple damage. Fire and Fairy are also solid picks.
Scream Tail
You already fought this ancient Jiggypuff before. Sada’s can use ![]() Play Rough and Zen Headbutt for STAB,
Play Rough and Zen Headbutt for STAB, ![]() Ice Punch for coverage and
Ice Punch for coverage and ![]() Drain Punch to combat Steel types and restore HP.
Drain Punch to combat Steel types and restore HP.
We recommend fielding a Ghost type. Steel is a bit risky because of Drain Punch.
Brute Bonnet
Another ancient Pokémon that you fought along the way here. Sada’s can use ![]() Giga Drain for Grass STAB and to steal HP, Sucker Punch to try and attack first if you’re readying an attack move, Payback for increased damage if it goes second and
Giga Drain for Grass STAB and to steal HP, Sucker Punch to try and attack first if you’re readying an attack move, Payback for increased damage if it goes second and ![]() Earth Power to punish Fire and Poison types.
Earth Power to punish Fire and Poison types.
Bug types are perfect, since they deal 4x damage. Ice, Fairy, Flying and Fighting are good choices too.
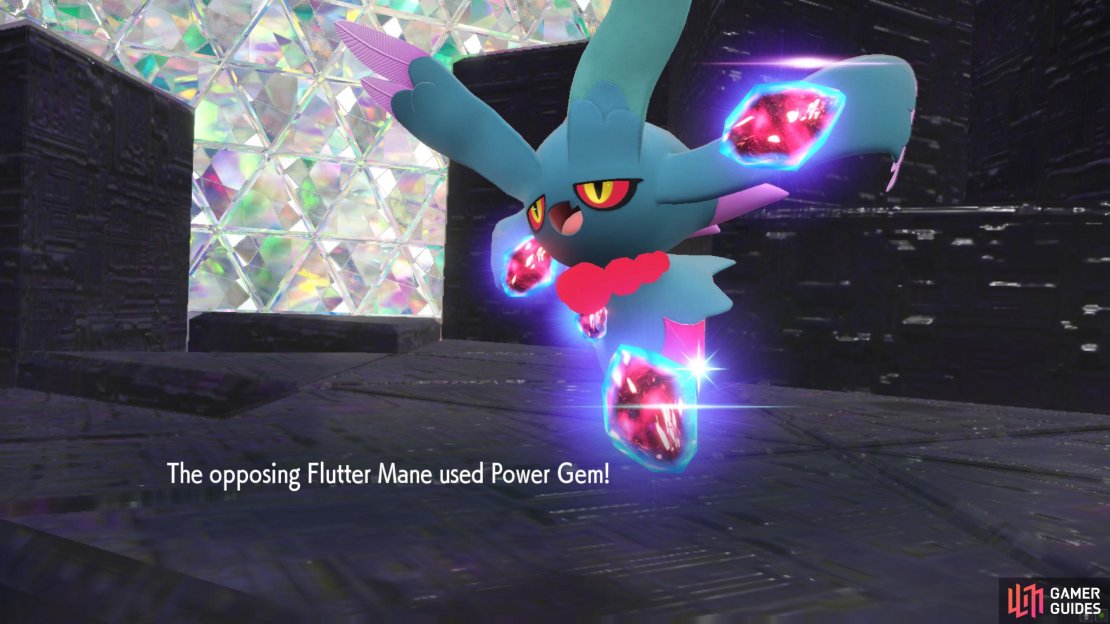
Flutter Mane
Flutter Mane isn’t so bad when it can’t use Shadow Ball.
Yet another ancient Pokémon that you’re familiar with. Sada’s can use ![]() Shadow Ball for Ghost STAB, Mystical Fire to melt Steel types,
Shadow Ball for Ghost STAB, Mystical Fire to melt Steel types, ![]() Power Gem for additional coverage and
Power Gem for additional coverage and ![]() Thunderbolt to remind you of Iono’s
Thunderbolt to remind you of Iono’s  Mismagius.
No singular type is completely safe here. Options include fielding a Pokémon that’s Normal (to resist Shadow Ball) and a second type: Farigiraf and Grafaiai come to mind. Or a Pokémon with high Special Defense and/or can set up ![]() Light Screen.
Light Screen.
Sandy Shocks
It’s the  Magneton on stilts! This one can use Discharge and Earth Power for STAB, plus
 ![]() Flash Cannon and Power Gem for general coverage.
Flash Cannon and Power Gem for general coverage.
Ground types are great here. Grass is also good.
Roaring Moon
Fielding your own Dragon is risky, unless they’re really strong.
Sada’s last Pokémon is an ancient  Salamence, resembling its Mega form. She won’t Terastallize it, but it is holding a
 ![]() Booster Energy, which will trigger Protosynthesis, boosting its Attack stat.
Booster Energy, which will trigger Protosynthesis, boosting its Attack stat.
For attacks, it’s got ![]() Dragon Claw and Night Slash for STAB,
Dragon Claw and Night Slash for STAB, ![]() Stone Edge to smash Ice and Bug types and
Stone Edge to smash Ice and Bug types and ![]() Earthquake for good measure.
Earthquake for good measure.
Fairy types are its bane, dealing quadruple damage and resisting its STAB moves. Fighting also works.
After defeating Sada, it’s not quite over just yet. As you’ll face one more challenge!


No Comments