Mystery Map II
Time to head to the ![]() Prairie Outpost and gain intel, a preliminary step to meeting up with Cor. To get there, simply get in the Regalia and have Ignis drive you to the quest location. Or, if that’s too simple for you, the Prairie Outpost is near the northern-most reaches of Leide, north-west of the
Prairie Outpost and gain intel, a preliminary step to meeting up with Cor. To get there, simply get in the Regalia and have Ignis drive you to the quest location. Or, if that’s too simple for you, the Prairie Outpost is near the northern-most reaches of Leide, north-west of the ![]() Hammerhead outpost. Naturally, however, when you arrive, it’s time to scope the place out, chNow it’s time to return to the Prairie Outpost, as more sidequests can be found there, and old ones can be completed nearby. There’s also a bunch of shopping that was neglected on your first, cursory visit. First, however, you’ve got some treasure to hunt down. South of the barn where you found Monica is a red brick building - go behind the building and search for an unmarked loot spot to find a
Hammerhead outpost. Naturally, however, when you arrive, it’s time to scope the place out, chNow it’s time to return to the Prairie Outpost, as more sidequests can be found there, and old ones can be completed nearby. There’s also a bunch of shopping that was neglected on your first, cursory visit. First, however, you’ve got some treasure to hunt down. South of the barn where you found Monica is a red brick building - go behind the building and search for an unmarked loot spot to find a ![]() Metal Scrap . That’s one place to find the component you need for Cid to upgrade the
Metal Scrap . That’s one place to find the component you need for Cid to upgrade the ![]() Drain Lance, but another one awaits further on. Turn west and you should spot a fence nearby, with some wooden crates and a cart next to it. Search the cart to find
Drain Lance, but another one awaits further on. Turn west and you should spot a fence nearby, with some wooden crates and a cart next to it. Search the cart to find ![]() Mystery Map II on it. Picking it up starts “
Mystery Map II on it. Picking it up starts “![]() Scraps of Mystery II”.eck out the merchants and pick up some more side quests.
Scraps of Mystery II”.eck out the merchants and pick up some more side quests.
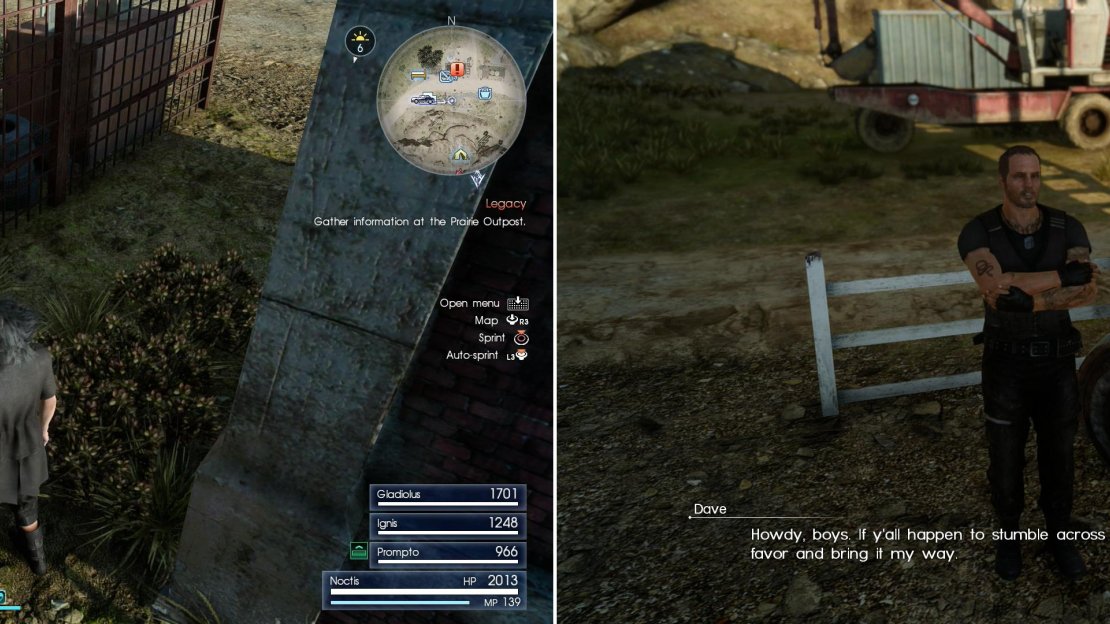
Grab Mystery Map II form a cart in the Prairie Outpost (left) then talk to the resplendant Dave to get another quest to hunt down more Dog Tags (right).
Prairie Outpost Shopping
As for stores, to the east you can find the JM Market - Outpost, where you’ll find the same lady in her red truck (or clones of both, whichever you prefer) that you encountered at Longwythe. Here she’s selling largely the same goods as she was before.
JM Market - Outpost (Items)
| Item Name | Price |
|---|---|
| 50 Gil | |
| 100 Gil | |
| 400 Gil | |
| 800 Gil | |
| 1,000 Gil | |
| 10 Gil |
Ingredients
| Item Name | Price |
|---|---|
| 30 Gil | |
| Luncheon Meat | 100 Gil |
| 20 Gil | |
| 10 Gil | |
| 60 Gil | |
| 80 Gil | |
| 160 Gil | |
| 40 Gil | |
| 80 Gil | |
| 100 Gil | |
| 20 Gil | |
| 50 Gil | |
| Lucian Tomato | 200 Gil |
| 100 Gil | |
| Soxham Rice | 200 Gil |
You can also find the Prairie Outpost branch of Culless Munitions outside of the barn, again, mostly selling gear you’ve long since had access to.
![]() Culless Munitions - Prairie Outpost
Culless Munitions - Prairie Outpost
| Item Name | Price |
|---|---|
| 150 Gil | |
| 150 Gil | |
| 150 Gil | |
| 150 Gil | |
| 150 Gil | |
| 500 Gil 1,000 Gil 500 Gil |
Dust to Dust
Once you’re done shopping, head behind the barn where Monica awaits to find none other than Dave! Everybody loves this guy! Talk to him and he’ll bluntly ask you to find another Dog Tag, starting the quest “ ![]() Dust to Dust “. This is a rather simple quest, so why not lend Dave a hand? Leave the Prairie Outpost behind and head south, through Lepelleth Haven and into the wilderness to find a rather large search area. Keep pressing south until you find a herd of
Dust to Dust “. This is a rather simple quest, so why not lend Dave a hand? Leave the Prairie Outpost behind and head south, through Lepelleth Haven and into the wilderness to find a rather large search area. Keep pressing south until you find a herd of ![]() Anak - large, antlered, giraffe-like creatures. They’re not inherently hostile, but the
Anak - large, antlered, giraffe-like creatures. They’re not inherently hostile, but the ![]() Daggerquills that fly overhead are, and unfortunately once a fight with the latter starts, your allies won’t discriminate enough to avoid bringing the Anak into the fray. Kill the beasties (Anak are weak against fire), then search a car near a fence to find the
Daggerquills that fly overhead are, and unfortunately once a fight with the latter starts, your allies won’t discriminate enough to avoid bringing the Anak into the fray. Kill the beasties (Anak are weak against fire), then search a car near a fence to find the ![]() Bent Dog Tag you’re after.
Bent Dog Tag you’re after.
| Objective | Reward |
|---|---|
| For finding the |
EXP 600, |
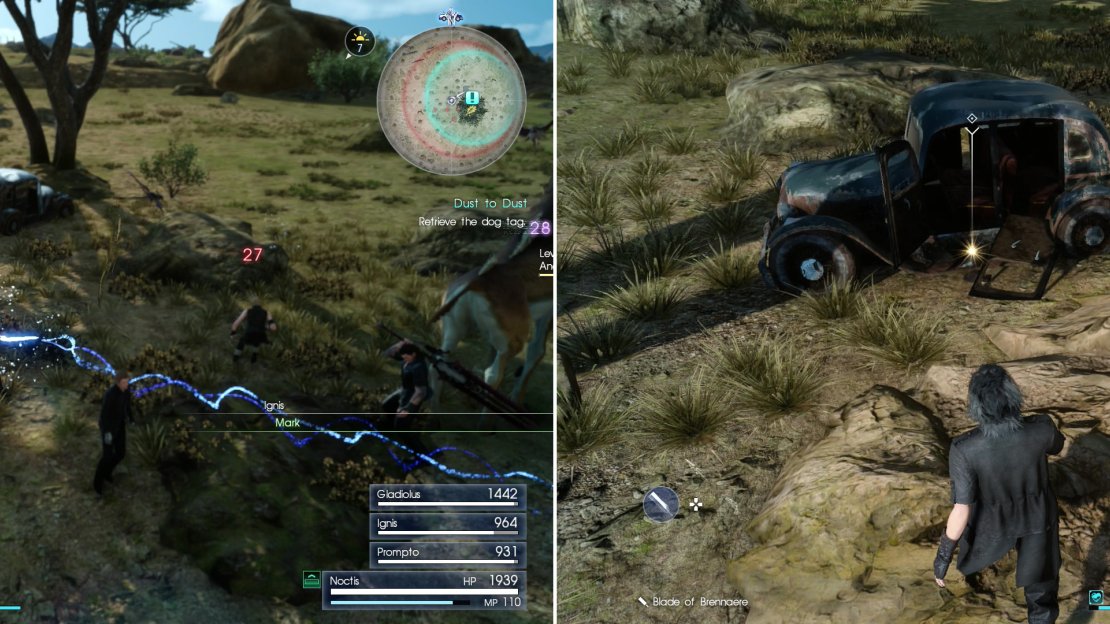
Kill the Daggerquills - and the Anak that will unfortunately be provoked at the same time (left) and claim the Bent Dog Tag near the car (right).
Palpable Pain
You can return the Bent Dog Tag to Dave at your leisure for the reward listed above, but while you’re out here, you might as well go grab an item and take care of yet another pair of side quests. Continue south until you see a water tower near where the highway turns from running south to running south-east. Run over to it and you should hear somebody cry out for help. From the water tower turn north to find a crumbling brick building, inside of which you’ll find an incapacitated hunter. Give them a ![]() Potion and you’ll complete a quest and save yourself the bother of inevitably hunting down their dog tag.
Potion and you’ll complete a quest and save yourself the bother of inevitably hunting down their dog tag.
| Objective | Reward |
|---|---|
| For providing a |
EXP 350, 900 Gil |
Mystery Map III
Return to the water tower and look south-east to find a road. Follow the road uphill to reach a shack with a smaller water tower near it. Search outside the shack, between its awning and some sacks, where you’ll find another Mystery Map on the ground. Pick it up to start “ Scraps of Mystery III “.
One more stop before returning to the Prairie outpost and getting back to the main story. Return once again to the water tower and from there turn west to reach the highway. Follow the highway north until you find a breach in the western guardrail, beyond which is a road which ultimately runs to a mine entrance (this road also runs north to ![]() Entethina Haven, should you need a nap).
Entethina Haven, should you need a nap).
Find Mystery Map III (left) at the marked location (right).
The Ever Regal Regalia (Part 2)
When you’re ready, follow the dirt road south-west, ignoring those fear-mongering signs as you go. When youcome in sight of the mine Noctis will confirm that this is the place where Cindy’s “rare car wax” resides. Time to go get the Regalia some love sauce! Head inside the mine to find out that the signs weren’t lying… at least, not about the “vexing varmints” bit, as the mine is populated by ![]() Goblins. They’re not too strong, but they’re awfully annoying, and give very little experience. Sadly, you’ll be dealing with more of these pests in the near future. Fight your way through them and claim the curiously unguarded can of
Goblins. They’re not too strong, but they’re awfully annoying, and give very little experience. Sadly, you’ll be dealing with more of these pests in the near future. Fight your way through them and claim the curiously unguarded can of ![]() Aero Wax in the middle of the mine.
Aero Wax in the middle of the mine.
| Objective | Reward |
|---|---|
| For giving Cindy the |
EXP 150 |
Tired of Running
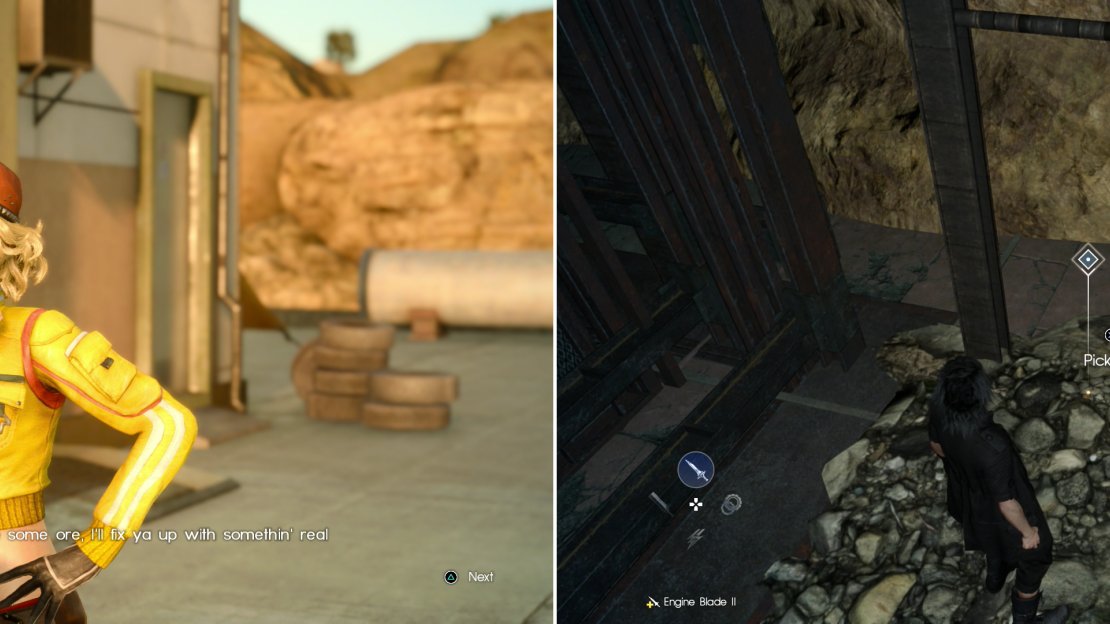
You can now make your way to Cindy at you leisure to claim the reward listed above, but there’s another quest you can knock out if you persevere through the rest of the mine Fight your way through the mine and when you exit back into daylight somewhere to the south you’ll find a fenced-off area full of shipping crates. From this storage yard you’ll hear the cries of another wounded Hunter, who is tucked away amidst the shipping crates. Give him a Potion and he’ll be on his way.
| Objective | Reward |
|---|---|
| For providing a |
EXP 300, 500 Gil |
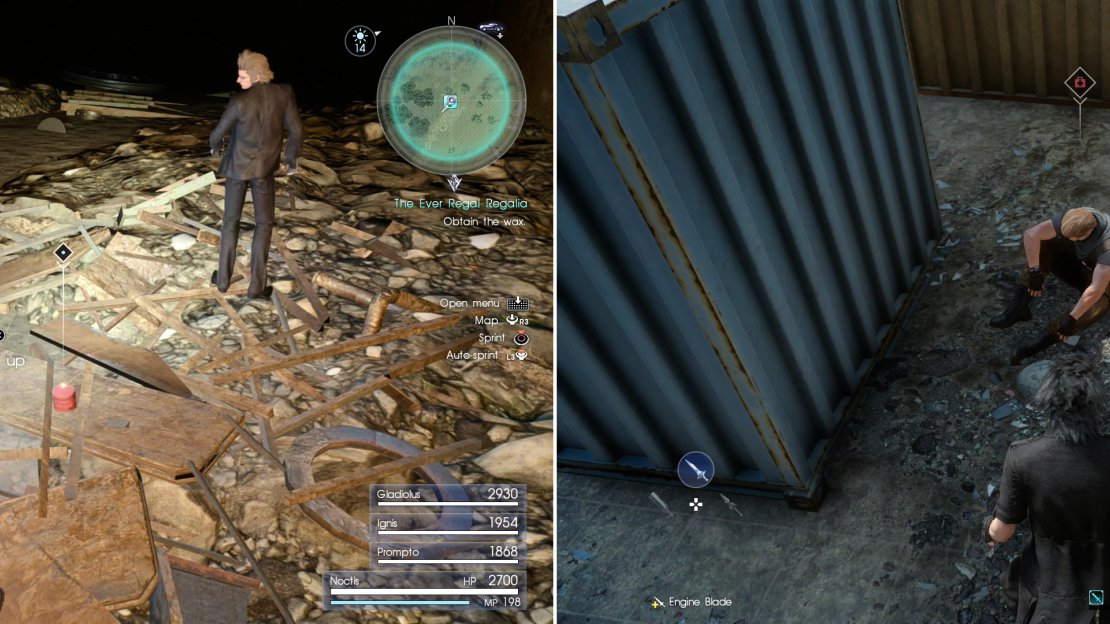
Defeat any pesky Goblins in your way and claim the rare Aero Wax (left). Outside of the mine you’ll find a wounded hunter licking his wounds amongst some shipping crates (right).
The Ever Elegant Regalia
To clear out the side quests for this chapter, some backtracking is unfortunately necessary. Return to Hammerhead, talk to Cindy and claim the reward listed under “![]() The Ever Regal Regalia (Part 2)” heading, then talk to her again to start another quest. Seems like there’s something else she desires, and a previous “helper” proved rather unhelpful, despite the name. This time she’s requesting a
The Ever Regal Regalia (Part 2)” heading, then talk to her again to start another quest. Seems like there’s something else she desires, and a previous “helper” proved rather unhelpful, despite the name. This time she’s requesting a ![]() Redstone Shard, which can be found in the
Redstone Shard, which can be found in the ![]() Balouve Mines.
Balouve Mines.
Sound like a new area? It should, as it’s an out-of-the-way mine south-east of the ![]() Longwythe Rest Area. It was previously uninteresting, although since a quest calls… well, it’s time to check it out. Of course, you don’t need the Redstone Shard from that particular mine - any Redstone Shard will do, and you can get it randomly from just about any Mineral Desposit in the area. If you’ve got it, turn it in to Cindy, if not, it’s time to explore the Balouve Mine.
Longwythe Rest Area. It was previously uninteresting, although since a quest calls… well, it’s time to check it out. Of course, you don’t need the Redstone Shard from that particular mine - any Redstone Shard will do, and you can get it randomly from just about any Mineral Desposit in the area. If you’ve got it, turn it in to Cindy, if not, it’s time to explore the Balouve Mine.
Your destination is south down a dirt road (marked by a yellow line) off the main highway that connects Hammerhead outpost with the Longwythe Rest Area. South of the ![]() Emmelle Haven Campground (which is west of the road) you’ll find the Balouve Mines Parking Spot.
Emmelle Haven Campground (which is west of the road) you’ll find the Balouve Mines Parking Spot.
| Objective | Reward |
|---|---|
| For indulging Prompto | 200 EXP |
Park the Regalia and follow the eastern-most train tracks through a fence and into the mine. The tracks will vanish under a heap of rubble next to an elevator, and it’s on this rubble where you’ll find the Redstone Shard you’re looking for. Once it’s yours, leave the mine. Ignore the elevator, however, as the depths of Balouve Mine (despite largely being populated with weakling Goblins) has a rather powerful foe lurking within.
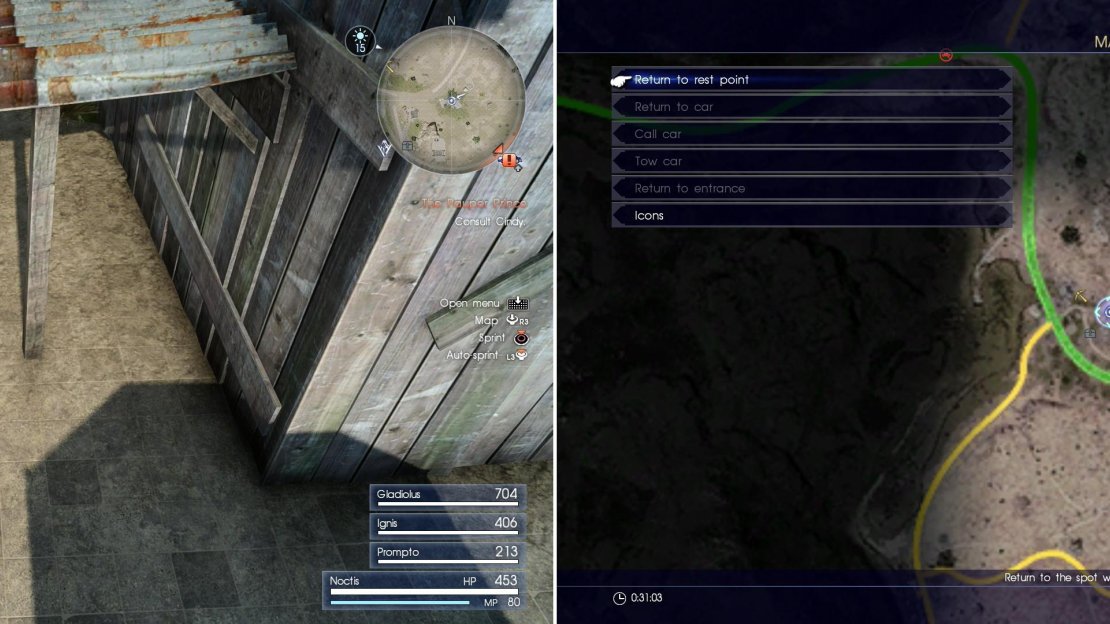
After giving her the Aero Wax, Cindy will next ask you to recover a Red Shard for her (left). While any Red Shard will do, you can find a guaranteed drop in the Balouve Mines (right).
Instead, return to Cindy to claim your reward, and pick up another quest, “![]() The Ever Gleaming Regalia” . This one requires that you make your way to Duscae, so you’ll have to continue the main story a bit before doing it.
The Ever Gleaming Regalia” . This one requires that you make your way to Duscae, so you’ll have to continue the main story a bit before doing it.
| Objective | Reward |
|---|---|
| For giving Cindy a |
EXP 500, |
Conceal Dont Feel
If you’re still in the mood for trivial side quests, there’s one more you can do right now. Make your way over to ![]() The Three Valleys Parking Spot and head north-west across the road towards a barn. If you’ve been completing the other hunting quests, you should hear another hunter cry out in distress. This one can be found in the barn, just fork over an
The Three Valleys Parking Spot and head north-west across the road towards a barn. If you’ve been completing the other hunting quests, you should hear another hunter cry out in distress. This one can be found in the barn, just fork over an ![]() Antidote and enjoy some compensation.
Antidote and enjoy some compensation.
| Objective | Reward |
|---|---|
| For providing an |
EXP 300, 500 Gil |

No Comments