After beating the game, reload the post-game save you were prompted to make (you did save when prompted, right? Good.) and use the nearby resting spot to summon Umbra and travel back to past Altissia. You’ve got dungeons to explore and sidequests both old and new to complete, but all of these tasks will be easier if you get your hands on some better gear. Now that you’ve completed the game, such treasures are available to you, and are well worth doing some work to get. This will require you to travel around a bit, including heading back to Lestallum to pick up a new chain of sidequests, but before you bother, let’s wrap up some business in Altissia.
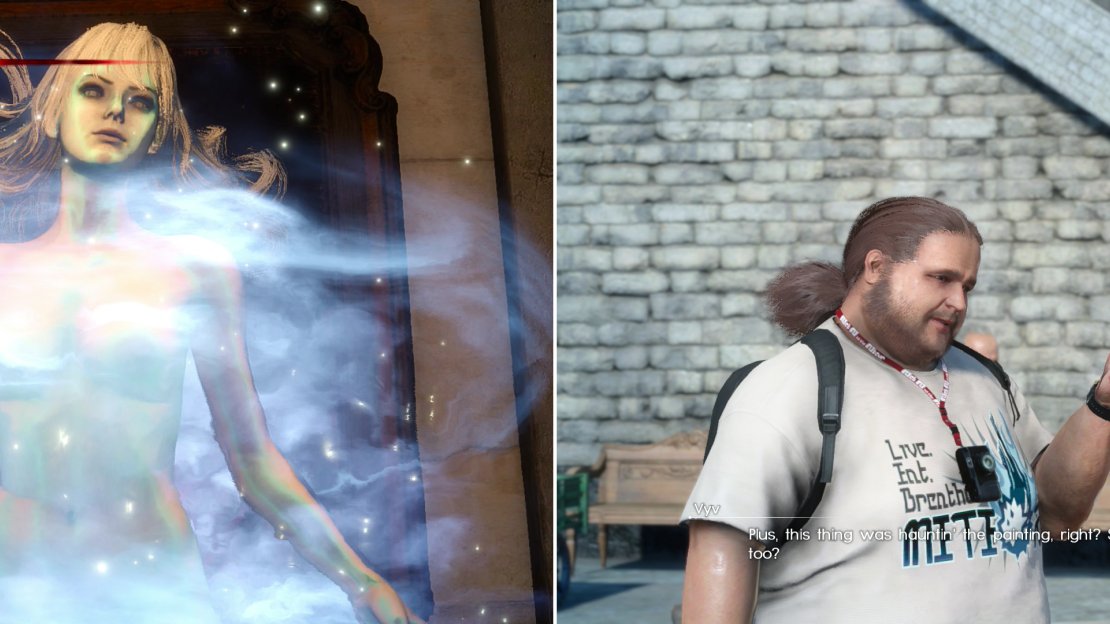
Approach the haunted painting to draw out the Chadarnook (left), then take the photo back to Vyv for a reward (right).
The Cursed Canvas
Once you’re back in Altissia, make sure you’ve done the necessary first steps to get on with this quest: visit Maagho and talk to Weskham to get intel, then select the hunt “A Lost Painting”. When you have this hunt active, use a gondola to travel to the Palsino Street Station, exit the underground cafe and head back south-west to reach Camelia’s estate. From here, continue south-west down some stairs and loot south-east to spot a passage with a guard standing in front of it. He’ll address you as you approach, after which head past time and down three flights of stairs to reach a small room dominated by a painting. Enter the room and you’ll find your prey - and in the same stroke, the ghost Vyv wants you to take a photo of.
While you may have already appeased Vyv, you’ve still got this beastie to deal with, and it’s a bit more dangerous than its level may suggest. Your foe, a Chadarnook, is a vicious spirit who is fond of casting a variety of spells at you. The worst of its attacks includes a miasma that causes confusion, potentially to the entire party. Another attack it has is a grapple (which can be blocked and countered) which, if successful, will deal massive damage to your maximum Hit Points (not just your current Hit Points).
Defeat the spirit and return to Maagho, then return to the The Leville and use Umbra to return to past Lucis. Hop back in the Regalia and travel to Lestallum, where you can finally end this quest - and Vyv’s quest line.
| Objective | Reward |
|---|---|
| For photographing a ghost | EXP 5,000 / 25,000 Gil |
Randolphs Promise of Power
Now that you’re back in Lestallum, there’s a new quest you can pick up. Make your way to the Culless Munitions - Lestallum store and from there head up some stairs to the north-west, then turn down an alley to the north-east to find Randolph, a smith capable of crafting legendary weapons for those fit to wield them. Of course, you’ll have to bring him the proper materials, and that means hunting down and killing some beastie or another. So, they’re like hunts, more or less, except often far more lucrative. His first quest will have you killing something called a Bennu, with the quest marker sending you out to Leide, to the west of Hammerhead.
Post-Game Hunts
Speaking of hunts, now that you’ve beaten the game, a great number of post-game hunts are being offered from the tipster who runs the Surgate’s Beanmine restaurant. You’re probably better off waiting until you complete the “Legendary Weapons” section, the “Regalia Type-F” section and the follow dungeons (Pitioss through Costlemark) before taking on some of these higher-level hunts, although you stand to earn a great deal of money and some potent accessories from them (like the Ribbon offered by the hunt “Dead General Strikes Down the King”). As usual, full descriptions of these hunts can be found in the Hunts section, but they’ll be listed here in brief, as well:
Hunts - Surgate’s Beanmine
| Hunt Name | Hunt Level | Rank (Stars) |
|---|---|---|
| No Stopping the Great Stink | 38 | *** |
| Trembling Killers | 57 | **** |
| An Omen Crawls Upon the Ground | 68 | **** |
| Bones Seek an Offering | 72 | ***** |
| Dead General Strikes Down the King | 99 | ***** |
Organyx
Before you strike down the blue Bennu, however, it’s time to take a little detour, as there are easier weapons to obtain. It’s all well and good to do a bit of work for legendary weapons, but why not go after the ones you can just pick up off the ground, first? Upon completing the game, you’ll find that there are some weapons that have spawned on the overworld that weren’t accessible before
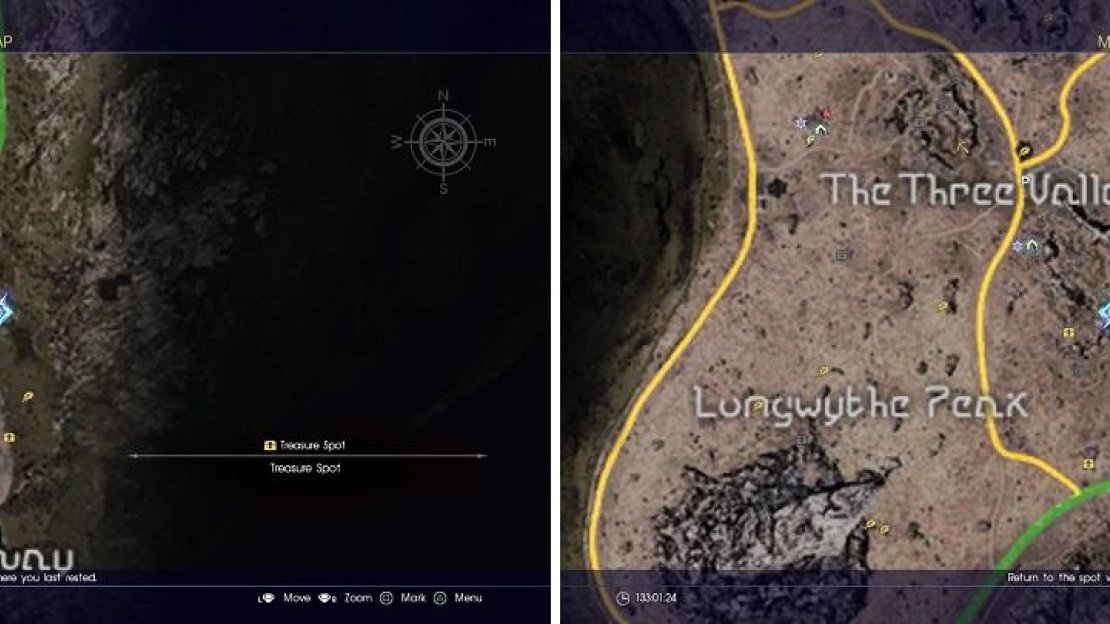
The first of these weapons is near Galdin Quay, So travel to that location and have a look at your map. There should now be a treasure spot along the road that is just north of where you park at Galdin Quay; if it’s not there, then it will appear once you get close enough. It’s on top of the tunnel that is directly north of the small resort, next to some lone shrubbery. The weapon you will acquire is the Organyx , some daggers with well-rounded stats.
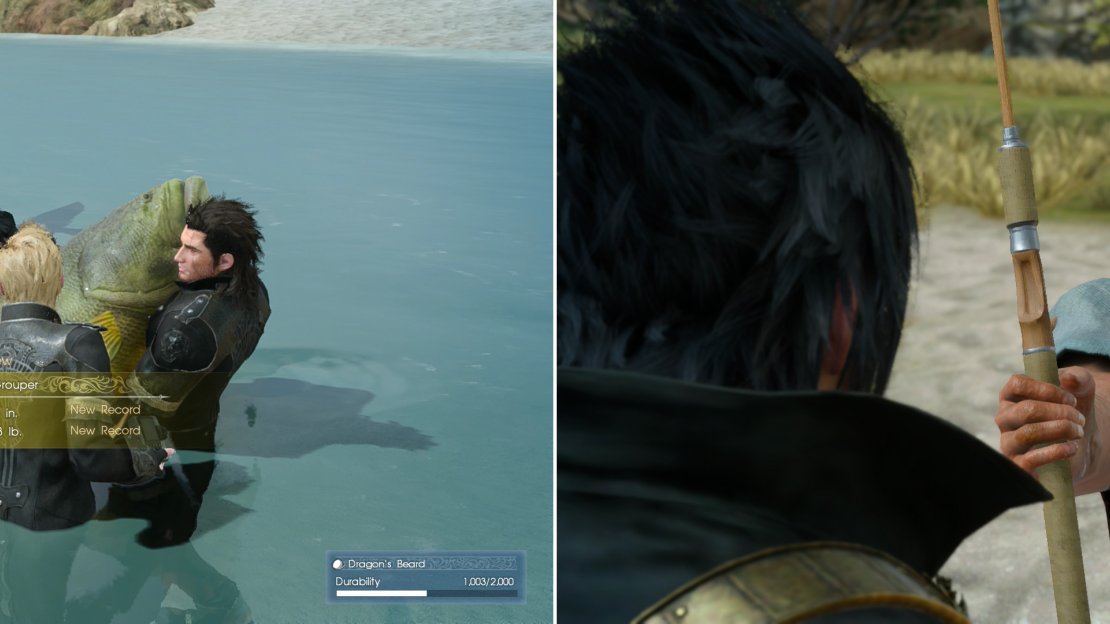
Capture a Murk Grouper (left) and Navyth will reward you with the Tranquility rod (right).
Anglers Nightmare
There’s one more quest you should take care of while you’re down in Galdin Quay. Navyth told you about the Devil of the Cygillan after you caught him a Vesper Gar earlier, and you might just be able to reel such a monster in now. If you picked up the Llymlaen reel from the Totomostro and have the Death Spin rod, you should be as well-equipped to make the attempt. From the Galdin Quay outpost head west along the shore towards Bob’s Bait Emporium, near which you should find another Magic Flask lying on the beach. Score.
Continue west past the bait shop to find Navyth, who will formally issue his challenge to you here, starting the quest “Angler’s Nightmare”. Head to the end of the pier near Bob’s Bait Shop and, if it’s not night out, start fishing at the Vannath Coast Fishing Spot. Once again, preparation is key: make sure you have some Dragon’s Breath line with full durability equipped with the Death Spin rod and the Llymlaen reel (the Nereid reel will suffice, but it’ll take longer). The exact fish you’re after is a Murk Grouper, so use the Burrower: Abyss Worm lure and aim for the flashing blue dots. When you see the monstrous fish approaching, get ready for a fight.
With careful fishing you can likely expect this battle to take around ten minutes and around 1,000 durability off your line. It’s not the most aggressive fish you’ve caught, and if the weather is clear you should be able to see what it’s doing. Just wait for it to turn and reel furiously, pressing (not holding) the R2/RT button when it’s safe, and stop reeling when you see the tension indicator on the screen, and try not to reel if you anticipate another turn until after it has completed the change of direction.
After the historic fight with the fish, your party will jump into the water to secure the catch (some less willingly than others). Return to Navyth and the astounded angler will award you with a prize worthy of such a feat: the Tranquility rod. With such a durable device, you can more safely go after the meanest fish in the game… although, since this was Navyth’s last quest for you, the only reasons to do so are for your own leisure, or to nab fish-bits to cook, sell or use in Elemancy.
| Objective | Reward |
|---|---|
| For capturing the Devil of the Cygillan | EXP 5,000 / Tranquility |
The locations on the map for the Organyx (left) and Iron Duke (right).
Iron Duke
Now that Navyth has seen you emerge as the ultimate angler, it’s time to return to hunting down top-notch weapons. For the next weapon, travel to Hammerhead and look to the south-west to find the Criclawe Haven Campground. Directly north-west of that camp is the eastern-most of The Three Valleys, wherein you can now find a new Treasure Spot. Head into the maze-like rock formation north-west of Criclawe Haven Campground to find this Treasure Spot, which is south-east of the Mineral Deposit here. Loot the Treasure Spot to obtain the Iron Duke greatsword - a much easier way to obtain one than by killing that blue Bennu for Randolph!
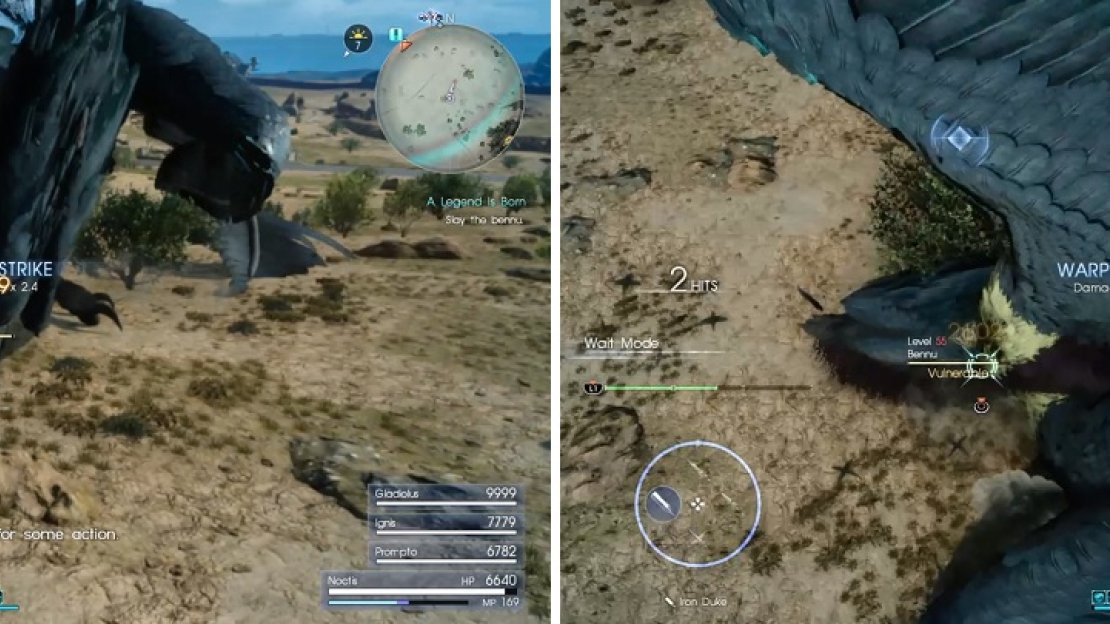
Keep warp-striking Bennu’s beak area (left) to eventually break it and get some free time to smack it around (right).
A Legend is Born
Speaking of which, it’s time to go after that blue Bennu, a feat that should be simpler now that you’re bearing better weapons. As already mentioned, this beast is located in Leide, north-west from where you are now. Before you head over there, however, consider traveling to the Pallebram Haven Campground, which is also to the north-west, but south of where the blue Bennu lurks. Rest up and enjoy a meal that gives you general combat buffs (Strength and Hit Point boosts work fine), then head north towards your prey.
When you get close enough, you will see that it is the giant bird you saw towards the beginning of the game, when you were fetching some gems for Dino. Despite its size, the fight with it is not too bad, although it is very strong and highly likely to send you into Danger status with one or two hits.
The easiest way to defeat Bennu is to warp strike it repeatedly while equipped with a greatsword (such as your new Iron Duke). Eventually, it will “break” and the Bennu will fall to the ground, becoming incapacitated for a few seconds, at which point you should switch to a polearm (which attacks faster, and the beast is weak to polearms) to take advantage of it. If you see the bird take off, there’s nothing you can do other than hold down Square/X, as the Bennu will divebomb you, but you can block/parry it and knock it to the ground again. In addition to polearms the Bennu is weak to machinery and lightning, while being resistant to ice and holy. Be sure to use techniques and Armiger whenever they’re charged to speed things up, and if you’re lucky, blast Bennu with a summon. Once it goes down, bring the item it drops back to Randolph to get your shiny, new weapon.
| Objective | Reward |
|---|---|
| For securing a Jet-Black Beak for Randolph | EXP 8,000 / Iron Duke |
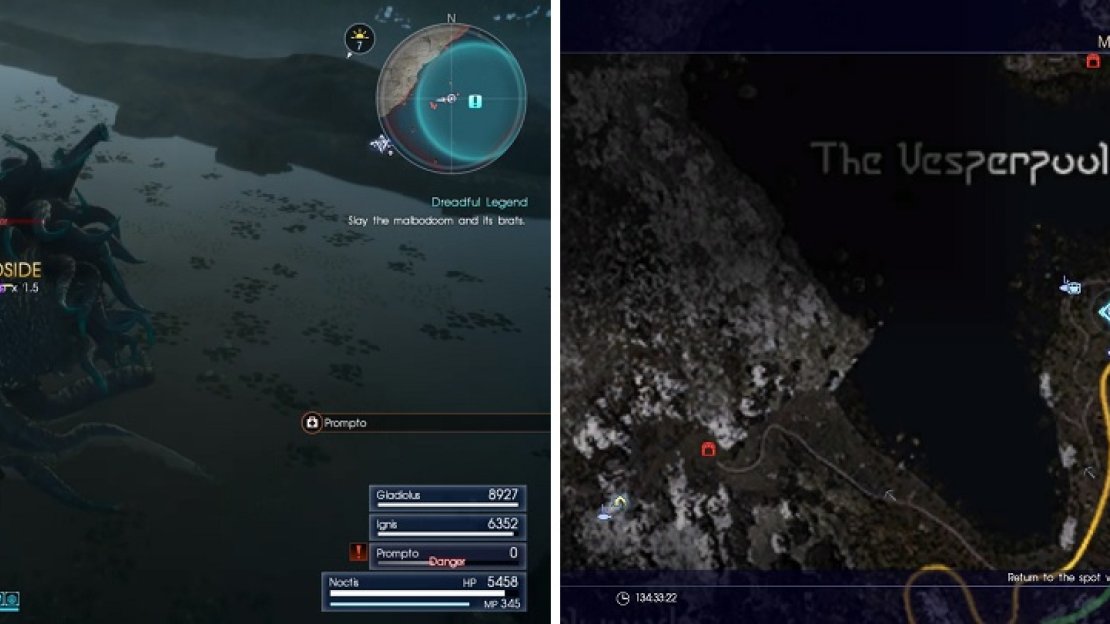
Use Blindside attacks on the Malbodoom (left). The location of the Circlet on your map (right).
Dreadful Legend
The next monster Randolph wants you to take down is a Molbodoom, which can be found in The Vesperpool area. As you can guess from its name, it is a Malboro and they have a nasty habit of inflicting multiple status ailments with their Bad Breath attack. As before, utilize the nearby camp and cook up the Three-Mushroom Kebabs recipe (Alstroom, Vesproom and Malmashroom), since it prevents most status ailments. This sort of meal will be necessary until you can acquire more Ribbons to protect your party on a more permanent basis.
Unlike the previous quest, the Malbodoom is accompanied by a total of six Malboro Brats, who are like mini-bosses of their own. Each one is level 48 and has a whopping 146,300 HP, with weaknesses to greatswords, machinery, fire and ice, while being resistant to lightning and holy. The mama Malbodoom is level 65 and is weak to daggers and ice, while being strong against greatswords, fire and holy. So, you can’t use the same physical weapons on all of the enemies, but they do all share one common weakness: ice. Cooking up some Blizzara/Blizzaga and letting loose on them all can do a great deal of damage.
It’s best to concentrate on the Malbodoom first, as its damage output is a lot higher than the Brats. If you can, try to get Blindside Links against the Malbodoom, which is easy to do since it’s quite slow. You can also get it to focus on you to try and draw its breath attack away from the others. Once it goes down, you can concentrate on the Brats, which should be a lot easier, although dodging is super important, since their attacks also hurt. However, all they can really do is try to bite you, so the best tactic is a hit-and-run one… or just blast them with magic.
Once these monsters have been smote, return to Randolph to get another nice weapon: the Dragoon Lance. While it’s not the most powerful polearm at your disposal, it does get a damage boost when your health is low, and it’ll also grant its wielder 15% resistance to fire, gold and lightning. After turning in the last quest talk to the smith again to get the next one, which directs you to hunt down some “Tonberry knights” near the Tomb of the Tall, which is in the south-eastern part of Duscae.
| Objective | Reward |
|---|---|
| For acquiring a Malboro Tentacle for Randolph | EXP 10,000 / Dragoon Lance |
No Comments