Cid’s sidequests are about one thing: upgrading weapons. They all follow the same formula, find an upgradeable weapon, take it to Cid to find what component he needs, find said part, return to Cid and give him the weapon and component, then wait a few days (in-game). After enough time has passed and you rest Cid’ll give you a call and tlel you your weapon is ready. Most of the weapons you’ll make like this are of somewhat noteworthy quality for when you get them, but the Engine Blade’s upgrades are the most worthy of your attention, as it upgrades to the Ultima Blade. Getting this blade early will make the main story much easier.
Cid Sophiar, Master Mechanic
| Where | When | Reward |
|---|---|---|
| Hammerhead Outpost / Cape Caem | Complete “Ill Tiddings” | 500 EXP / Drain Lance II |
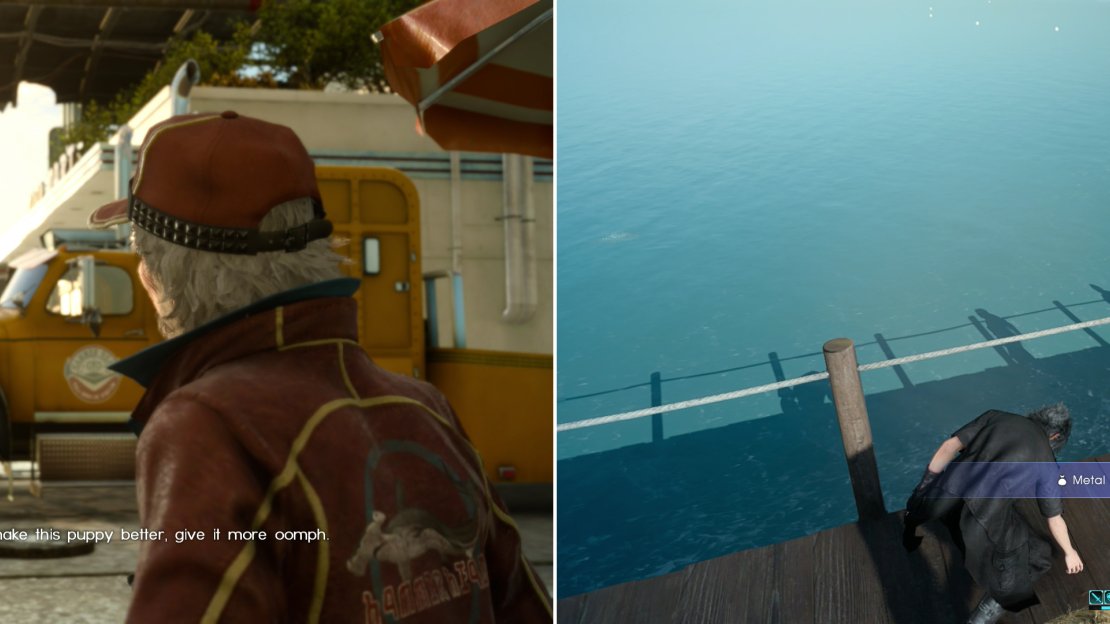
After completing Chapter 1 (and hence the quest “Ill Tidings”) you’ll automatically return to the Hammerhead outpost. After you talk to Cid this quest will start, and you’ll be tasked with gathering a Metal Scrap. You can find one such item on the long, curving pier leading to Galdin Quay’s sea-surrounded resort, in a loot spot in the Prairie Outpost, and in the Keycatrich Trench dungeon, to name a few places.
Bring the Drain Lance to Cid (left) and he’ll offer to upgrade the weapon for you if you bring him a component. Such a component - a Metal Scrap - can be found on Galdin Quay’s pier (right).
A Better Drain Lance II
| Where | When | Reward |
|---|---|---|
| Hammerhead Outpost / Cape Caem | Complete “Cid Sophiar, Master Mechanic” | 800 EXP / Drain Lance III |
Upgrade the Drain Lance and talk to Cid again to get this quest, which tasks you with finding some Coeurl Whiskers. The most obvious place to get these, of course, is from Coeurls, but they’re quite a bit nastier than their level suggests. You can find them near Keycatrich Trench, near the Saxham Outpost, and south of the Taelpar Rest Area outpost, to name a few places.
A Better Engine Blade
| Where | When | Reward |
|---|---|---|
| Hammerhead Outpost / Cape Caem | Complete “Ill Tiddings” | 500 EXP / Engine Blade II |
Talk to Cid in Chapter 2 to get this quest, where Cid offers to upgrade the Engine Blade if you can get him a Rusted Bit. You can find two of them in the Keycatrich Trench dungeon, where the main story will take you to, while another can be found in Greyshire Glacial Grotto - another story-related dungeon.
A Better Engine Blade II
| Where | When | Reward |
|---|---|---|
| Hammerhead Outpost / Cape Caem | Complete “A Better Engine Blade” | 800 EXP / Engine Blade III |
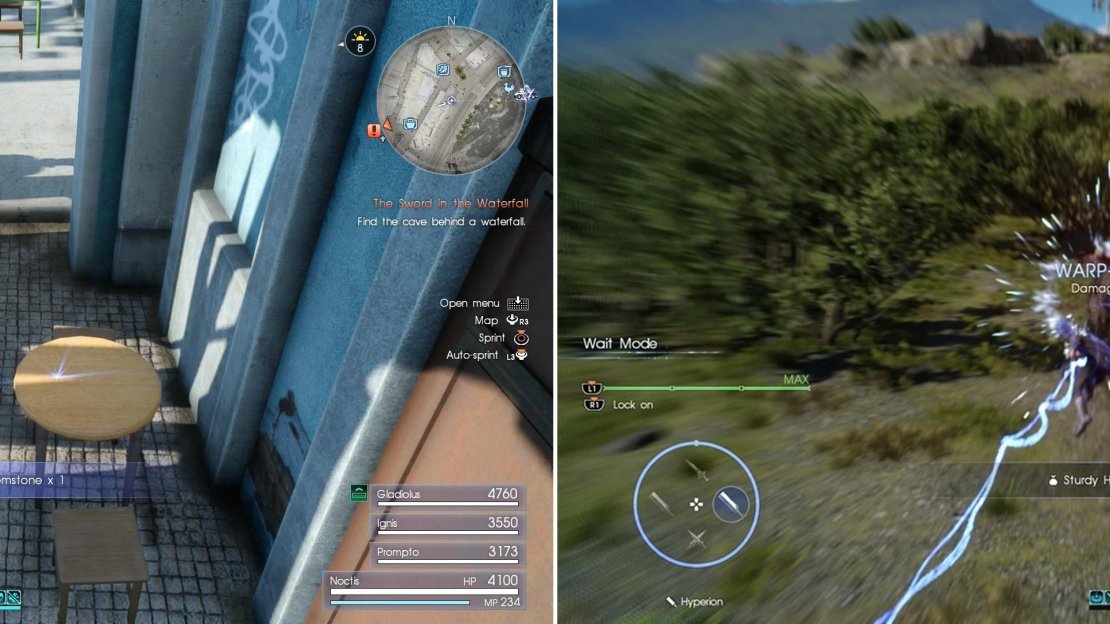
After upgrading the Engine Blade, talk to Cid and he’ll send you to find a Glass Gemstone so he can upgrade the sword again. If Gladiolus’s Survival skill level is high enough, he may randomly find them after battles. Otherwise, pick one up from a table near the blue building with the “Newfields” sign in Lestallum. You can also find one near a well by the Hidden Getaway in Cape Caem.
A Better Engine Blade III
| Where | When | Reward |
|---|---|---|
| Hammerhead Outpost / Cape Caem | Complete “A Better Engine Blade II” | 1,000 EXP / Ultima Blade |
Upgrade the Engine Blade II and talk to Cid to start this quest, which requires you to obtain a Sturdy Helixhorn. The way to tain this component is to travel to Old Lestallum and start the hunt “The Last Spiracorns”, which tasks you with killing three Spiracorns and two Duplicorns. The last two are the critters you’re interested in, as you can get Sturdy Helixhorns from them. To do this, target their head with Warp Strikes until the horn breaks off, at which point you have a chance to get a Sturdy Helixhorn. You can repeat this hunt as many time as necessary.
Grab a Glass Gemstone from off a table in Lestallum to upgrade the Engine Blade (left). You can turn the Engine Blade II into the Ultima Blade by breaking off a Sturdy Helixhorn from a Duplicorn (right).
A Better Auto Crossbow
| Where | When | Reward |
|---|---|---|
| Hammerhead Outpost / Cape Caem | Find the Auto Crossbow in Keycatrich Trench during “The Power of Kings” | 2,000 EXP / Auto Crossbow Plus |
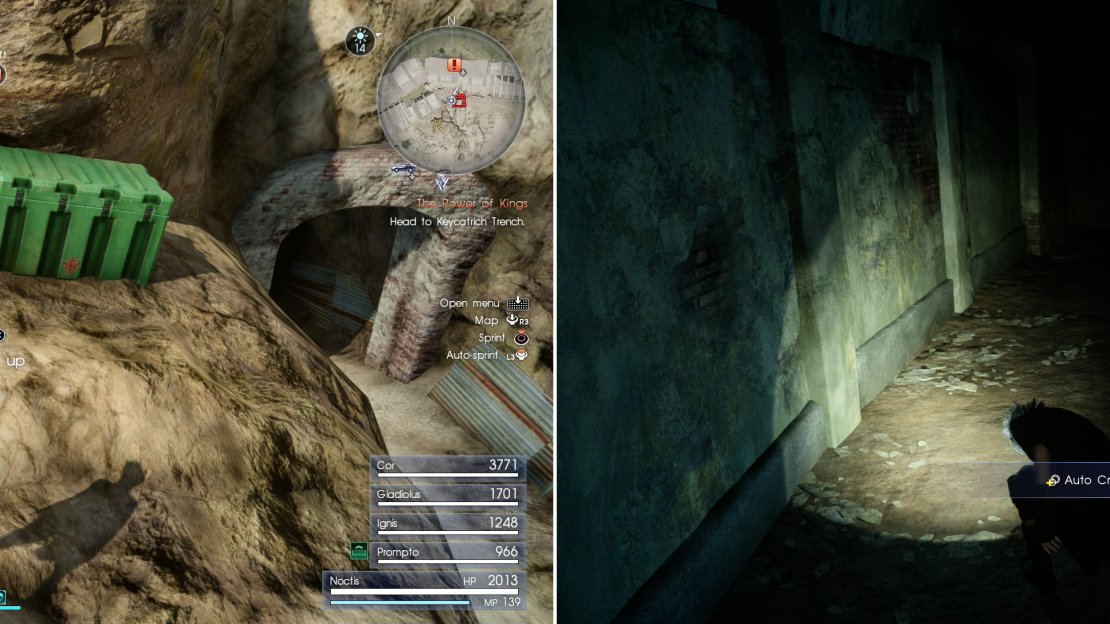
During the main story quest “The Power of Kings” you’ll have to travel to Keycatrich Trench, wherein you’ll find the Auto Crossbow. Return to Cid with this weapon in your possession to start this quest. To upgrade it, Cid needs a Cactuar Needle, which can be obtained by being lucky enough to find a Cactuar in the wild, by completing the hunt “In the Drylands, It Rains Spines” or by loot a Treasure Spot along the south-western end of the Vesperpool area, just east of the highway.
A Better Bioblaster
| Where | When | Reward |
|---|---|---|
| Hammerhead Outpost / Cape Caem | Find the Bioblaster near Keycatrich Trench during “The Power of Kings” | 2,000 EXP / Bioblaster Plus |
During the main story quest “The Power of Kings” you’ll have to travel to Keycatrich Trench, outside of which you’ll find the Bioblaster. Return to Cid with this weapon in your possession to start this quest. Collecting the required component - a Dynamo - might take a bit of doing, as you’ll need to loot a Treasure Spot near a Midgardsomr (both south-east of the Greyshire Glacial Grotto) to get one. MA Hoplomachus also drop them periodically, but you’ll need to complete “Imperial Infiltration” or thereabouts in the main story before they begin to spawn.
Grab the Bioblaster from outside the Keycatrich Trench dungeon (left). Inside the same dungeon you’ll find the Auto Crossbow (right).
A Better Circular Saw
| Where | When | Reward |
|---|---|---|
| Hammerhead Outpost / Cape Caem | Obtain the Circular Saw at the end of the quest “Declaration of War” | 2,000 EXP / Circular Saw Plus |
Complete the quest “Declaration of War” to end Chapter 2, at which point you’ll get this weapon. Return to Cid to get this quest, after which you’ll need to advance the main story a good bit to reliably obtain this component. Complete the quest “A Precious Source of Power” at the beginning of Chapter 8, then travel to Cape Caem where - if you completed “Kitty Catering” back at Galdin Quay - you’ll find the cat from said quest resting behind the lighthouse. Complete the cat’s new quest “A Feline Feast” to obtain a Sky Gemstone.
A Better Gravity Well
| Where | When | Reward |
|---|---|---|
| Hammerhead Outpost / Cape Caem | Obtain the Gravity Well from Aracheole Stronghold during the quest “Engaging the Empire”. | 2,000 EXP / Gravity Well Plus |
Near the end of Chapter 5 you’ll be given the quest “Engaging the Empire” which requires you to inflitrate Aracheole Stronghold. In this imperial fort you’ll find the Gravity Well weapon in a hangar. Return to Cid with this weapon to start this quest. To find the Hydraulic Cylinder this weapon requires, search for a Treasure Spot on a rock near where the hunt “The Last Spiracorns” starts - west of Old Lestallum.
A Better Force Stealer
| Where | When | Reward |
|---|---|---|
| Hammerhead Outpost / Cape Caem | Obtain a Force Stealer by trading four Caem Carrots | 800 EXP / Force Stealer II |
In Chapter 8, after the quest “A Precious Source of Power” you’ll be able to start the quest “Living off the Land” by traveling to Cape Caem and talking to Iris. Plant seeds in her garden and rest overnight to grow some Caem Carrots (typically two to five per night). If the soil becomes impoverished, complete a hunt or sidequest and try again. When you collect your first Caem Carrots a man named Tony will offer to trade you various items for them. Trade four Caem Carrots to get this weapon (or another upgradeable weapon).
To upgrade the Force Stealer you’ll need a Monster Claw, which is dropped by Bandersnatches - powerful foes, indeed. You can find one in a pond north-east of the Hammerhead outpost, or you can find one at the end of the Malmalam Thicket dungeon.
A Better Pair of Plunderers
| Where | When | Reward |
|---|---|---|
| Hammerhead Outpost / Cape Caem | Obtain a pair of Plunderers by trading four Caem Carrots | 800 EXP / Plunderers II |
In Chapter 8, after the quest “A Precious Source of Power” you’ll be able to start the quest “Living off the Land” by traveling to Cape Caem and talking to Iris. Plant seeds in her garden and rest overnight to grow some Caem Carrots (typically two to five per night). If the soil becomes impoverished, complete a hunt or sidequest and try again. When you collect your first Caem Carrots a man named Tony will offer to trade you various items for them. Trade four Caem Carrots to get this weapon (or another upgradeable weapon).
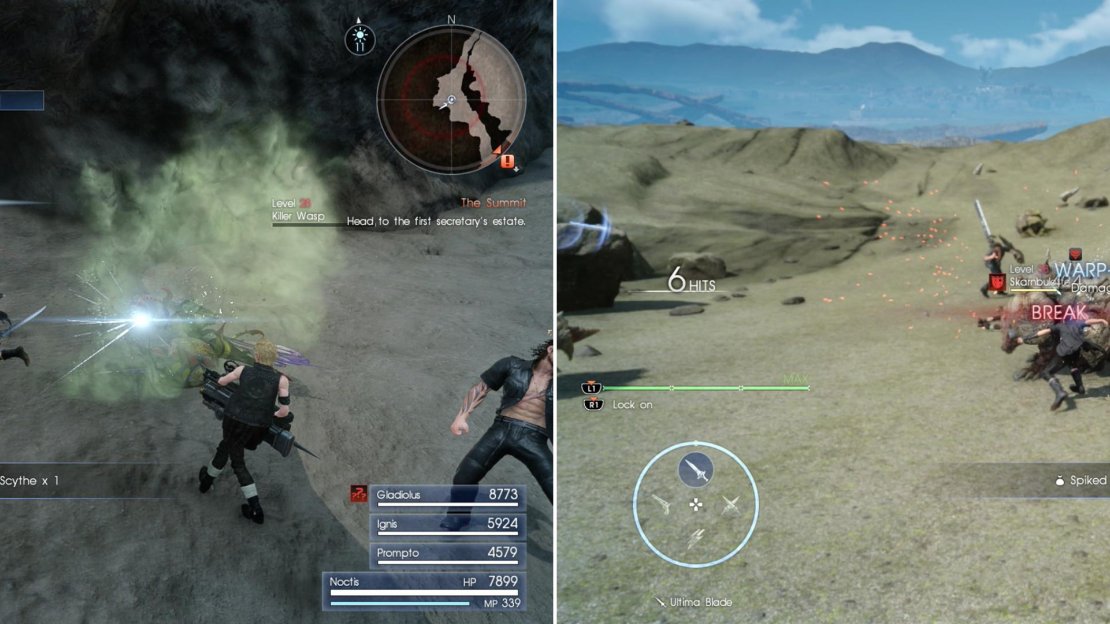
To upgrade the Plunderers you’ll need a Barbed Scythe, which is dropped by Killer Wasps and Soldiers Wasps, annoying foes which dwell in Malmalam Thicket and The Rock of Ravatogh.
Eradicated Killer Wasps to obtain Barbed Scythes (left). You can break off a Skarnbulette’s Spiked Armor (right) for another upgrade component.
A Better Absorb Shield
| Where | When | Reward |
|---|---|---|
| Hammerhead Outpost / Cape Caem | Obtain a Absorb Shield by trading four Caem Carrots | 800 EXP / Absorb Shield II |
In Chapter 8, after the quest “A Precious Source of Power” you’ll be able to start the quest “Living off the Land” by traveling to Cape Caem and talking to Iris. Plant seeds in her garden and rest overnight to grow some Caem Carrots (typically two to five per night). If the soil becomes impoverished, complete a hunt or sidequest and try again. When you collect your first Caem Carrots a man named Tony will offer to trade you various items for them. Trade four Caem Carrots to get this weapon (or another upgradeable weapon).
To upgrade the Absorb Shield you’ll need a hide of Spiked Armor, which can be broken off by Skarnbulettes. Encounter these beasts by returning to the Cauthess Rest Area and taking on the quest “Hammer the Cannibals”, then make your way to the crater where your prey resides. Perform techniques, counterattacks, blindside strikes and Warp Strikes to break off their Spiked Armor.
A Better Valiant
| Where | When | Reward |
|---|---|---|
| Hammerhead Outpost / Cape Caem | Obtain a Valiant by trading four Caem Carrots | 800 EXP / Valiant II |
In Chapter 8, after the quest “A Precious Source of Power” you’ll be able to start the quest “Living off the Land” by traveling to Cape Caem and talking to Iris. Plant seeds in her garden and rest overnight to grow some Caem Carrots (typically two to five per night). If the soil becomes impoverished, complete a hunt or sidequest and try again. When you collect your first Caem Carrots a man named Tony will offer to trade you various items for them. Trade four Caem Carrots to get this weapon (or another upgradeable weapon).
To upgrade the Plunderers you’ll need an Earth Gemstone, an item that can commonly be found in loot spots and Treasure Spots. For a guaranteed drop, head to the crater south-east of the Cauthess Rest Area, where you’ll find The Archaean’s Mirror Fishing Spot. Search the eastern end of this pond to find a Treasure Spot which reliably yields this component.


No Comments