Once outside you’ll receive a call from Cindy, who has both good news and bad news. The good news is that she found the Regalia, but the bad news is that it’s being held at an Imperial base. Worse yet, Ignis speculates that an imperial ship seen flying overhead might be en route to steal your chariot from you, so time is imperative!… at least, for storyline purposes. In actuality, you can mess around as long as you please. Given that everything is still blocked off and traveling is a chore, however, you might as well go rescue the Regalia.
Operation Regalia Retrieval
The imperial base you’re looking for is north-west of the Disc of Cauthess, just up the road from the Cauthess, the Disc Parking Spot. Approach the fortress and, after surveying the citadel, you’ll be directed to hit up the Sothmocke Haven Campground nearby (south-east) of the base. Make camp, eat a good meal and Ignis will devise a strategy for you to infiltrate the base under the cover of night. As the game warns you before you start, you have to retrieve the Regalia before morning. If you don’t, then you’ll have to retreat and start all over again.
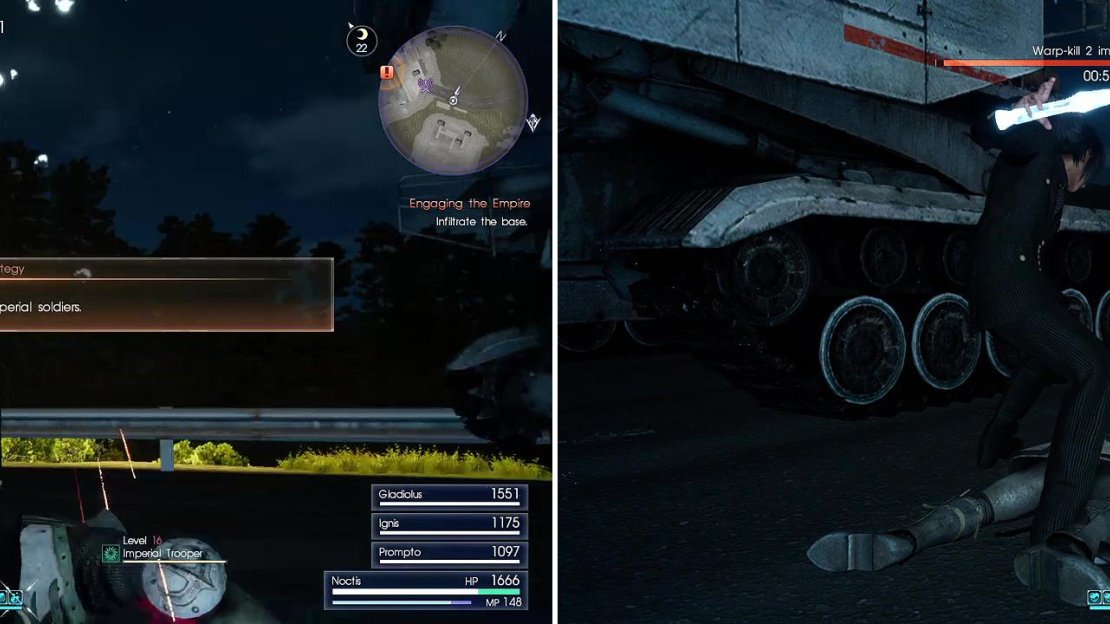
When you’re ready, begin the operation. You will need to remain hidden, as alerting an entire base of Imperial soldiers is a bit of a death-wish. As you start out, you’ll learn the performing warp-strikes to enemies from behind will instantly kill them, which is pretty much what you need to do at the start here. When given the option to move, quickly warp-strike to the first guard, then turn right and do the same to the other. Not only is this quick and easy, but you should receive the bonus 10 AP from fulfilling the bonus objective, unless you sat behind the container and twiddled your thumbs for about a minute.
Being mindful of the search lights, enter the main base and heed Ignis’ warnings about the lights. It looks like it’s not just soldiers at the base, but also Magitek armor units. Oh well, there’s nothing you can do about them, so follow Ignis until you spot some more soldiers. This time, there are three of them, but you can only see two, as the third is to the right. As soon as you can, warp-strike the one walking to the right, then do the same to the one going left and the final one will be back to the right. Doing this quickly will result in fulfilling another bonus objective, for an additional 10 AP.
Continue north-west until you spot a large lit-up area, some dormant Magitek Armor, and beyond it, a laser Grid. Turn north-east and enter the small building you see on your map to find a loot spot (Reflex Enhancer) , then head back outside and look towards the laser-powered gate to spot a keypad along the wall left of the laser grid. Head over there, but before you mess with that laser grid continue north-west to find a loot spot (Mythril Shaft) tucked away behind a large tarped-over bit of cargo, which it itself behind another dormant suit of Magitek Armor.
Grab the loot, use the keypad to deactivate the lasers, then continue forth to spot the power source for the base, after which is another segment of Final Metal Gear Fantasy. There will now be three more soldiers coming towards you, but what you don’t see are three others out of sight. This can be a difficult part to do without being seen and should that happen, then you need to quickly take out all of the enemies in the vicinity.
You need stealth for this mission so you must use Warp Strike to take out soldiers from behind (left and right).
To start off, while facing the one guard who stayed behind, you should see a warp-point on a tower above and to the right of him. Warp to that spot and descend the stairs, warp-striking the one there. As soon as you’re finished with him, quickly take out the one at the top of the stairs, then the third one at the bottom of the stairs as he passes the boxes there. Warp back to the staircase you did initially, then climb them so you can warp to the top of the building near the next gate. From here, you should be able to get behind the soldiers for warp kills.
Before you deactivate the next gate, there’s a few items you can snag, but make sure you do it quickly, since you’re on a timer. Back near the tower where you first warped to, you can jump over the containers next to the base wall to get to an isolated spot with a Mythril Shaft . The next item might be a little tricky to find, so bear with it and if you feel like you’re taking too much time, ignore it. Head north-west from the second laser gate (which you have yet to deactivate), and when you reach a wall turn north-east to find a hangar with some vehicles in it. Behind (north-east of) this hanger is a watch tower you can warp to, at the top of which is another loot spot (Mega Potion) . Return to the laser gate and turn north-east to find a small building, inside of which is a Magitek Booste r. Finally, continue around the small building to the north-east, head behind some shipping crates and find a dumpster near an even smaller structure, on the former of which is a Muscle Stimulant .
Return to the laser gate one more time and deactivate the lasers. Your beautiful car is in sight, but when you get to it, a MA-X Maniple shows up to stop you from taking it. You’ve fought a mech similar to this before during the quest “Pilgrimage”, so you know to aim for the legs with something like a greatsword to bring it to its knees. Once it’s crippled, aim to take out the rocket launcher and just continue beating it down until it’s finally finished. The resulting explosion will alert the base and if your cover wasn’t blown before, it definitely is now.
Cover Blown
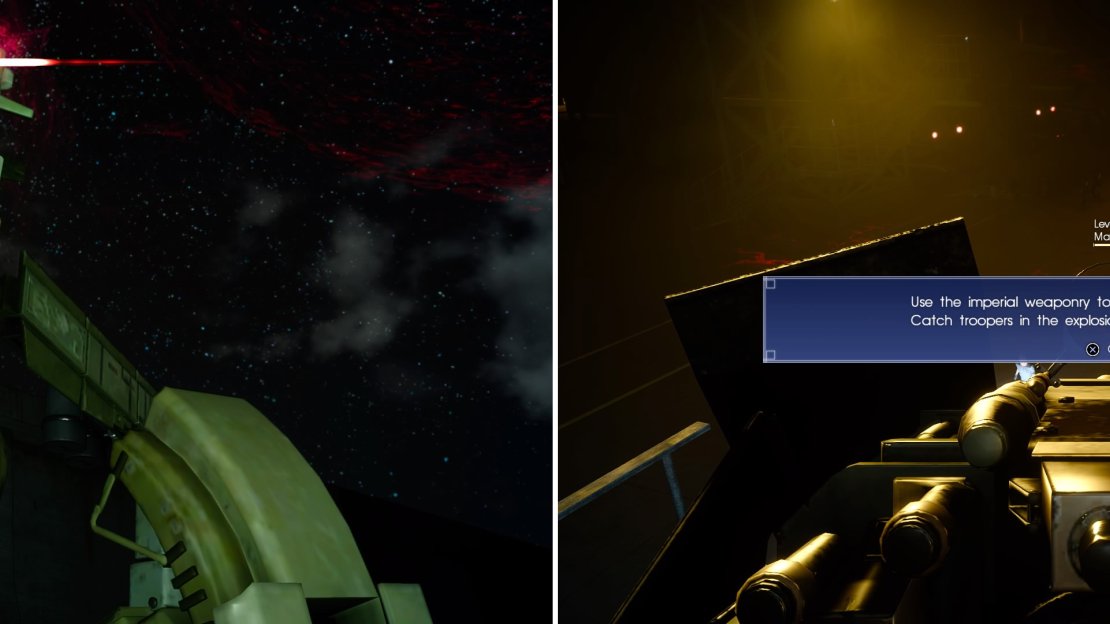
A bunch of troops will rush into the immediate area and it’s time for a big showdown. Things can get a bit hectic here, but Ignis points out a turret (which is on a small metal tower near the south-western wall) you can use to even the odds a bit. After the slaughter, Ignis suggests going after the generator… but before you run off, let’s round up some more loot. Don’t worry, you’re not on the clock anymore.
First, note the two watch towers in the area and make your way to the top of the south-western one to find a Rusted Bit. Next, make your way north-east along the south-eastern wall to find a small building behind a water tower, inside of which is a Chrome Bit . Next, take advantage of the fact that the whole base is up in arms and head north-west around a tank, then turn north-east and go through a deactivated laser gate. From here turn south-east and enter another small building to claim a Muscle Stimulant .
Return south-west through the laser gate and past where you fought the imperials and their Magitek Armor to reach another, as of yet still operational laser gate. Take it down (good thing none of these gates require passwords, or have even the most basic built-in security!) and head through it to run into more soldiers and another mech. Once again, you can find a turret behind the mech (on a tower to the south-east), which is useful for destroying your foes, especially if you target the Magitek Energy Tanks. After your opposition has been smote, there’s one item you can pick up in this rather stingy area. In the middle of battleground is a metal walkway, south-east of which are some crates. Behind this crates you’ll find a loot spot (Laser Sensor) . Plunder it, then head south-west to find another, already deactivated laser gate, beyond which is the final area of this mission.
Imperial forces will pile in around (left) you but you can use their weaponry against them. The turret (right) combined with exploding energy barrels will make quick work of them.
Pass through the laserless gate and turn north-east until you spot a hangar to the north-west. Inside you’ll find half a dozen MA Veles and some Imperial Troopers. The latter aren’t much of a threat, and prefer to occupy the rafters, and the latter activate one at a time, and should be weak enough to be easily dismantled. Cumulatively, however, they’re worth a good bit of experience, so smash them, then search a structure inside the hangar, to the south-west, to find the first bit of truly note-worthy loot in this place - the Gravity Well . You can also score an Ether on the elevated walkway along the north-eastern end of the hangar.
Now that the hangar has been plundered, it’s time to score some loot in the area around it. Exit out of one of the doors along the north-eastern edge of the hangar and search near the fencing outside to find a Reflex Enhancer . Return to the hangar and exit out a door to the south-west, then make your way south across the storage-littered base to find another structure, inside of which you’ll find a Mega Phoenix . Make your back back to the hangar one more time and go through a door to the north-west. Continue north-west to find a guard tower, atop which is a Bulletproof Suit . Abandon the watch tower and head south-west along the base’s north-western wall to find a fenced-off fuel storage depot, inside of which awaits an Electrolytic Condenser .
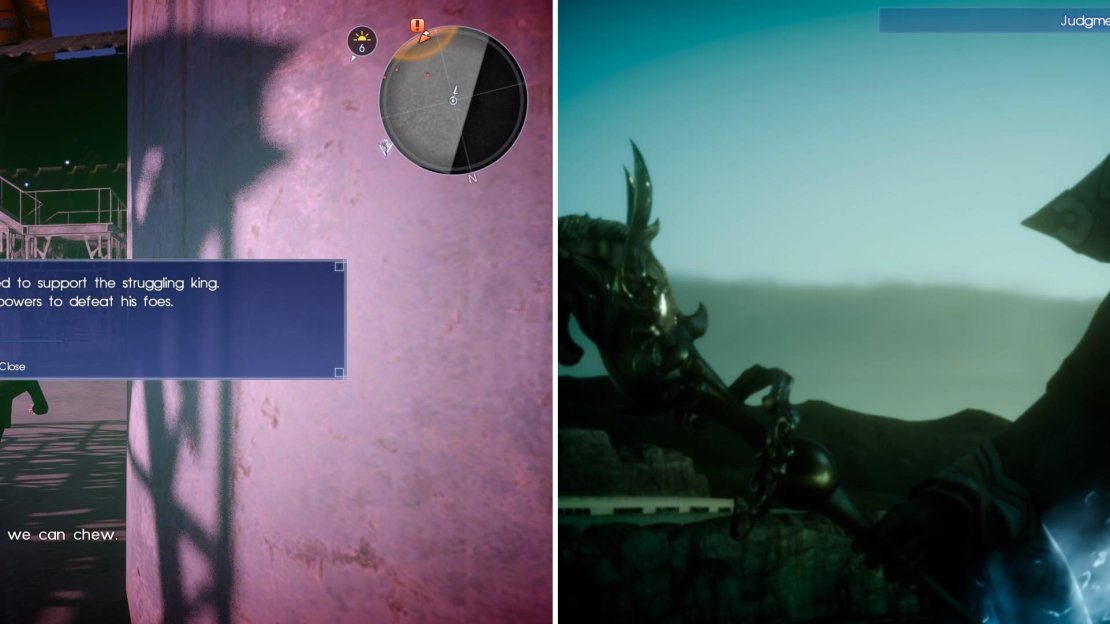
Looting is done for now, so make your way back south-east, passing a dropship, until you’re outside the hangar again. Turn south-west and pass through another already deactivated laser gate to reach your objective - the Magitek Generator. Naturally there’s a good deal of imperial resistance here, including an MA X Maniple, but it ultimately doesn’t matter what you do here. Just attack whoever you want until you get a prompt that Ramuh will lend you his aid, at which point hold down L2/LT until you see the magnificence that is a summon in this game.
As things become desperate, Ramuh will recognize your struggle (left) and lend his strength (right). Press L2/LB to summon him.
Ramuh lays waste to the base (or at least all of the Imperials in it!) ending the battle for you. Why couldn’t he show up at the start of the mission?! Oh well… With that job finished, go get to the Regalia and you’ll have a chance encounter with Ravus Nox Fleuret, elder brother to Lady Lunafreya. A familiar face steps in before things escalates and you can finally be on your merry way.
Now that you have your car back and all of the blockades around Duscae have been removed, you are free to explore to your heart’s content. To finish off the quest and chapter, all you have to do is return to Lestallum and talk to Iris at The Levelle. Note that whenever you go there, you won’t receive the experience multiplier, so if you’re looking to cash what you have saved for some nice levels, go to one of the other motels/hotels you have access to for now.
| Objective | Reward |
|---|---|
| For rescuing the Regalia and returning to Lestallum | EXP 3,000 |


No Comments