Legacy
Okay, that’s enough side quests for the rest of this chapter. It’s time to stop distracting yourself from the task at hand and see to the matter of vengeance. Return, once again, to the Prairie Outpost, this time with a mind to press on with the main story.
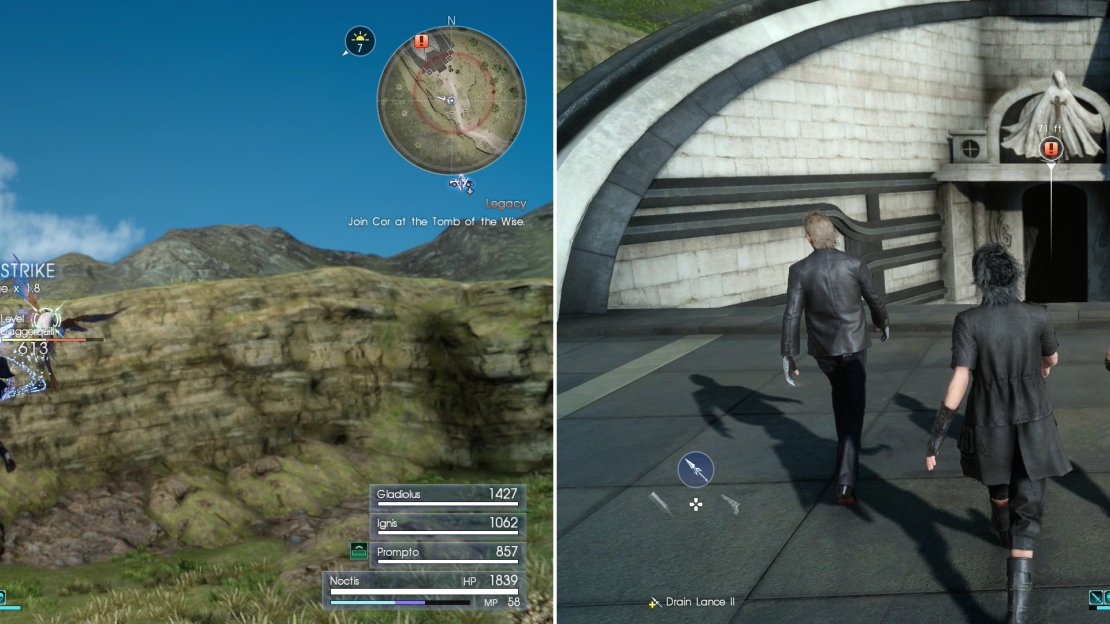
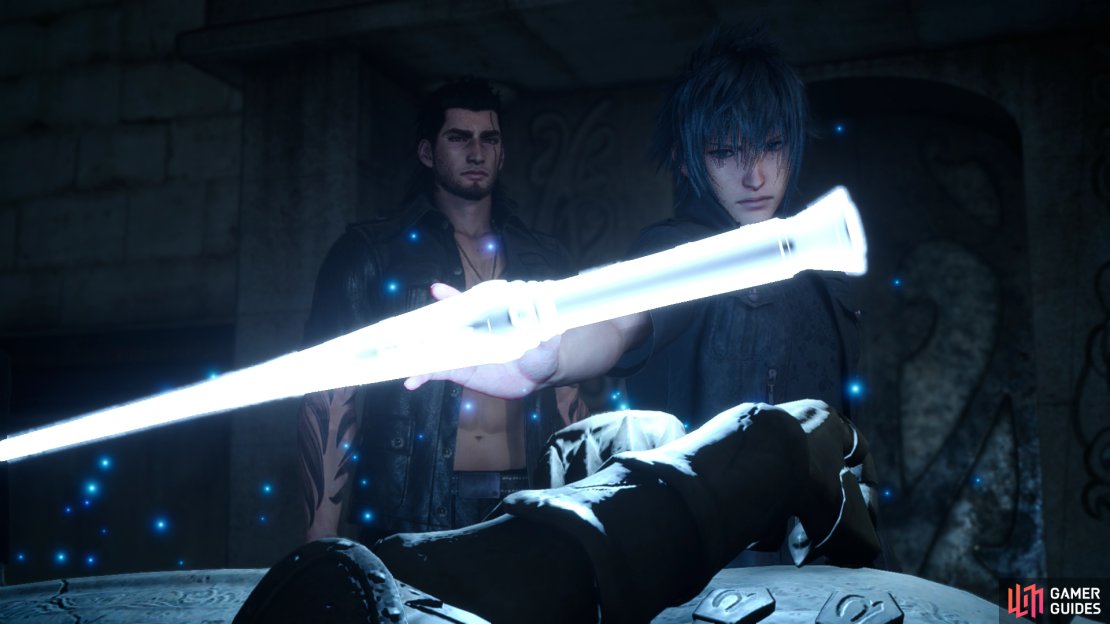
Exit the outpost via a dirt road running north (near where Dave is standing) and follow it until you find another dirt path running uphill to the north-west, which leads to the tomb. Kill any Daggerquills that darken the sky along the way and enter the tomb, inside of which you’ll find Cor waiting for you. A cutscene will play out and once it’s over you’ll receive one of the Royal Arms - the Sword of the Wise . These are mystical weapons that only Noctis can wield and are very powerful, but they come at a price. When using them, they will drain your HP, so using them too long will put your life in danger.
Why didn’t the king use these weapons? Why seal them up in scattered and half-forgotten tombs across the land instead of keeping them at hand in case of an emergency? Who knows, but it seems like you’ll need their might to fight back against Niflheim.
Fight off any Daggerquills who dare impede your progress (left) as you make your way to the Tomb of the Wise (right).
Exit the outpost via a dirt road running north (near where Dave is standing) and follow it until you find another dirt path running uphill to the north-west, which leads to the tomb. Kill any Daggerquills that darken the sky along the way and enter the tomb, inside of which you’ll find Cor waiting for you. A cutscene will play out and once it’s over you’ll receive one of the Royal Arms - the Sword of the Wise . These are mystical weapons that only Noctis can wield and are very powerful, but they come at a price. When using them, they will drain your HP, so using them too long will put your life in danger.
It seems like you’ll need their might to fight back against Niflheim.
| Objective | Reward |
|---|---|
| For claiming the Sword of the Wise | EXP 400 |
The Power of Kings
Talk to Cor again and he’ll tell you about another tomb nearby, which he’ll accompany you to before revealing that there are a total of thirteen Royal Arms, all located within Royal Tombs like the one you just found. Leave the Tomb of the Wise and head back downhill, dispatching a pack of Sabertusks as you go. When you reach the previous road, follow it north-east to the Keycatrich Ruins and note the Imperial drop-ships in the sky.
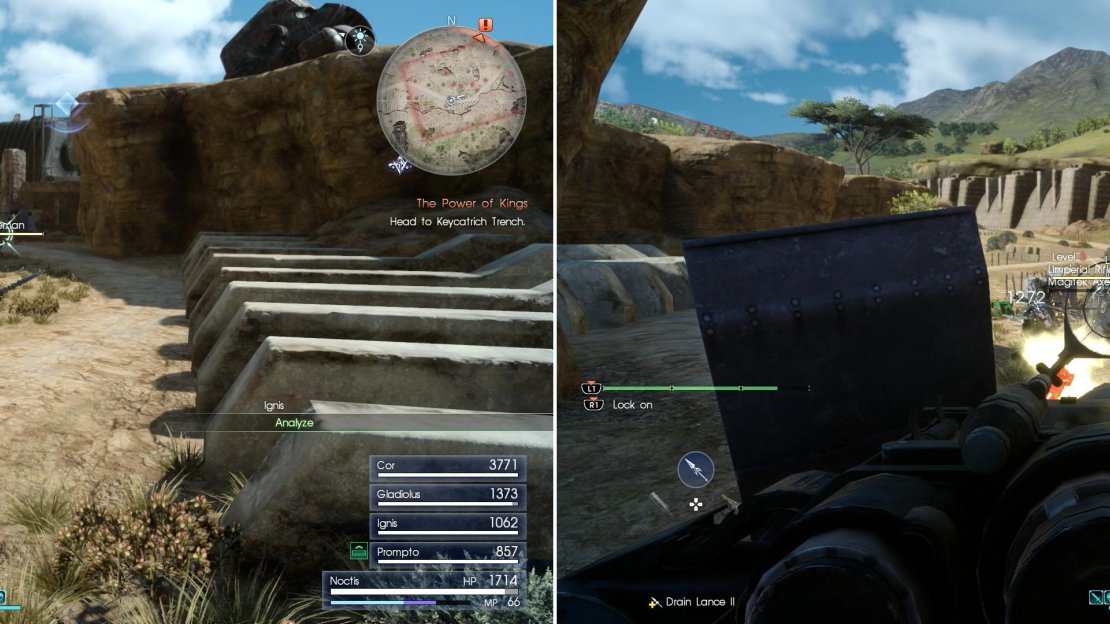
You can slink past the Imperials by continuing along the wall to the north-west and entering the Keycatrich Trench - your destination - but who can resist the call for vengeance? With violence in your eyes, head east into the Keycatrich Ruins where you’ll find a host of varied Imperials, including Magitek Axemen, Imperial Riflemen and Imperial Snipers. Bonus points if you break through and commandeer the turret.
Outside of Keycatrich Trench you can finally gain a measure of vengeance against the imperials (left), a feat that’s only enhanced by using their own weapons against them (right).
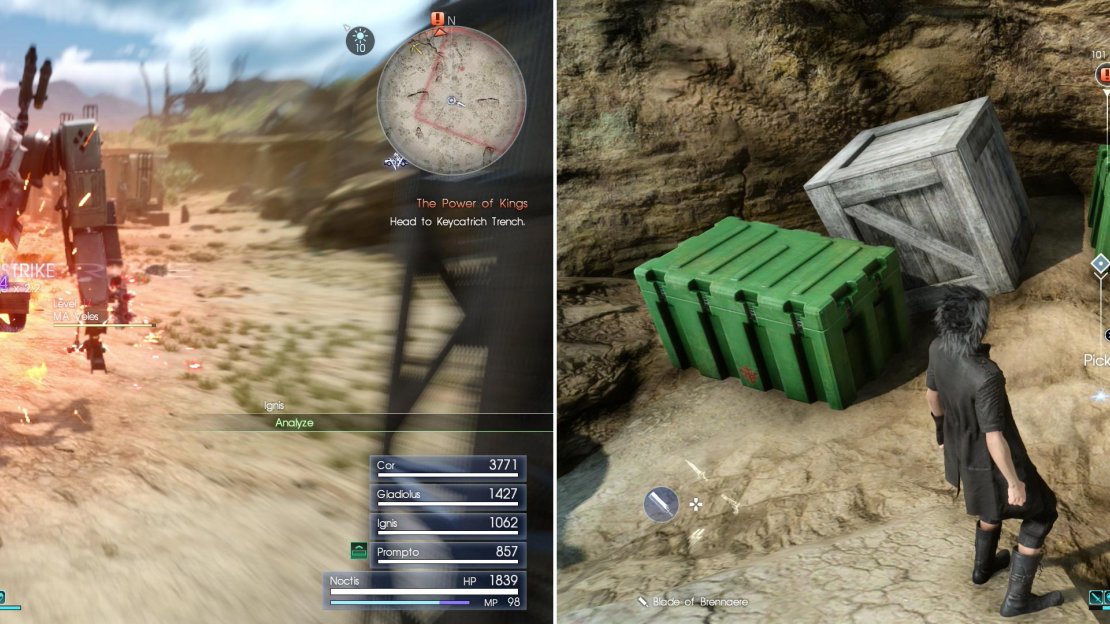
After that intoxicating draught of carnage, if you’re still thirsty for more, continue north-east to find a pair of Magitek Armor, MA Veles, which look more dangerous than they really are. Wait around for a bit and two more Imperial drop-ships will arrive with reinforcements, including more Imperial Riflemen, Magitek Axemen and another MA Veles. Once they’re all dead search near a bush in the south-eastern corner of the ruins to find a Giant Hairy Horn which fetches a fair price at the market, if nothing else.
Now turn your attention to the Keycatrich Trench, but before entering, leap into some rocks facing the entrance and jump onto the rocks west of the entrance where, near some crates, you’ll see a nice little piece of Machinery called the Bioblaster . Only Noctis and Prompto can use this and not only does it have a normal attack, but it can also unleash a special with the Triangle/Y button. The one downside to it is that you can’t Warp-Strike while you have it currently equipped and readied. You can also find a Hi-Elixir on the rocks to the east of the entrance. Generous rocks.
If you want to tackle bigger game, you can go after the empire’s Magitek Armor (left). Be sure to search outside the mine entrance to score the Bioblaster (right).
Keycatrich Trench
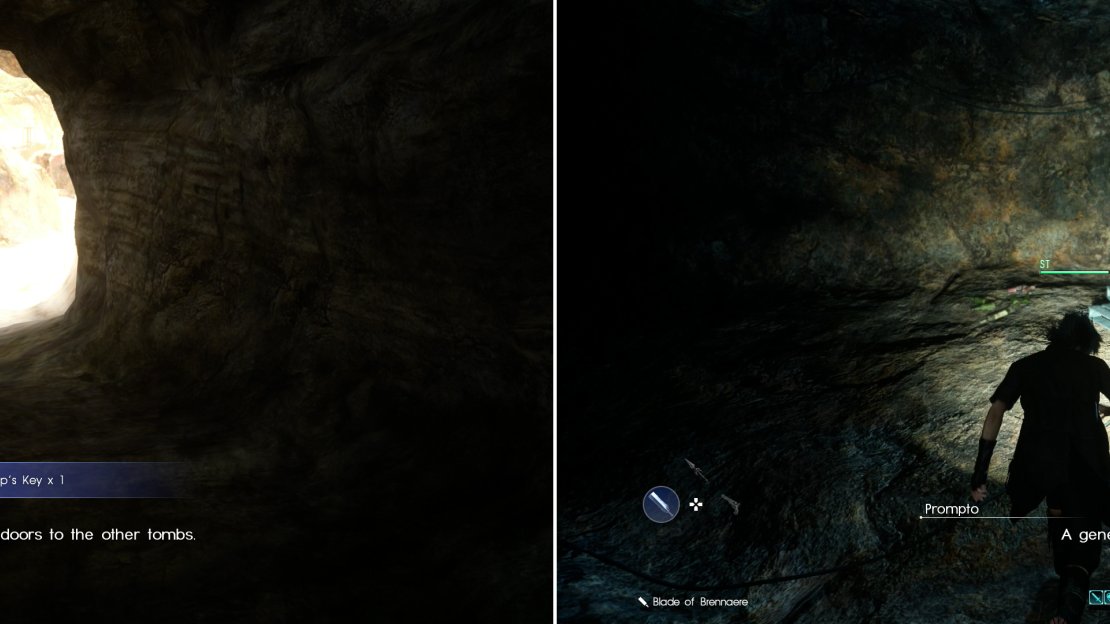
When you’re done checking out your new gear enter the dungeon and Cor will leave the party, letting you fend for yourselves while imploring you to find the rest of the Royal Arms, and entrusting you with the “ Tombkeep’s Key “. Later ‘tater.
Continue north and the party will banter. At a metal cage doorway, turn west to find a loot spot on the ground, which will give you a Metal Scrap if searched. You really have no excuse to not have one of these at this point. Just remember to return to Cid after this is over with to obtain the Drain Lance II if you haven’t already.
Pass through the cage doorway and as you go down the stairs, your party members will take notice of the cable running through and off to one of the side paths. Follow the cable north, then east and you will end up locating a generator, so walk up to it and turn it on to shed some light inside the dungeon. From the generator head down a tunnel to the north to find another loot spot ( Electrolytic Condenser ), then turn west to return to the main passage.
Cor will party company with you when you enter the mine, but he’ll give you the Tombkeeper Key to help your tomb plundering endeavors (left). Turning on a generator in the mine will provide illumination (right).
Continue north and the path will eventually lead to a metal door to the east, which will open, but first head down the dead-end path to the west to find another loot spot ( Carbon Bangle ). Return east and pass through the door you neglected earlier and when the path forks, turn south to find a loot spot yielding a Rusted Bit . This should cover Cid’s upgrade to the Engine Blade, too.
Head down the tunnel to the north and endure Prompto, who is operating at absolute peak annoyance right now. How did he get to join the Crownsguard again? Ignore all the paths to the east and west (they lead to locked doors) and continue south until you reach a chamber with a loot spot in it ( Oracle Ascension Coin ).
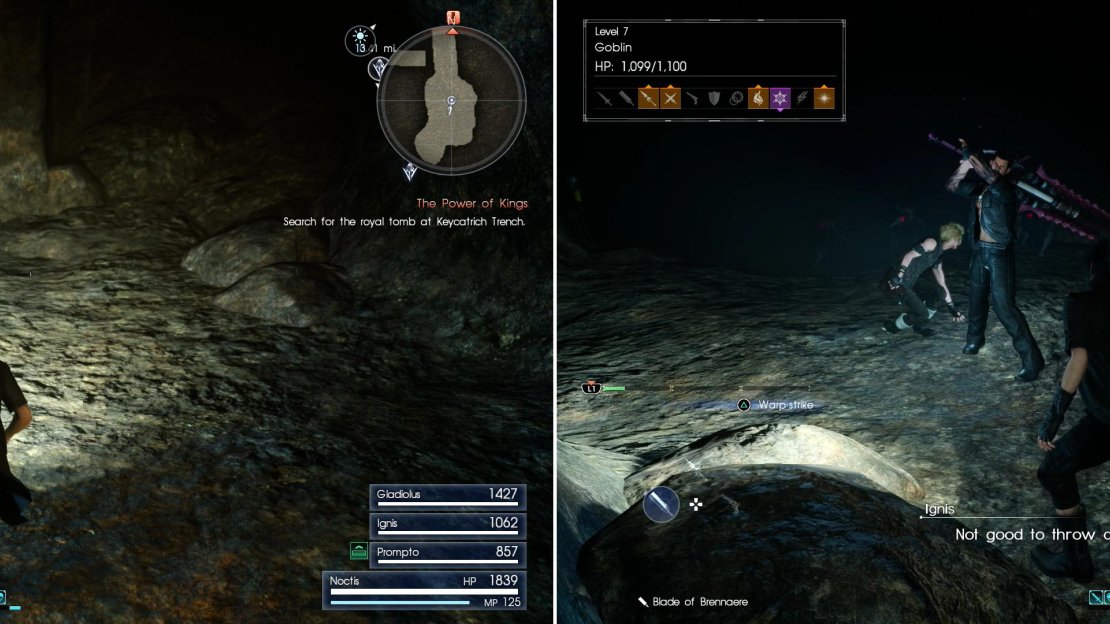
Grab the loot, then backtrack north until you reach the middle of three side-passages to the east, near which your party members will mention something new being present. Sure enough, at the mouth of a short dead-end passage you’ll find a loot spot ( Green Choker ). If you grab it, however, some Goblins will show up. Take their prize, smite them, then continue back south to find that one of the green doors to the west is now open. Hmm…
Head on through the open green door and search a loot spot for another Electrolytic Condenser and gather some lightning element from the container, should you need it. Once done, continue west into some tunnels and search the southern fork to find another Rusted Bit . Explore up the northern fork next and go through a doorway to find an apparent dead-end. Noctis’ svelte physique will come in handy here, however, as he can squeeze through the rock and into the tunnel beyond. How Gladiolus fits is a mystery. Slither through the rocks to reach a chamber with a loot spot in it ( Bronze Bangle ), but as you approach, some Goblins will burst through the doors to the east. Smite them and go through the doors they destroyed to find yourself back in the room where you found the Oracle Ascension Coin.
Return back north up the main tunnel again and take the first passage east you find, where you’ll discover that the previously-locked cage door is now open. Go through it and go down some stairs and follow the tunnel beyond until you find a watery side chamber to the east, in which is another loot spot ( Ether ). As you approach you’ll get a cave-in scare, but nothing ultimately comes of it. Return west to the tunnel and follow it south, then west up some stairs to reach another cage door, which you can now open.
You’ve now explored two of the three passages east of the main tunnel, now it’s time to turn your attention to the middle one, which is east of where you were first ambushed by Goblins, after grabbing the Green Choker. This is another apparent dead-end with a hole between some rocks Noctis can crawl through. Do so and shortly thereafter you’ll reach a fork in the path.
Treasure lies scattered throughout the mine, proving to be an irresistable lure (left), but be wary, as Goblins often lurk in ambush (right).
Start by heading south to a dead end, where the lights will go out and some more Goblins will show up to attack. Pick up the Oracle Ascension Coin after vanquishing the pests, then continue in the opposite direction. Slip through a very narrow passage and in the tunnel beyond you’ll find a loot spot ( Elixir ) lying in plain sight, then contemplate the fork in the path ahead of you. Head north first and go through the green doors to the west, where you’ll locate another generator - and some more Goblins. Kill the Goblins and turn on the generator, if you wish, then continue north only to have a door to the east slam shut on you. A door with a glowing blue mote of looty light behind it. This will not stand! Backtrack south until you find the tunnel to the east you ignored earlier and follow it to get behind the door, which you can open from this side - after you plunder the loot spot ( Laser Sensor ).
Double back west and go through the steel cage door that impetuously tried to deny you earlier, then continue west, south-west through another, more obedient door. As you continue on, note some green doors to the north, momentarily bypassing them to score a loot spot ( Elixir ) at the end of the tunnel. Return to the green doors, open them and enter the room beyond, wherein you should hear the sound of some kind of valve being turned off or on. Ignore the green doors to the east and first go through a blue door to the north to find a shower room, which is apparently empty. Return to the larger room to the south to find that it’s now occupied by some Tarantulas! You shouldn’t have too much trouble with them, so squash the bugs and move on through the green doors to the east.
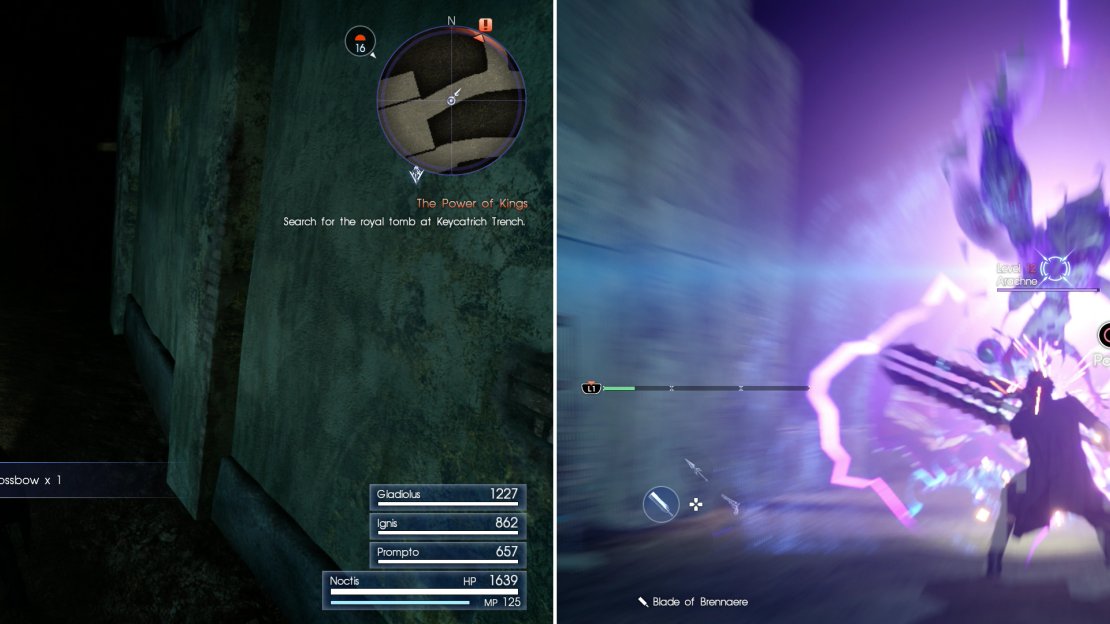
The treasure on the ground ahead of you is another piece of Machinery, this one being the Auto Crossbow . Continue east and you’ll come across another split, but the northern path is a dead end, although one worth exploring to obtain the Hi-Elixir on the ground. Grab it and head through the green doors to the east, beyond which is a large room. Enter the room and you’ll soon be joined by another, larger spider - Arachne .
While exploring the mine, be sure to pick up the Auto Crossbow (left). The Arachne - a giant spider dwelling in the depths of the mine - is fond of lightning magic (right).
First and foremost, the Arachne is big, but also moves fairly quickly at times. There are at least one (or two) warp-points in the room, should you need to try and recover some health or MP, although it’s possible the enemy can still smack you while you’re hanging. It can inflict Stop with its web-based attack, which it does when it turns around. You will also find the enemy will attach some web to the ceiling and then swing towards a character while electrified; this attack can shock whoever it hits, which is a lightning damage-over-time.
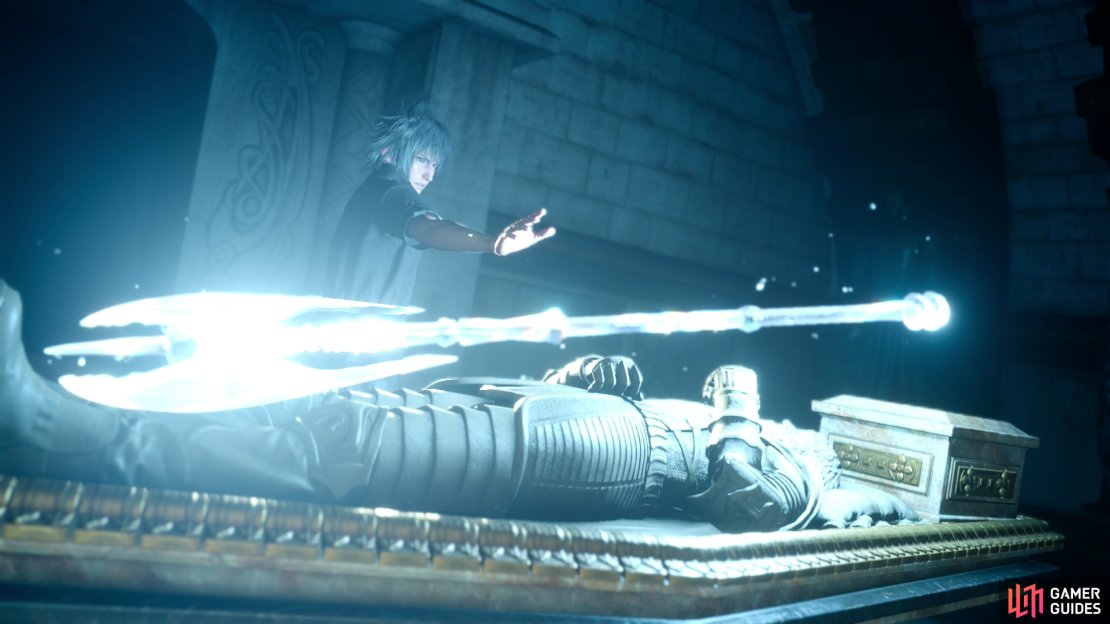
After vanquishing the Arachne search the north-western corner of the room to find a loot spot ( Megalixir ), then crawl through the hole at the northern end of the room and shortly beyond, you’ll approach a four-way split. Fortunately for you, east is a dead end and you can’t get underneath the gap going north, so the only option is west. You’ll come to a fancy-looking door, which happens to be the entrance to the Royal Tomb. Unlock the door, go inside and take the Axe of the Conqueror . As you exit, you will be asked if you want to leave the dungeon, but it’s worth noting that you can crawl under that gap nearby, but it leads to a strange door you can’t open. You can check it out if you want, then open your map and choose the option to return to the entrance.
| Objective | Reward |
|---|---|
| For claiming the Axe of the Conquerer. | EXP 500 |
No Comments