

The chapter begins with a leisurely drive up to the Vesperpool (starting along the road north of the Wennath Riverhead), with Noctis being behind the wheel this time. That means you’ll actually have to drive yourself (starting after you enter the tunnel), so just follow the road until you see the dirt path off to your left (running north). Ditch the highway for the dirt road and drive until you find The Vesperpool Parking Spot, which is across the street from (north of) the Capitis Haven Campground. Stop, stretch your legs, rest up, draw elemental energy from the obligatory three elemental deposits, or just keep driving - they serve as fine landmarks, if nothing else.
Drive east from the Capitis Haven Campground, and when the road starts turning north, keep your eye to the west to spot a dirt trail (not even a proper road!) running off to the north-west. There should be a car on the side of the road to help guide you to the right spot. Stop, get out of the car, then follow the trail north-west to the quest objective, killing Basilisks, a Cockatrice, and whatever imperials might get dropped in. These foes serve as a fine example of the difficulty of the dungeon you’ll be plundering ahead, so if you’re having any trouble… well, should have done more side quests earlier.
Eventually you’ll find Ardyn’s signature red car near the swamp, and the man himself is not far away. Head north-west from the car and search some ruins to find “Oric’s Culinary Chronicle I Entry 6: Moving Out”, which will inspire Ignis to concoct the “Paella de Pollo” recipe. Continue north-west to find Ardyn, then follow him and you will come upon a little gathering with some Imperial soldiers and Aranea. Don’t worry, though, as they’re not looking for a fight. Under the absurd guise as “new recruits” you’re going to be accompanied by Aranea into the nearby ruins in your search for Mythril.
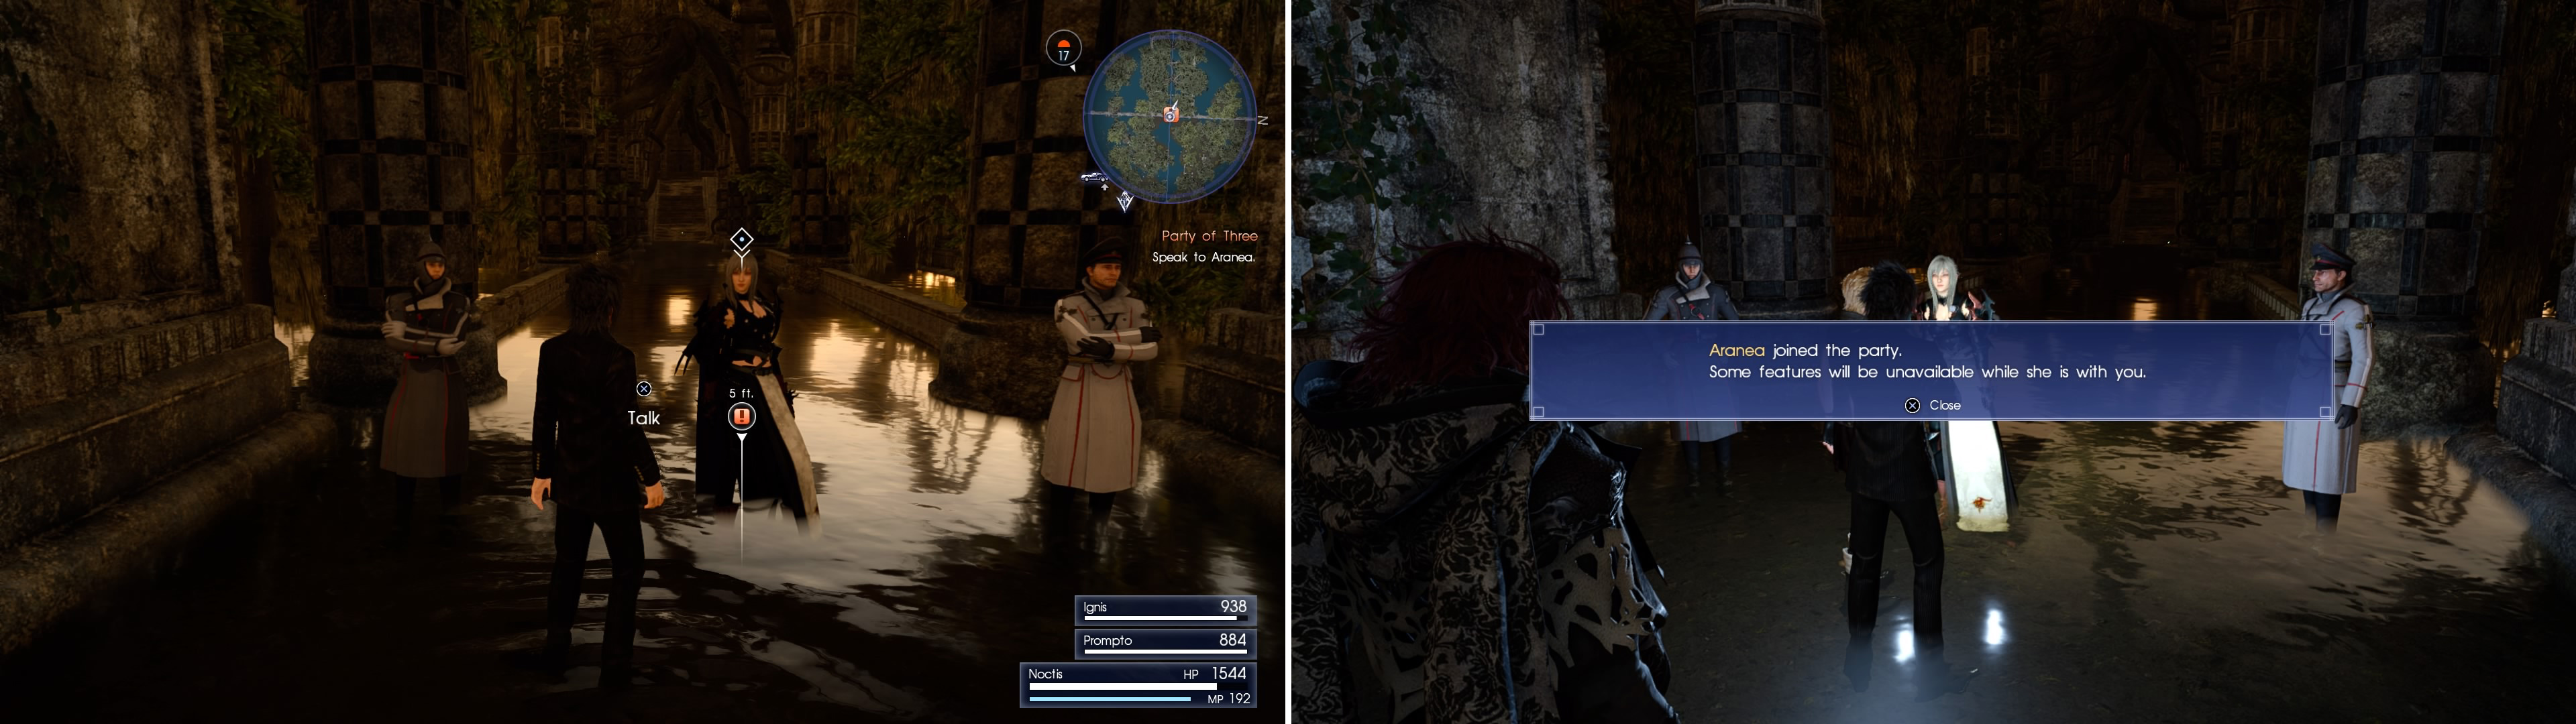
This time, Aranea won’t be fighting you, she’ll be fighting with you. She makes quite the ally as well.
Talk to her and you’ll get a chance to respond with “Remain silent” for two AP or “Ask my friends”, which will grant Ignis and Prompto 1,500 experience, after which she’ll join your party. She’s not the only interesting imperial of dubious loyalty, however, as two the soldiers function as shops, one for items and the other for weapons and accessories.
Pergula Legionis (Items)
| Items | Price |
|---|---|
| Potion | 50 Gil |
| Hi-Potion | 100 Gil |
| Elixir | 400 Gil |
| Hi-Elixir | 800 Gil |
| Phoenix Down | 1,000 Gil |
| Antidote | 10 Gil |
| Gold Needle | 50 Gil |
| Smelling Salts | 50 Gil |
| Maiden’s Kiss | 100 Gil |
Commeatus Armorum
| Items | Price |
|---|---|
| Ice Brand | 1,500 Gil |
| Hardedge | 1,500 Gil |
| Ice Spear | 1,500 Gil |
| Assassin’s Daggers | 1,500 Gil |
| Rebellion | 1,500 Gil |
| Thunder Shield | 1,500 Gil |
| Flame Shield | 1,500 Gil |
| Carbon Bangle | 2,000 Gil |
| Angel Earring | 1,000 Gil |
| Fencer’s Anklet | 2,000 Gil |
| Mettle VX | 500 Gil |
| Spirit VX | 500 Gil |
| Verve WX | 500 Gil |
Steyliff Grove
When you’re ready, continue east into the ruins and up some stairs, which terminate at the entrance to the next dungeon. Sadly, this dungeon door will not open until it’s night time… but to be fair, that’s half the length of any given day. When it opens head into Steyliff Grove and walk down the long crumbling staircase to reach the first room. Ignore the room to your north, as there’s nothing in it. Instead, search the room you entered to spot a circular disc-shaped object on the ground along the western end of the room. While it doesn’t appear to do anything special, if you step on it a check mark will appear on your map. Positive reinforcement! Better step on all the discs you find.
Continue south and there will be two separate rooms, one to the south and another east. If you enter the eastern one you’ll see a treasure on the floor, but some rocks will cave in and cover it up. Oh well, no need to cry over some missed treasure, so enter the southern room to find a Chrome Bit , then continue westward. When you reach a tunnel running south some skeletons will spawn, who are weak to greatswords, machinery and ice, while being strong against lightning. Weak against ice? That doesn’t seem right… oh well, take them out and enter the room to the south, where more Skeletons appear, as well as a Reaper. This enemy is a little bit tougher than the Skeletons, but is also weak to greatswords, as well as shields and fire; it’s strong against ice.
When all your foes are pushing up daisies - again - go through the door to the west and search the dead end to the west to find a loot spot (Rusted Bit) . Venture north and your party will gush over the suspended water above them… which doesn’t really seem all that impressive after dealing with Titan and Ramuh. Eventually you’ll come across a little balcony of sorts, on which you’ll find a loot spot (Magic Flask) , but as you approach you’ll be pestered by some Skeletons, and some new fiends - Creme Brulee. These are basically like Flans and have major resistances to physical weaponry, while nullifying fire and lightning damage. However, they are weak to ice and don’t have much in the way of health, so physical weapons will wear them down pretty quickly.
Grab the Magic Flask then continue north, sidling across the narrow ledge. Take the stairs down to the next area and keep going south, where you’ll find another item in a suspiciously open space. As before, approach it to make some monsters spawn (only Skeletons this time), then pick it up after finishing them off (Rusted Bit) . There’s nothing else on this floor, so just go south and use the stairs to get to the third area. Although there’s no item in the open area here, you will still have to fight some Skeletons and Creme Brulees. Boo. As you travel, Aranea will spill imperial secrets, and give you insight on the empire’s business in Vesperpool - and Aranea’s own low morale.
Continue north until you find a door to the east - to reach the stairs the quest marker is on, it looks like you’re going to have to take a long route around. Continue through a room and onto an elevated walkway to the east, where you’ll see a section of walkway collapse ahead of you. It’s a shame, too, as there’s some now-unreachable loot past the collapse to the east. Oh well, nothing for it. Turn north and gravity will play its own little trick on you, after which some Skeletons and a pair of Reapers will spawn to add injury to… well, more injury.
Defeat all of the monsters and go to the dead end on the southern end of the room to find a Mega Phoenix , then carry on into the hallway to the east. Follow the hallway north, then west to reach a room with a staircase in it. Unfortunately, before you can climb the stairs you’ll have to fight more Creme Brulees and Skeletons, so smack them around a bit and climb the stairs. If you turn south you’ll just return to the collapsed walkway that collapsed under you, so go north to find yourself in another room similar to the previous one. As soon as you enter, though, the bridge to the west falls down, leaving you again to stare forlornly at the loot beyond. Continue north and turn west down another walkway, which fortunately doesn’t collapse under you - instead, it’s smashed by a lovely Iron Giant. Not only do you have the usual assortment of friendly foes down here, but that same Iron Giant joins the party.
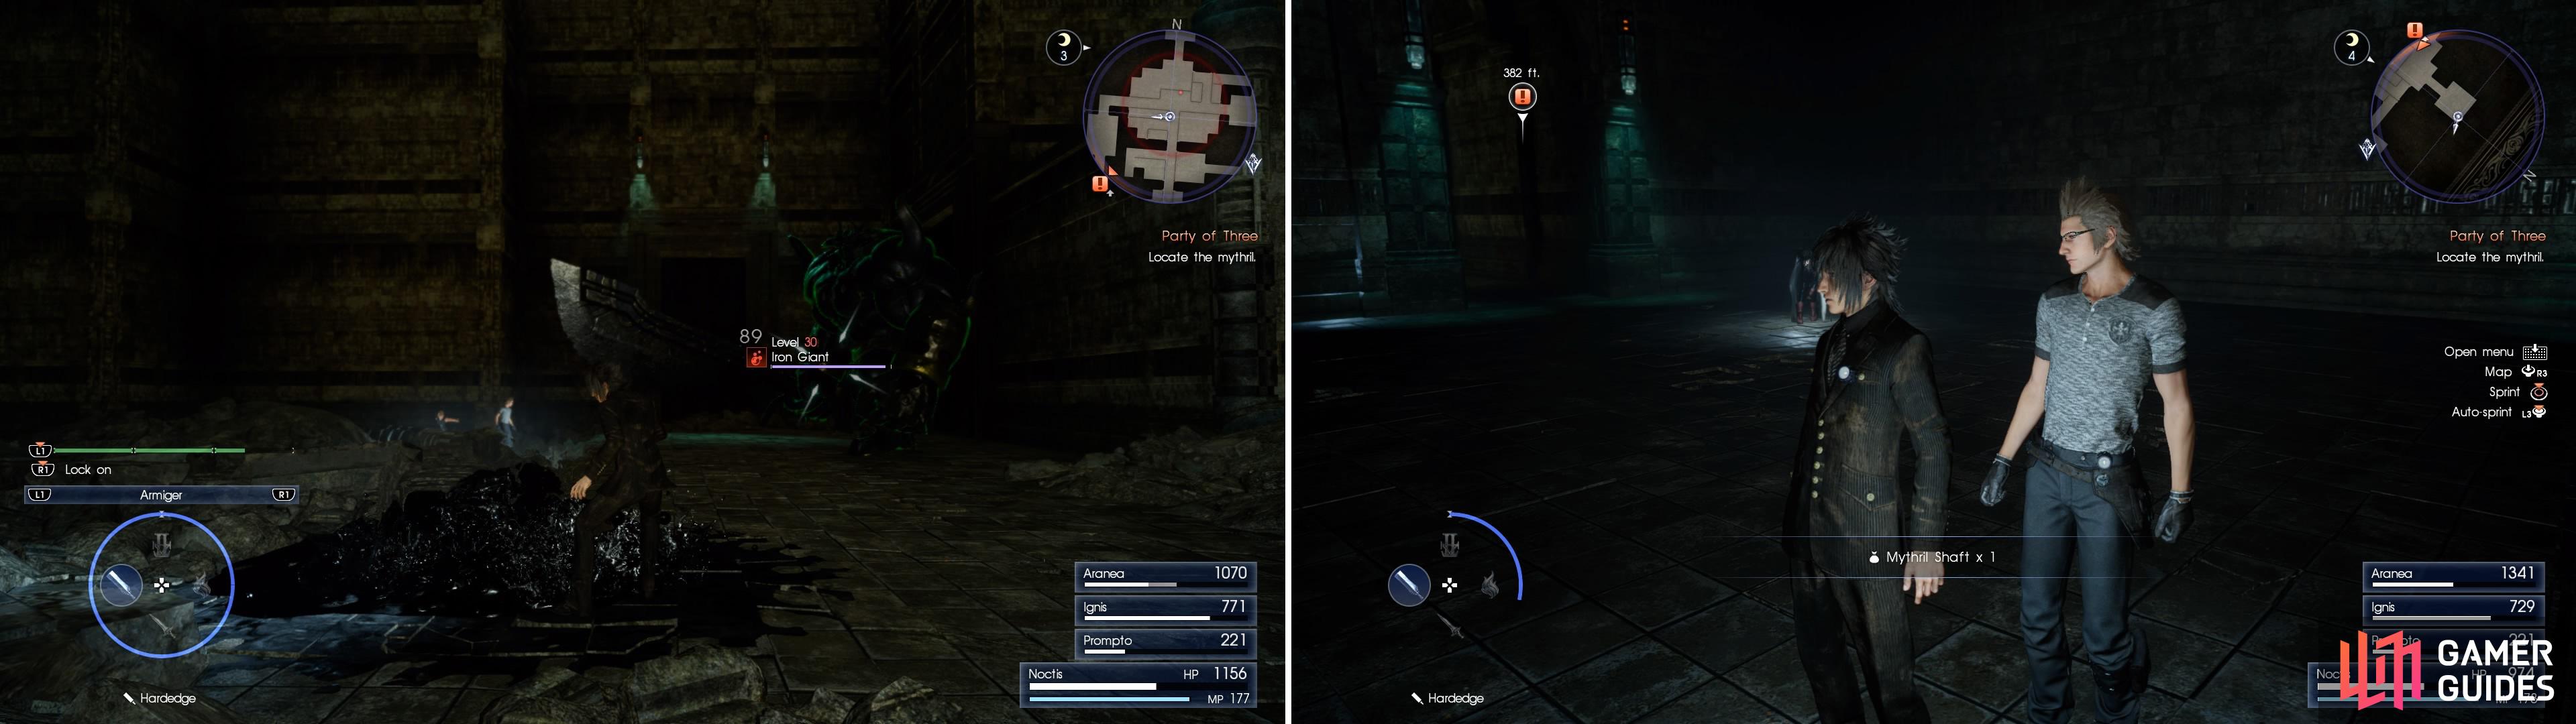
The Iron Giants here are rather nasty and powerful (left). Beware their massive sword swings. After the battle, don’t forget to pick up the Mythril Shaft (right).
At level thirty, the Iron Giant may prove to be a bit of a challenge to you, especially with all of the other enemies, but this isn’t the beginning of the game. While such a foe may once have been insurmountable, it should now just be a stronger-than-average daemon, nothing more. It’s weak against greatswords and shields, while it’s strong against fire. It might be a good idea to save it for last, although its wide swings might prove to be very dangerous. Stay defensive by holding down Square/X and warp away from its gravity attack, its grapple, and its one-fisted ground slam attack.
Once they’re all dead the bridge above you will repair itself, as will the rest of the walkways that collapsed, meaning it’s looting time! Start out by going through the northern door and fighting the enemies there (Creme Brulees and Skeletons), then plunder the loot spot (Mythril Shaft). Return to the previous room and take the eastern door this time, leading to some stairs and into the waiting arms of some more foes (Skeletons and a Reaper).
Bash the bones, then head into a room to the south before turning west to reach the walkways the Iron Giant rudely knocked you off, earlier. Up north you’ll find a loot spot (Hi-Elixir) , while another loot spot (Rare Coin) awaits you to the west, past the section of walkway that collapsed before the Iron Giant appeared. Note that sections of floor will collapse and reform randomly, so if you find your way blocked, just wait for the floor to cooperate. Next, return south to the first bridge that collapsed when you initially entered this area and go across the (hopefully) reformed bridge to the east, where you’ll find yet another loot spot (Ether) .
Return north and cross the bridge the Iron Giant destroyed and enter the room beyond, where you’ll be pestered by some Reapers and Creme Brulees. Finish them off, then continue south and go downstairs to find yourself in front of a big bridge. As you cross, naturally, a mob of enemies will spawn, including Reapers, Skeletons and Creme Brulees. When you’re done finish crossing the big bridge and turn south to reach a balcony outside of circular room to the west. Search the south-eastern corner of the balcony to find a loot spot (Ether) , then head into the circular room.
Turn north and enter a hallway where you’ll find another disc on the ground to the east. Walk on it, then continue west and enter the first room you see to the north to grab a Knight’s Anklet , then exit to the west. There will be another plate to step on to the north, while if you continue south and enter the first room to the west you can score a Talisman . Leave the room and continue south to get pestered by some Skeletons. Kill them and enter the hallway to the south, ignoring the room to the east, as it’s barren of anything of interest.
Make your way to the eastern end of this hallway to find another dais to step on, then head west to encounter a group of Creme Brulees led by a Reaper. Smite them and continue west into another tunnel, where you’ll find another disc if you turn north. Earn your checkmark, then head south to encounter some new foes - a pair of Liches accompanied by some Creme Brulees. Liches are level twenty-seven foes that have over 21,000 HP, as well as some nasty attacks, including the ability to envenomate you and drain all of Noctis’s Magic Points. It’s much safer to play more defensively with these here, especially since you’re in a pincer attack and have the gelatinous foes to worry about, too. The Liches are weak to swords, firearms and ice magic, while they’re strong against lightning. That being the case, it might not be a bad idea to soften your enemies up with Blizzara.
Continue south, ignoring the empty rooms to the east and west and entering another tunnel running east/west. You’ll find a disc to the west you can stomp on, while to the east you’ll find some stairs, which finally lead you out of these hallways. In the room beyond you’ll find several elemental deposits - one of each flavor, as it were. Draw what you need and continue east into a dead end chamber with a final loot spot (Oracle Ascension Coin) . If you don’t have any ice magic prepared, so do now and enter the spacious chamber to the north to come face to… beak with a boss.
BOSS - Quetzalcoatl
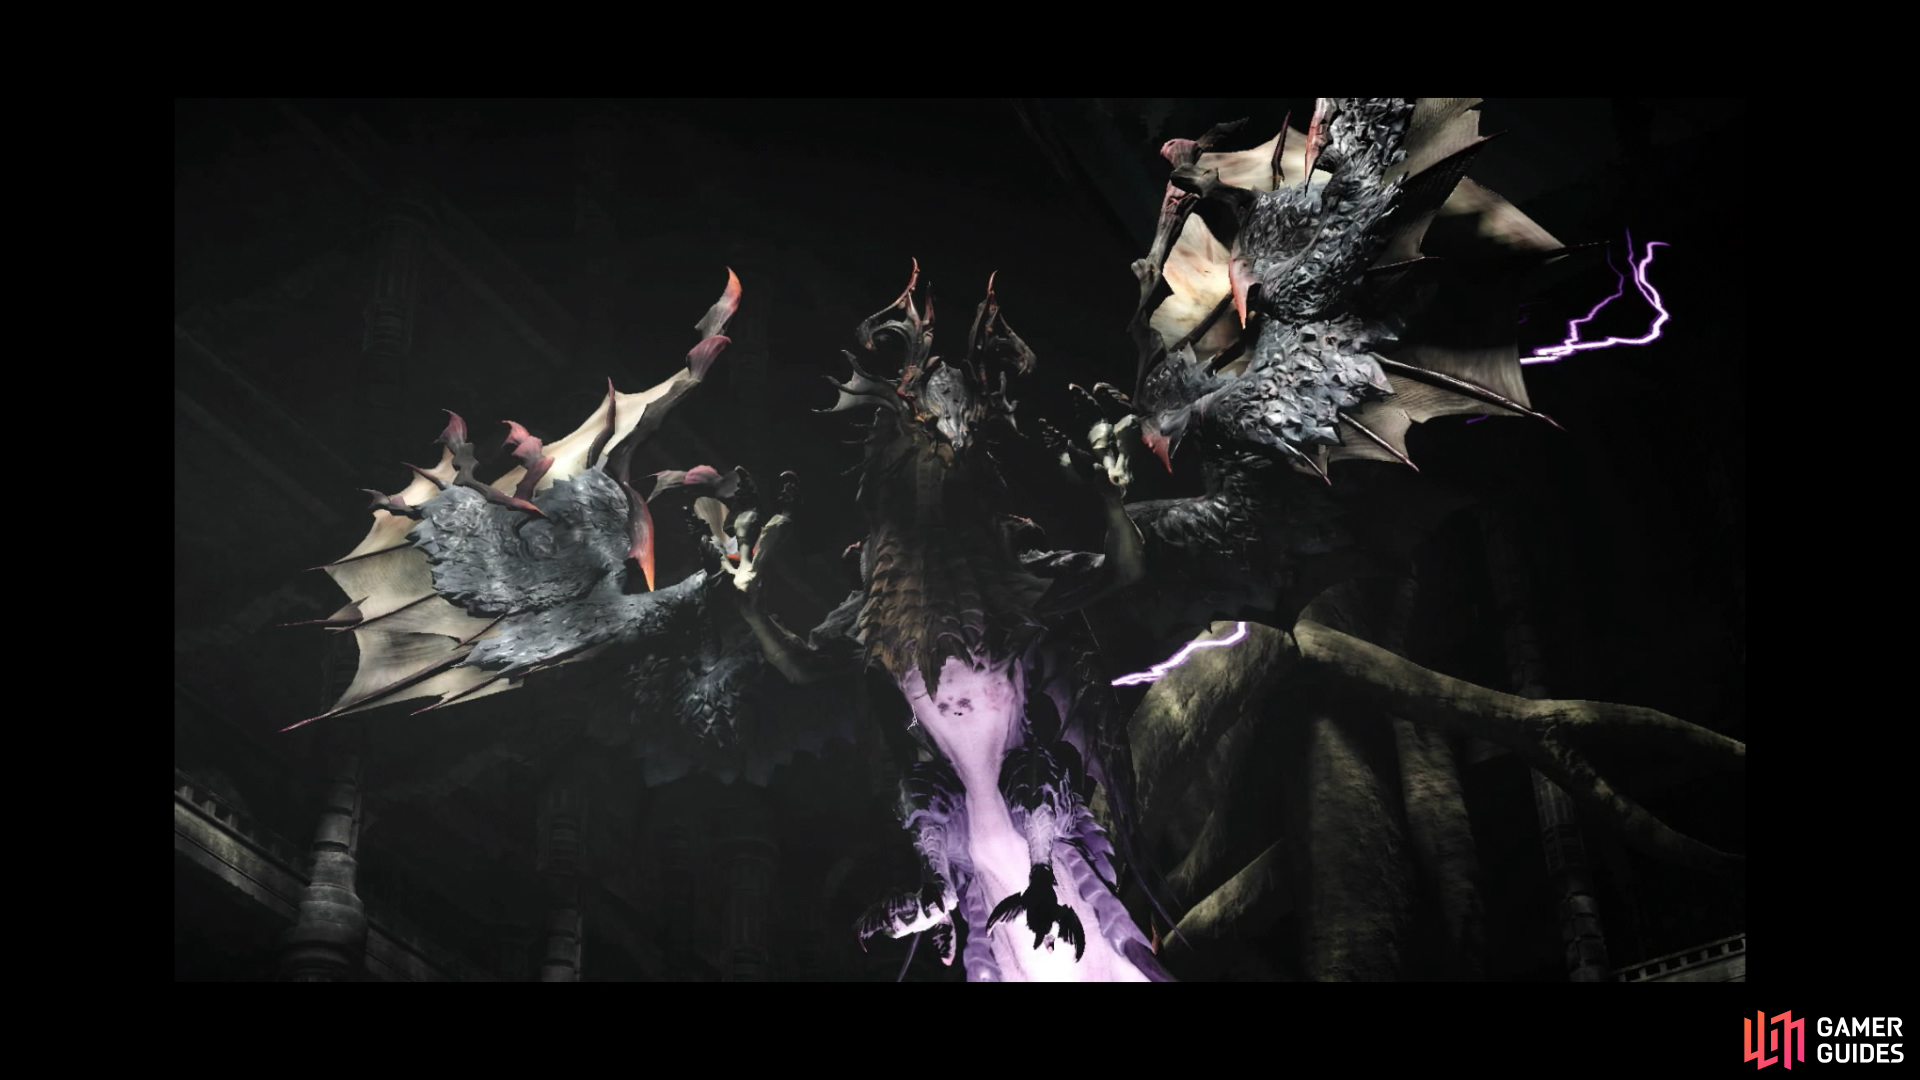
At level thirty-two and with 64,000 HP, Quetzalcoatl can prove to be a troublesome foe, mostly due to its quick and heavy attacks. It is weak to polearms, daggers and ice, while lightning does almost nothing to it, being that it employs that element for its own attacks. As a boss that can fly, it will take to the skies often and do swooping attacks, some of which can be blocked. If you do see the chance to block, hold the button down and quickly press the parry button, following by the Circle/B button for a counter.
You will also find that the boss likes to shoot lightning balls that explode when they hit the ground, sending a short pulse of electricity throughout; holding the Square/X button will let you dodge this. When it’s on the ground, it can also store up some energy and send some jolts around the area where it’s standing. Since that happens, it’s a wise idea to use hit and run tactics on this boss when on the ground.
Since this boss moves around a lot, it’s hard to get a lot of good hits in on it. Aranea’s Highwind can help keep it grounded some, but that maneuver uses all three bars. If you’ve enhanced your magic via Ascension at all, you might be able to make Blizzara, which can help a lot in this battle. Also, if you probably have an Ice Spear handy it may just prove to be very useful, since the boss is weak to both ice and polearms.
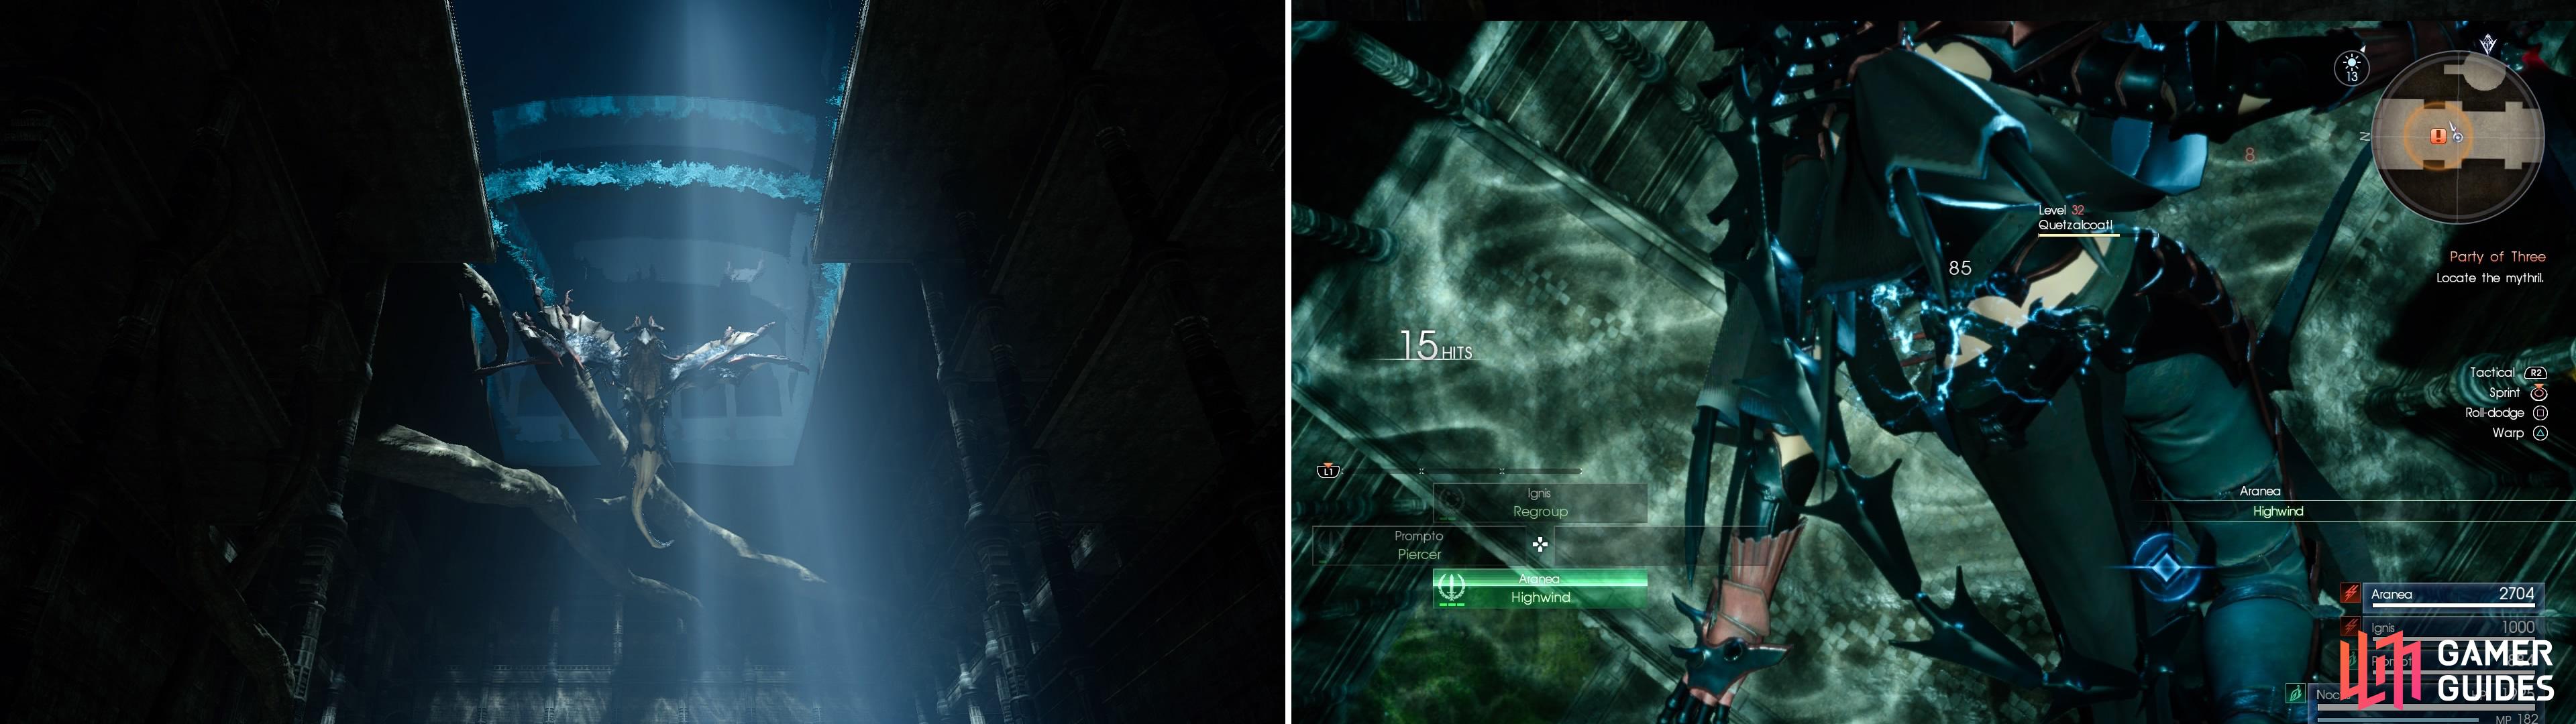
Quetzalcotl (left) uses strong, electric attacks but thankfully, Aranea’s Highwind Link attack (right) helps enormously.
When victory is yours, continue north to find the Mythril you’re looking for resting under a bridge. How convenient. After you claim your prize, Aranea will divulge some more of the empire’s secrets to you - particularly a dark secret about their Magitek Troopers - before you’re given the option to return back to the beginning of the dungeon. Take the opportunity, but you’re not quite done here just yet.
From the entrance make your way back down the long stair case to the west to return to the first room, then head south into a second, adjacent room. This southern room has two rooms branching off it, and if you remember, the loot in the eastern room was lost to you by the contrivances of a collapsing boulder. Head back in there now and the defiant stones will rise back to the ceiling, allowing you to plunder a loot spot (Megalixir) .
That’s not all, however. Backtrack west to the larger room, then continue wast until you reach a tunnel running north-south, which is where you fought your first Skeletons in this dungeon. At your approach the rubble blocking the northern passage will rise out of the way, allowing you to venture in that direction. Do so, passing through an uninteresting room and into a C-shaped chamber along the northern end of which you’ll find a Phoenix Down . Grab it, then continue north onto a lift, which will take you down to a circular chamber occupied by an Iron Giant and a pair of Liches. It’s a fight, to be sure, but nothing a little Blizzara and a lot of dodging (supplemented by the odd technique usage here and there) can’t fix. When the struggle is over, claim your prize - a Sapphire Bracelet awaits in the center of the room.
There’s now nothing keeping you in this dungeon, so make your way to the entrance and, if necessary, wait until nightfall for the door to open again. Once you leave, Aranea will exit the party. Your next task is to head back to Lestallum with the Mythril Ore, a task Aranea will help you accomplish by offering you a ride back. There’s no point in sticking around, so head over to where Aranea is waiting and choose to leave with her. Don’t worry about what the game says - you’ll be able to return to the environs of the Vesperpool soon enough.
| Objective | Reward |
|---|---|
| For obtaining some Mythril Ore | EXP 3,000 |


No Comments